Katman
-
Posts
182 -
Joined
-
Last visited
-
Days Won
3
Content Type
Profiles
Articles
Forums
Gallery
Events
Everything posted by Katman
-
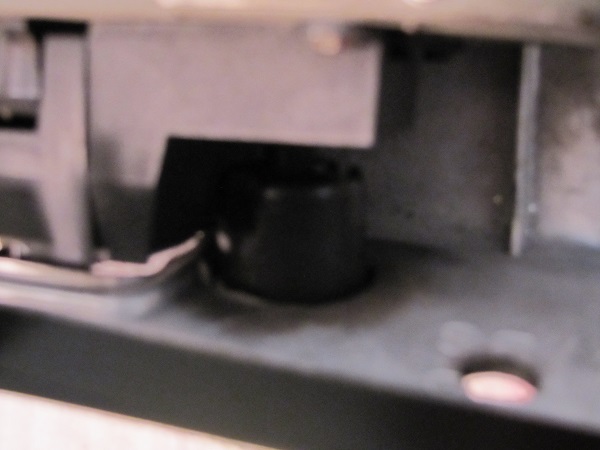
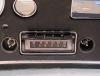
I had cups - did not have to replace them. One of the holes was slightly enlarged so I used some Permatex Steel Weld to tighten up the fit. Kept the cup in place while it dried. It has a nice tight fit now.
-
The L shaped bracket is attached to the back of the 8-track and that helps but it still wants to slide down to the bottom of the hole. It doesn't move much but figured it will when the car is back on the road. Since the dash is out, now would be the time to fix it. I'm not sure what a two part epoxy is. Is that something they sell at NAPA Auto Parts?
-
Brake Booster nut removal question
Katman replied to 1970mcss's topic in General 70-72 Monte Carlo Forum
I used a really long box end wrench. It helped to have the hood off of the car when I did it. -
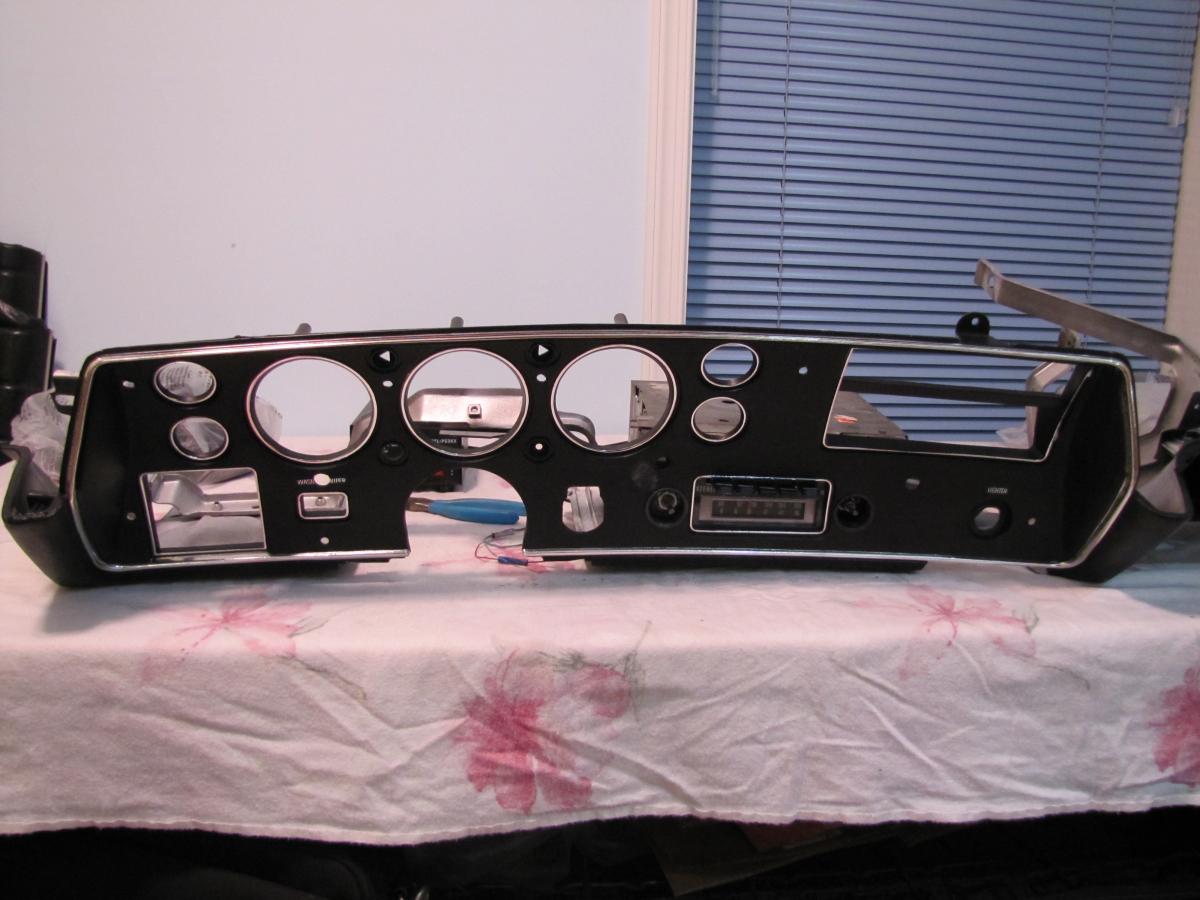
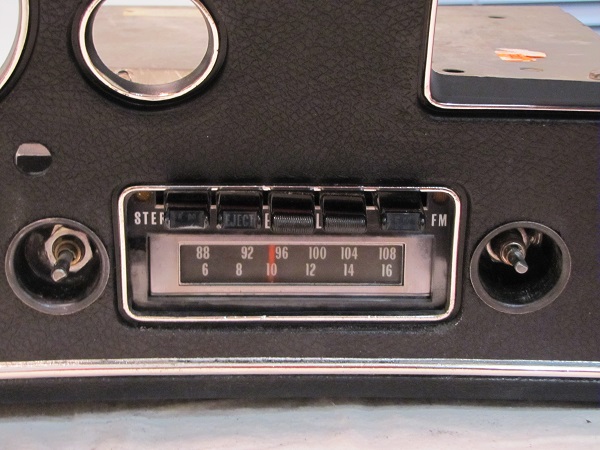
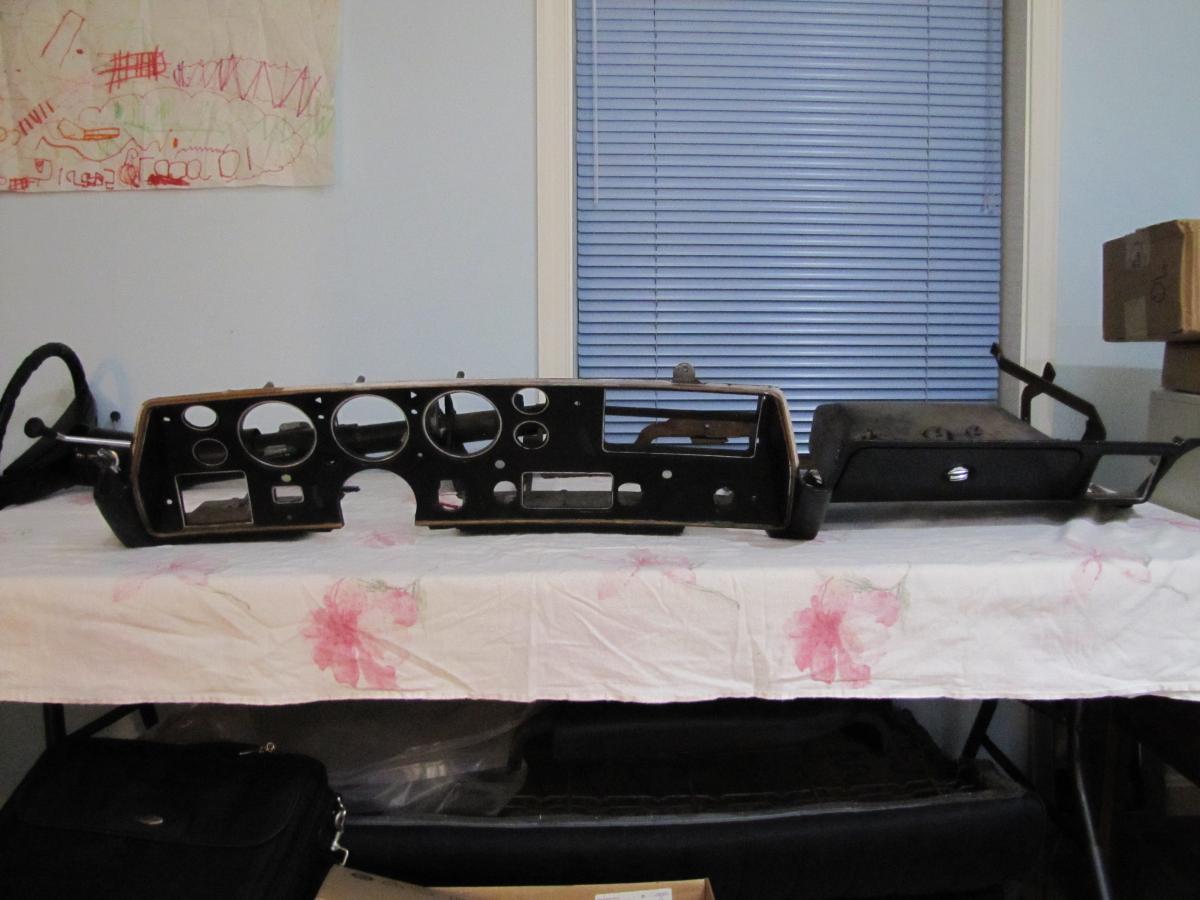
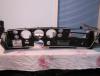
I'm putting my 8 track back in and the holes were cut at some point. The right side hole is a bit too big so the 8 track wants to dip about a 1/16 of an inch on the right. I'm using the metal cup inserts and need ideas on how I can fix that right side hole so that the cup sits at the top of the hole. I thought about cutting out a round piece of material slightly smaller than the hole and using goop to glue it to the back side of the dash. I'll try to post pictures so you know what I am talking about. In the third picture which is a bit blurry, you can see that hole is slightly larger.

-
Wow! Thanks for providing the links. I could sell mine on eBay for $34.95.
-
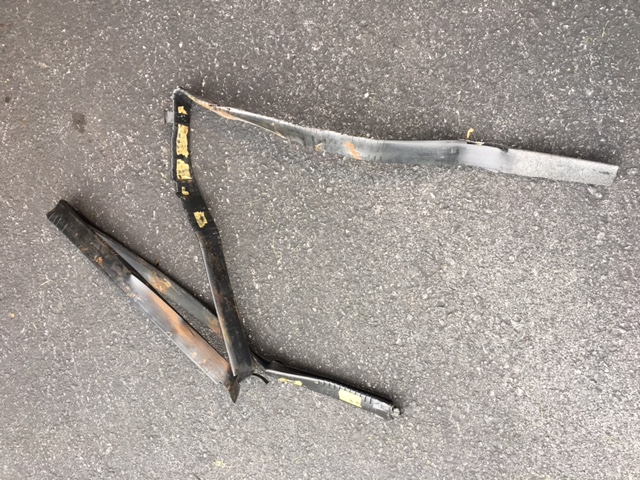
Anyone know where I can get a replacement for this plastic casing that acts as a channel for wiring going to the rear of the car and the trunk?
-
just found I have trunk release option . please help
Katman replied to 72jrfan88's topic in General 70-72 Monte Carlo Forum
Mine is a 71, factory installed with the green button. California car. -
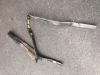
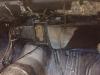
I went with Patriot headers from Summit. Finding a shop that can do some mandrel bends was a challenge. Mine is up close to the oil filter but other than that fits ok.
-
Got it. Thanks.
-
Darren, Are you saying there are seven studs going through the firewall? I removed nuts from two studs on the right side to the right of the bolt that was removed and a nut on the other side right behind the distributor on the engine side of the firewall. Which side of the firewall are the speed nuts?
-
What else mounts this unit to the firewall? I've removed nuts from three studs on the engine side of the firewall and a bolt on the top right side? Is there anything else besides adhesive holding this against the insulation on the firewall?
-
Thanks. Black it will be.
-
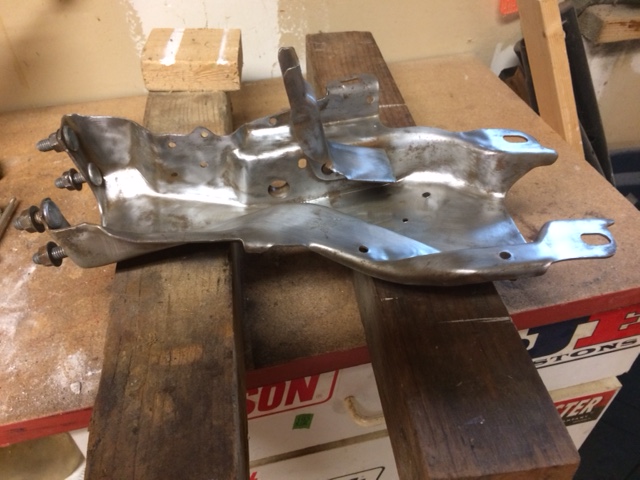
What is the correct color for this part? Mine did not have any paint except for about an inch at the bottom where the brake light switch mounts. This is the part on the interior that the brake booster bolts up to. My body and paint guy says black. I was thinking of using clear or my etching primer gray.

-
What did you do to your Monte Carlo today?
Katman replied to Canuck's topic in General 70-72 Monte Carlo Forum
That's the dash wiring diagram. -
What did you do to your Monte Carlo today?
Katman replied to Canuck's topic in General 70-72 Monte Carlo Forum
Thanks Rob. Added a couple of progress pictures.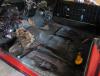

-
What did you do to your Monte Carlo today?
Katman replied to Canuck's topic in General 70-72 Monte Carlo Forum
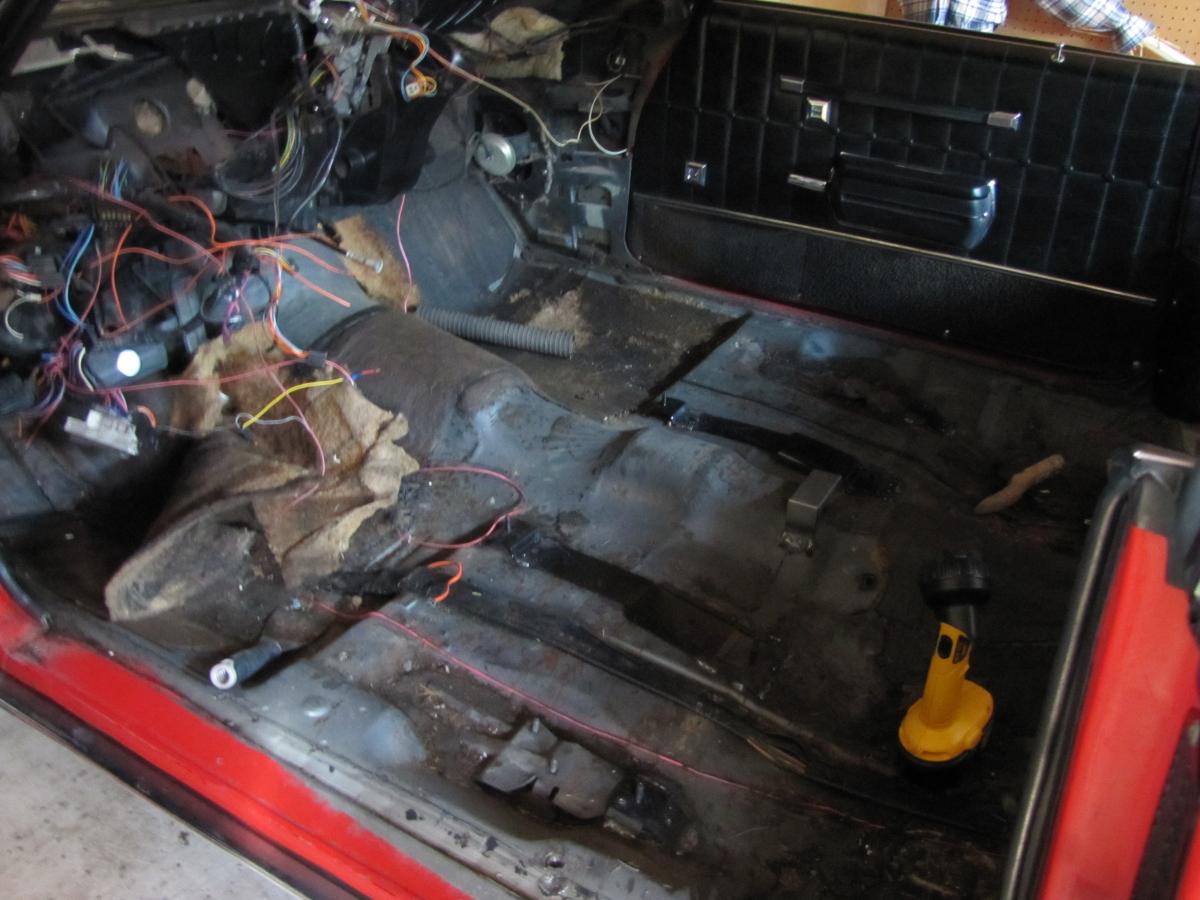
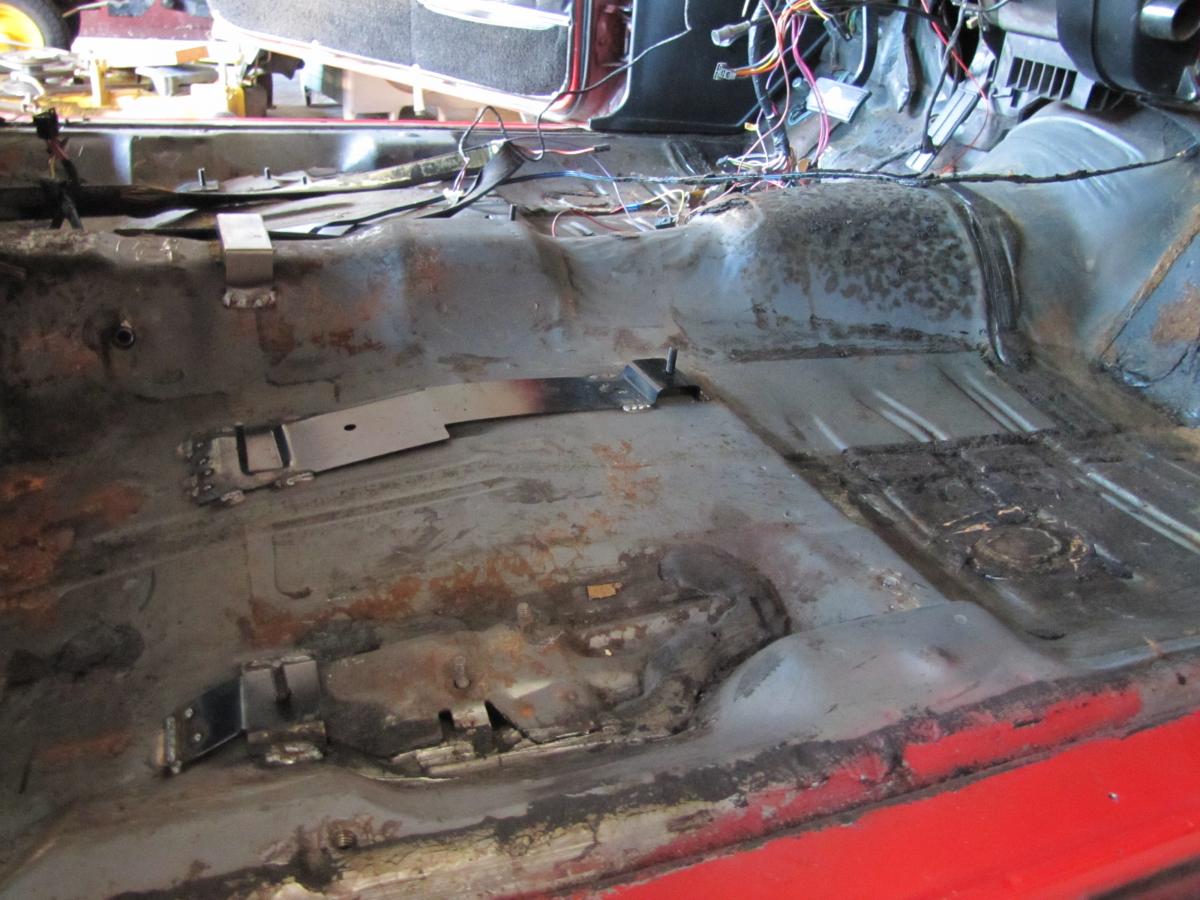
I've been busy with the nice weather we've been having. I worked in a t-shirt today with the garage doors open like it was spring here. Installed the brackets for conversion from bench to bucket and cleaned up the floor boards, scraping the old sound deadener off. Going to put Dynamat Sound Deadener in. Been ordering lots of interior things. I will post pictures sometime tomorrow. Can we upload them on this site or do I have to put them on facebook and then put the link it the forum? -
Thanks. Does the spring go the way I have it in the picture on this link? Just lay it in place and put the top cover on? http://www.facebook.com/photo.php?fbid=10207919747184086&set=pcb.10207919748064108&type=3&theater And I was talking about this raised lip on the lower metal piece in this picture. http://www.facebook.com/photo.php?fbid=10207919746424067&set=pcb.10207919748064108&type=3&theater I know that the knob is on the inside edge.
-
Here is a link to the lock assembly. http://www.facebook.com/photo.php?fbid=10207917300402918&set=a.2455622682461.127344.1608903370&type=3&theater
-
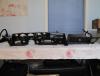
Installing my headrest locks. Got a question. There are two springs. Where do they go? And there is a small dimple in the edge of the meta oval piece. Does that go to the front or back edge of the seat? Going to send a picture if I can figure out how.
-
Thanks for the responses. I thought of going black but kind of likin' that cadmium look like the brake booster. Dan, By the way can I insert pictures in the forum without having a url for them like you did with your thumbnail picture.
-
I just received the foam for the back seats and the foam for the bucket seats. Waiting on the cloth which they told me yesterday they are getting ready to make. I should have them in a couple of weeks. I still need to locate the brackets to mount the bucket seats.
-
Got a question for you all - getting ready to paint my load level compressor. What's the correct color for the load level compressor? I've seen black (is it semi-gloss), same color as brake booster, and gray.
-
Bought the cloth for the bucket seats today at Carlisle (got a 10% discount!). Cars Inc told me that stitching (called a tuck) was available in 71 as well and pointed it out to me from their catalog. I ordered mine "without tuck".
-
Just finally read this thread. Love the pictures of your project. My next project is the interior and I want to switch to bucket seats with a console with the "airplane shifter" (read that description on a "72 SS Monte project for sale - got a good laugh out of that) .