


rtgz71
-
Posts
17 -
Joined
-
Last visited
-
Days Won
2
Recent Profile Visitors
899 profile views


-
If you have rust issues and want to run a bigger tire do what 502 mentioned, frame notch, but go with full tubs instead of splitting the originals and piecing them back together, just easier and looks better.....in my opinion!
-
When fitting the floor leave extra material and sneak up on it slowly, easier to cut thin strips than fill in a gap.
-
Heard earlier today from a friend that new fenders are “coming soon”. Looked on line today and saw one of the bigger restoration places lists them also...anyone else hear about this?
-
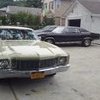
Wow, I’d rock that with a procharged BB, try for a flat hood, 4l80, a good 12 bolt, firm suspension and drive it everywhere! Oh, and leave the body as it is..
-
What did you do to your Monte Carlo today?
rtgz71 replied to Canuck's topic in General 70-72 Monte Carlo Forum
Can’t remember ever seeing anyone put a/c on an LS6...good idea though! -
What did you do to your Monte Carlo today?
rtgz71 replied to Canuck's topic in General 70-72 Monte Carlo Forum
Yes it is, CS2 5 speed... -
What did you do to your Monte Carlo today?
rtgz71 replied to Canuck's topic in General 70-72 Monte Carlo Forum
Was bored today so I decided to put the block and heads in to check header fit and decided then it was kinda like a lego set and put on a few more pieces!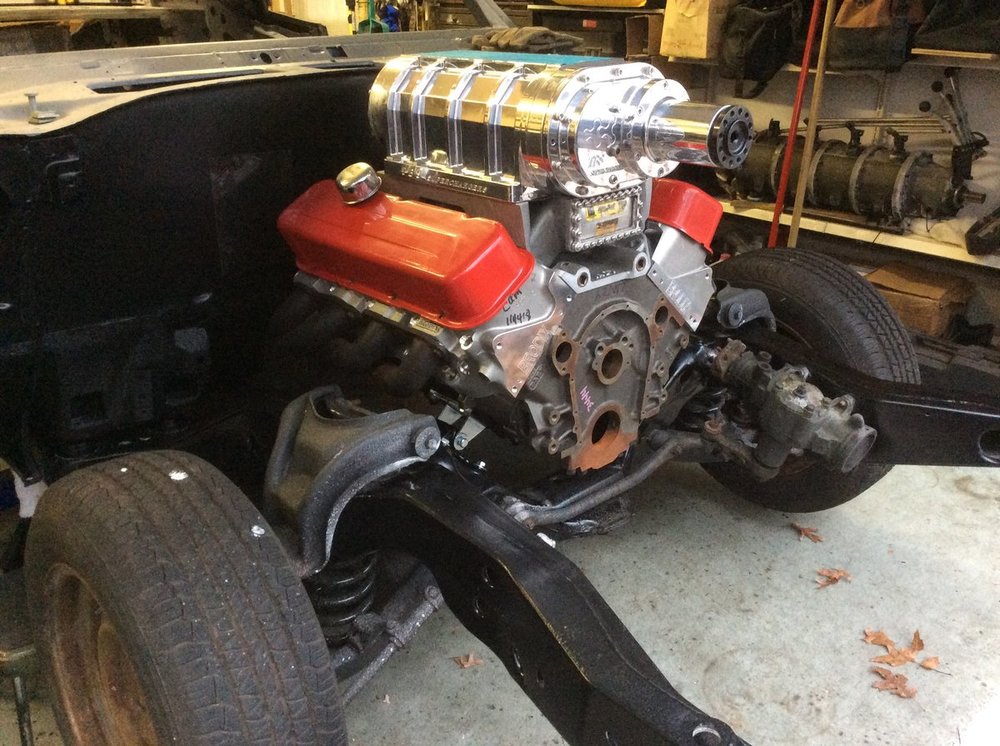
-
Not All Monte Related But There Are Dirty Pictures Here
rtgz71 replied to Rob Peters's topic in Non-Tech
Correct you are Rob, it's just a partition wall, like many interior walls, put 'em where you want to make the rooms the size you want!! -
Nope, sounds just about right to me!! Although you may want to start saving for a Fab9, that 12 bolt will complain sooner than later..
-
Anyone put their Monte on a rotisserie?
rtgz71 replied to rtgz71's topic in General 70-72 Monte Carlo Forum
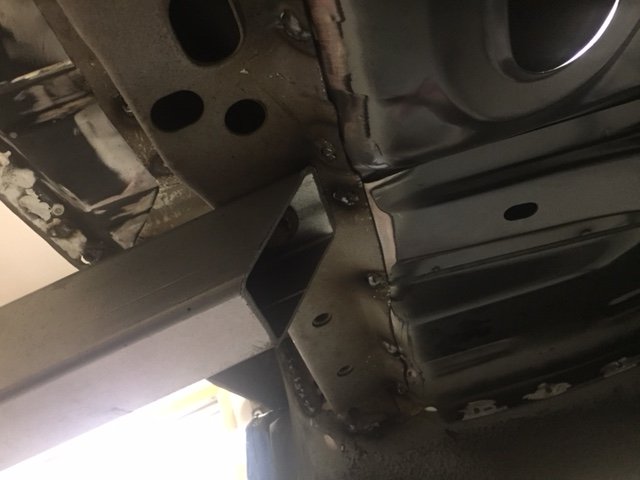
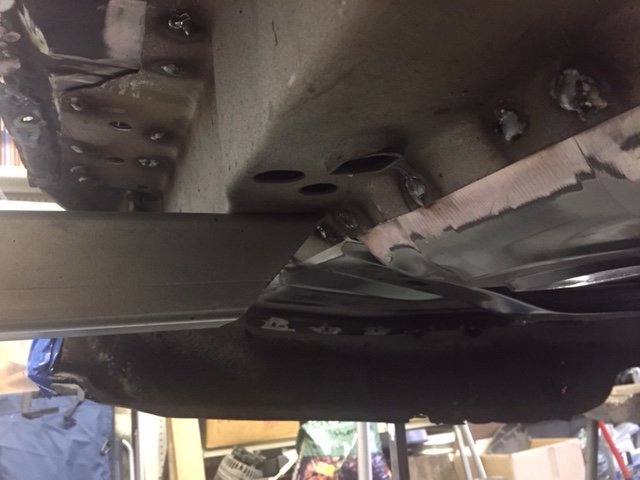
Those are plug welds done in the same spots as the factory spot welds, the cross rail bracket and the kick up from the trunk floor to the tail light panel came from an Arizona car (had rust issues). I used the drilled out spot weld holes to help with the alignment. Once its up on the rotisserie I would like to put some stitch welds on the seam, but it's strong in that respect. I made some extra supports today that are under the tail light panel, bolted thru the bumper mounts and welded to the rotisserie arms, seems to make a big difference, no flexing. Of course as I went to mount the front I found the passenger's side firewall mount had a good bit of rust on the bottom of the inside mount hole so as it's this far apart I can't see not fixing it properly.… as the saying goes "are we having fun yet??" -
Anyone put their Monte on a rotisserie?
rtgz71 replied to rtgz71's topic in General 70-72 Monte Carlo Forum

-
Got my rear floor and trunk floor in and now going to put it up on the rotisserie. When I bolted up the rear supports to the rear body to frame mount bolt I felt their was not enough support and as I pulled up on the support arm it started to flex the rear brace that runs between the trunk floor extensions and welds to the floor and tail light panel. I see this done all the time on chevelles and their seems to be no problem....what did you guys do?? Bumper mount holes??
-
might be too late to help you on the trunk floor, but I'm just finishing up mine. Buying it in pieces cost a lot more in time and money because you also have to buy all the braces, and there are 5 of them, L/R floor braces, L/R tank mounts and the front cross brace that goes between the wheel wells. The complete floor comes with all the braces already installed. They don't make a complete trunk floor for a Monte, you have to use a chevelle piece. What I did was buy the chevelle floor, which goes from the top of the under rear seat floor all the way to the base of the tail light panel. The problem is that where the rear of the floor kicks up tp meet the tail light panel the shape is different....all A body floors are the same until you get to that area, they are all different because of the different shape of the tail light panels. I bought the part that goes from the bottom of the trunk Floor up to the tail light panel from a parts yard out west. they sold me that part and the rear floor brace for $175 shipped. Took the body off the frame, blocked it up, cut out the main sections of the floor and then spent a lot of time drilling out spot welds. I got a GoodMark piece and it fit very well...It's a big job but not complicated, I had never done one before, did it by myself and it came out very good.
-
Just a shout out to the guys at Steering Column Pros, had a problem with my column and the guys there were great, were able to diagnose my problem in a minute on the phone, tell me how to fix it and spent the time to make sure I understood the procedure..Excellent !!! of course it did make me feel like an idiot it was so simple and I spent hours trying to figure it out!!
-
I am involved with a similar project right now, although a little more ambitious. 540, twin s475 BW turbos, probably a Lenco and a FAB9. What I have learned is the same as you...while the blow thru carbs have come a long way, there is very little room for a tuning mistake, so while EFI is more expensive to start, the first (inevitable) mistake with a carb will make up for it in parts. Also, your goal of 800hp will probably require you to detune it quite a bit. You double your power at app 15psi of boost, so if you make 600hp N/A you can figure 1000-1100 at 15 psi. 600hp these days is easy. Best thing you can do is start with a good aftermarket block and quality forged rotating assembly. The best part of this is it's pretty easy on motor at these lower levels....Good luck !!!

