jgrimmy
-
Posts
20 -
Joined
-
Last visited
-
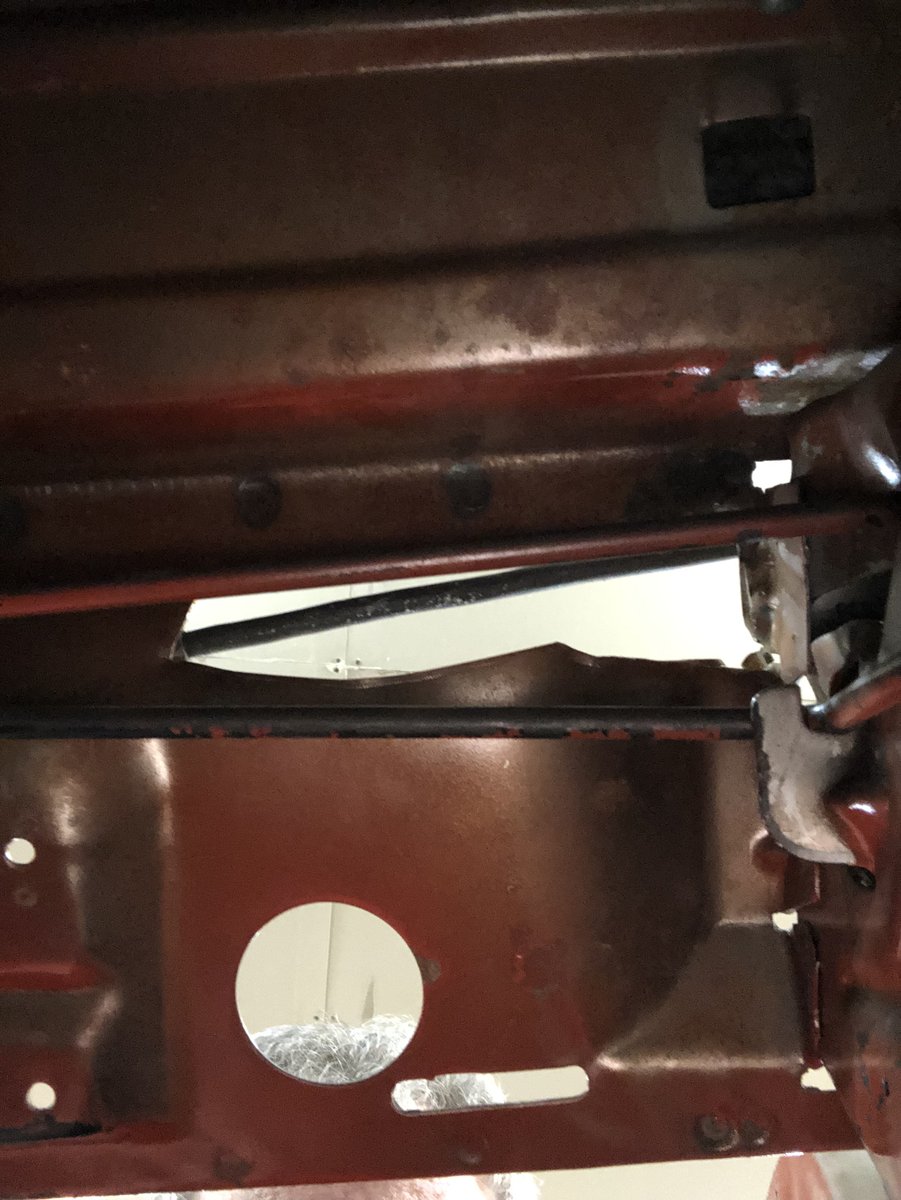
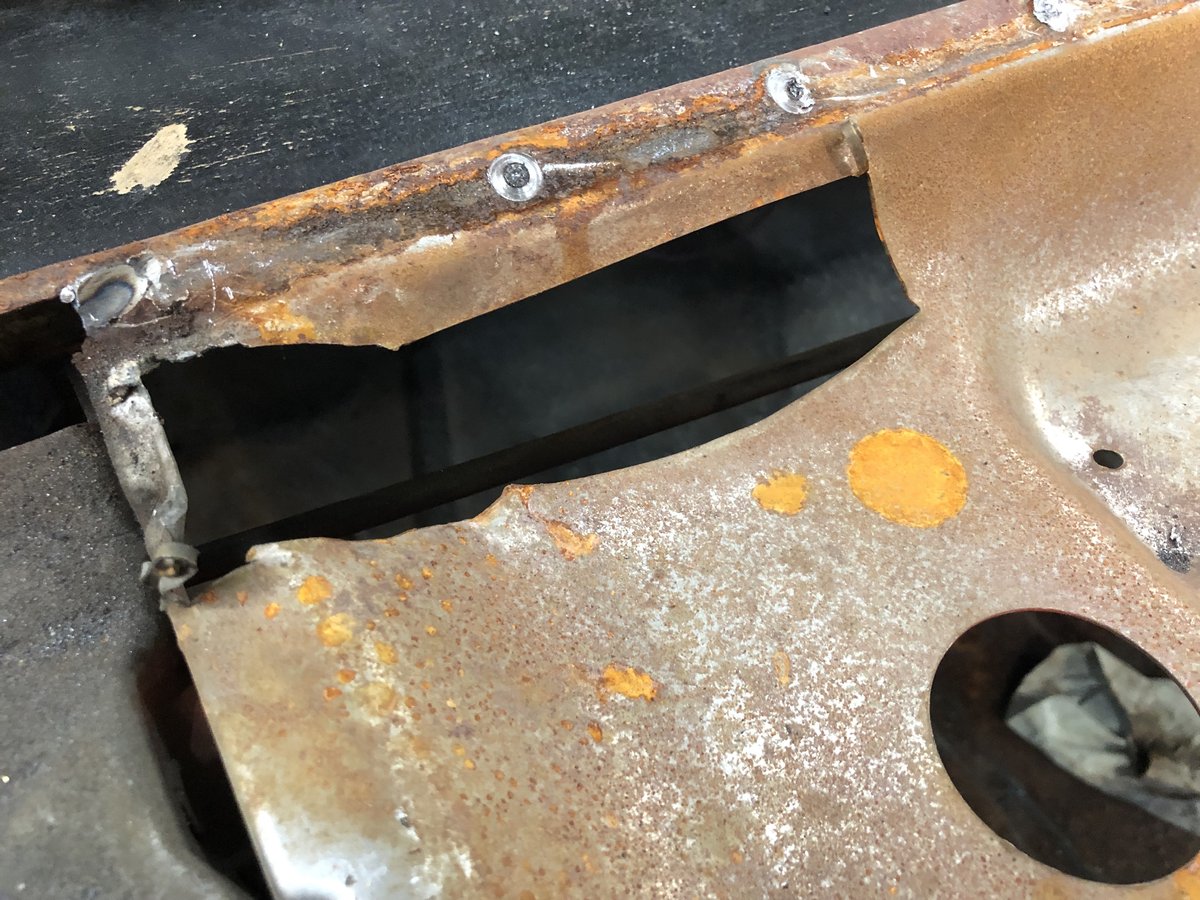
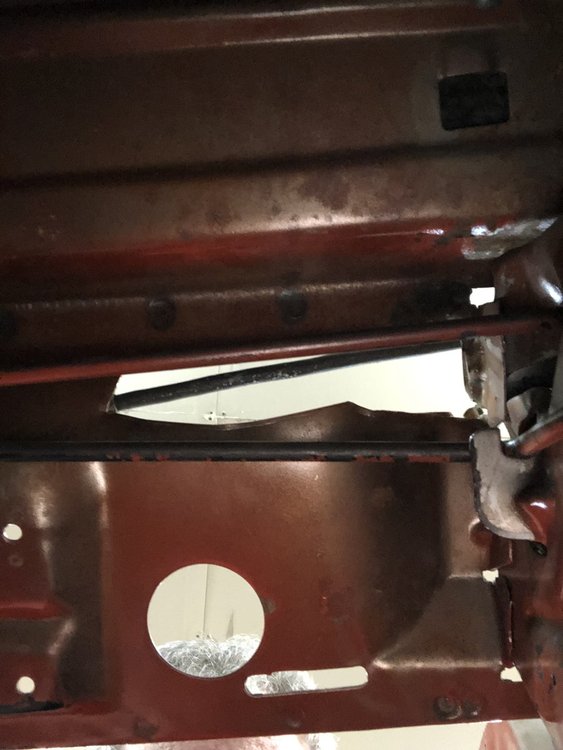
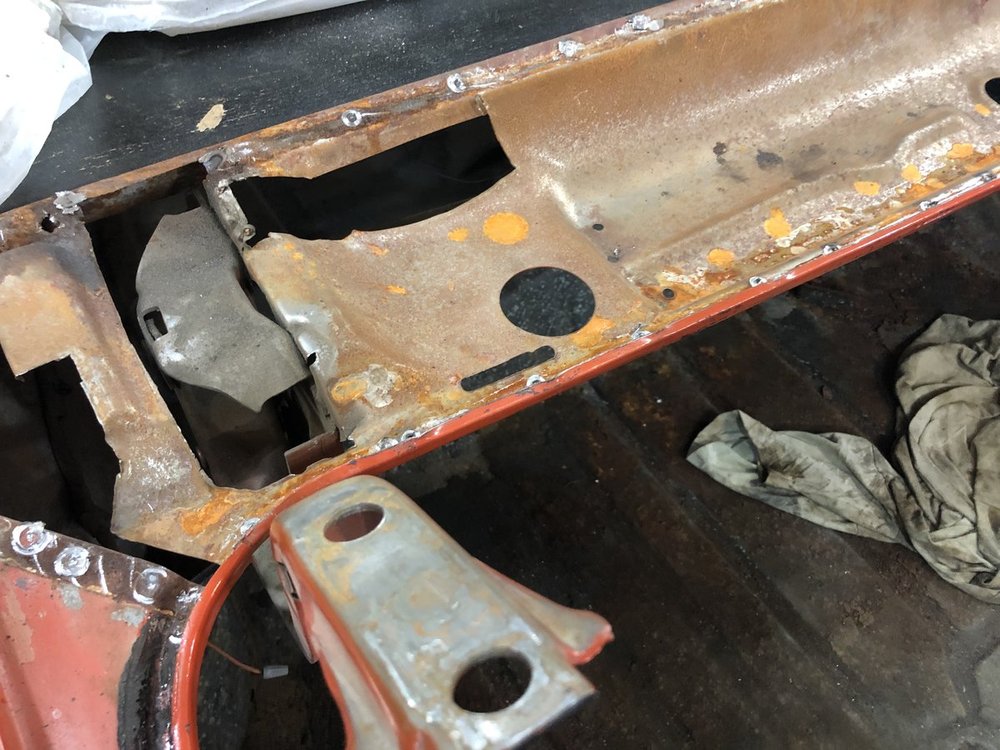
Yes you can. It’s way forward and a little awkward to get in a position to see it. Here is a picture from inside the trunk. The trunk opening is at the bottom of the picture for reference.
-
I appreciate the comments guys. This hole is cut in the panel beneath the deck filler panel. The trunk torsion springs would prevent it from being cut out from the bottom. It’s a one owner car, my customer bought it brand new in 72 and the deck filler panel is the original. It had to be cut out prior to the filler panel being installed. I just can’t fathom why. I don’t intend on patching it, there really is no reason to and it can’t be seen once the new filler panel is in place.
-
I'm replacing both rear quarters and the rear deck filler panel on a customers 72. This is a one owner low mileage unmolested car. After removing the original filler panel I found this hand cut hole under it. It's located just ahead of the drivers side trunk hinge. It's crudely cut and there are little curly cues at the the corners which indicate to me it was cut from the top. I cannot find any reason for this being cut out at the factory. Any ideas? Thanks John

-
Thanks Carl! You are correct, they are panels from a 71-72 that someone "installed". I massaged the top rail and worked the tack strip to get a nice gap I'm pleased with so I think I'll just leave it alone. Good eye! I had no idea they would be different. Thanks John
-
Thanks Dan, I remember you from Chevytalk too! The first car I drove was my uncles 57, I was stung forever by that. I bought my first 57 2 door post at 13, some 37 years ago. I've had several since but the old rustbucket is the one I'll be keeping until I assume room temperature. Interestingly the Rally Sport Kit from Legendary does not have these listings on the seat cover. They do bow out slightly but I actually like the look. John
-
Your right Robert, I assembled one seat back ignoring the horizontal lists and it doesn't sit quite as flat as Dan's. It really looks pretty close but it bulges out a bit in the center. Now I've got to decide if it's worth it to take it all apart again. John
-
Hey Dan thanks for the response. There are two lists, one above the stitching and one below. The lower one goes much deeper than the upper. Looks like the same foam I have. After asking advice from a few upholsterers the consensus was to ignore the horizontal lists. Your seat looks amazing! I must admit I'm having a hard time focusing on it due to the 57 with a continental kit in the background. That's my other and first love project for the last 8 years. John
-
Hi all. I'm replacing the seat covers on my 70 Monte buckets with PUI's covers. There are two horizontal listings near the top of the seat covers that need to be hog ringed to the seat frame. My dilemma is where exactly to cut the seat foam for these? Does anyone have any measurements that I can use to slit the foam in the correct spot? PUI is either unwilling or unable to tell me and the seats are from a 71-72 so the old foam can't give me any clues. Thanks in advance for any help, I'm at a complete standstill until I get this figured out. John
-
Terry that's much appreciated. Hopefully I can reciprecate in the future. The seats are out of a 71-72 so the original foam won't give me any help. I'm hoping Scott can give me an idea about just ignoring them or possibly a measurement to cut the foam. I just really don't want to cut in the wrong place or have to do it all over again. The help is so much appreciated! John
-
Thanks Scott, I sent you a private message with a question or two. I don't want to hijack this thread any worse than I already have! John
-
Thanks Terry! I've pretty much got it figured out except for where to cut and where to measure from. Hope they come out half as good as yours did. John
-
Those look terrific! I'm beginning to do mine as we speak. I have what is probably a very stupid question, however I have not been able to find the answer and I don't want to screw up. I am unclear as to what to do with the two horizontal listings near the top of the seat back cover. I assume I must cut a slit in the foam and attach these to the seat frame. If so do I cut the full width of the foam? Do both listings attach to the same point on the frame? I'm sorry for so many questions, any help or advice would be GREATLY appreciated. Thank you! John
-
They are part # WC15119. I am really happy with them. The screws that came with them for the outer quarters are worthless, they just strip. The original screws worked great though. John
-
Those are the premium ones from OPGI. The others are a complete joke! John
-
Good idea on painting it dark behind there, I'll definitely do that. I've been able to minimize it a bit by tweaking the tack strip inwards lessening the gap. Way too much of a perfectionist, It stood out to me like a turd in a punch bowl. I just couldn't accept it that way. Thanks! John