
Leaderboard

Popular Content
Showing content with the highest reputation on 05/11/2020 in all areas
-
This might help: https://www.ss396.com/pdf_catalog/tech/ssdash/1970-1972_chevelle_dash.pdf2 points
-
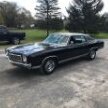
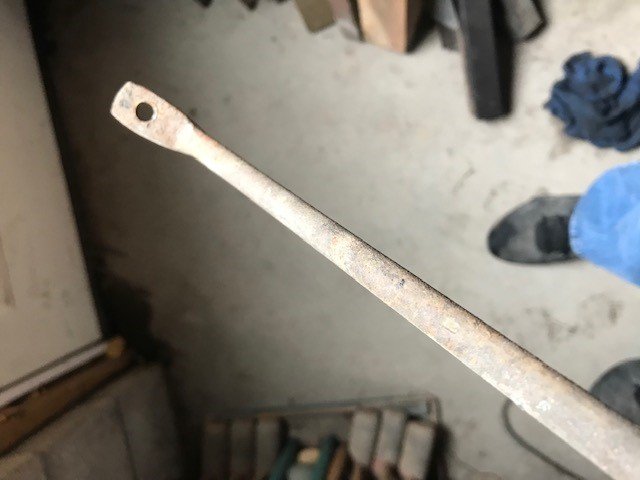
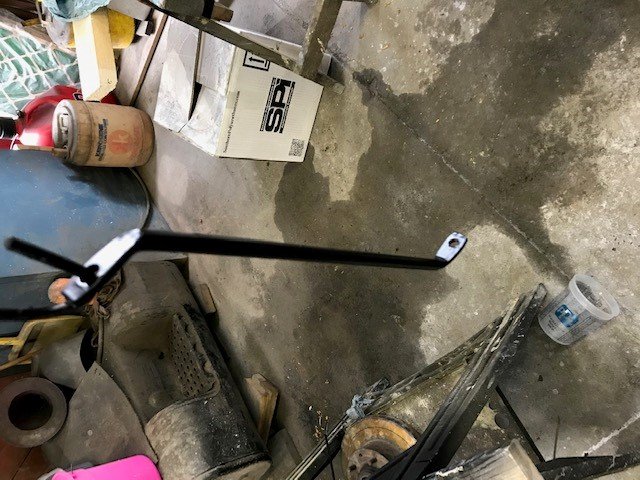
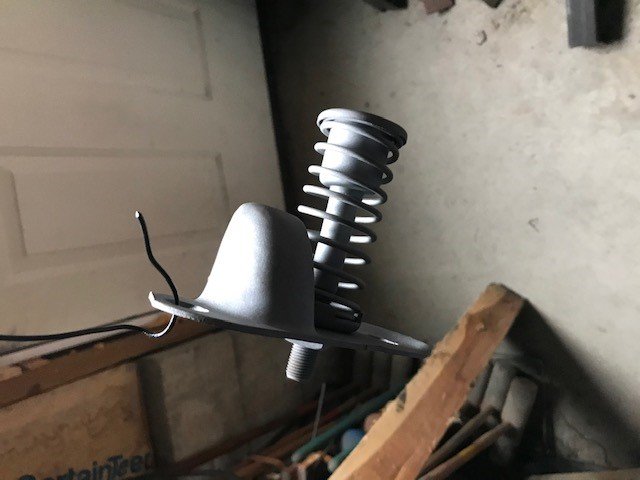
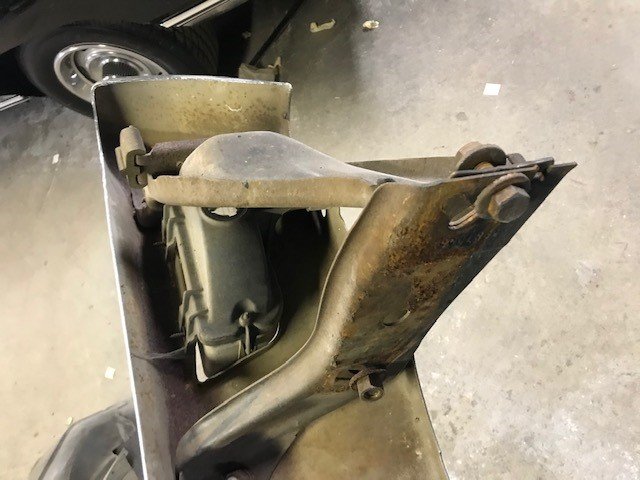
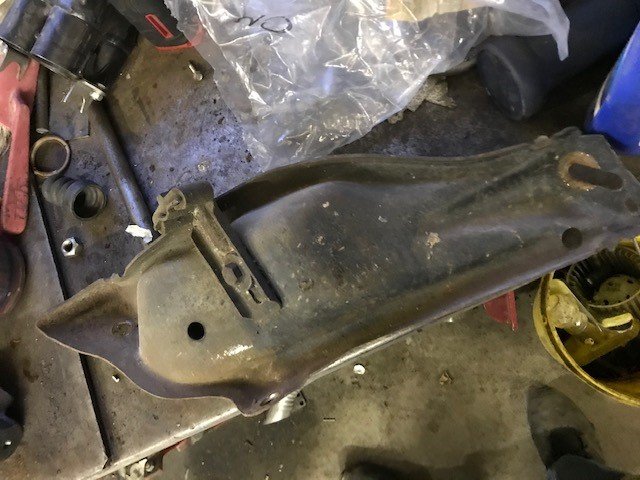
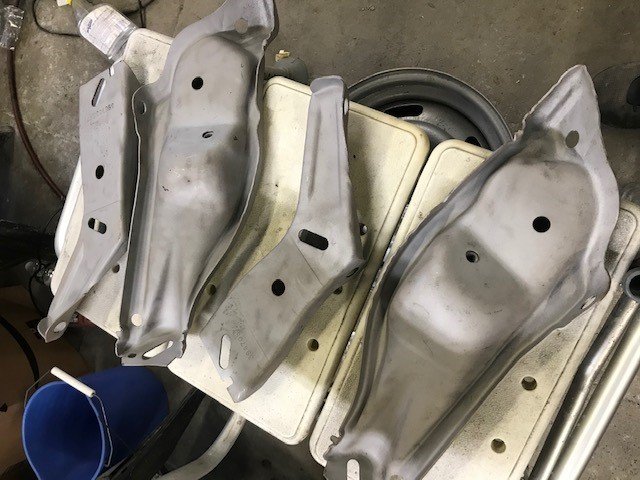
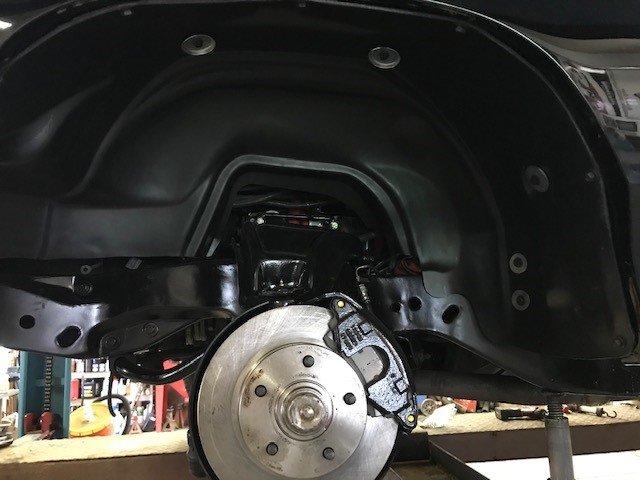
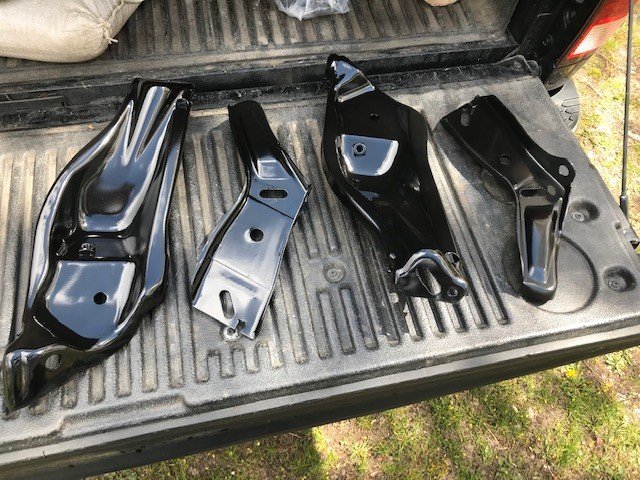
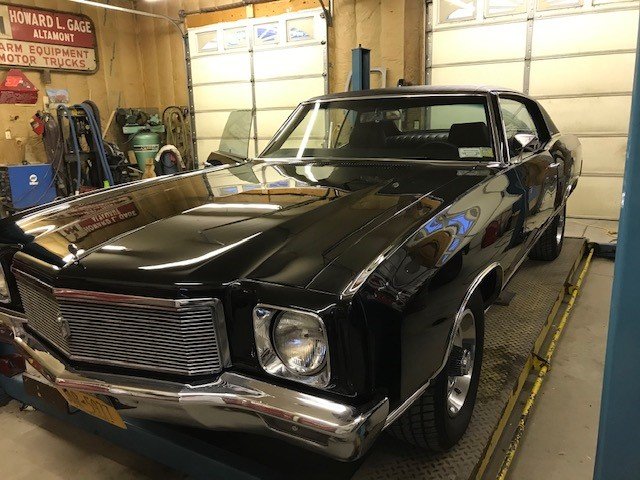
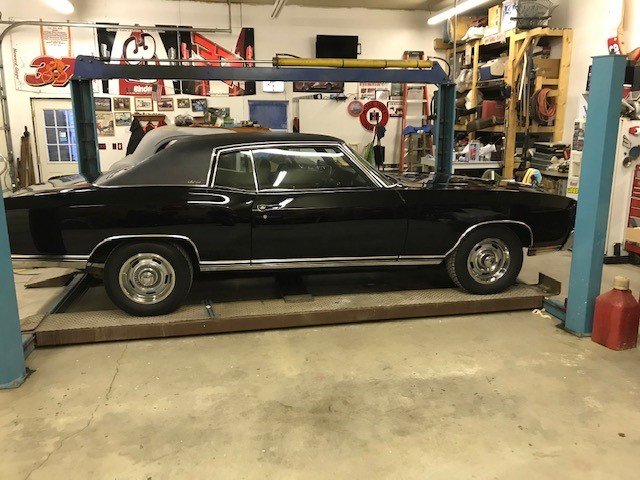
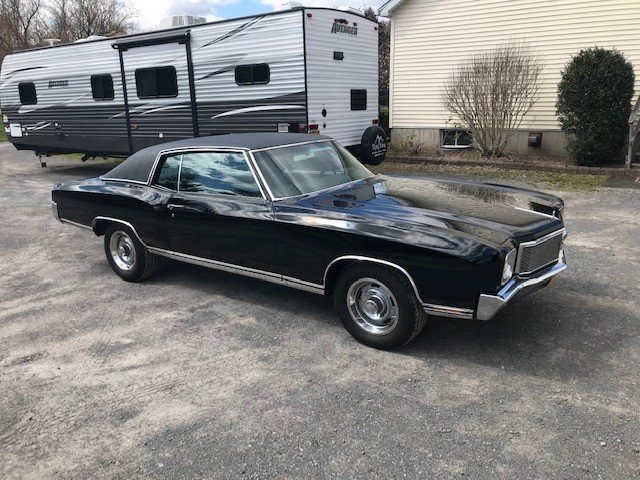
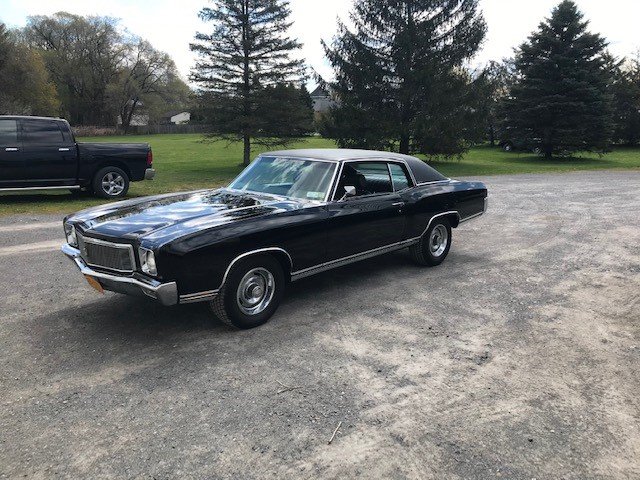
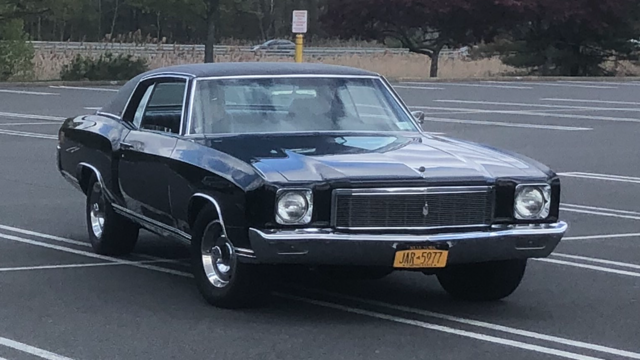
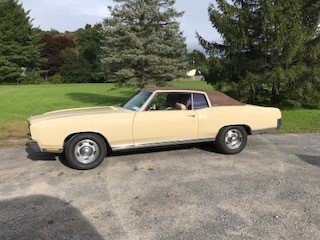
Hey All, Hope everyone is doing well and staying healthy. Its been a bit since an update. Time is getting closer to being able to get the cars out and need to get this done. So made some progress did a lot of waiting on parts being shipped, delays , damaged trim ( because its the thinnest stuff on the planet) sand blasting and painting a few remaining parts. I am using the original front bumper I have for now, not perfect but really good shape. i just wanted a new one to match the new back bumper, but it can wait for now. Got the new inner wheel wells , new wheel well trim , new rocker molding and new lower molding installed, car buffed and polished (needs a little more to get rid of some swirl marks) good enough so it could see the light of day this mothers day and stretch her legs a bit. Still have more things to work on as it will never be done but the majority is done to make it respectable. Still a bit of detailing and cleaning but for now was good enough to get it out and enjoy a nice day. Well all... here she is , after a few progress pics you can see how she looks. Thank you all for looking , following and helping along the way , it's not over and I will post more stuff as I do things but overall the big part is completed. I cant wait to see you all in Carlisle hopefully, that is what I was shooting for and she is good enough to go now. It's not perfect but for what we had to work with work space , painting environment etc.. I am very happy with results. As always thank you all for looking. Sand blasted and painted fender braces Sandblasted and painted the hood latch ...whoops forgot the pictures of the painted hood latch Some before, after and during pictures of the bumper brackets from crusty to looking like brand new the new inner wheel well installed after some wrestling with it .. And the final pics after hours of massaging, filing, trimming, installing ,uninstalling all while trying not to scratch the paint.Finding clips that work best etc.,,, and trying to make them look halfway respectable.. But here she is . Here is the before and after for for those that have missed it Before After

 1 point