Leaderboard


Popular Content
Showing content with the highest reputation on 05/21/2020 in all areas
-
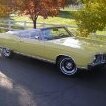
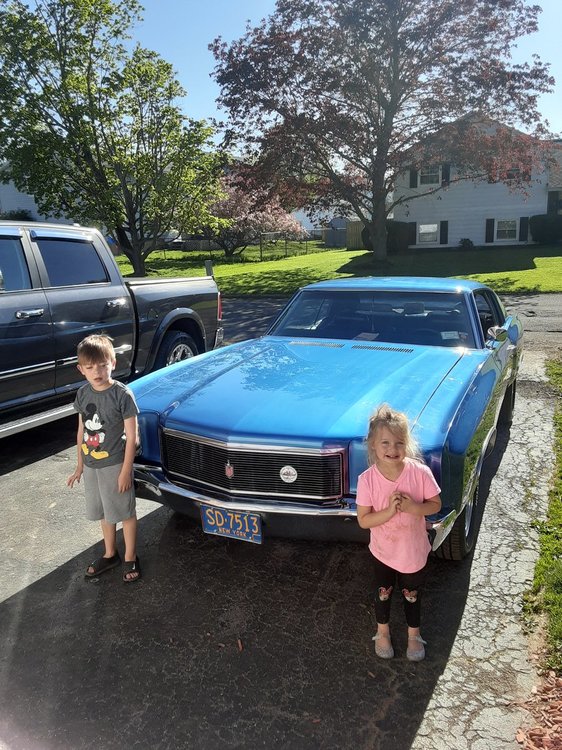
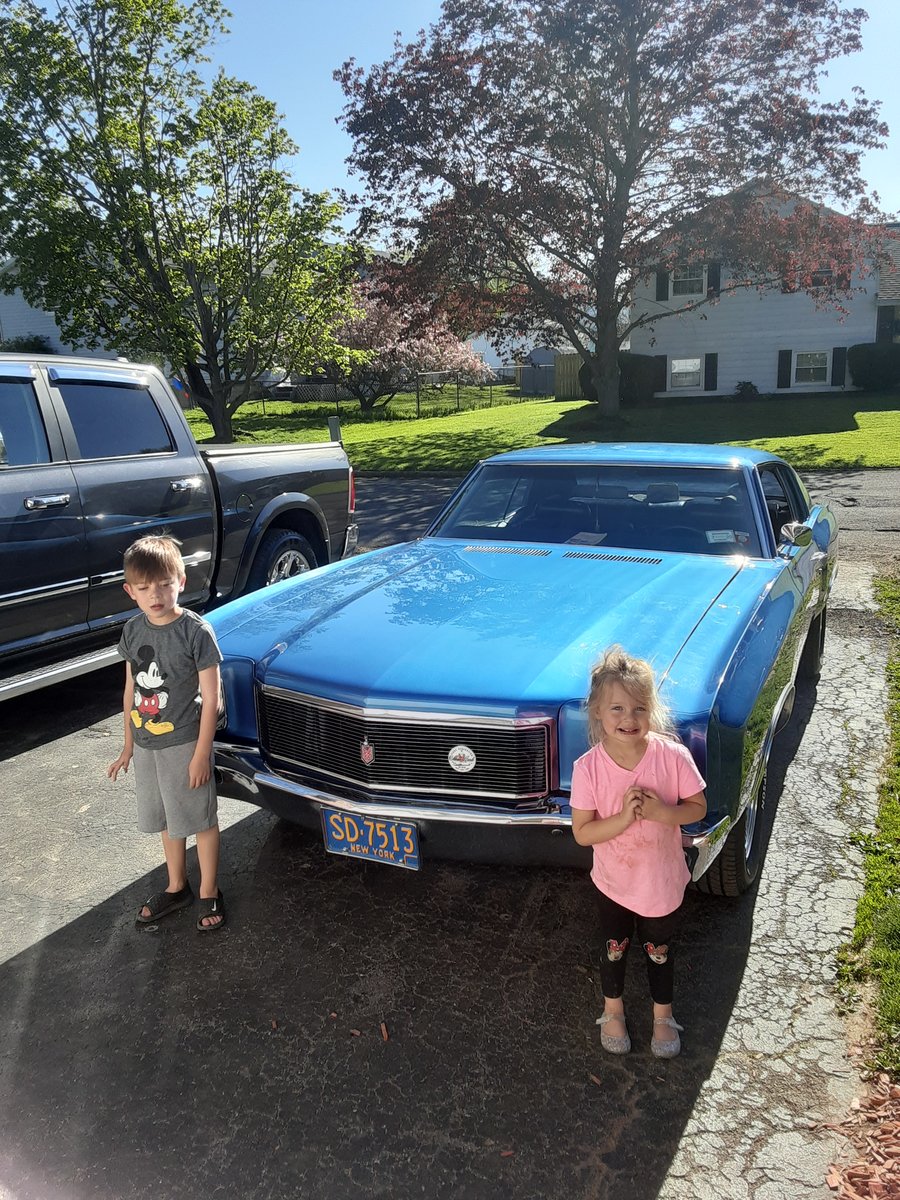
Went out for a socially distance visit with my grand kids today (I was going through withdrawal) my granddaughter said grandpa I love your car, my grandson said blue is his favorite color. It was a very nice visit
 4 points
 -
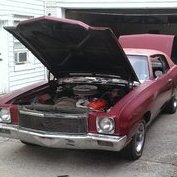
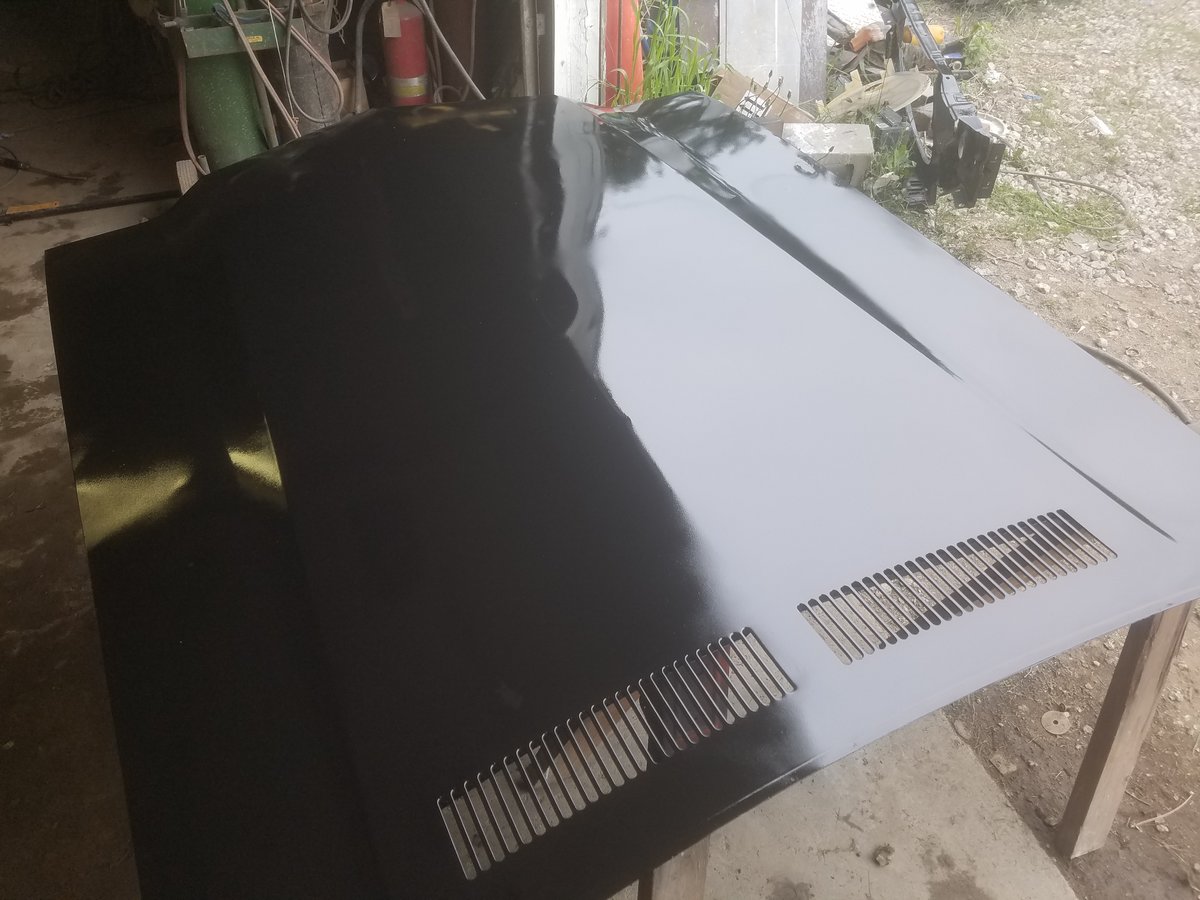
Got some primer on the hood, both sides. Also got extensions.

 1 point
 -
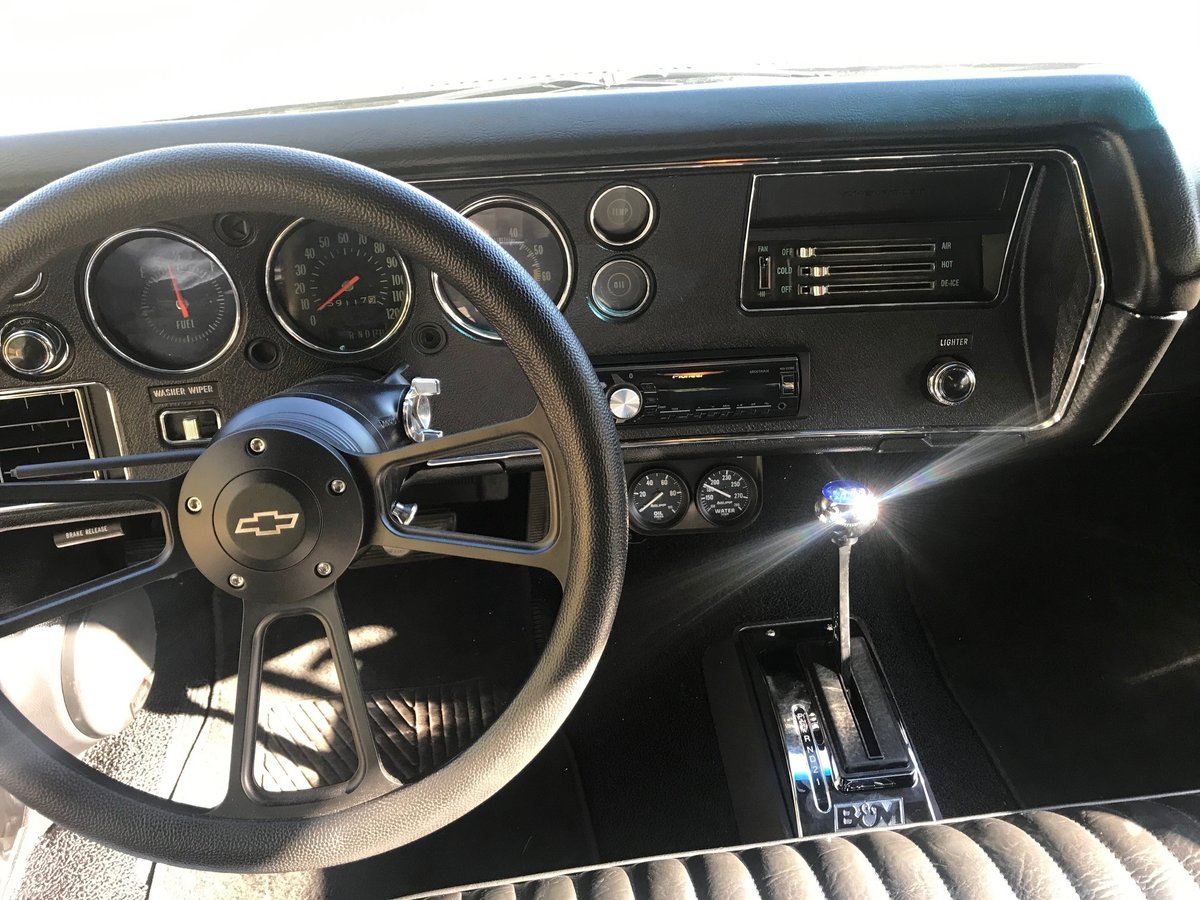
Took my 70 out of storage and swapped out the column shift for a B&M Quick Silver. Way more fun!
.thumb.jpg.b57a950f652a8e9c1c05ca19d5823594.jpg)
 1 point
 -
nice looking car I like the old scool plates1 point
-
Looks great, that's quite a transformation. Very talented you are.1 point
-
Nice job Kevin!!!! She looks great!!!!!1 point
-
Locate the wire going to the sending unit and you can stab it with one of those pointy circuit testers hooked to a good ground, The added load of the bulb in the circuit tester should cause the fuel gauge needle to move. Give it a couple of minutes...the gauge moves slowly.1 point
-
Looking great1 point
-
Looks great! You have done alot of work. Can't wait to see more pics of your progress.1 point
-
Looks real good, you work pretty fast, lol!1 point
-
I have 70 & 72 (not a 71) service manuals....the engine bay charging system wiring is slitely different between the two. Wire splice location(s) & component locations vary, but operate pretty much the same. I will say that the "common component" is the "hot-at-all-times" buss-bar (aka: junction block) at the Horn relay. Battery, charge circuits and "high amp accessories" end up "connecting" to that point, if not directly, thru a splice. Also, running two smaller gauge wires from point "A" to point "B" is not recommended in the "electrical community"....1 point
-
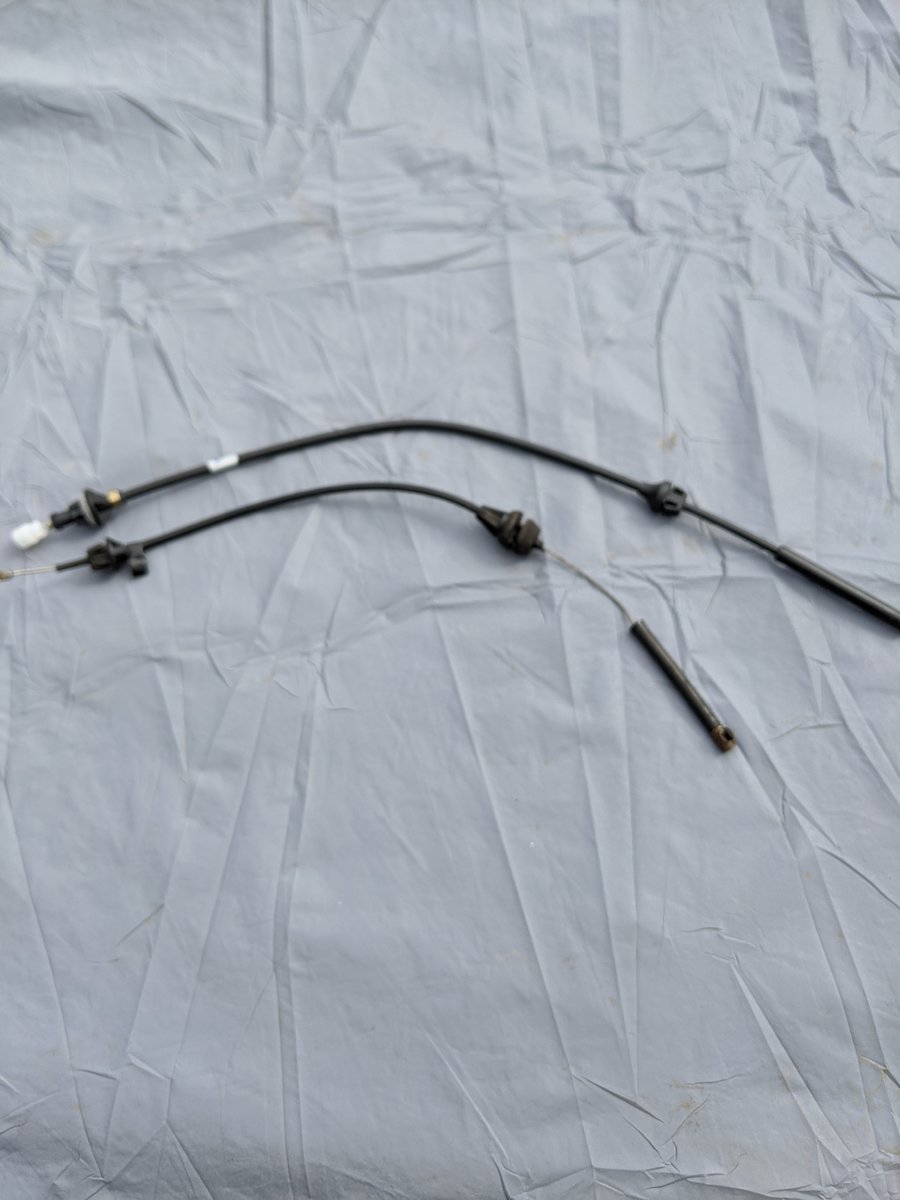
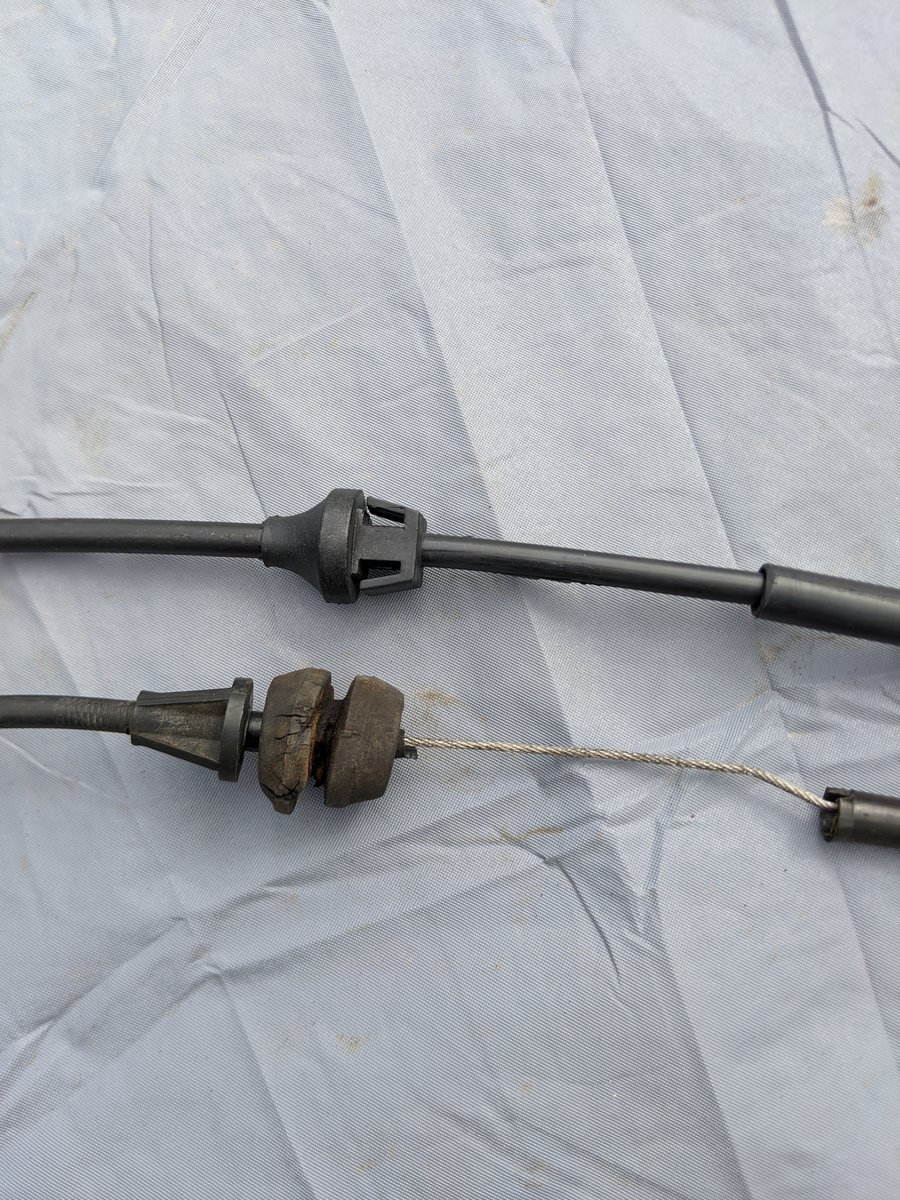
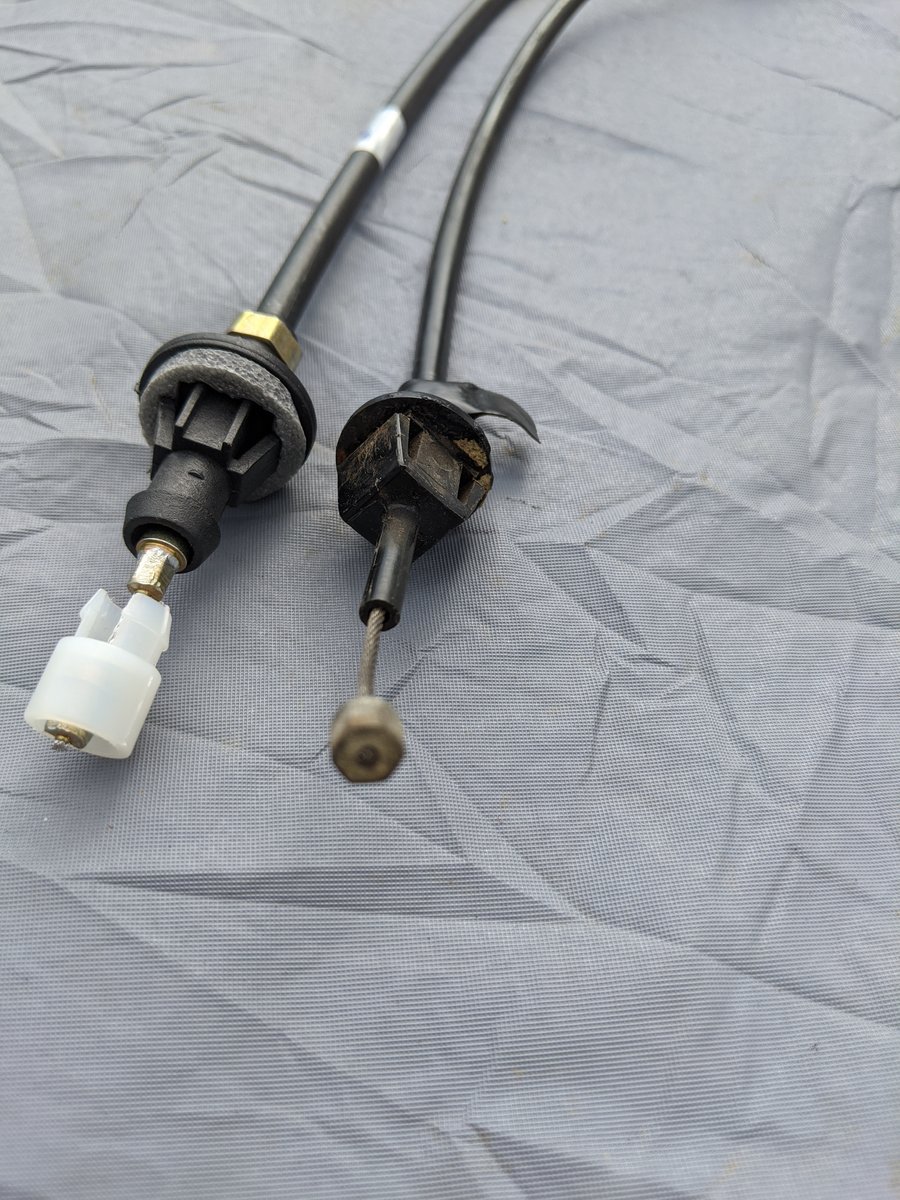
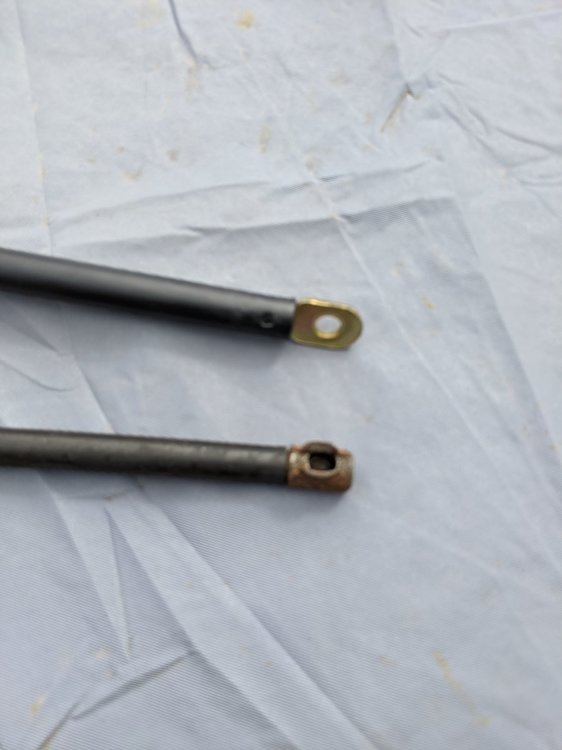
Wow Bob. So sorry, I typed a response Sunday to you but didn't finalize sending it. Ughhhhhh! Main reasons for me are... Longer cable More positive retention at the carb bracket (which will need to be replaced also) as compared to the stock rubber slip on design More positive retention at the carb. (Need to change from stock ball style to stud style.) With the stock style cable, in some situations/set ups it is too short. The longer cable let's you use just about any set up. (Intake/spacer combo) Plus, it's new. Lol Photo- 1- comparison of new cable (top) to old (bottom) lengths. 2- cable retention at carburetor bracket 3- cable retention at the carburetor 4- the part that goes through the firewall to gas pedal 5- the 2 "things" that need to be trimmed, filed, grinded, cut from both sides of the g-body cable for it to lock into the firewall. 6- after modification Before installing the cable through the firewall, slice/cut the white bushing from the gas pedal side and remove from the cable. After installing the cable to the firewall, pull the cable through the hole in the gas pedal bracket and reinstall the previously removed bushing. Then snap the bushing into the gas pedal bracket. 7- new cable installed and secured. All fluids done, gauges installed MSD installsed. Just got delivery of the fuel fittings and lines. Probably tomorrow's project and then fire up! Lol


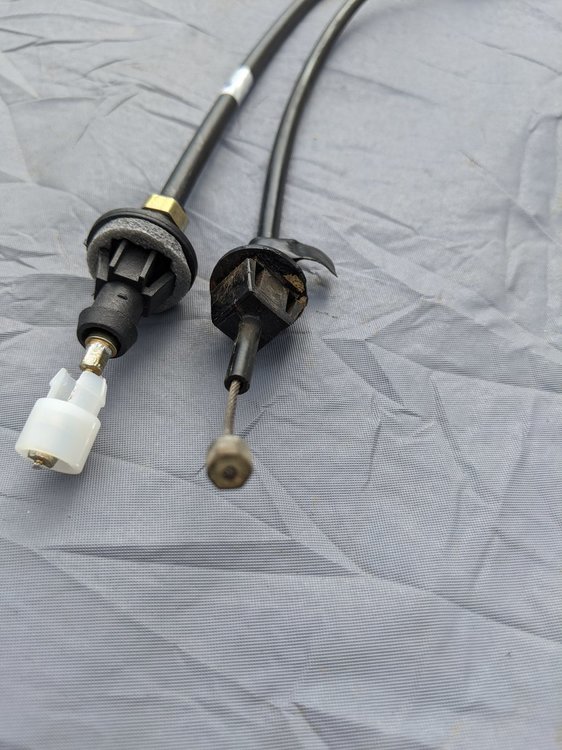
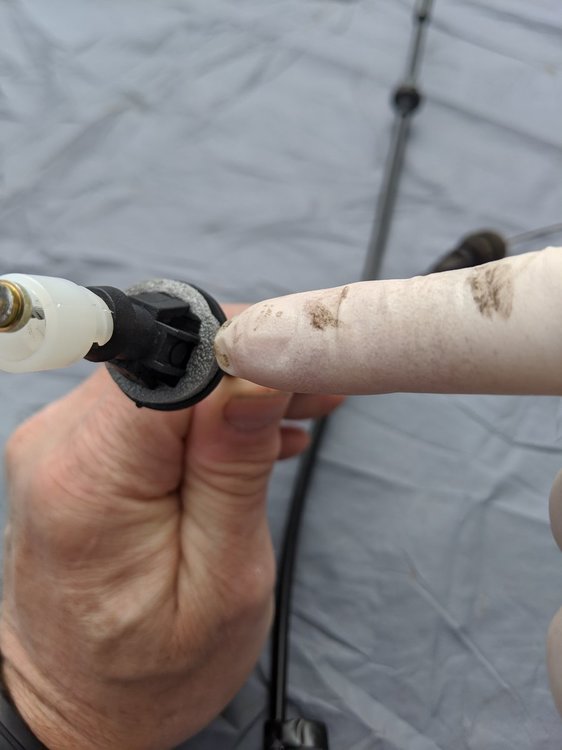
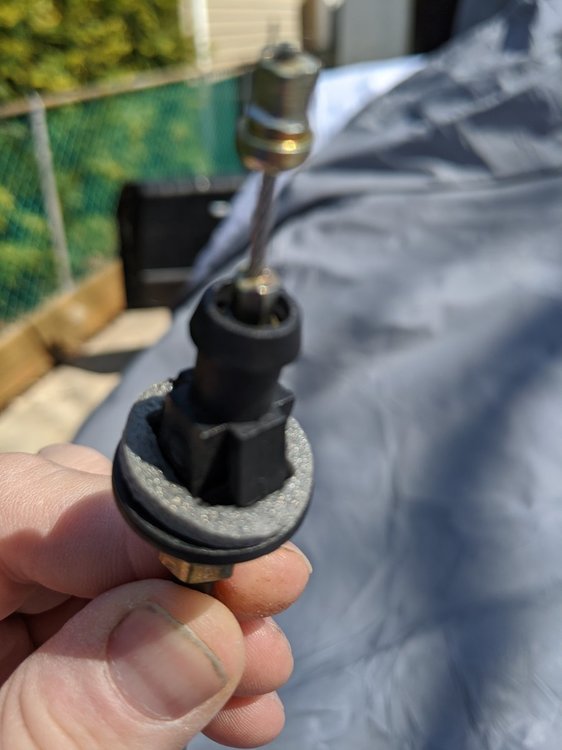
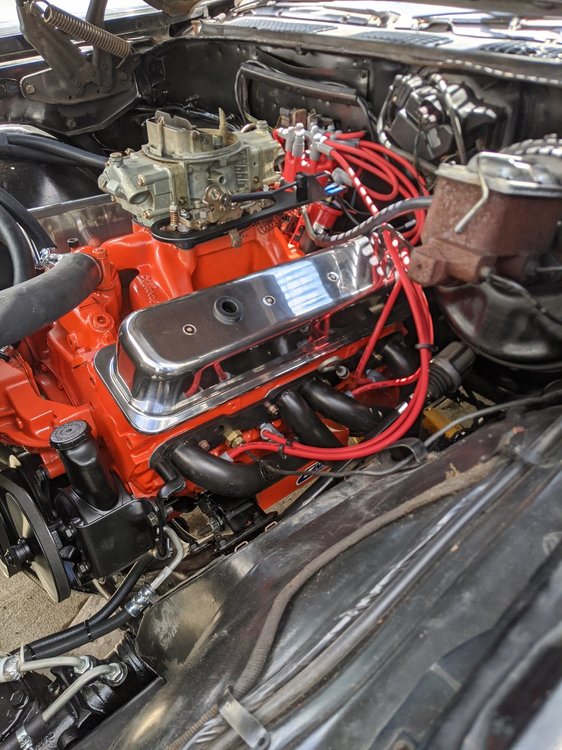 1 point
 -
If you need rear window channels, or the front top channel, we can help - we sell a lot to the First Gen Monte restorers. www,beldenspeed.com/rust-patch-panels1 point

.jpg.cacd426c65bbb53e8736d759e8d0c5b7.jpg)