Leaderboard


Popular Content
Showing content with the highest reputation on 05/14/2023 in all areas
-
Happy Mother's Day to ALL the moms out there!!!! Hate to say it, Dennis is right without them we wouldn't be here!!!6 points
-
On Ebay, not a fan of some of the mods but it is interesting https://www.ebay.com/itm/115803273965?_trkparms=amclksrc%3DITM%26aid%3D777008%26algo%3DPERSONAL.TOPIC%26ao%3D1%26asc%3D20230105140155%26meid%3Ddb2ea8d023444053a845ba81e985ee28%26pid%3D101666%26rk%3D1%26rkt%3D1%26itm%3D115803273965%26pmt%3D0%26noa%3D1%26pg%3D2380057%26algv%3DRecentlyViewedItemsV2&_trksid=p2380057.c101666.m5481&_trkparms=pageci%3Ae0e4a879-f23a-11ed-af83-96c72f0d174c|parentrq%3A199edb461880a44c2b5aaf73fffbecce|iid%3A1
 4 points
 -
So you are saying you hate to admit Dennis is right? rob3 points
-
Nah, I've tried to search a few times over the years for the p/s reservoir info. This one won't be keeping me up at this point.3 points
-
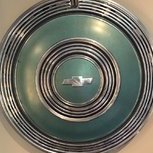
0 to 90 oms is the range from empty to full2 points
-
https://nsra-usa.com/rods-spectators-east/2 points
-
And to all the mothers of our members. Without them the group wouldn’t exist.2 points
-
I love to keep a thread going with my “wrinkles “. Keeps Joe up at night. Lol. It the “ CN” scenario all I’ve again.2 points
-
Good luck with that. I purchased a factory duplicate because an OE is no longer available it didn't work great, I used a couple from advanced auto didn't work well either. I suggest whatever you go with test it in the tank while empty then half full then full. I just tested mine with it empty and quater tank and figured it was good, it wasn't so next time I do it I will test ot the other way. I guess the arms need to be bent sometimes on the aftermarket units. I am getting tired of removing my tank but at least I'm getting pretty good at it 🤣2 points
-
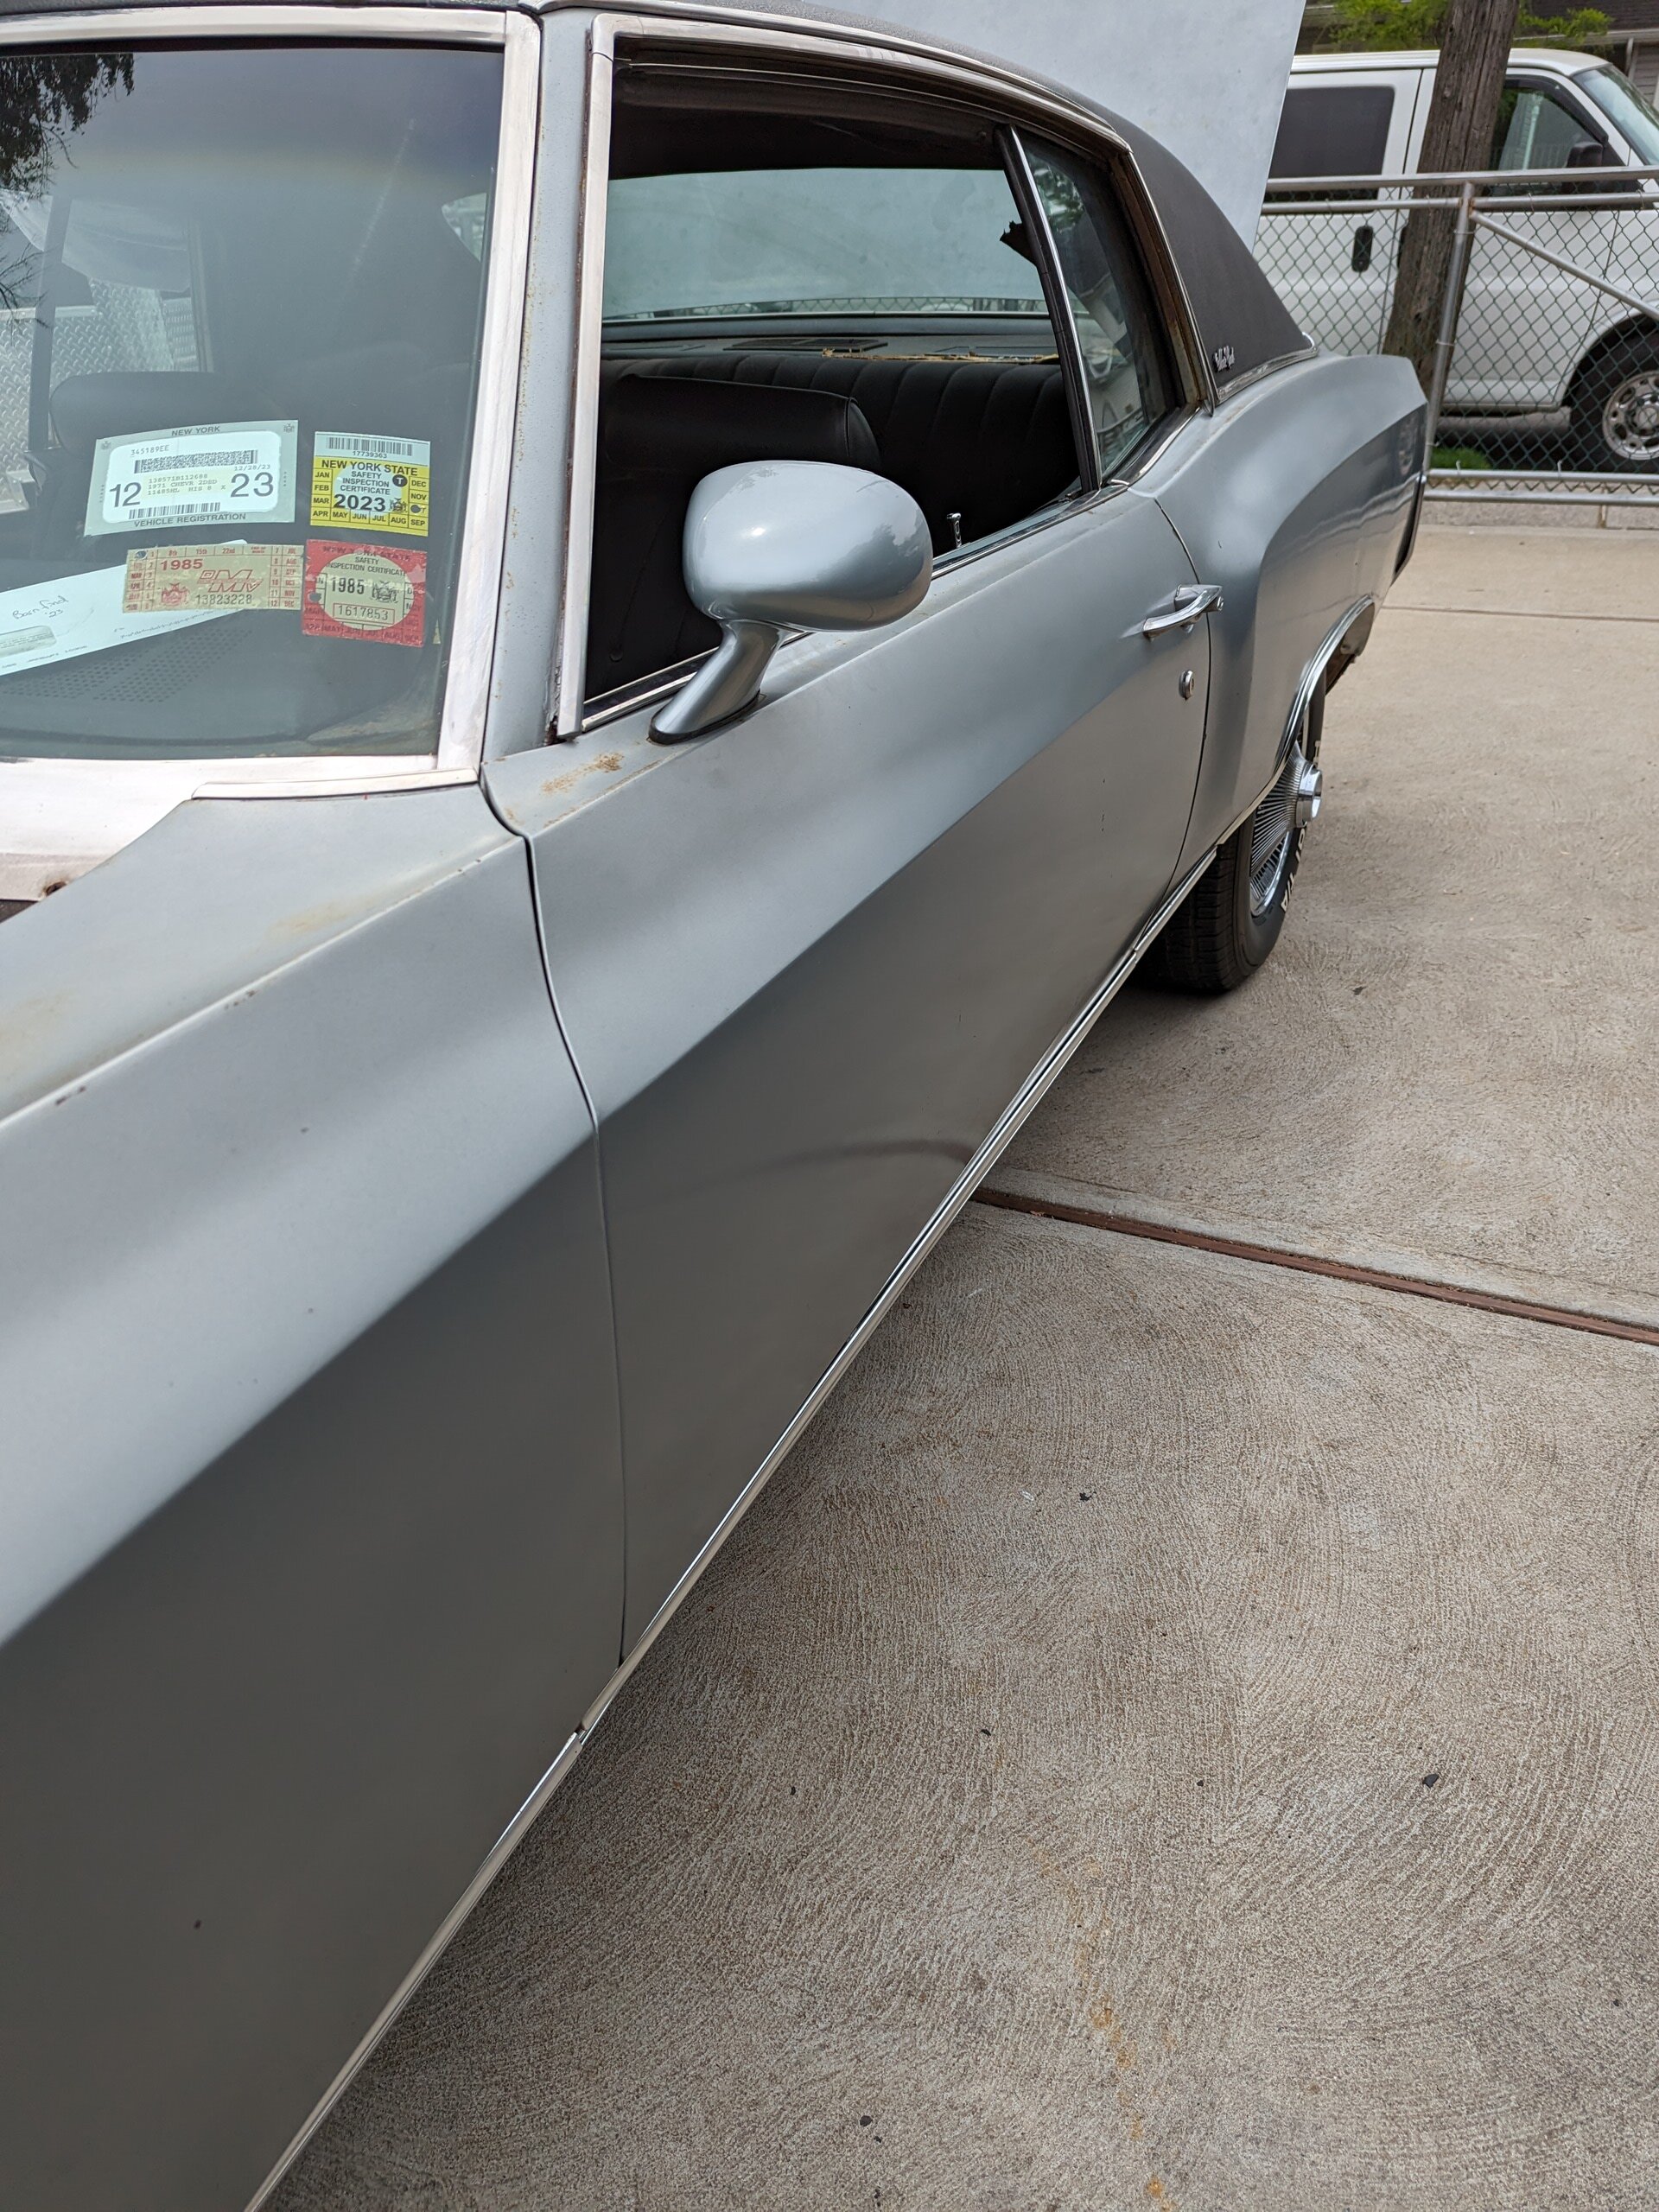
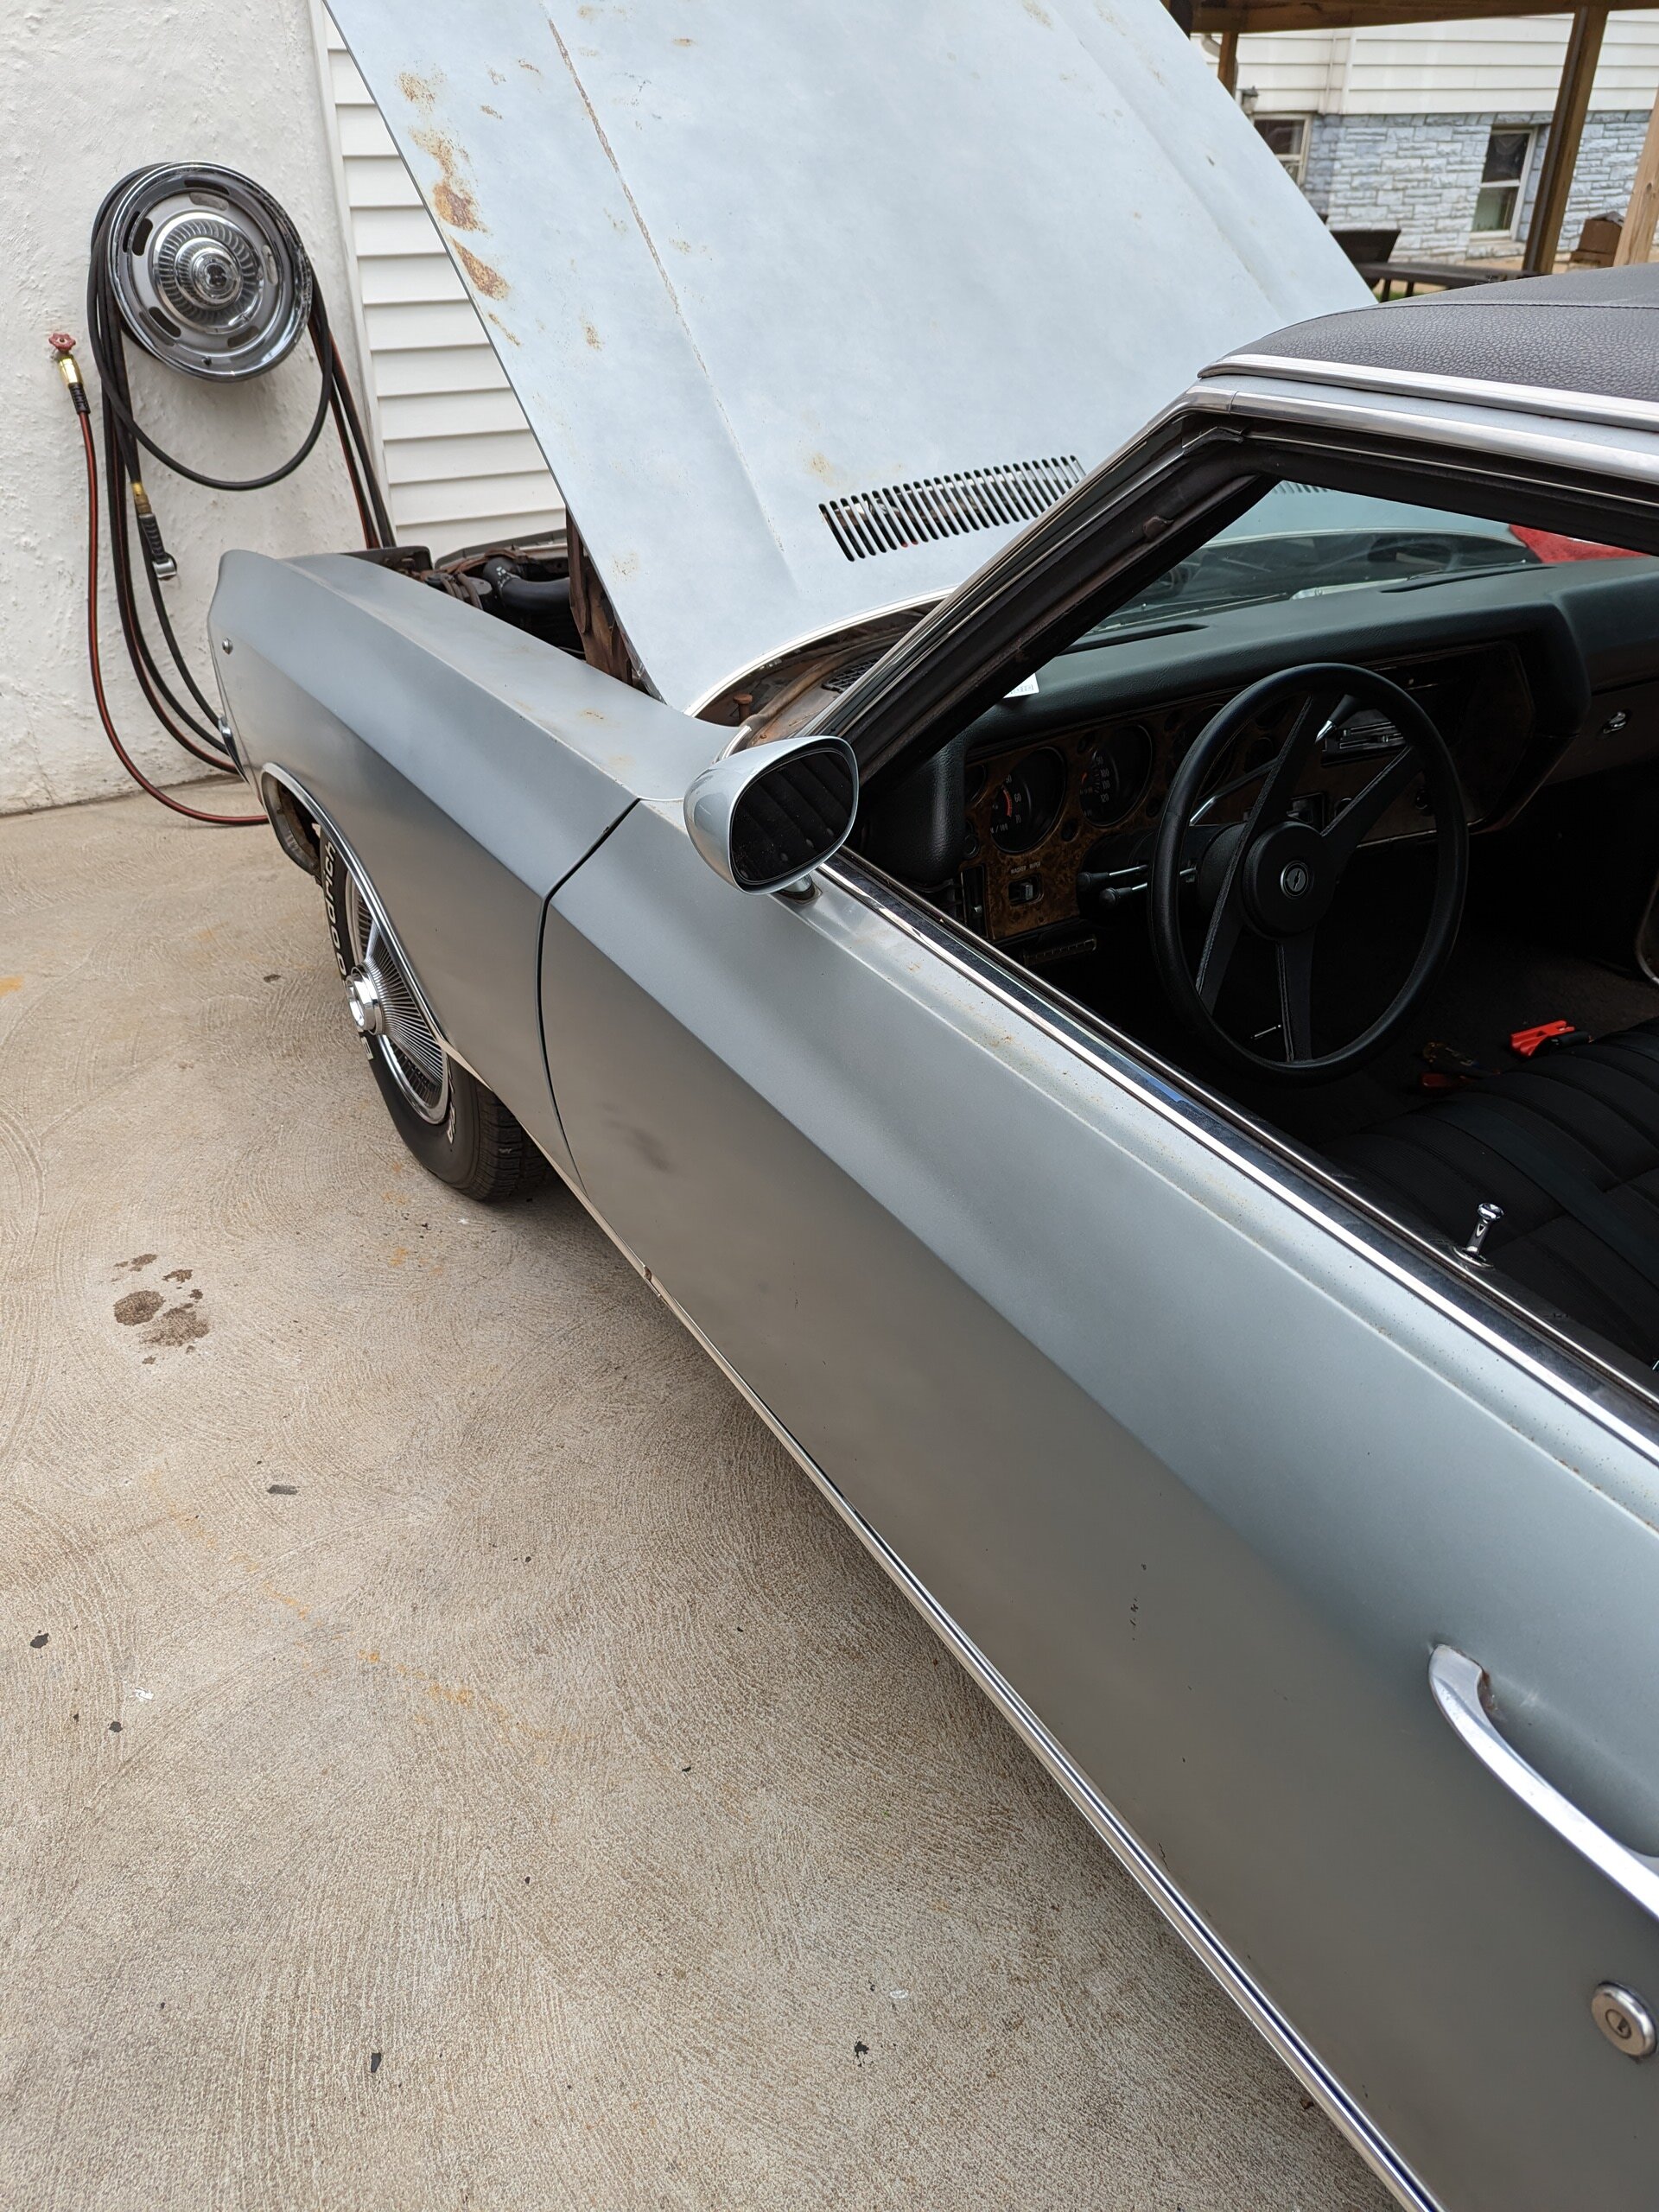
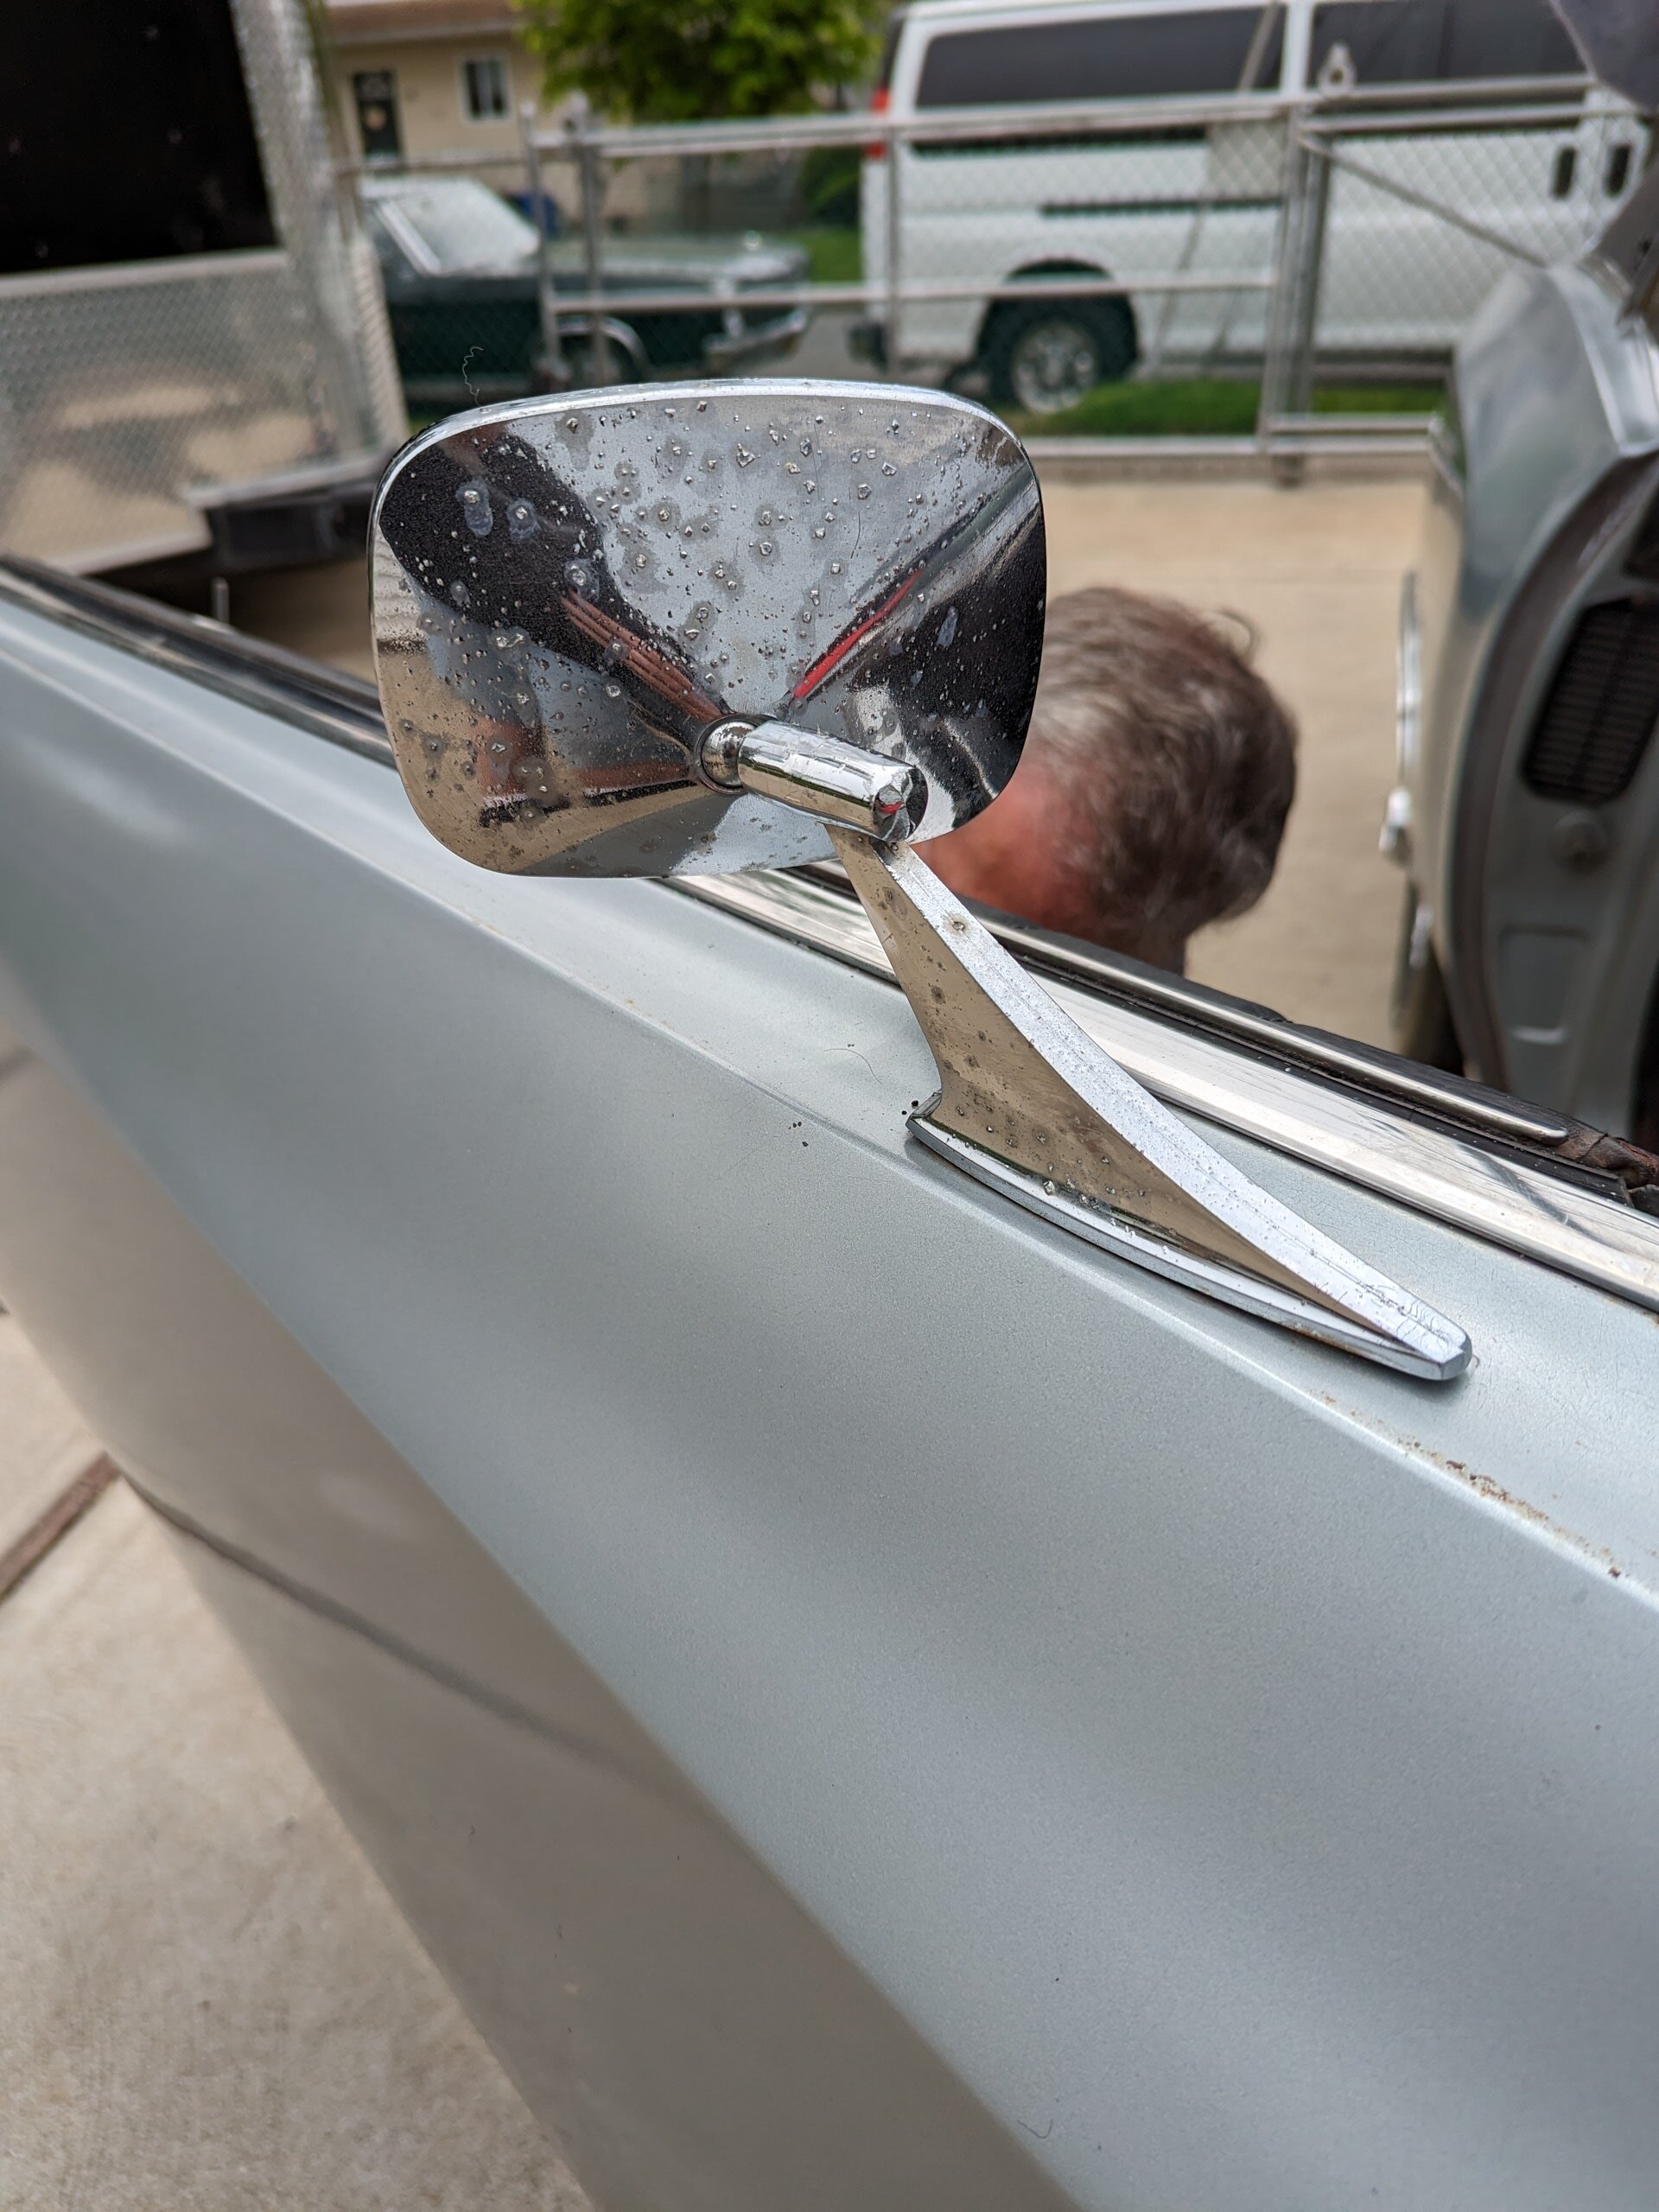
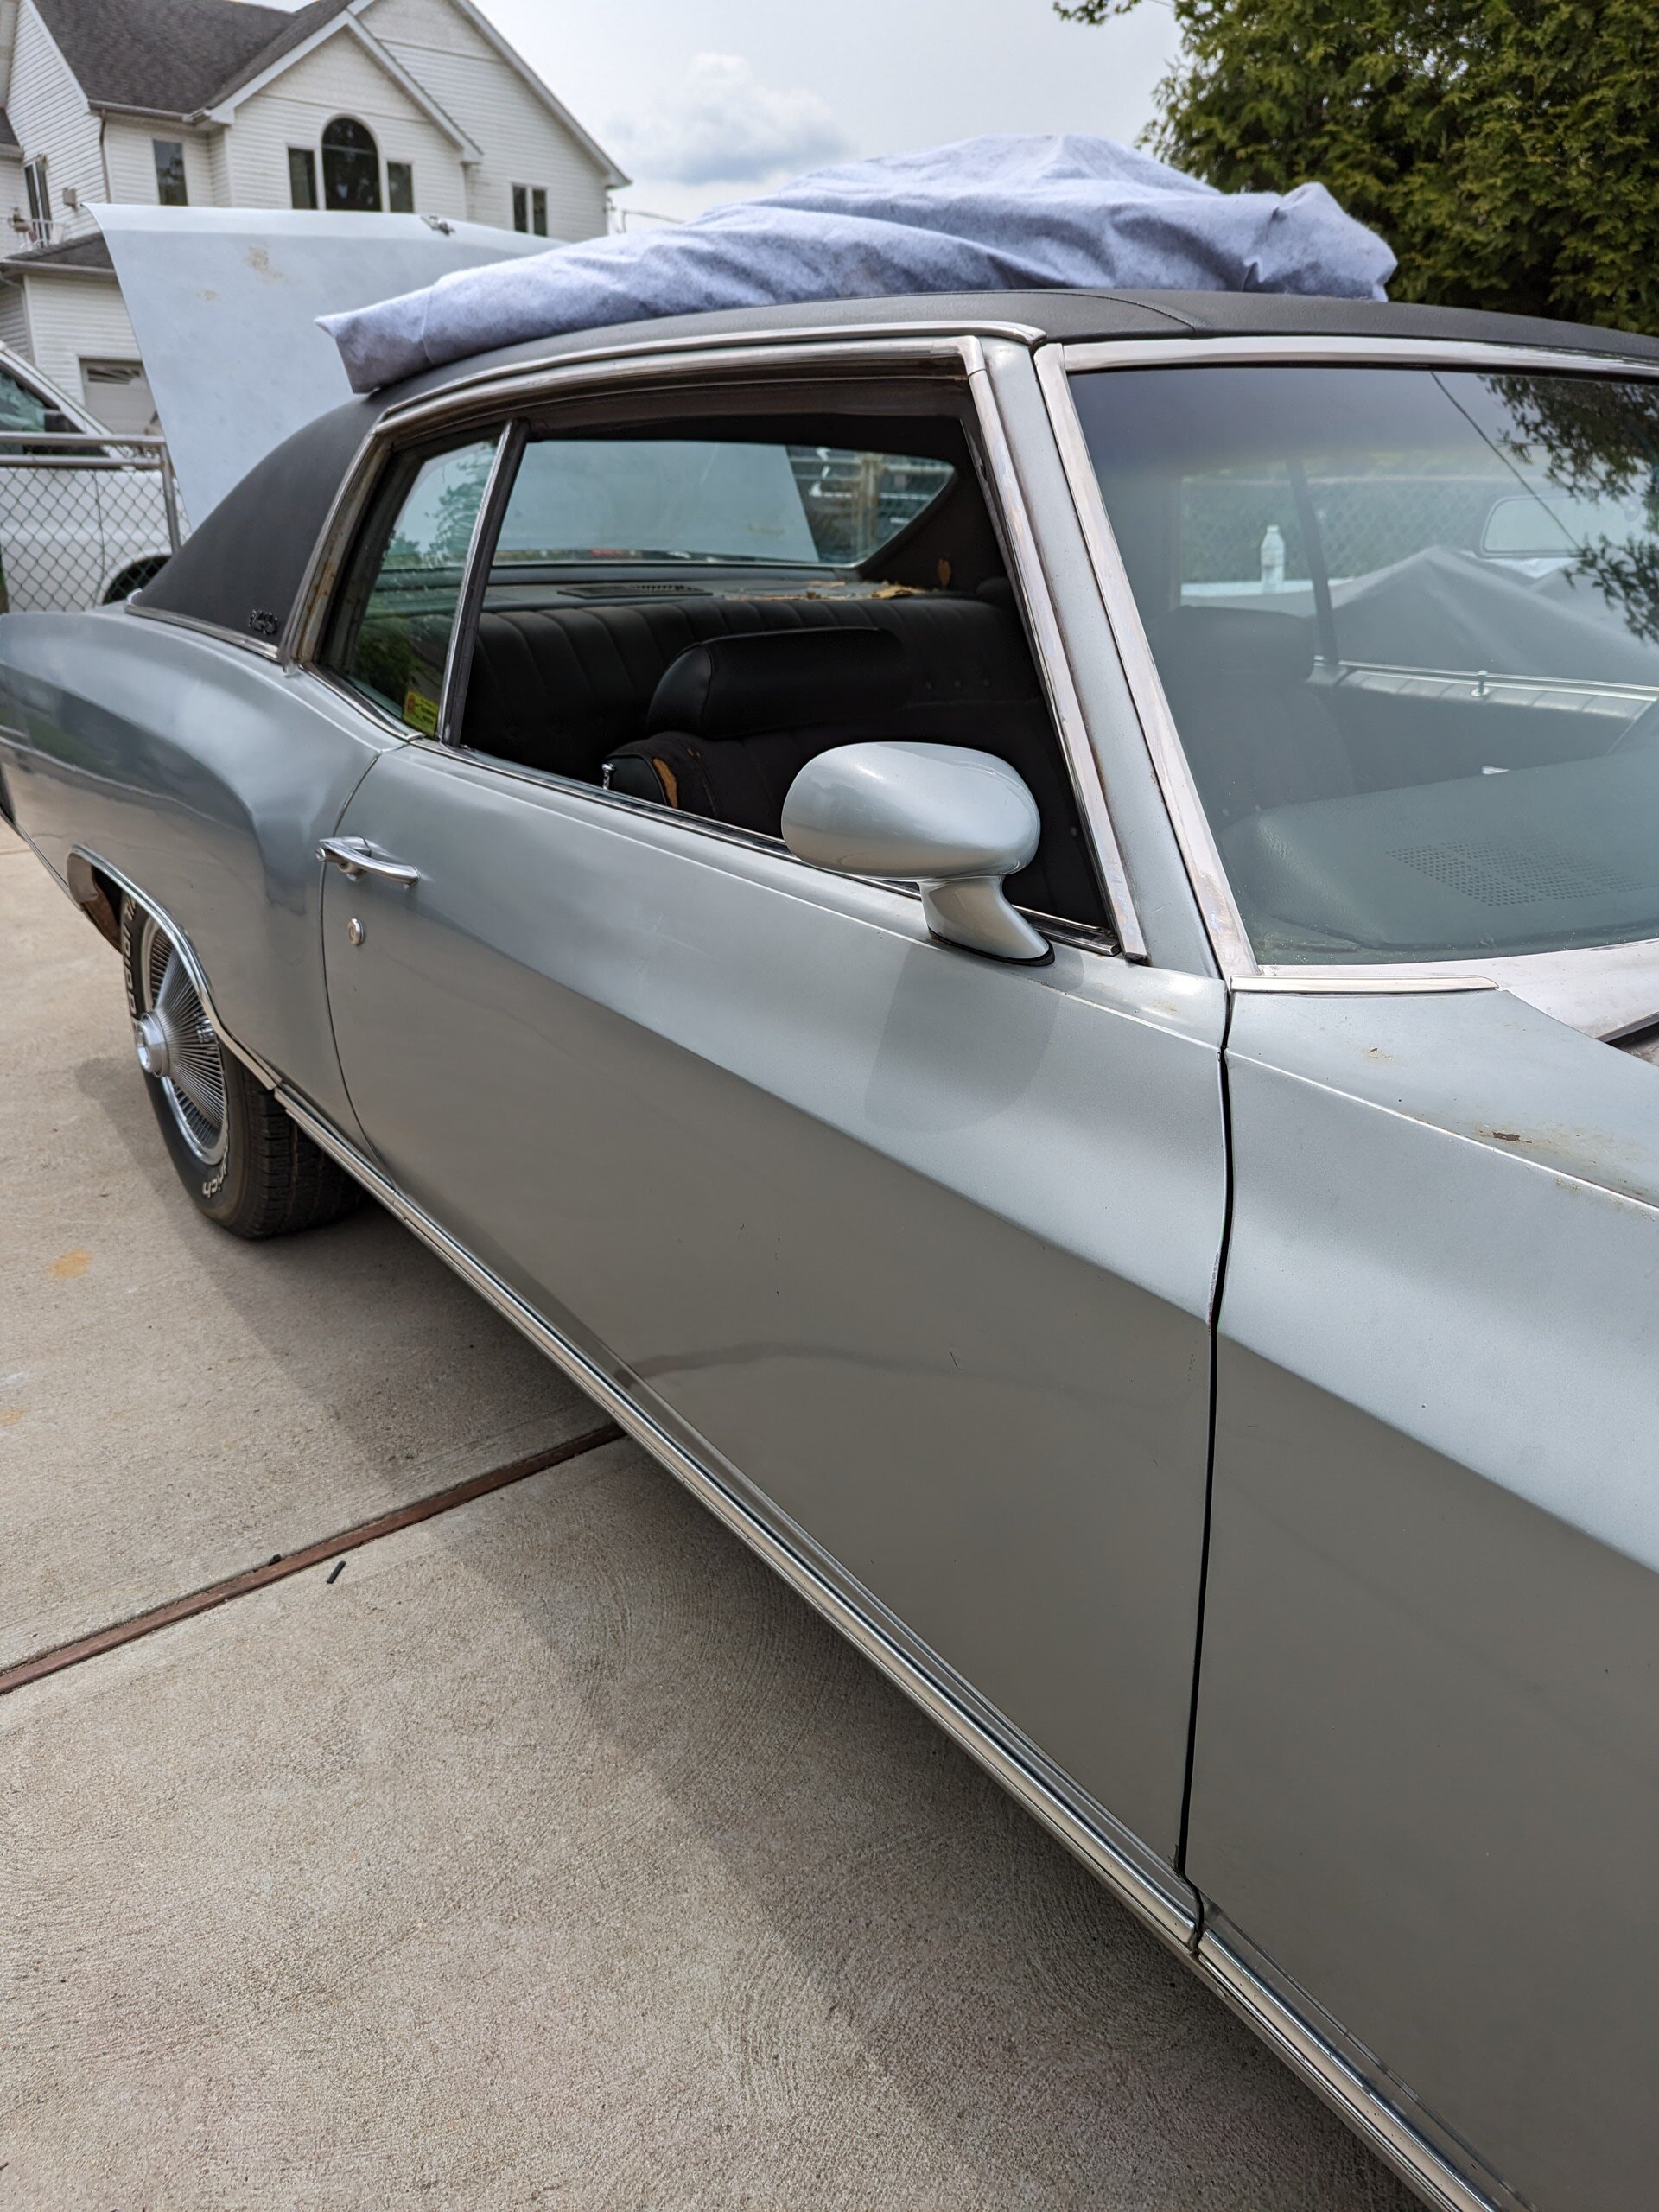
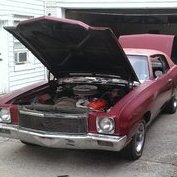
So, as you can tell "Barn Find" has been sleeping for a looooooong time. WELL, she's awake! Lol. Found her in a slumber in a garage with a 71 SS454 Monte Carlo, a 69 GTO rag top and a 70 SUPER BEE! She fired right up and was eager for a ride in the fresh air. Got her to our place of repairs (Kevin's house) and immediately took inventory of the trunk full and back seat full of parts waiting to be installed. Started off with putting the latest, greatest updated registration sticker in the window. Lol then installed the 2 sport mirrors I painted a few days ago. The original drivers mirror was literally black in the center portion of the lens and the passenger side was old, crusty and just wrong. Lol. Also lubricated the window regulators and motor while the door panels were off. OMG what a difference! The windows go up and down like lightning compared to how they were. Lol


 2 points
 -
Happy Mothers Day to our members who are Mothers. Gave a wonderful day! rob1 point
-
What 71 ? 😂 All I can see is a girl in a bikini !! But then again my eyesight is not quite what it used to be !!1 point
-
I wouldn’t want to admit it either. And it’s me. Lol.1 point
-
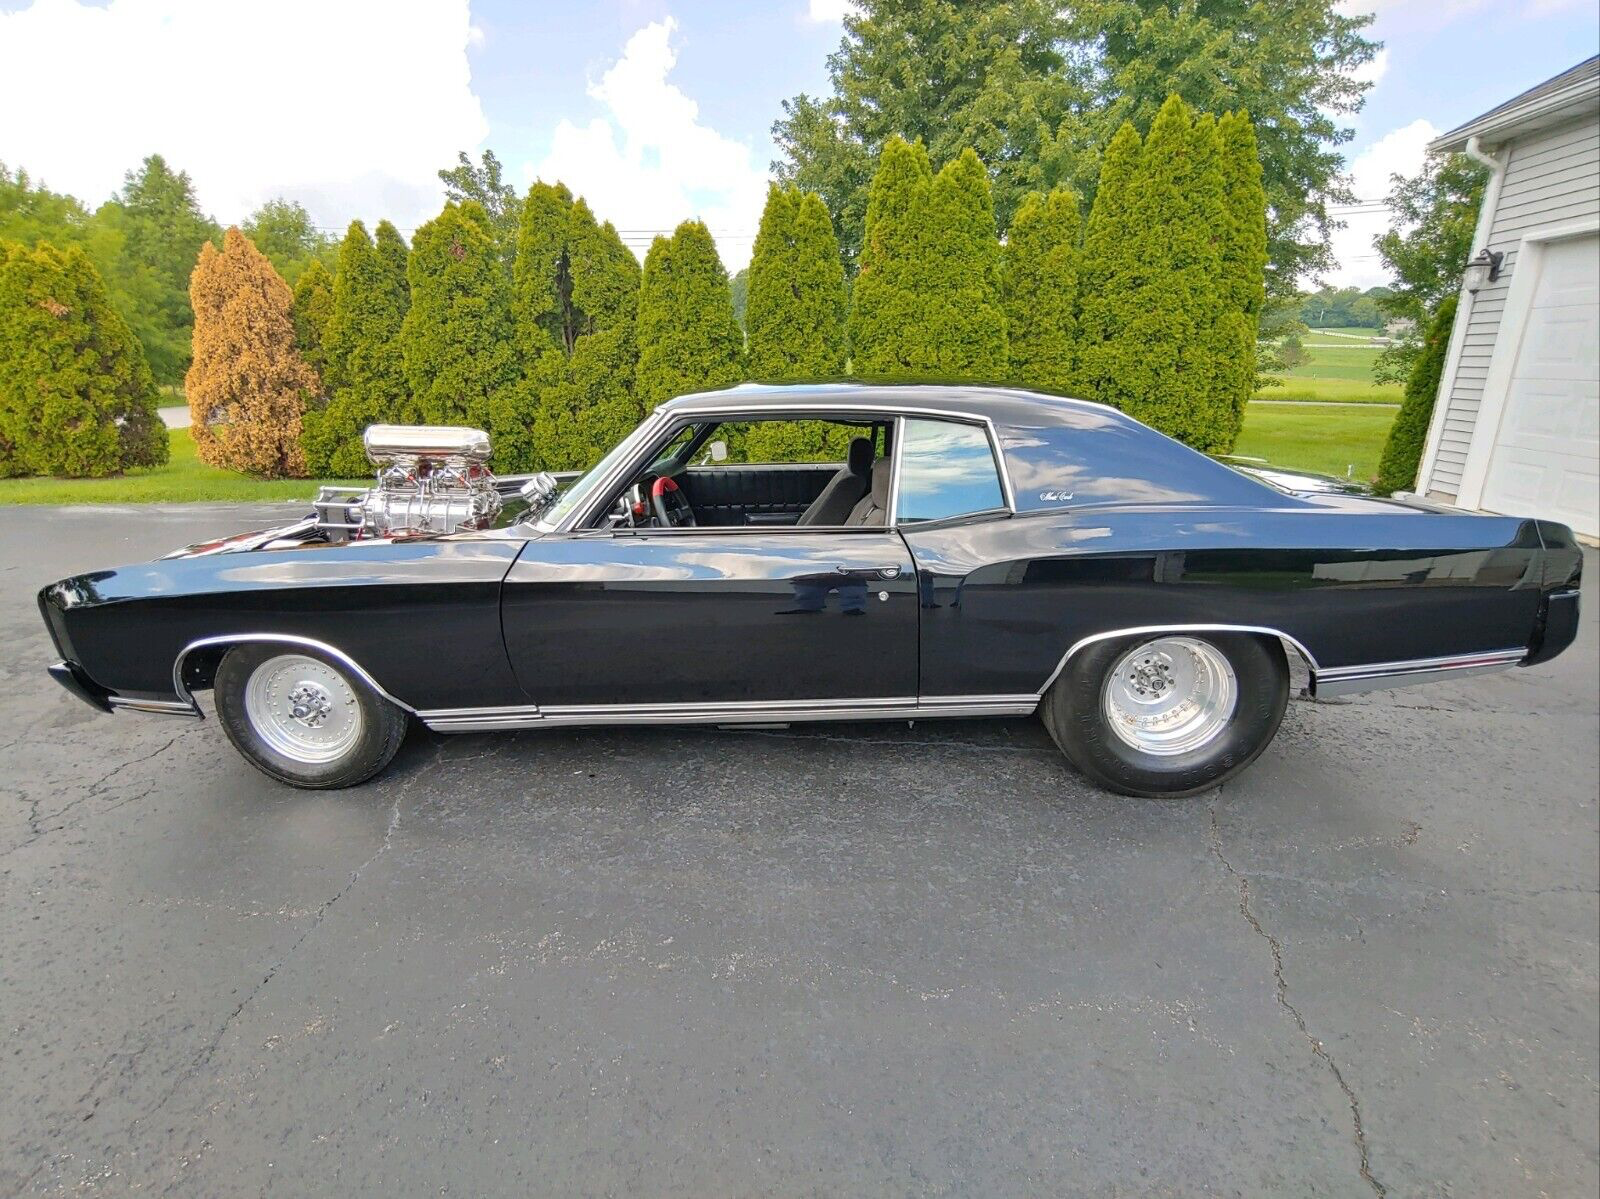
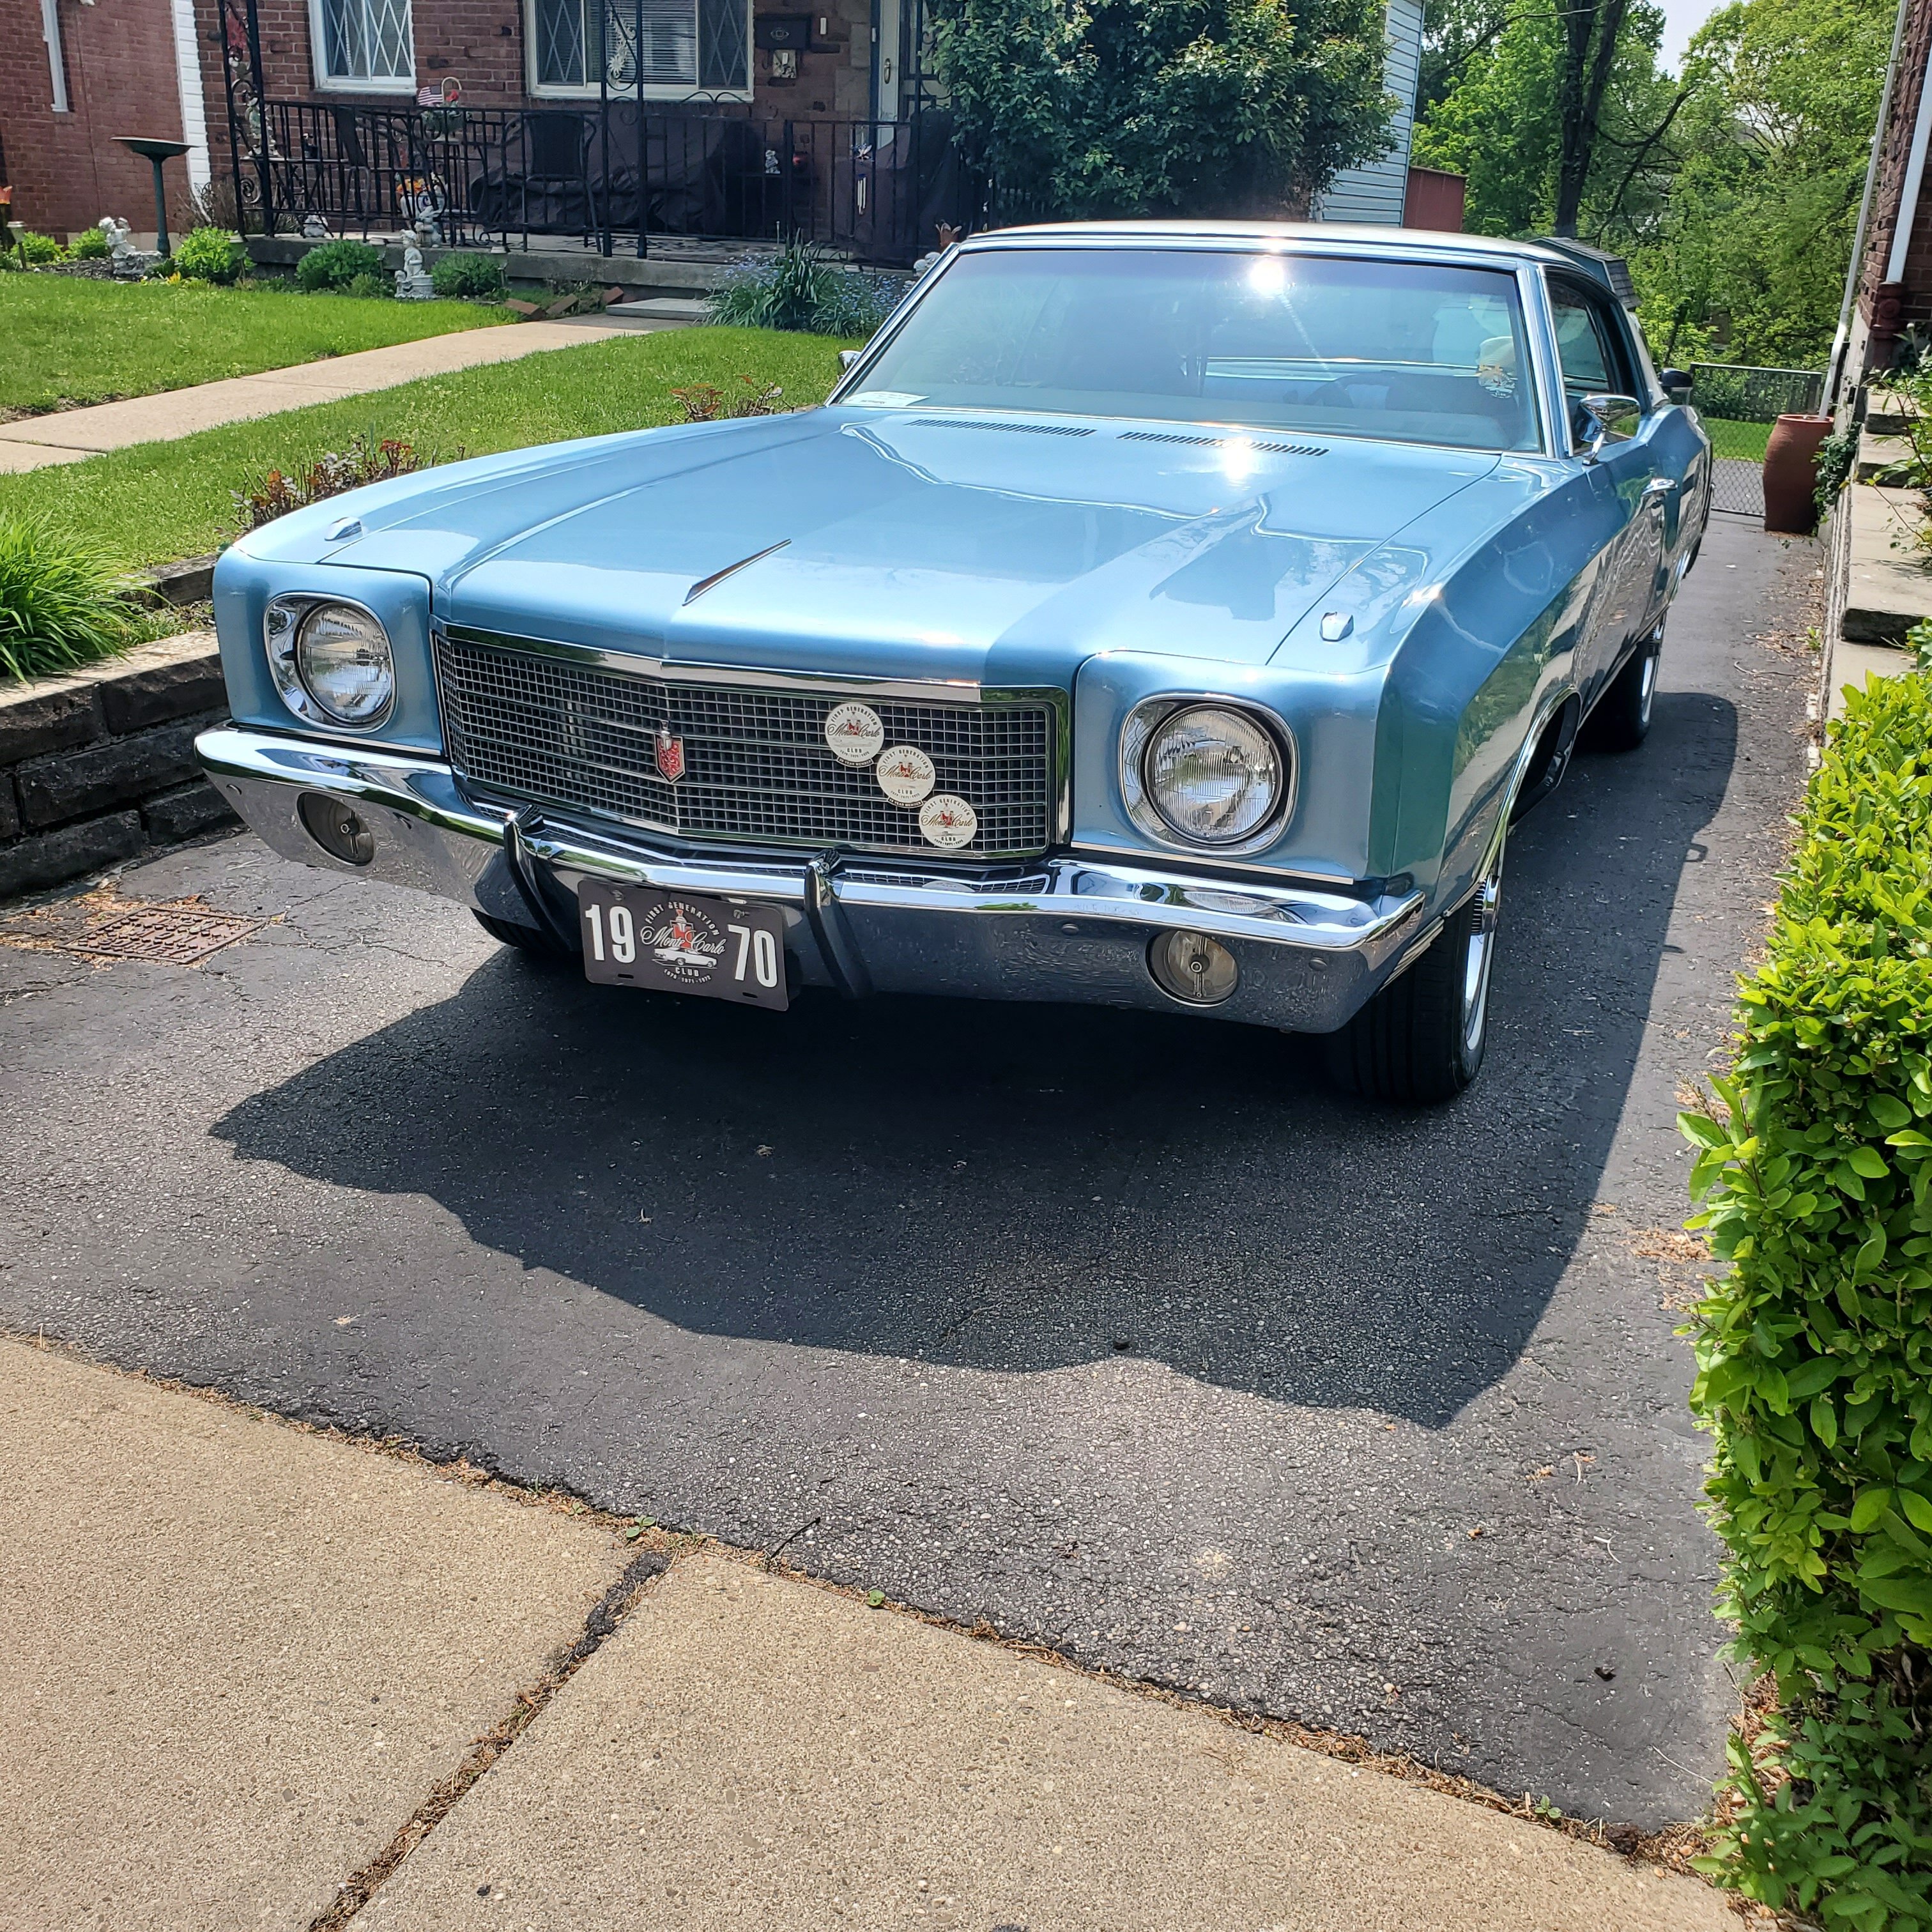
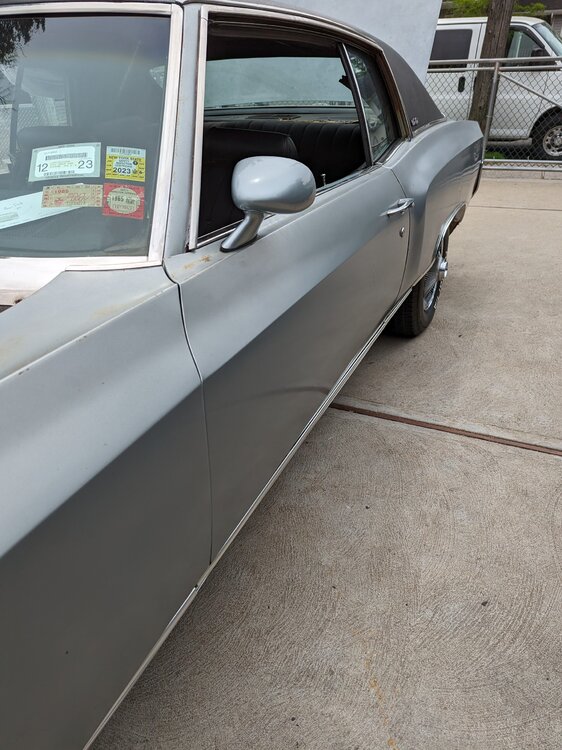
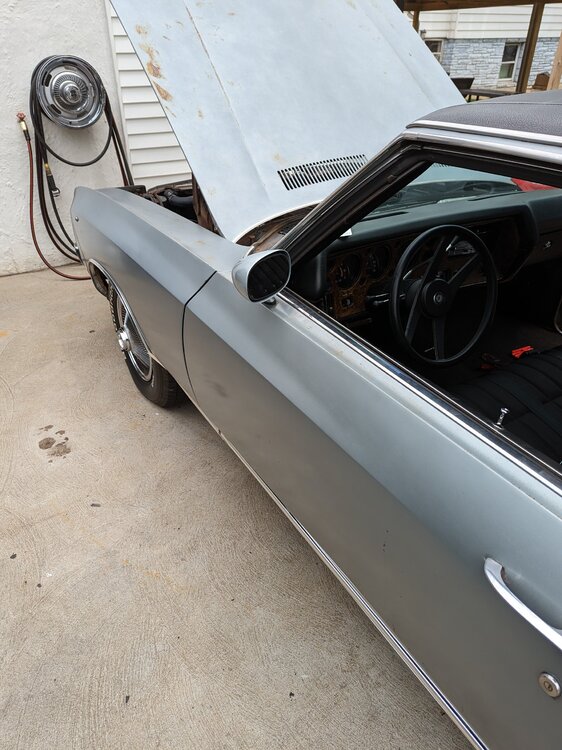
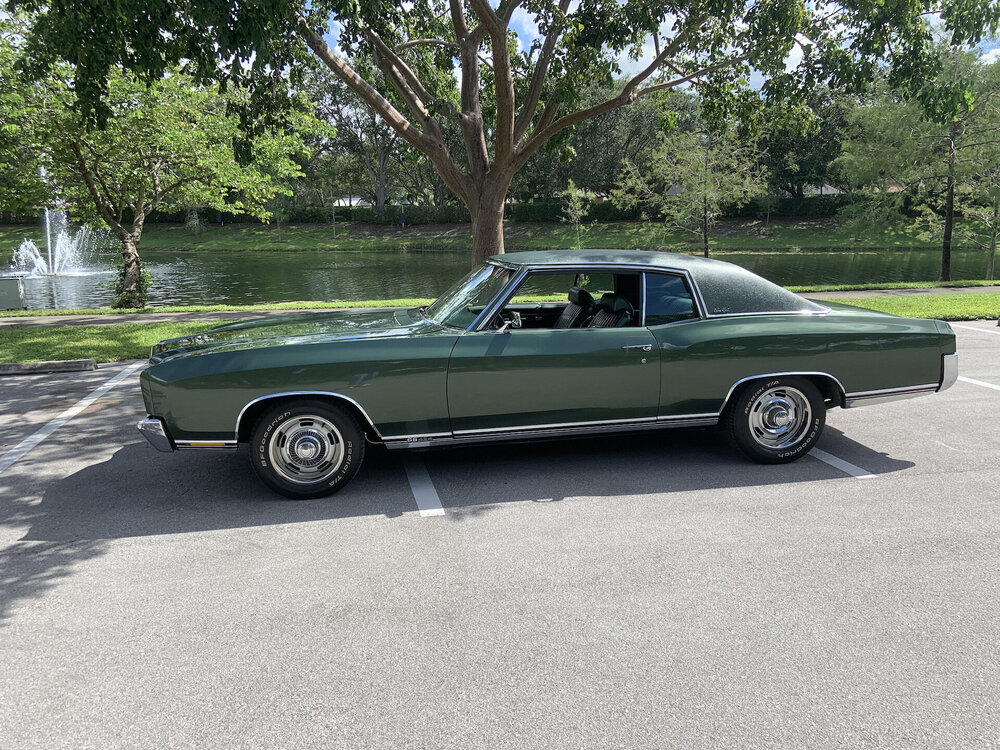
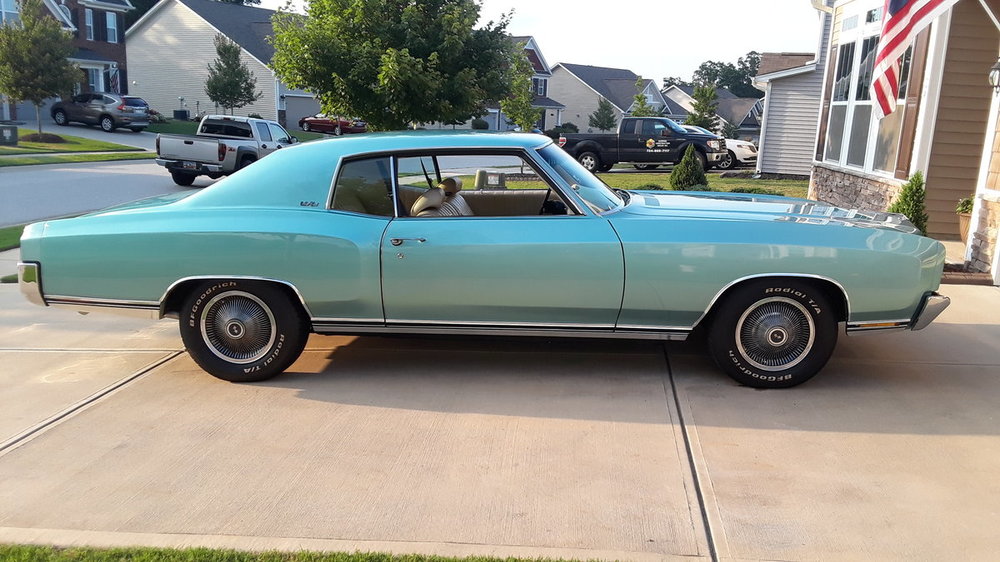
I’m not a fan of the chick doing pretty much the identical pose in both pictures. Plus a bikini would’ve garnered a lot more attention. Observe my ‘71…
 1 point
 -
The wiring for the console and the small one is the console extension?1 point
-
Joe doesn't sleep anyway Dennis, so you will not be keeping him up!! However, you might be keeping him out of the hot tub?????? lol1 point
-
Yes happy mothers day to all the moms out there. I'm lucky I get to spend the day with my mom and brother and sister. Doing a cookout at my brother's house.1 point
-
Nice i Love the sport mirrors!!!1 point
-
Very nice.1 point
-
Carl, i agree with Joe. You will have to lift the body up off the frame about 5-6 inches in the rear to get the pre made lines in place. Not sure how bad your lines that you want to change are, but i dont suggest piecing them either. Depends on what your plans are, meaning if you plan on cleaning and painting the bottom floor pans and frame, take it apart. If not, make your own lines for now, then when your ready do everything. This snowball is up to the cars shape and what you want out of her. Good Luck and keep us posted! I remember when i restored mine i forgot the lines and thats what i had to do!!! (learn by mistake) or as we say 1 step forward and 3 steps back, in my case,1 point
-
I saw the title and thought you guys were crazy, taking the Montes to a swamp. Maybe do some mud bogging? Lift kits, mudder tires, that kind of thing. Glad I read it wrong.1 point
-
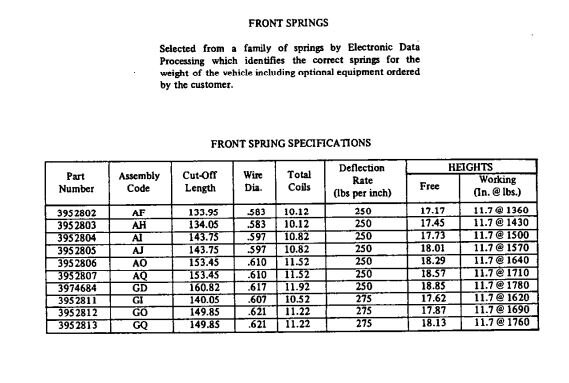
There's something in the GM heritage archive files too that has spring rates, I seem to recall. Heading out for the evening, I'll look later. You can look here though in the mean time, you may find it, or if nothing else, there's a boatload of great info here. https://www.firstgenmc.com/forums/index.php?/resources/gmheritagearchiveinfo/ EDIT: I had a couple of minutes. Here are the spring tables from the archives. Something to look at when matching spring rates against replacement springs.
 1 point
 -
Bring it on down! We ain't skeered! 😂1 point
-
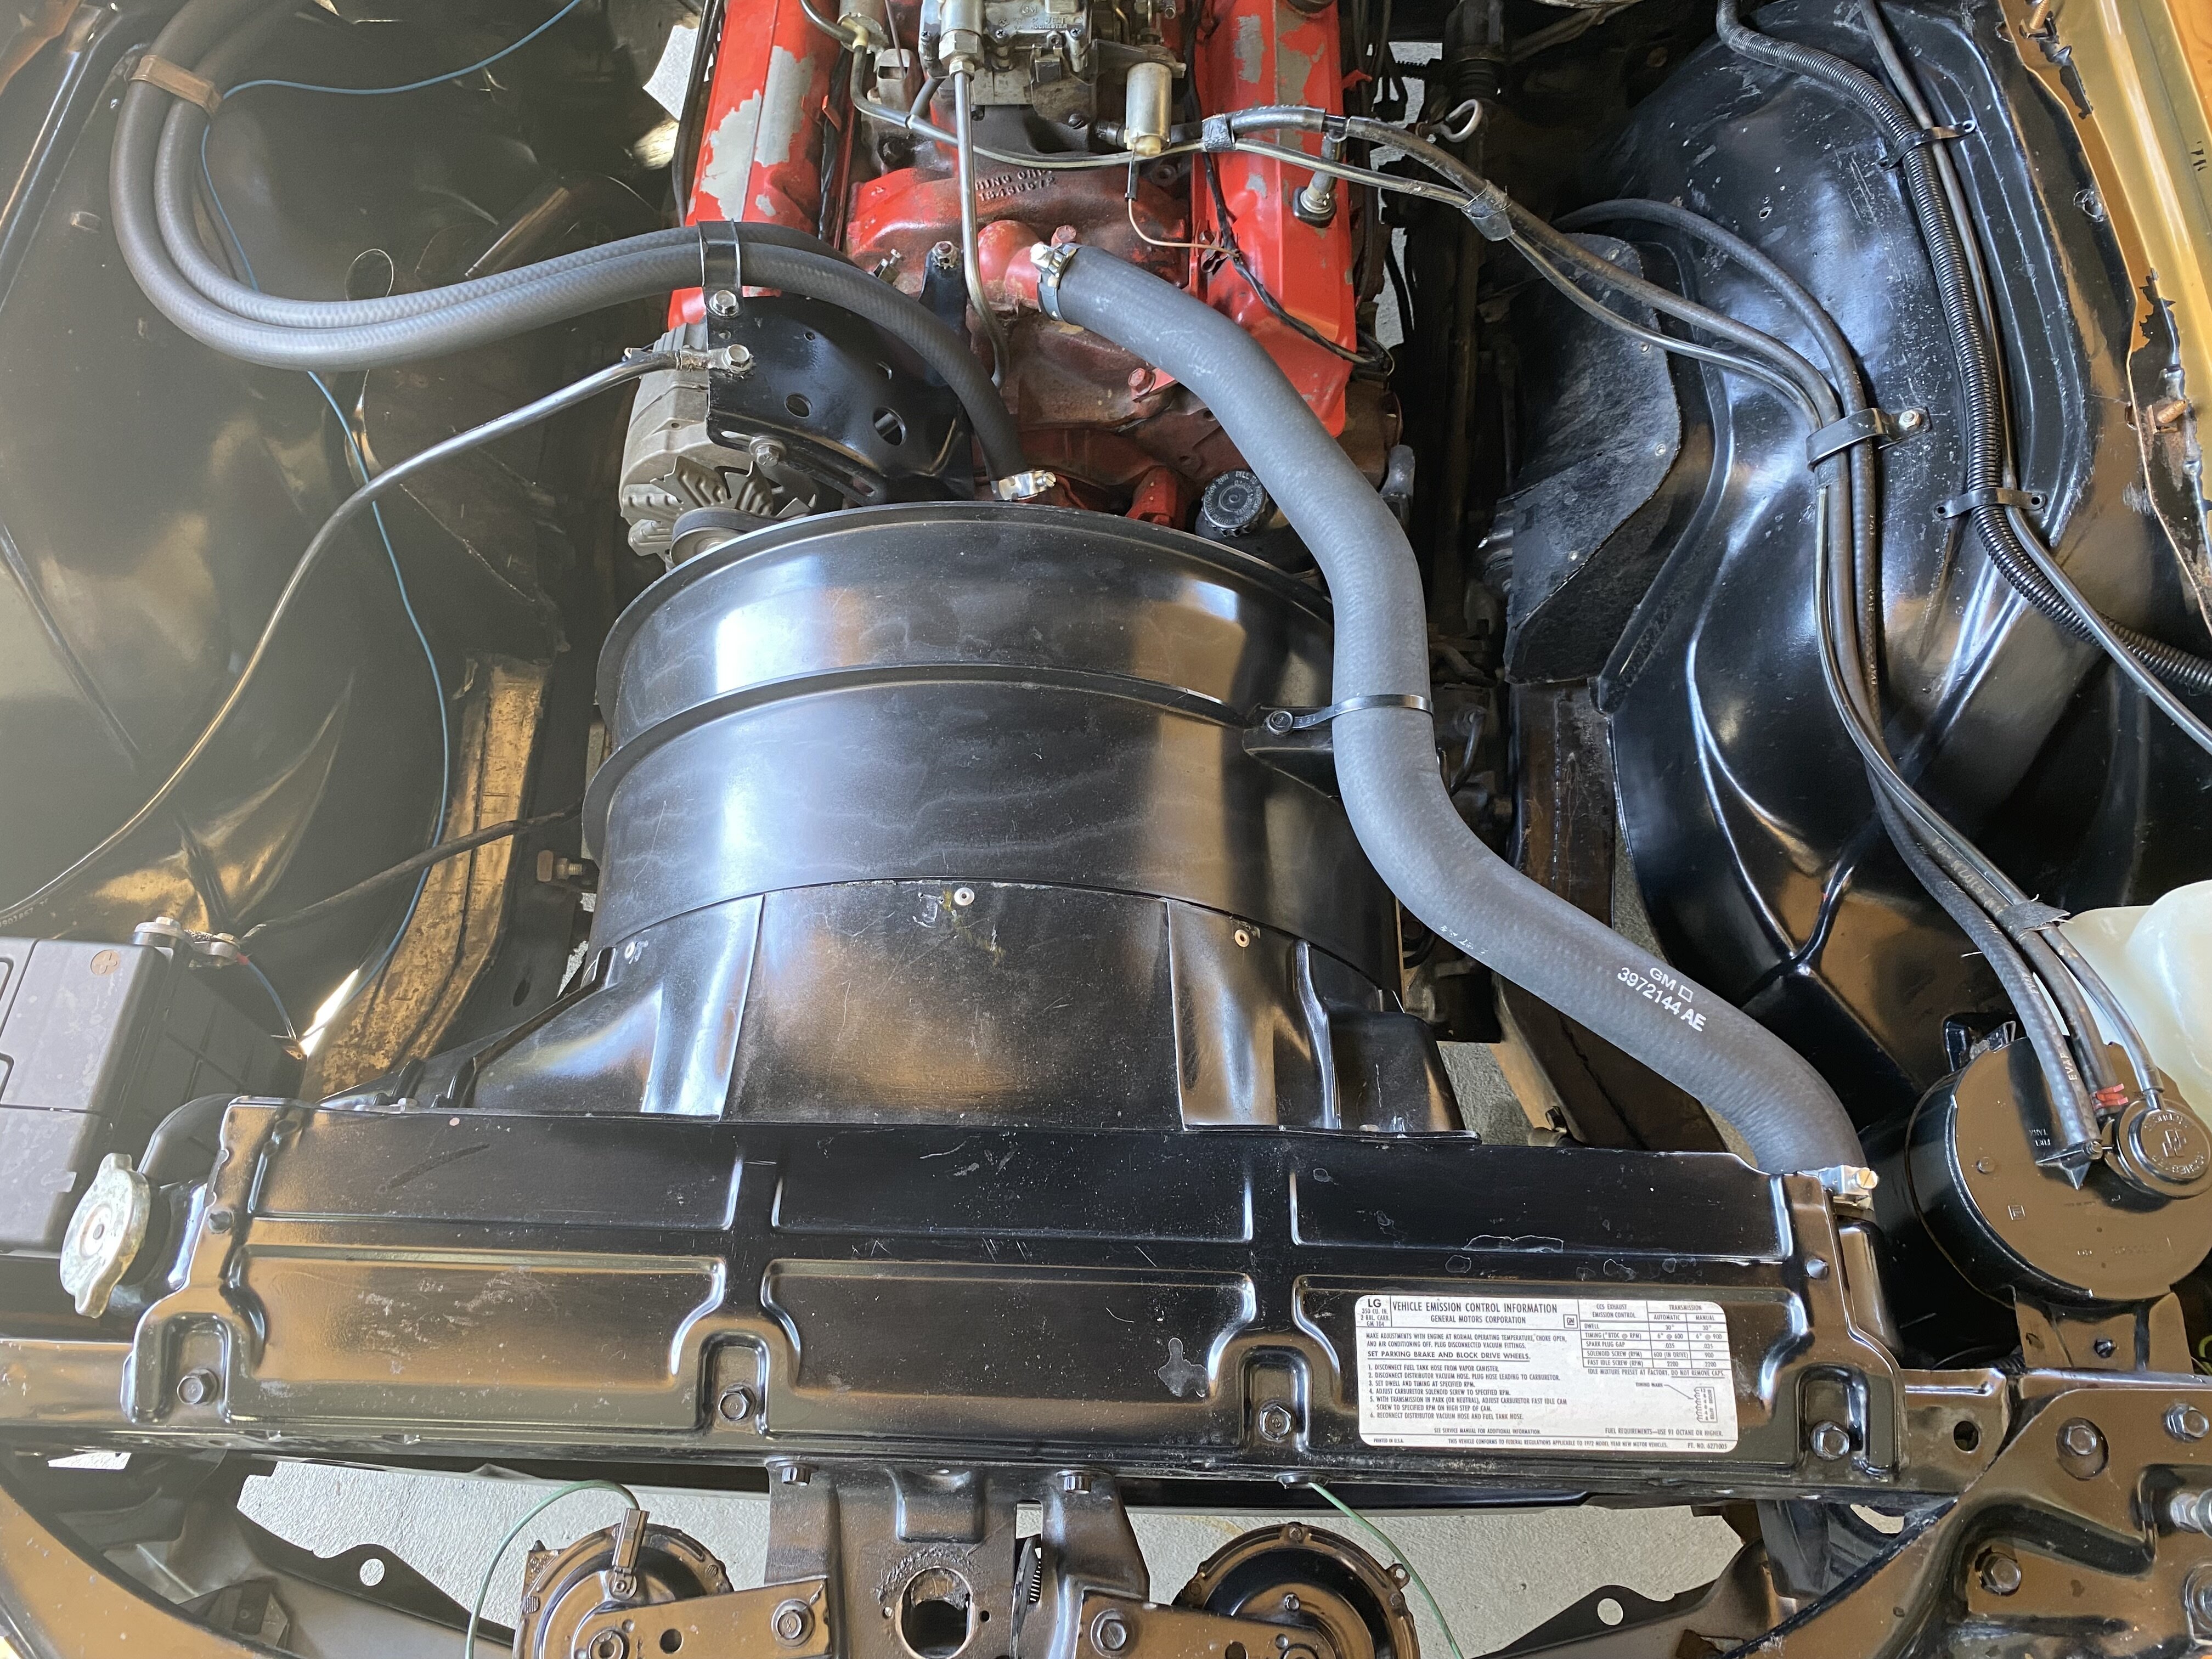
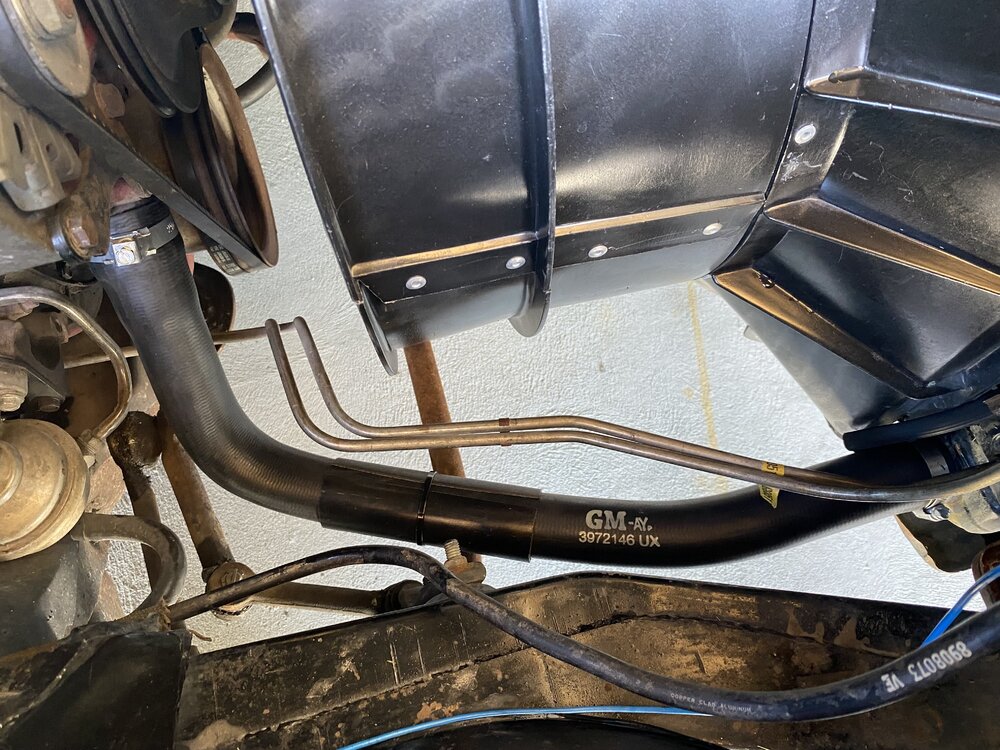
I finally broke down and decided to change the radiator hoses. I’ll keep the original hoses with the car though. I also replaced the heater hose that was a little short in my opinion. Looks better now.

 1 point
 -
Dale, I agree with Joe statements above statement. I am going to add another reason.... as much tweaking as you have had to do on that PITA POA, trying to break it free, it could be damaged and you don't want to go this far only to have to go back in and replace it if it is damaged or contaminated. Just my 2 cents. rob1 point
-
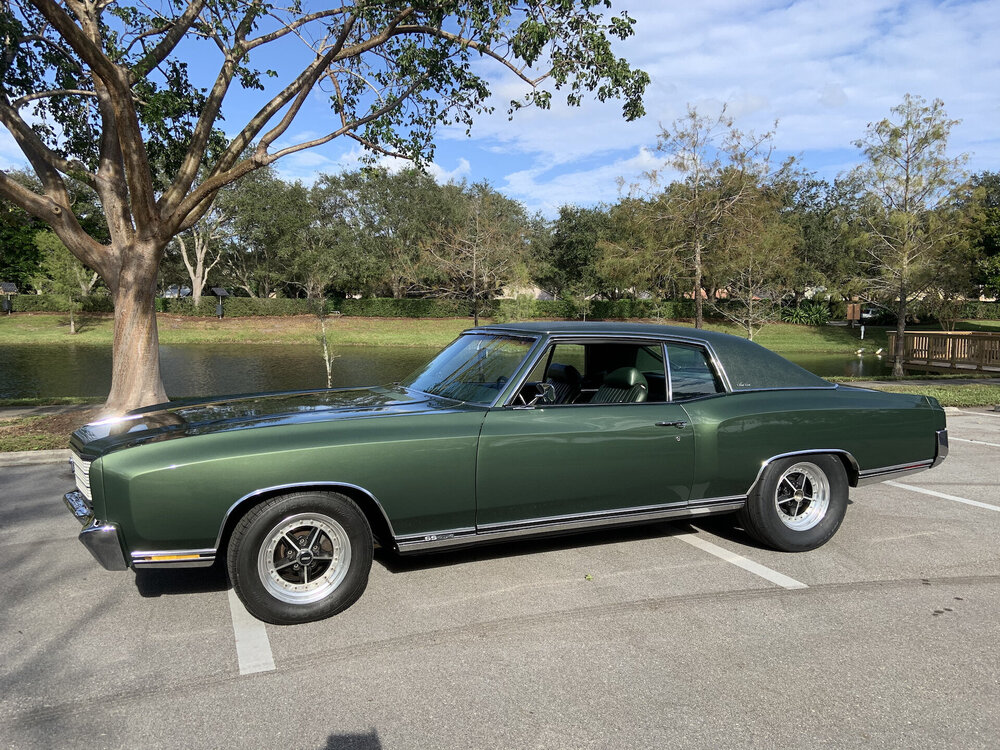
Just measured mine flat surface garage, 25 on the front is what I have... I have 60# in the shocks but I'm not saying that is factory, just my setting. Pic 1 is rally wheels BFG's Pic 2 are aluminum racing wheels drag radials rear. BB,AC,no load leveler installed pretty much stock configuration 🤣
 1 point
 -
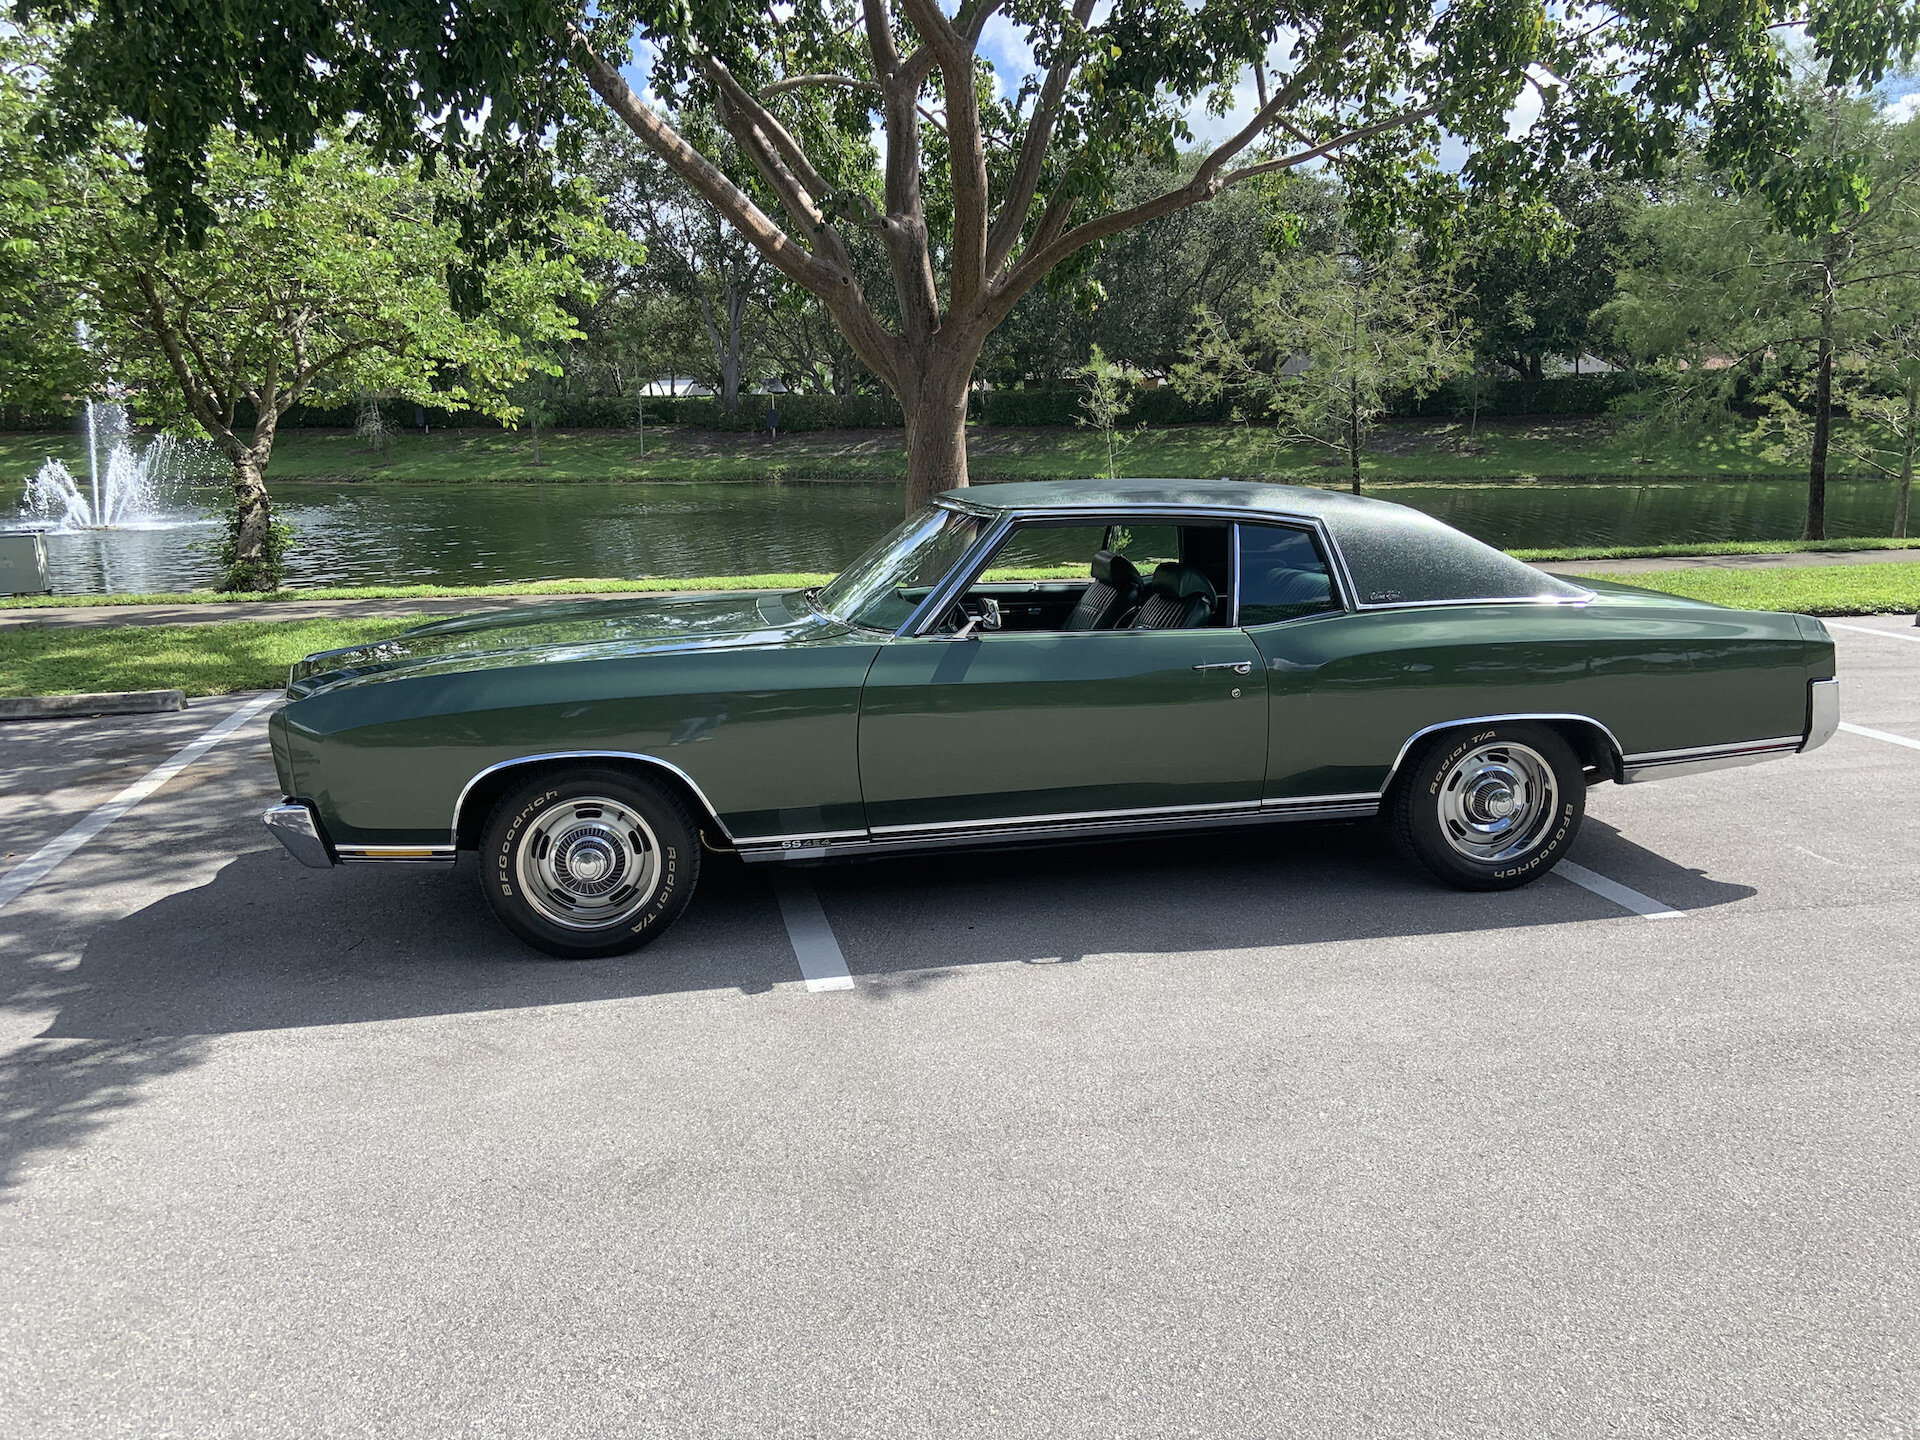
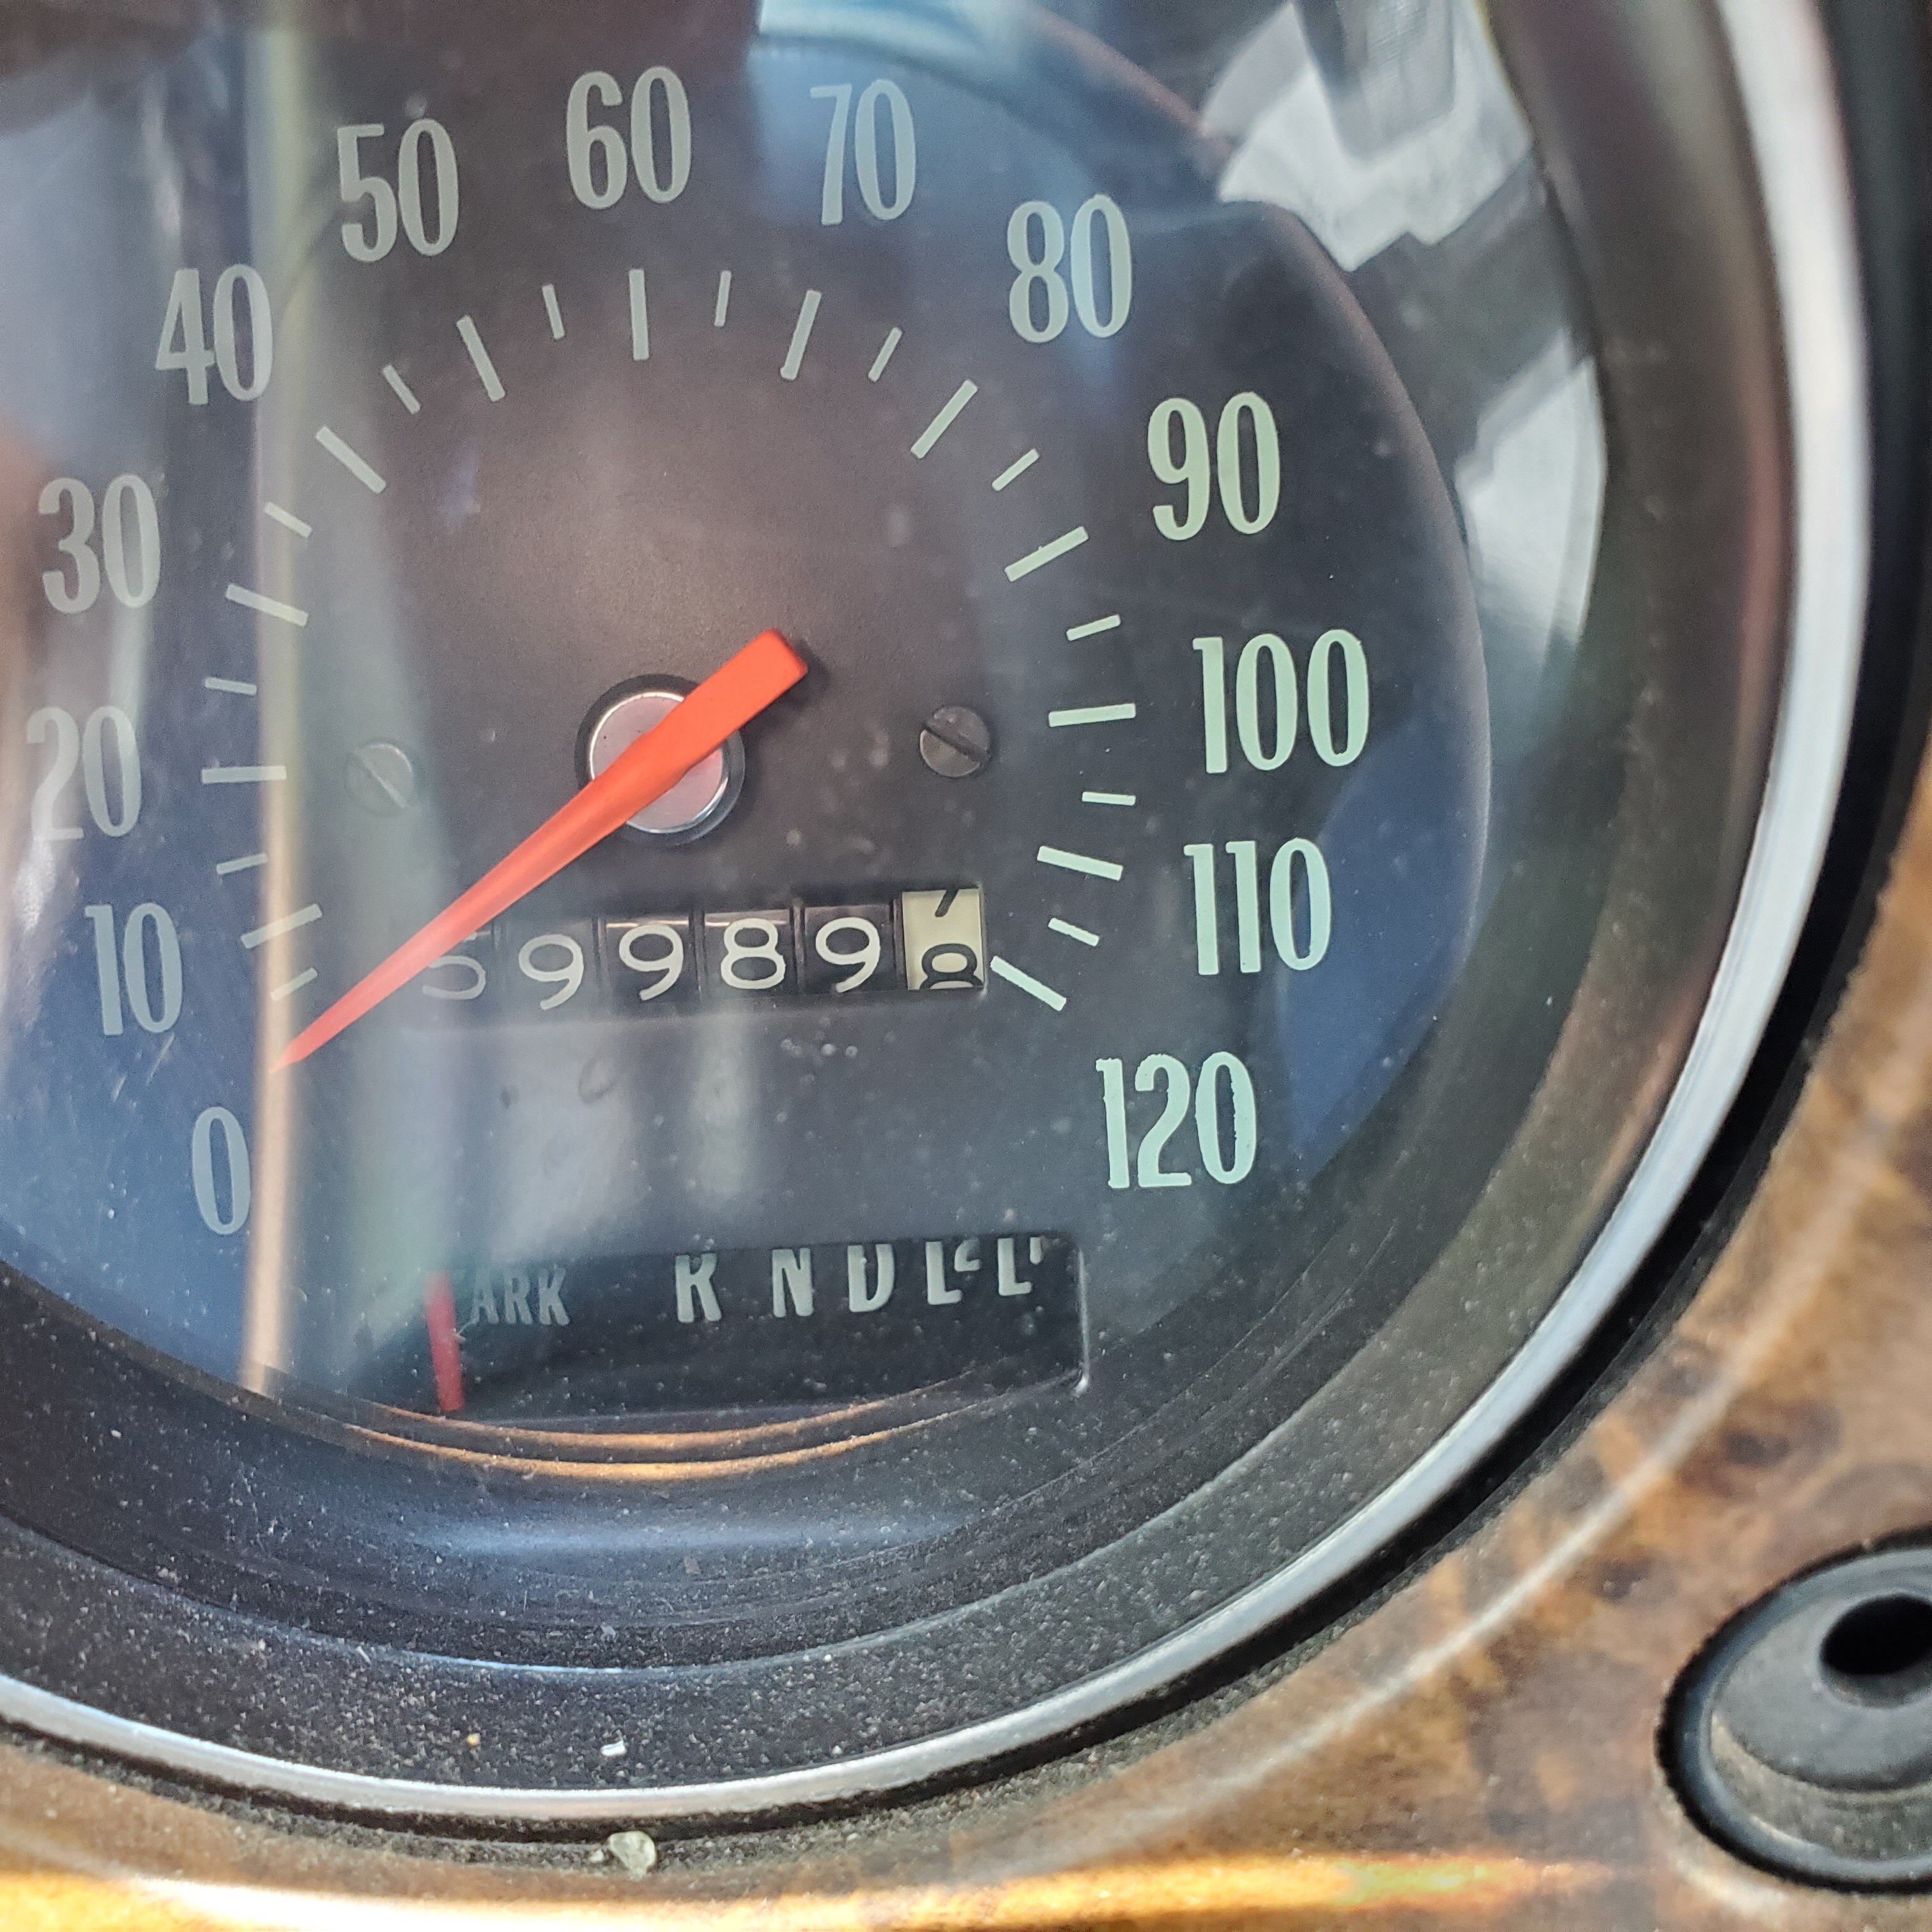
First time out this year!! Going to turn 60,000 miles soon. rob

 1 point
 -
1 point
-
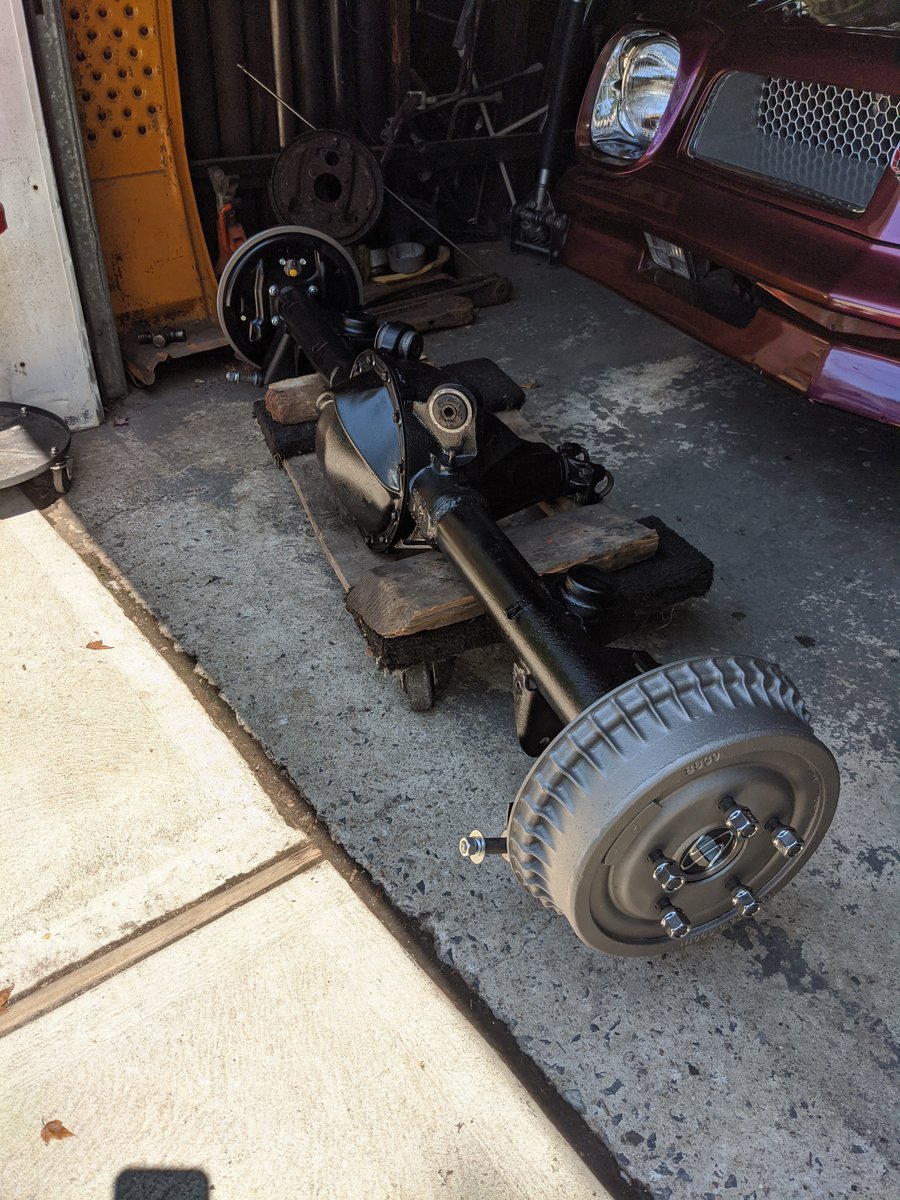
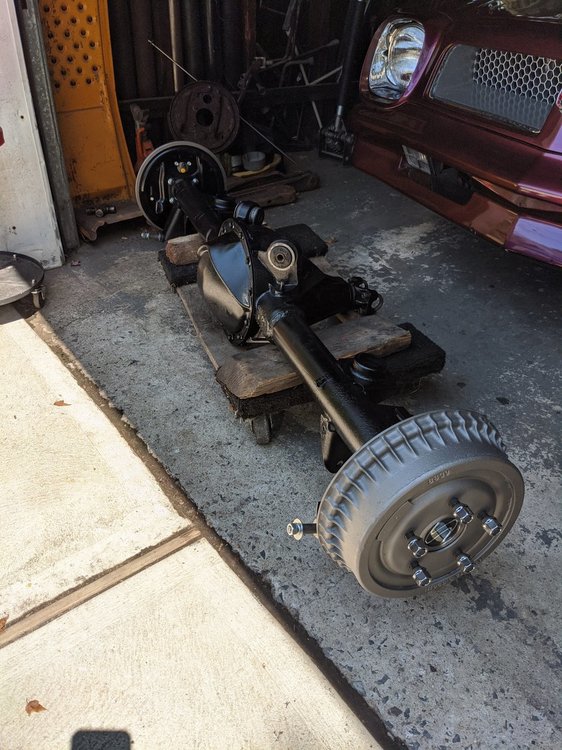
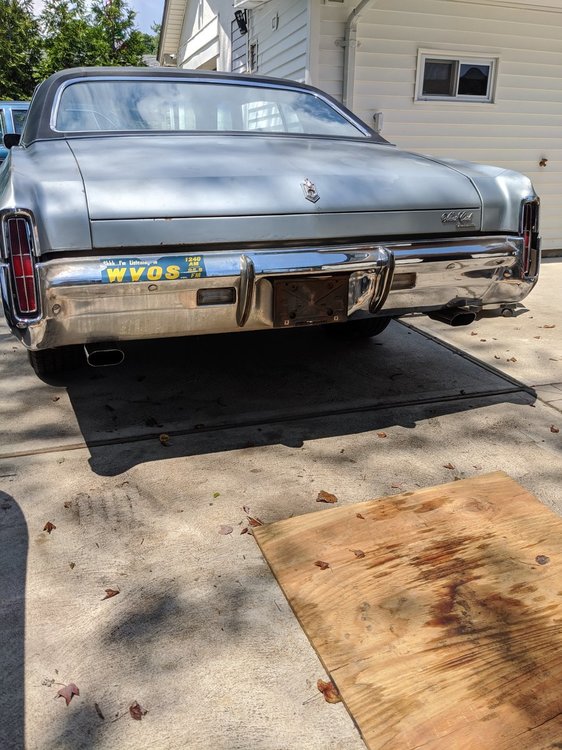
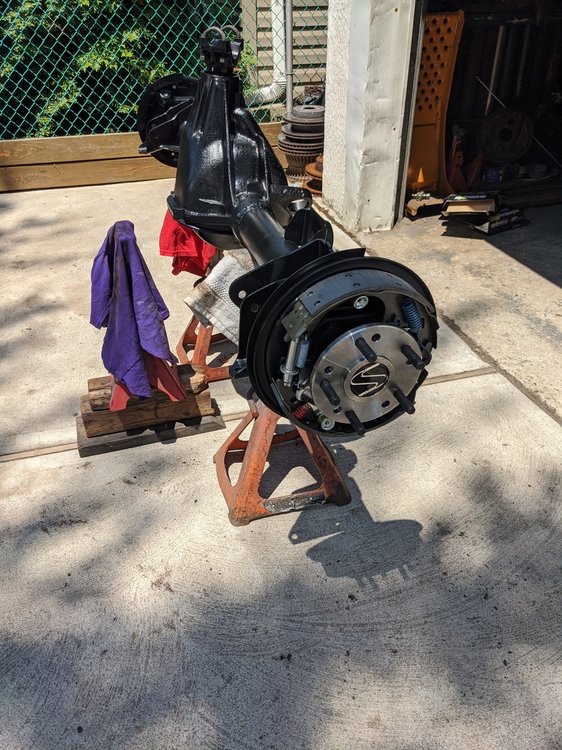
Well the original rear end, numbers on the axle tube for my 70 SS is all ready to be installed. Finished it up today. Now, when to install it so the identical rear, not numbers matching can then be installed into "barn find" . Lolol Decided to do a quick polish to the rear bumper. It looked horrible and wouldn't clean up with a brillo. If you zoom in you can see the b4 and after. Right side is after. Lolol. The bumper is still shot but looks better. Lol
 1 point
 -
This weekends progress between other projects. Lolol The 12 bolt is just about ready for installation into "Big Red" my 70 SS. Have to install the upper bushings for the control arms and install. Maybe this weekend ... 🤔
 1 point
 -
Nice Monte. I agree, they look good. I don't like the look with white letters. I feel a whitewall or redline would look better with the PO2 hubcaps. I love the look of Rally's with white letters.1 point
-
I like the turbine look. Different yet still really cool. Nice job1 point
-
After seeing the turbines on yours I decided to try them out on mine. Nice option when you want a different look for a bit!
 1 point
 -
I had an adapter made for the expansion valve and a new line from the condenser, making money now right! But then I got the POA Eliminator cross threaded on the evaporator side I think. I'm going to try it anyway because after trying to get it in straight for over an hour or so, I think the threads on the POA Eliminator will only start crooked now. I'm going to see if it will hold vacuum and maybe the O-ring is compressed enough maybe to seal, but I think I'll have to order another POA Eliminator and may have to get an evaporator after all, but we'll see. For now, I'm ready to move on to the front brakes and shocks so I can get back on the road at least. Sigh...............0 points