Gush's monte
-
Posts
42 -
Joined
-
Last visited
-
Days Won
3
Content Type
Profiles
Articles
Forums
Gallery
Events
Everything posted by Gush's monte
-
Thank you Dennis, I was able to remove the roller. I have the motor replaced on the regulator and tested. Waiting for a new roller that should arrive Monday. If it does not fit I can always weld the old one back on. It was definitely the motor that failed as all the teeth looked great when I took the motor apart. While I am waiting I am going to address the headliner at the sail panel that needs a couple of wrinkles smoothed out. When I put it in a couple of years ago I must not of got it tight enough.
-
Thank you Dennis, I tried wiring the regulator directly to the battery, but the regulator motor still just clicks. I think I will try either drilling out the guide roller pin, though I may need to cut off the part sticks out from the arm as it is folded over like a rivet, I read that is how the factory installed them. I looked online it looks like they may sell replacements. I am going to try to save it first by carefully cutting it off or drilling it off and welding it back on after I get the regulator out. Thank you for your help and the pictures.
-
Thank you Tom and Dennis. I have the back seat out, side panel and door vent out so I can have as much access to the area. The window is not bound up on the tracks, I can move it around. I have already unbolt the regulator to try to see if I can remove it from the window but with the window in the down position I can not get the regulator separated from the window. I have tried moving in all directions but run out of room before to roller on the regulator will get to the point of being able to remove it from the window slot it rides in. I have even removed the bottom window stop and removed the bottom over the vertical window track to try to get more room. When I restored the car a couple of years ago, I cleaned the tracks, put new lithium grease and rollers on the window. I wish I took the motors apart at that time but they were all working good. The clicking sound I hear does not sound like a gear noise, more like a solenoid click. I was thinking about prying the window regulator roller off so I can separate the regulator from the window, but think I would end up breaking it and not sure if I can find a replacement roller.
-
Has anyone run into having a rear quarter power window stuck in the down position? I have a new motor for it but can’t see how to remove the old. Looks like the window needs to be at least 1/2 way up to remove it from the regulator so that the motor can be replaced. I have 12.5 volts to the switch and the motor clicks when working the switch either direction. Tried multiple switches with same result. Also tried hitting the motor to see if it would start working again (like a starter) but no luck.
-
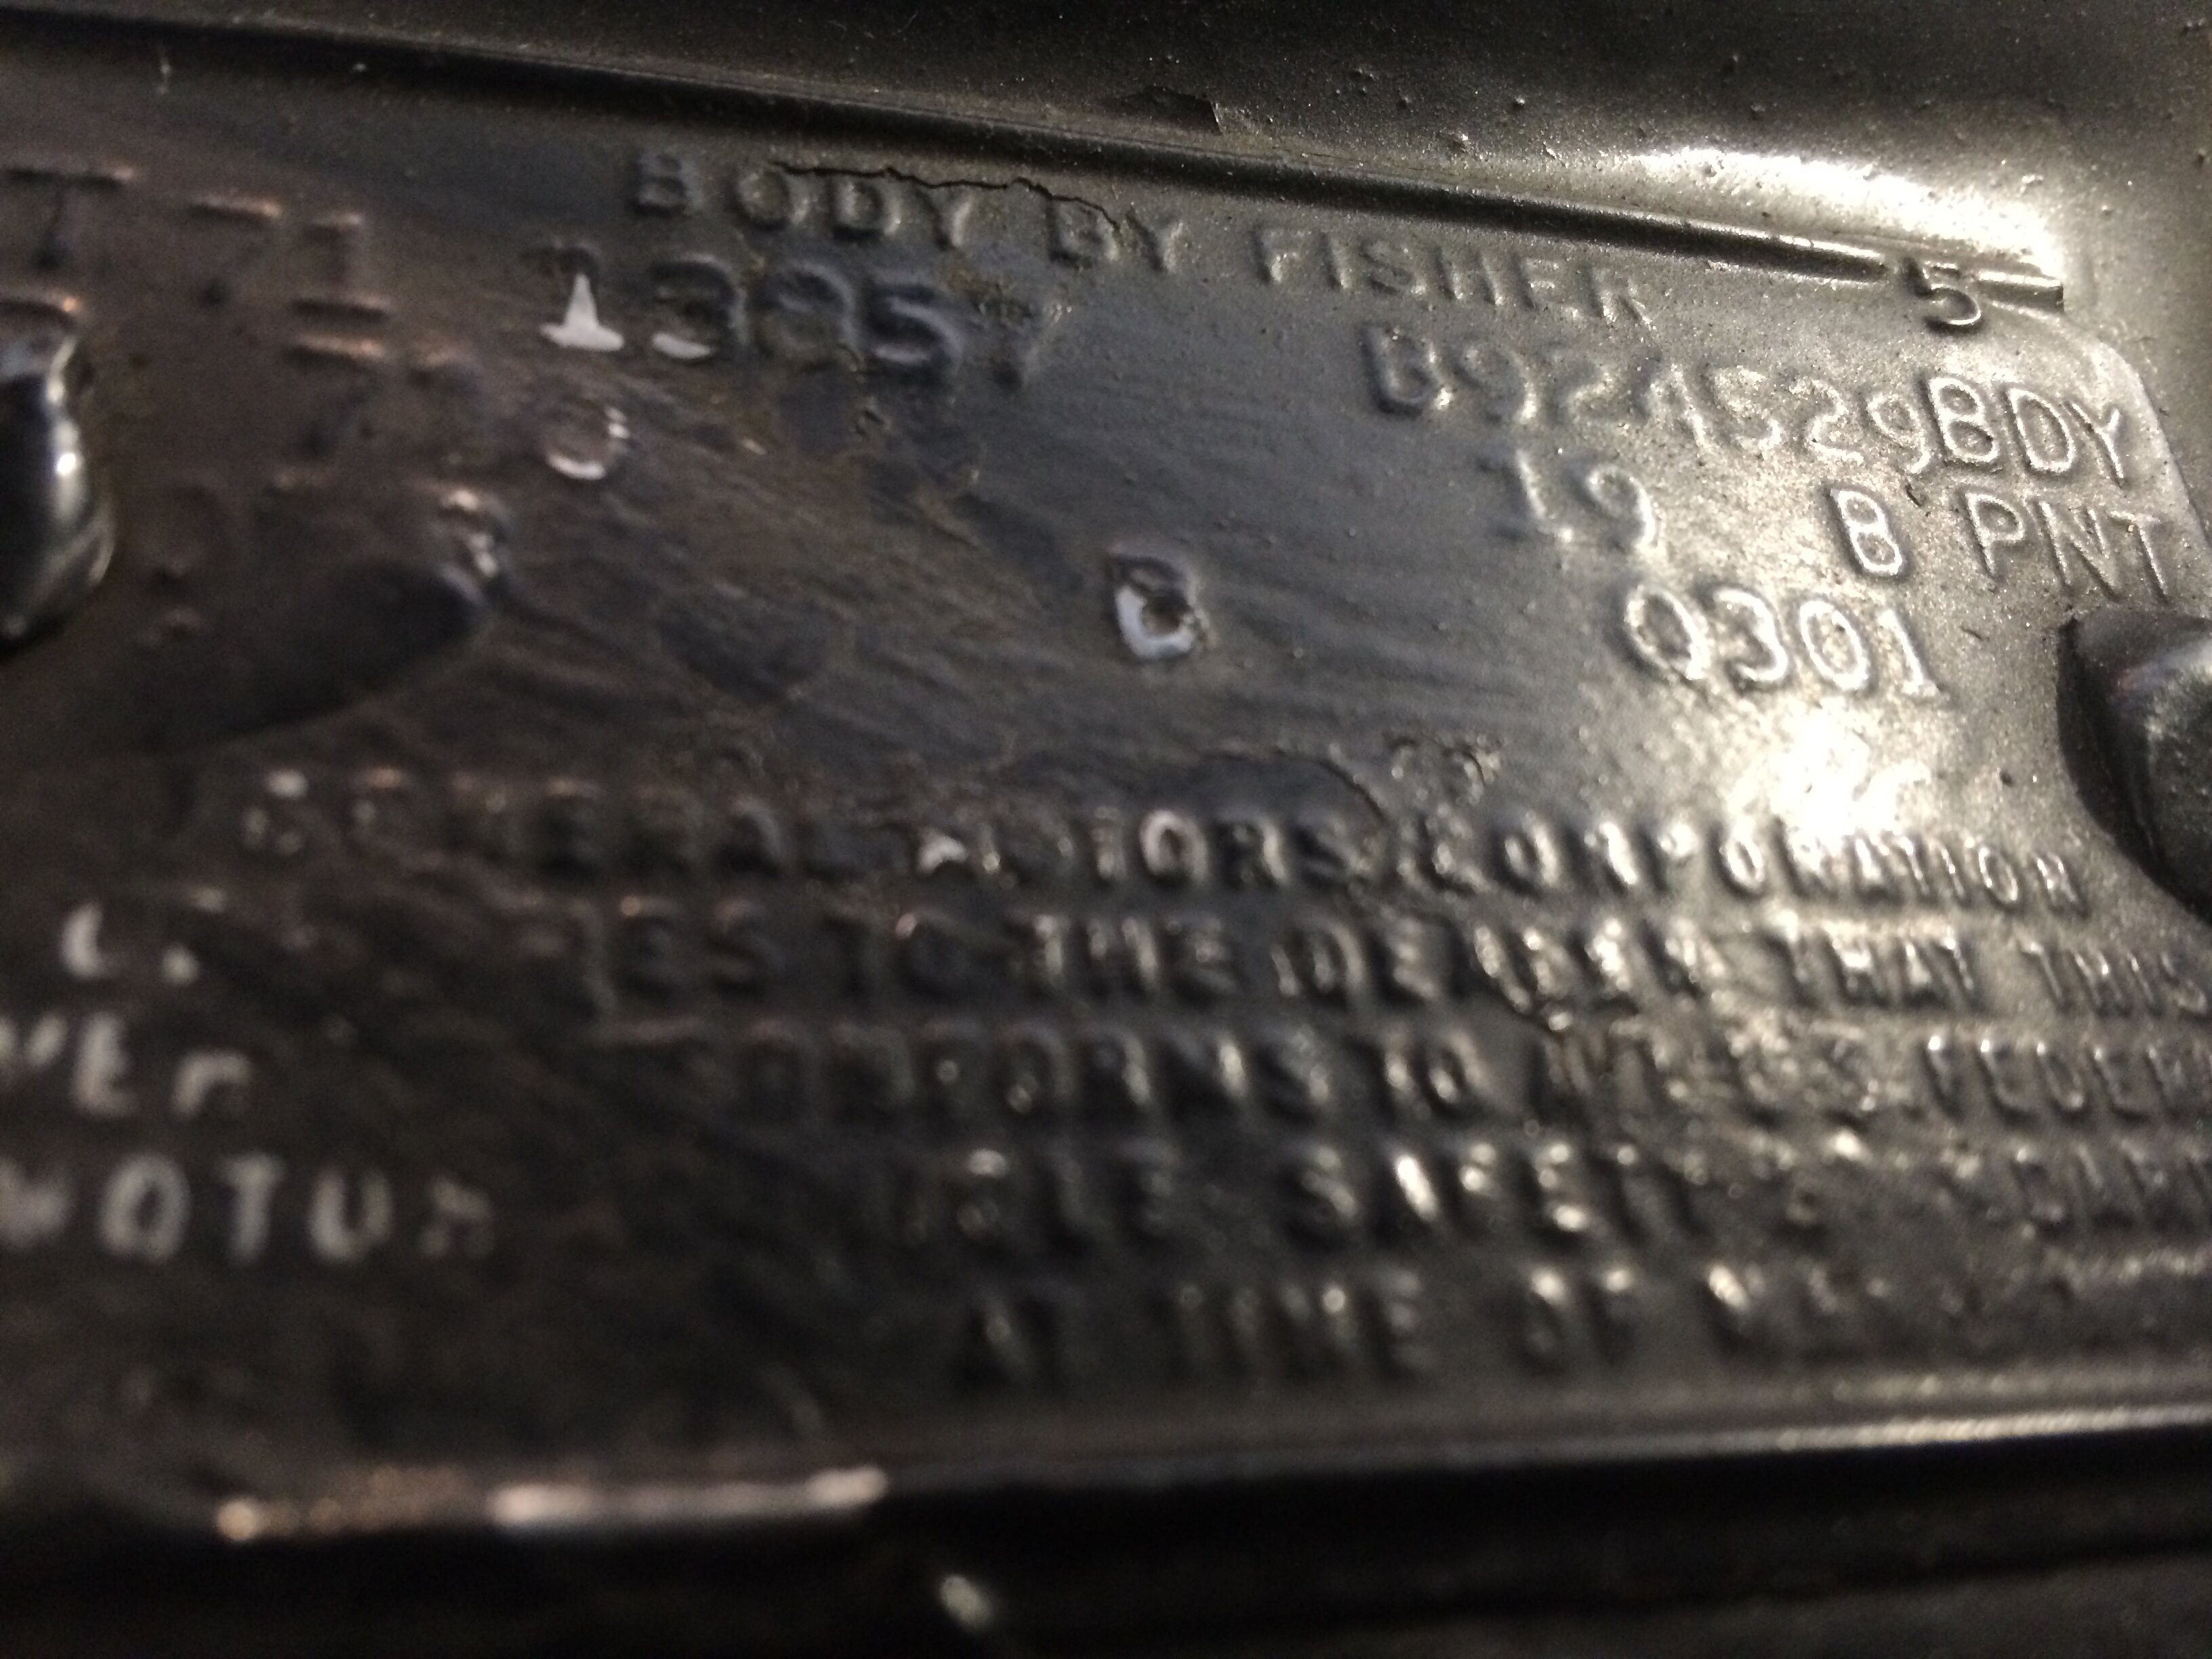
1970/71 Baltimore body tags
Gush's monte replied to Canuck's topic in General 70-72 Monte Carlo Forum
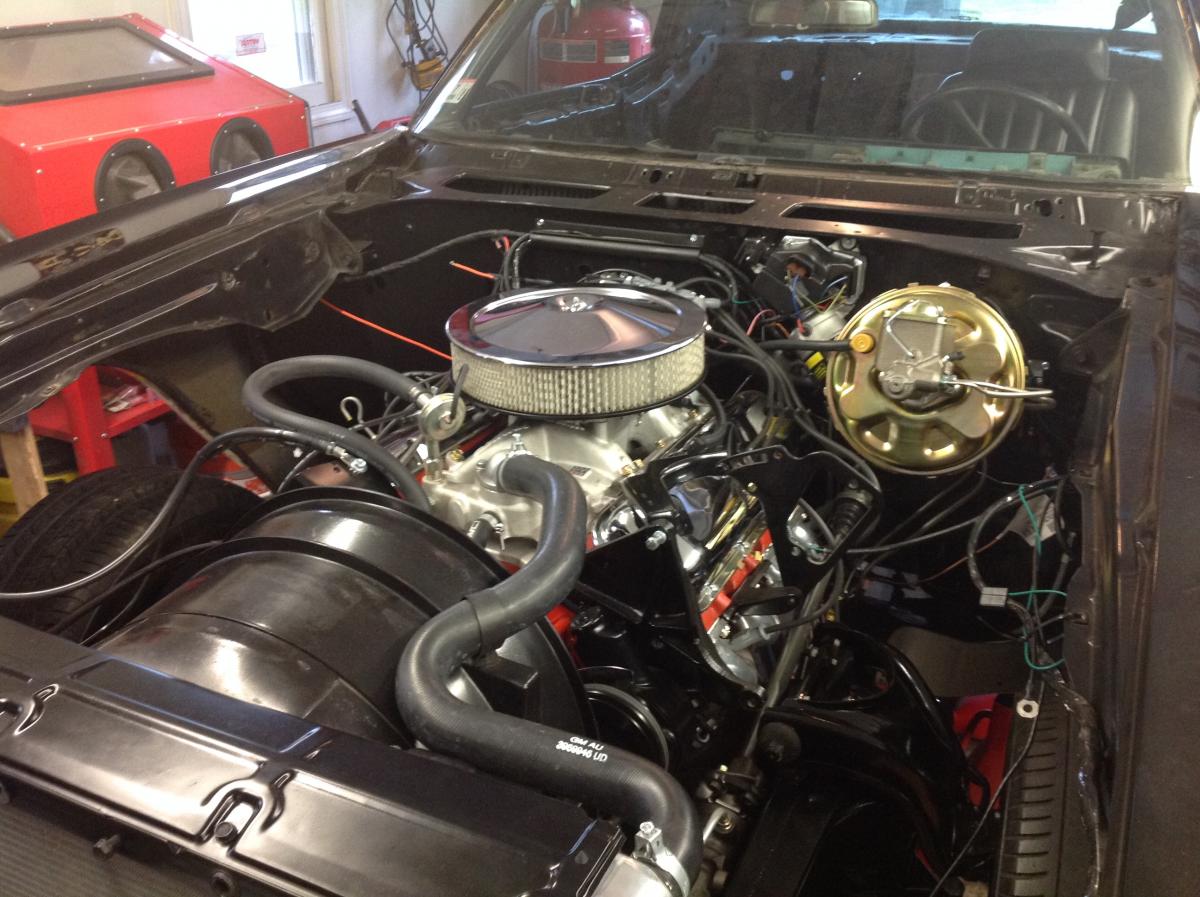
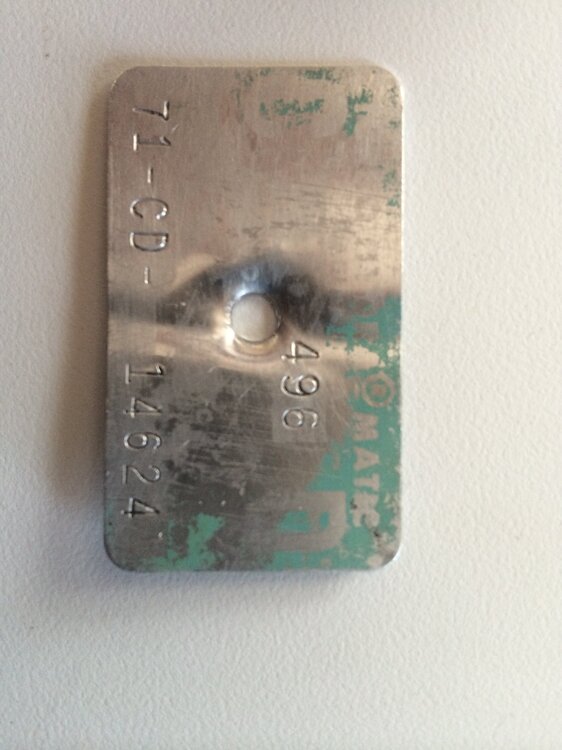
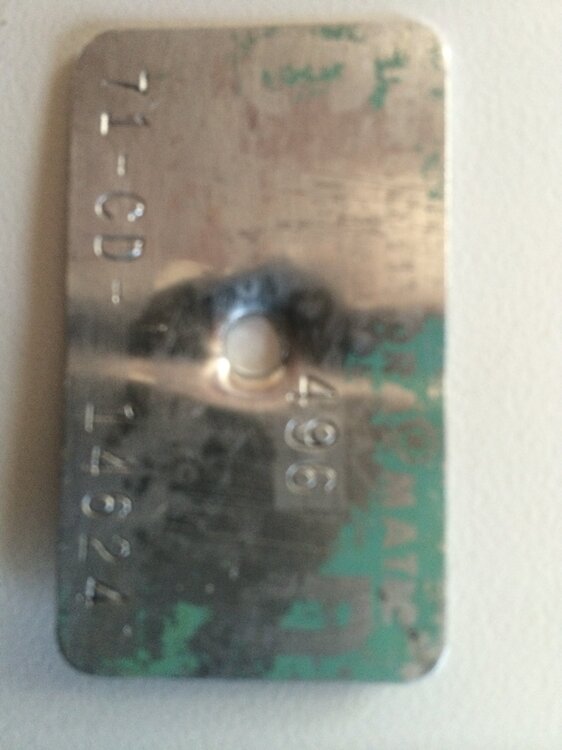
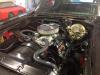
Here is a photo of my Baltimore built 71 402 automatic door tag. I also included picture of my firewall when I had the car apart during restoration. You can see the vin is upside down under the blower and AC cutouts.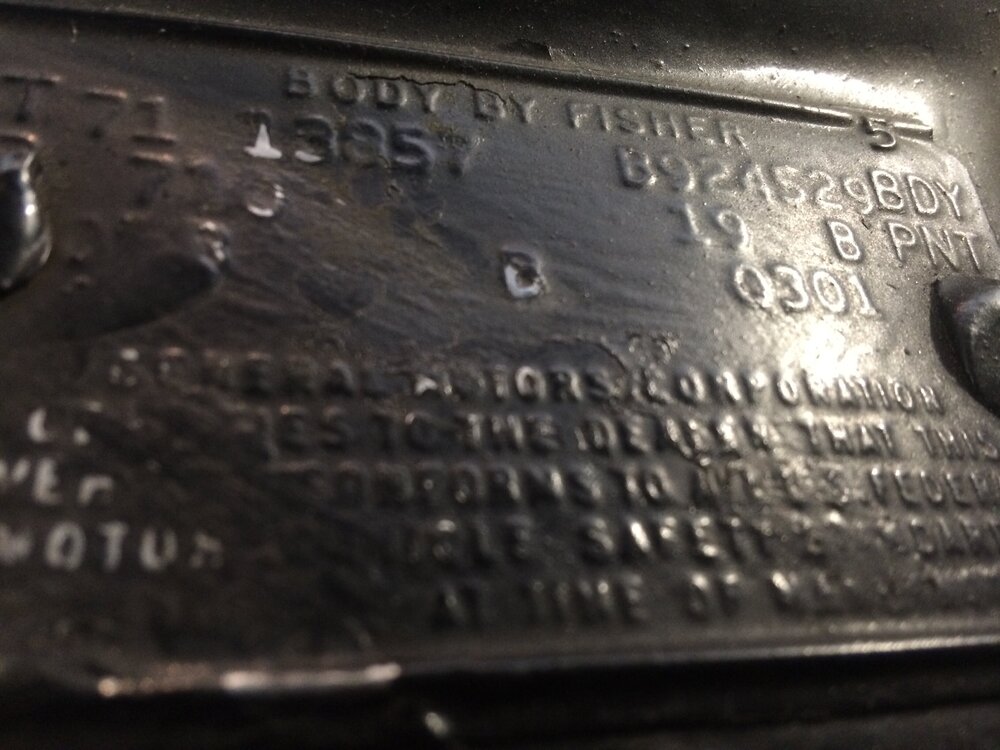
-
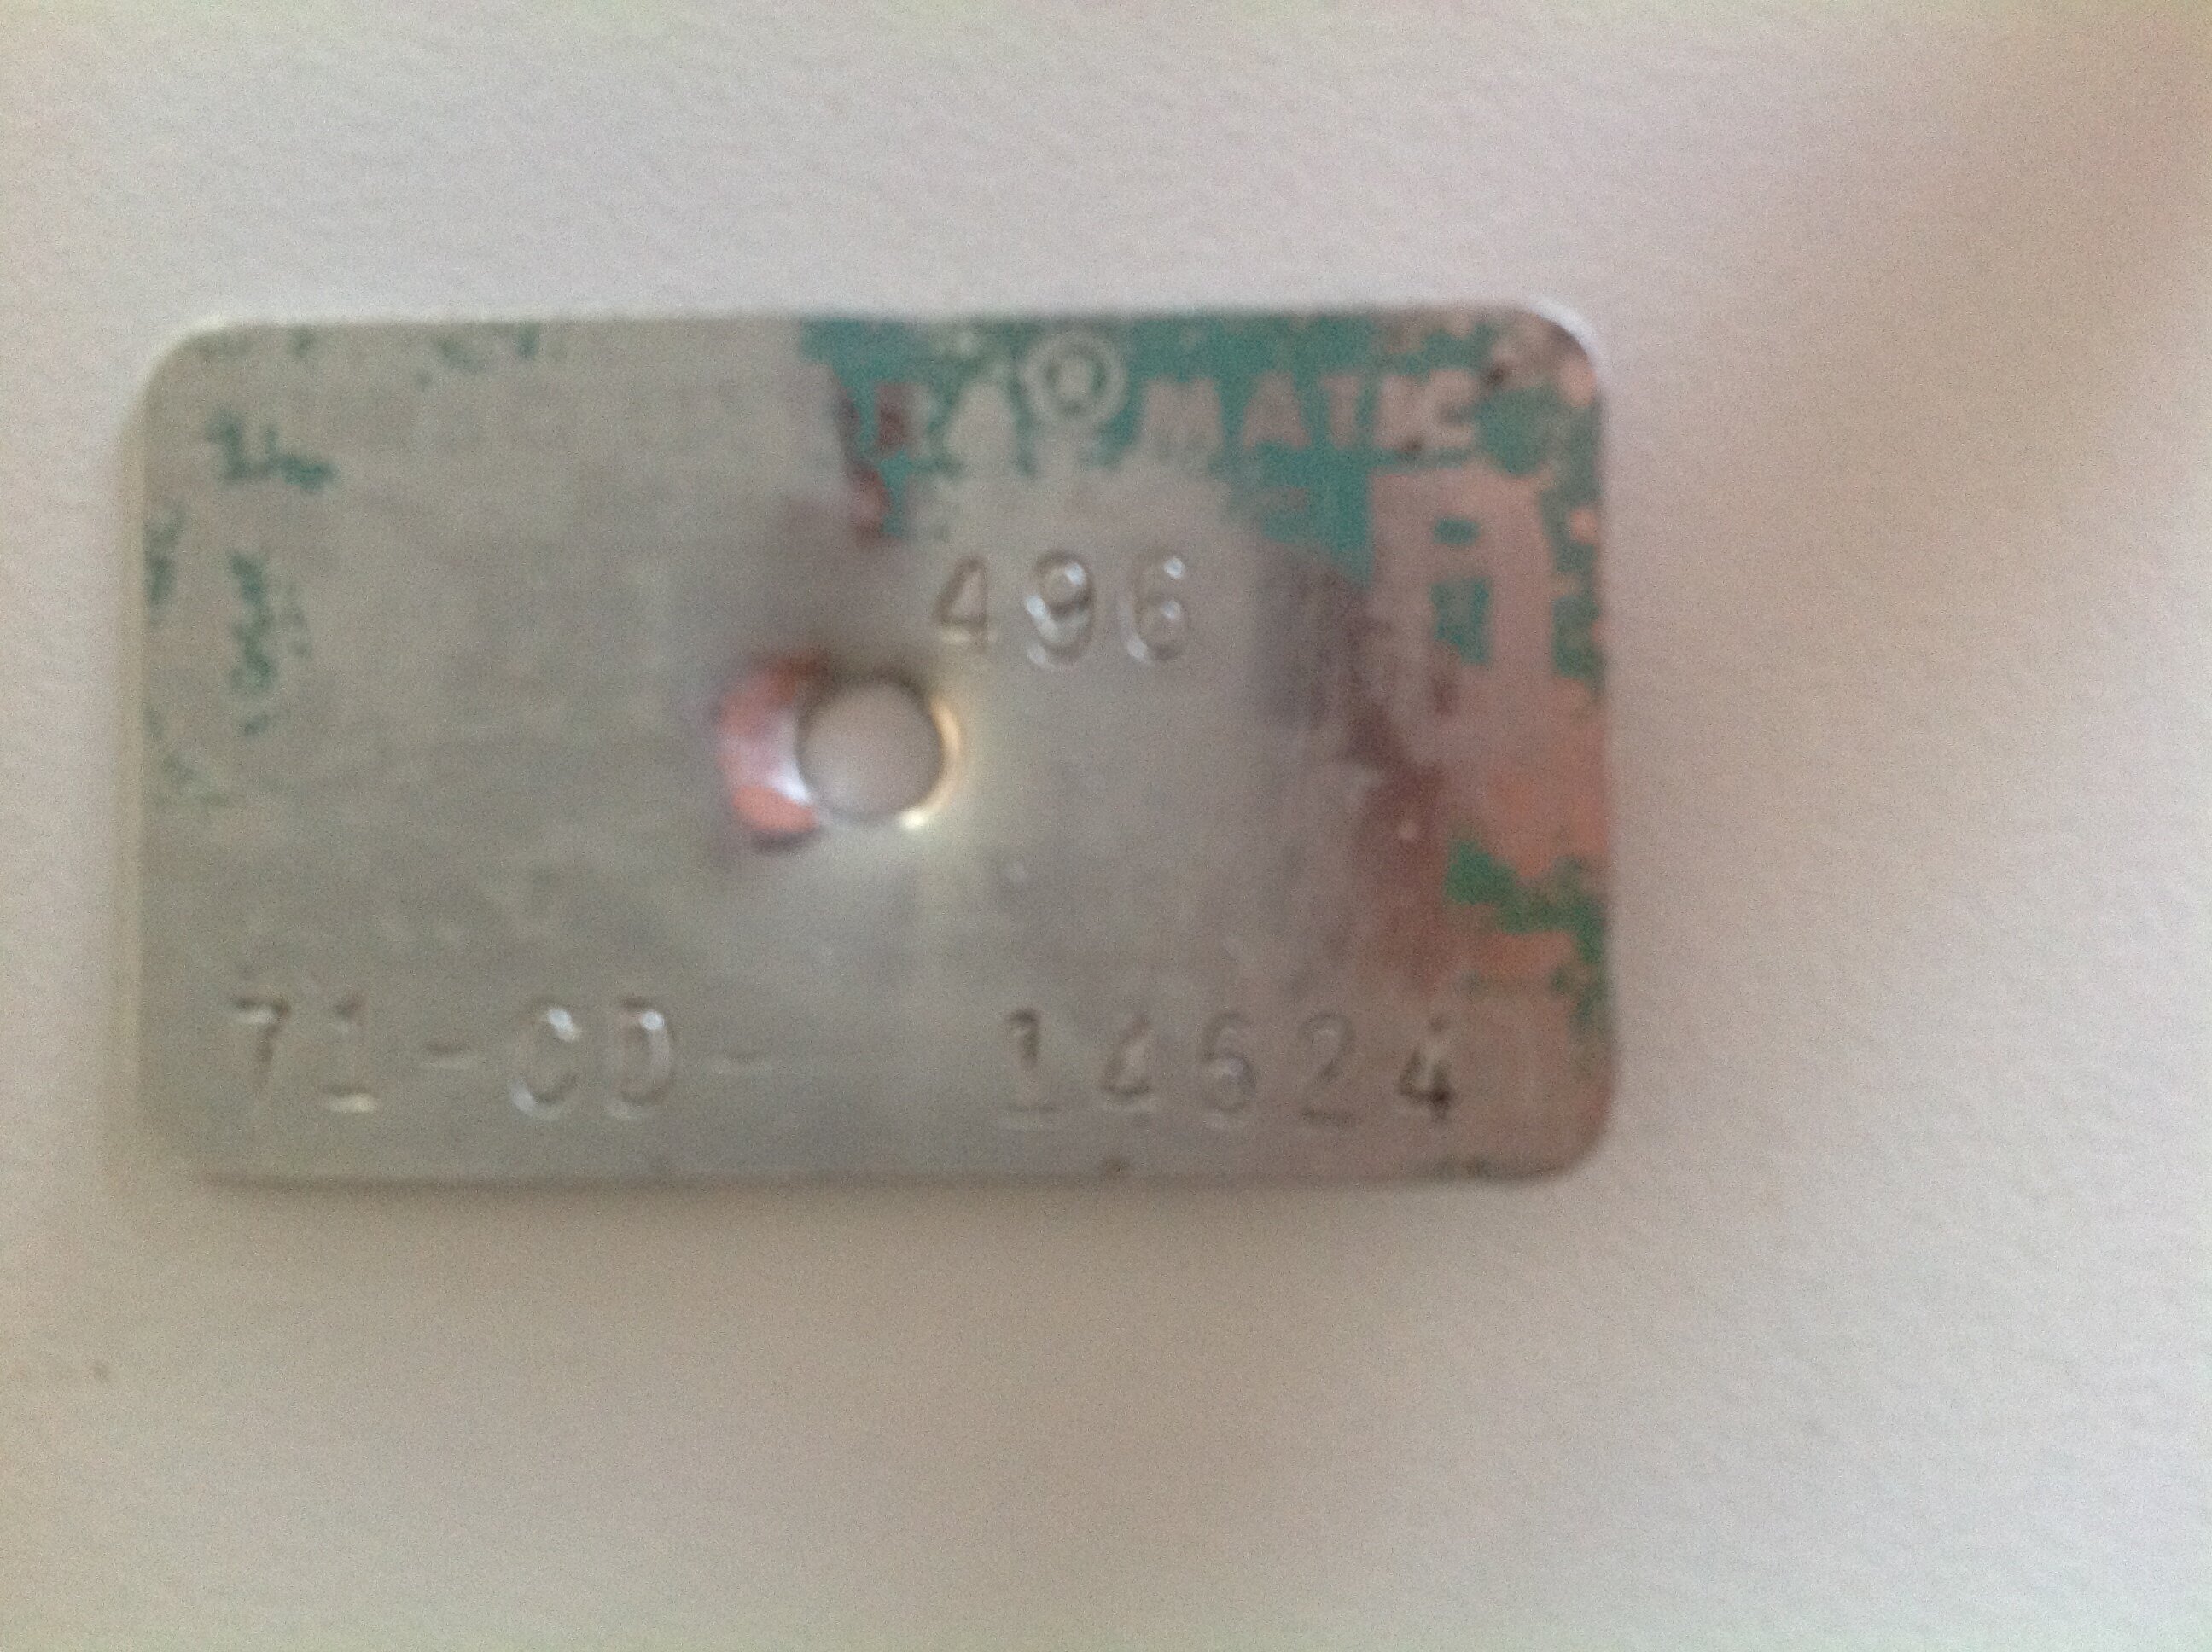
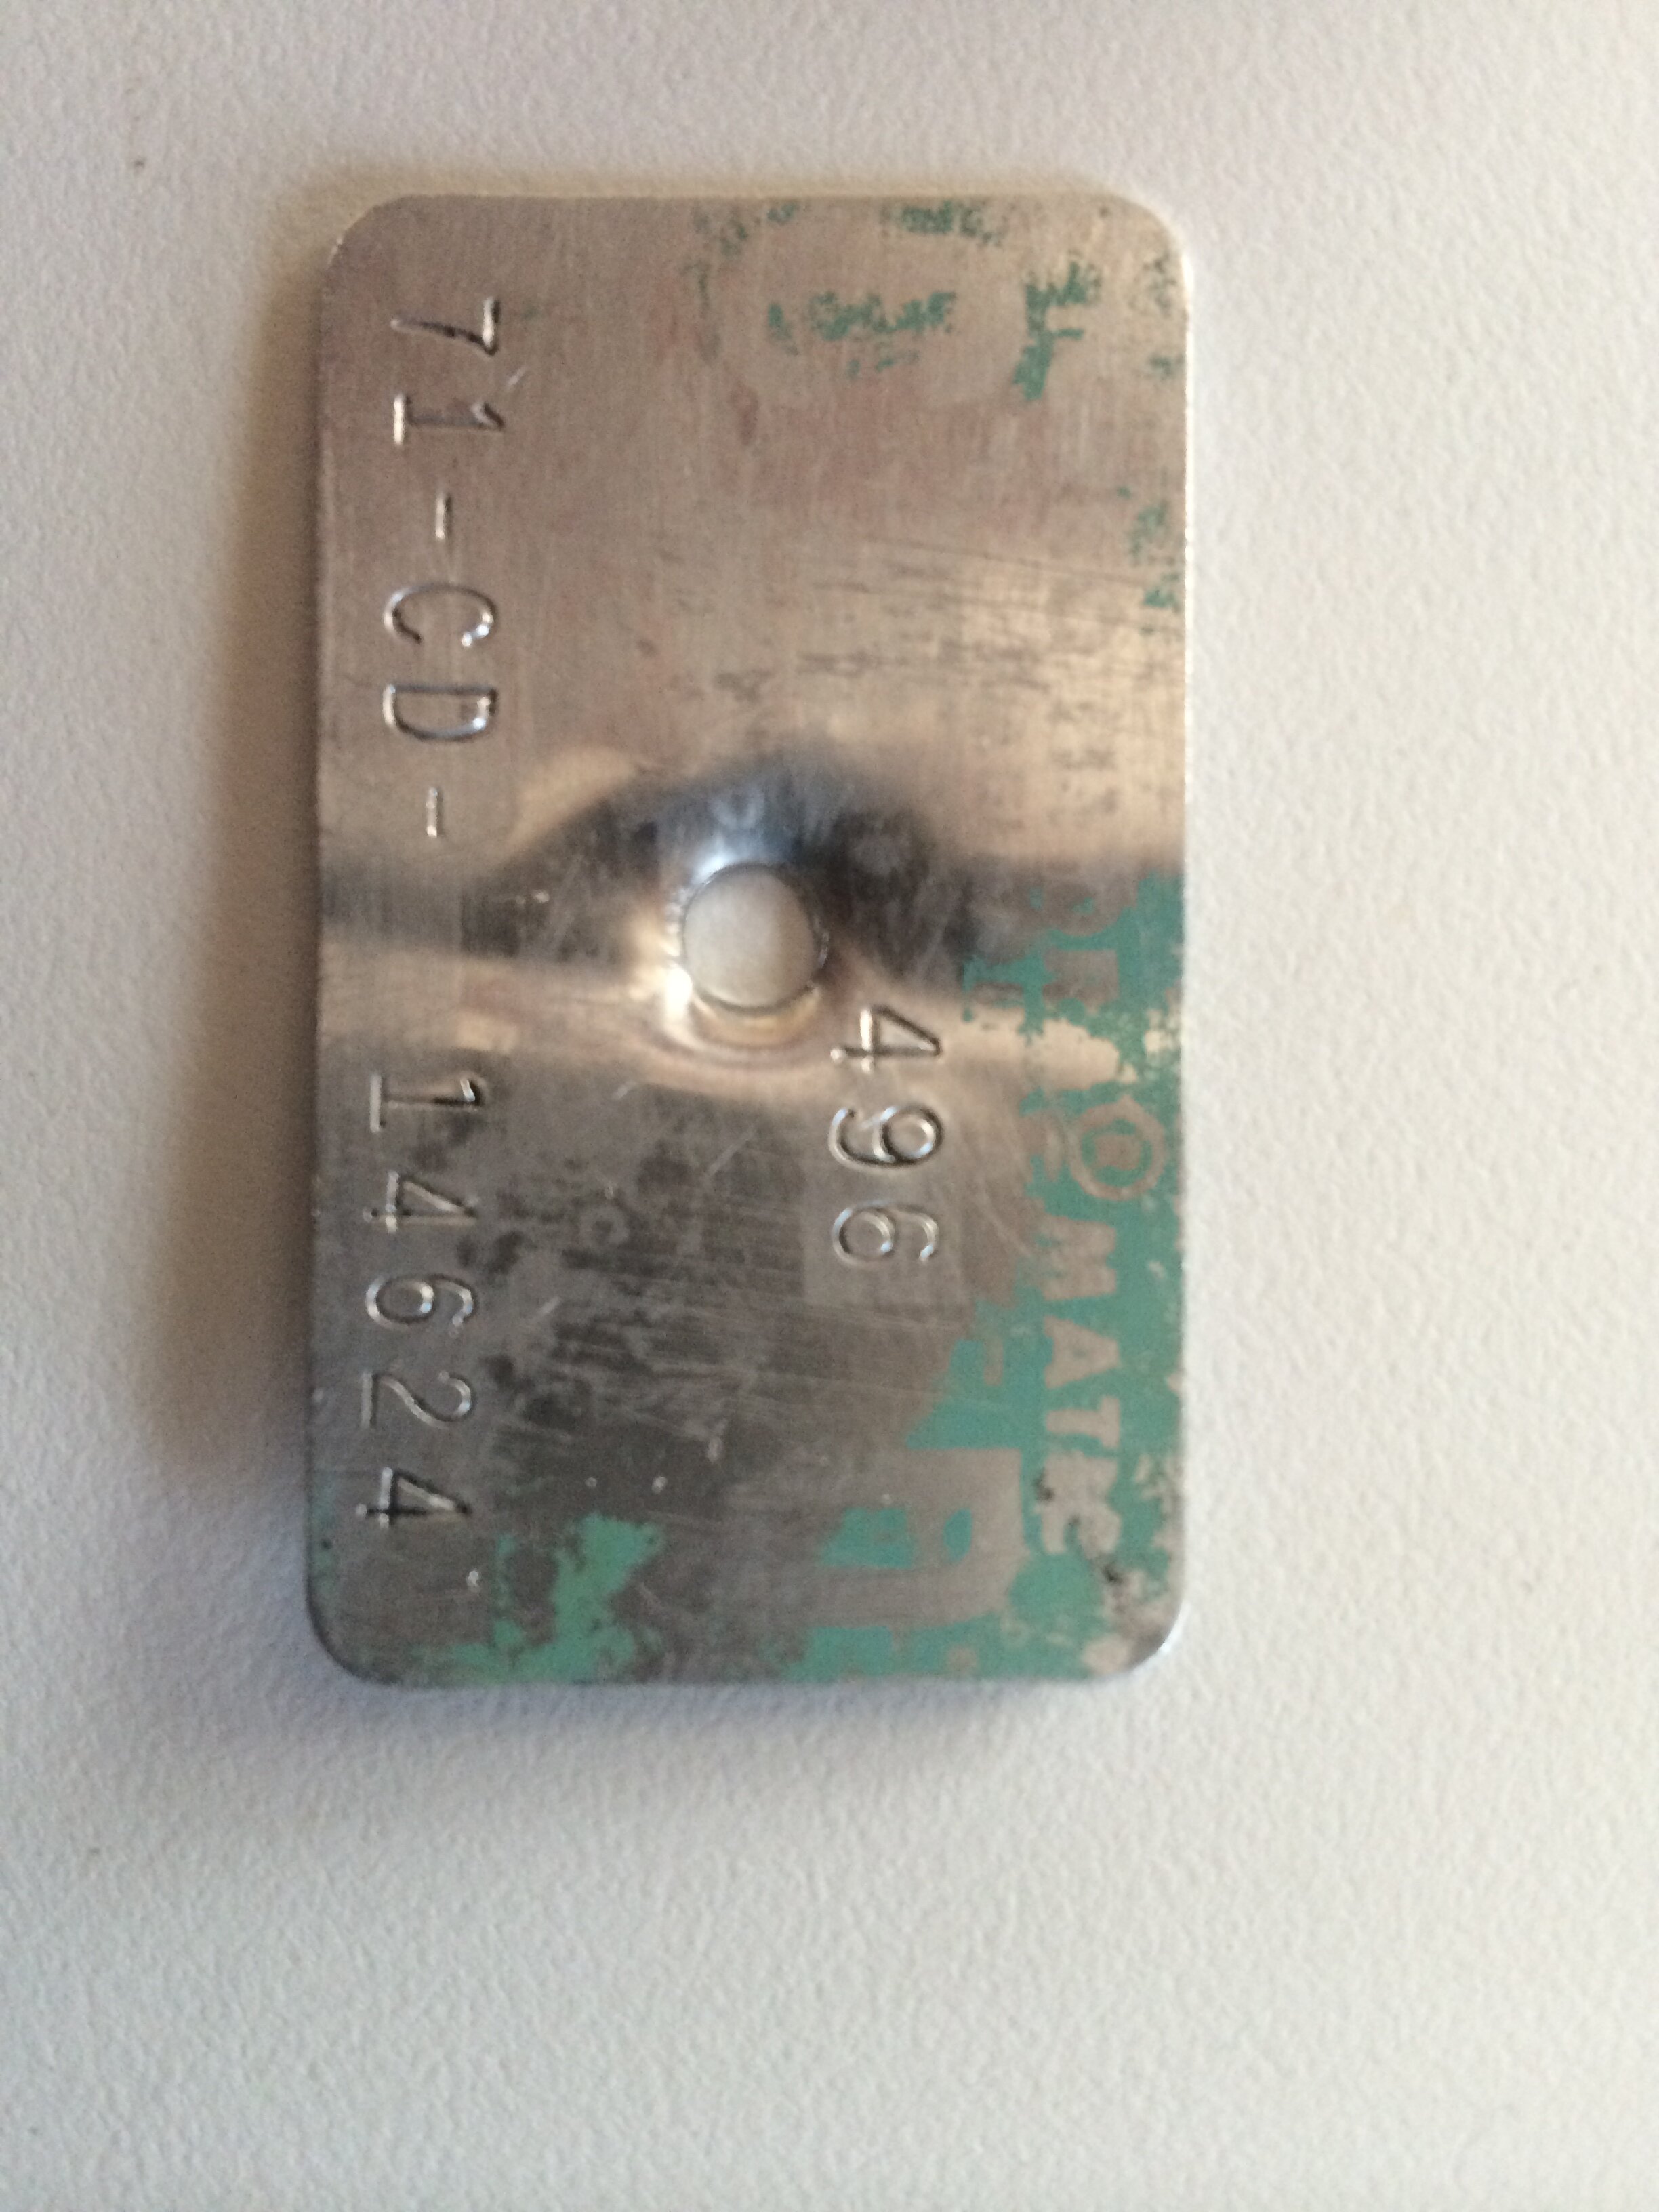
Images of transmission tags needed
Gush's monte replied to Canuck's topic in General 70-72 Monte Carlo Forum
Aaron, here are a couple of photos of mine from a 71 402 th400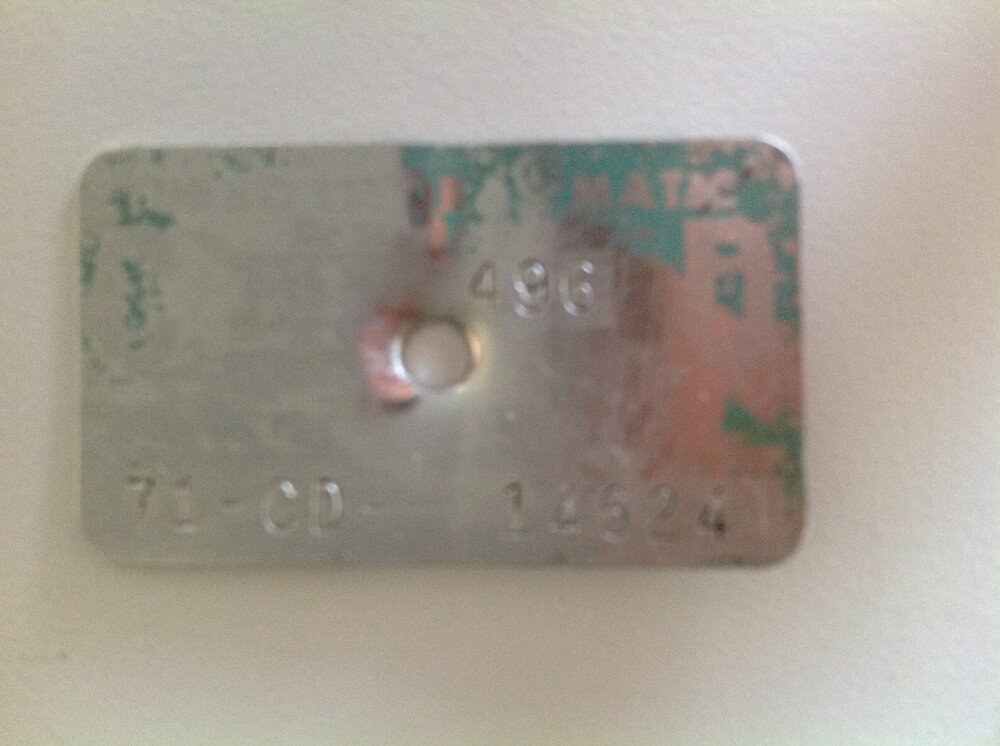

-
Jim, car looks great. Looks like Jim Reid put the same cam in your motor that we put in mine. You will love it and yes the comp hydraulic roller lifters do make noise but as long as it is consistent (even sewing machine noise) you should be good. If you can hear one louder than the rest then you may want to look into it. I had an issue with a couple on my Chevelle’s motor but it was obvious noise problem. Comp warrantied the bad lifters, just a pain to change out. Hopefully see you at one of the cruise nights if the weather ever decides to cooperate.
-
Glad to help Frank, hopefully I will be getting to mine soon. If the weather ever cooperates maybe see you at the Plymouth show soon.
-
Also, on my Monte I have a bigger cam but run a Holley 750. I find it much easier to tune, easier to notice the change in each adjustment. Either carburetor will work but takes time to get the adjustment just right. When the carbs are set up on the Dyno they are set just to make the best power, not real world driving or throttle response you my want.
-
Dennis, I had a similar problem with the LS5 rebuild on my 1970 Chevelle. When we ran it on the Dyno with the original q-jet the secondaries would not open. The engine builder believed the problem was due to the high vacuum the engine was making not opening the secondaries. They drilled two holes in the throttle plates which allowed it to open at throttle on the Dyno and made good numbers 410 hp and 530tq. My build was stock except a baby hr cam 211 duration cut at a 112 Lisa and compression ratio of 9.8. Tuning the same carburetor to run well on the street has been a challenge. It would ping under load at high rpm, like it was running lean. Changing jets did not help. Also the transition to open the secondaries never felt right (always seemed to open to late). Any adjustment to the secondary spring showed no change. I have since got another q-jet on line and it ran great right out of the box. No pinging with 78 jets. In my research I think some of the passages in the q-jet core still have blockage. When I rebuilt the carb I let it sit in solvent overnight an used small brushes to clean out any passages but there are some in the core of the carburetor that are blind which you can’t get a brush into.talking to my engine builder he thinks a sonic cleaning my get the blind passages cleaned out. May try it over the winter.
-
Frank, look at the Legendary video for the 69 Chevelle covers as it shows how to install the bolster listing wires. The video is really good at showing all the steps needed to install their covers on 68-70 bucket seat covers as they are very similar in design. The bolster listings need to be installed in the correct position on top of the burlap and hog ringed to the seat springs. Then when you hog ring the seat cover listing wire to the seat listing wire it will pull the seat cover down to give it the factory bolster look. I will need to do the same with my 1970 Chevelle covers but won’t be doing them until sometime in August as I just received the seat foam for them.
-
Mike, there should be a gasket (either brass or nylon) between the large fuel filter fitting and the carburetor body. That was leaking on my Chevelle’s recently. I went with a nylon gasket as it sealed better than the brass. Be careful tightening it down ( should be a 1” wrench as the threads of the carburetor are prone to stripping).
-
Aaron, check to make sure your primary needles are not binding open or the spring is too strong for your engines vacuum to pull them down into the jets. If they are not pulled down into the jet, running on the power tip of the primary needle would explain running rich and not idling well when cold. Also check that the gasket is not interfering and not allowing the primary needles to be pulled down.
-
I was able to get my full trunk pan from below, had the trunk drop offs cut out but the quarters were still on the car. I had the body off frame also so no frame to get in the way.
-
Mike I use SS396 all the time for parts. I just verify that the part number is the same for a Chevelle and order it there. I am in Mass also and usually receive the parts within 2 days as they ship from Connecticut. For headers I went with Dougs with 1 3/4 tubes, they fit better than the Hooker Super Comps that we’re on my Monte when I bought it. The Dougs headers need to be messaged on one tube by the lower A arm mount but I have no issues changing the spark plugs. I have also heard good things about the figment of Herman 1 3/4 headers also.
-
Frank I see you live in E. Sandwich, my sister lives just of the Service Rd by exit 4 off Rt6. I live in Holbrook and visit my sister often but have not brought the my Monte there since I restored it. My sister and brother in-law keep asking when I will bring it by, probably will before the end of the season. FYI there is a pretty good car cruise Sunday morning at the Plymouth waterfront which I believe will run through October. I brought my Monte there two weeks ago. Great turn out. As for the motor’s worth, I would look at craigslist adds for similar motors to see what the value is.
-
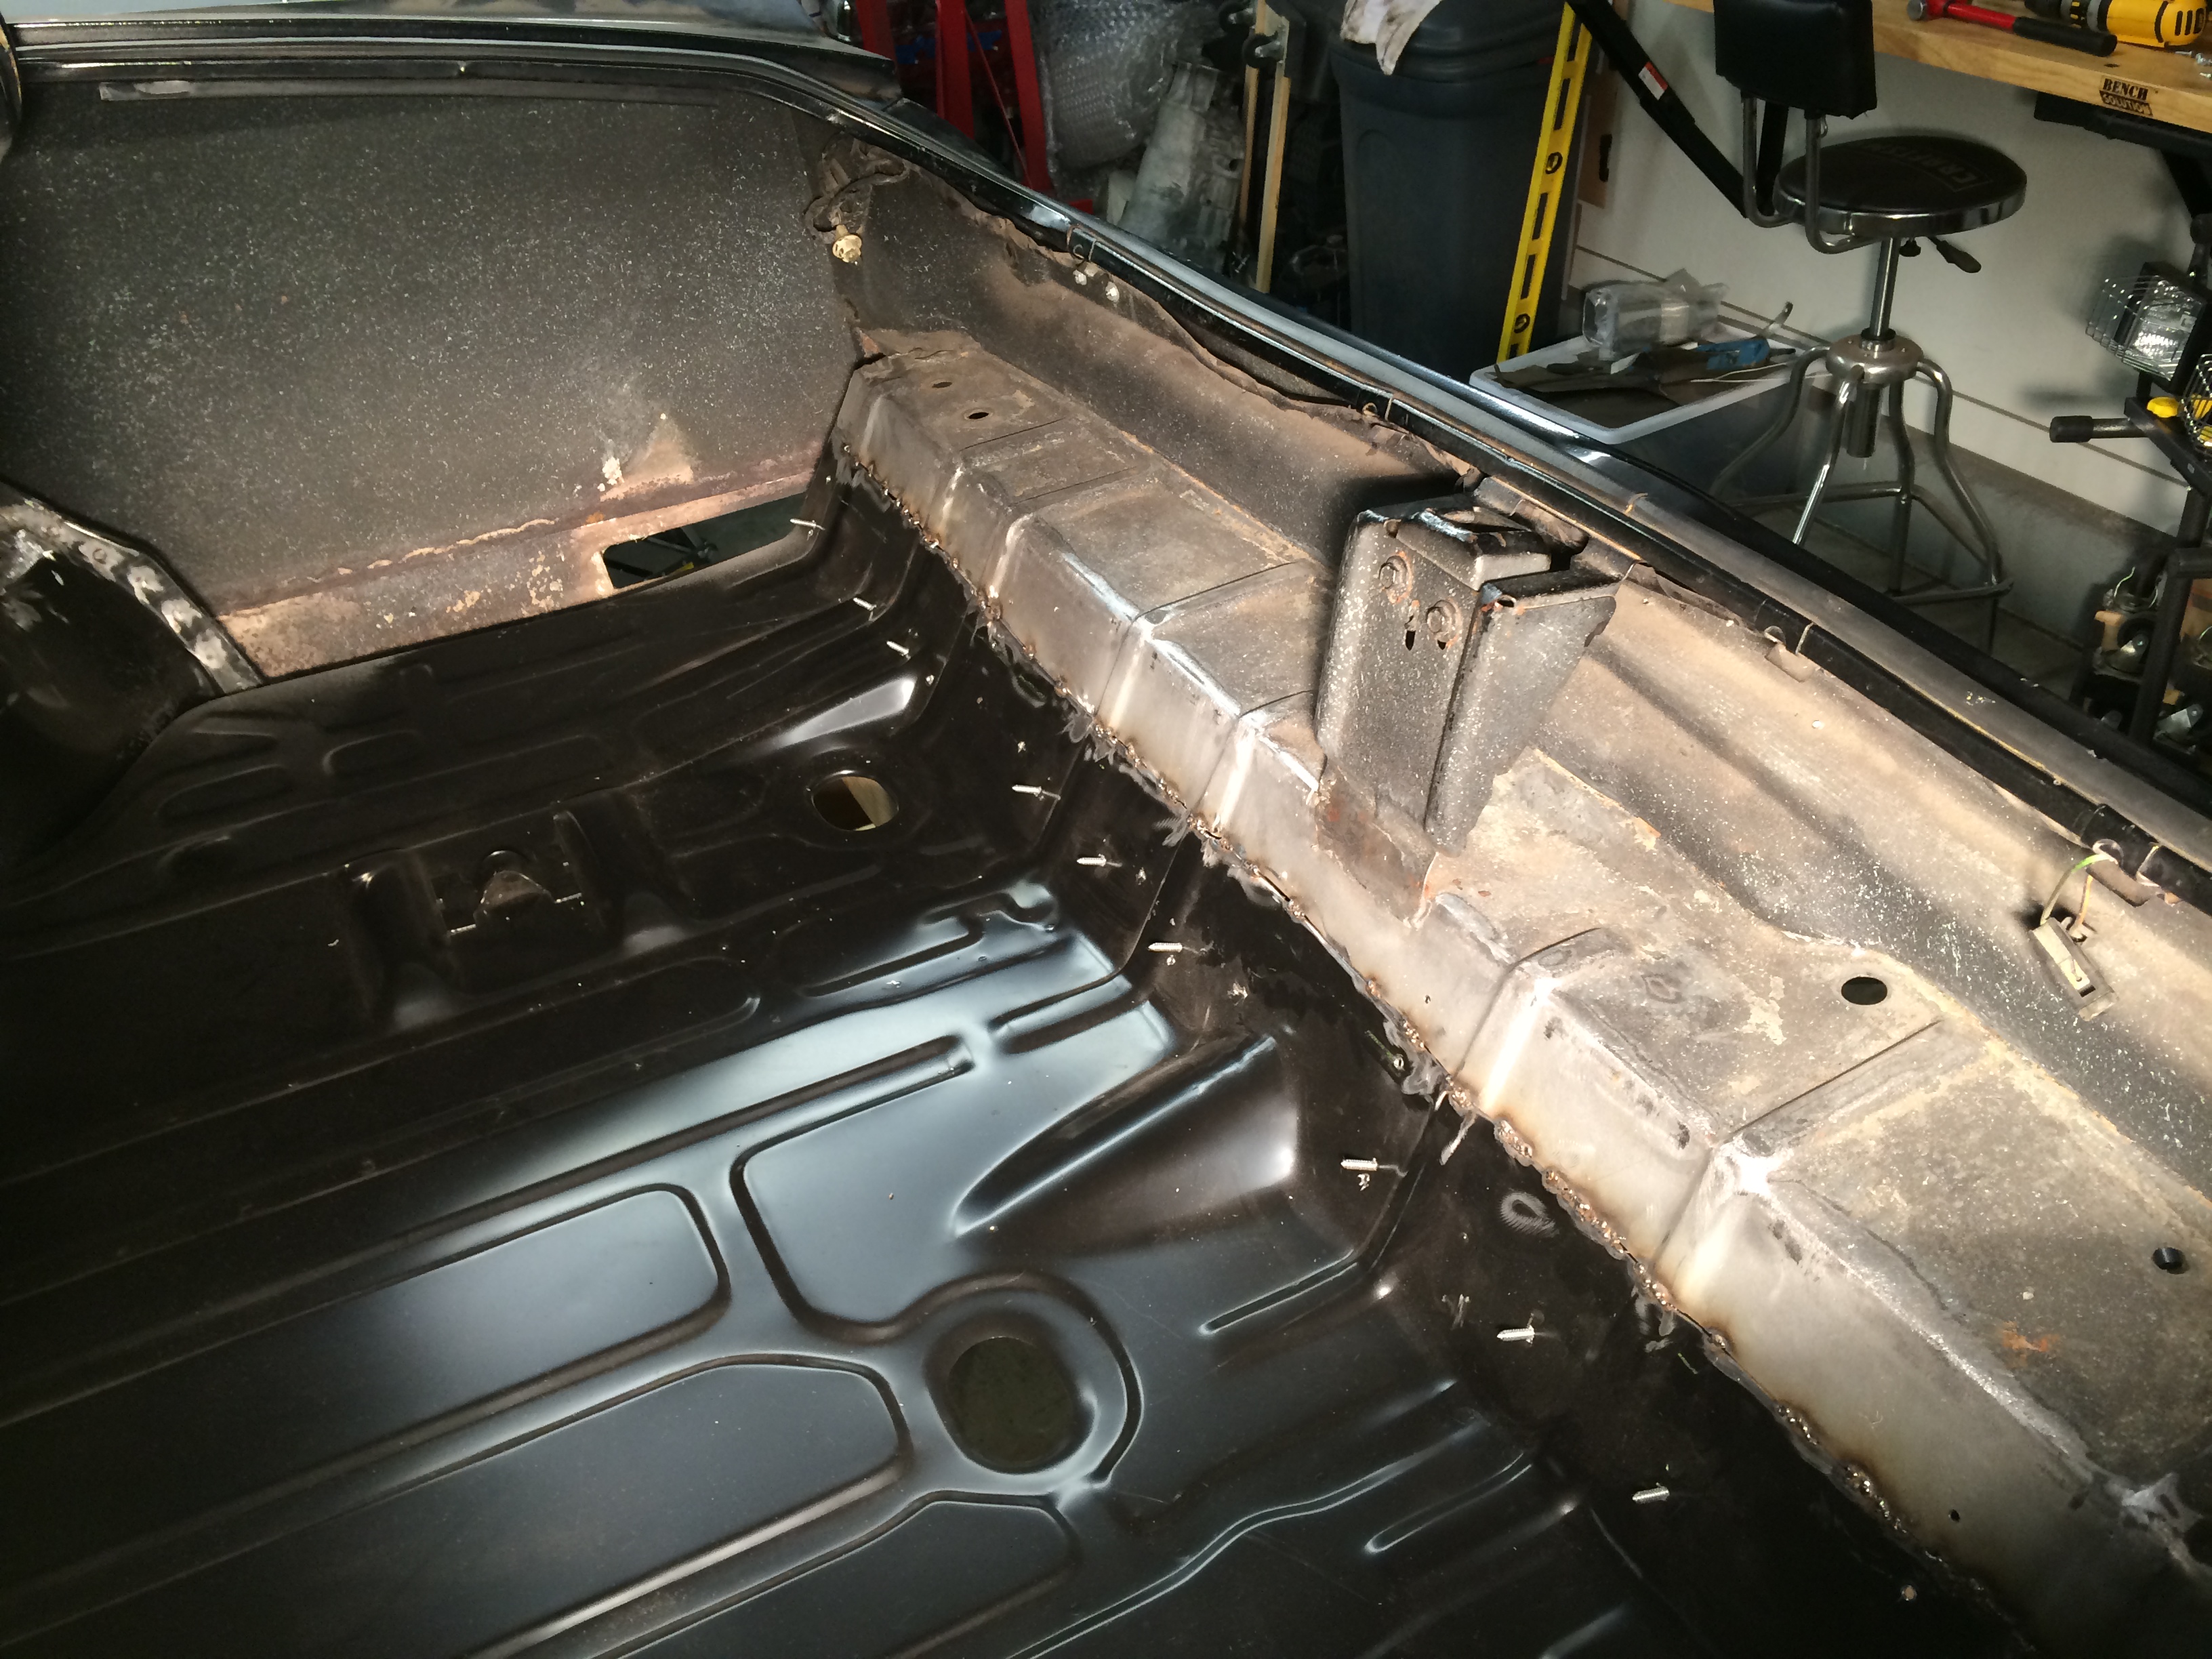
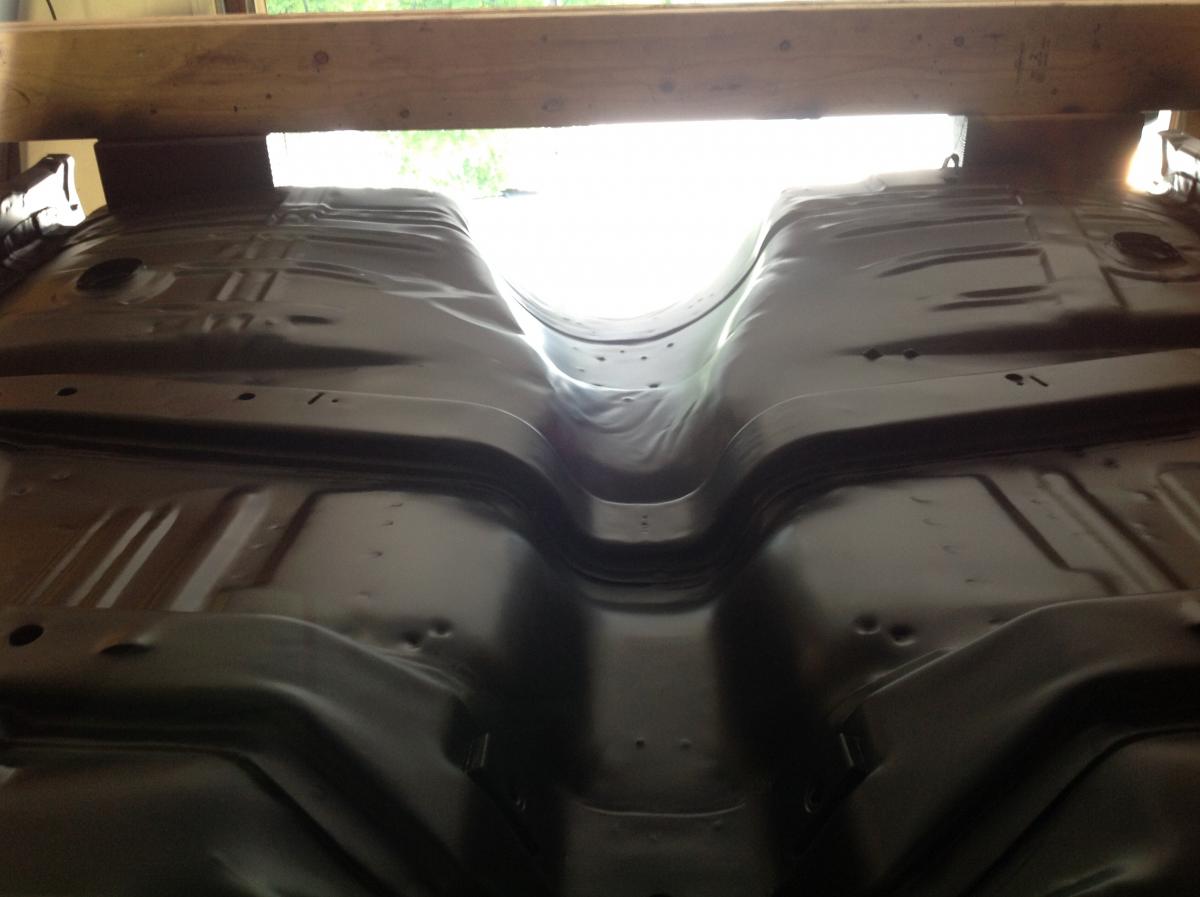
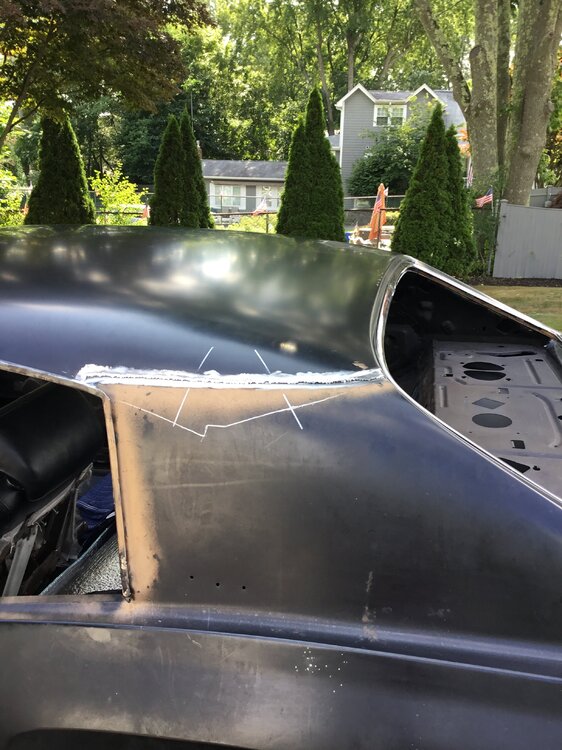
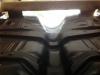
Lou I replaced the roof skin on my 71 a couple of years ago. Beware the roof skin they sell is for a Chevelle that will need to be modified to fit the Monte.The Chevelle roof skins rear quarter to roof seam is lower than the Monte, you will need to cut the extra metal off to make it fit. I used a similar 3M panel epoxy at the drip rail seams to attach the new roof skin. I welded the front and rear window channels, front pillars and rear quarter seams. Here are a couple of pictures of the rear seam modification you will need to make.
-
Tommy I replaced the trunk floor in my 71 with a whole floor for a 71/71 Chevelle, I believe it was from AMD. I bought it from Leo Konik a member here that runs Koniksklassics, he has many Monte Carlo parts. Leo also talked me through the replacement of the floor. Leo’s insite was really helpful, great guy that is recommended by many on this site. I was able to install the whole trunk pan from below (my car was off the frame at the time also). I removed/ replaced the trunk drop offs which gave me a little extra room. It is tight with the quarters on but can be done. I cut the Chevelle back brace off and spliced it to the Monte rear brace as mine was in good shape. I will try to add some pictures. It came out great and no one have been able to tell that the trunk was ever replaced.


-
I am having trouble when I log in. It never remembers my password. The last couple times I have to recover my password and can log in. When I try to log in the next day it does not recognize my password but when I recover the password (I use the same one) it logs me in? Anyone else having this problem?
-
I live about 30 minutes from Foxboro and go to the Bass Pro Foxboro MA car show that is held every other Thursday a couple of times a year. It is said to be one of the biggest cruises on the East coast. I have seen it attract over 2500 cars a couple of times. The car in the picture I have seen at the show, talked to the owner a couple of years ago. I just finished restoring my 1971 Monte after a 5 year restoration. This year will be the first time I will attend it with my Monte in six years, for the last 5 I have gone with my Chevelle. Can’t wait until April when the shows start up again.
-
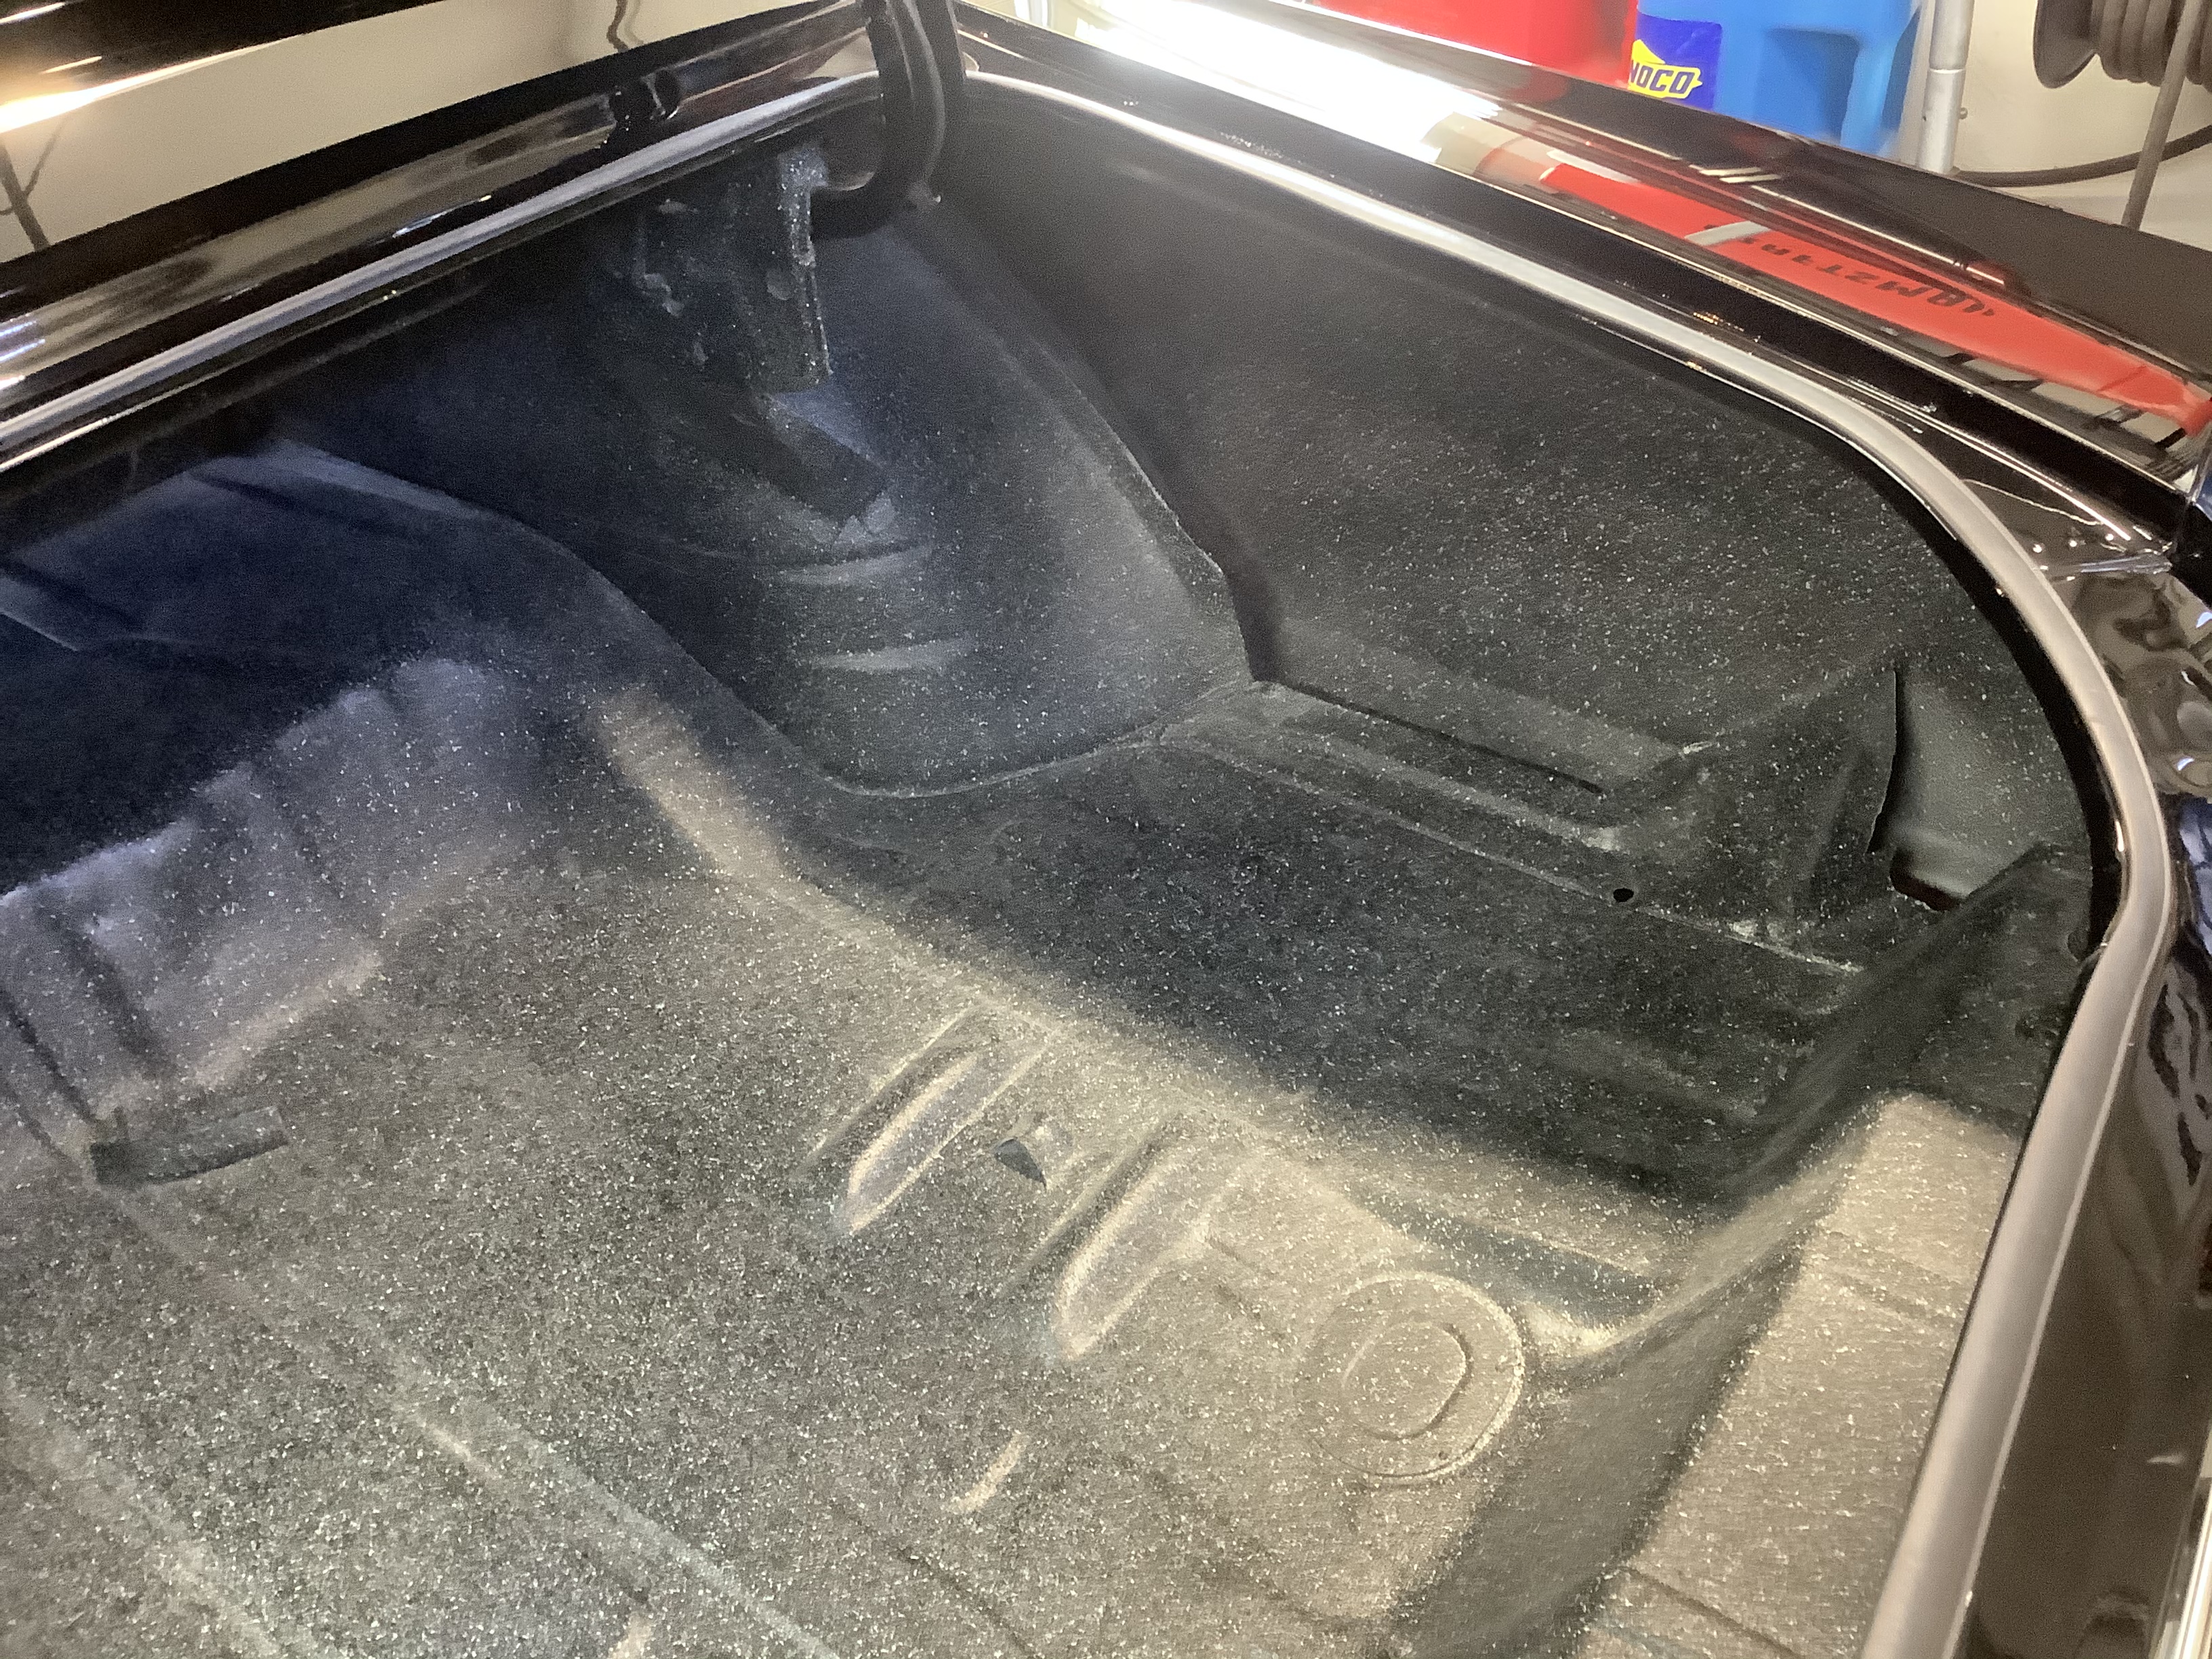
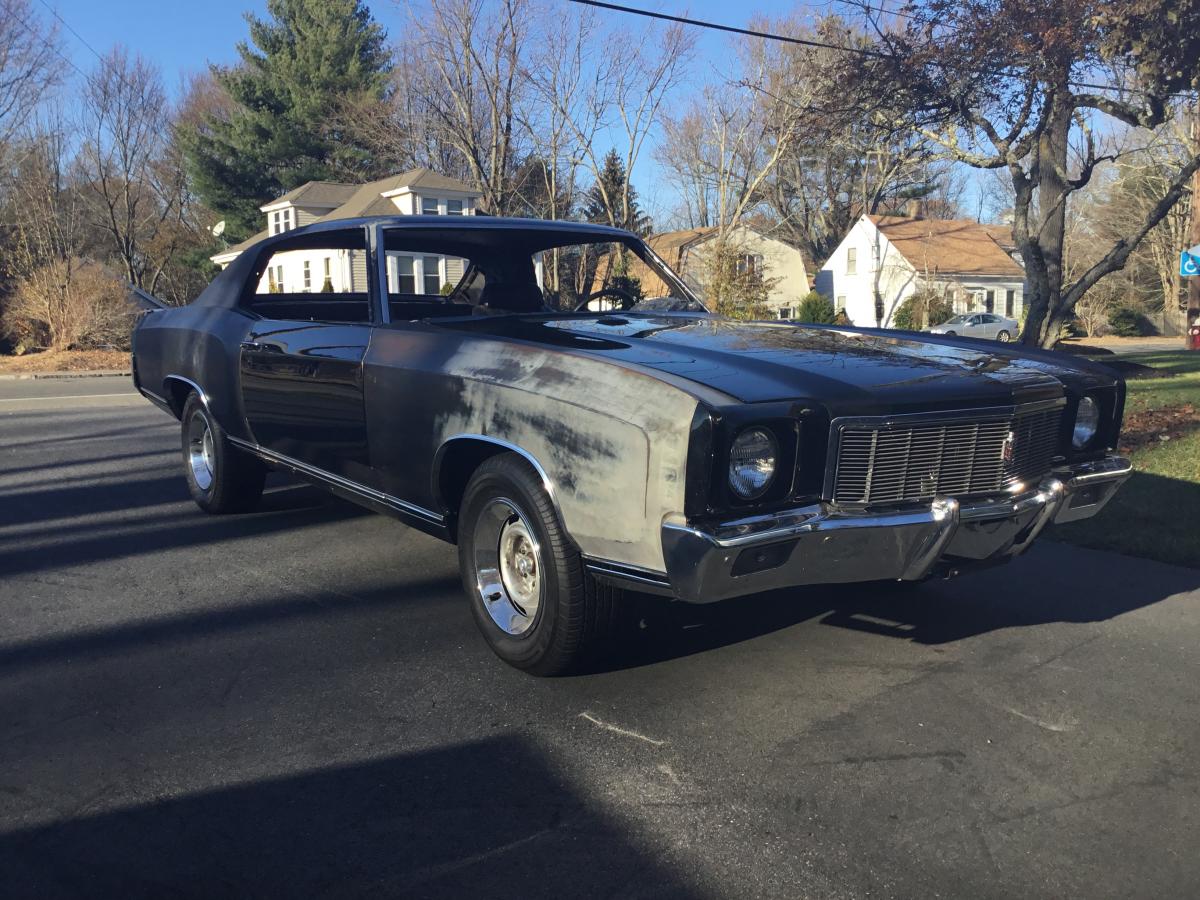
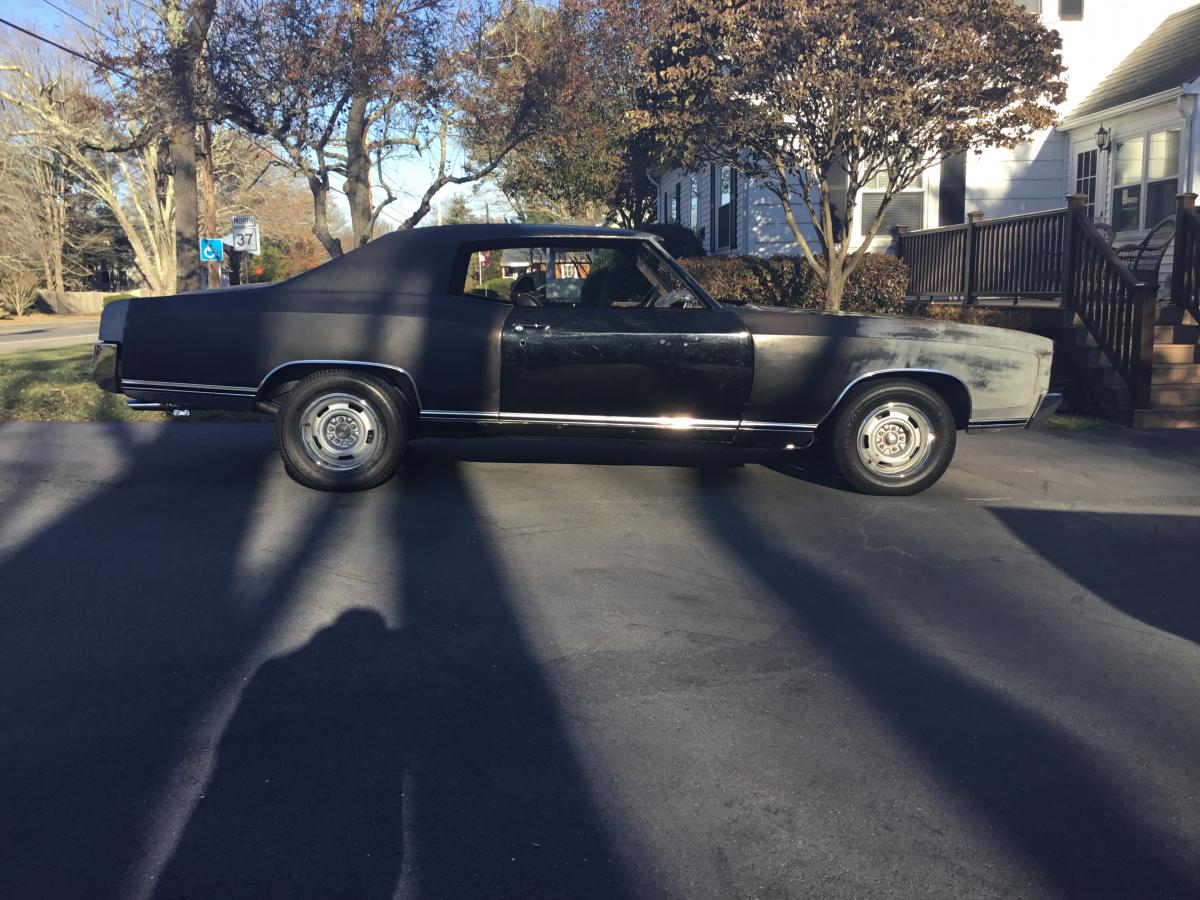
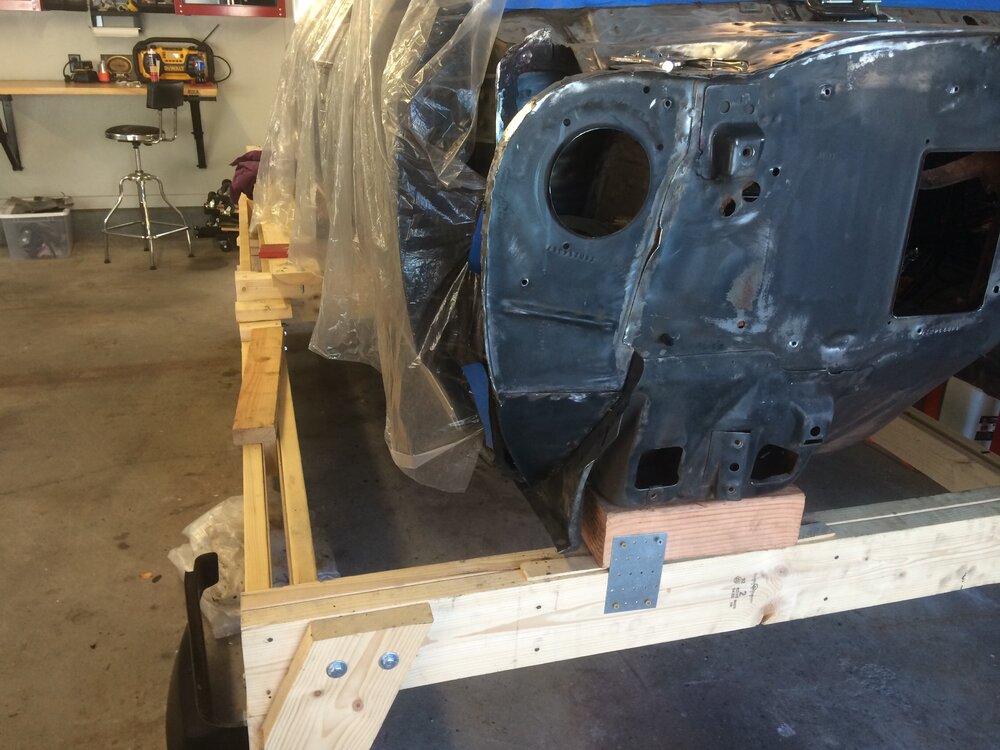
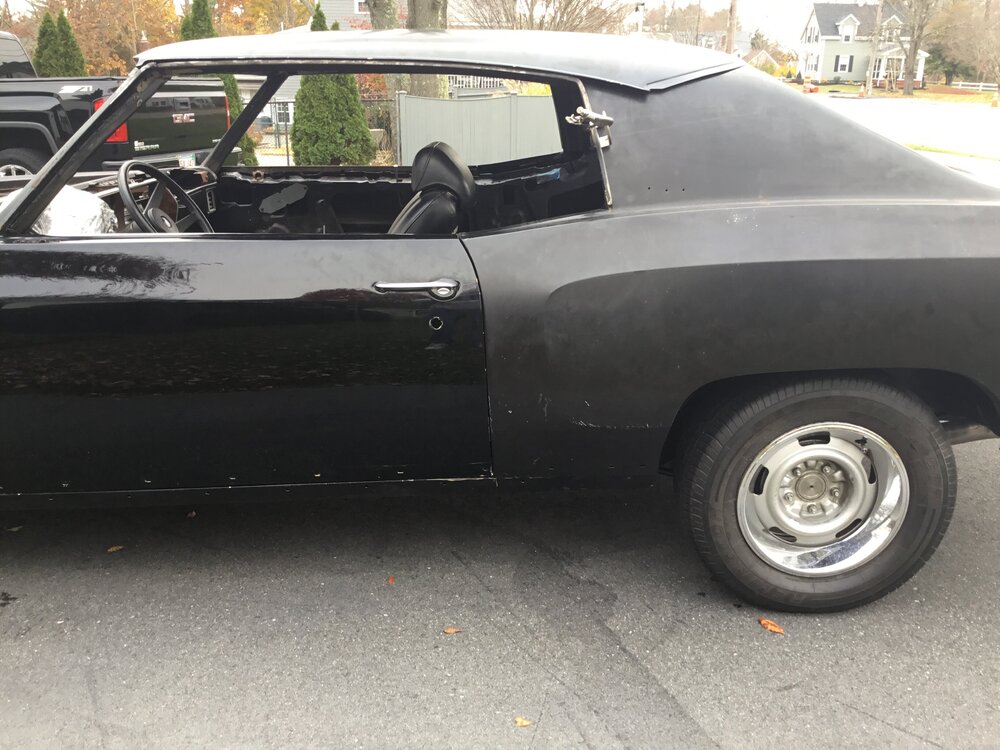
I know it's been a while but this project turned out to be bigger than I thought it was going to be. I ended up replacing both rear quarters with NOS quarters and the roof skin. Now all the rust is gone. I have mocked up the the body with the trim to make sure everything lines up properly and will be sending it out for final body work and paint soon. Here are some pictures I took. Hopefully I will have it back in the spring to put it back together for the final time.


-
Jason I pulled the body off my 71 using the engine hoist. I used chains bolted to the seat belt holes put the engine hoist through the window and hoisted it off the frame. I did have the car already jacked up a bit on jack stands which gave me clearance to get the hoist inside the window with out hitting the roof. Took about an hour to set up and I had it off the frame and sitting on 4X4's on cinder blocks within minutes. I did use an engine leveler to connect the chains to the hoist but have seen others just use the chains connected straight to the engine hoist. John
-
Sorry about the upside down pictures. It must of been how I was holding the IPAD when I took them.
-
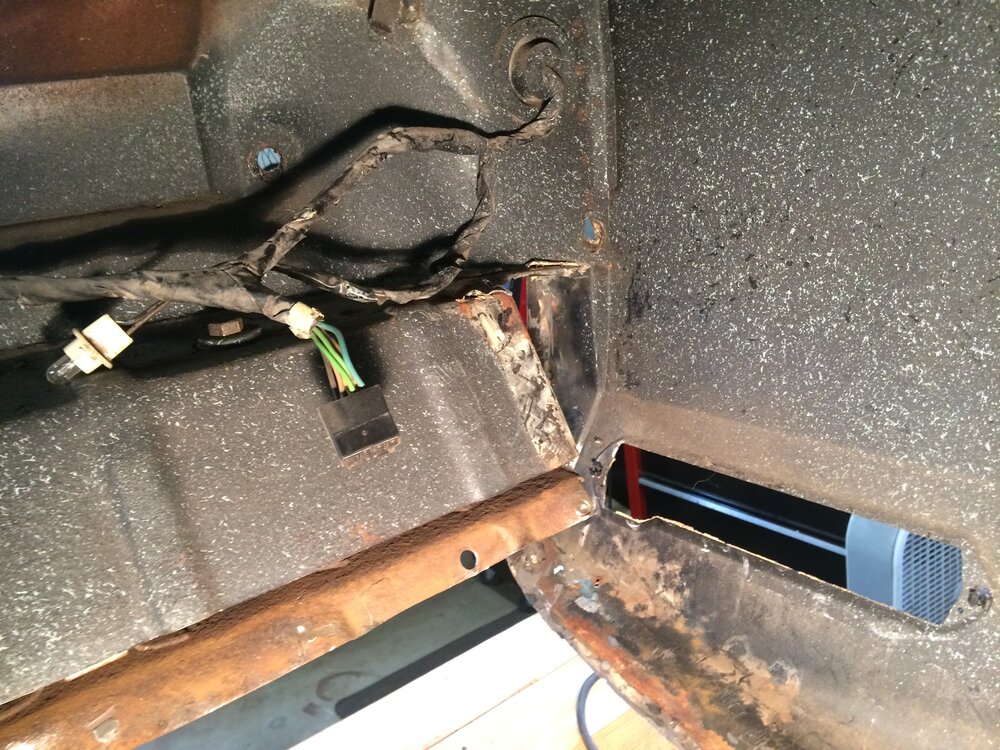
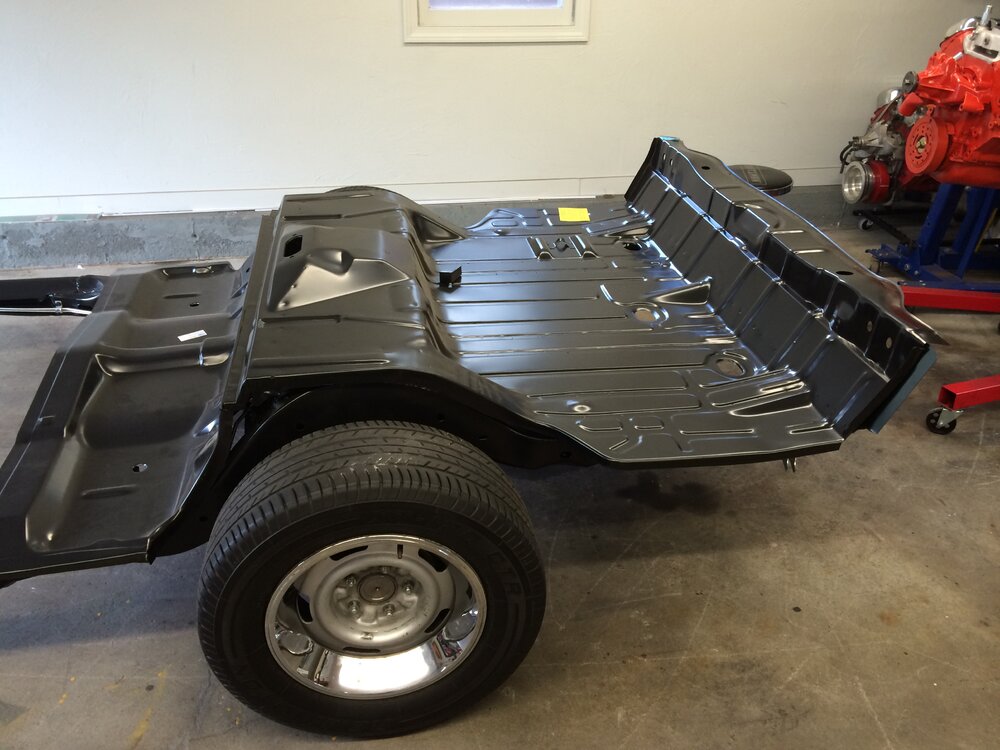
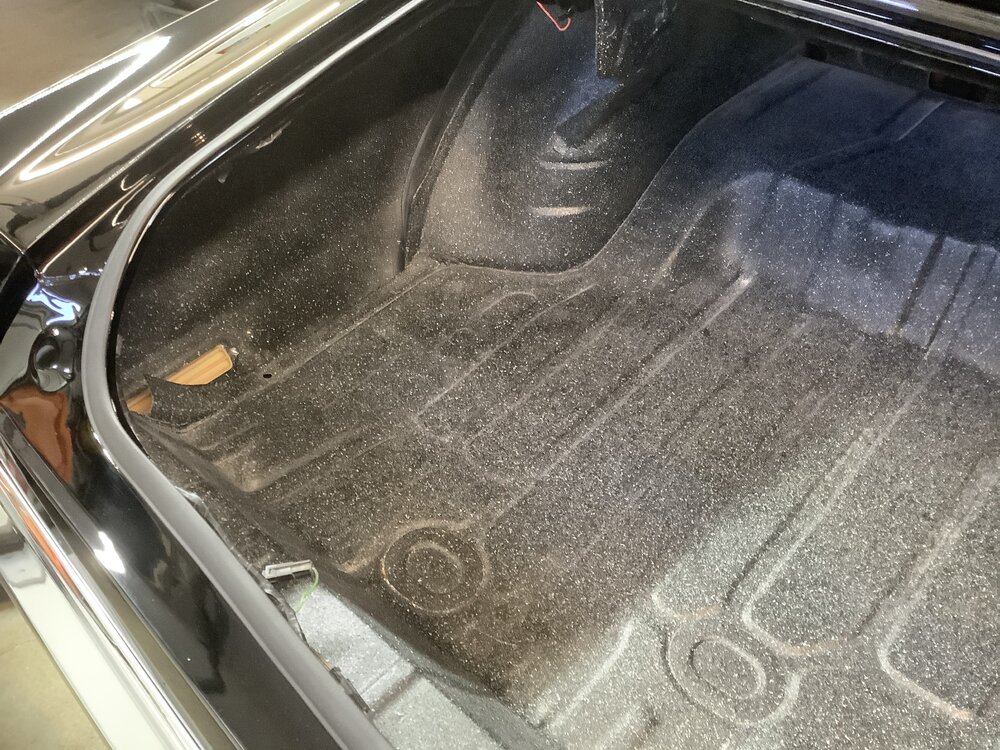
Here is an update on my restoration. I have replaced the the under rear seat pan, full trunk pan, trunk drop-offs, patched the inner wheel wells, front cowl sides to get rid of any rust. I then scrapped the undercoating off, epoxy primed and painted from the cowl underneath to the trunk. The body is now back on the frame and started the engine. It is going on two years now and at least one more if not two to finish. Here are some pictures of the progress.


-
Thanks everyone for the compliments. The paint I used after sandblasting the frame was SEM Rust Shield. Paint sprayed real easy which was a plus as it is the first time in 15 years that I have used a spray gun to paint. So far no scratches or chips just a few scuff marks during while putting it back together. I have decided that there are too many holes in the trunk to patch so I contacted Leo Konik for a full trunk pan. I saw how he has helped others in the club and when I called he was extremely helpful. I received my trunk drop offs from him Friday and they look great. I will take pictures and post as I move along. John