-
Posts
42 -
Joined
-
Last visited
-
Days Won
1
Content Type
Profiles
Articles
Forums
Gallery
Events
Everything posted by BobRob
-
Well, it's all sorted now. I picked up a cheapie multimeter at Advance Auto along with a bunch of new fuses. Blew out the fuse panel, popped in the new fuses and everything is as I thought it should be. Reconnected everything, one at a time and it remained open between BATT and ground the whole time. Checked the draw between the positive cable and the positive terminal and got nothing. Hooked the battery back up and all is right with the world. Maybe there was some crud in the fuse panel? Or maybe it was just a gremlin.. 🤔 Thanks for responding and checking your cars. This was driving me nuts and may again in the future, but at least it's working now.
-
That's the rub, since I haven't re-installed the battery, I'm not sure if I have a problem at all. I disconnected the bulkhead connector and was able to isolate the issue I'm seeing to something under the dash. The odd thing is, even with all the fuses removed, and no battery in the car, I am still seeing continuity between the BATT teminal on the fuse block and ground. My old Fluke gave up the ghost a couple of months ago so I'll have to run out and grab a new meter and see what the resistance is.
-
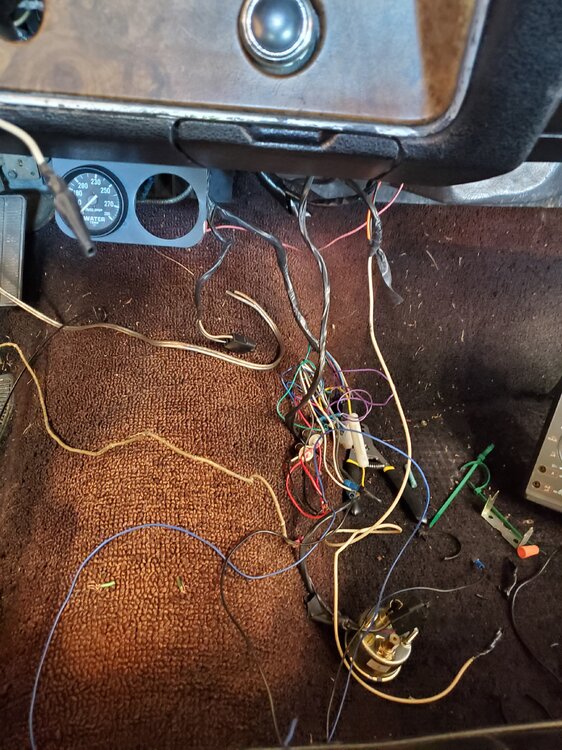
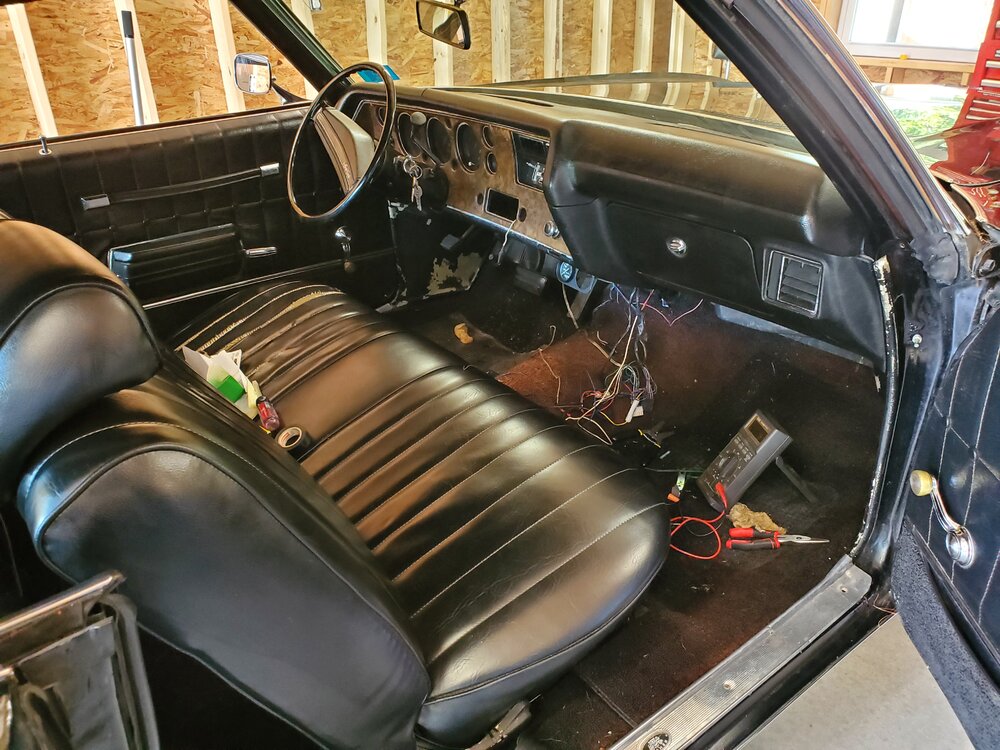
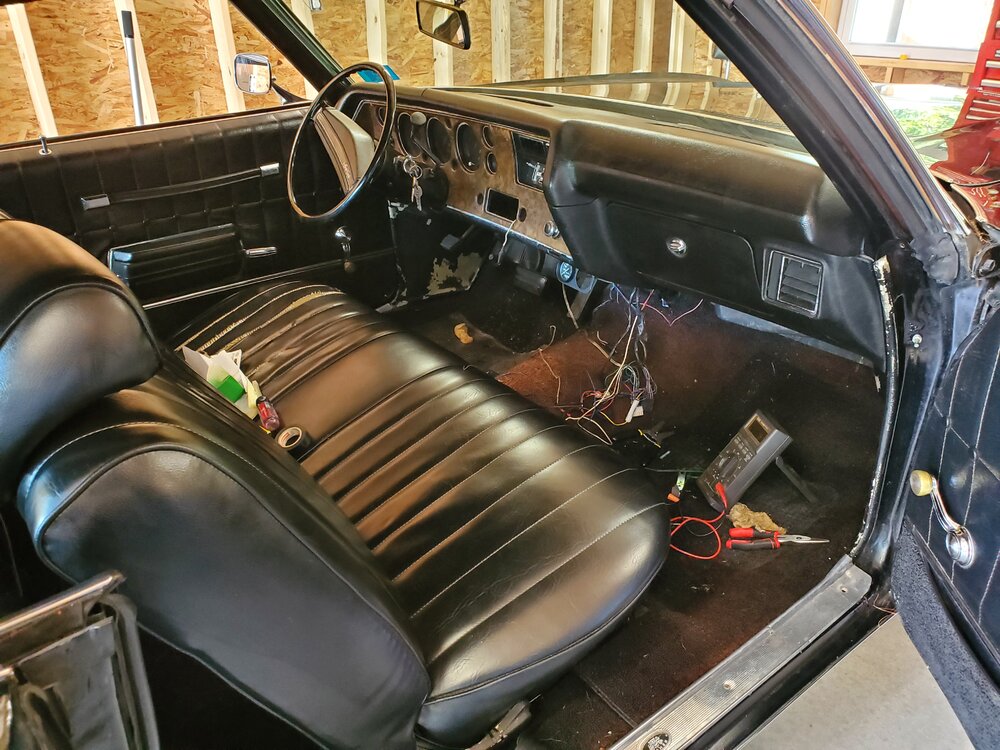
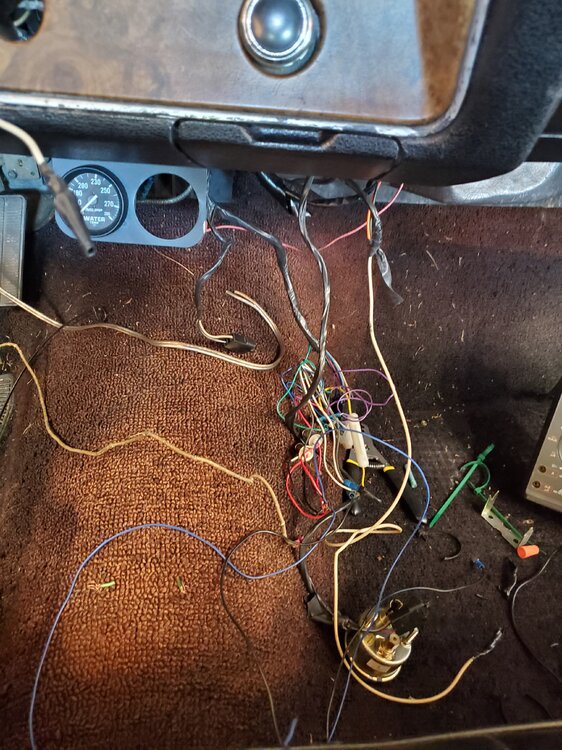
Maybe I'm overthinking this, but it's been a while since I've done extensive wiring on a 50 year old car, so bear with me... I just finished wiring in my Dakota Dash and while double checking everything prior to hooking up the battery and testing, I was checking for grounds and found the BAT terminal on the fuse block has a dead short to ground. Poking around, most of the other terminals did as well. I read between the positive and negative cables and there was continuity there. Disconnected the bulhead connector and pos to neg was now open, still dead short inside the car at the fuse block. Disconnected the D/D from the fuse block and those are now open, the grounds to the D/D are good. The only other modification was to remove the AC wiring since I put in a Vintage Air system. The wiring is straight forward with one wire going to the battery and another to the IGN terminal on the fuse block, a gouple of grounds and a heater control valve, which is under the hood. I disconnected one thing at a time (lighter, courtesy lamps, glove box lamp and anything else I could think of on a constant power circuit and no changes. Any suggestions? This is giving me a headache. Update: Tried the old test light trick (disconnected battery then put a light between the + battery cable and + battery terminal). Test light was bright as all get out, then realized the headlight switch was on(oops). Test light dimmed significantly after shoving it in. Pulled the fuses one at a time and it made no difference whatsoever. Seems something is pulling current in the car associated with that BATT circuit, but not anything fused. The question remains though, should there be continuity, at all, beween the BATT terminal on the fuse block and ground? I'm hesitant to connect the battery until I get this sorted. Any advice would be greatly appreciated.
-
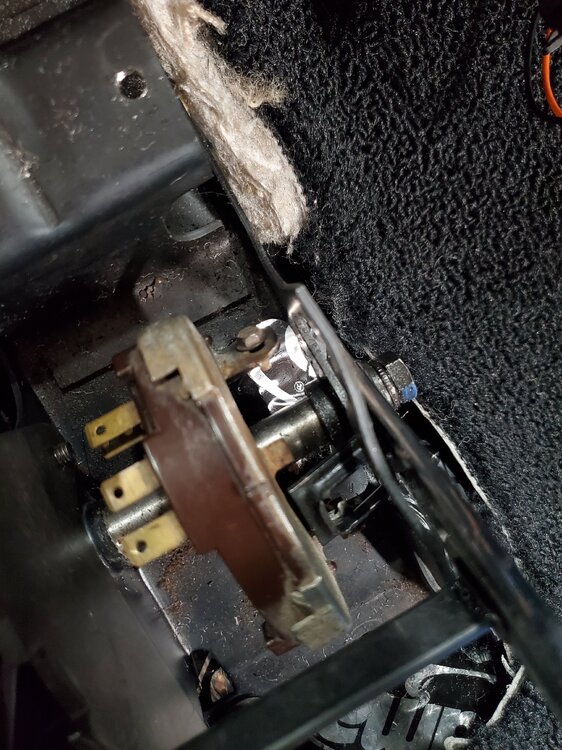
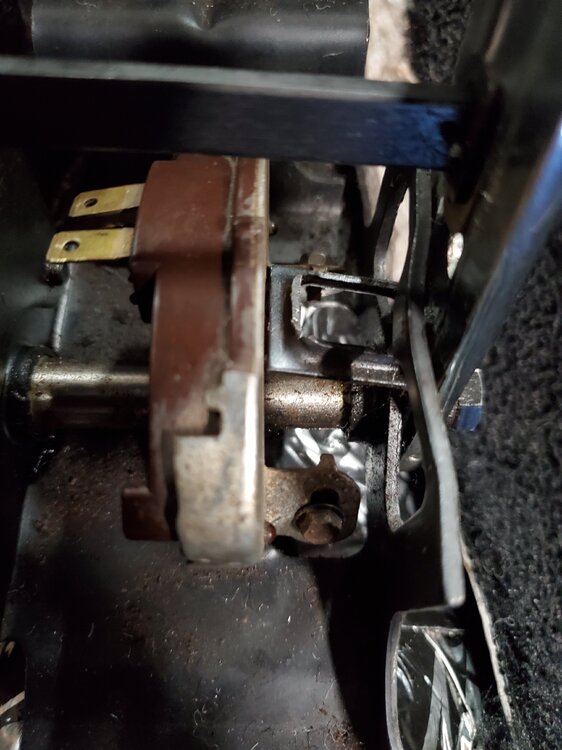
I'm moving the shifter to the floor and according to OPGI, I should be able to easily move the neutral safety switch from the column to the floor. Yeah, I can bolt it in, but the switch obviosly wont work like this since the switch wont ride in the slot attached to the shifter: Is there a different NSS for column shift vs floor shift cars? The few pics I've seen seem to indicate so, but before I go ordering something, I figured I'd consult the experts here. Thanks in advance!
-
Turns out by paying up front I got put to the head of the line per the email Dakota sent, so maybe not too long. Besides, while cleaning up the dash components today, it dawned on me that the A/C vents were ratty and missing a couple vanes. So, after a bit of a Google, those are on the way along with the rest of the minor components, like lock nobs, window cranks, coat hooks etc... I finished installing the rest of the Dynamat on the floors today without cutting myself. A small victory while I wait for parts, yet again.
-
More like an avalanche in my case! Fortunately, parts and materials are relatively easy to come by online. My typical weekend has me making a list of parts and materials, putting them in my online cart and ordering Sunday after dinner. By Friday, Santa Claus has come by and dropped of a box-0 goodies to keep me busy over the weekend! I recieved an email from Dakota stating there is a lead time for the RTX of up to 12 weeks! I hope that was just a canned response to orders being placed, but if that's the reality, again no biggie, summer is a long way off!
-
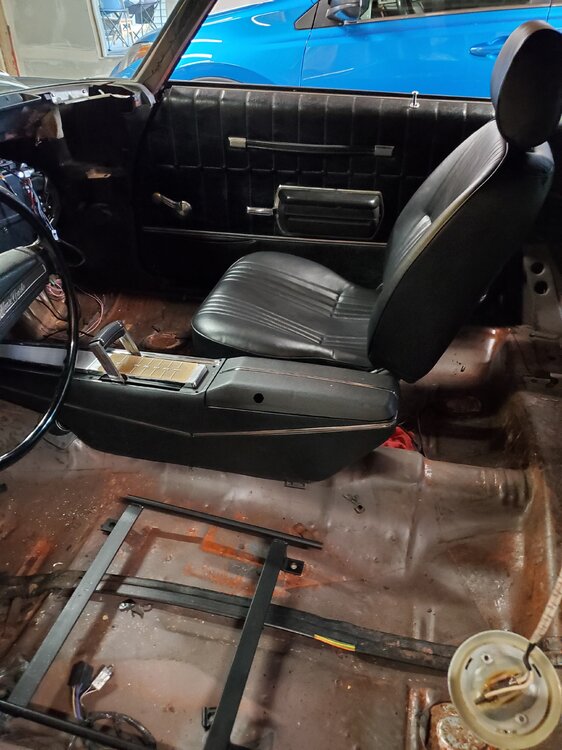
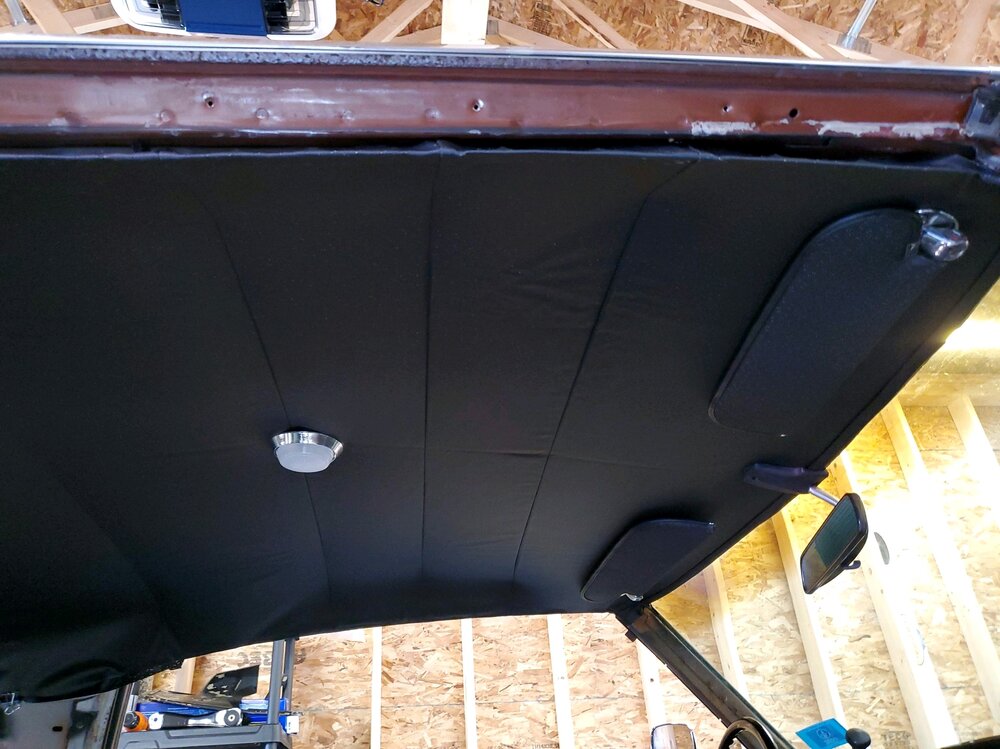
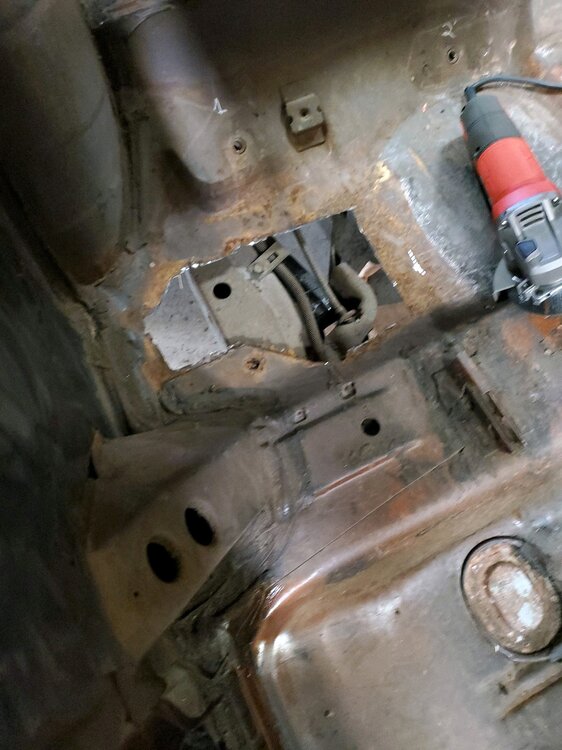
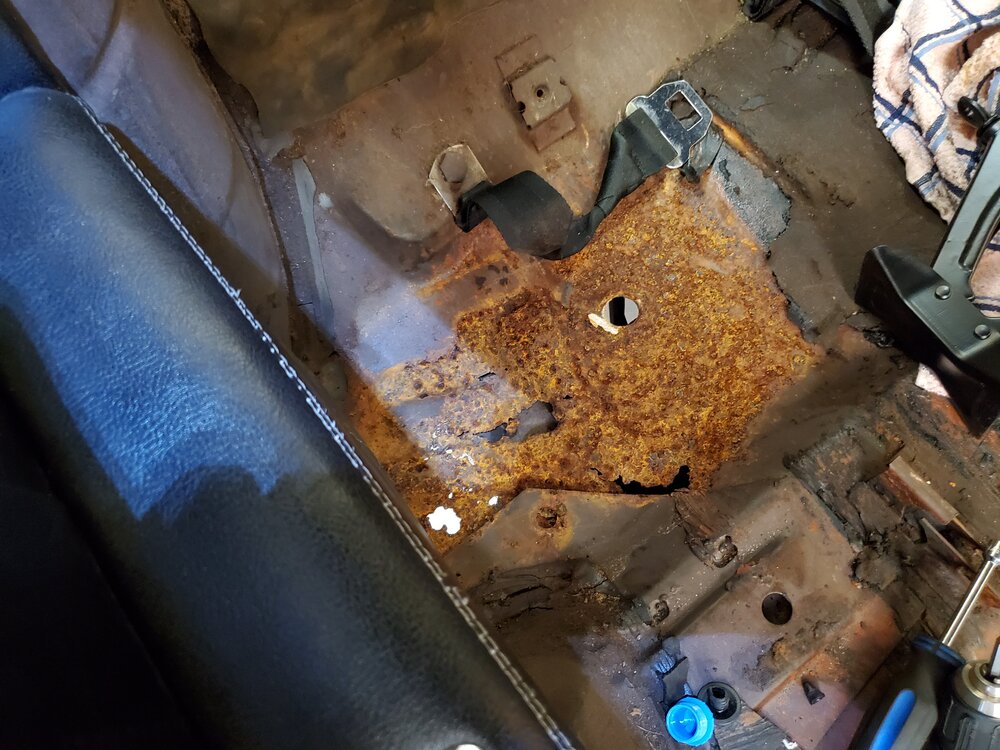
Had a chance to start mocking in the seats, shifter and console. I'm still waiting for the drivers seat and a few odds and ends but overall, pretty pleased with the the way it's looking Got started on the headliner also. First time I've installed one and I'm pleased with the results so far. I'm still needing a few parts to finish, namely the new seat belts, sail panels and the window gaskets. Got a hint of the original color and decided to repaint the car next year. The classic copper is just too gorgeous Also, cut out the rusted spots under the rear seat and welded in patches, painted and installed Dynamat. Also, I went ahead and ordered a Dakota Dash (RTX) to replace the stock instruments and a Retro Sound Laguna radio with from and rear speakers. Seems like every time I go out to the car to fiddle around, I find 5-10 other little things to take care of of "while I have it apart". No biggie, summer is a ways off..
-
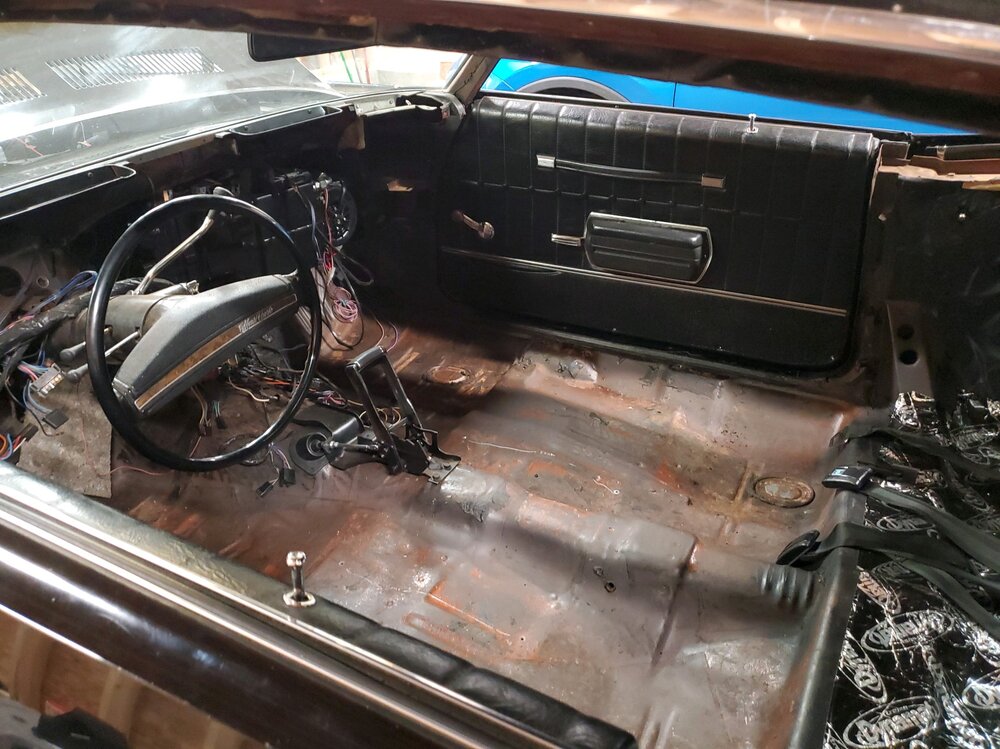
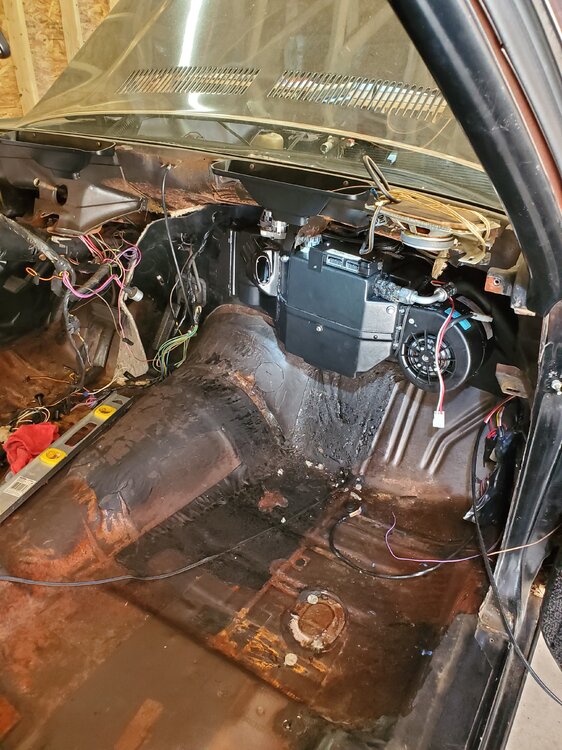
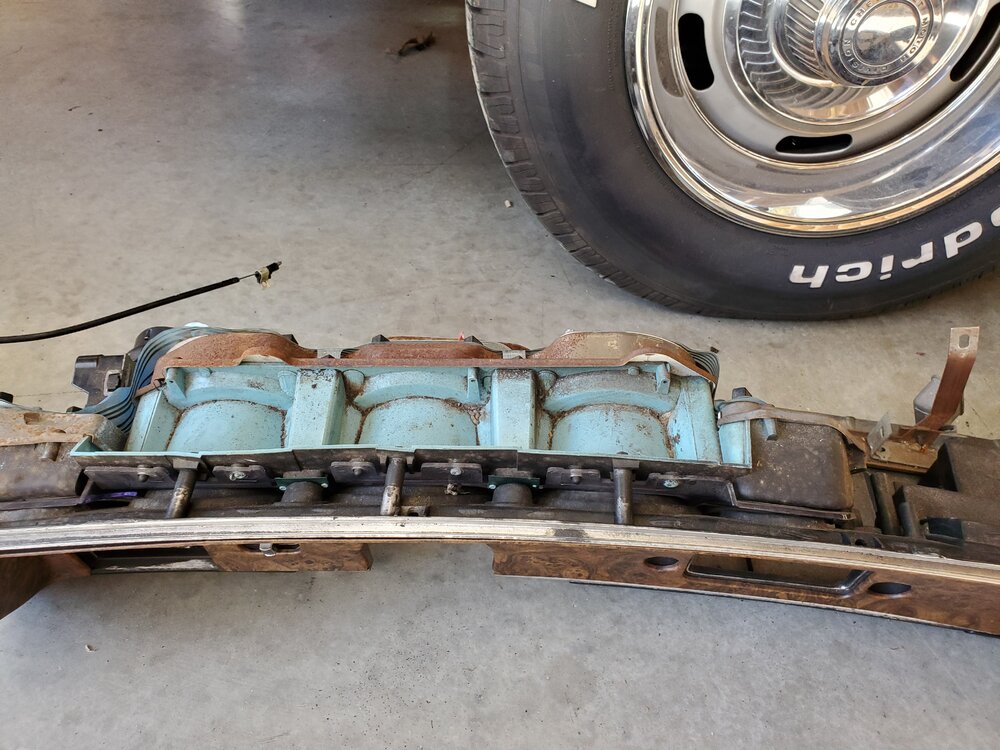
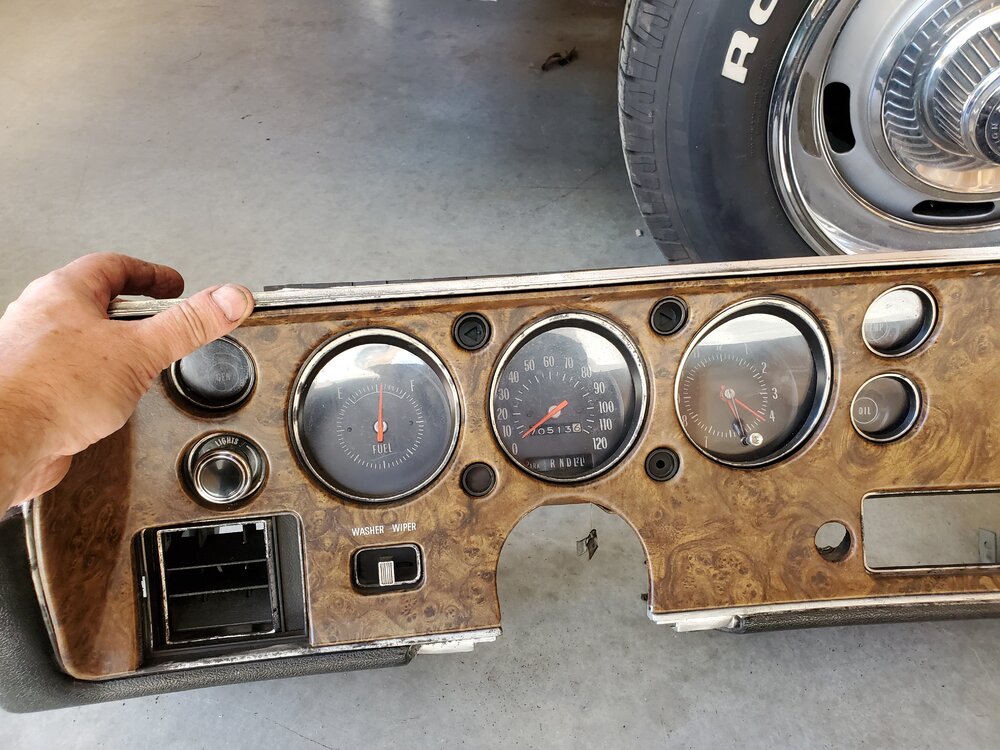
Last weekend I replaced the rear lower control arms and this weekend, I decided to rip the interior out and get started on the Vintage Air system. I was able to get the hoses routed and the evaporator case installed, and the firewall insulation replaced. A little tip to anyone contemplating one of these systems, both heater hoses need to be 5/8", so you'll need to replace the 3/4" nipple as well. I wasn't aware of this until it was almost too late. The only issues I found under the carpet was this area under the passenger side of the rear seat. I'll be replacing that section sometime in the next month or so. The instrument cluster looks pretty rough. My plans were to replace the clock with a tach and insert guages in place of the idiot lights, but now that it's apart, I'm thinking I may go with a Dakota or something similar. As usual with these older cars, one project turns into several. Fortunately for this car (and me) there are more wants, than needs which makes it a lot more fun.
-
Thanks for the replies. I replaced the trunk seal today and oddly, that seemed to have helped but it still has a hollow, tinny sound. I'll try the seam sealer and report back.
-
Does yours sound tinny when you close it? I've had several Monte Carlos ranging in years from 1970 - 2001 and am surprised how tinny my current (71) trunk lid sounds when I close it. My very first Monte was a '73 and everything on that car seemed solid and opened/close with authority. I bought this car about 3 months ago and it doesn't seem as solid as my previous 1st and 2nd gen Montes. Granted it's been 40 years since my first Monte but..... Am I the victim of false memories or do I have a cruddy aftermarket lid?
-

What did you do to your Monte Carlo today?
BobRob replied to Canuck's topic in General 70-72 Monte Carlo Forum
-
Love watching the progress on this, keeps me inspired for sure!
-
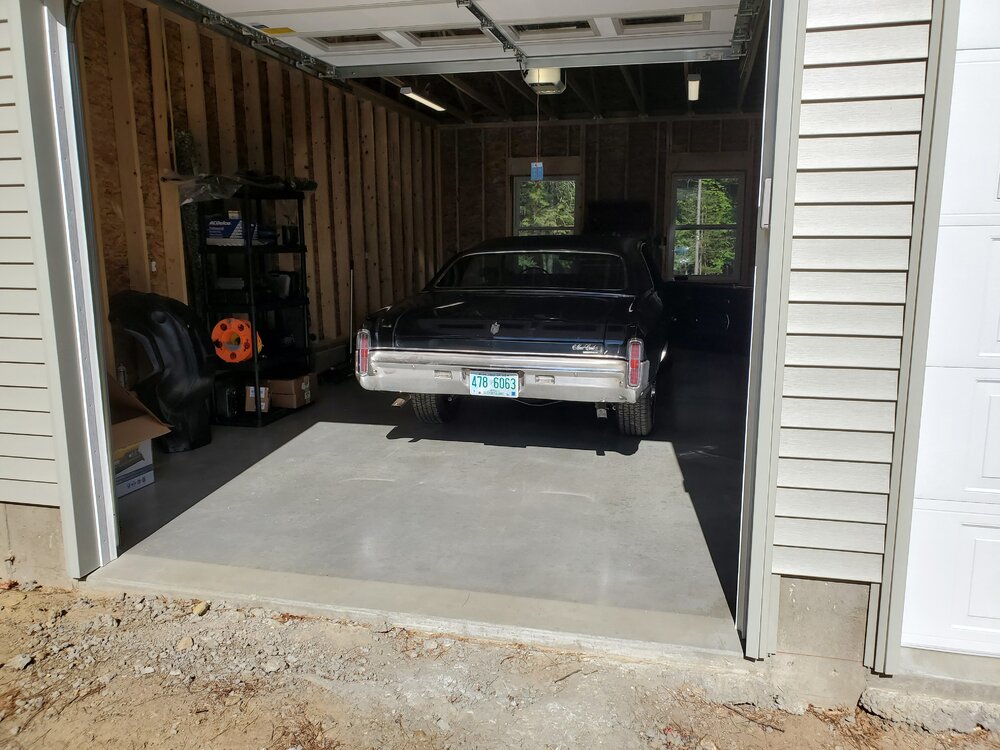
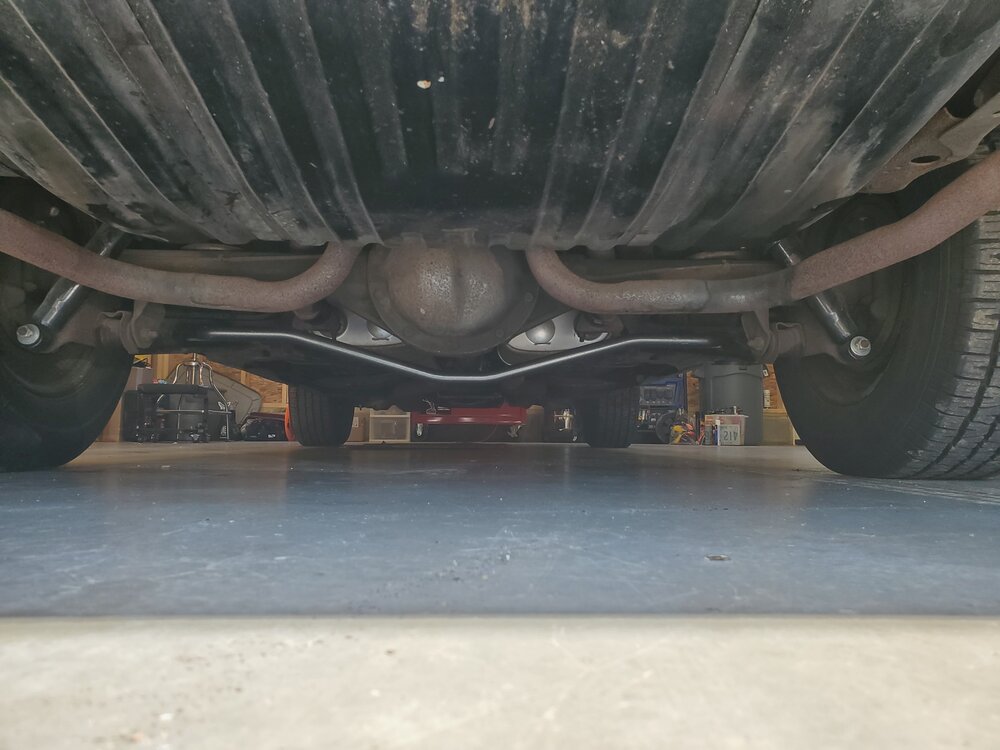
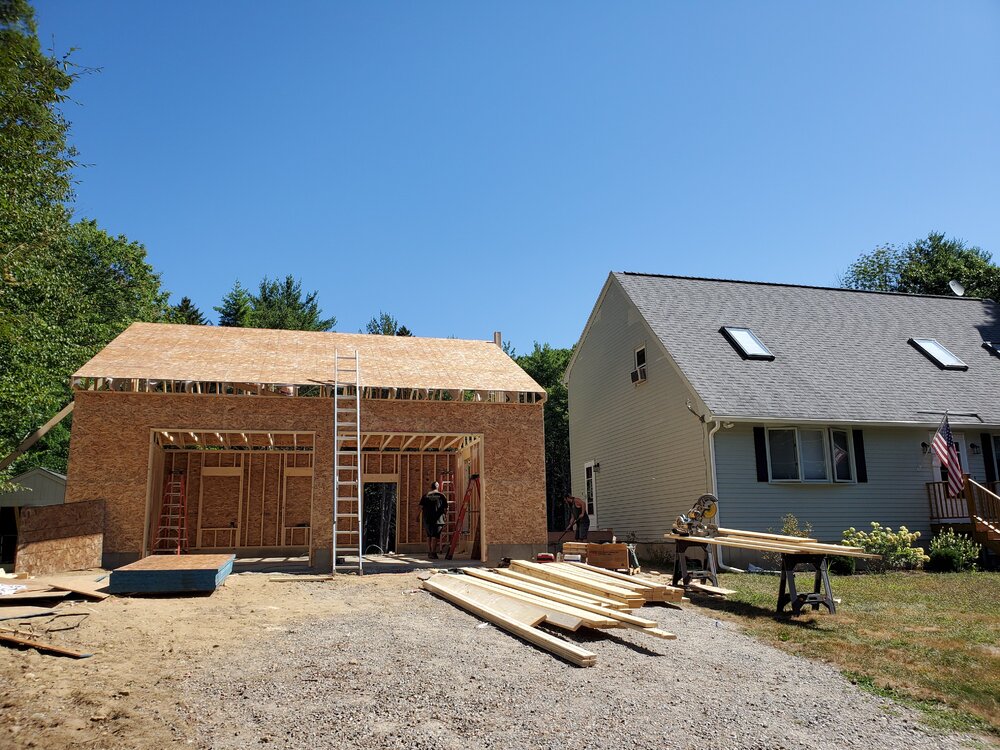
The garage is done, well....close enough for the Monte. First order of business was to install a rear sway bar. Had to drill the lower control arms since it wasn's origionally equipped. They aren't boxed and the bushings are worn but I needed a win and this was definitely an improvement. It's no Ferrari but the body roll and sloppiness is mostly gone. I have new upper and lower (boxed) control arms on the way but it was nice to get a taste of what's to come. Next I started looking at the disaster wiring job. A previous owner had installed an aftermarket "system", using a harness that can only be described with a hearty "WHAT?". I was able to successfully extricate this mess, but unfortunately, the original wiring harness has been butchered to the point it will need to be replaced. All of the original connectors are gone and some has been re-routed to parts unknown. I have a new interior with buckets and console to install this winter as well as the Vintage Air system. For the time being, I'm just fiddling around and leaving the car drivable until its winter nap and the major surgery begins.
-
I did some googling and am pleasanlty surprised at the cost. I don't think it's in the budget this year but next spring for sure.
-
Thanks... The ceiling height is about 12', no plans to install a lift.... Yet😬
-
-
Great, thank you! I bookmarked the site and will have to peruse it later tonight.
-
From my searching and an inquiry to OPGI that has gone unanswered, there doesn't appear to be one for the SBC, only th BBC.

