GermanMonte
-
Posts
47 -
Joined
-
Last visited
-
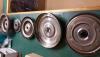
I built the tool at work, since I wasn't willing to spend a [censored]load of money on something I only need once in a decade. It works very well, but you have to calibrate the dial with gauge blocks to a known length / depth before you can use it. Got the gear set dialed in in the meantime. Now waiting for spring to arrive to go on the first test drive.
-
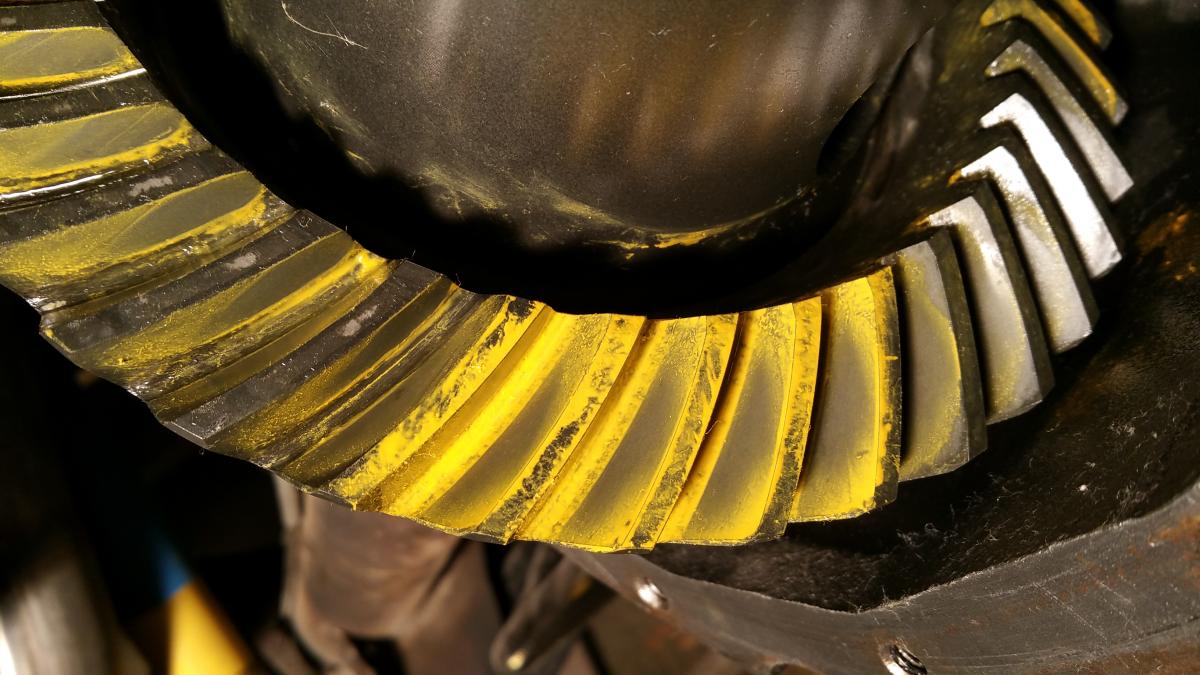
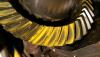
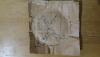
Hello from Germany, I'm opening this topic because I'm looking for some advice from the more experienced guys when it comes to ring and pinion gears. Just lately I got a new ring and pinion gear set from US Gear for my 1971 Monte. It's a 4.11 ratio for 3 series carriers, sotting behind a 200-4R transmission. US Gear calls for a pinion depth of 2.853" and backlash between 0.008-0.012". With my pinion depth gauge I managed to dial it in at 2.852" with a total shim thickness of 0.036" behind the pinion. Backlash is set at 0.010. This is how the pattern looks like: I know it's a bit toe heavy on the drive side, but with the 427 sbc up front it sure doesn't hurt to have it set up like this. What do y'all think about the pattern? Improvements required? Thanks! Robert

-
Thanks for the answers. I'll dig into the wiring next weekend.
-
Headlight grounds are good. Gotta check the grounds behind the dash - thanks for the heads up! I made an experiment today: Supplied the bulbs up front and in the rear with a proper ground wire directly from the battery: neither a change in voltage nor in brightness. After that I removed the auxiliary ground wire and ran a wire from the positive side of the battery to the bulbs: Voila! Voltage came up and so did the brightness of the bulbs. The source of the problem must be on the positive side then I guess. Sounds like I'll have to examine the wiring behind the dash...ugh!
-
The sensor should be a little bit behind the collector in a 9 - 3 o'clock position for the best results. I'd say you can use it where it is now to get the first results. 13 at cruising speeds is a tad rich. I'd shoot for around 14 at idle and 14-15 at cruise. There's no need of flooding the engine with gas at very low loads cruising around. You can go up on the idle air bleeds to lean out your cruise or down on the idle feed restrictors. I had the same "going lean while coming to a stop" condition before I put the idle feed restrictors from the high position to the low position in the metering blocks. With a big cam and low vacuum the engine has a hard time pulling the fuel up the idle well. Lowering the IFRs sure helps! What do the readings from cruise to part throttle look like? Does the idle / transition circuit blend into the main system properly without going rich as hell?
-
I'm currently chasing down a low voltage condition in my Monte Carlo and I'm eventually running out of ideas. I get 12.5 volts at the battery posts with the engine off and only 10.5 volts to the lights (front and back). I can see the dome light dimming when stepping on the brakes or switching on the lights. When the car is running I get a nice 14.2 volts at the alternator and the same at the battery, which sits in the trunk. The positive side of the battery is connected to the starter with a heavy 3 awg wire. For grounding I've ran a 3 awg wire from the battery to the engine block, another wire from the heads to the frame and a third one from the negative battery post to the body (in the trunk). I've checked the wire from the positive terminal of the alternator to the junction on the front passenger side where the battery was: 0.2 ohms. From there I followed the heavy red wire that runs to the bulkhead connector of the fuse box: 0.1 ohms. I also disassembled both the ignition switch and the light switch which both looked good inside, cleaned the contacts and put them back together. Still, only 10.5 volts at the lights. Is there another factory ground wiring or switch / relay that I overlooked? I hope it's not the copper worm freaking out somewhere behind the dash :-/
-
I know the more experienced carb guys may see things differently, because they got carbs right even before I was born, but get yourself one or better two A/F widebands and a vacuum gauge. It makes tuning a carb so much easier. I've spent almost two years of tuning on my QuickFuel SS750 carb on a 427 SBC with the help of two A/F gauges and some very experienced guys from this and the Yellowbullet forum. The A/F gauges help you to see the effects of little changes and modifications and take out a lot of guesswork plus the experienced carb guys can tell you which way to go once they see your readings combined with the corresponding engine speeds and load levels.
-
I have them in my 71 and they're perfect.
-
Car engine temps extremely high in stop and go traffic.
GermanMonte replied to Rock's topic in Engine Tech
The belt driven fan is fine as long as the clutch is in good condition. Lots of older engines suffer from lime and rust in the cooling system, thus preventing a good heat transfer from the engine to the coolant and from there to the radiator. You can clean the cooling system with water and citric acid. I just did that at my Dad's 1964 Cadillac. The acid cleans out rust and lime and does not hurt the metal parts in the system if done properly. Mercedes Benz sells citric acid for this exact procedure. The only downside of cleaning out the cooling system like this is that small leaks that got sealed up with lime or rust over the years may show up again. I can recommend it though. It worked for me. My dad's Cadillac had the exact same symptoms and runs like a champ now. No more overheating in traffic or while idling. -
I damn sure got a kick out of it :-)
-
No worries! Jared supplied me with a [censored]load of plastic clips I bought some aluminum rivets for.
-
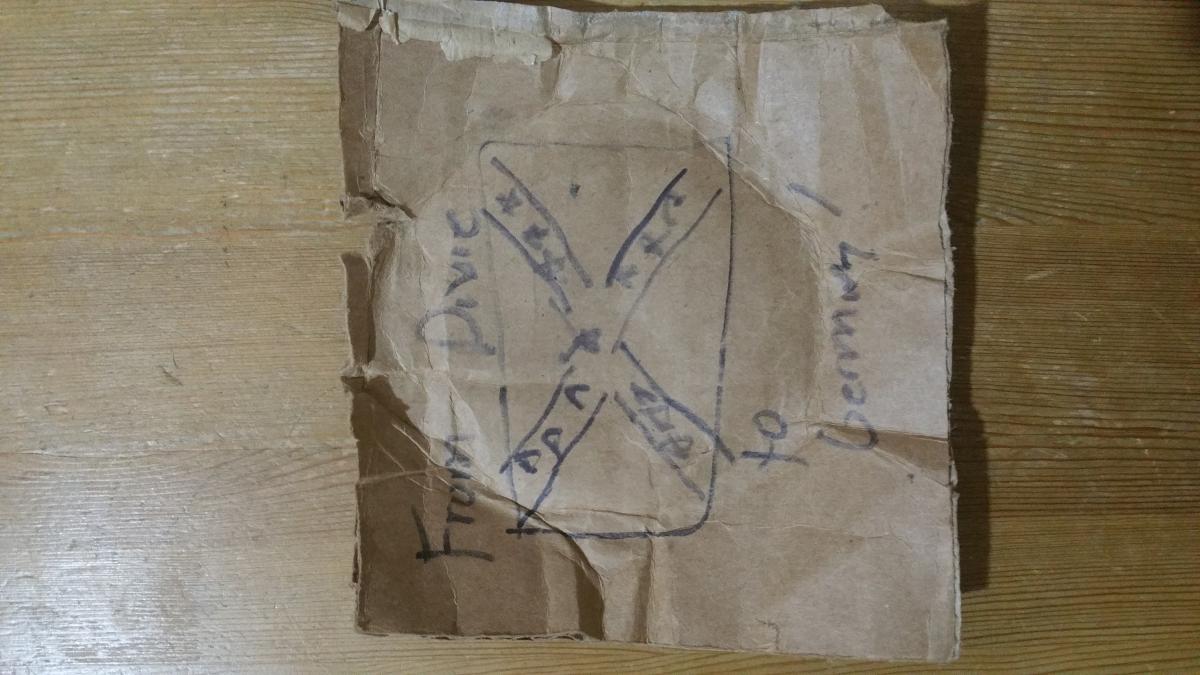
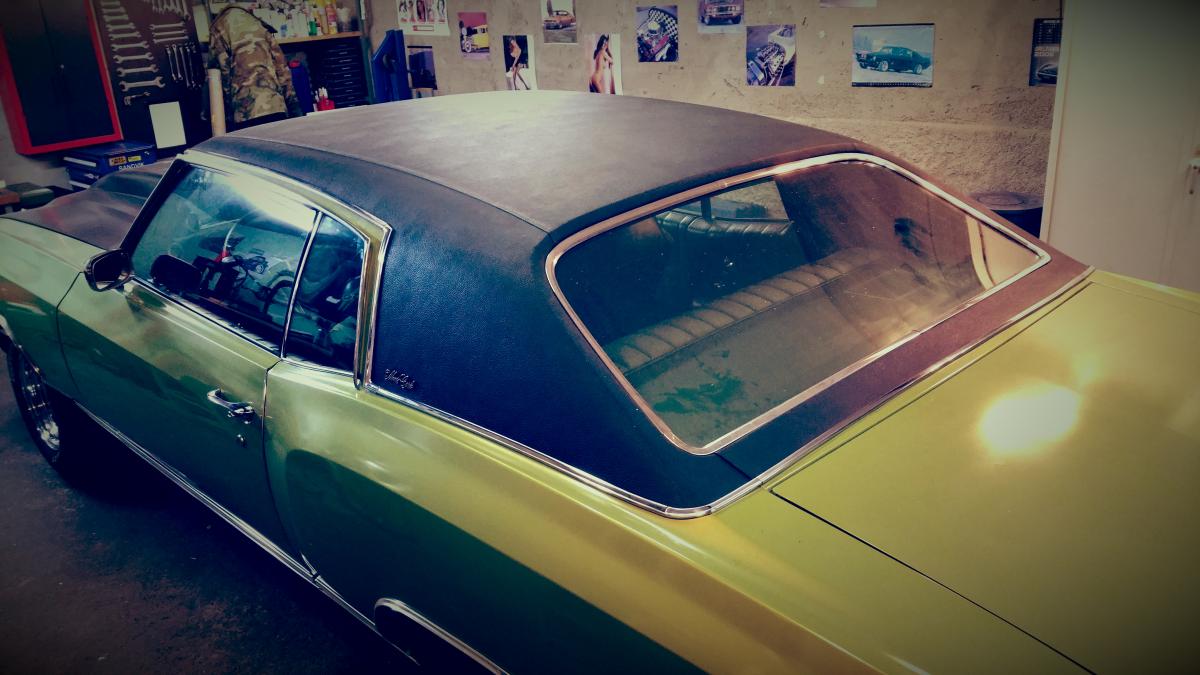
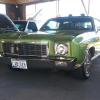
From Dixie to Germany! Thank you, Jared. The roof looks so much better now with shiny metal trim instead of crappy plastic stuff!

-
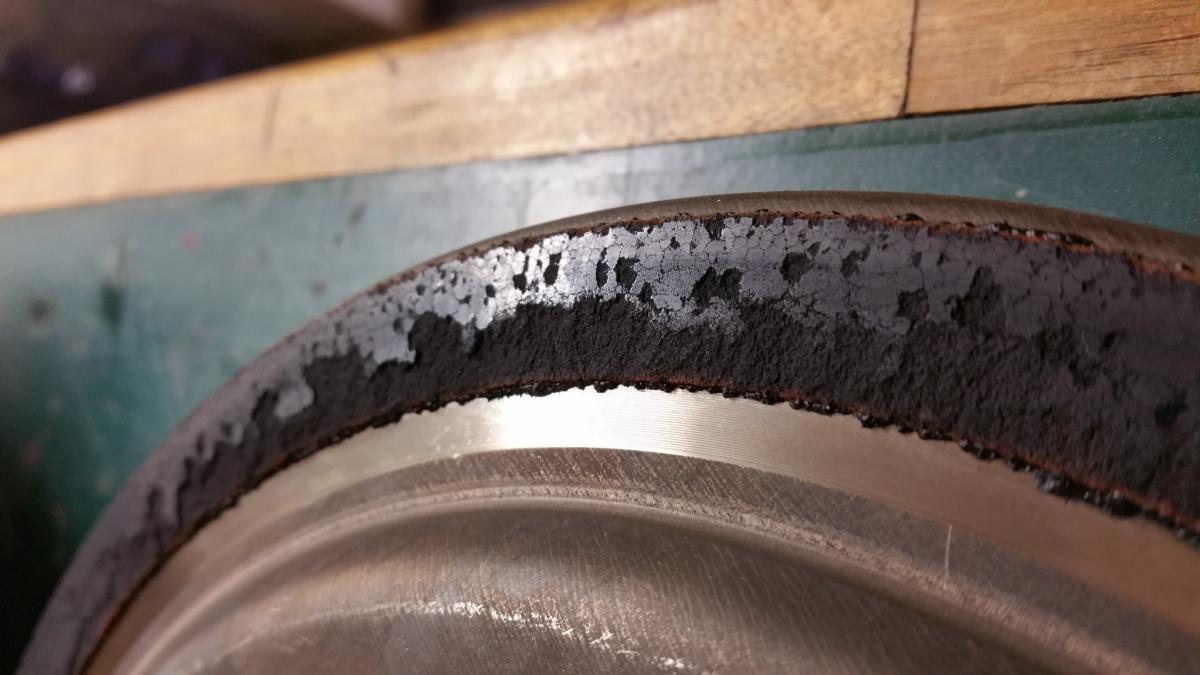
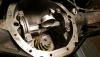
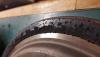
Today I had the converter cut open at work. The clutch lining looks a bit toasted to say the least.
-
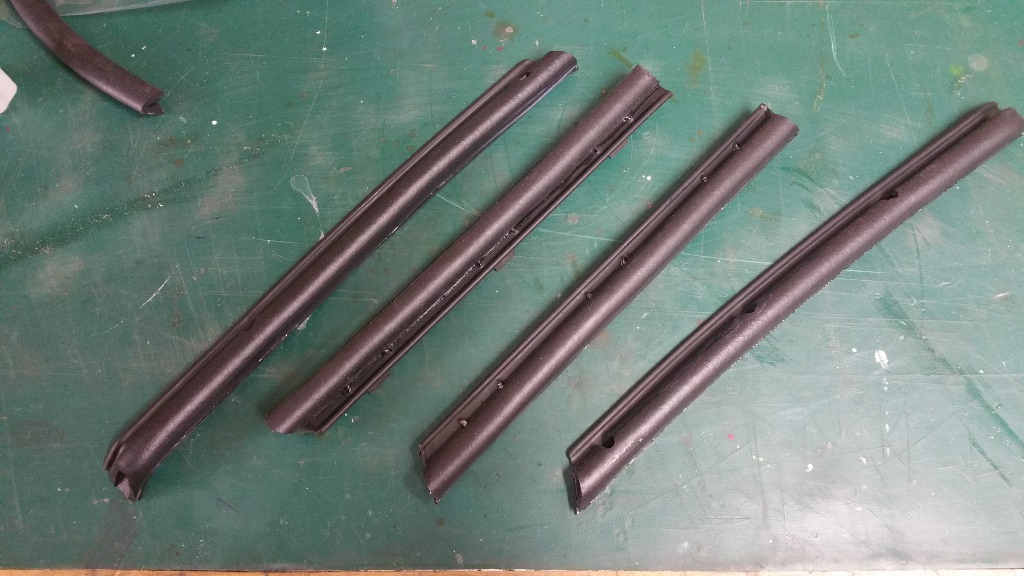
Here's what it looks like: I bought some foamed rubber by the meter and cut it to length. It's a bit more narrow than the stock seals, but it was the only stuff available with a thickness that's close to the stock parts. I glued the new seals to the support plates with a special rubber glue. On the car you can hardly tell a difference to the original appearance plus they seal the window perfectly.
-
Hey, sorry I didn't go into detail any further. I should have responded a long time ago. My fault! It turned out that it really was just the converter. I didn't drive the car much last year, but the problem was gone with the new converter in the transmission. I will have the damaged converter cut open here at work soon. Maybe I can find out what the reason was for it to slip under load and higher temperatures. The internals of the tranny looked good. No burned clutches or bands, just a bit of tcc lining remains in the pan. I took it easy on the tranny for the first few miles, but hammered it a few times after monitoring the line pressure and the temperatures for a while. So far so good. Robert