BobW
-
Posts
215 -
Joined
-
Last visited
-
Days Won
3
Other groups

1 Follower

Recent Profile Visitors
1,292 profile views

.thumb.jpg.7a3ac5094fbad913fb873614cbf51f97.jpg)

BobW's Achievements
")


-
You need H4/9003 LED bulbs with the Hella's. The Sylvania 6024's are sealed beam halogens.
-
I bought these 3 years ago: https://www.amazon.com/Hella-002395031 They fit properly, look like a standard headlight and have a nice clean flat cutoff, no scatter. I use a standard low/high LED and have never been flashed by oncoming traffic. I live semi-rural and travel many 2 lane country roads and really appreciate having clean white light on the road.
-

Air Conditioning Restoration Part II
BobW replied to Rob Peters's topic in General 70-72 Monte Carlo Forum
So...it's been a minute! While recharging we kept having the compressor seeming coming on and off, belt squealing with each restart, acting as if it was a fluctuating high pressure situation! Note this is a friend with gauges, not a shop. We tried different amounts of freon charge with no change. Google search indicated it might the expansion valve might be to blame, though it was new, I replaced it. No change.... 🤨 Yesterday I took the MC to a shop. Turned out the Sanden compressor clutch was at fault. They reshimmed the air gap in the clutch and all is well, and cool! 😁 🥶 -
Dual Diaphragm vs. Single Brake Booster Opinions
BobW replied to curtish57's topic in Brakes and Suspension Tech
I installed a Hydroboost system. I can now lock up the brakes on this 2 ton barge! Can you? Not cheap, but effective and safe.
-
Air Conditioning Restoration Part II
BobW replied to Rob Peters's topic in General 70-72 Monte Carlo Forum
Thanks Rob, I'm sure it will be significantly better than it was, especially after seeing the airflow blockage on the old evaporator. Vac & charge appointment on Thursday, I'll report back then. -
Air Conditioning Restoration Part II
BobW replied to Rob Peters's topic in General 70-72 Monte Carlo Forum
Too late now............ 🤔🙄 -
Air Conditioning Restoration Part II
BobW replied to Rob Peters's topic in General 70-72 Monte Carlo Forum
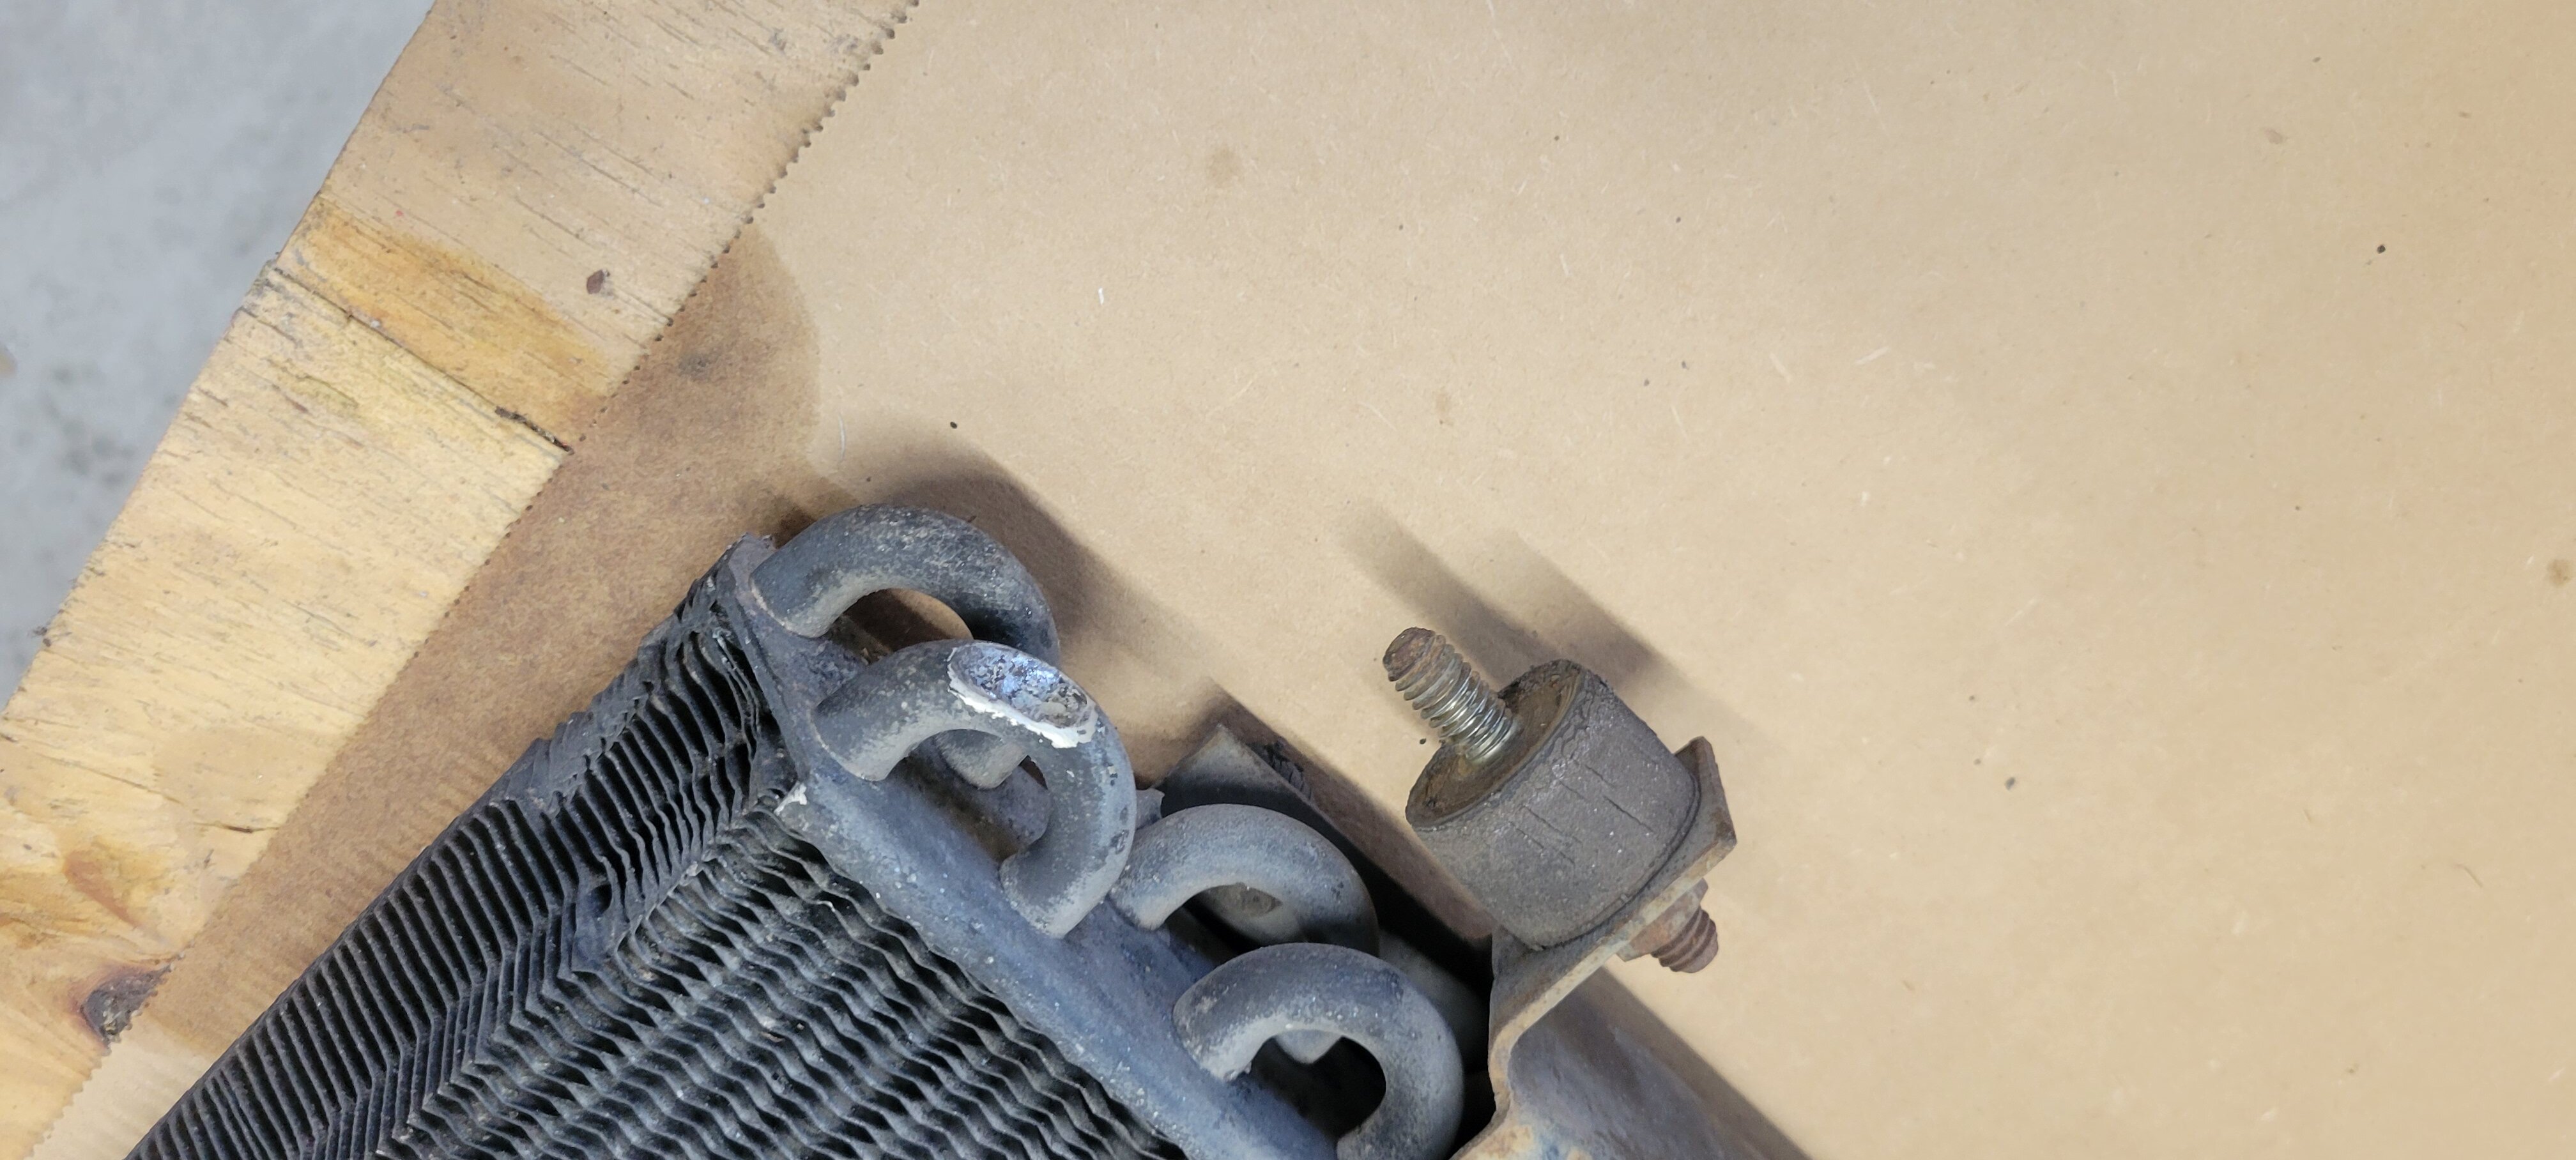
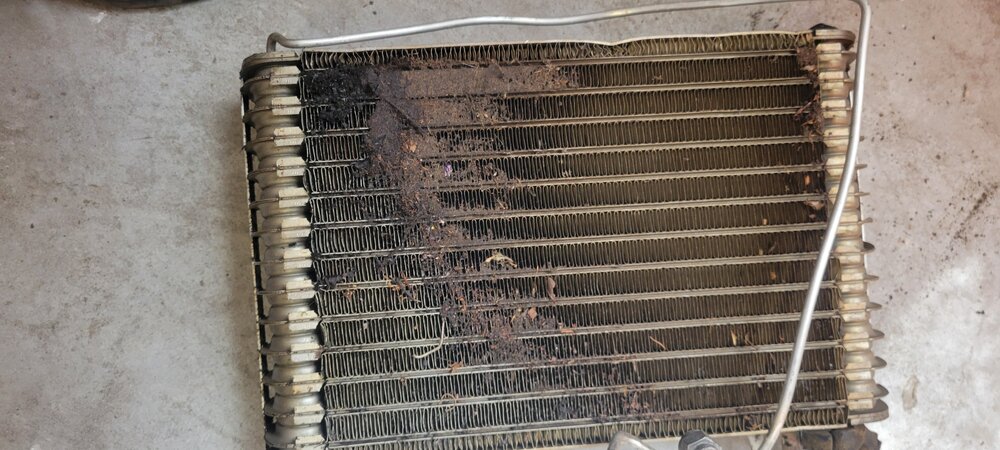
Pic below of the old condenser with the dented/ crushed tube. In addition to the oil sprayed when the freon was released, there was a fair amount that dripped from both the condenser and the evaporator when they were tipped during the removal process. Today started with remounting the bumper from yesterday's condenser replacement. Next was pulling the Sanden compressor to drain the oil and refill with the proper amount according to the Sanden service manual when putting it back in service. They done, on to the evaporator. Removed the POA valve and the expansion valve, removed the tall valve cover and the bolts from the motor side of the plenum. My motor is an '87 block with the dipstick tube on the passenger side, removed it! Opened the plenum, loosened the evaporator and pulled/twisted it out. The inlet side was almost completely plugged with leaves and debris, much more than the pics below show! No wonder it was never really cold.....🤔 I did not take the time to drain the old evaporator or condenser yet. After cleaning that out everything went back together rather quickly. Tomorrow I'll get it vacc'ed down and charged.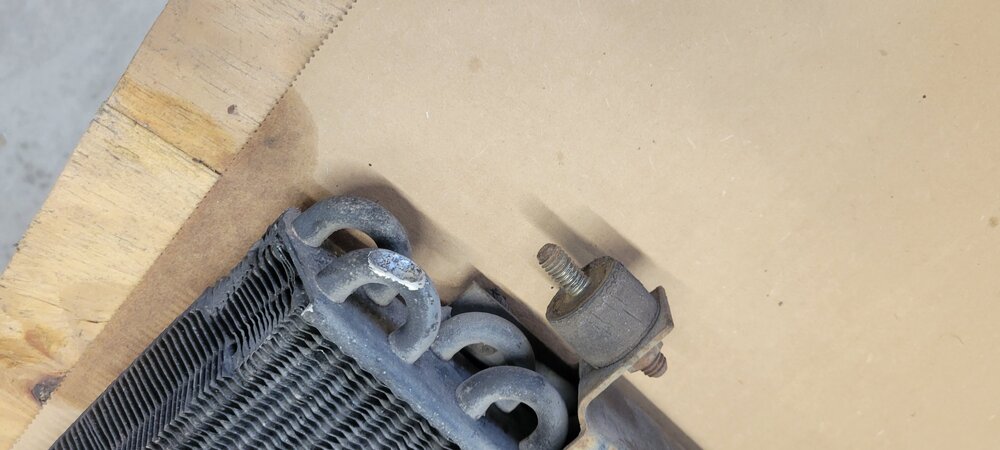

-
Air Conditioning Restoration Part II
BobW replied to Rob Peters's topic in General 70-72 Monte Carlo Forum
I've seen that, but I'm beyond that now! -
Air Conditioning Restoration Part II
BobW replied to Rob Peters's topic in General 70-72 Monte Carlo Forum
Thanks for this write-up Rob. Previous owner converted to 134, it stopped cooling last summer. I've just started with replacing my condenser, POA valve,evaporator, dryer and expansion valve. I have a March Performance mid-mount accessory drive with a Sanden compressor, new hoses made for that. I removed and replaced the condenser yesterday. There was a lot of oil present when I bled the freon. The rubber insulator mounts were very sloppy allowing the condenser to move around. I noticed some drushing of the lower tubes of the condenser, the passenger side being enough to possibly restrict flow. Pic later. I've not yet drained or blown through the old one. Flushed the hard line from the evaporator to the dryer, and the line from the dryer to the expansion valve with denatured alcohol. So it begins.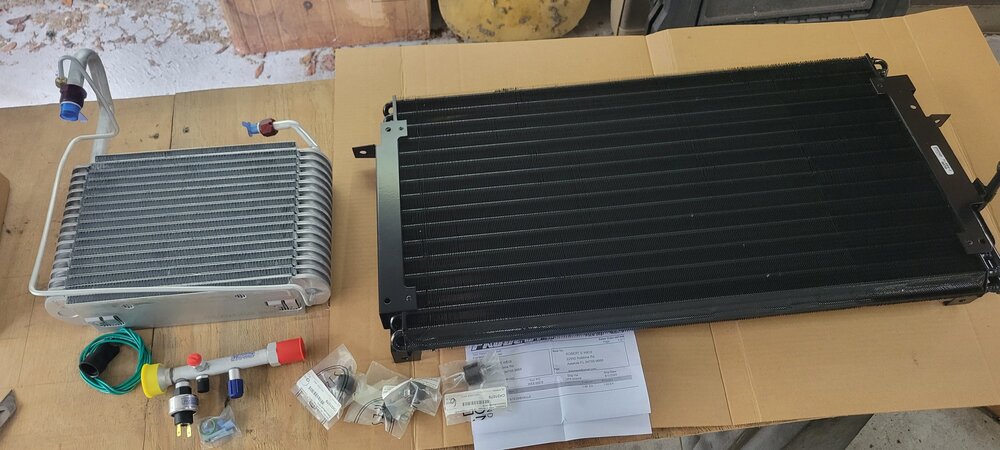
-
I had a Chevy van that somehow got a hole in the fabric strainer on the fuel tank pickup. It would intermittently clog and starve the carb. Definitely drain the tank before you remove it.
-
Has anyone installed the insulation "upside down" with the smooth side showing? I think it looks cleaner......
-
As long as it drains and doesn't sit there under the top and rust!
-
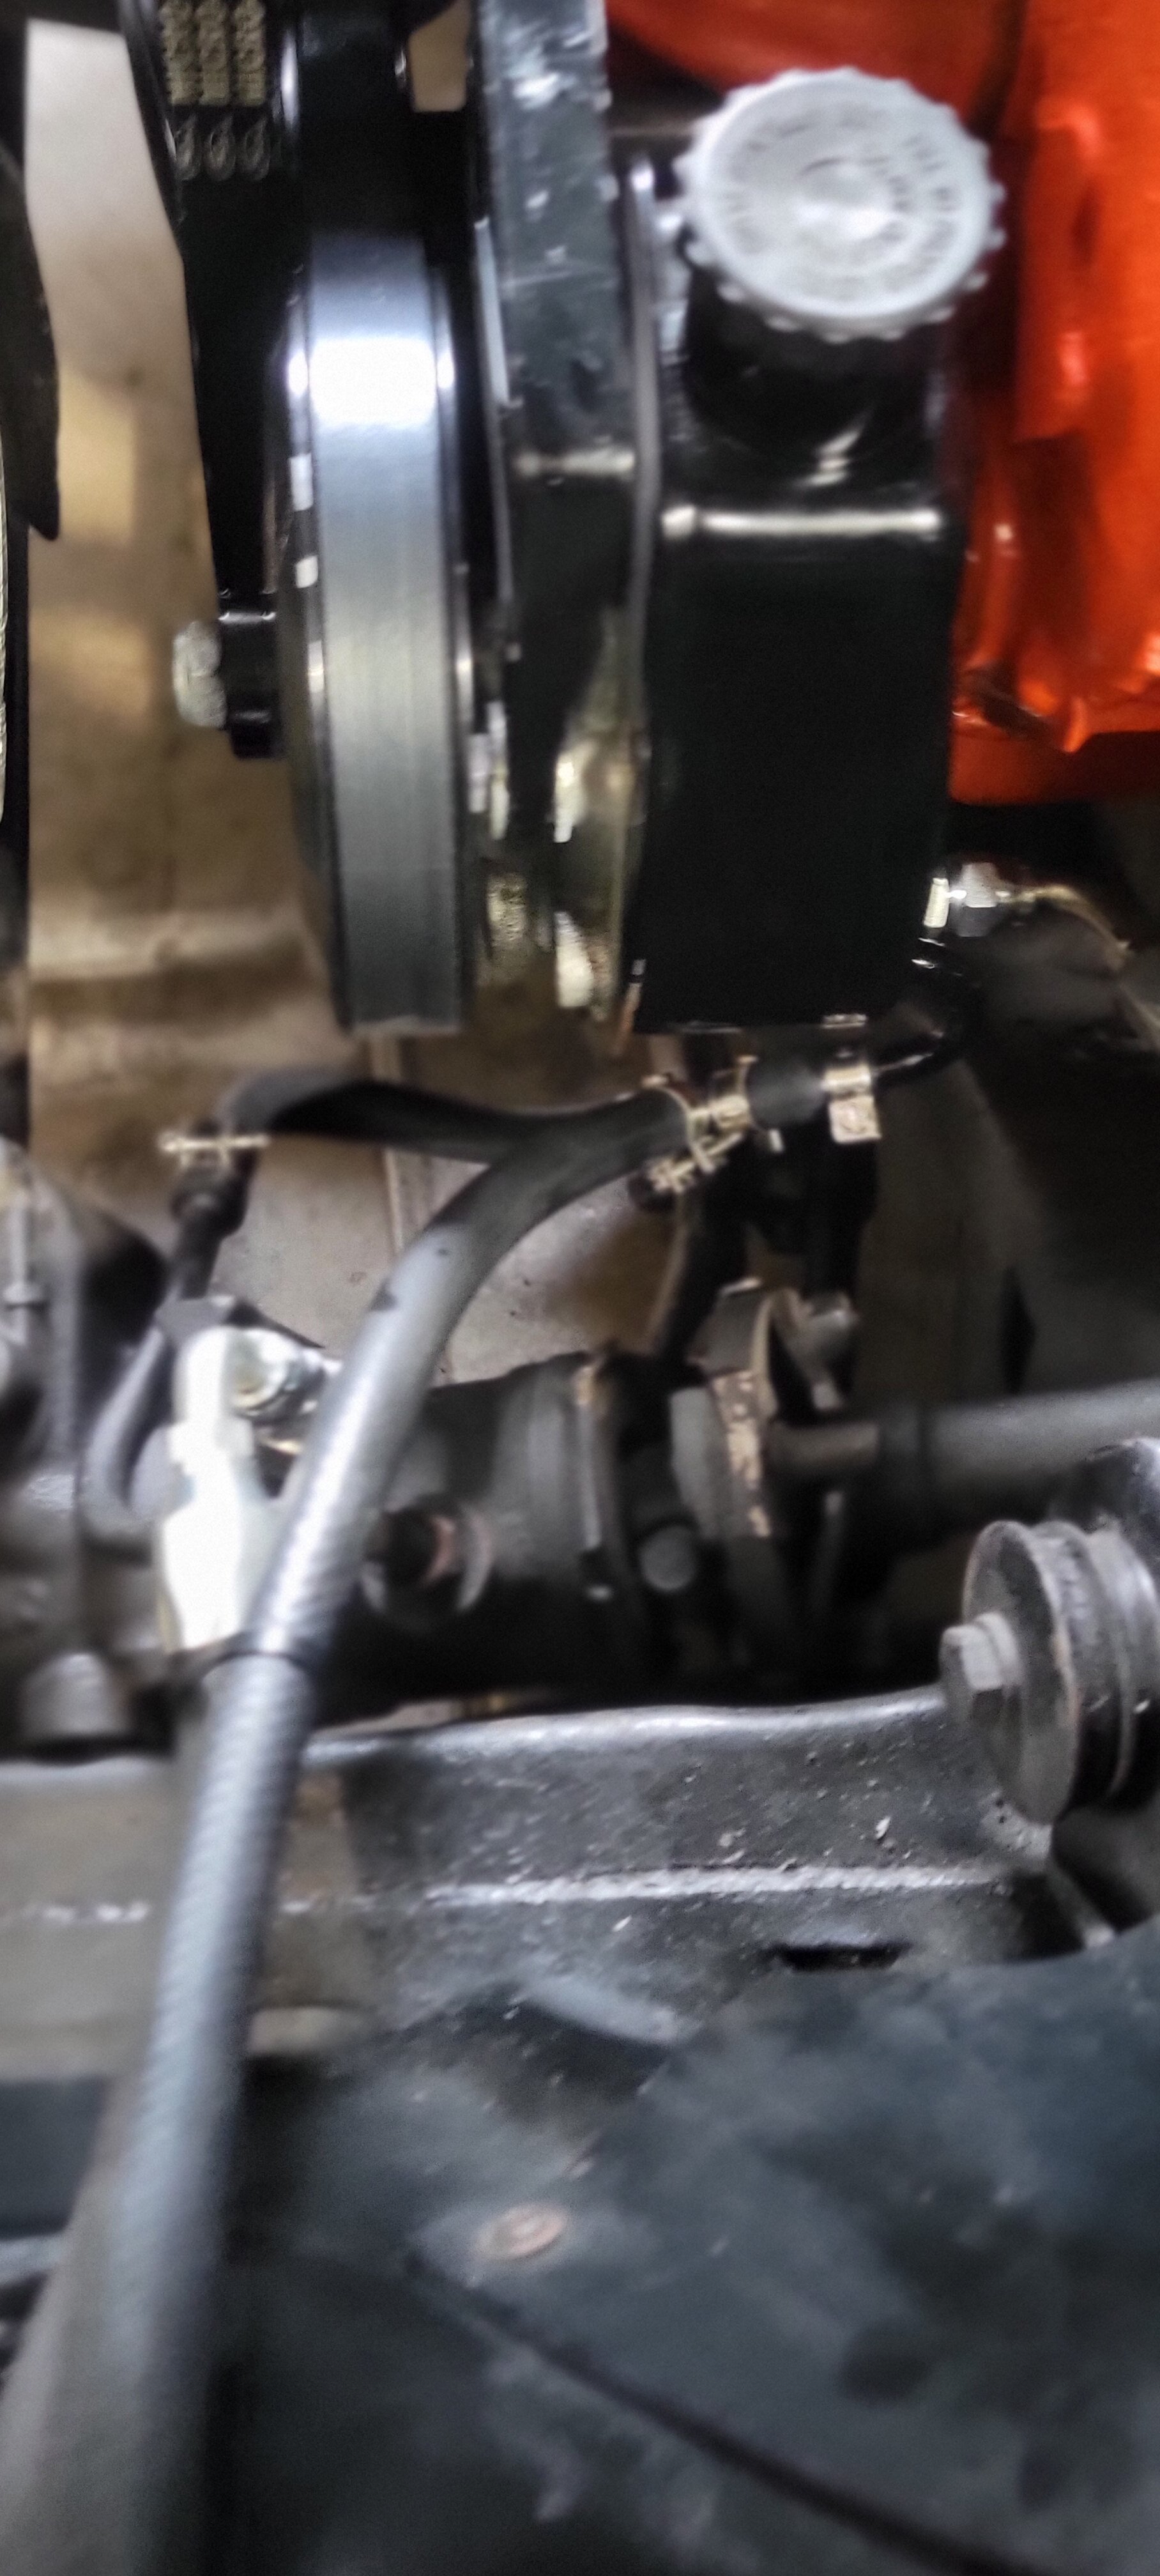
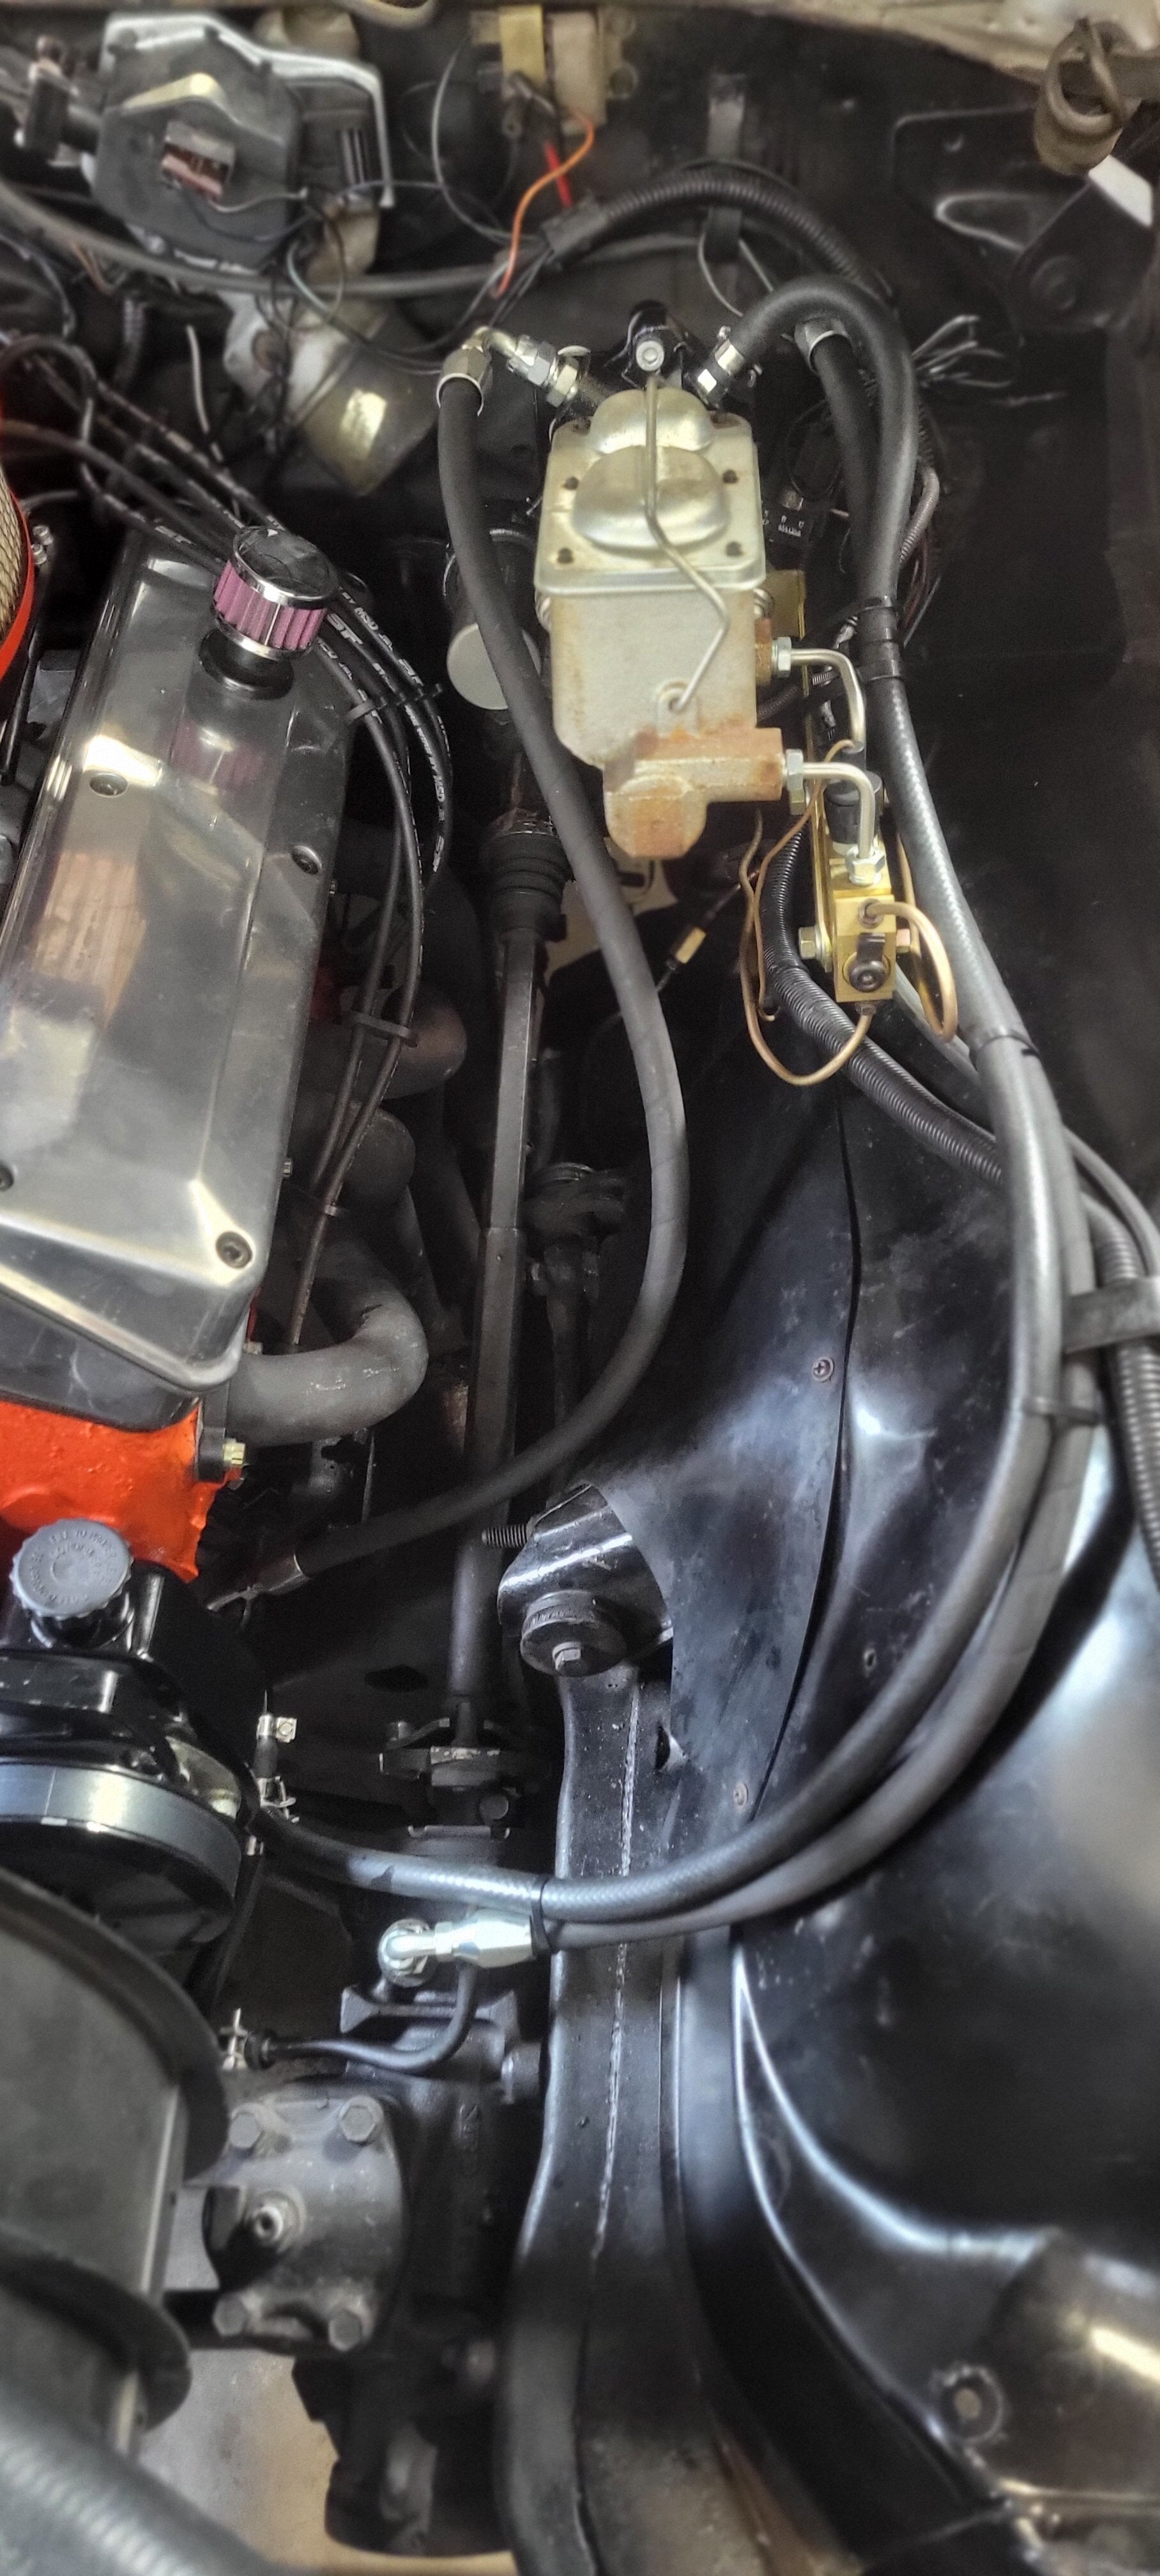
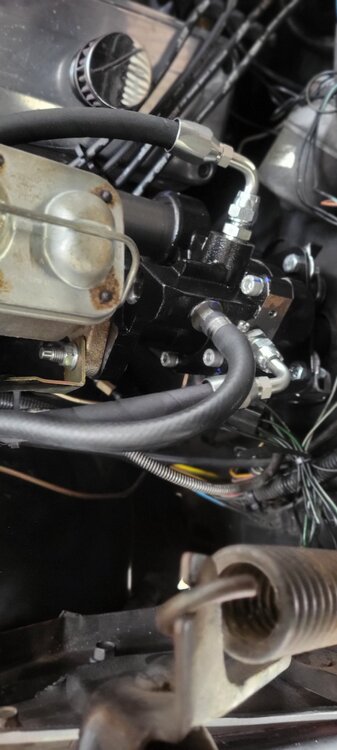
Here's an update on my Hydroboost installation. First, I'm completely pleased with how the system works, braking power is exceptional! Second, I had an issue with the hose kit that came with the unit. I had a hose blow out while leaving my friends house! No owner to the brakes or steering and PS fluid everywhere! Fortunatly I was still on his property. The hose that comes with this kit has no reinforcement! See the pic below. Took the hoses to a local shop and had steel reinforced hoses made. Installed, bled and everything works as it should!


-
FYI, Google search: For automotive brake systems, Ethylene Propylene Diene Monomer (EPDM) O-rings are the most commonly recommended and compatible material for use with glycol-based brake fluids (DOT 3, DOT 4, and DOT 5.1). EPDM O-rings are also known for their resistance to sunlight and weathering. While other materials like Viton (FKM) are also used in brake systems, EPDM is generally preferred for its compatibility with the common glycol-based fluids.
-
When I installed the Kicker kick panel speakers, I added a set of Alpine tweeters in the dash. I don't hear well to begin with, but these helped quite a bit.