Enigmatic
-
Posts
42 -
Joined
-
Last visited
Content Type
Profiles
Articles
Forums
Gallery
Events
Everything posted by Enigmatic
-
Repairing dash from previous owners mistakes
Enigmatic replied to Enigmatic's topic in Interior Tech
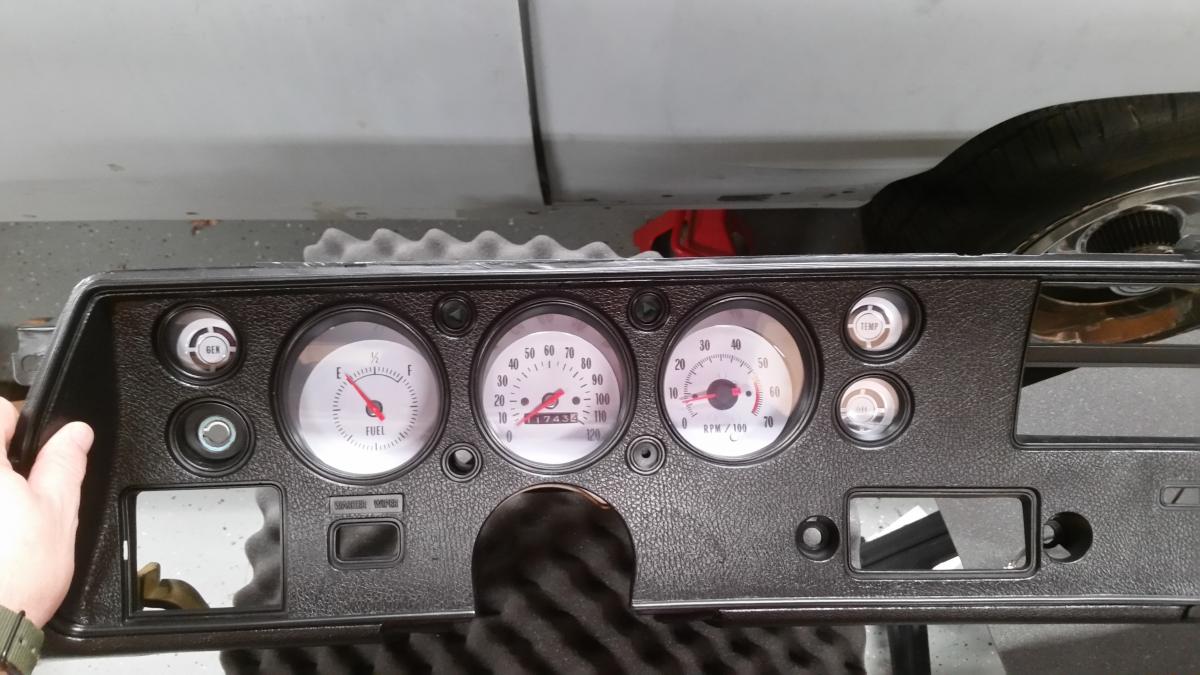
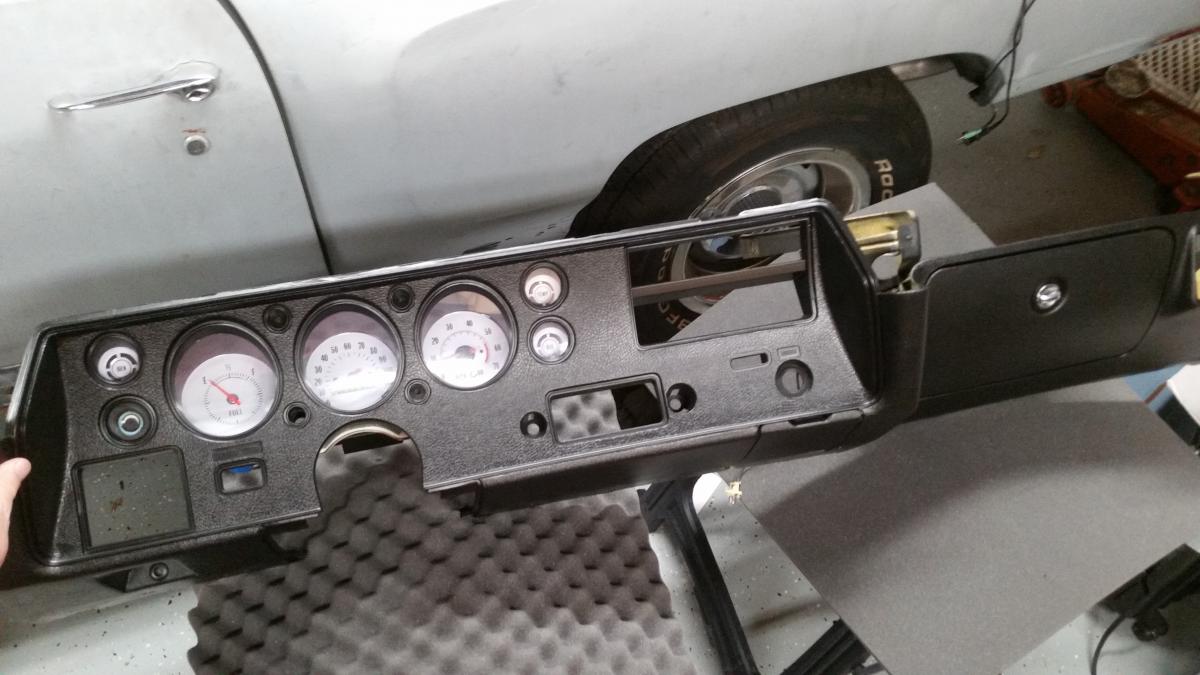
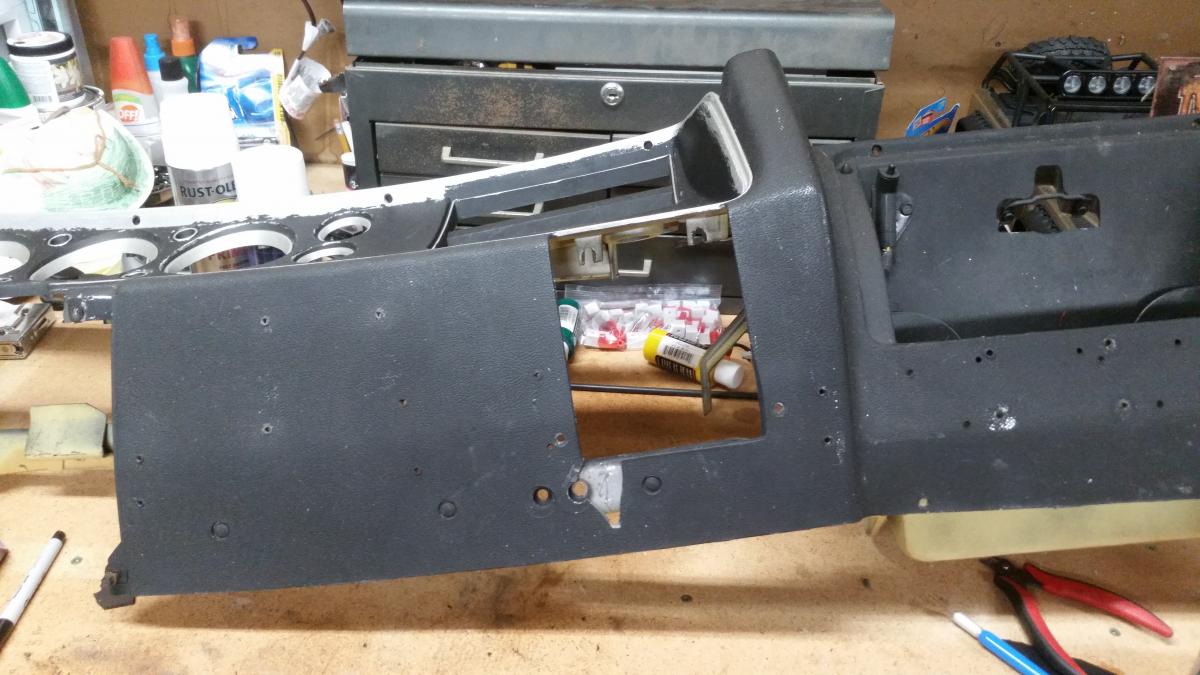
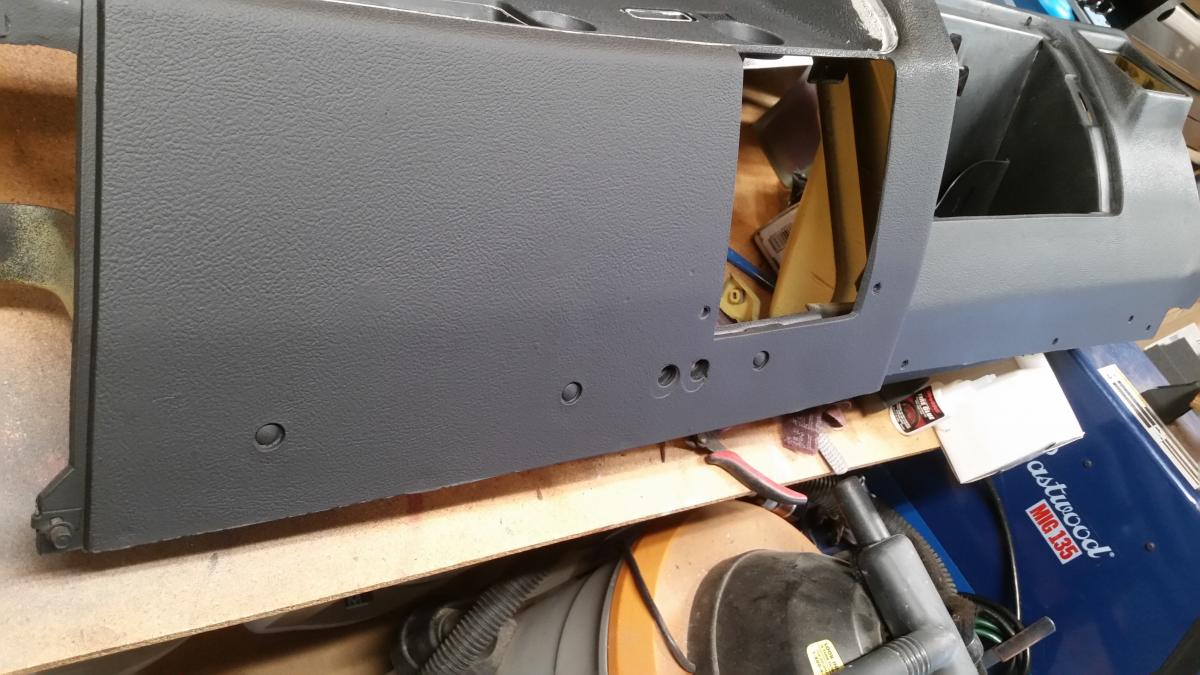
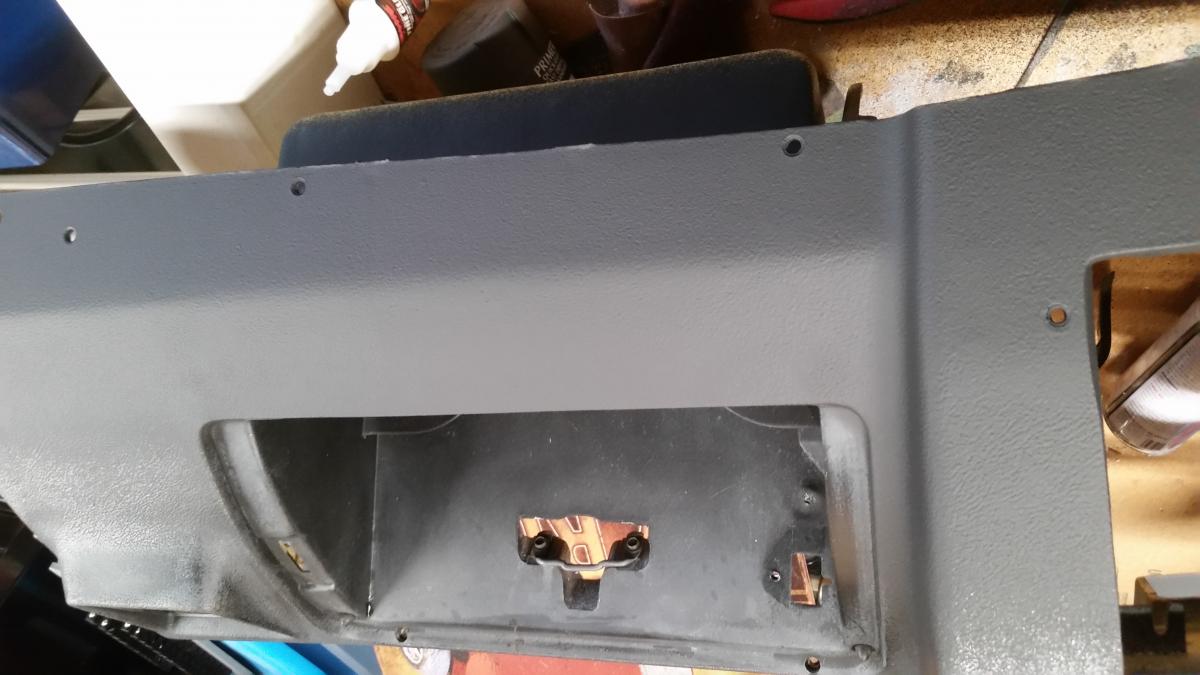
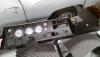
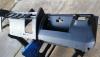
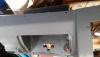
Stangeba, I'm glad you mentioned that they chromed the dash....when I was cleaning the dash (getting it ready for texture and to dye) I got down to the chrome in some areas and wondered why the heck had someone painted the dash chrome. I just figured that along with all the other abuses this poor girl has seen over the years that someone did just that...paint it chrome. Makes sense now I am going to put the bezel back in place but not the burl wood look. I am working on it now and will have it painted soon the color of what the car will be (dark gunmetal grey) Here are a few pictures of the dash with the glove box door and ash tray in place as well as just sitting the gauges in place to get "feel" for what it will look like. Then I promise I will not post more until its finished completely. By the way, I want to say thanks again for the praise of my handywork...really keeps me motivated.
-
Repairing dash from previous owners mistakes
Enigmatic replied to Enigmatic's topic in Interior Tech
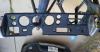
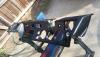
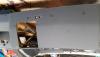
Just a few more shots that were taken in the garage and not out in the sun. Not as glaring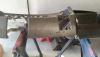

-
Repairing dash from previous owners mistakes
Enigmatic replied to Enigmatic's topic in Interior Tech
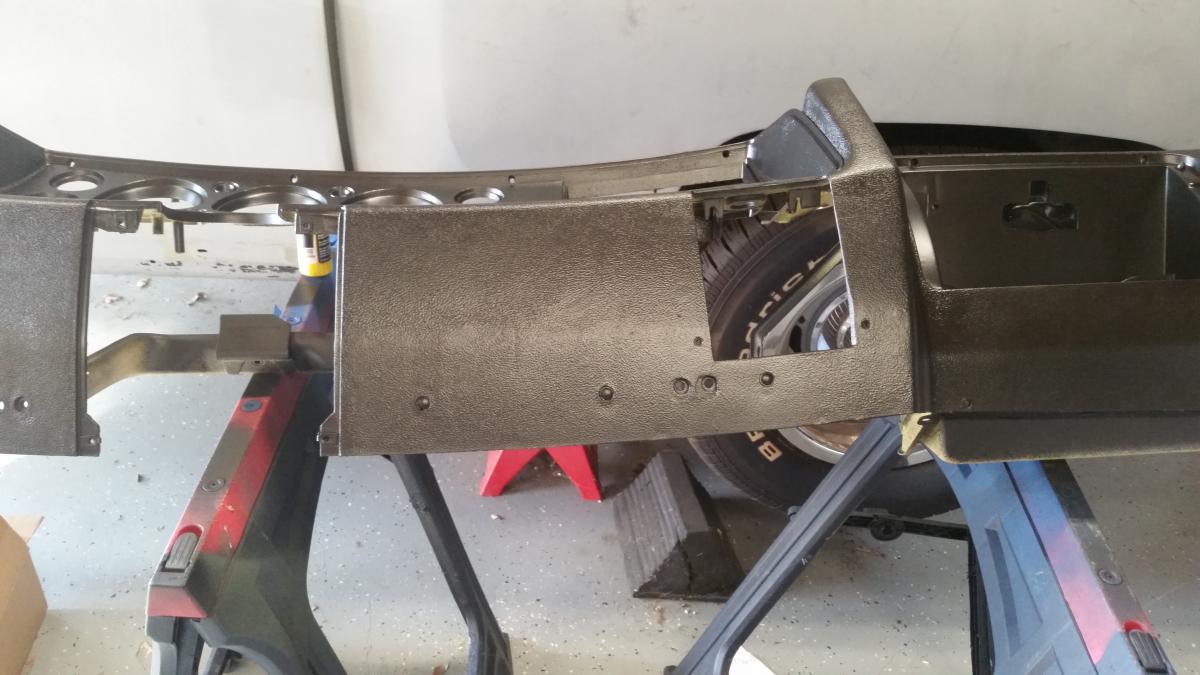
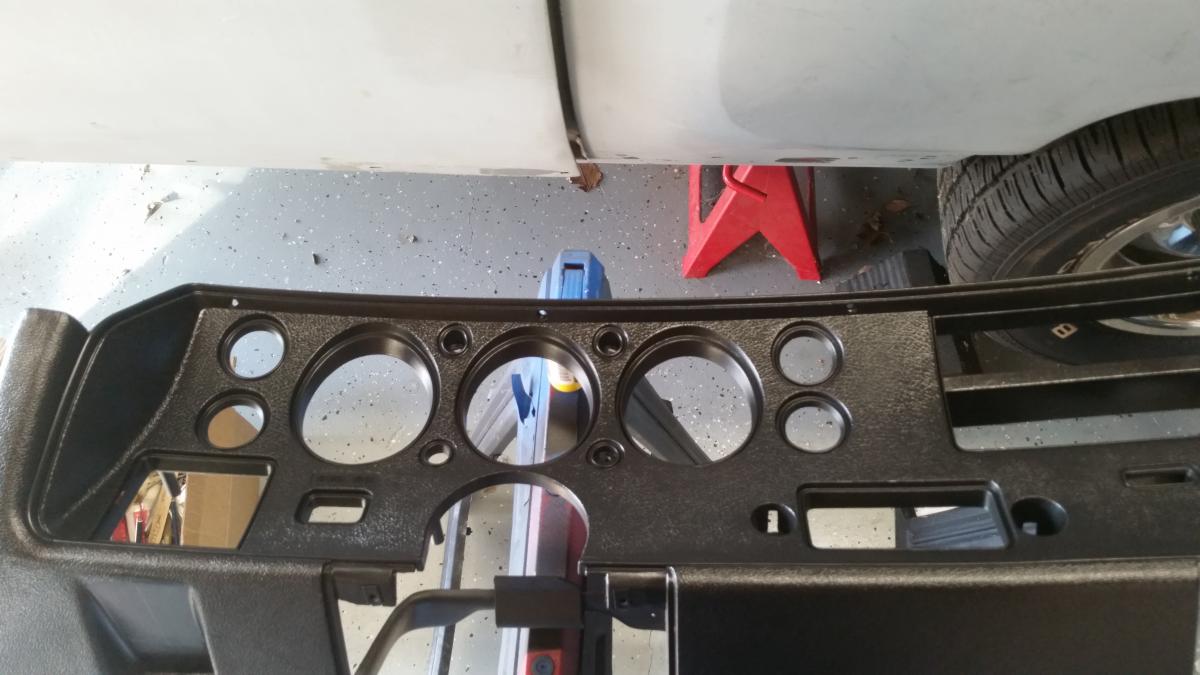
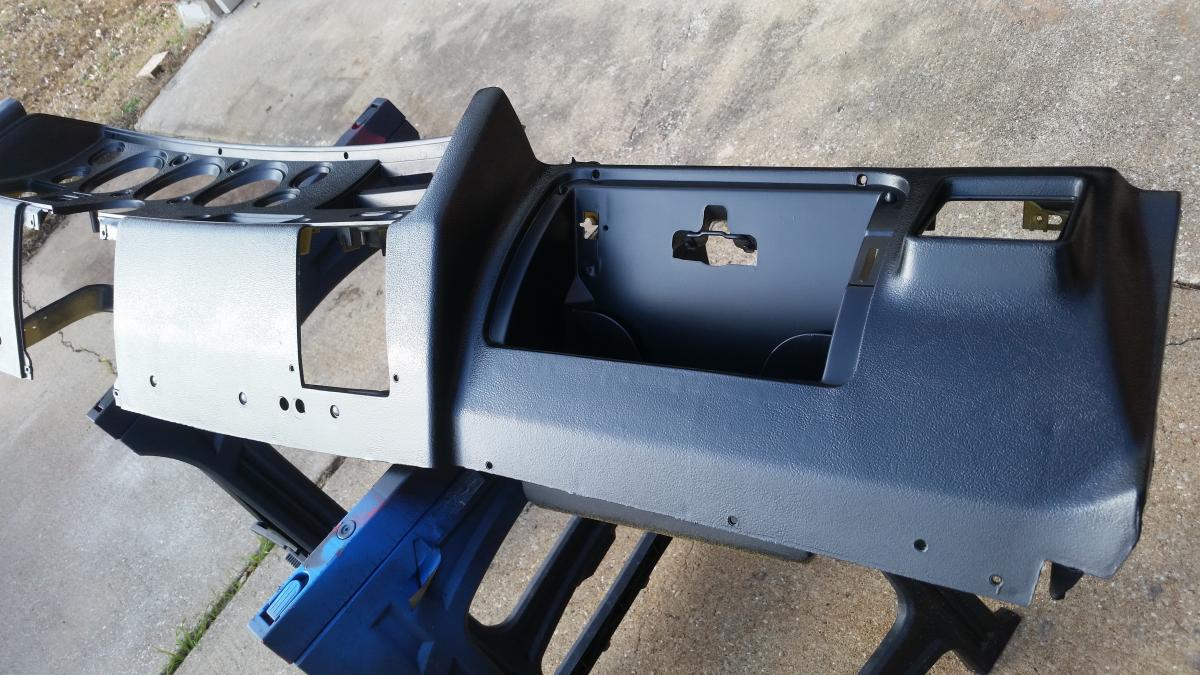
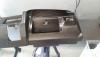
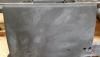
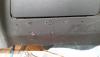
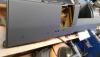
Thanks for all the kind words, really means a lot. Quick update after shooting SEM Landau Black. Looks pretty good to me. Now to finish the insert and install the gauges.
-
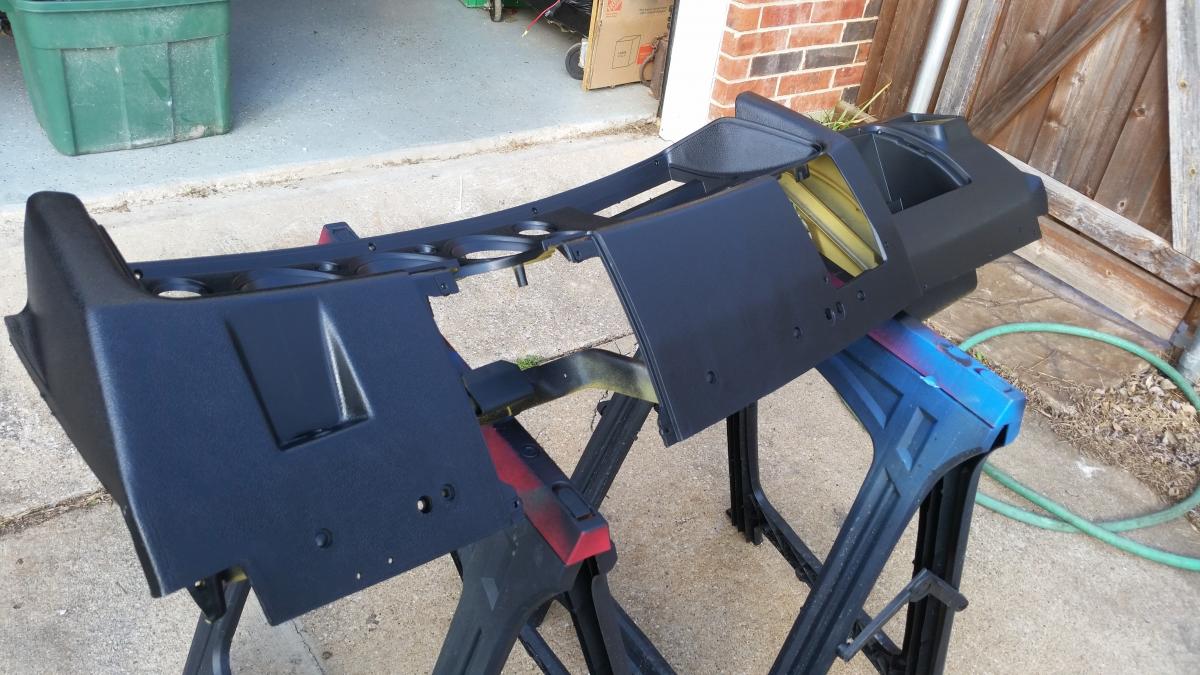
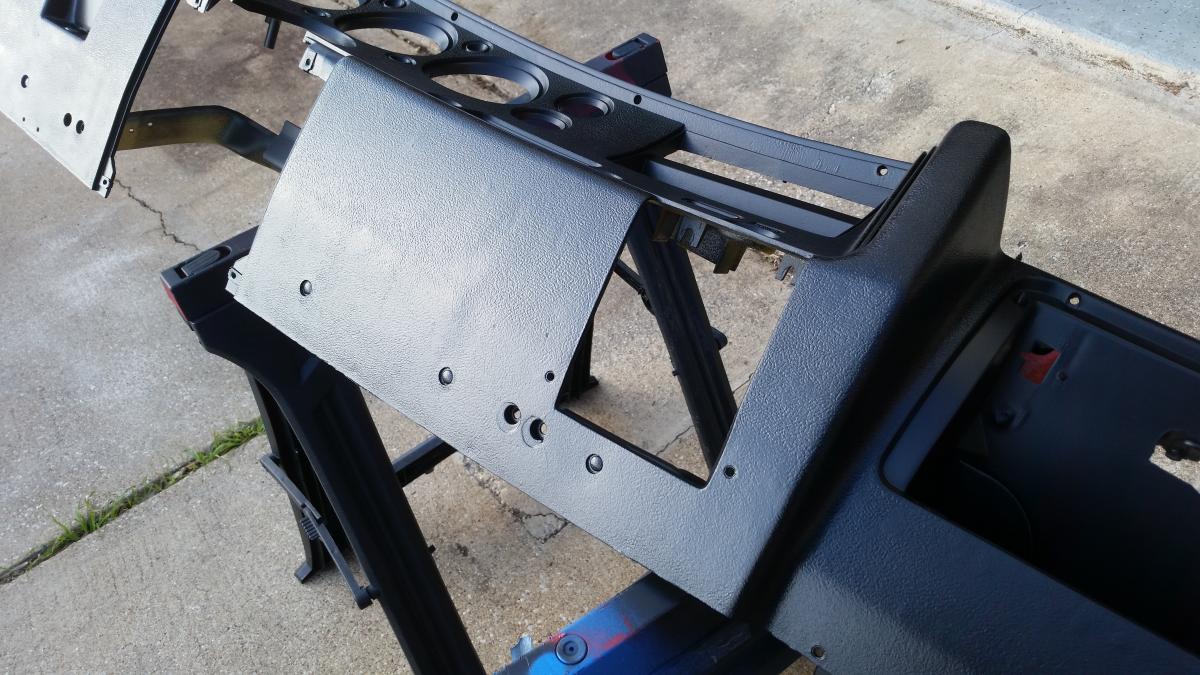
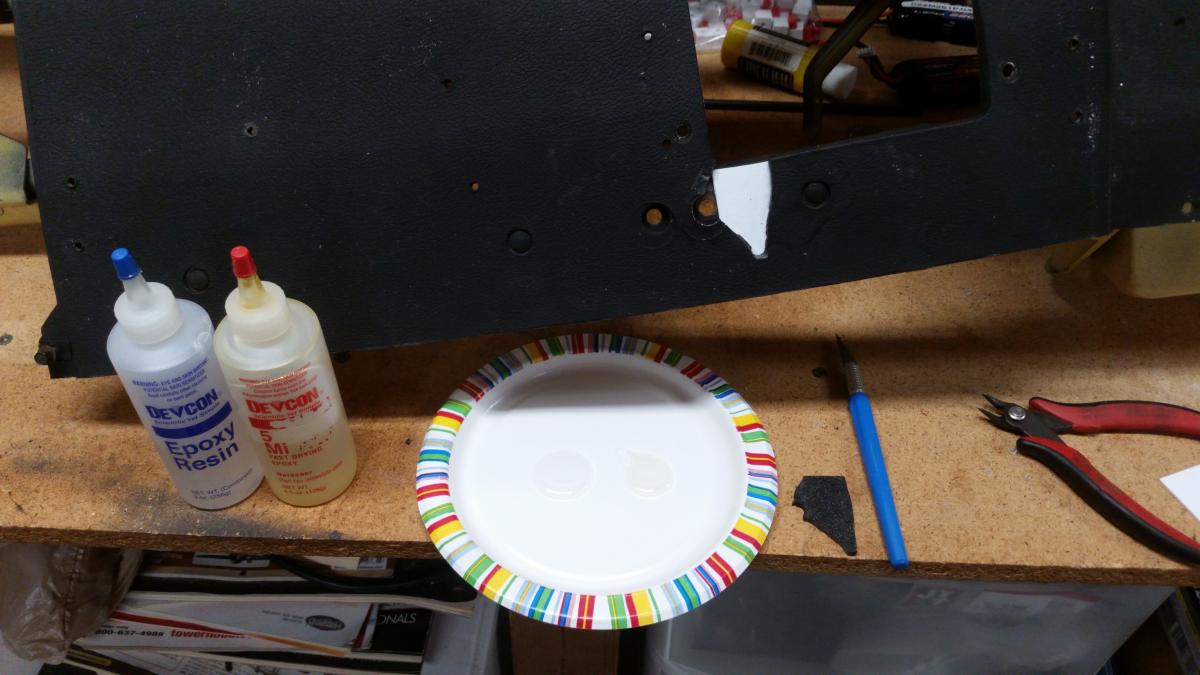
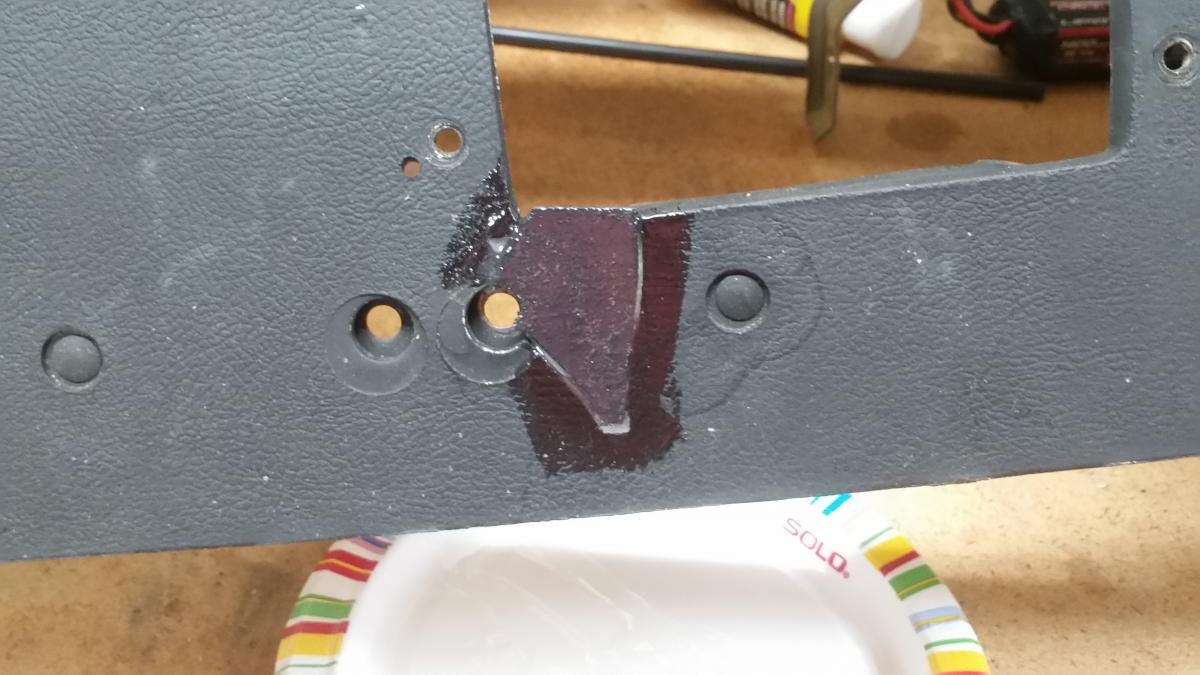
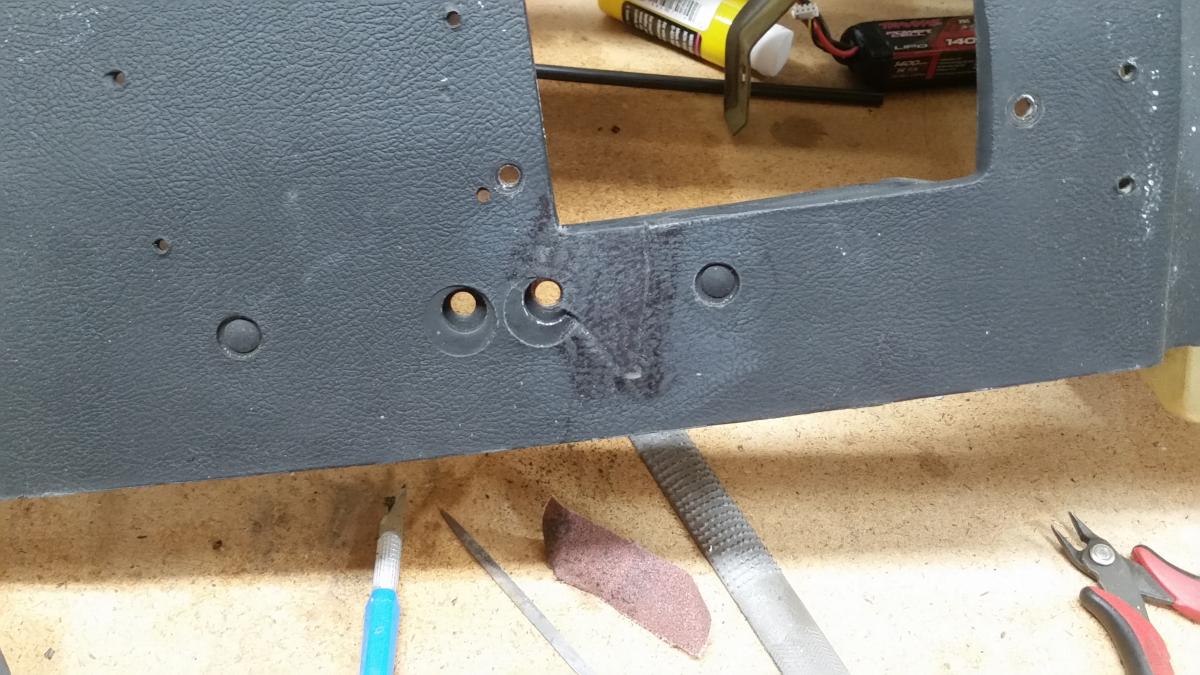
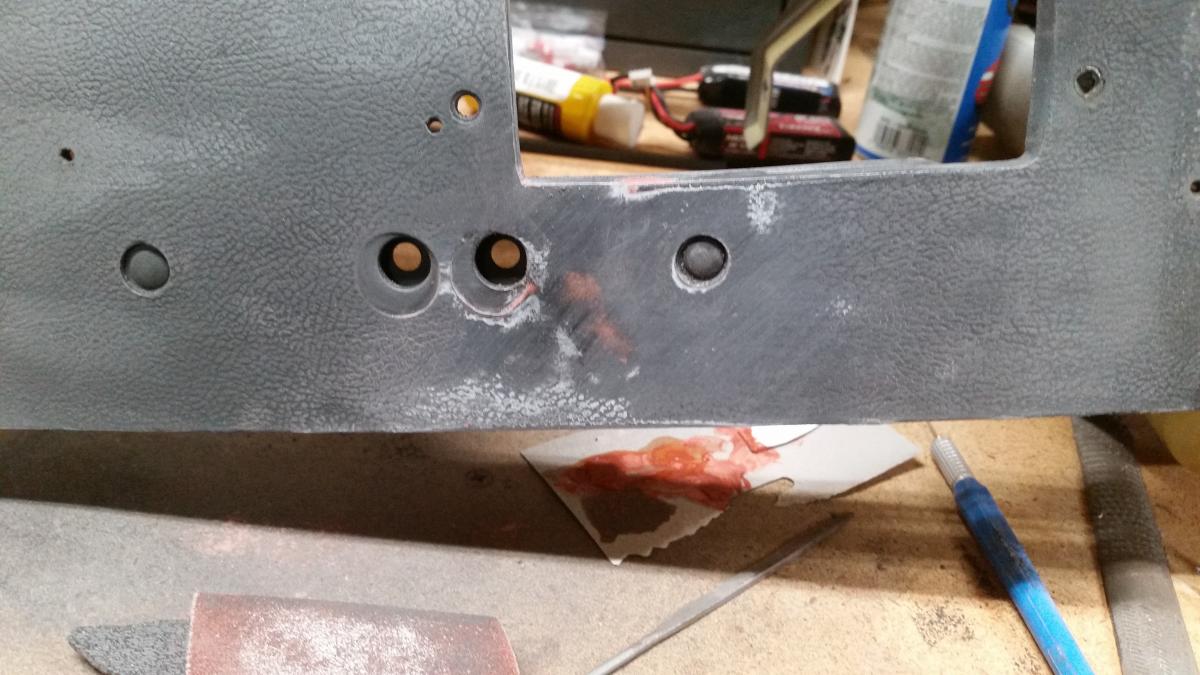
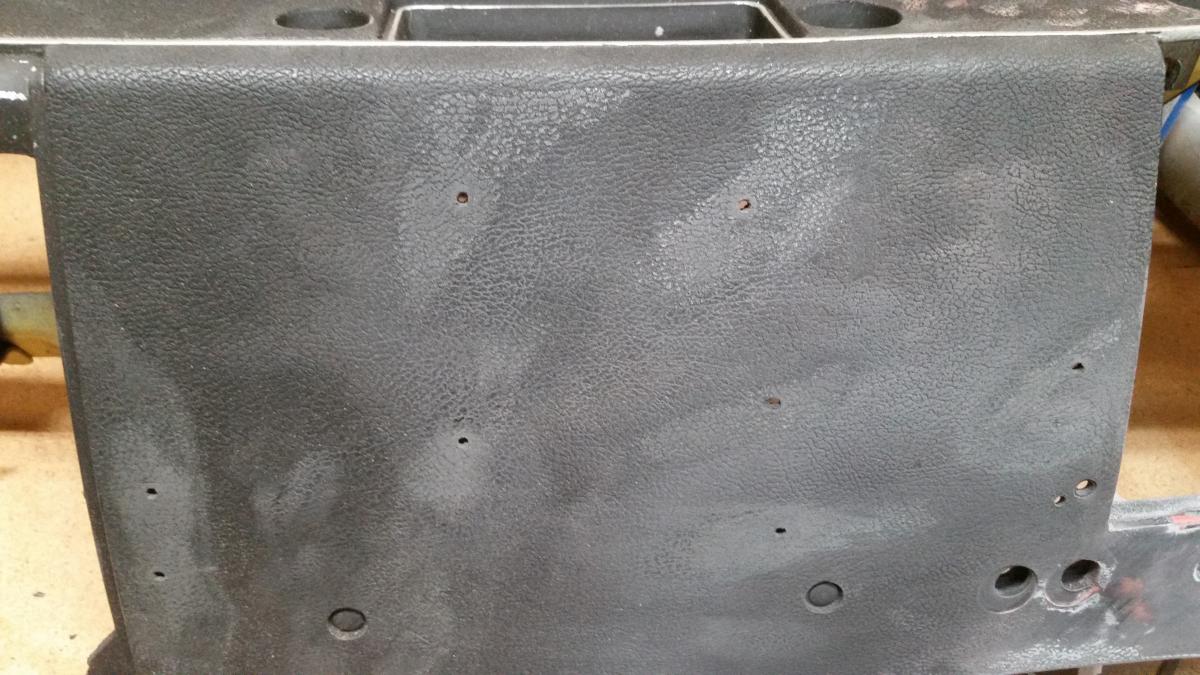
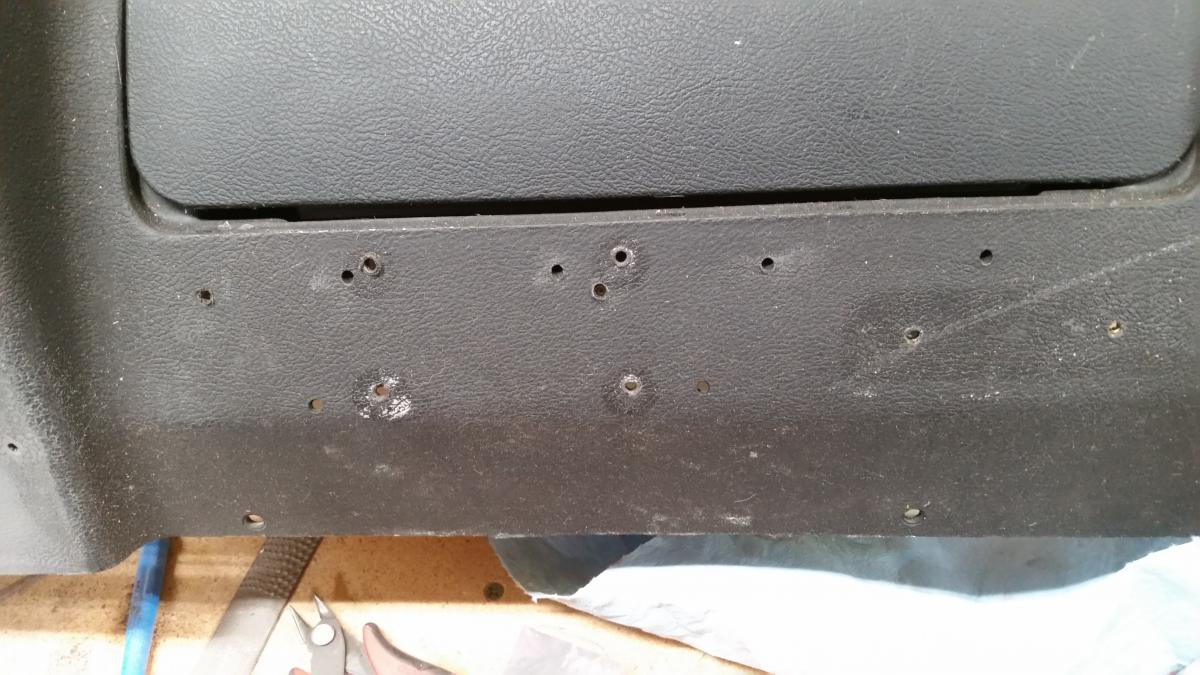
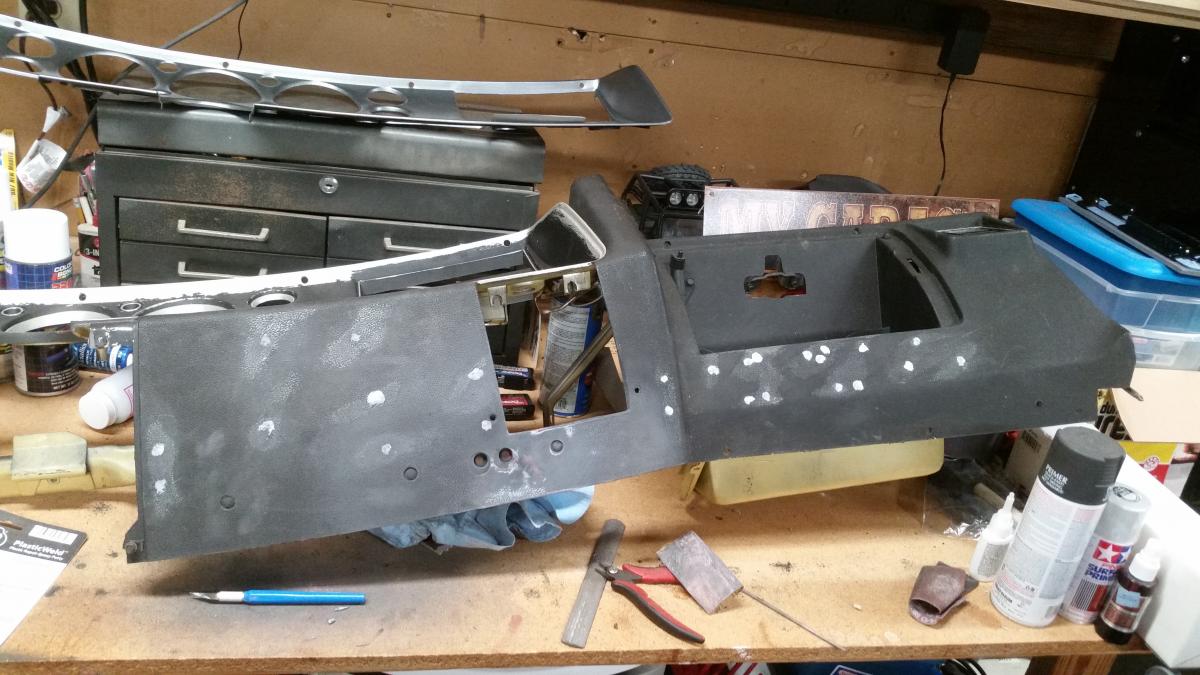
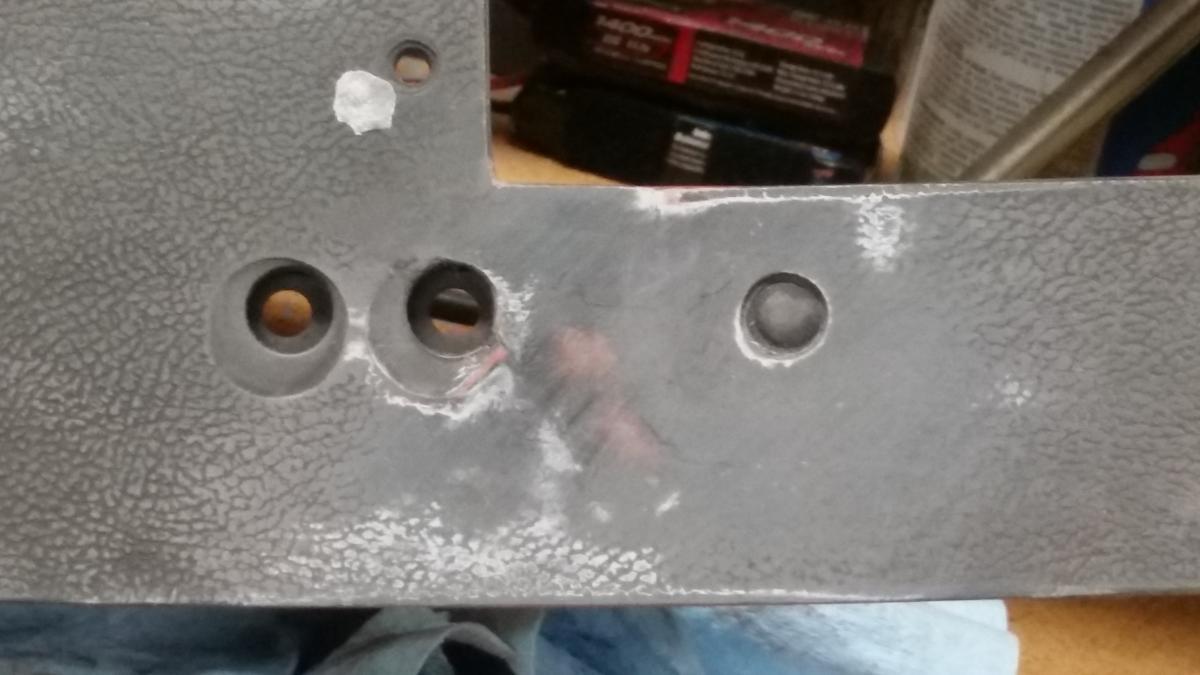
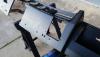
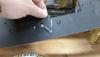
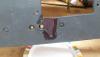
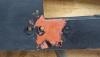
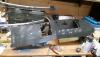
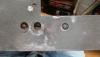
Ok, as the title states I am repairing the dash in my 72 Monte from all the neglect that the past owners showed her. Sorry for all the pictures but it tells the tale. The past owner had about 20 holes drilled into the bottom of the dash area (Looked like I had plastic termites). So with the help of scrap plastic (to fill the broken out piece), epoxy, JB Weld plastic filler, glazing putty, and SEM Texture spray it looks not brand new...but really good. All the holes were drilled on the lower part of the dash so unless you are looking for the spots and know where to look you will not notice them anyway. Tomorrow when it warms up I will spray it with SEM Black and it will be finished. What do you guys think of my handy work.


-
Thanks man! Did not think of that..but that helps alot.
-
Ok...about to start putting my dash back together and have converted the dash lights to LED. My question is...is there a way to power up the gauge cluster without installing it to the dash to make sure the LED's are in correctly. I understand that if you put them in upside down then will not power up. I would rather have this taken care of before I install it into the dash. Thanks guys.
-
What did you do to your Monte Carlo today?
Enigmatic replied to Canuck's topic in General 70-72 Monte Carlo Forum
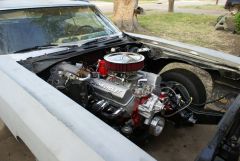
I posted this in the main part of this forum (probably should have posted it here in hindsight)..but my Saturday consisted of installing my aluminum fan shroud and electric fan. Now in the process of installing headlights and wiring it all back up. Trying to get her back on the road by end of the year because this project has taken too long! -
What did you do to your Monte Carlo today?
Enigmatic replied to Paul Bell's topic in General 70-72 Monte Carlo Forum
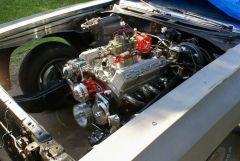
Finally fired up the new engine in the monte. :-) YAY!!! After I moved into my new house life just took over and I sort of lost my motivation to work on the Monte at all. Well for the past few weeks I have been doing little things getting her put back together and...well this weekend was the first time the new engine was fired and the first time in 3 years the Monte has seen any life in her. Got the cam broken in and she sounds like a beast (Not a monster..just a beast). Super excited and totally re-energized on get her finished. -
Where is gray! I feel cheated.
-
What did you do to your Monte today?
Enigmatic replied to Xxyyzz's topic in General 70-72 Monte Carlo Forum
Well I did not do it today but.... This weekend my Monte gets to go to our new home (Oh...we moved) In our old home she had to sit outside with a car cover on but still not completly protected from the elements. Now...our new home has a 2-1/2 garage where it will spend the rest of its non-crusing time protected from the elements. Just thought I would share. Lloyd -
I cleaned up my front kick panels in the car and dyed them back black. Man talk about making a night and day difference...I took some pictures to show you guys...cause I know how much we all like pics. The first one is a before. After some serious cleaning and degreasing...and some dye, they look almost like new. Left side before / Right side after Left side before cleaning and dye And after. There ya go..not alot done but every little bit gets ya there. Progress is progress. Thanks guys, just wanted to share.
-
What did you do to your Monte today?
Enigmatic replied to Xxyyzz's topic in General 70-72 Monte Carlo Forum
Installed my new Pypes stainless 2 1/2 inch exhaust on Sunday. Took a few extra hours doing so due to the heat (It was 103 yesterday) but its all in. -
Why do March Performance pulleys cost sooooo much!
Enigmatic posted a gallery image in FGMCC Member Galleries
-
-

-
That just happened....hope your wife does not read the message board. lol
-
Wow Bill...remind me to never ask you for advice for fear of being called a BUTTTT. Just having fun with ya! LOL
-
got a vacuum canister to help with the lack of vacuum. Hopfully it will not be too bad.
-
That is the only thing about thumpr series cams is you have to run a 2400 stall converter. Same cam I have in my motor...just have not heard it yet.."sigh" But, a friend has it in his camaro and it sounds amazing...very healthy. We shall see, I will post vids when I start it.
-
Compcam thrumpr series cam. They make great power when setup with the right components, sound like you are running a more radical cam yet still very streetable.
-
depends on the budget. if you have the money and the 454 does not need rebuilding...I woudl go that route. But if you are on a budget...you might sell the 454 to finish out the 350. Great power can be had on a 350...I should be around 400-420 on mine which is a 350 40-over with about 9.5-1 compression. Just my take on it.
-
72 350 with air has top mount and I think that it's the orignal...but not 100% positive.
-
Hey Scott! I have a champion that I am putting in my monte and should be around 400hp also running electric fan and should keep it cool. I have a friend that runs one in his 88 chevy truck around 450hp and drives it all over town with A/C and never gets hot. Oh and this is the 2 row as well. Looking at it closely it looks like a quality item...I will let you know...engine is going to be fired up this weekend.
-
true...but are both styles made by Glasstek? If you look at their site at the pictures of the hood laying on the ground it does not go all the way to the end. I may have to call them to get my answer....
-
Ok, so let me ask you guys a quesiton about Glasstek. I have seen their 4 inch cowl hoods and some look differnet than others. What I mean is some look like the cowl goes all the way to the end of the hood and others seem to not...can you guys explain. Not all the way to the end. All the way to the end If someone can explain please let me know why this is or is it just an optical illusion. Thanks Lloyd