ss454-71
-
Posts
167 -
Joined
-
Last visited
-
Days Won
1
Content Type
Profiles
Articles
Forums
Gallery
Events
Everything posted by ss454-71
-
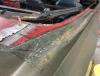
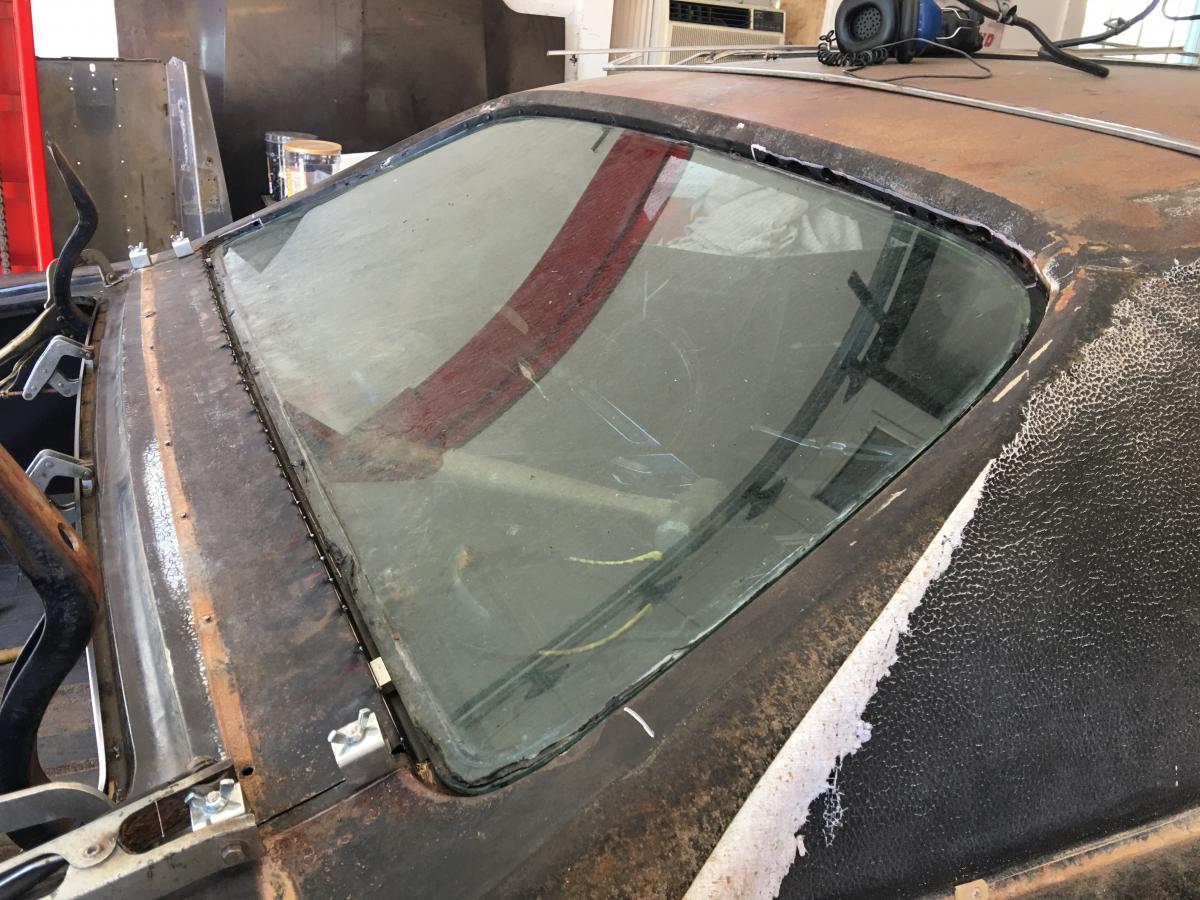
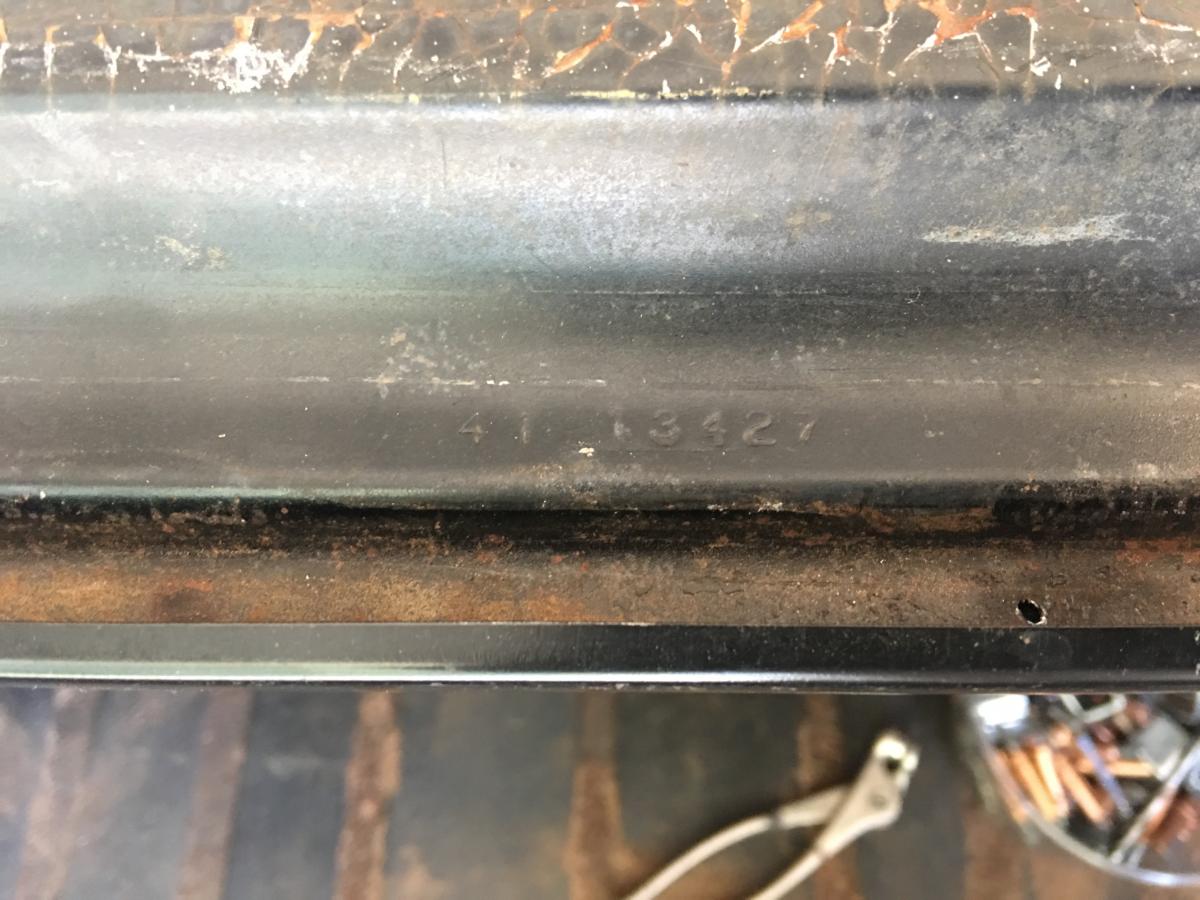
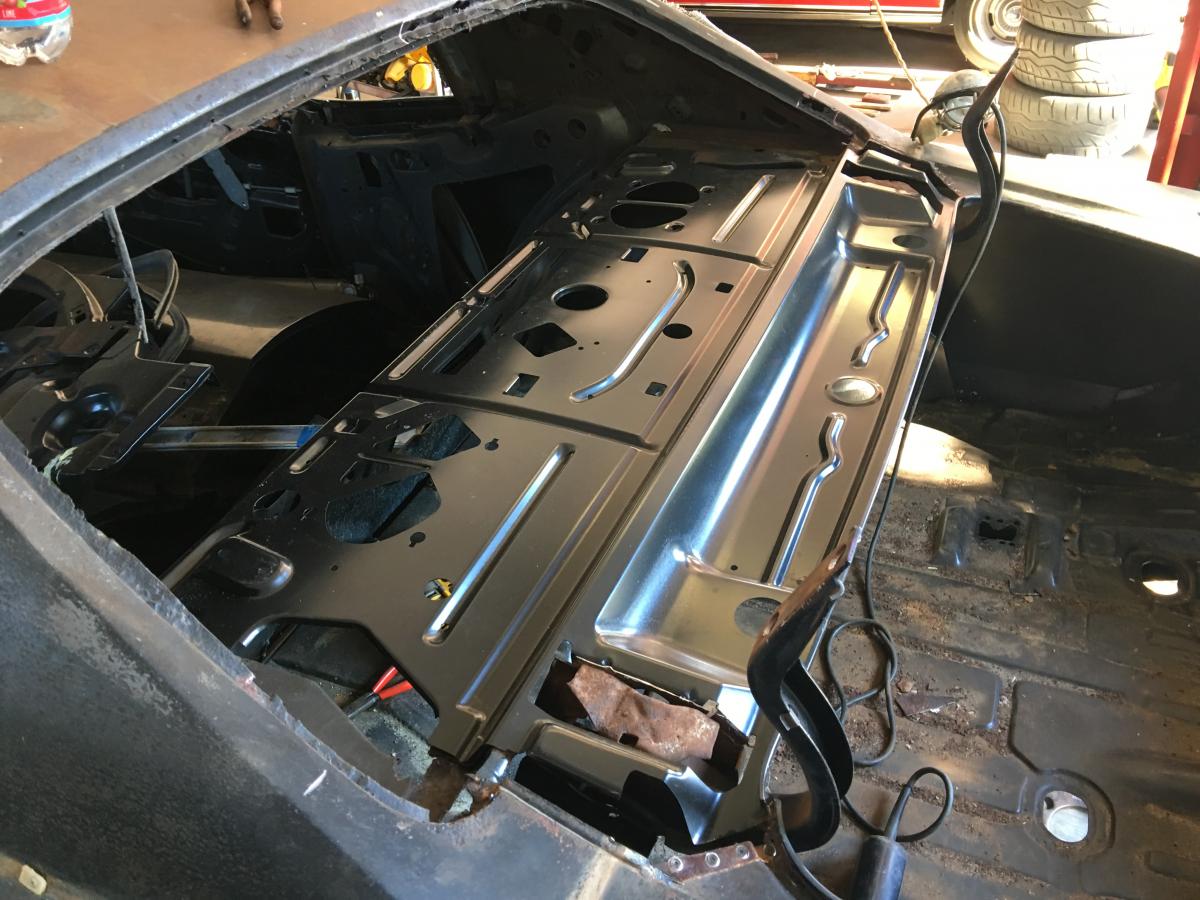
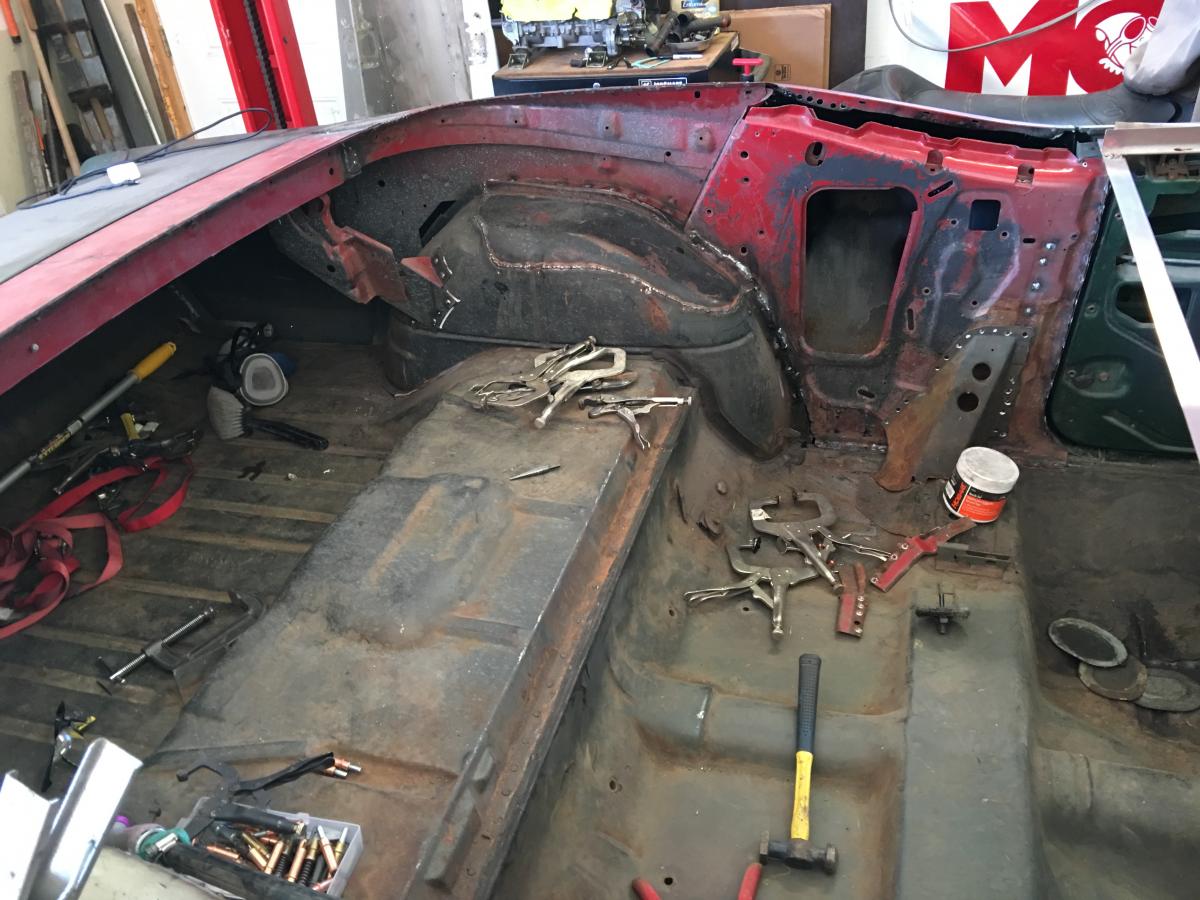
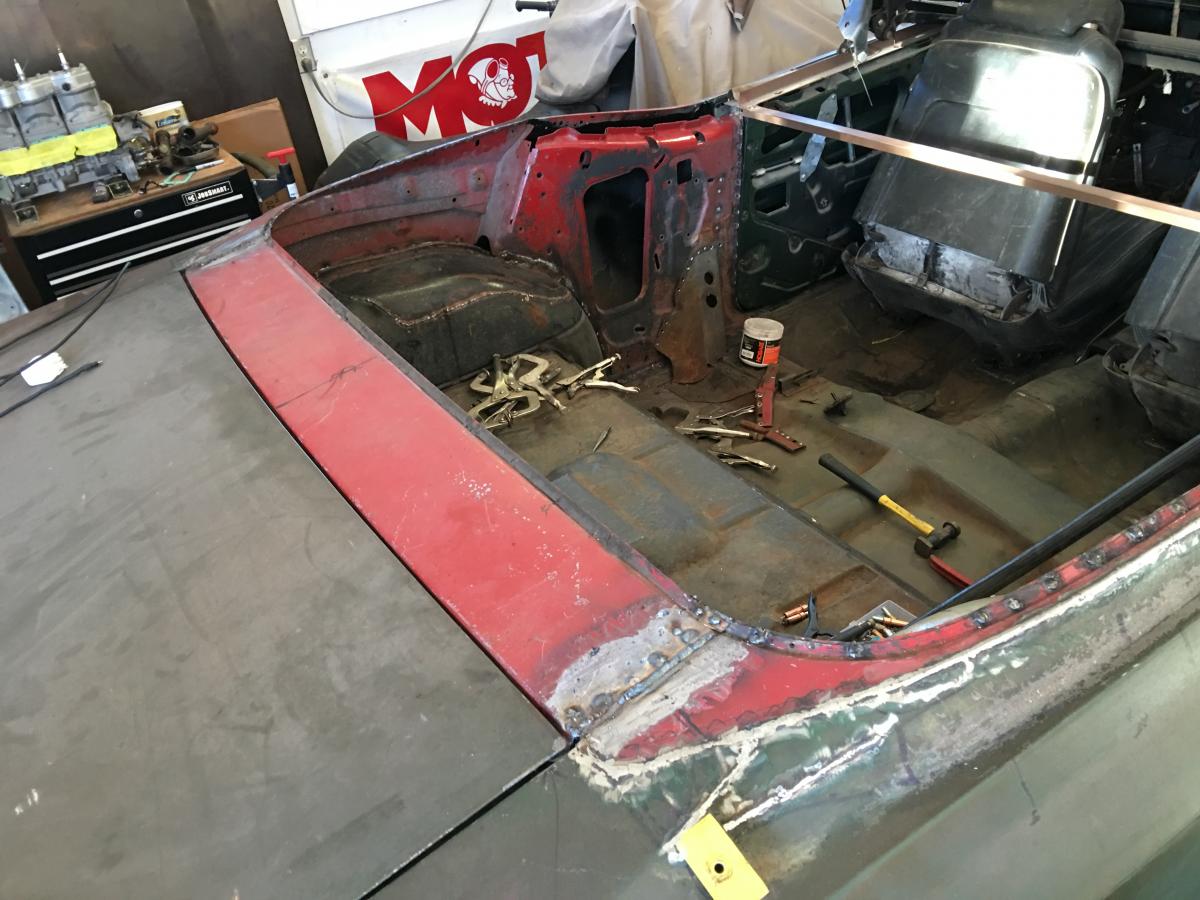
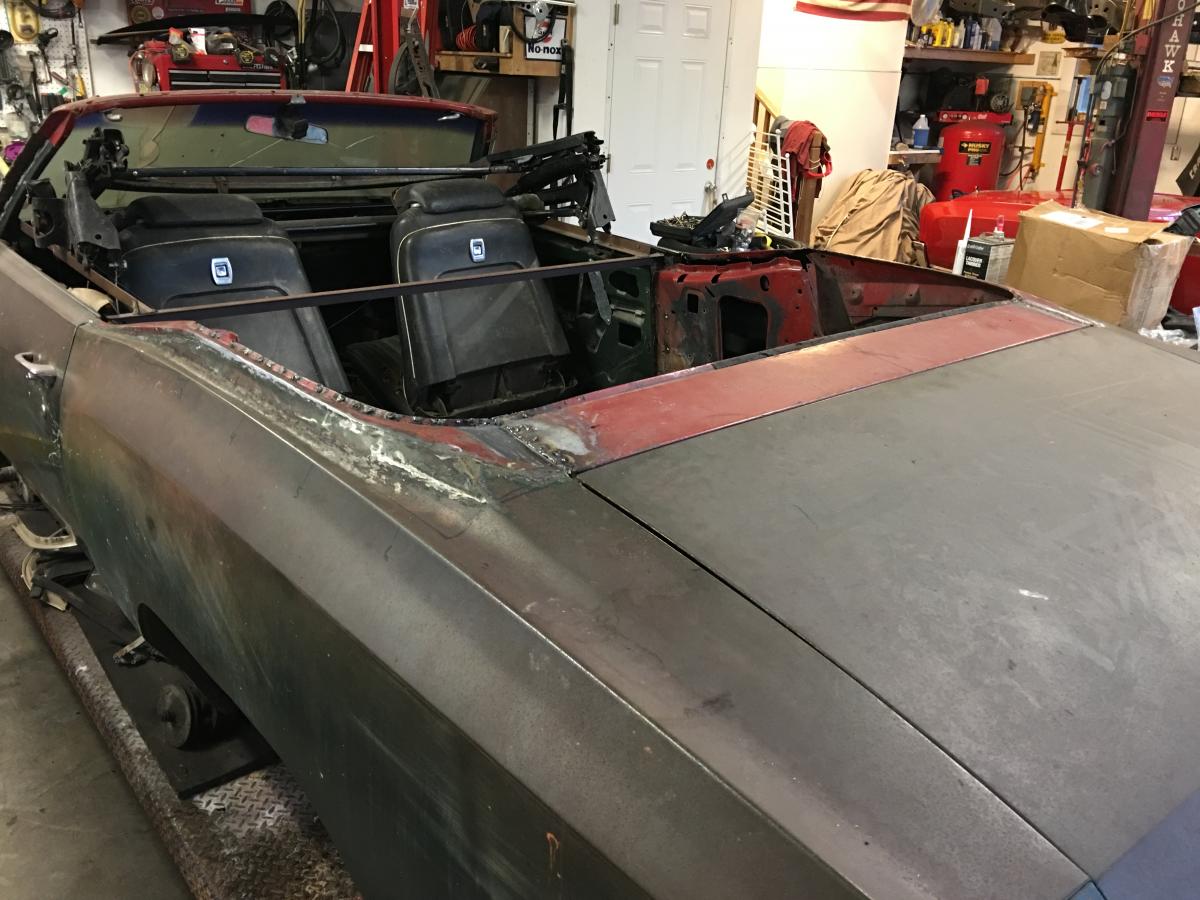
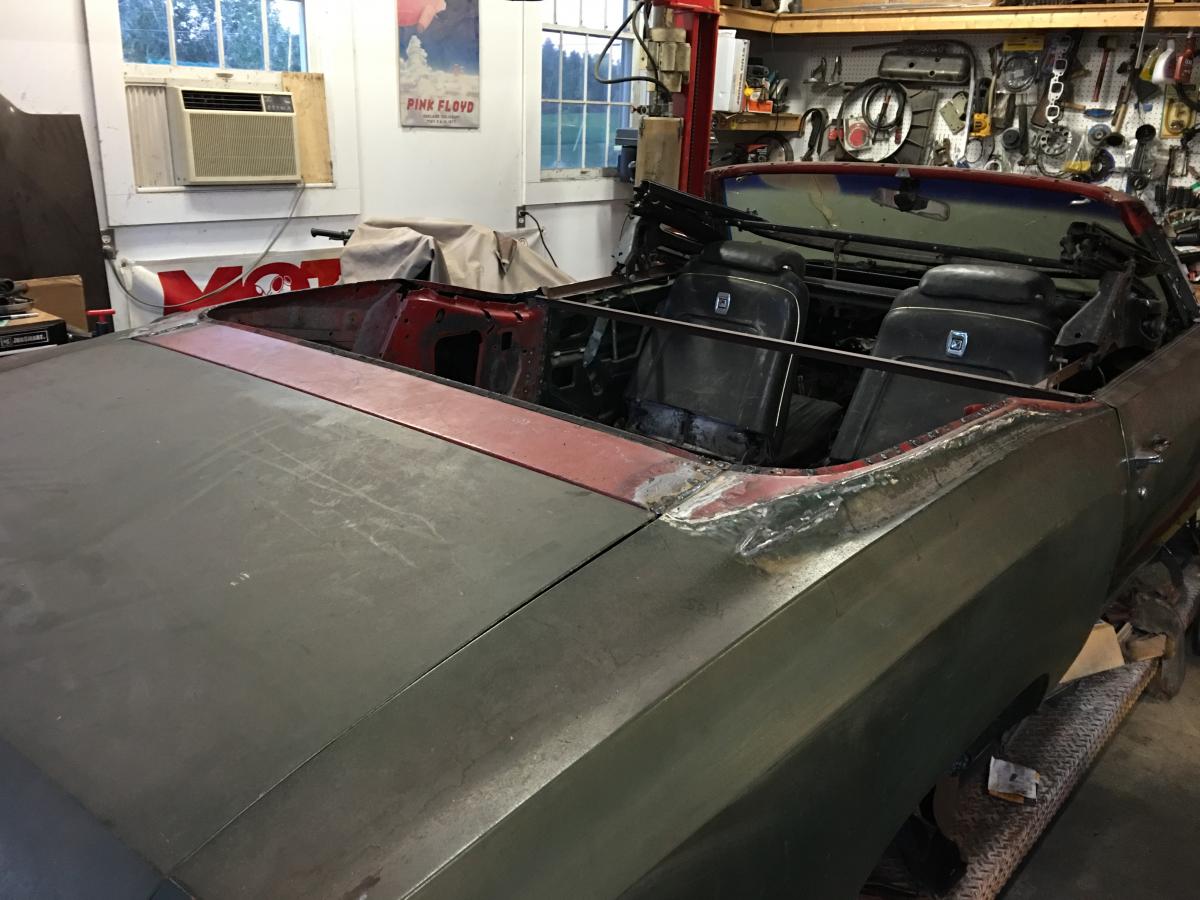
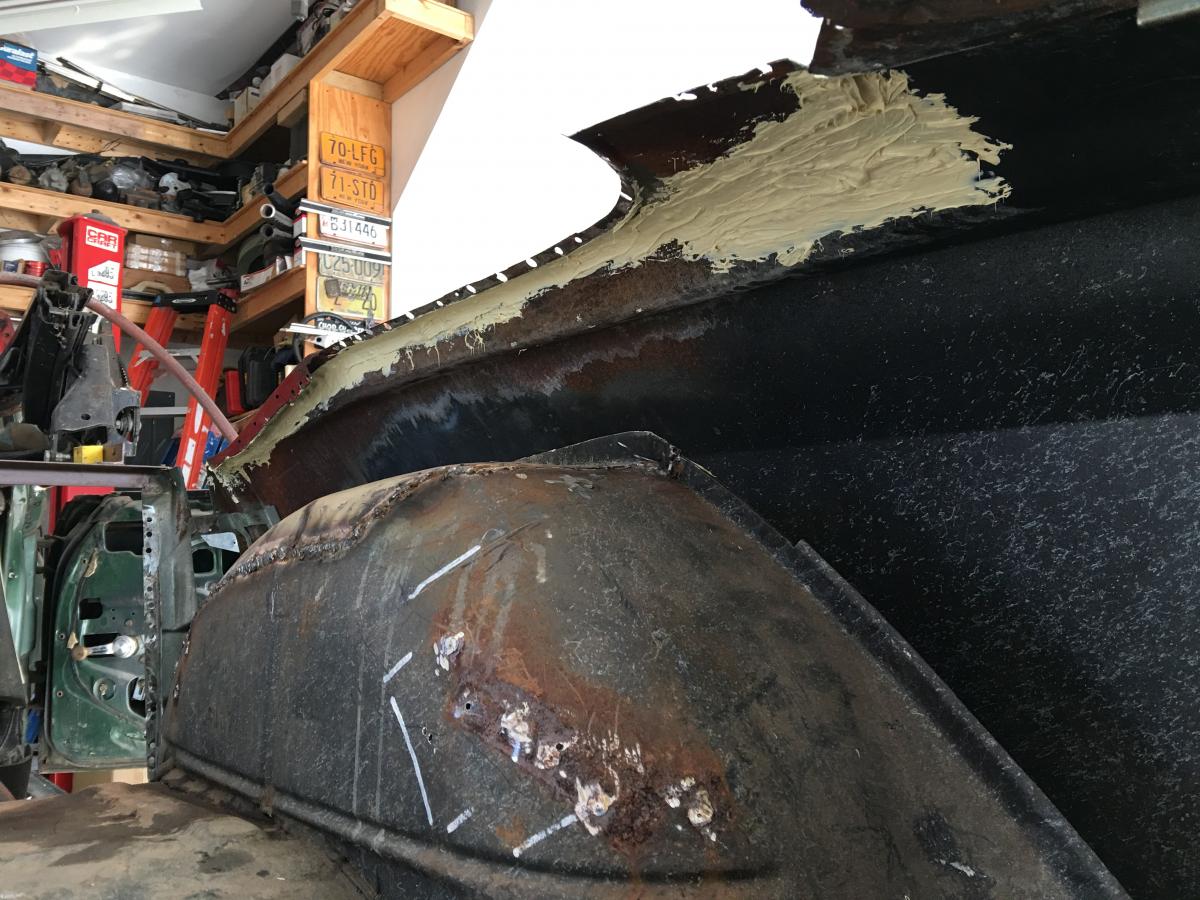
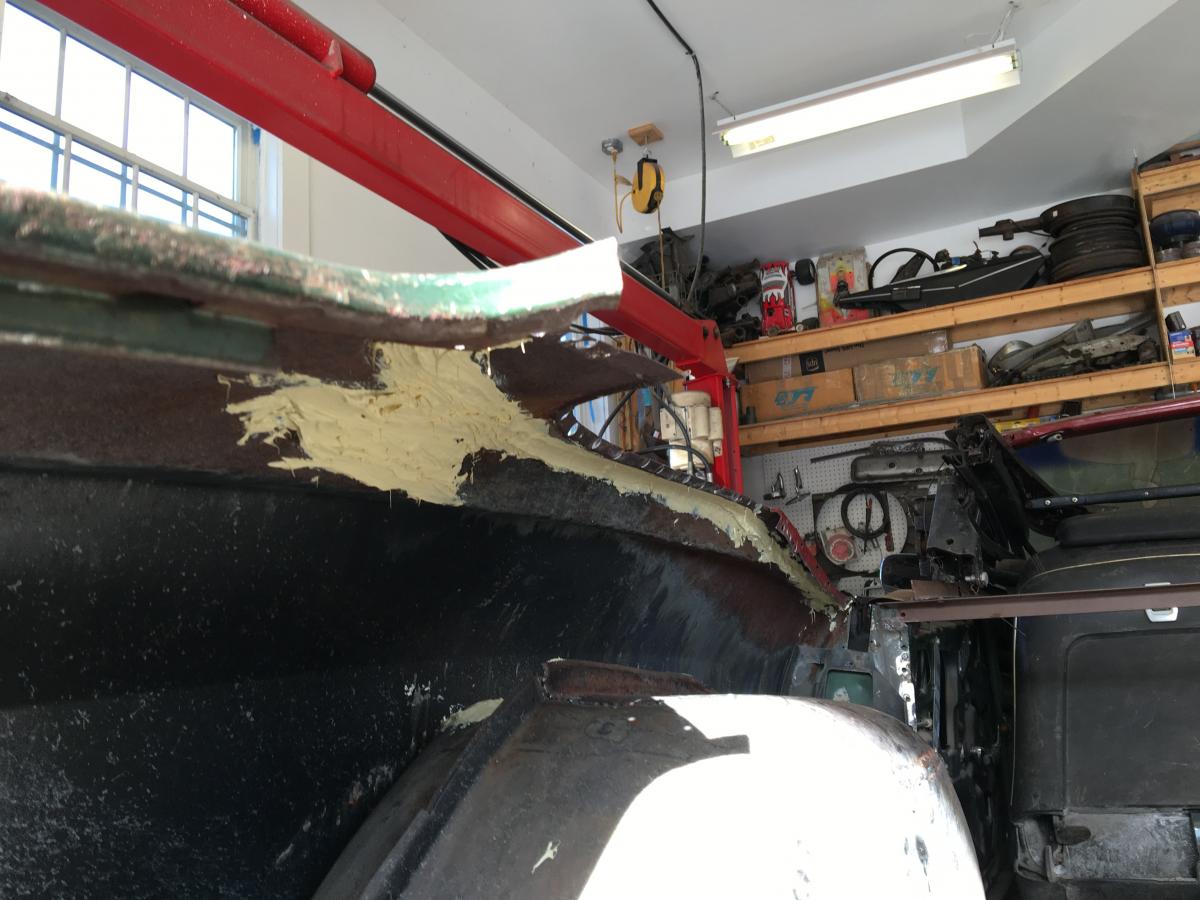
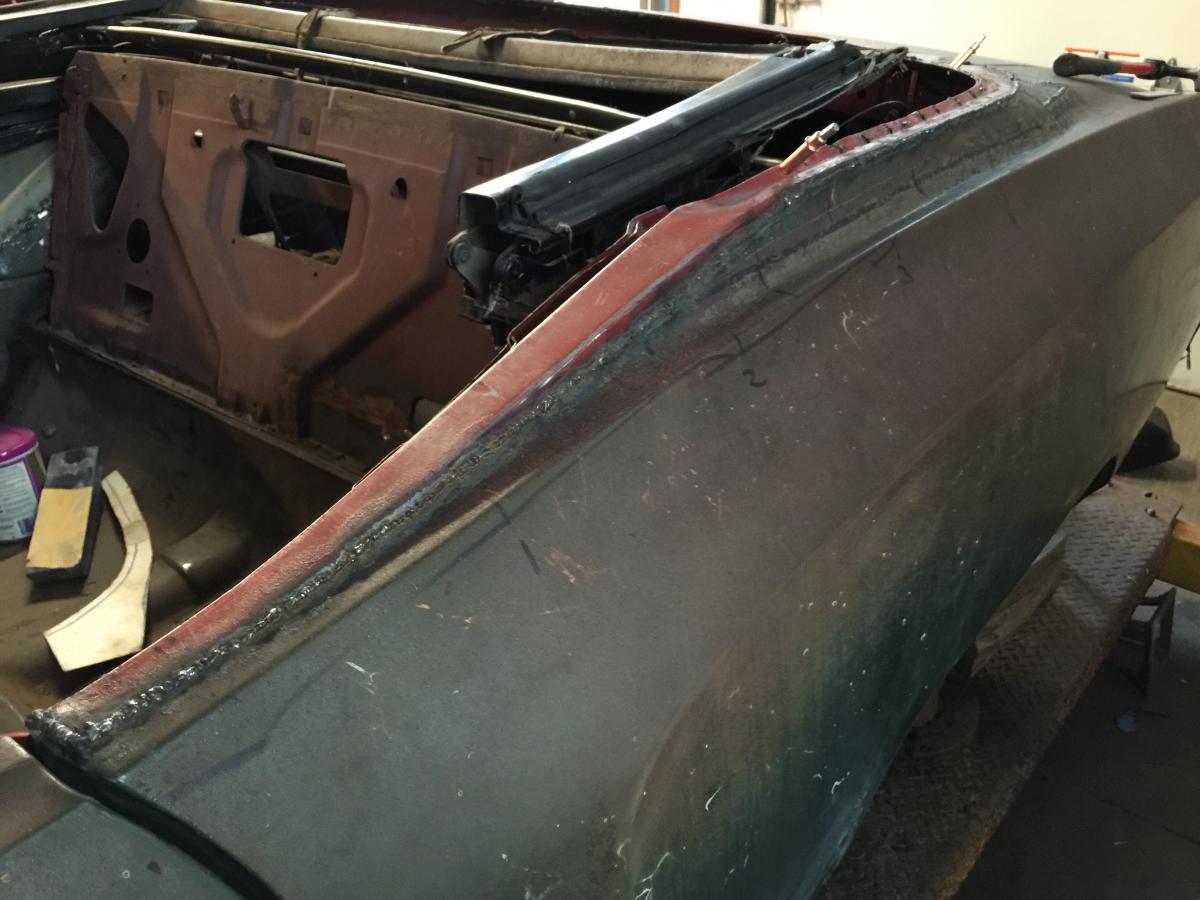
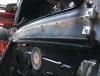
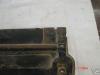
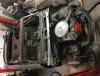
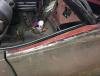
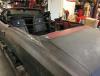
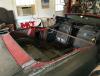
I always try and use as much of the original panels as possible when repairing rust so I ended up splicing in the AMD rear deck panel to the original. An added benifit was that I was able to retain the part # stamping and all the studs for the vinyl top. Luckily the rust was limited to the window chanel section. The window glass contours match good too. It added about 4 hours to the panel replacement but will be worth it in the end.
-
Well I can't take all the credit.

-
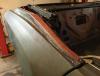
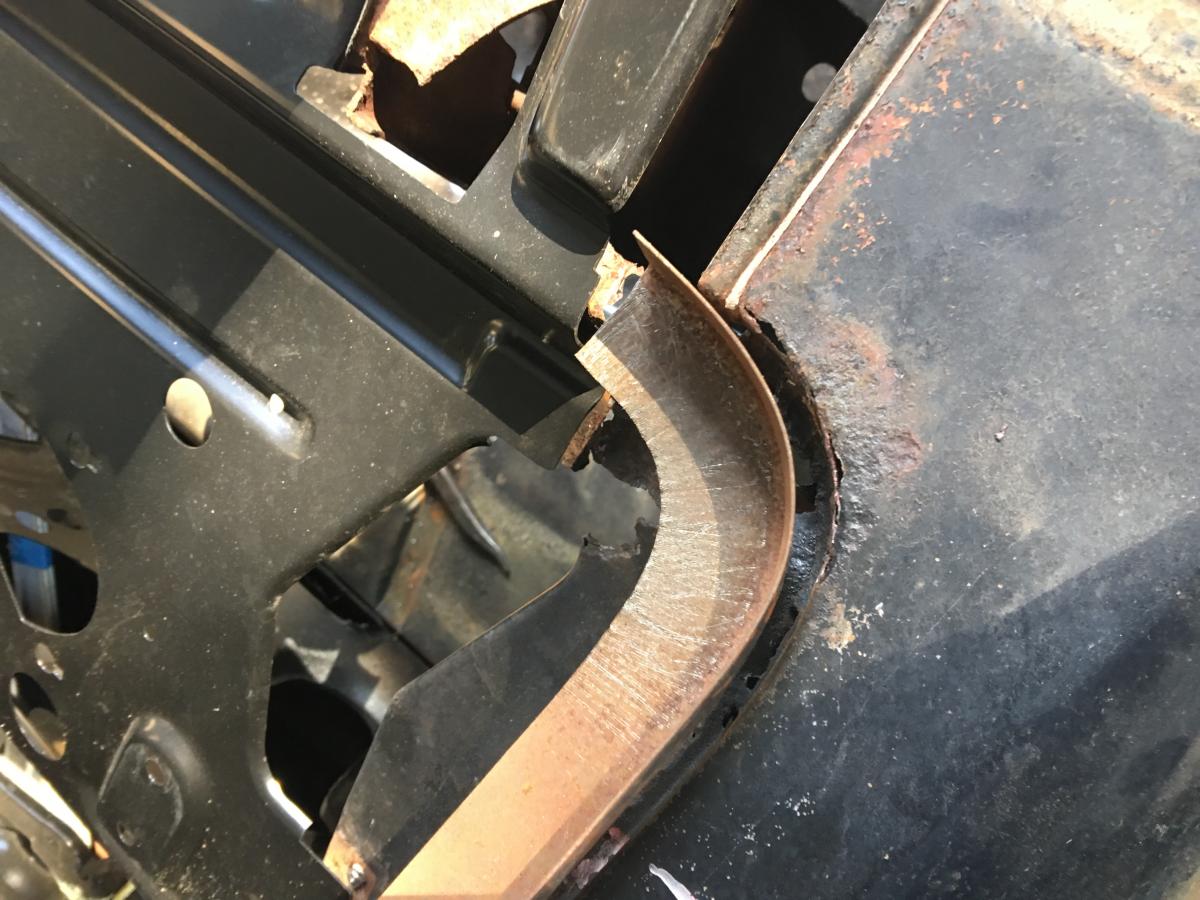
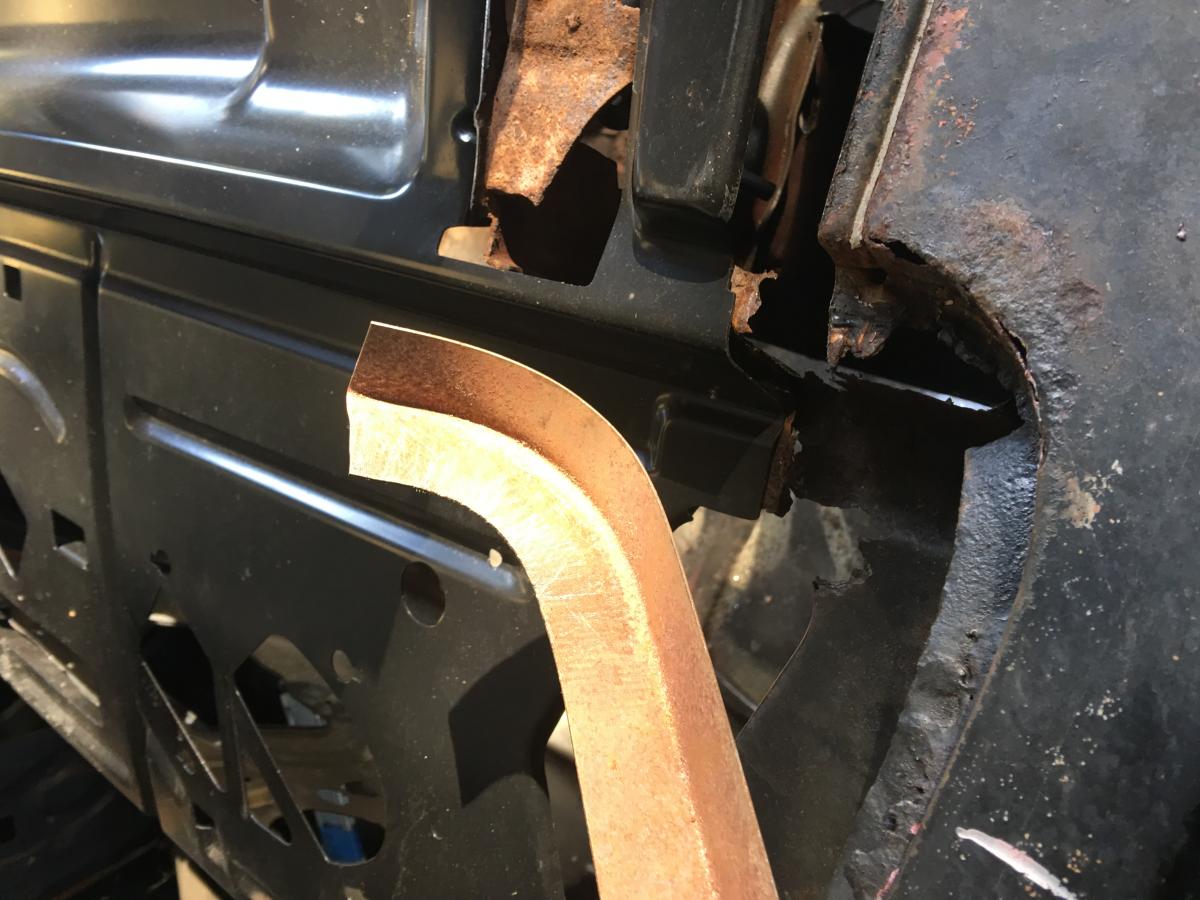
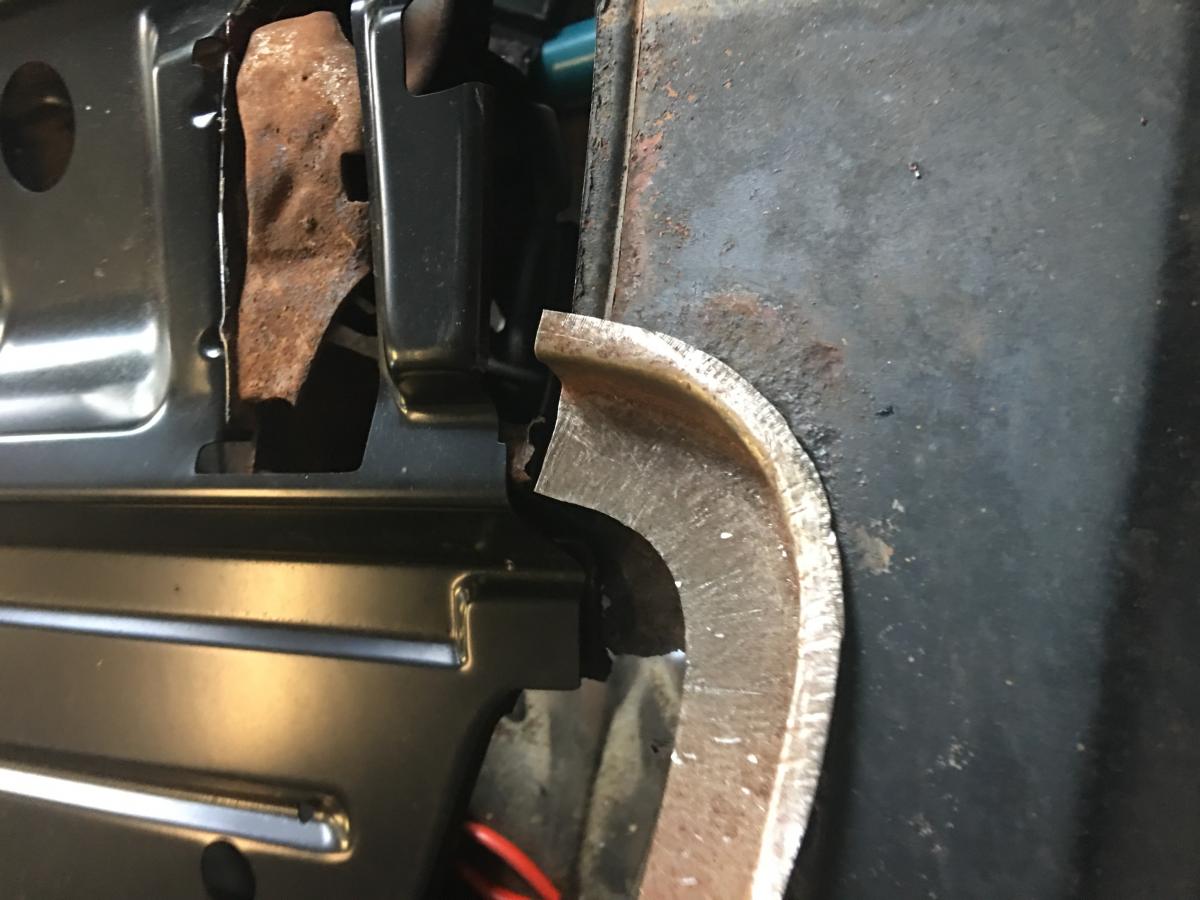
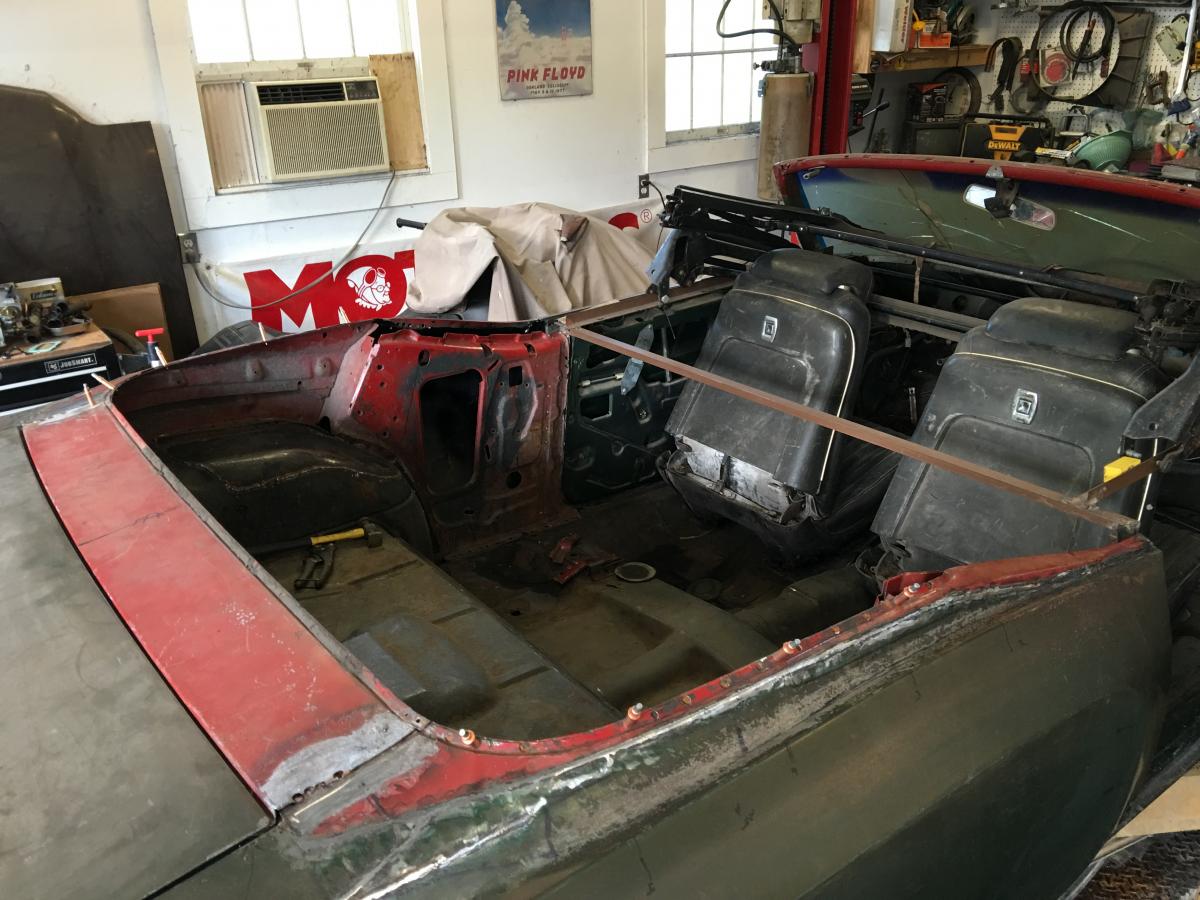
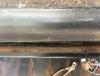
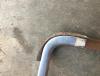
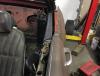
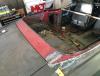
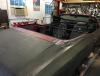
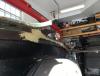
Started fabricating up the window channel with the shrinker/stretcher. The first one is taking shape nicely. Rolled the top lip then had to pull the window trim out to create the correct radius.


-
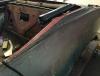
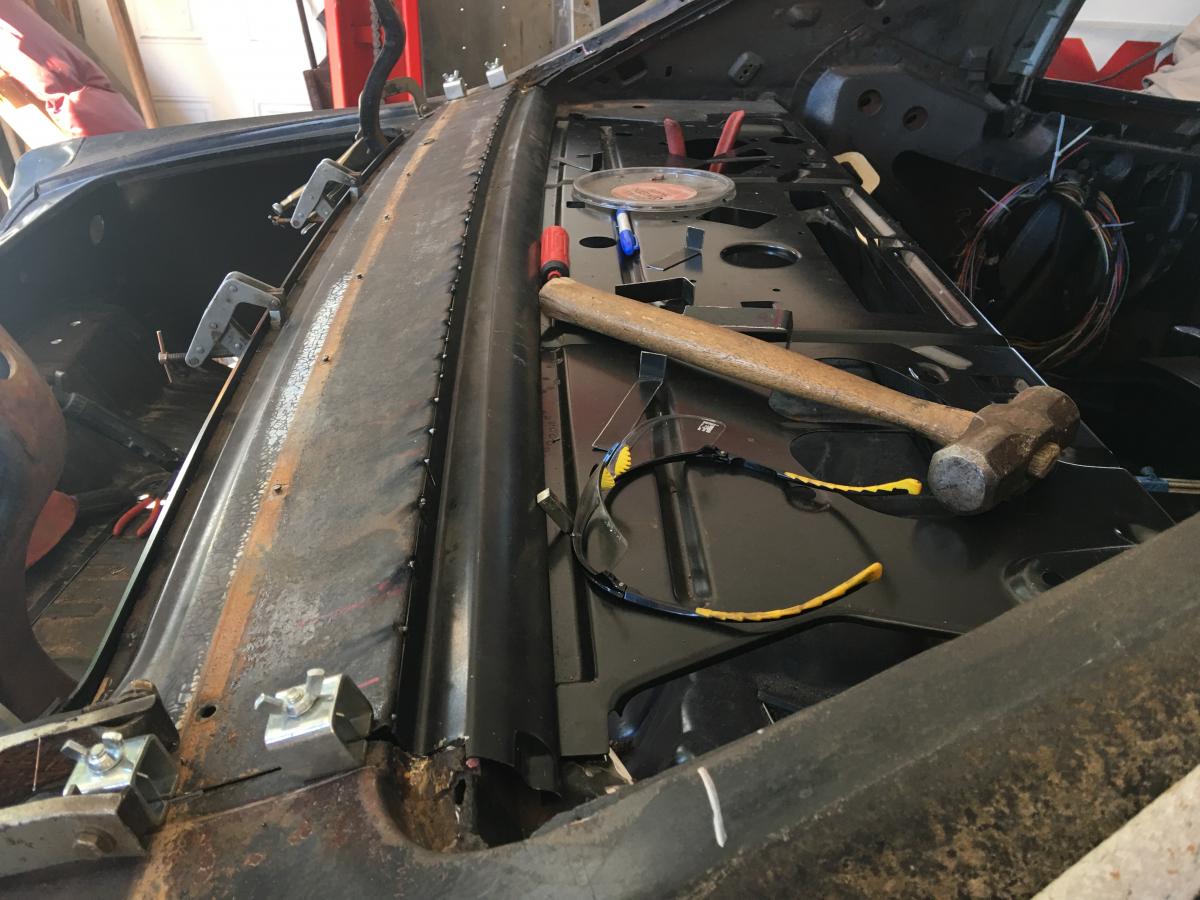
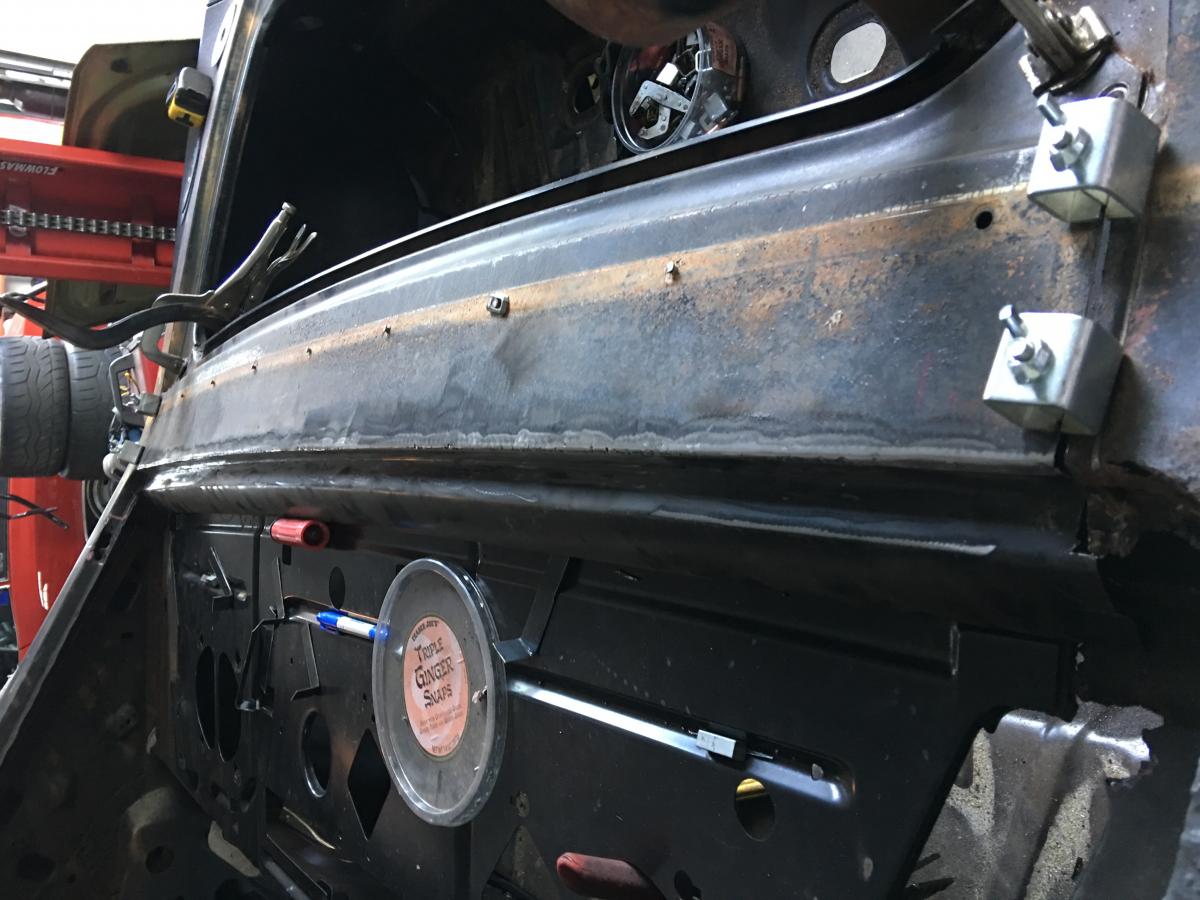
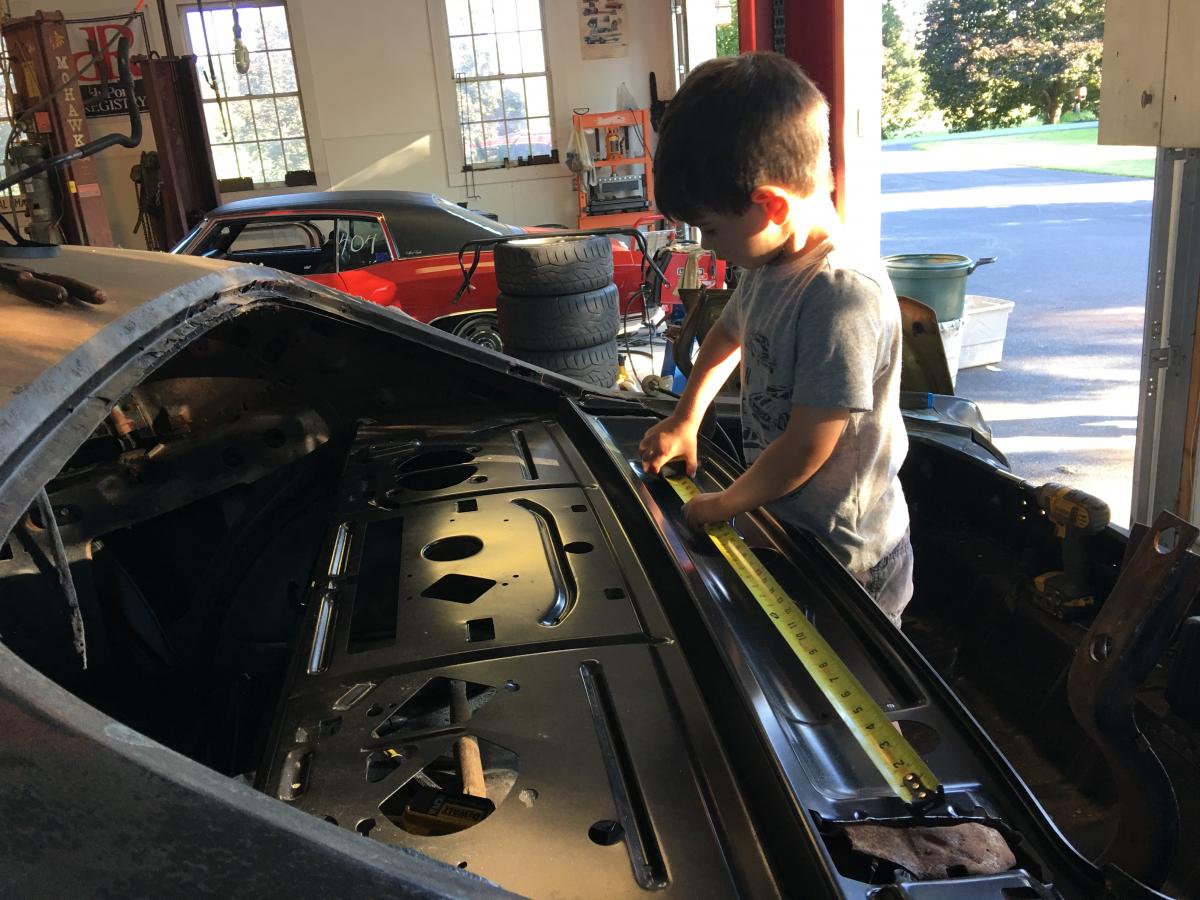
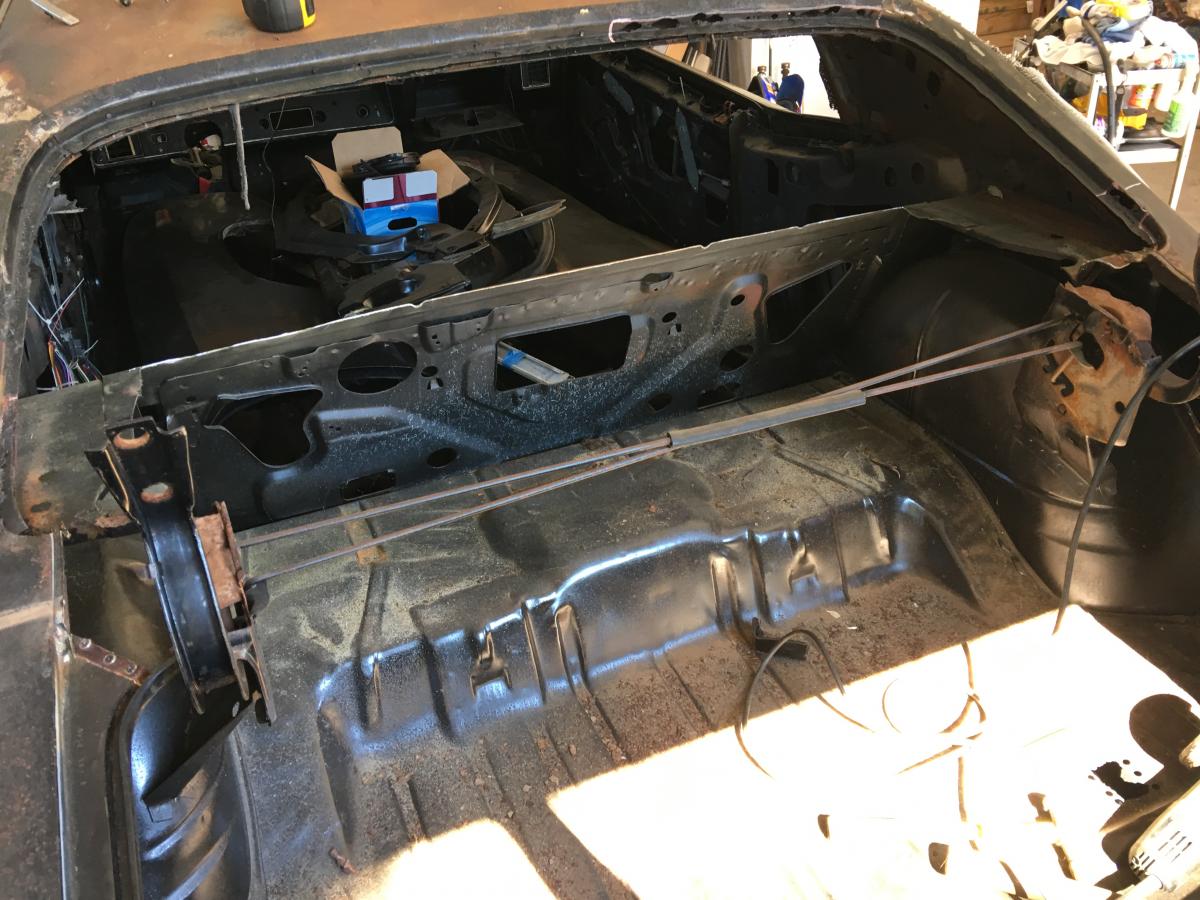
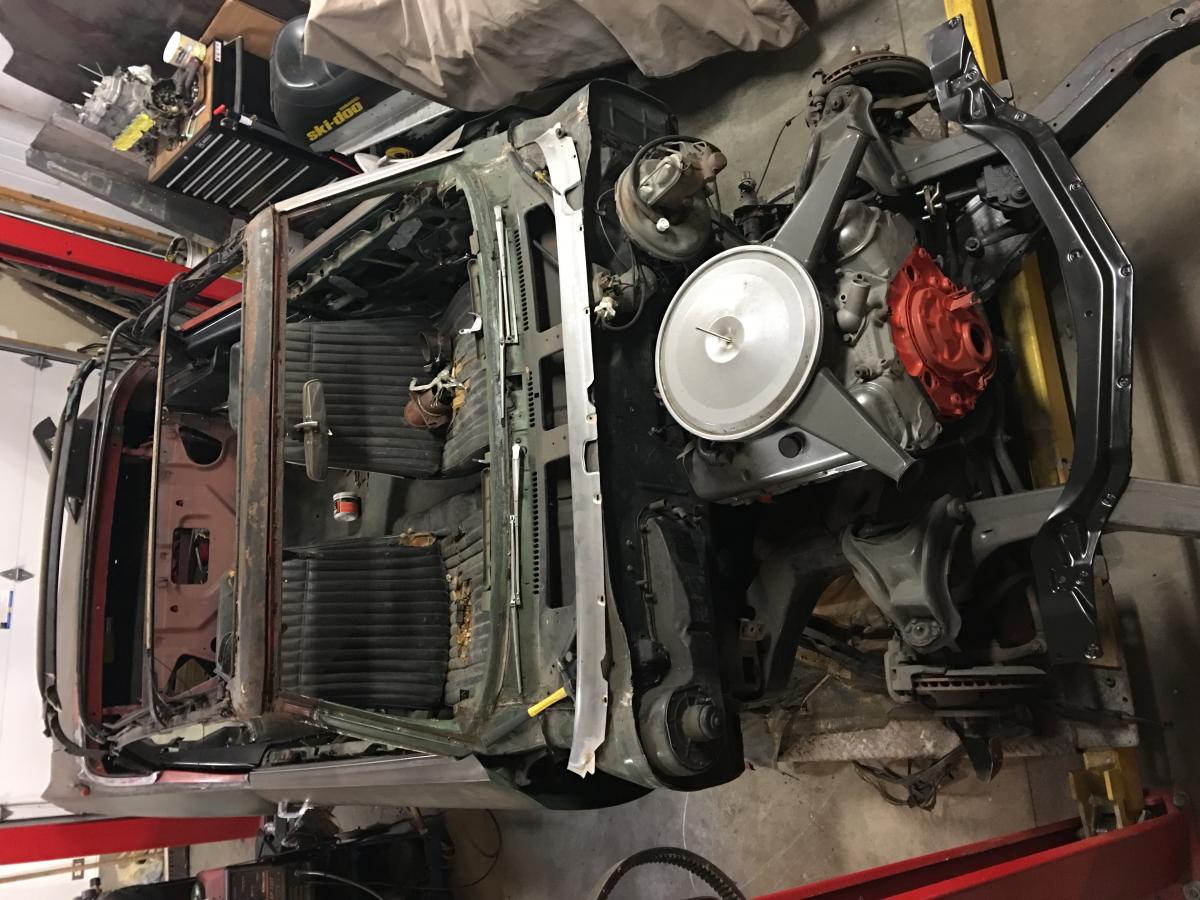
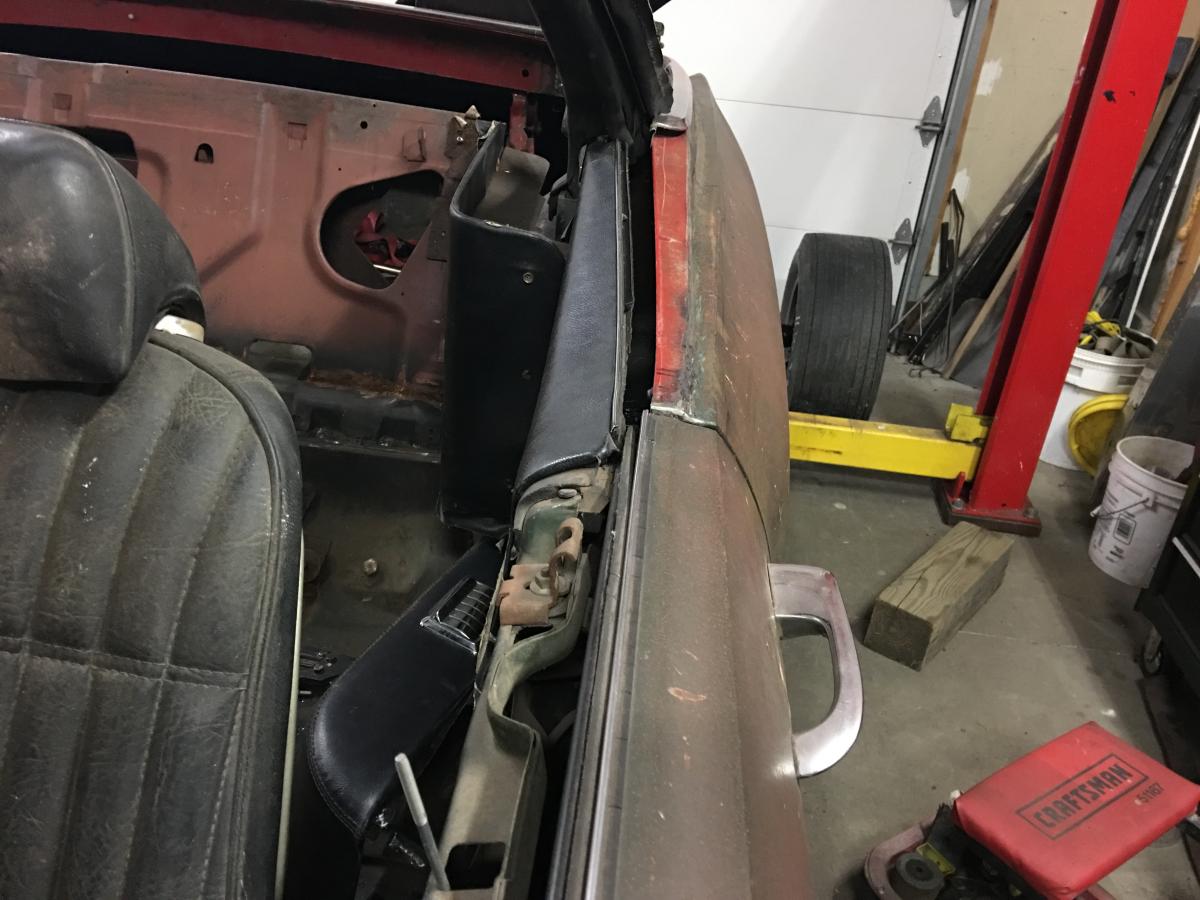
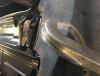
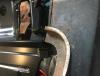
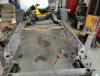
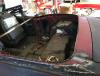
Well now that the convertible is to a point where is goes down the road or just back into storage I can get back on the 70 SS. I decided to start the rear deck panel and package tray replacement. Going well so far. So much easier removing parts and reinstalling in comparison to installing a complete convertible tub. This seems tame in comparison.
-
1970 - Monte Carlo Convertible, LS6, M22 - Build
ss454-71 replied to ss454-71's topic in Restorers - Archive
Here is a link to about 500 photos of the build. https://www.icloud.com/sharedalbum/#B0P59UlCqVwlIa -
1970 - Monte Carlo Convertible, LS6, M22 - Build
ss454-71 replied to ss454-71's topic in Restorers - Archive
Well it's on eBay if anyone is interested. Hope someone on here gets it! https://www.ebay.com/itm/201634757477 -
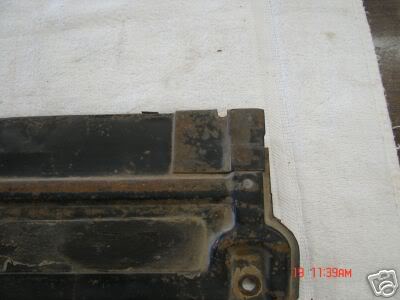
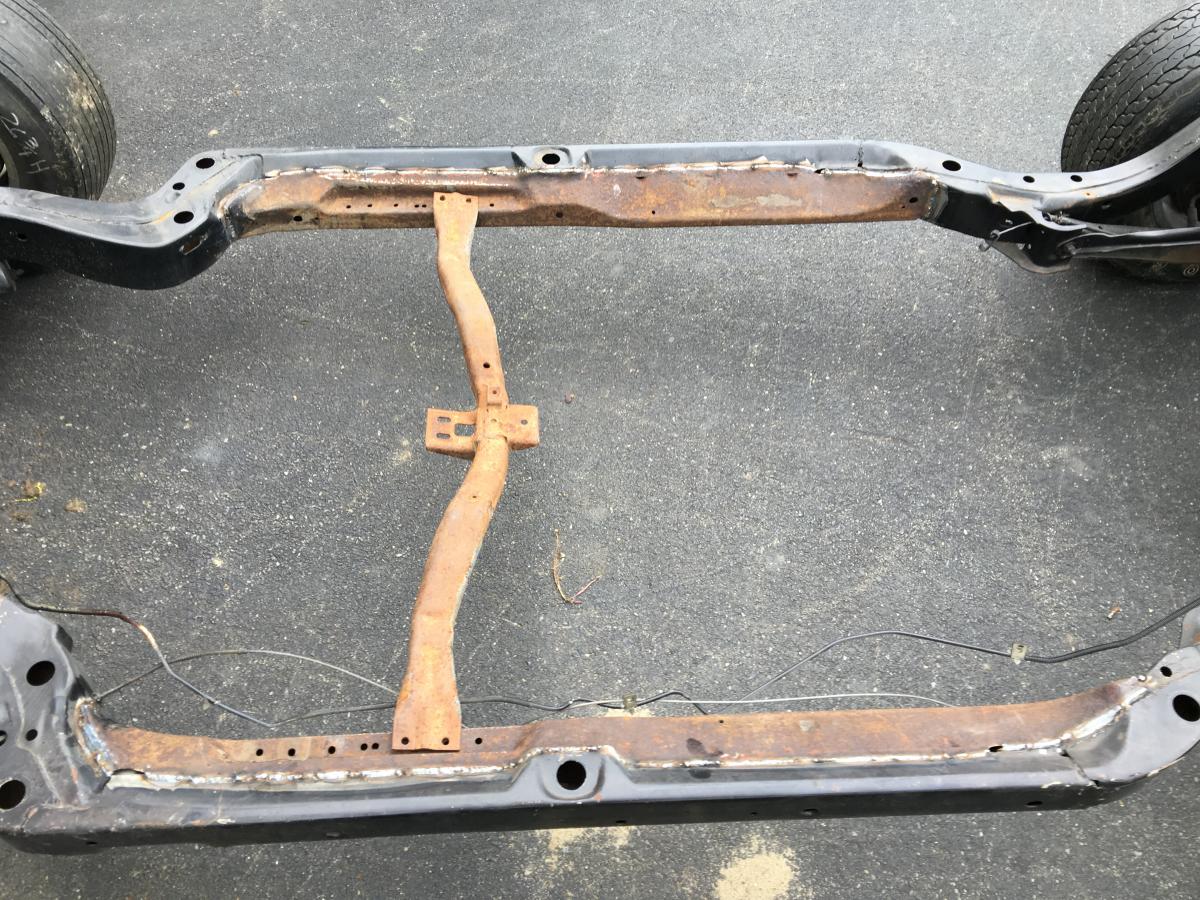
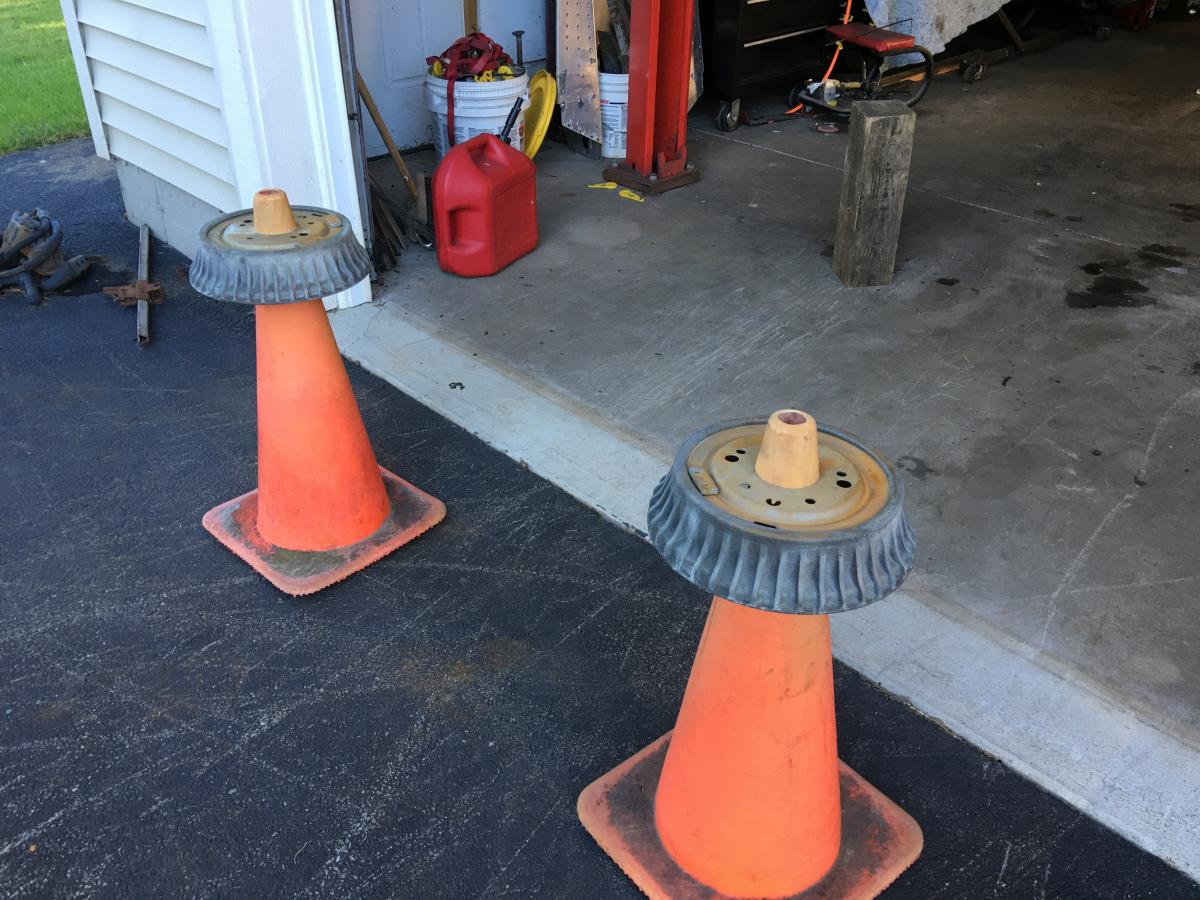
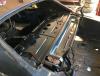
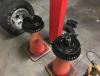
This question is for the guys with 1970 SS cars that still have the original top radiator plate/cover. Should it have the extra tab that goes with the 4 core radiator? I ask because the one on my 70 SS I'm restoring is missing and I have both versions with and without the tab and want to use the correct one. From what I understand A/C cars had the tab. Did non A/C SS cars get 3 for radiators or did they all come with HD cooling 4 core? Being an A/C car I assume I should have the tab. My '71 cars I have had all had the tab but looking at photos of 70 cars I'm not seeing it.
-
1970 - Monte Carlo Convertible, LS6, M22 - Build
ss454-71 replied to ss454-71's topic in Restorers - Archive
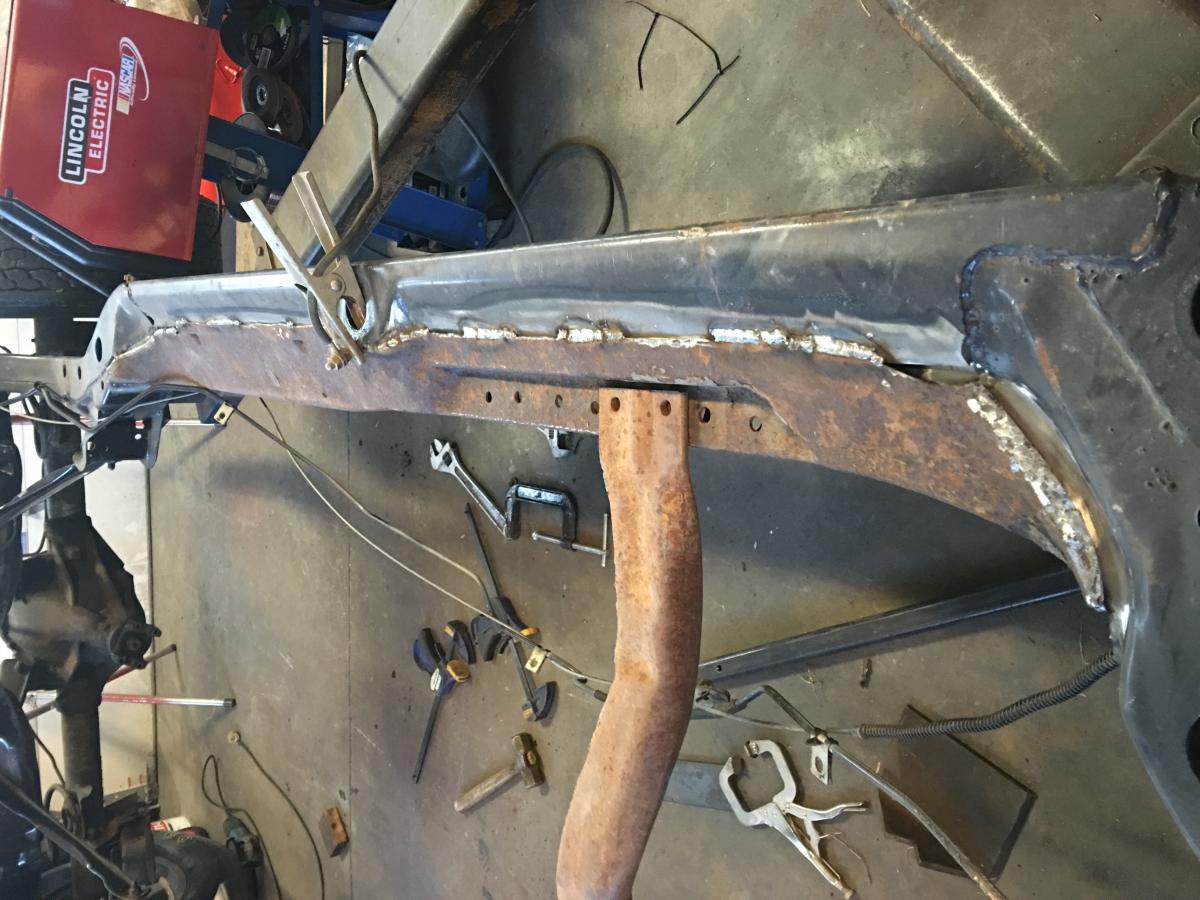
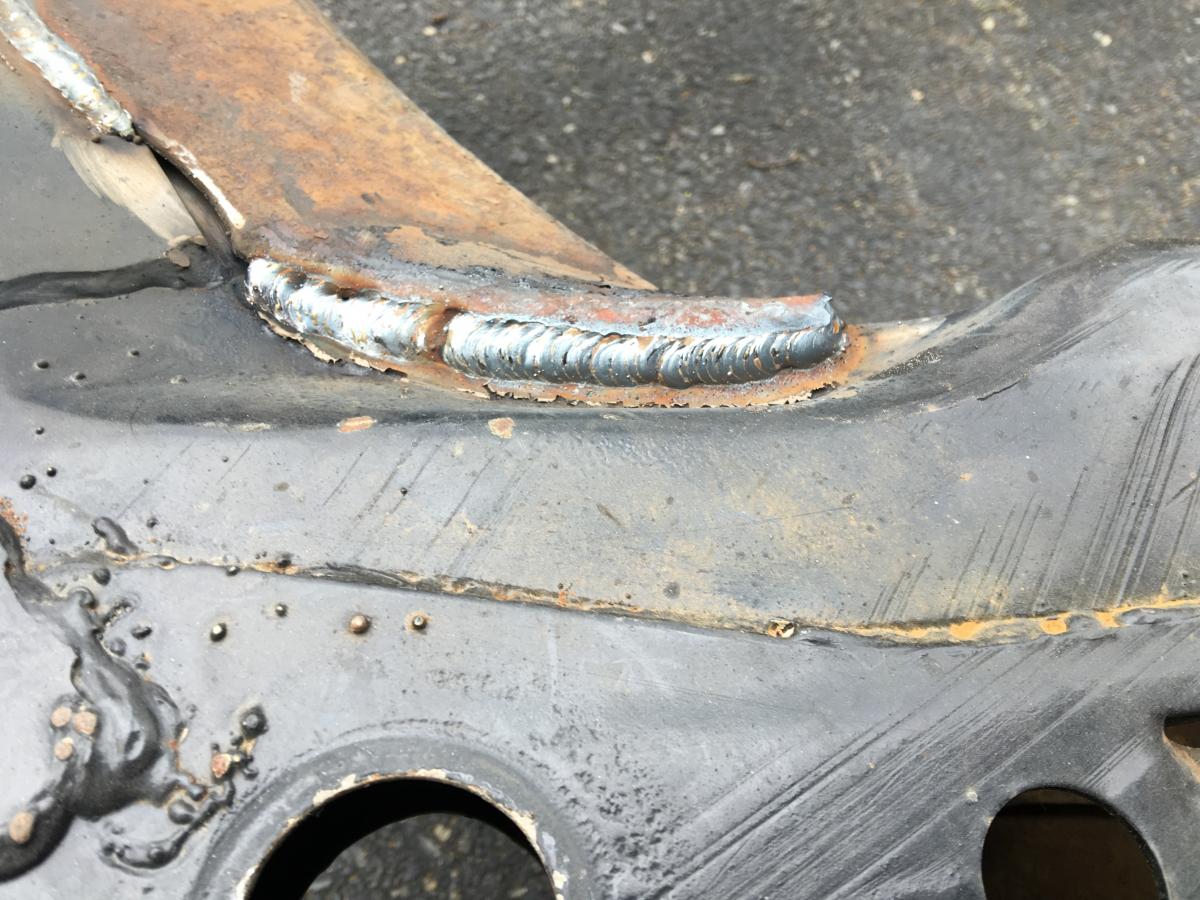
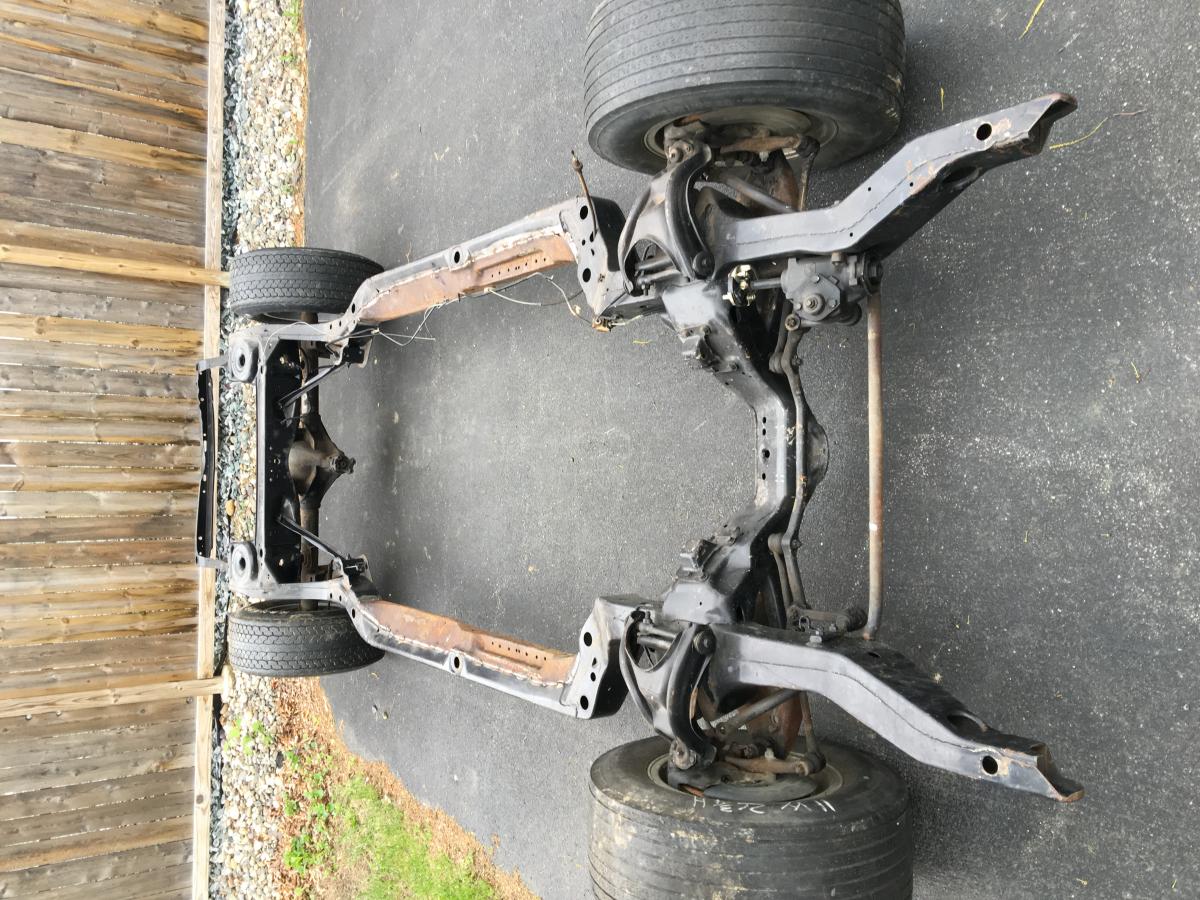
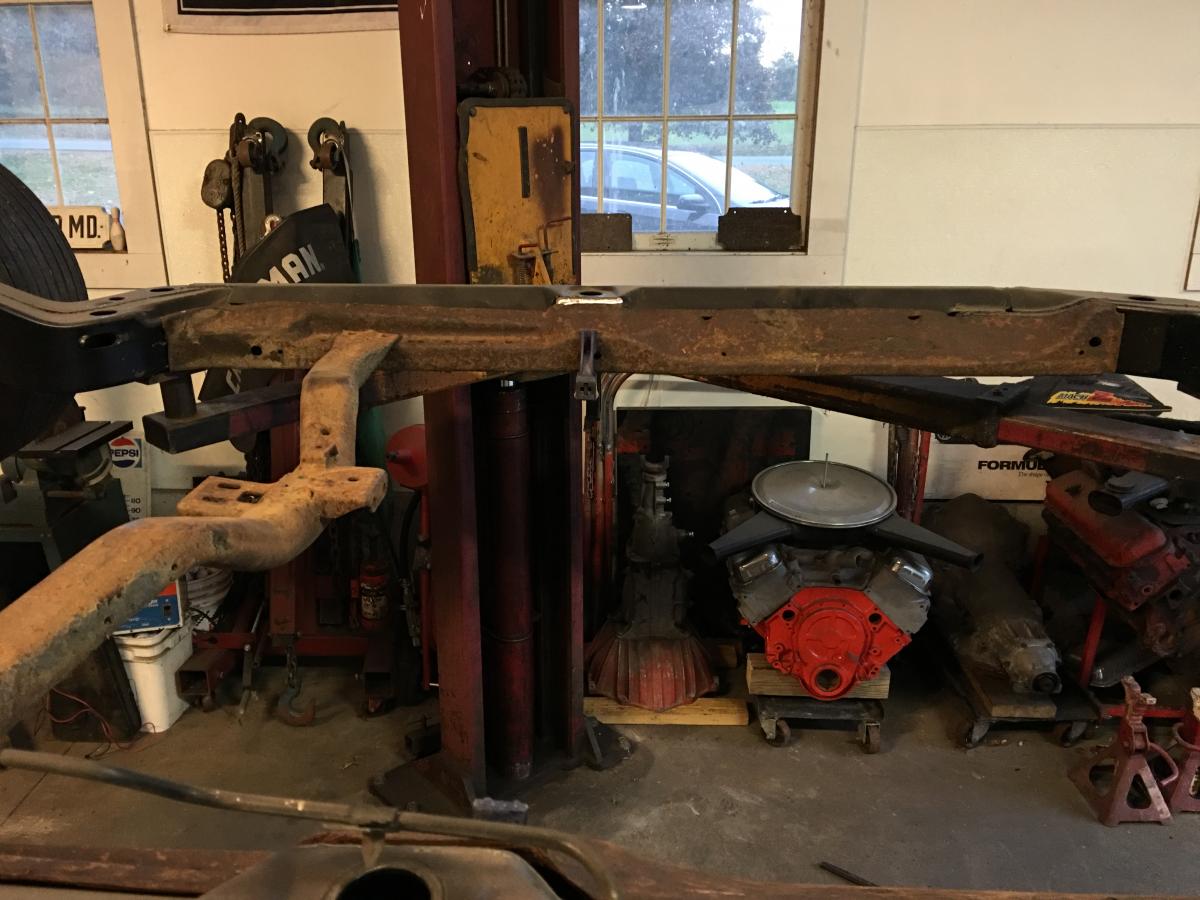
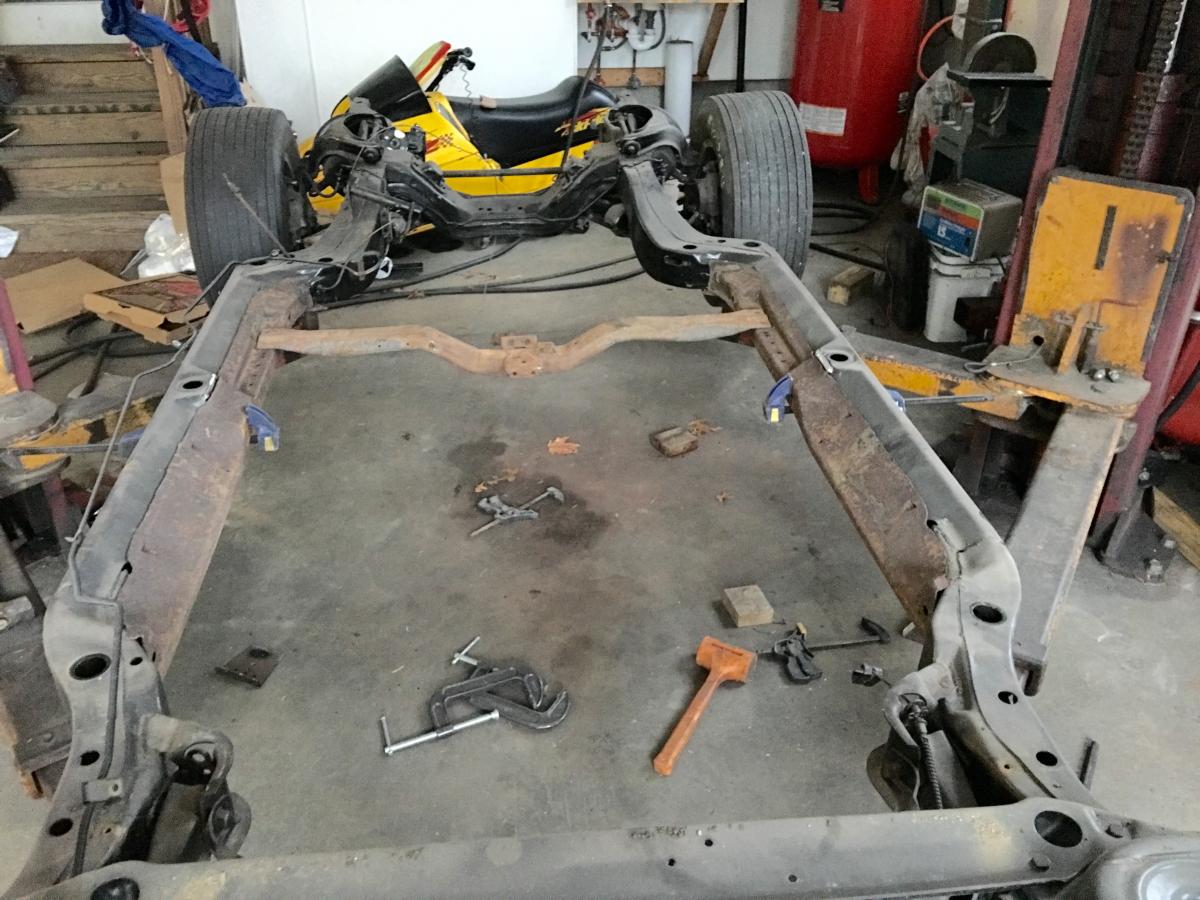
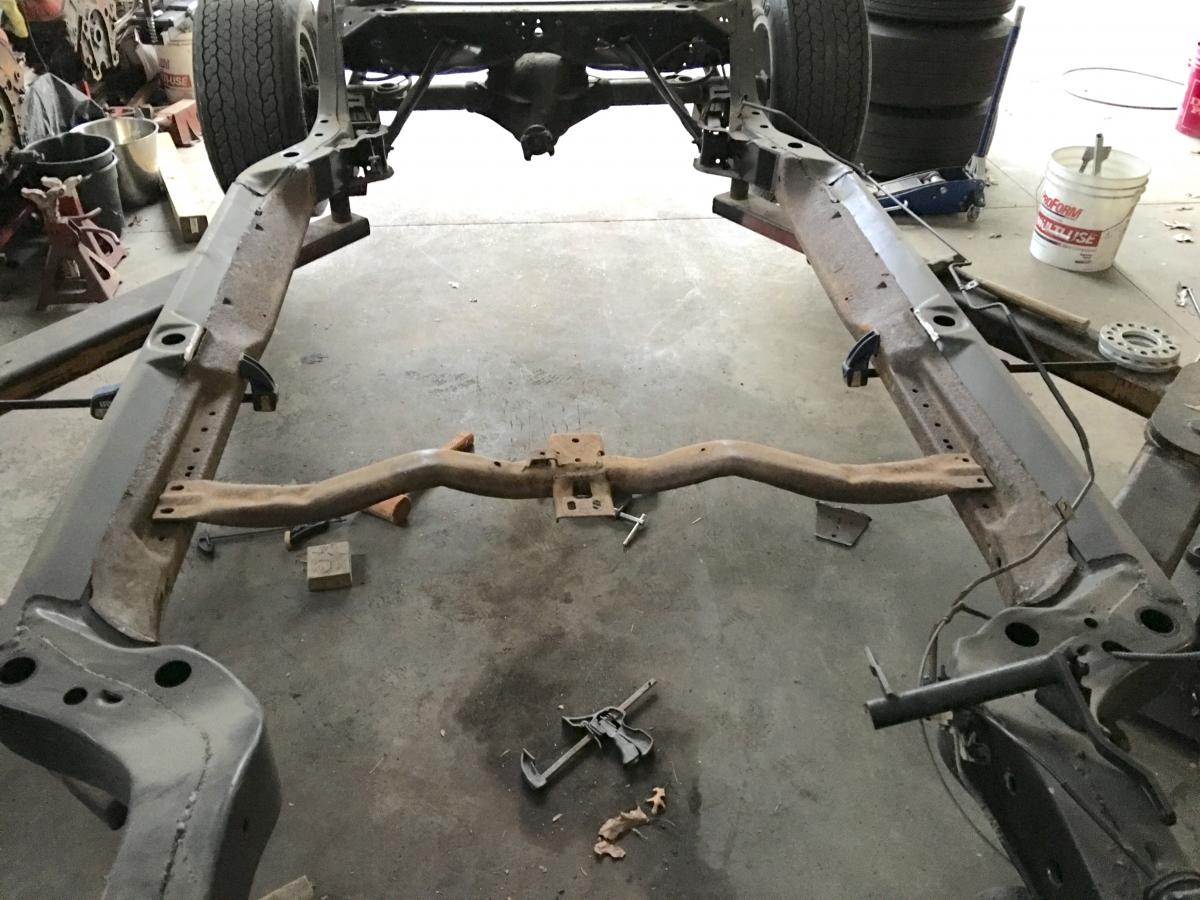
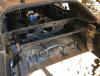
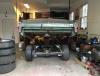
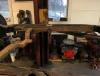
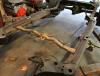
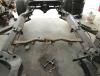
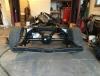
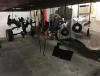
Thanks for the complements guys. Not sure on the wheels just yet. Well the last few weeks I've been finishing up the frame bracing. The Braces fit very well. It was roughly 20' of weld. Took my time and jumped around to prevent heat buildup. Also took a bunch of measurements and the frame is within 1/16" of being square. Can't believe how square the frame is. To be honest I'm seriously contemplating selling the car again once all the metal work is complete. I just have so many projects and interests it's tough keeping them all going at the same time. Every time I work on it I fall in love with it again. Ugh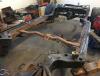

-
1970 - Monte Carlo Convertible, LS6, M22 - Build
ss454-71 replied to ss454-71's topic in Restorers - Archive
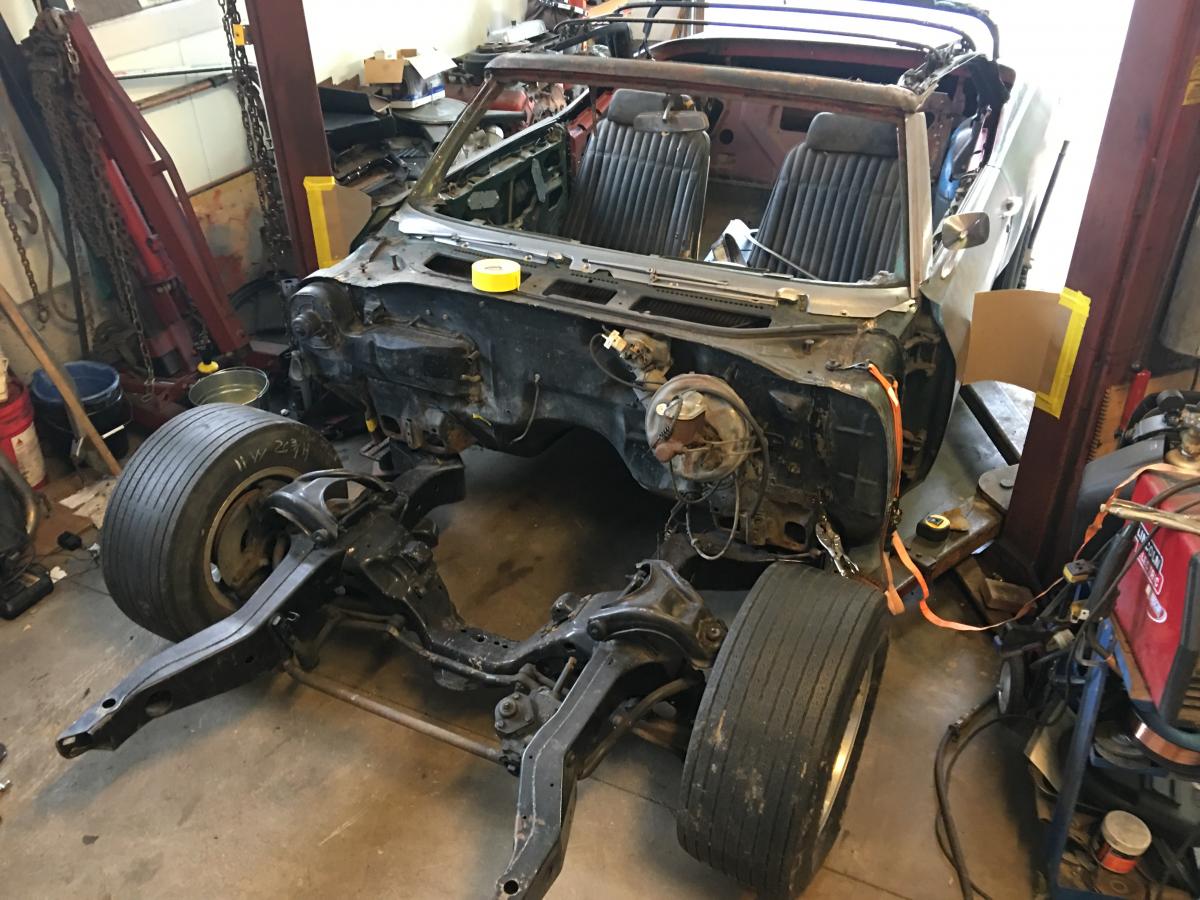
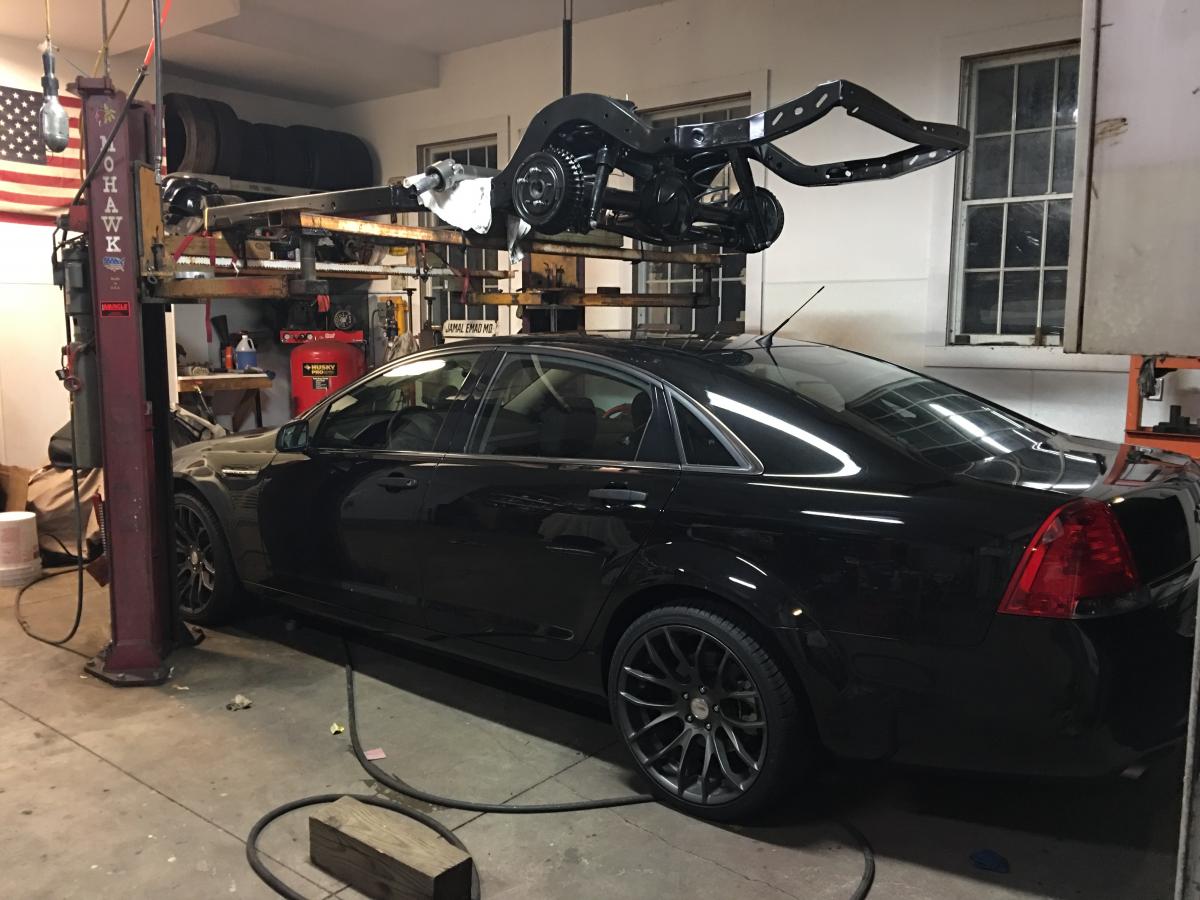
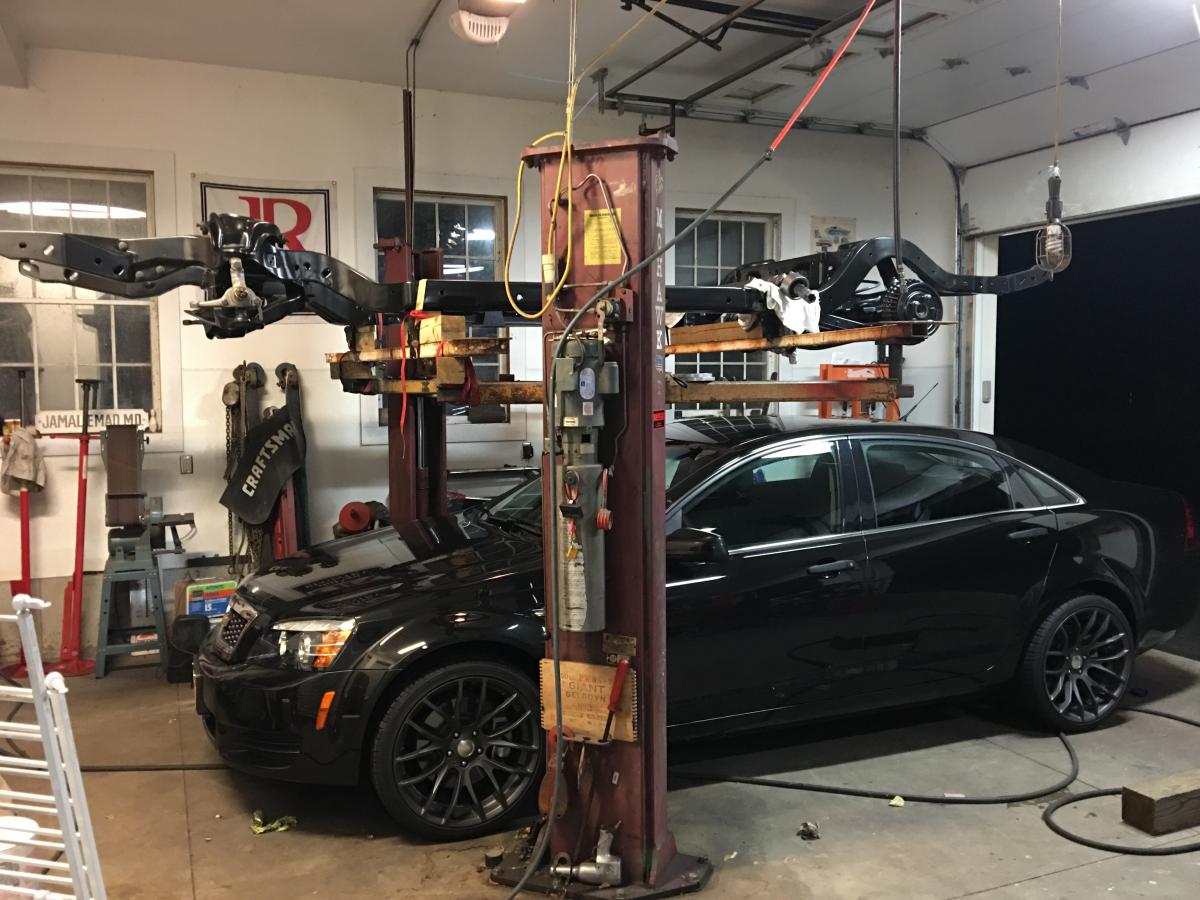
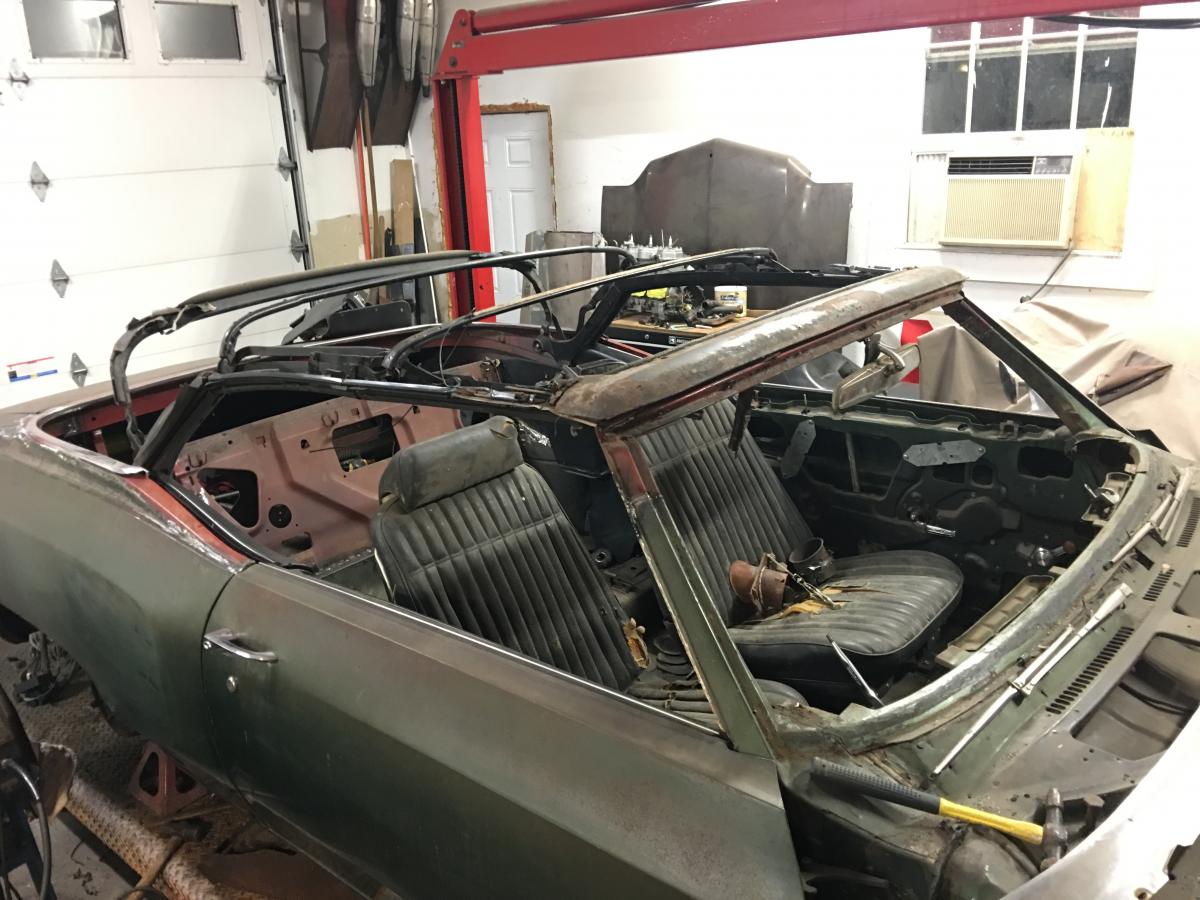
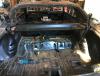
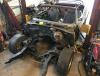
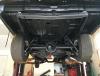
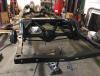
Pulled the body today and set it on a spare chassis. Then started to fit-up the convertible frame braces. First fitting went well but need some fine tuning.


-
1970 - Monte Carlo Convertible, LS6, M22 - Build
ss454-71 replied to ss454-71's topic in Restorers - Archive
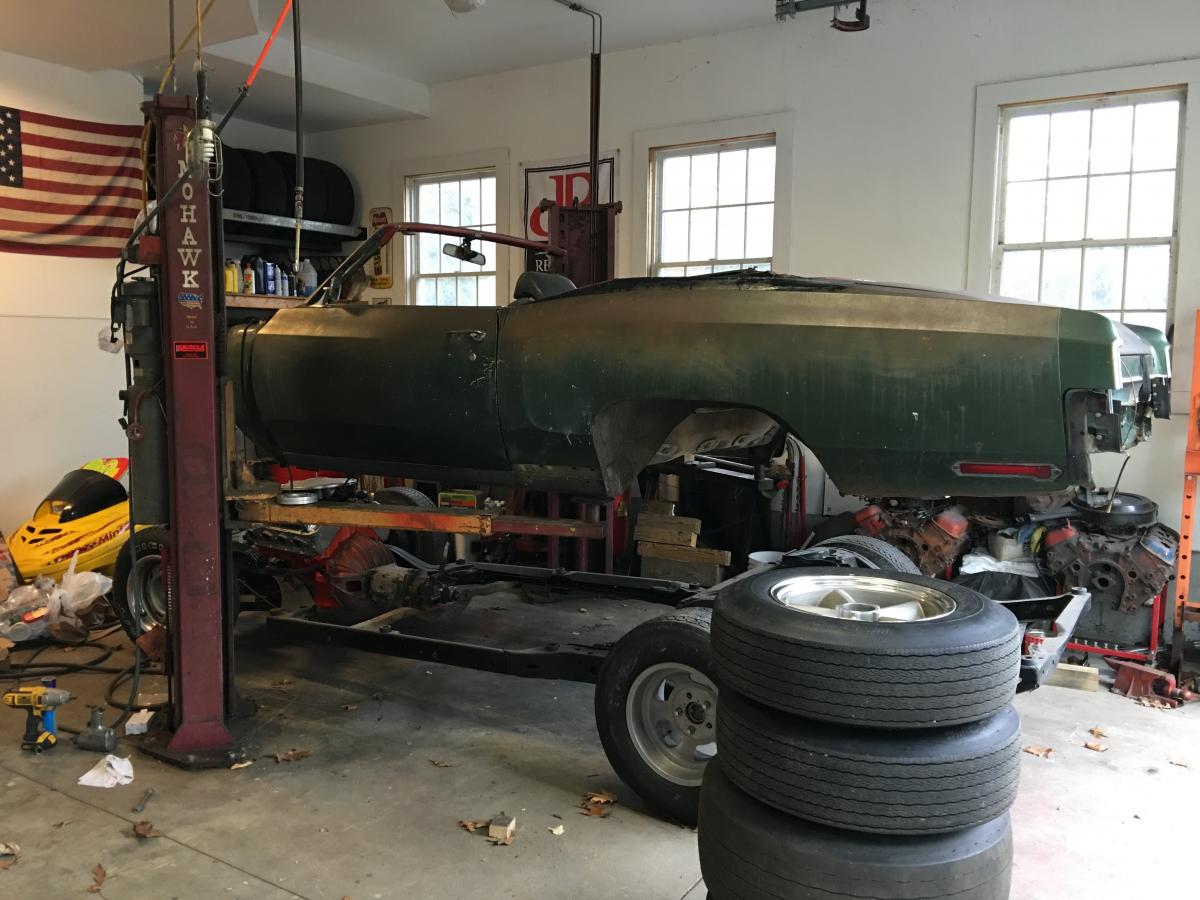
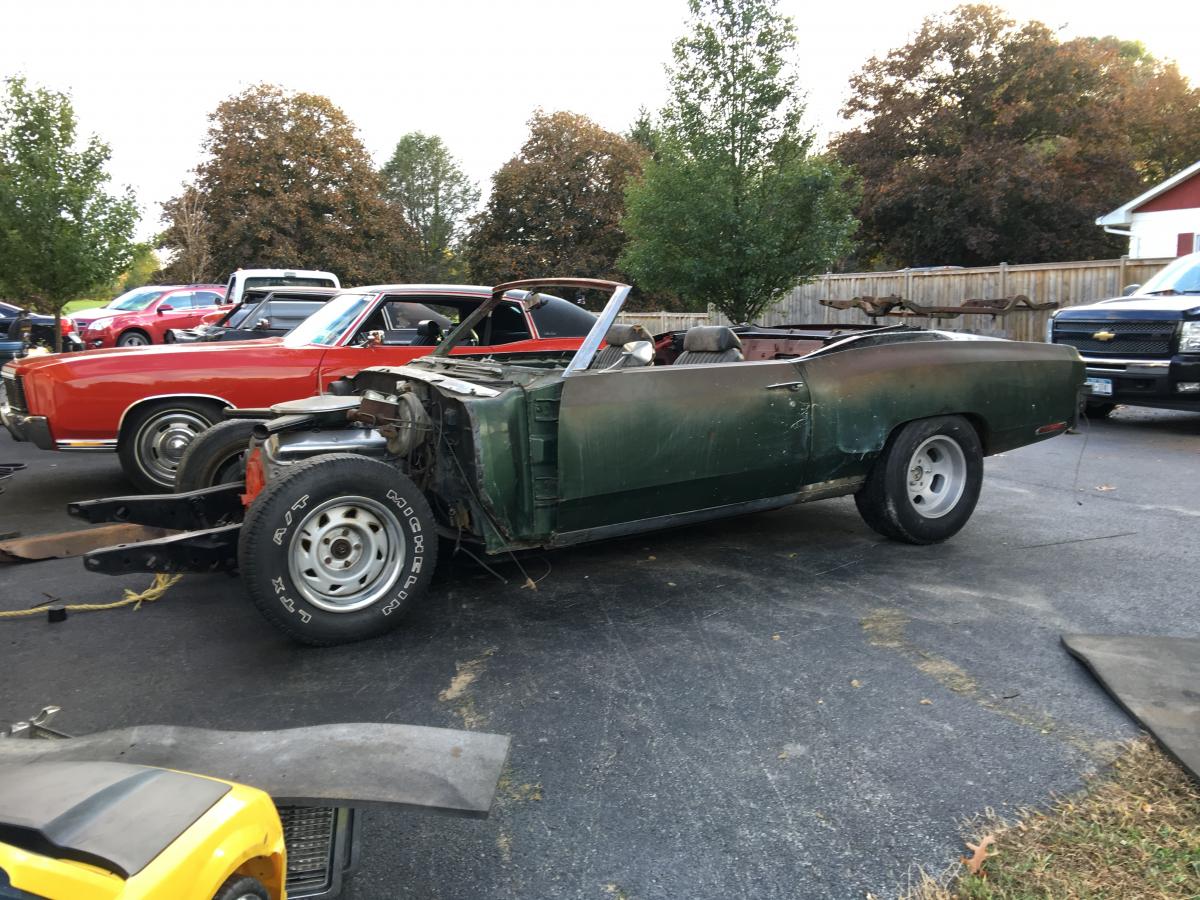
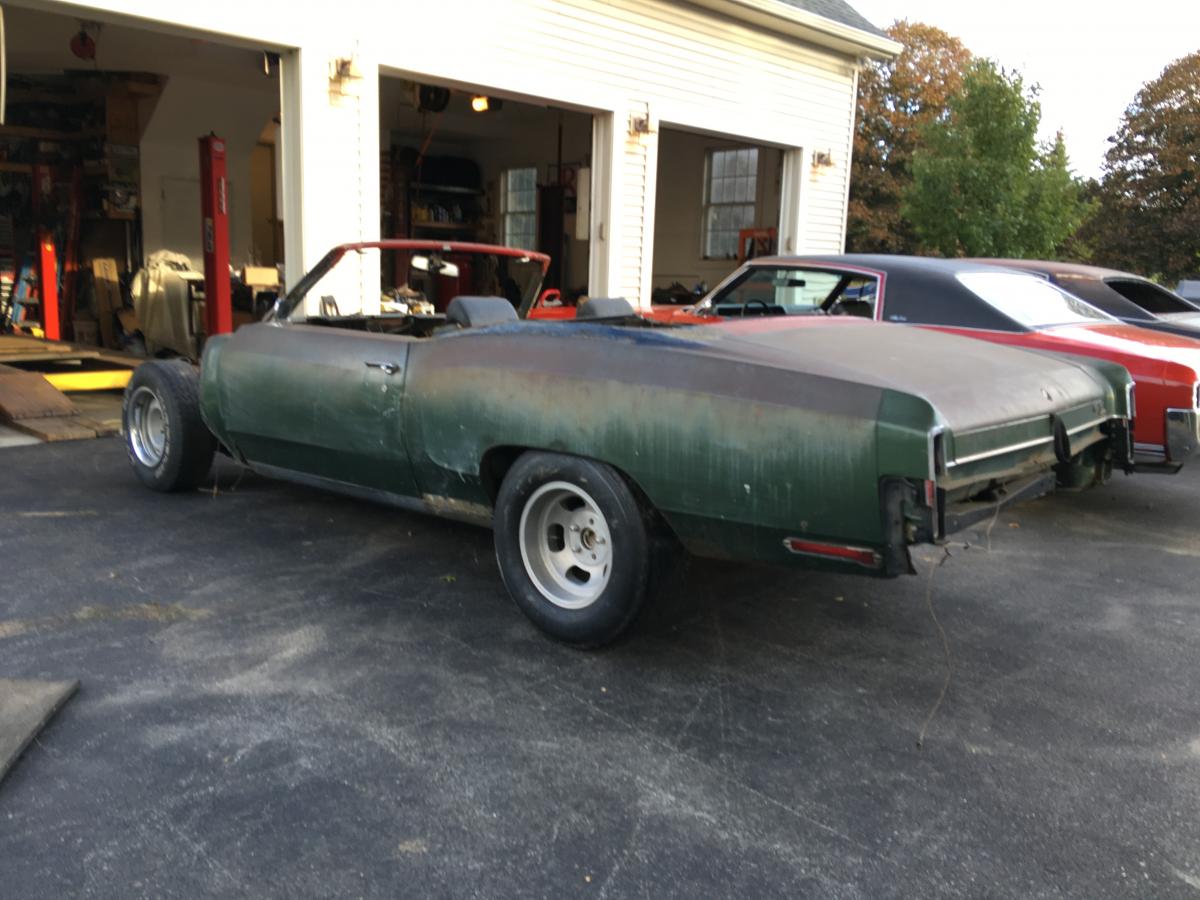
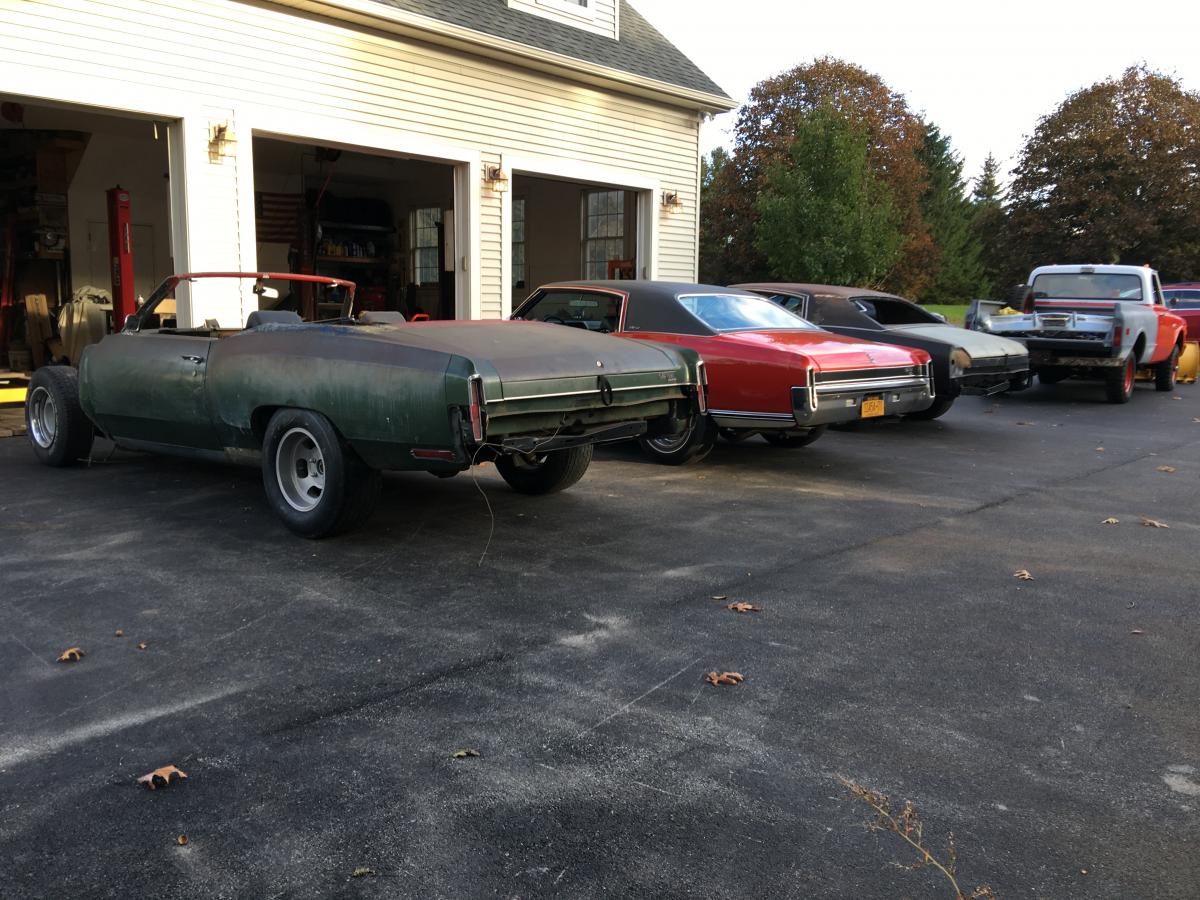
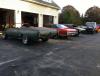
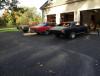
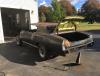
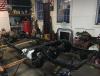
Finally got the convertible off the 4 post. Also rearranging cars for winter hibernation.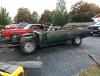
-
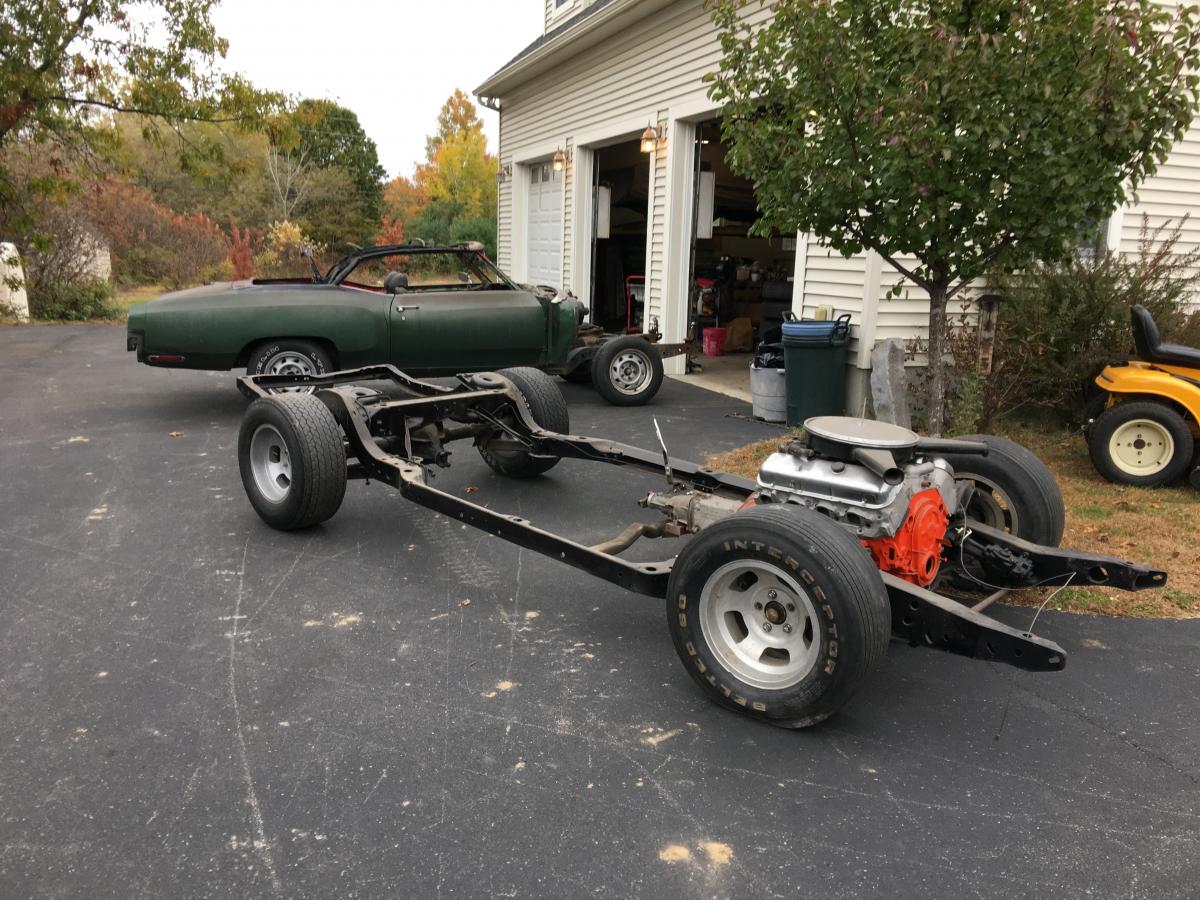
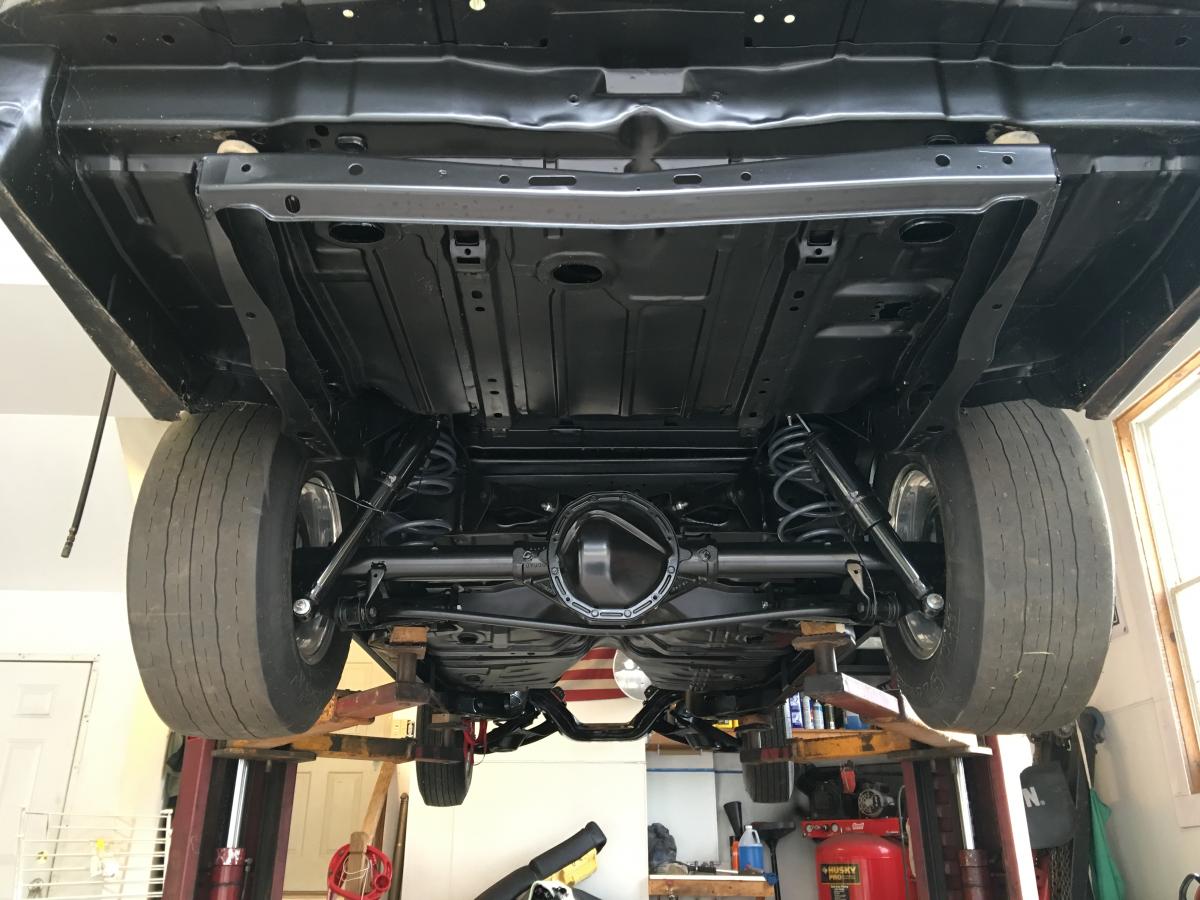
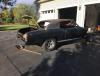
Dropped the body back on for winter storage.
-
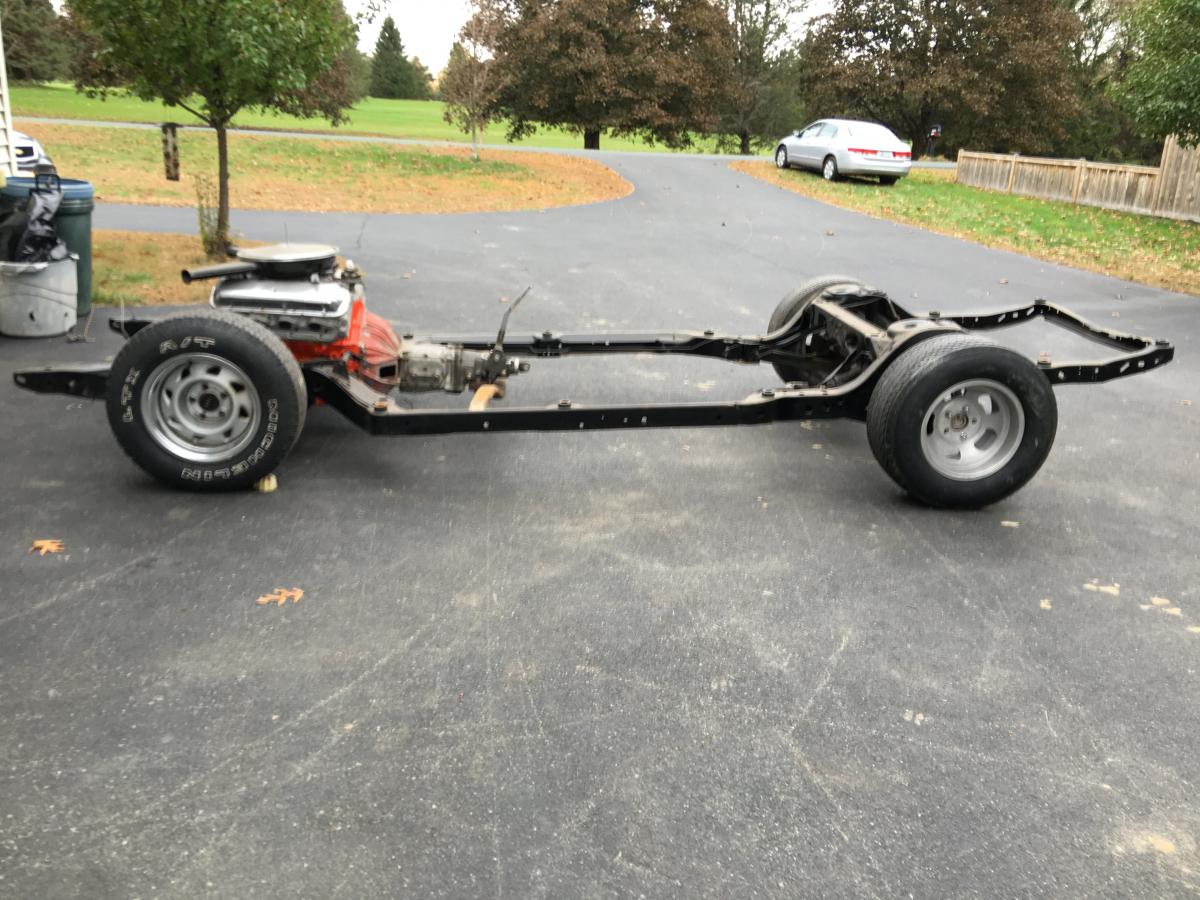
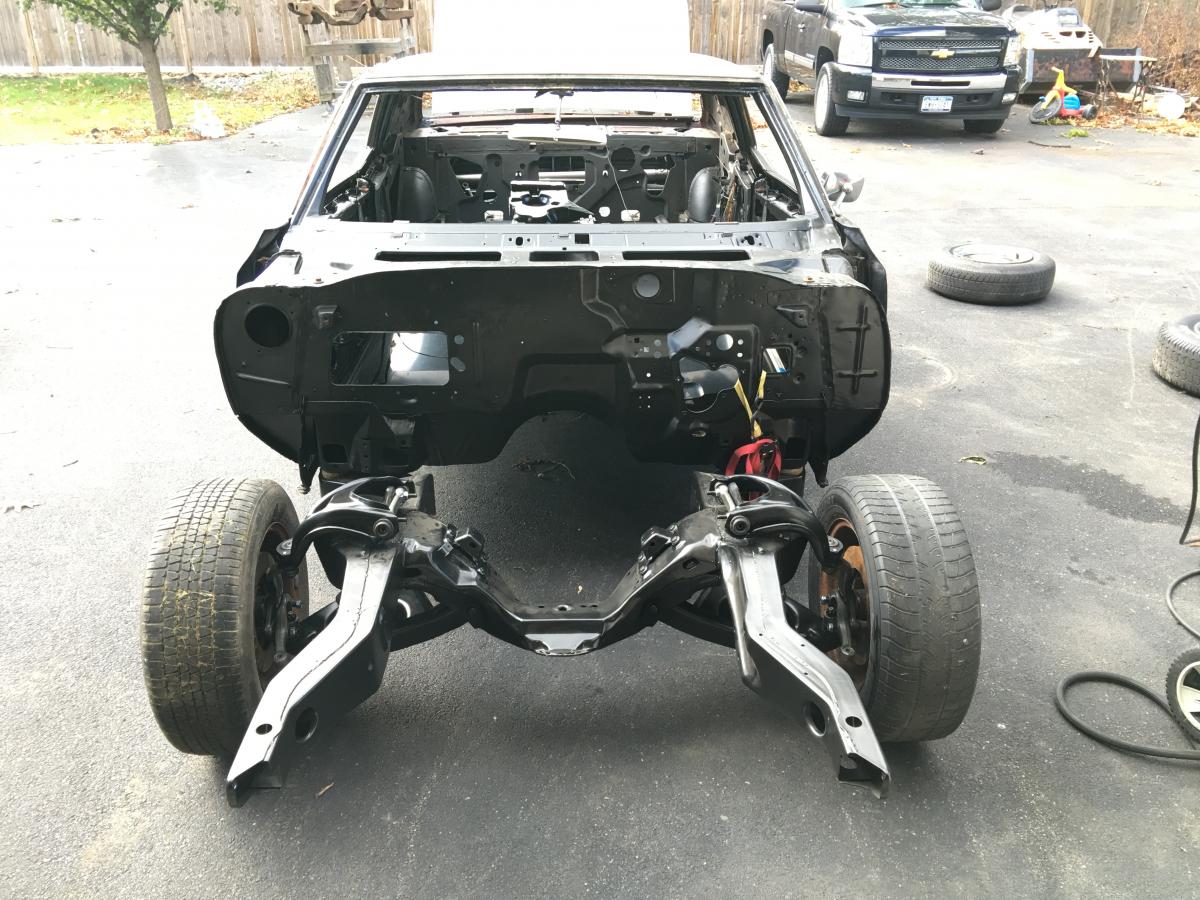
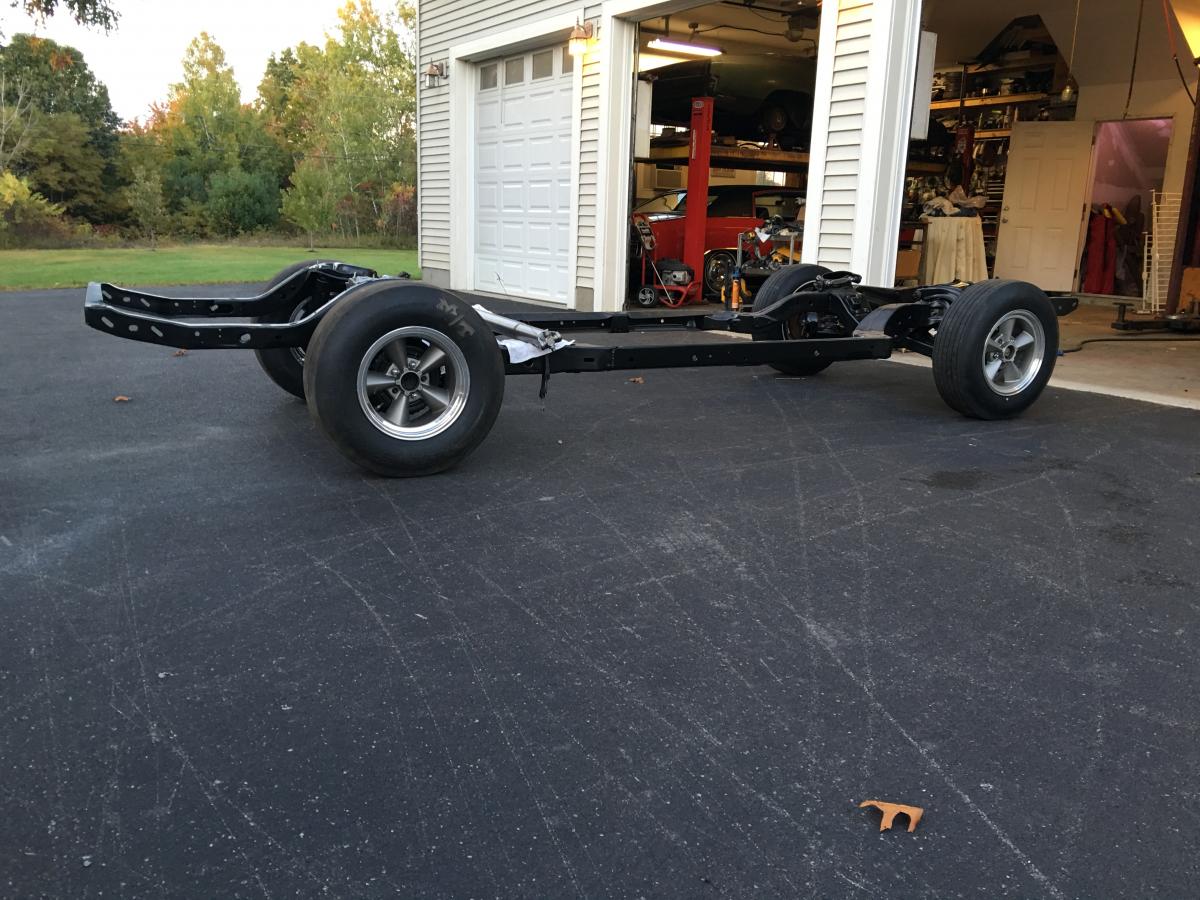
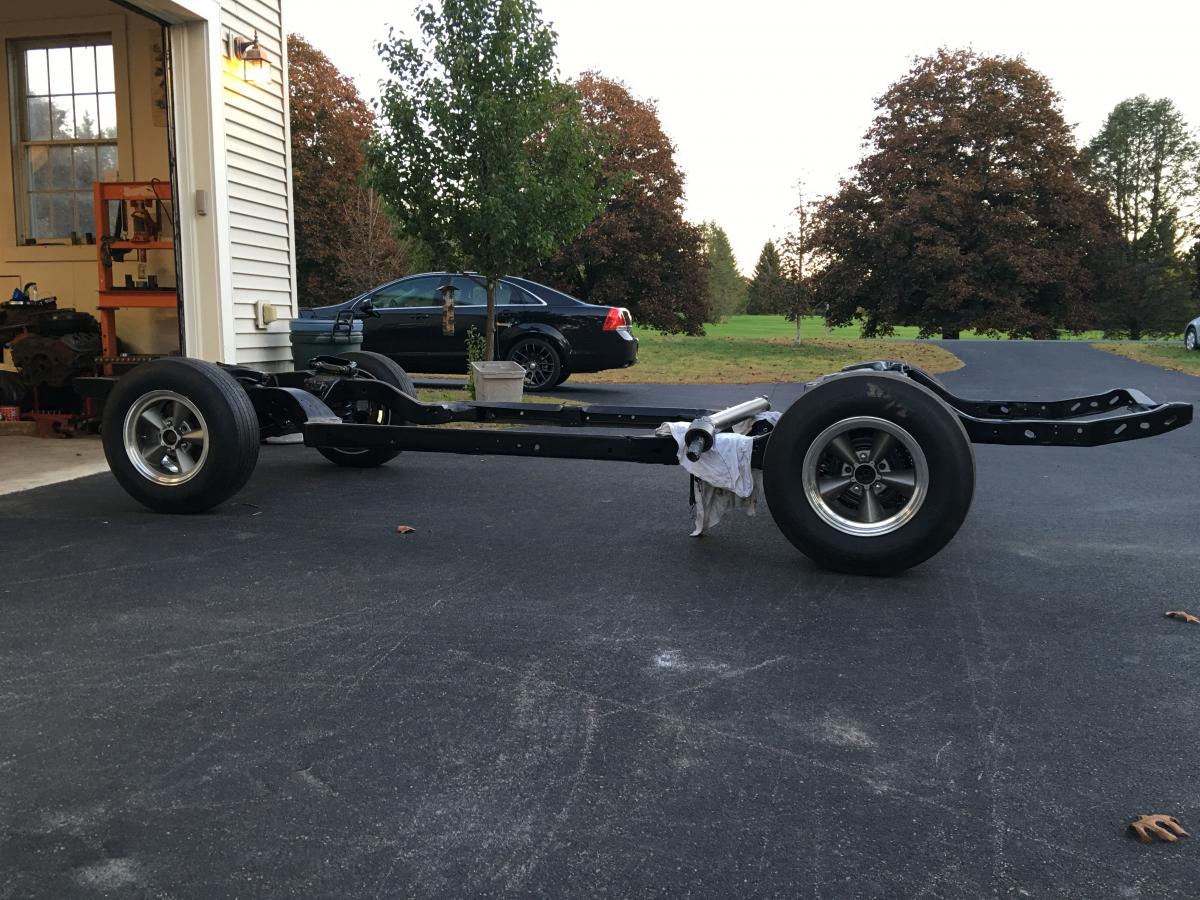
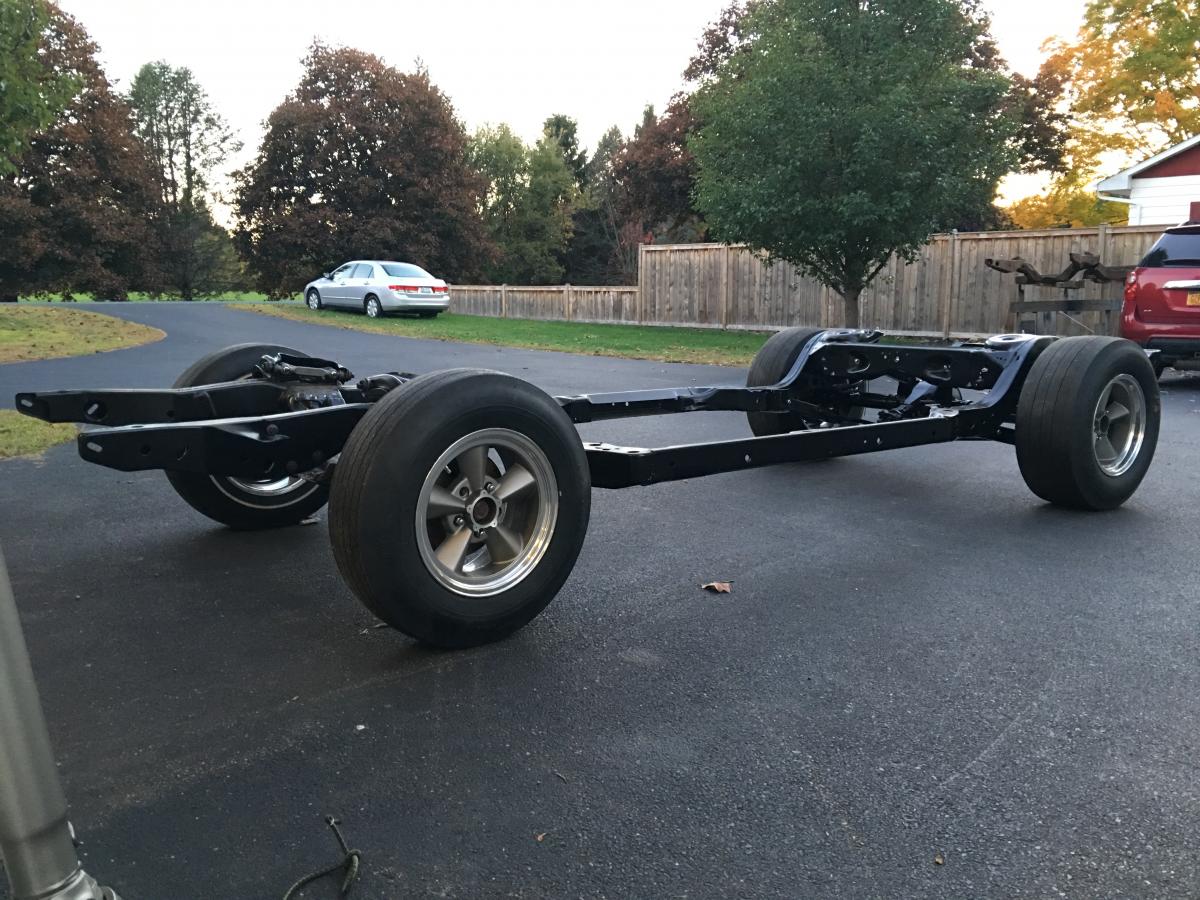
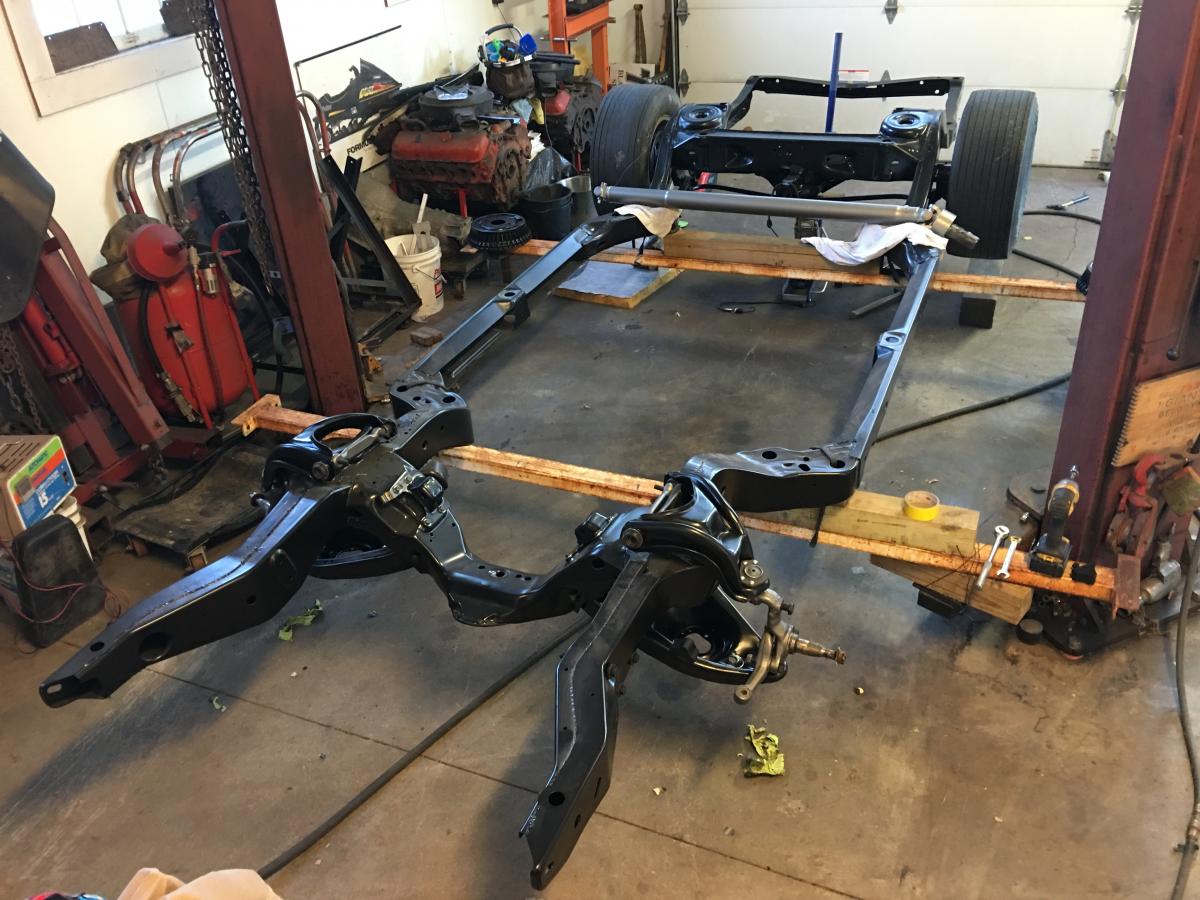
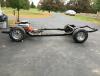
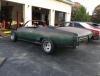
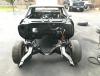
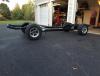
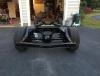
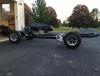
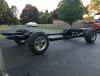
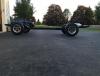
She is a roller again.
-
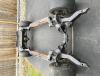
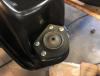
I'm using these faux rivet head bolts on the ball joints. Not sure why but they look like a factory rivet at first glance but still isn't the same as a real rivet. I guess I could have bought the rivet dies but I didn't.
-
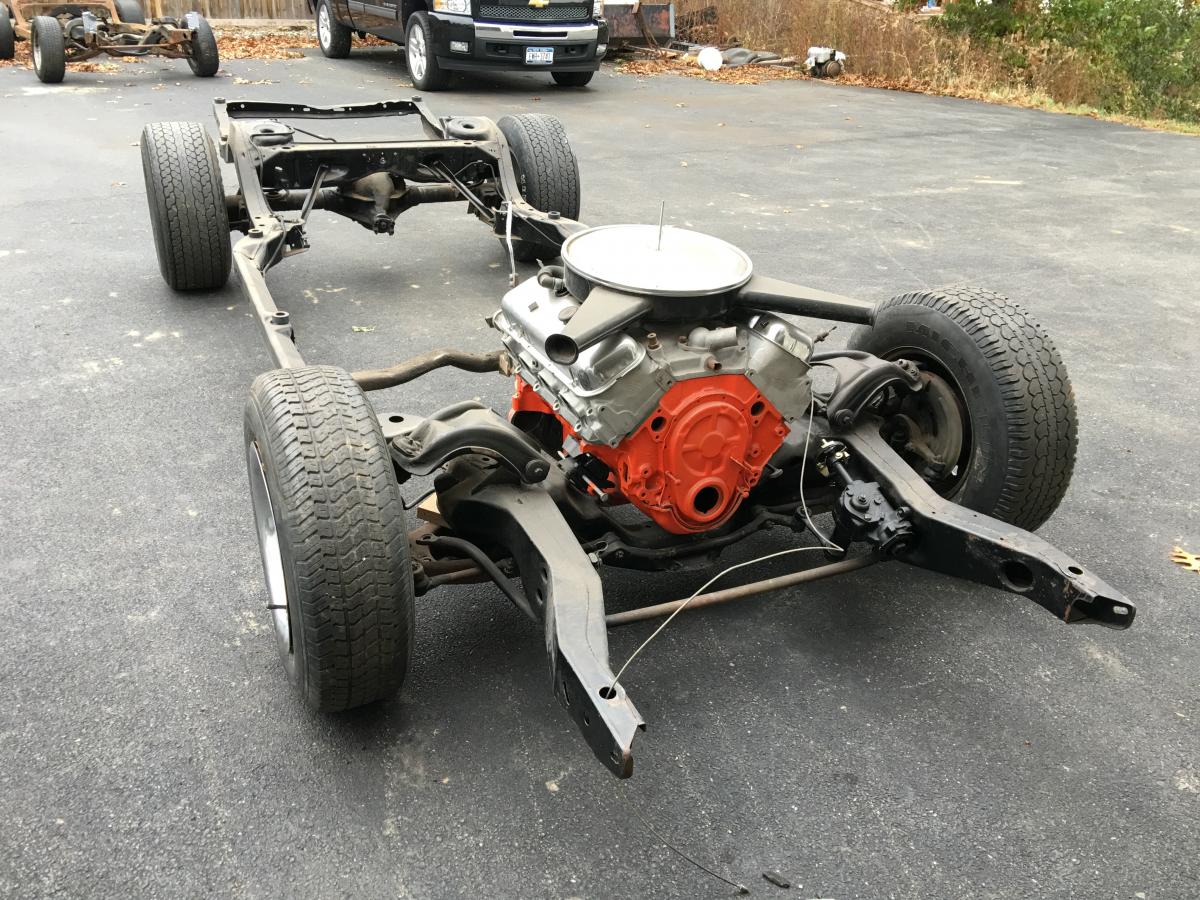
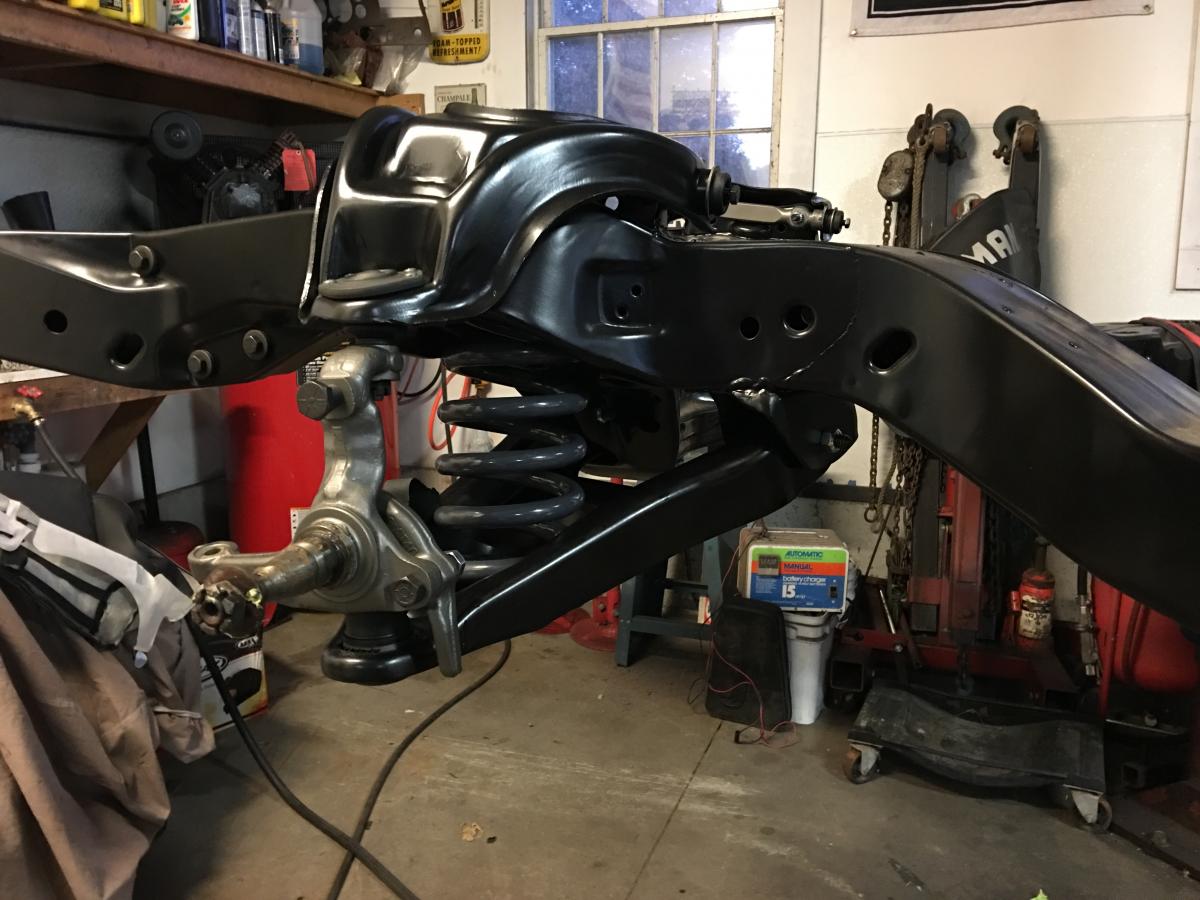
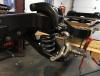
Put the front coils in tonight. The 2" drop springs are so much easier to install than stock. I basically pushed the bottom control arm up by hand and was able to start the ball joint nut.
-
Sounds like fun and I'm actually doing the same thing right now on a 70 ss chassis.
-
1970 - Monte Carlo Convertible, LS6, M22 - Build
ss454-71 replied to ss454-71's topic in Restorers - Archive
Thanks, Was going black but now that I have an original triple black 70 ss under way I'm not sure. -
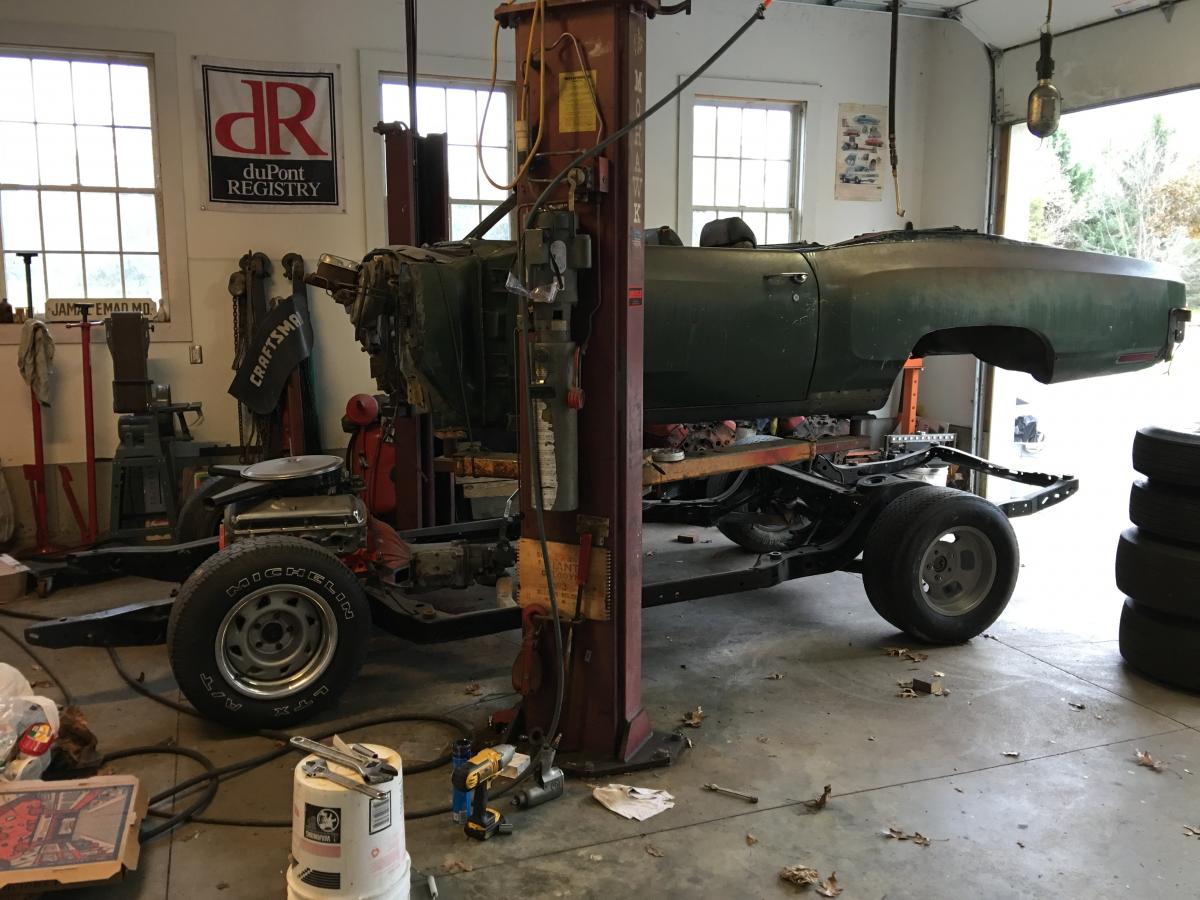
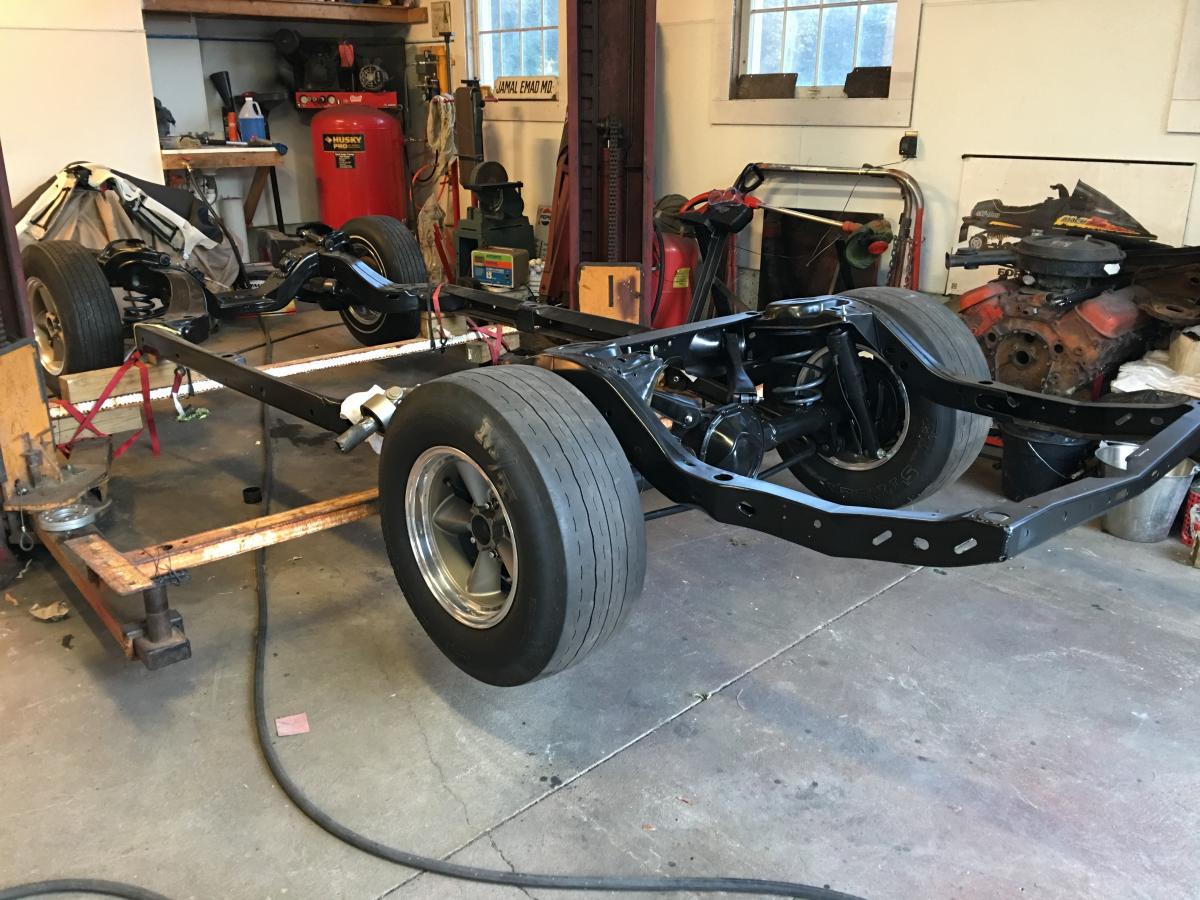
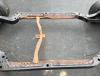
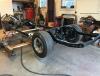
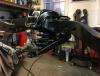
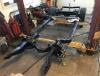
Started reassembling the chassis today. Baby steps. Got to get the frame off the lift. It's been there for a year now and garage space is tight.


-
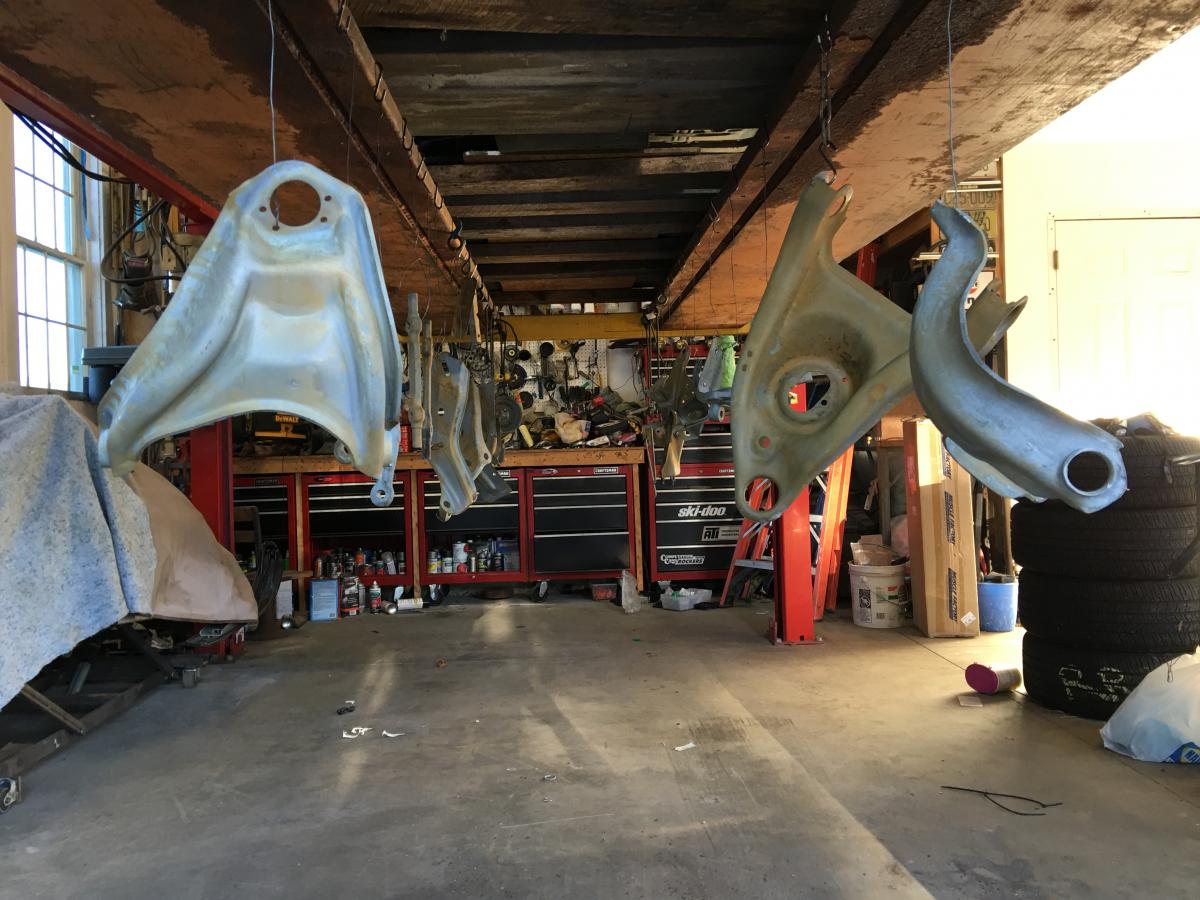
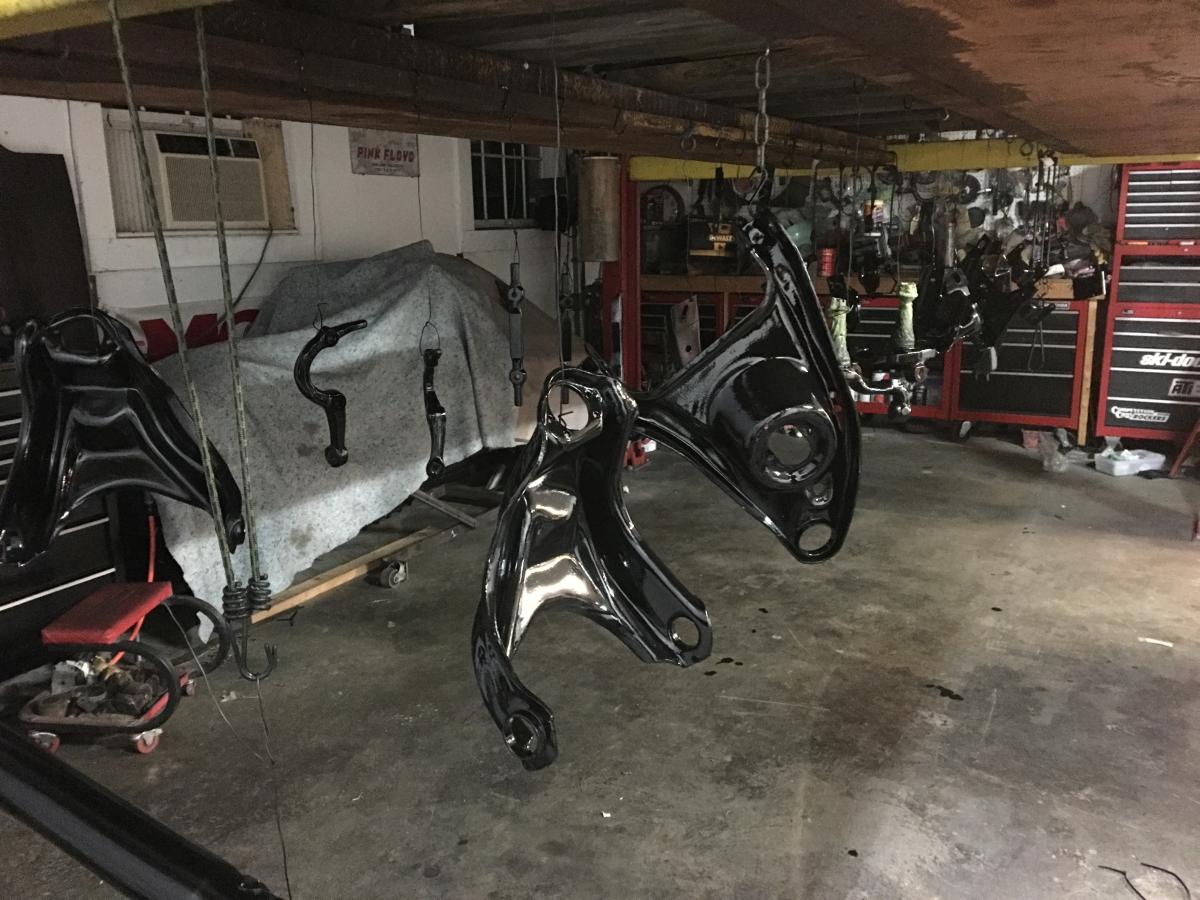
Back on the chassis and finally had the rest of the suspension parts blasted and put a couple coats of pot-15 on. Tomorrow I will shoot the chassis black top coats. Hopefully the frame will come off the lift and be rolling on its owne by next weekend.


-
1970 - Monte Carlo Convertible, LS6, M22 - Build
ss454-71 replied to ss454-71's topic in Restorers - Archive
Thanks for the complements. Nothing is perfect but it seems to be coming together good. I dry fit the top and some of the trim panels and everything is lining up where it should.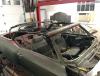
-
1970 - Monte Carlo Convertible, LS6, M22 - Build
ss454-71 replied to ss454-71's topic in Restorers - Archive
Rear seat panels going in now.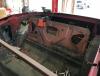
-
1970 - Monte Carlo Convertible, LS6, M22 - Build
ss454-71 replied to ss454-71's topic in Restorers - Archive
This is after welding the tub all together. She isn't coming apart again and I can say officially it's a convertible.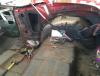

-
1970 - Monte Carlo Convertible, LS6, M22 - Build
ss454-71 replied to ss454-71's topic in Restorers - Archive
Here are shots of the entire assembly for the final time.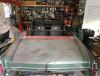
-
1970 - Monte Carlo Convertible, LS6, M22 - Build
ss454-71 replied to ss454-71's topic in Restorers - Archive
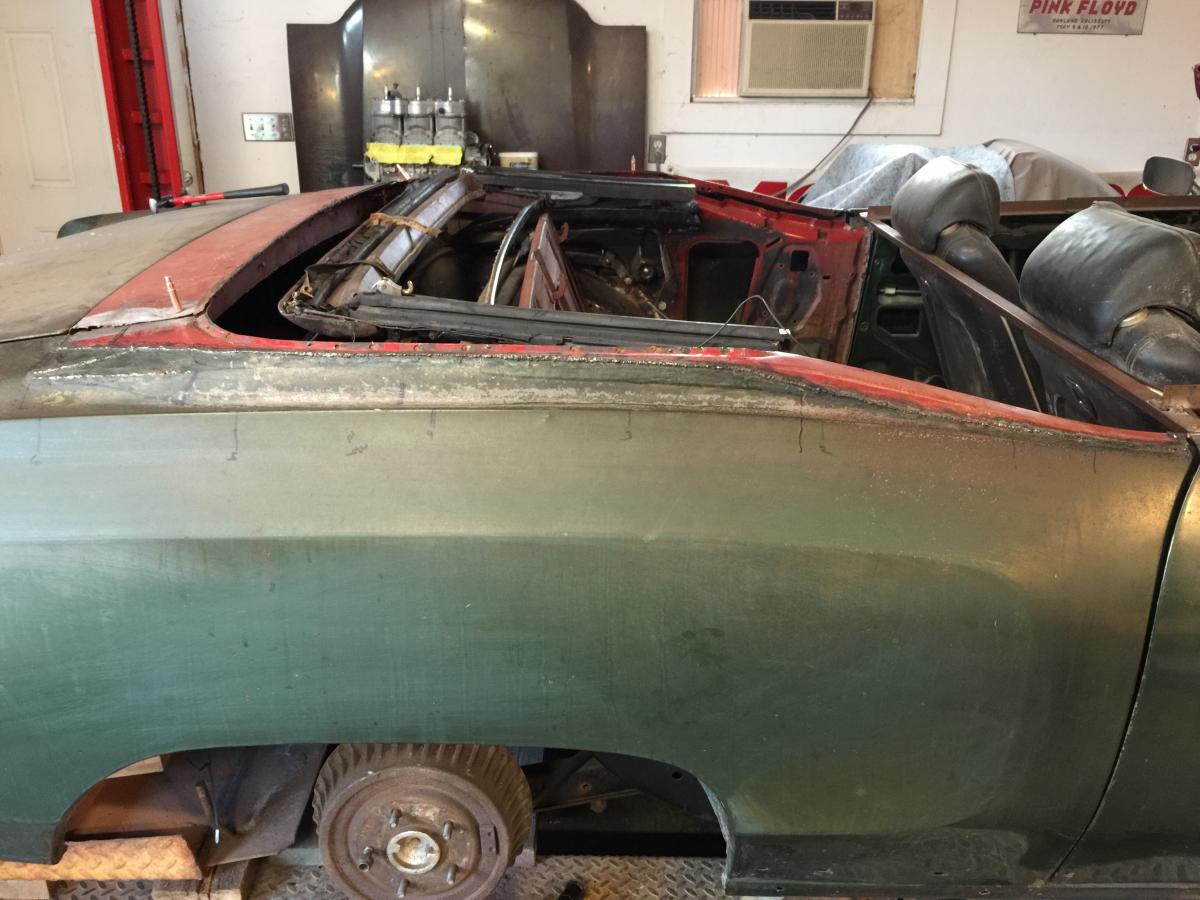
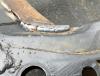
It only took about 10 years since the first cut but the body is almost complete welded back together. The quarter panel butt welds were welded on both sides and the outside ground flush. Then seam sealer was applied from underneath to avoid moisture entering from beneath and creating bubbles in the bodywork down the road.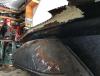
-
1970 - Monte Carlo Convertible, LS6, M22 - Build
ss454-71 replied to ss454-71's topic in Restorers - Archive
back space is 6.25" on the front. -
1970 - Monte Carlo Convertible, LS6, M22 - Build
ss454-71 replied to ss454-71's topic in Restorers - Archive
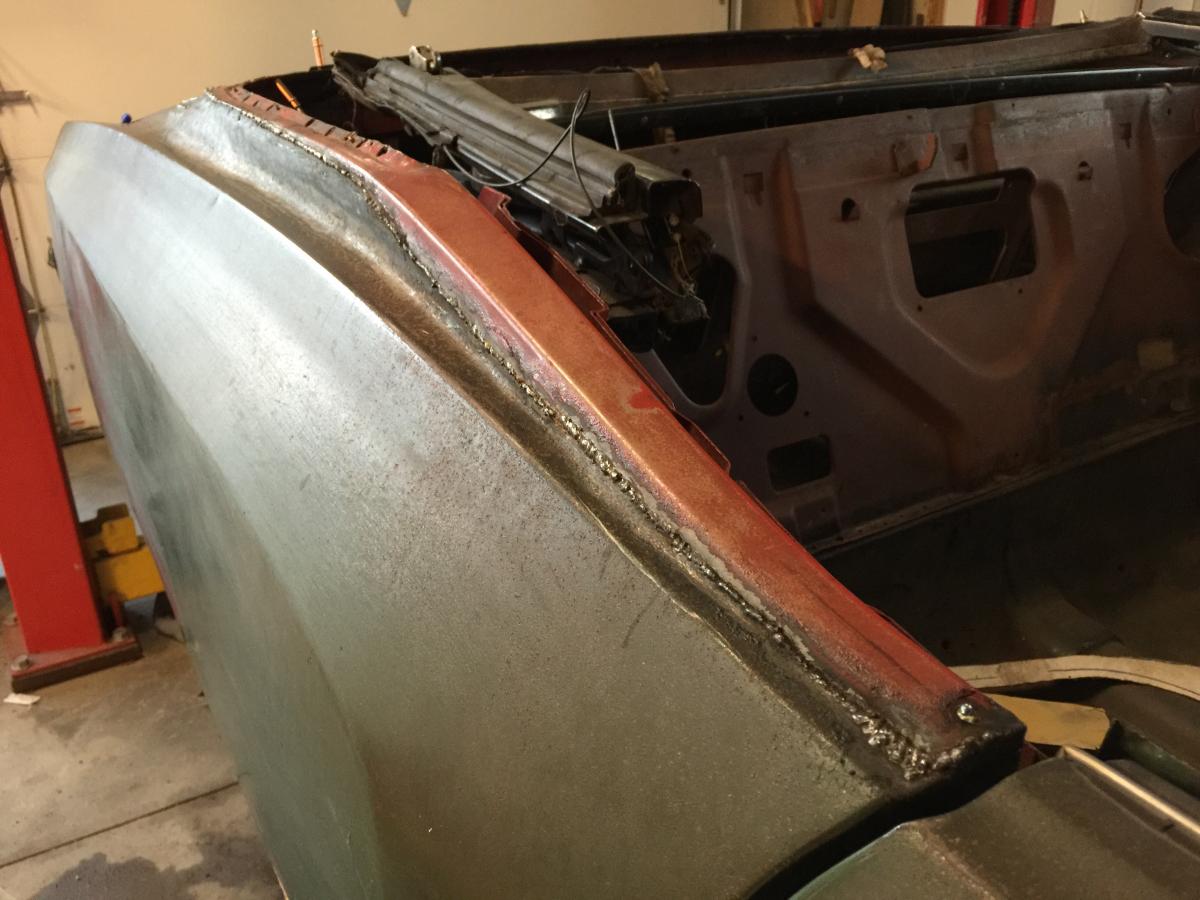
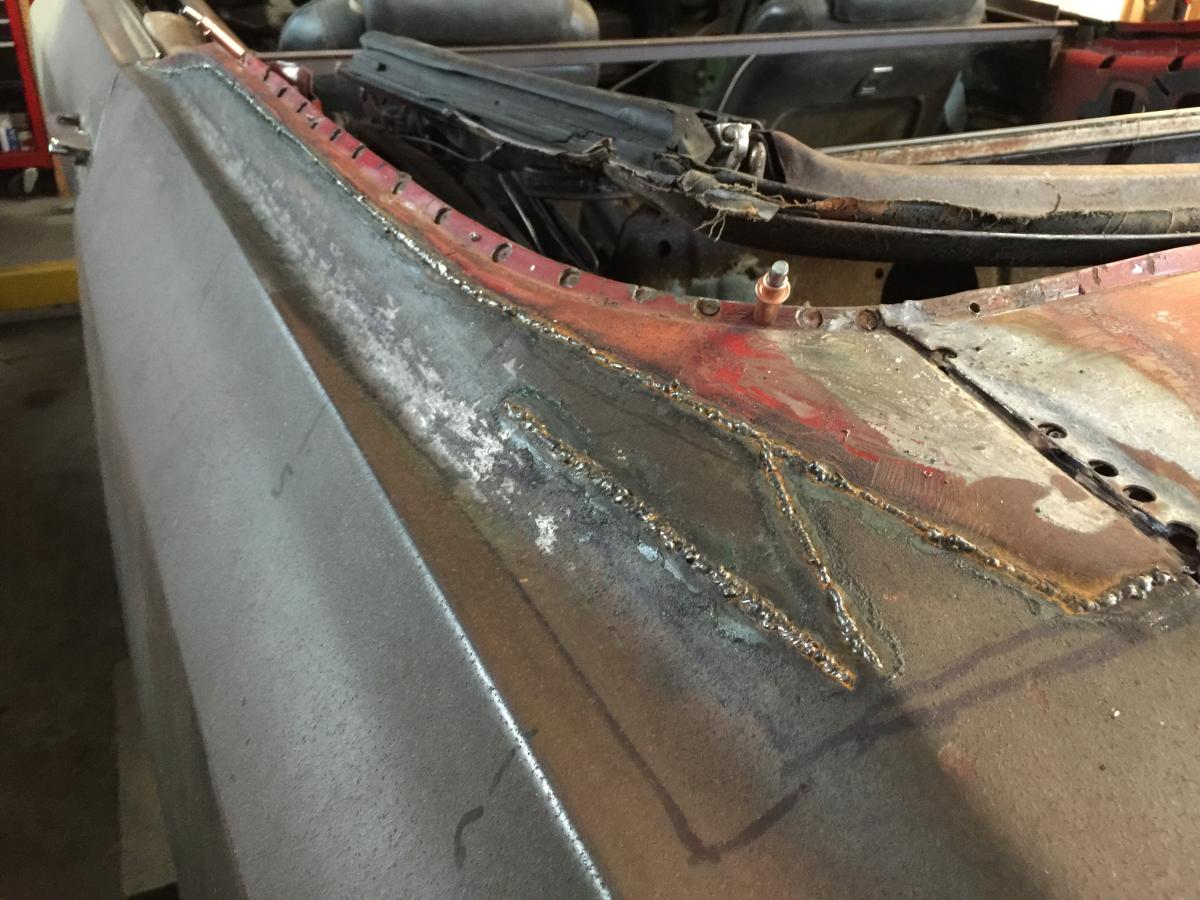
Welded up the Q-panel tops today. Now time to get out the grinder to cut down the welds. I used .023 wire and wet rags to keep the heat under control. I also plan on applying seam sealer to the back side of the welds to prevent moisture finding its way from beneath.