


71 MONTE 4 YA
-
Posts
462 -
Joined
-
Last visited
-
Days Won
10
Content Type
Profiles
Articles
Forums
Gallery
Events
Posts posted by 71 MONTE 4 YA
-
-
Dan I just read through your entire thread and all I have to say is AMAZING!! Wish I could do mine like that

-
Glen when I'm working by myself I usually get a long bar or something and pump the brakes up and use the bar against the front of the seat and on the brake pedal. It takes awhile but the job gets done.Pretty sure I have the master bled, now I need to find an assistant to get the air out of the lines.
-
 1
1
-
-
Thanks Jim. I got the parts and they are smaller than I thought so I see how they could work now. I went to Home Depot and bought the ten foot 1/2 clear tubing. Gonna get on it as soon as possible. Thanks again! !Best way to look at it is in your post on Oct. 28 at 2:05am. You see where you rubber handle is laying inn the picture? they would go in your new piece just below that hammer handle.
-
I took the 71 to work today. It will be put away for the winter starting Saturday. It is a nice day so I took it for a cruise to the beach for lunch.
Aaron your Monte is beautiful!
-
1
-
-
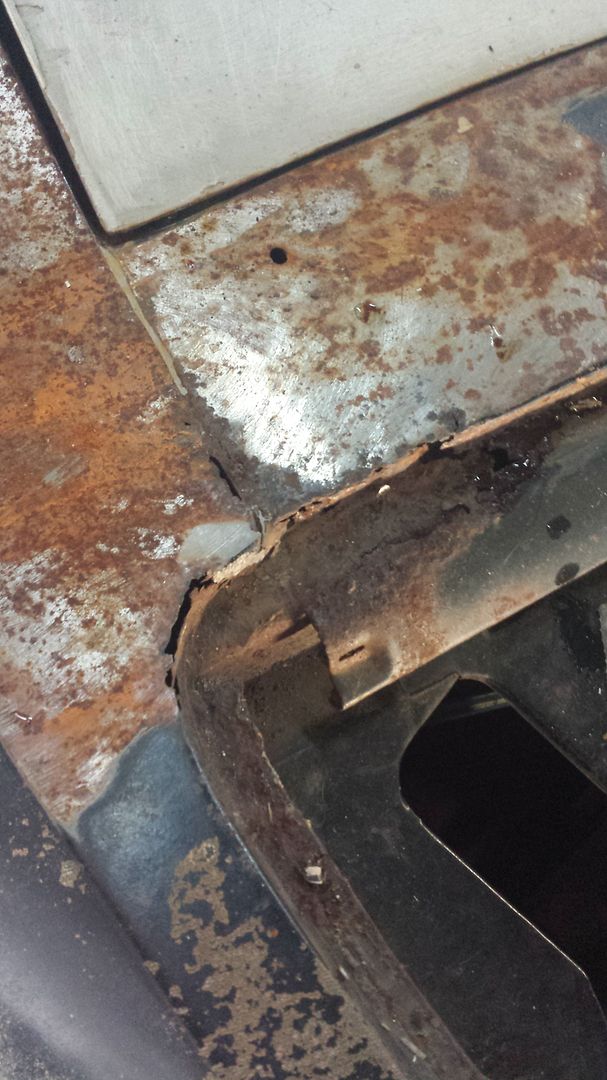
So this will work with vinyl top?Now would be a good time to put in those drain hoses. Go to Auto zone and get 2 radiator drain repair kits ( plastic tube with 2 orange rubber gaskets). Install them right where that curved piece from the quarter stops and just after the weld area on that piece you replaced. Drill a hole thru,insert tube with gaskets and tighten plastic nut on under side. Then just run rubber/vinyl see thru tubing (Home Depot ) down thru your drain plugs on trunk drop offs. you will be amazed how much water runs out of those 2 tubes. I hope this is accurate enough for you, Since I can't find a picture of it. Had mine done for the last 9yrs.
As this post states, right where the curved piece ends at the bottom of your window panel on the side that the trim piece attaches,(trim clips ). that is where ttose drain tubes will go. I will try to find a picture though I do not think I have one.
-
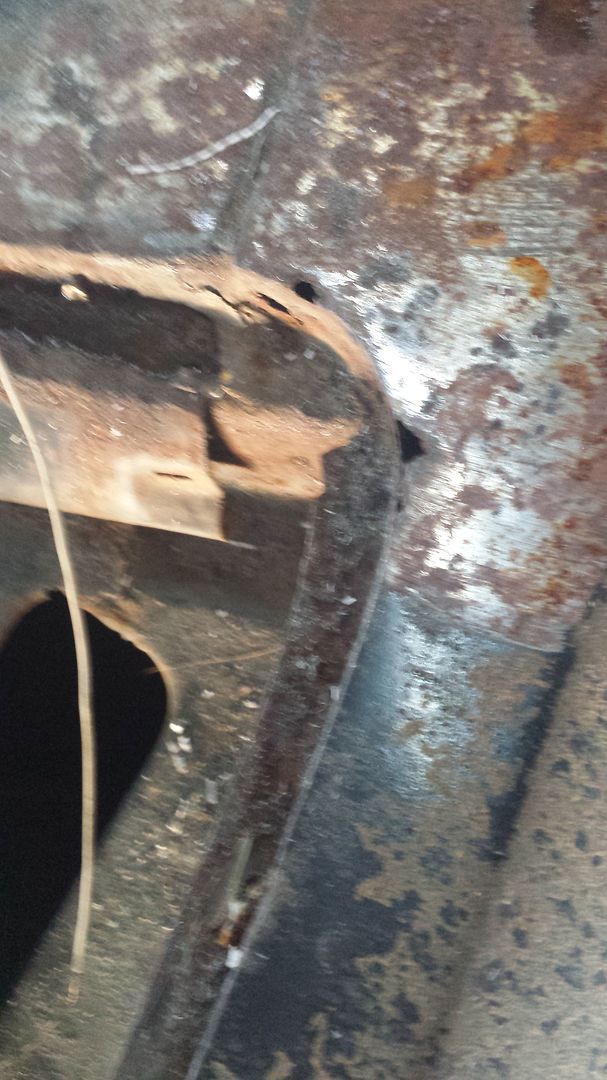
Where exactly do these go? Will the window sealer block the holes. Can you perhaps show the location in a picture?No , you will have to sacrifice a hole in that repair piece.They go into the rail after you are done with that repair .The flat part will be on that repair side with the tube going into the trunk. The gasket goes between the rail and the flat piece for the tube( I just finger tightened the nut). You can get the clear tubing at Home Depot. the size I can't remember but I got like 4ft of it.They run down your trunk to your drain plugs. I drilled/cut them for that size then rubber gasketed them to hold in place in the plugs.
-
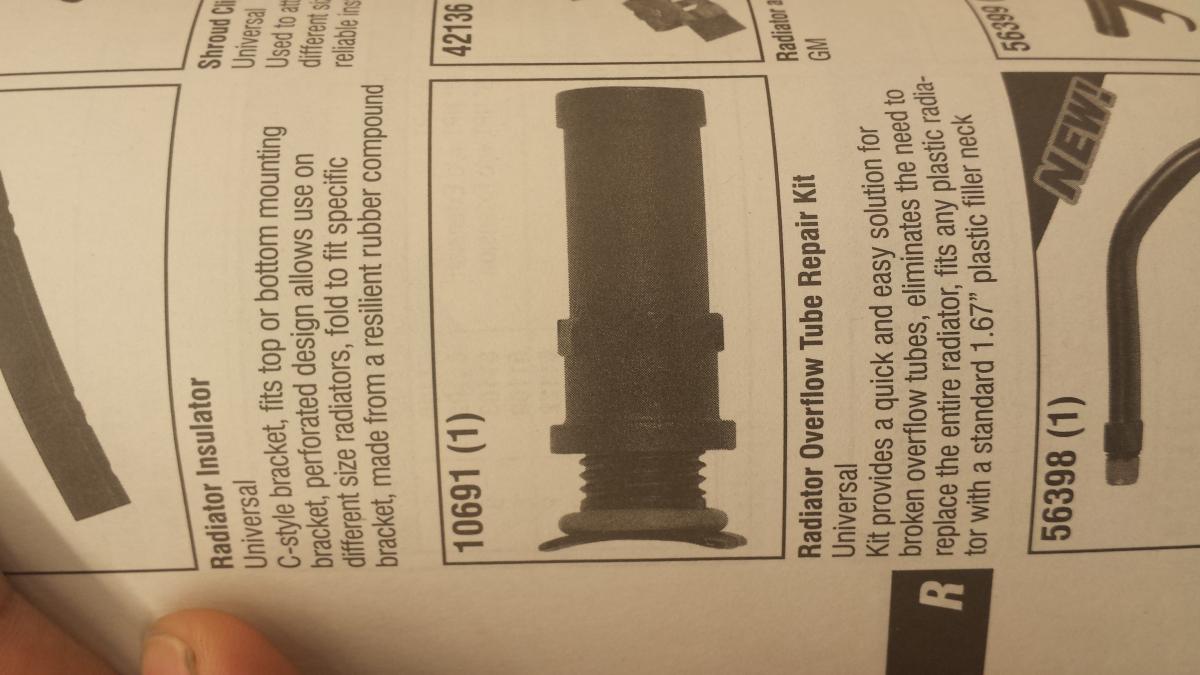
Is it too late now that I've put the panel back on?Dorman part #10691. Advance Auto Parts
-
That's exactly what I had came up with looking in the Dorman catalogDorman part #10691. Advance Auto Parts
-
Got itSent you a PM Rodney. Hang tight.
-
Went to Autozone today and no one knew what I was asking about.Any possible way for you to post picture of the item?Now would be a good time to put in those drain hoses. Go to Auto zone and get 2 radiator drain repair kits ( plastic tube with 2 orange rubber gaskets). Install them right where that curved piece from the quarter stops and just after the weld area on that piece you replaced. Drill a hole thru,insert tube with gaskets and tighten plastic nut on under side. Then just run rubber/vinyl see thru tubing (Home Depot ) down thru your drain plugs on trunk drop offs. you will be amazed how much water runs out of those 2 tubes. I hope this is accurate enough for you, Since I can't find a picture of it. Had mine done for the last 9yrs.
-
Thanks for the tip Jim! Gonna try it.Now would be a good time to put in those drain hoses. Go to Auto zone and get 2 radiator drain repair kits ( plastic tube with 2 orange rubber gaskets). Install them right where that curved piece from the quarter stops and just after the weld area on that piece you replaced. Drill a hole thru,insert tube with gaskets and tighten plastic nut on under side. Then just run rubber/vinyl see thru tubing (Home Depot ) down thru your drain plugs on trunk drop offs. you will be amazed how much water runs out of those 2 tubes. I hope this is accurate enough for you, Since I can't find a picture of it. Had mine done for the last 9yrs.
-
Thanks Tony!Looks good, Rodney
-
That looks GREAT Rodney! Nice work...................

Doug
Thanks Doug!
-
Got the panel back in
-
Thanks and Yes Rob! I'll be happy with the whole car in primer. This is how it looked with everything removedLooks good Rodney. I am sure you are anxious to see primer on the repair.
rob
-
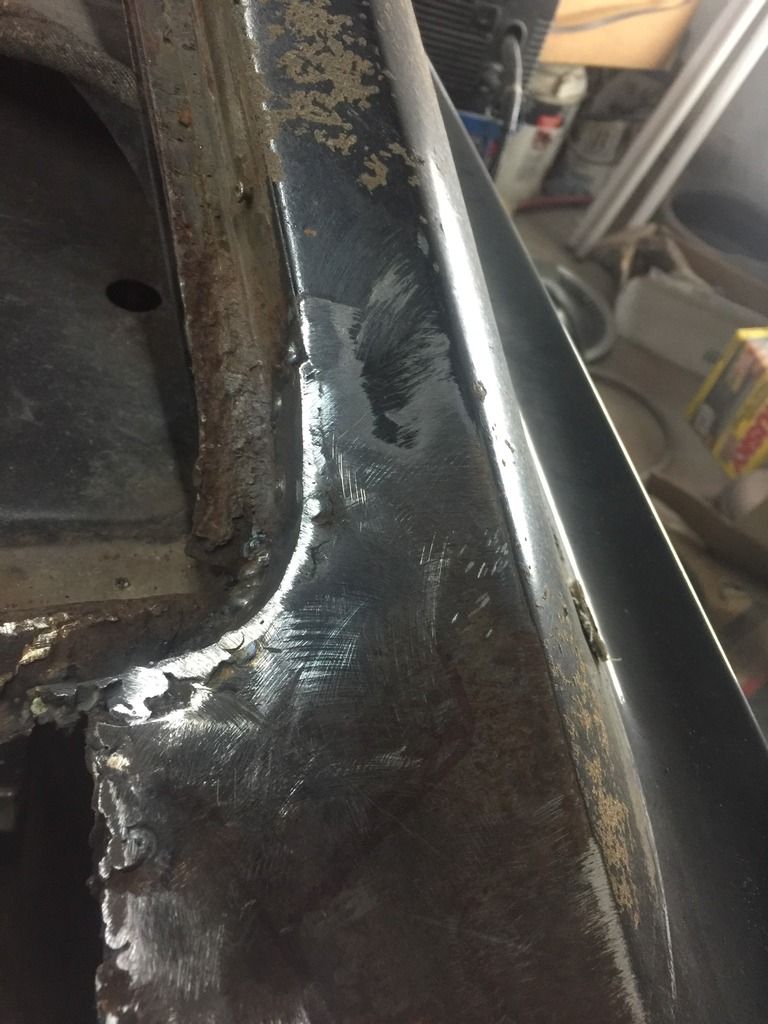
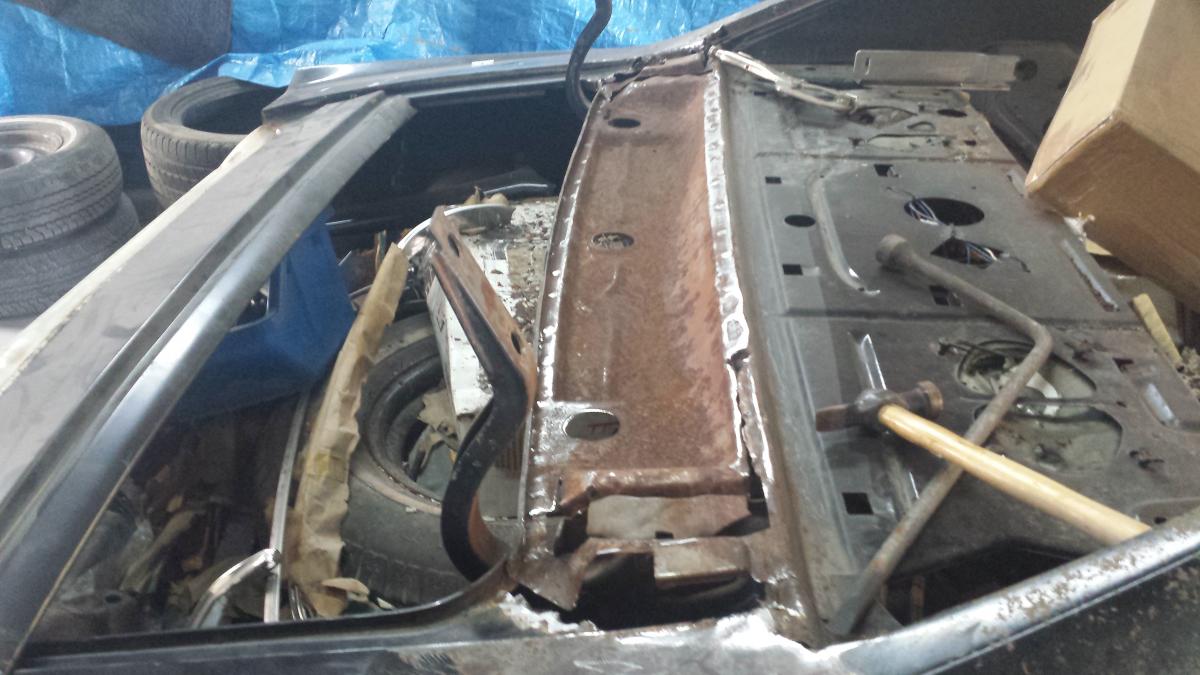
Cousin started welding in the rear window channel and replaced the panel

-
2
-
-
Got one side of window channel welded in
-
Looks like a big deal to me! I didn't know it was this far along.
I often thought it would have been nice to have the deck lid go all the way to the back glass like cars a few ears newer had.
This would eliminate that whole panel and have the back glass lower area drain out and not let water sit there and rust. It was a poor design IMO.
It's going to look great!
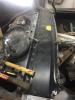
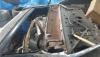
It really wasn't that bad. I just wanted it all out of there. Here are some before pictures:
-
Here is what it looks like as of yesterday.

-
Sorry to be a downer here but when the vinyl top is removed there is a good chance the lower part of the back glass area will have rust holes through to the trunk on both corners.
Be prepared!
I hope I am wrong.
Bruce
Bruce that's already being addressed at the bodyshop. It really wasn't that bad but it was removed
-
Cool! I'm going to have Jim's Auto Top And Trim in Berea Ohio take care of it. Thanks. Rodney
-
Is $450 a decent price for headliner and vinyl top replacement? I already have the parts.
-
Thanks Mike!I will try again when I get back to the shop. Appreciate you!If I remember correctly, the motor grounds to the door and one wire is positive (up) and the other is positive (down)Mike
-
Hey all I bought a complete used power window kit a fews years back and all the motors were working fine. the box that contained everything has been in the Monte since then. I had installed one regulator and motor in the NOS door that I have and it was working fine when first installed a few years back. I do not have the complete kit installed in the car just the two wires that run from the window motor. Well we got the Monte back in the shop and I needed to take the custom fitted sport mirror off of the door. I needed to let the window down so I could take the bolts off the mirror and nothing. I connected the battery charger to the two wires from the motor. Was I supposed to do it that way or ground the body of the motor and power the wires individually for up and down? I don't remember how I tested them before but I know they worked. Thanks...Rodney


Bucket Seat floor brackets
in Interior Tech
Posted
Hello all I purchased some factory bucket seat floor brackets a couple years ago. They are the ones toward the console. What will I need if anything to mount the outside towards the doorsill? Thanks....Rodney