GatorDog72
-
Posts
317 -
Joined
-
Last visited
-
Days Won
11
Content Type
Profiles
Articles
Forums
Gallery
Events
Everything posted by GatorDog72
-
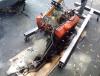
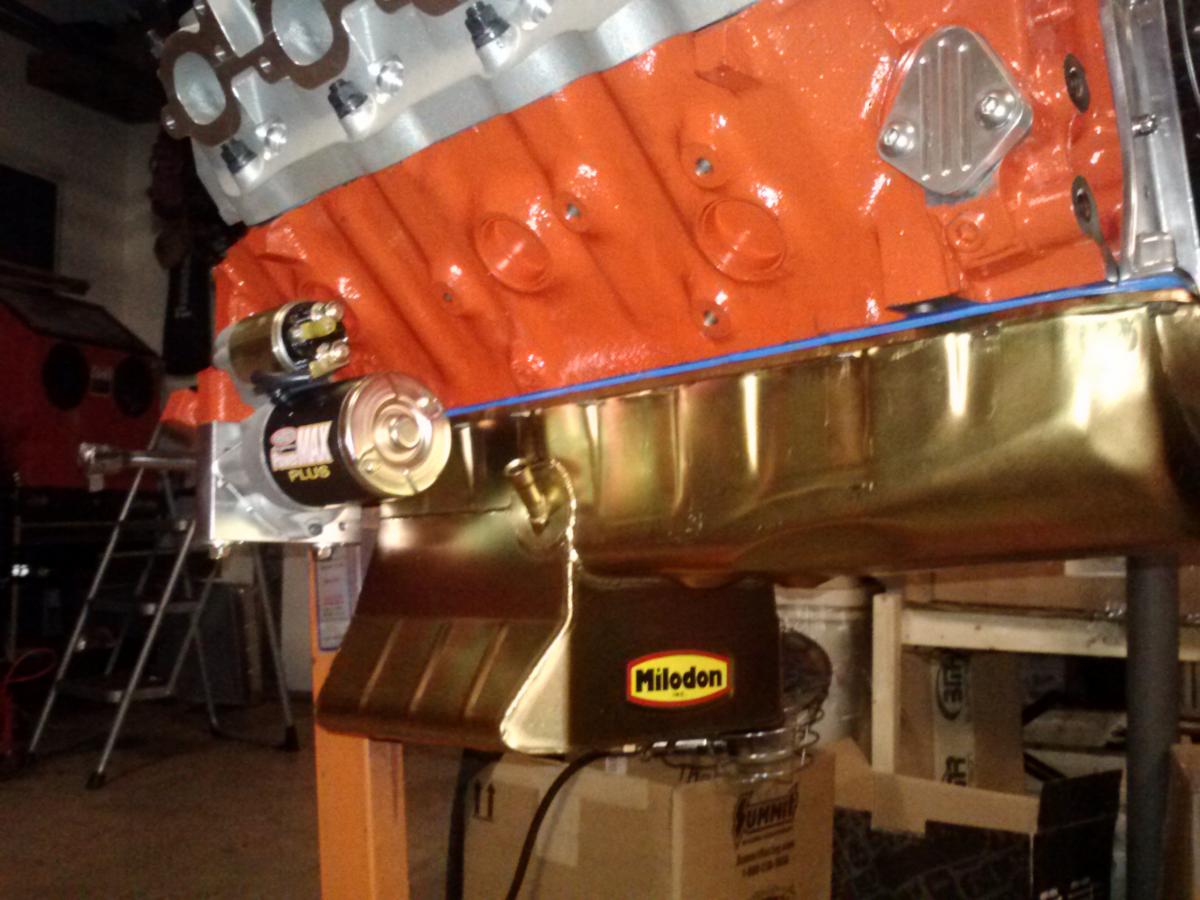
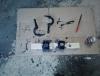
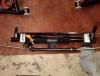
Got the new oil pan installed and new powermax starter installed today. Also got the heads torqued down and the guide plates and rocker studs installed. I'm going to focus on getting this together soon because the car is almost ready for the motor to go in. All there is left to do is measure push rod length and order them. I have all the rest of the parts ready to go on. My neighbors are going to love me when this fires haha
-
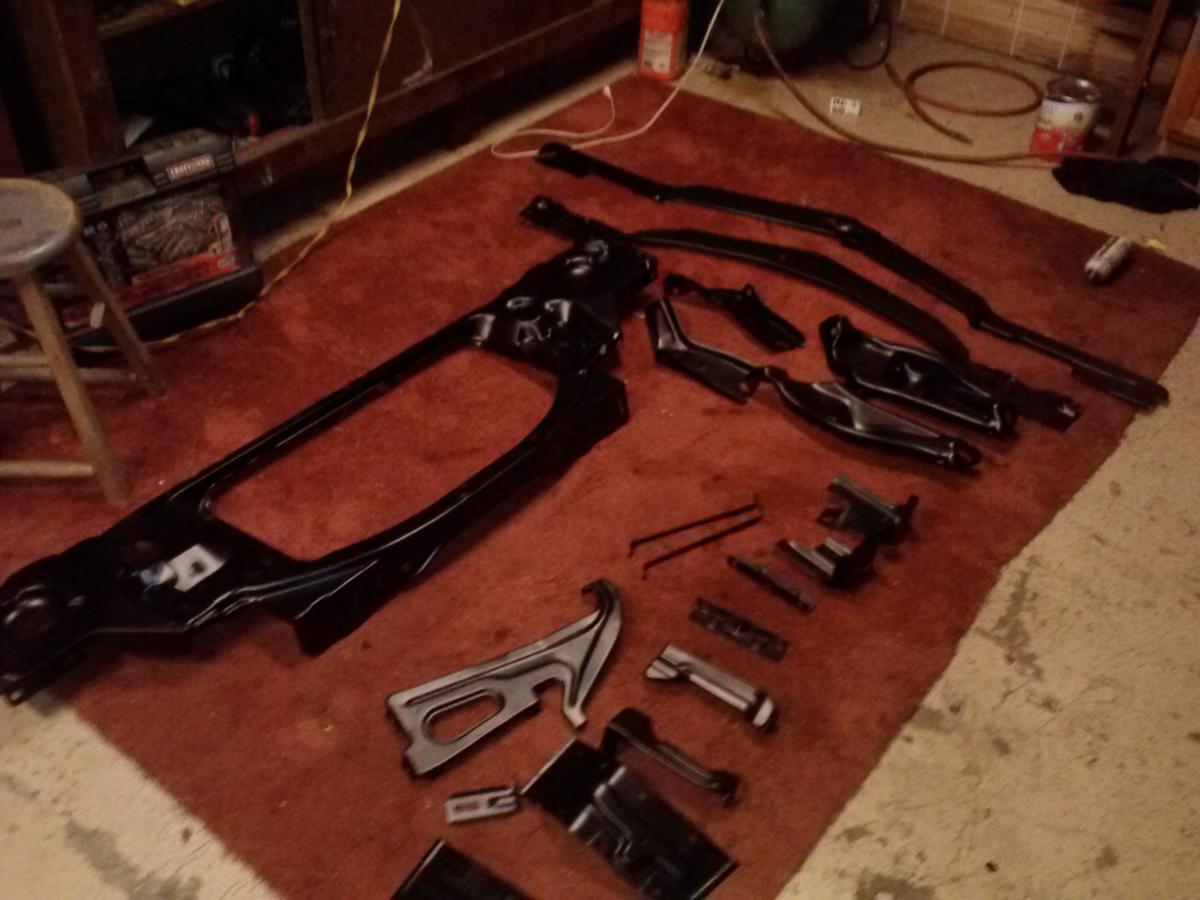
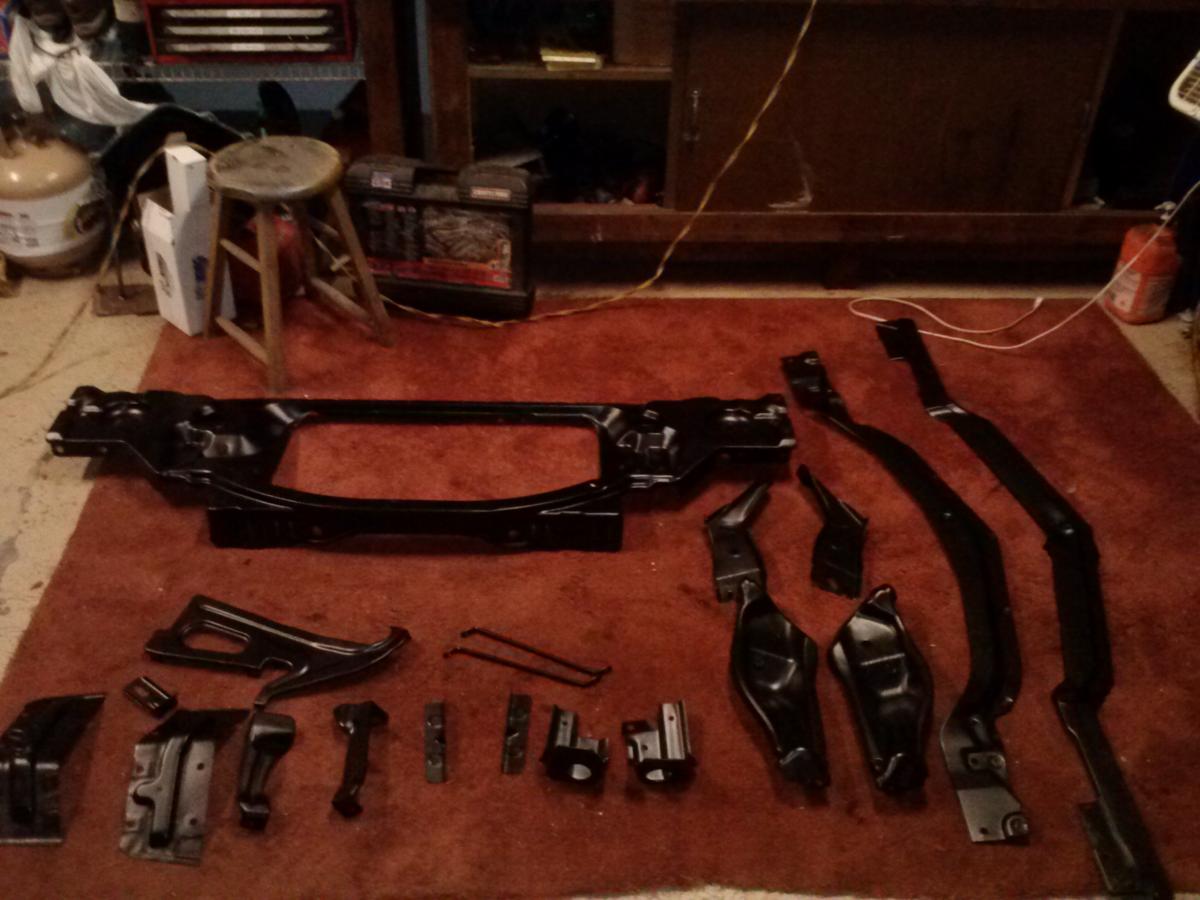
Thank you all for your comments and support! Attending the Eastern Meet and seeing all those beautiful Montes was all the motivation I needed to really get going on this project. I'm trying to complete what I can, at the moment I'm still waiting on my front brakes and other misc. parts to arrive. All of my front end parts are back from powdercoating and they look outstanding! The painters at my work really did a great job. Can't wait to see what it looks like on the car with the new engine! Lots of welding to do on the firewall before it goes in though. I'm sure there will be more snowballing as I move to the rear of the car, but I would hope to keep it to a minimum. I would love to do a full body-off resto, but just don't have the resources to do it right now. Maybe next year haha Just want to get it rolling down the road for now. I will be doing more work over the weekend so I'll post pics as I go.

-
The high performance parts seem to be cheaper for small block stuff than big blocks. 500-600 reliable horsepower is going to cost some money either way you go
-
Very cool! Lots of super nice cars!
-

FGMCC and Carlisle Events GM National Award Winners!!!
GatorDog72 replied to Rob Peters's topic in FGMCC Annual Eastern Meet
That's outstanding!!!! Congrats to all that placed, we really made an impression! I'm glad to be a part of the best car club out there!!! -
It looks like a good trans for a rebuild, but you never know until you open it up. If it has broken or rusted hard parts, (planetary gears, pump, etc.) you might end up spending more to rebuild than to just buy a refurbished unit from Summit Racing or Jegs. If you do end up buying the core, make sure it was stored indoors and not full of water from sitting outside. Had this problem with my first core purchased, $125 wasted
-
Im thinking Viking makes a set of double adjustable shocks for the rear that mount in the factory location. They aren't coilovers but might offer more clearance for a big exhaust. Or you could just dump the exhaust before the axle...not ideal but it works. Unless you are chasing ET's, running a short length of 2.5" pipe probably wont hurt a thing. If you would rather have the bigger pipe, sometimes you can use oval tubing to get through tight places. Good luck with the fix!
-
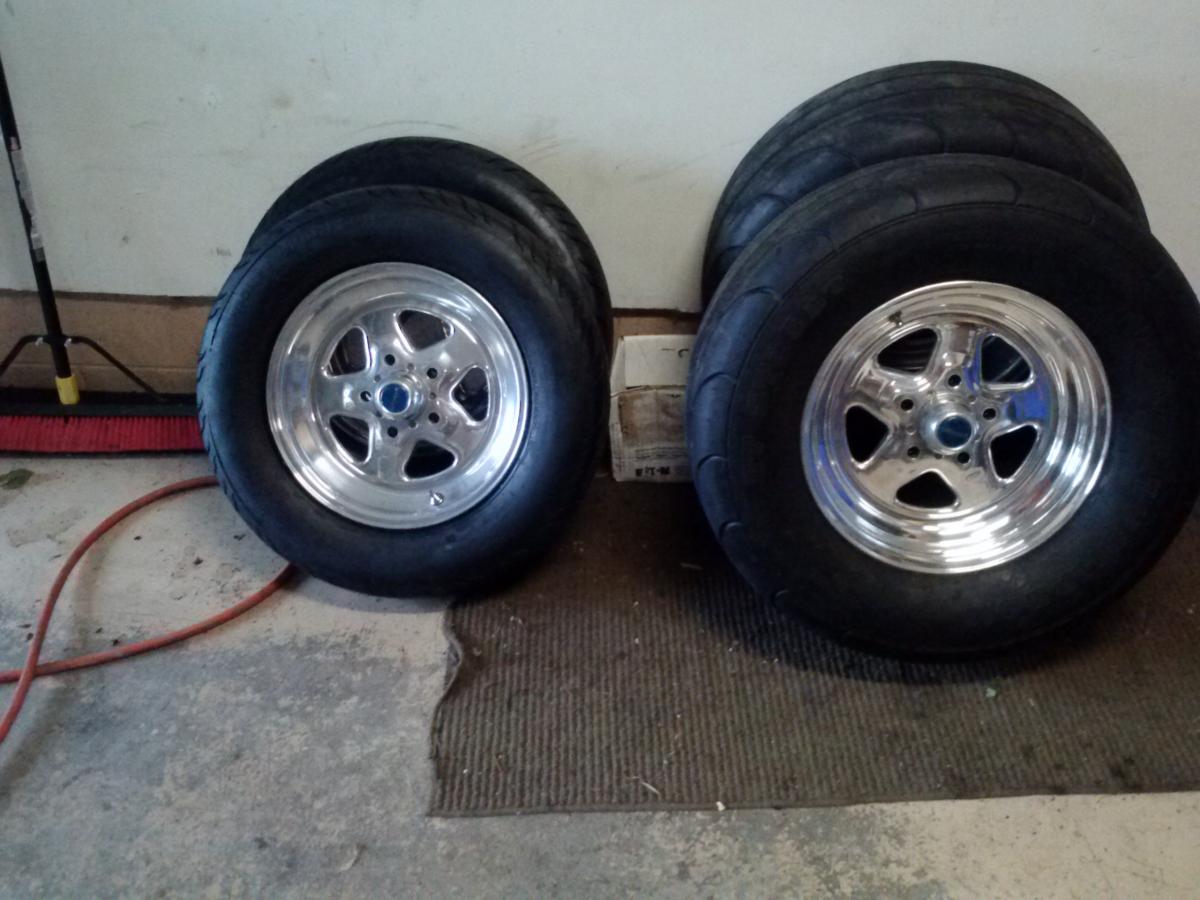
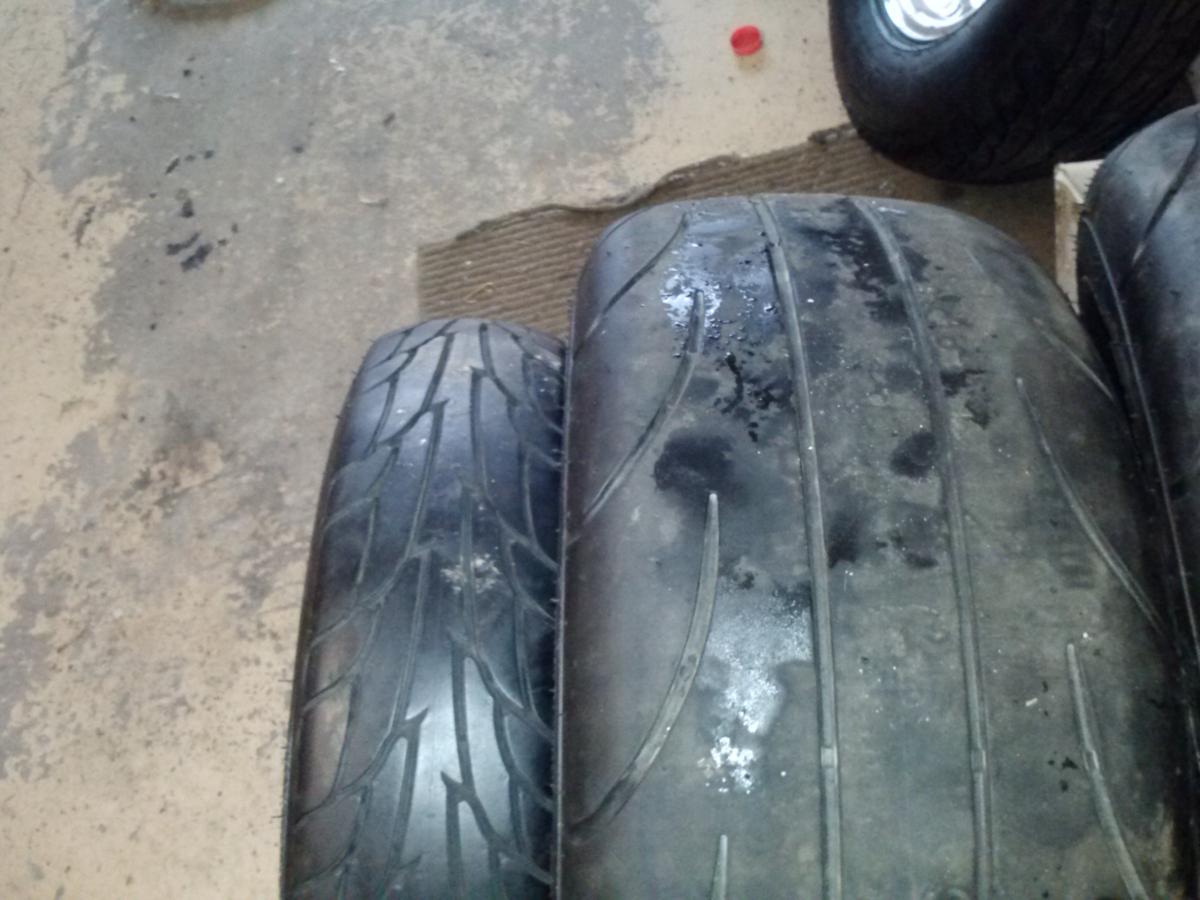
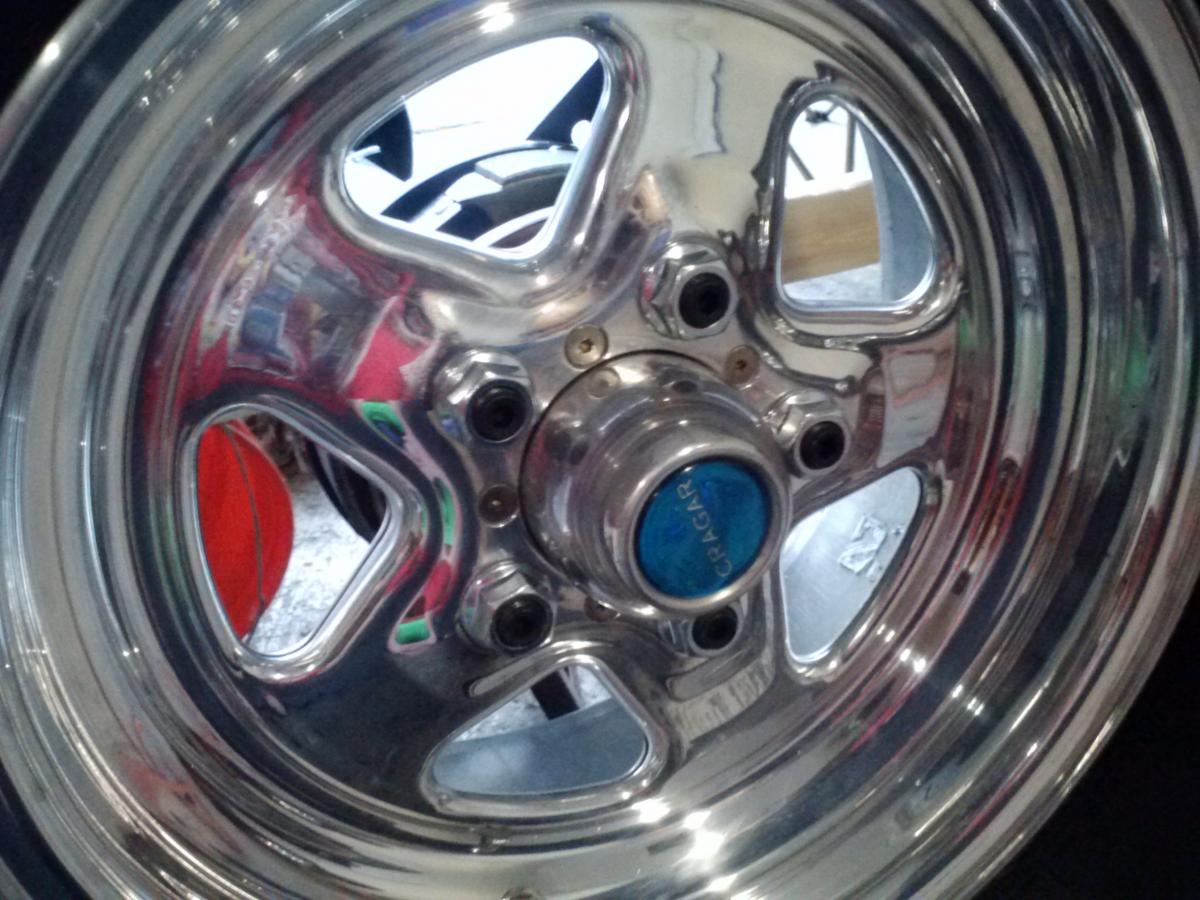
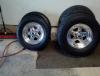
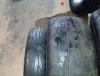
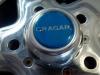
I found my solution by pure luck. I got wandering around the Carlisle swap meet for a good while and found something cool. A brand new set of 275/60r15 MT ET Street Radials mounted on 15x8 Cragars with skinny MT 26x6 fronts. I can't believe the bolt pattern and offset were perfect! Tires still have the little nubs on them too. The guy said they were just mounted on the car and rolled around the garage. We almost had an issue getting these home... My father and I drove his Ford Mustang to the EM and the Carlisle Nationals, and managed to cram 4 days worth of luggage PLUS these wheels and tires into his little car for the trip back to Syracuse. Poor car was packed to the roof! When I got home, I test fit the wheel on my axle and it's perfect. These wheels use a .687 shank style lug and fit perfectly over the 11/16" studs on my axle. Problem solved. I got super lucky Thanks everyone for helping me solve this pain in the butt issue. Hope to be on the road soon!
-
Thanks Rob! Had an awesome time! Looking forward to future events
-
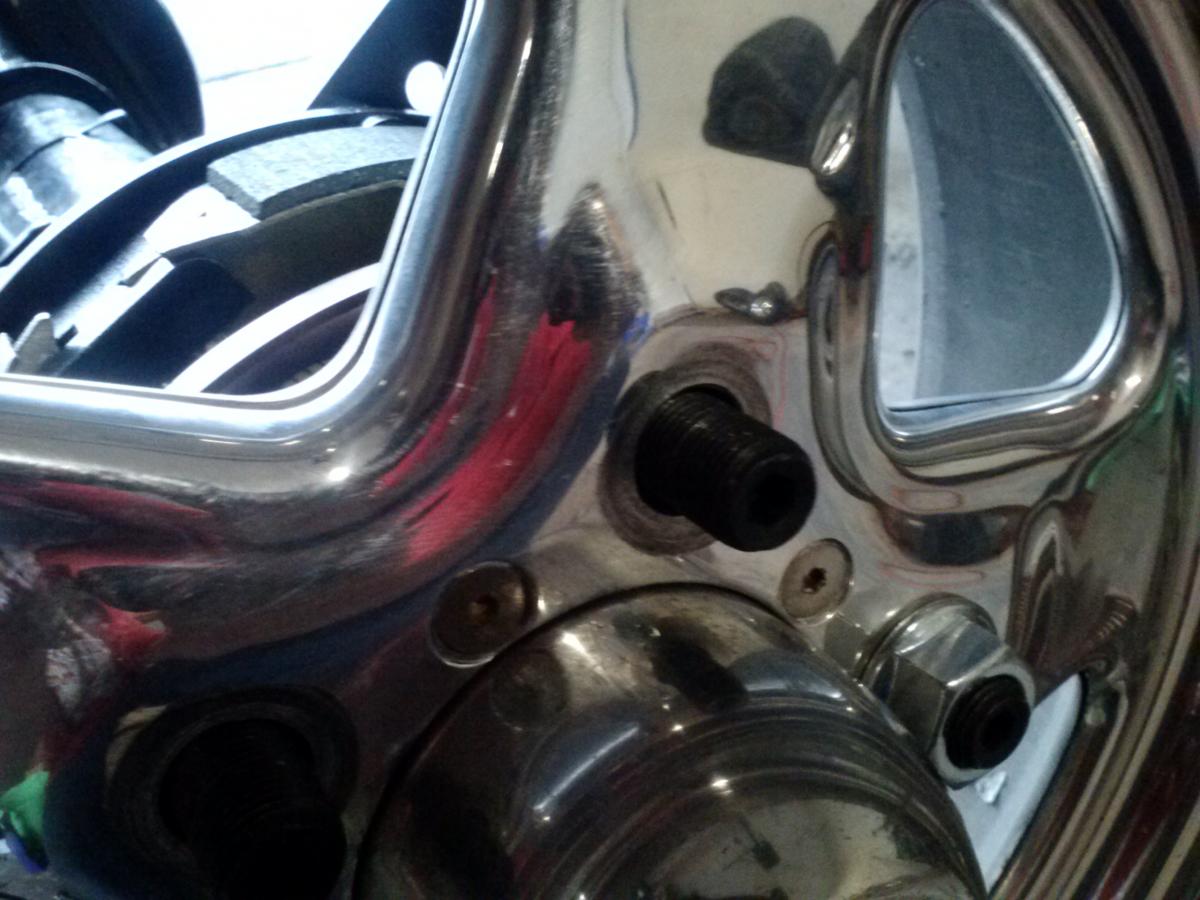
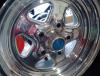
Thanks for the replies! I researched this issue a bit and discovered my 5/8" studs are actually 11/16" diameter where the wheel sits against the hub. You can see in the picture how it kind of flares out where the threads stop. The Weld wheels I looked at would normally use a shank lug nut with a diameter of .687" to center the wheel on a smaller stud. 11/16" is .6875, so my stud diameter is super close to what the lug nut shank diameter would be. They might just barely fit. I'm just looking for something cheap that works at this point...my head hurts
-
I had 3.31 gears in my old 12 bolt, It pulled around 3200 RPM at 75mph with 245/60/r15 tires. This was not a 4 speed though, it was a TH350 automatic.
-
I just realized my old lugs had a beveled lug nut to center the wheels on the studs, the new studs just have a flat bushing and nut. Unless I drilled the holes out perfect, there's a chance the wheels won't be centered on the hub...no good. Looks like I'll be buying wheels that fit. I really wanted to keep the stock wheels for a sleeper look but I don't think there's any way to make them work. I'm looking at 15x8 Weld Draglites. They have a shank style lug nut and it looks like I could just bolt them straight on the studs with no shank. I have never tried this, I have no idea if it will work.
-
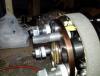
Got my hydroboost today from a 95 Astro Van. $15 and it looks like new too! This thread has been very helpful! Thanks for the info guys.
-
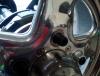
My rear end has big 5/8" wheel studs and is causing some issues. The studs are too big for the brake rotor to fit on. I'm just going to drill the holes out to fit. My rally wheels won't fit either. I'm unsure about drilling these out too... It doesn't need to be opened up that much maybe 1/8". Has anyone done this? Is it safe? I don't want my wheels to fly off! I should probably just get the right wheels. Any thoughts?
-
Choose your cam first and build the rest of the engine around that. Your effective compression will change depending on what cam you run. Here's a link to a compression calculator. It's not perfect but its close. You can just plug in the specs of a cam from the net and see what effect it will have on your compression. Sounds like a fun build, good luck with it!
-
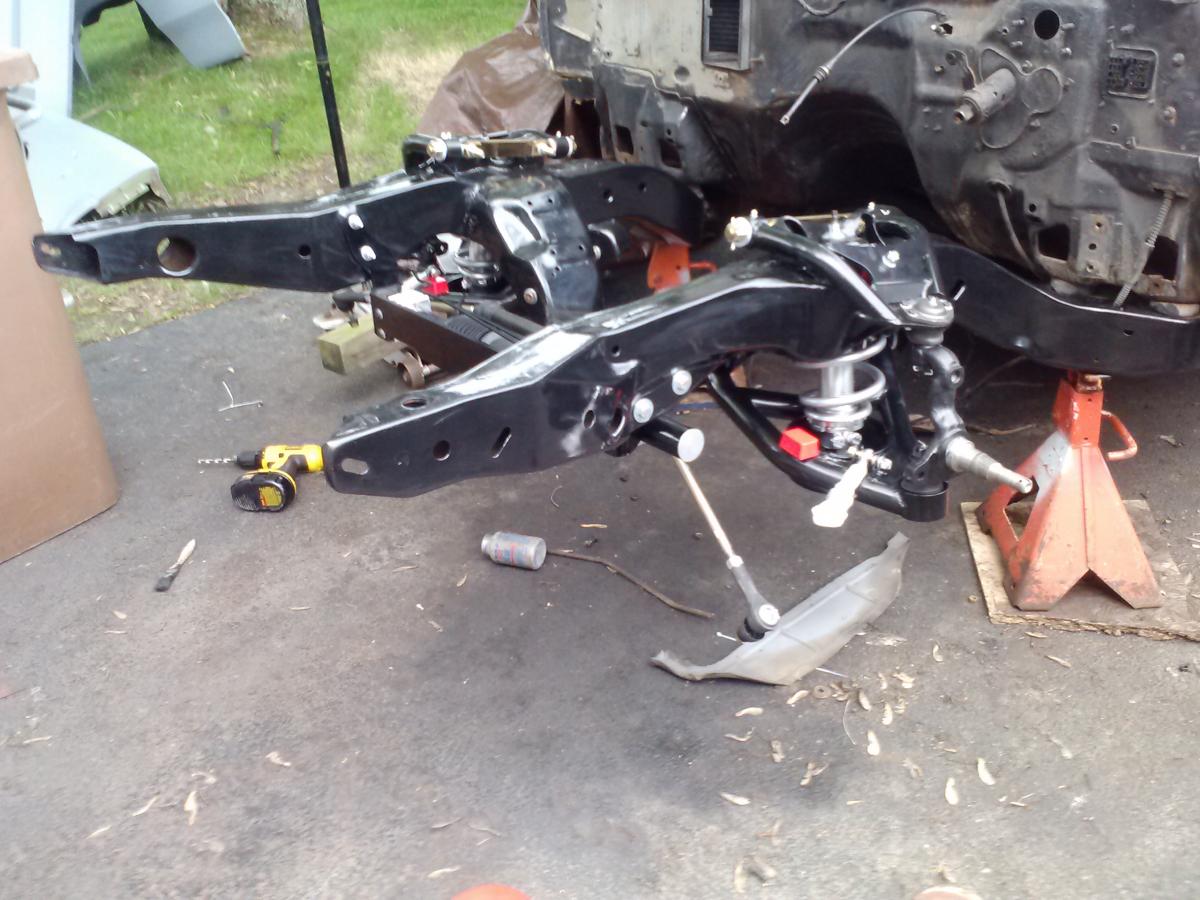
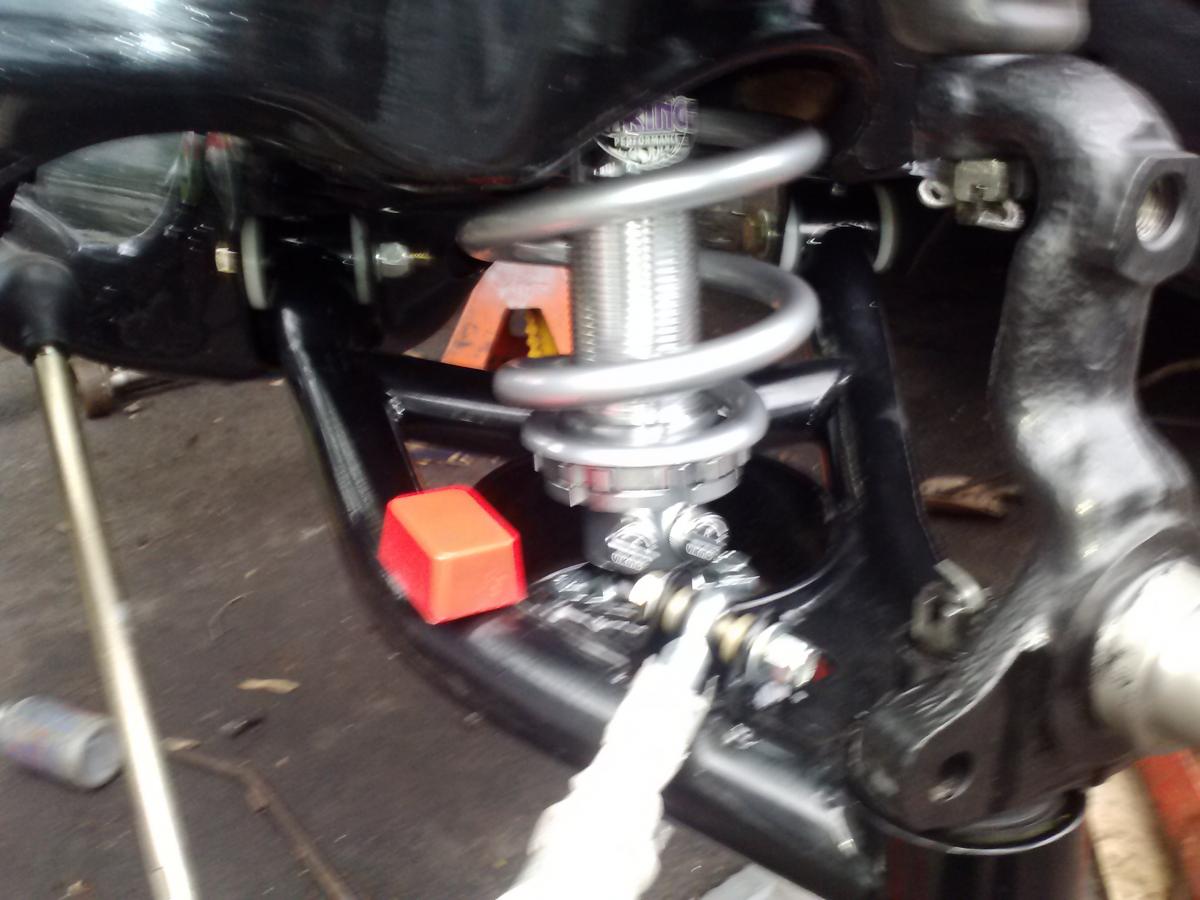
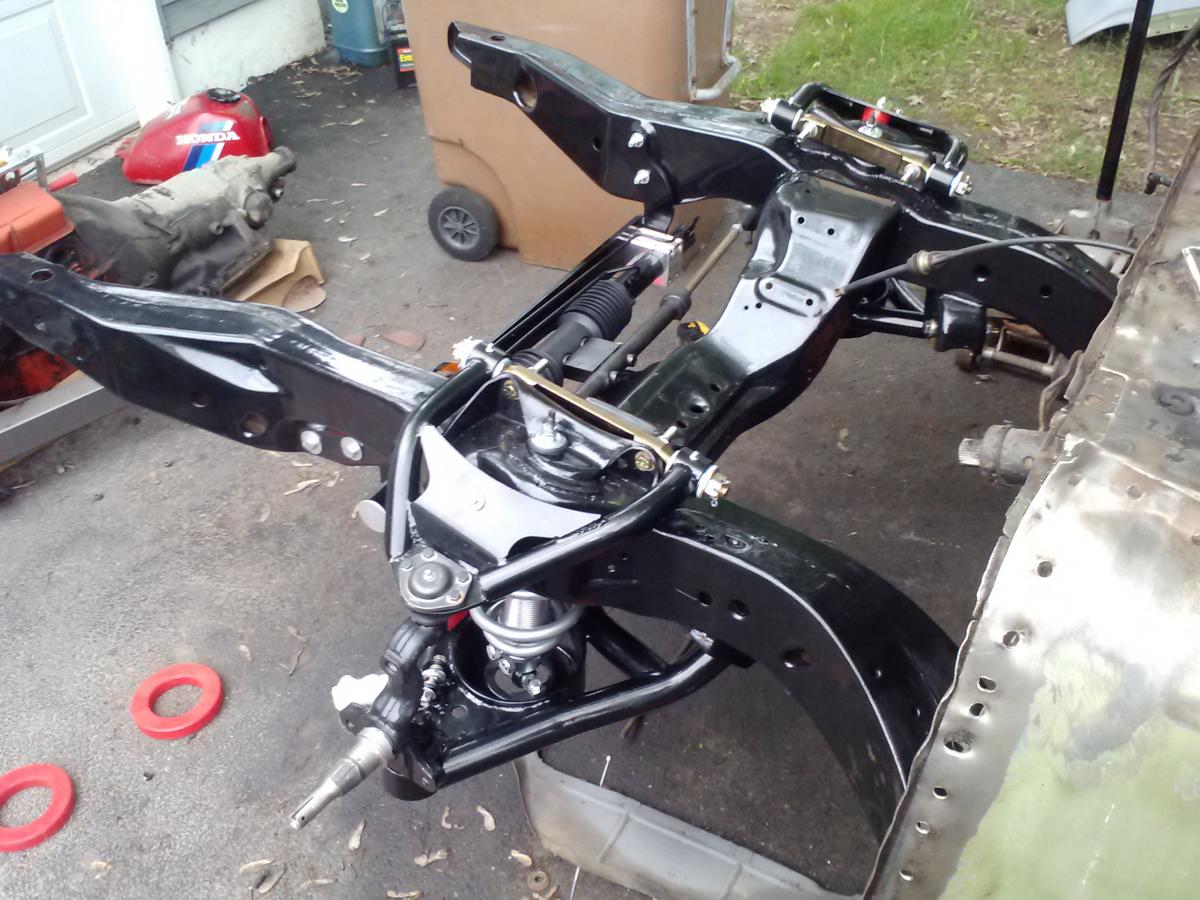
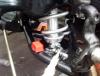
Here's a small update, not much going on. I spent the whole weekend bead blasting and painting small parts. It really is a slow process. My compressor can't keep up, it just overheats and sprays water. I'm still waiting for cowl panels and brakes to show up. Should be in this week sometime. I did get my old spindles painted up and after some swearing and wrench-throwing, got the front suspension installed in the car. Had to modify the lower control arms a little to get the coilovers in there. The new shocks are supposed to mount to the top instead of the bottom of the plate, and they had put weld nuts in my way. Fixed it with a little grinder and drill action. I'm planning to make a trip to the local you-pull parts yard for a Hydroboost unit. I'm not sure exactly everything I'm going to need so any input is appreciated. I checked out the other hydro boost threads on this forum too, lots of good info. Any specific vehicle models I should look for, or is any Hydroboost acceptable? I know a lot of heavy duty chevy/gmc trucks and diesels have them. Some vans too I guess. Also, does it matter if I attached it to my firewall with an angled bracket, or does it have to be straight-on?

-
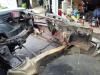
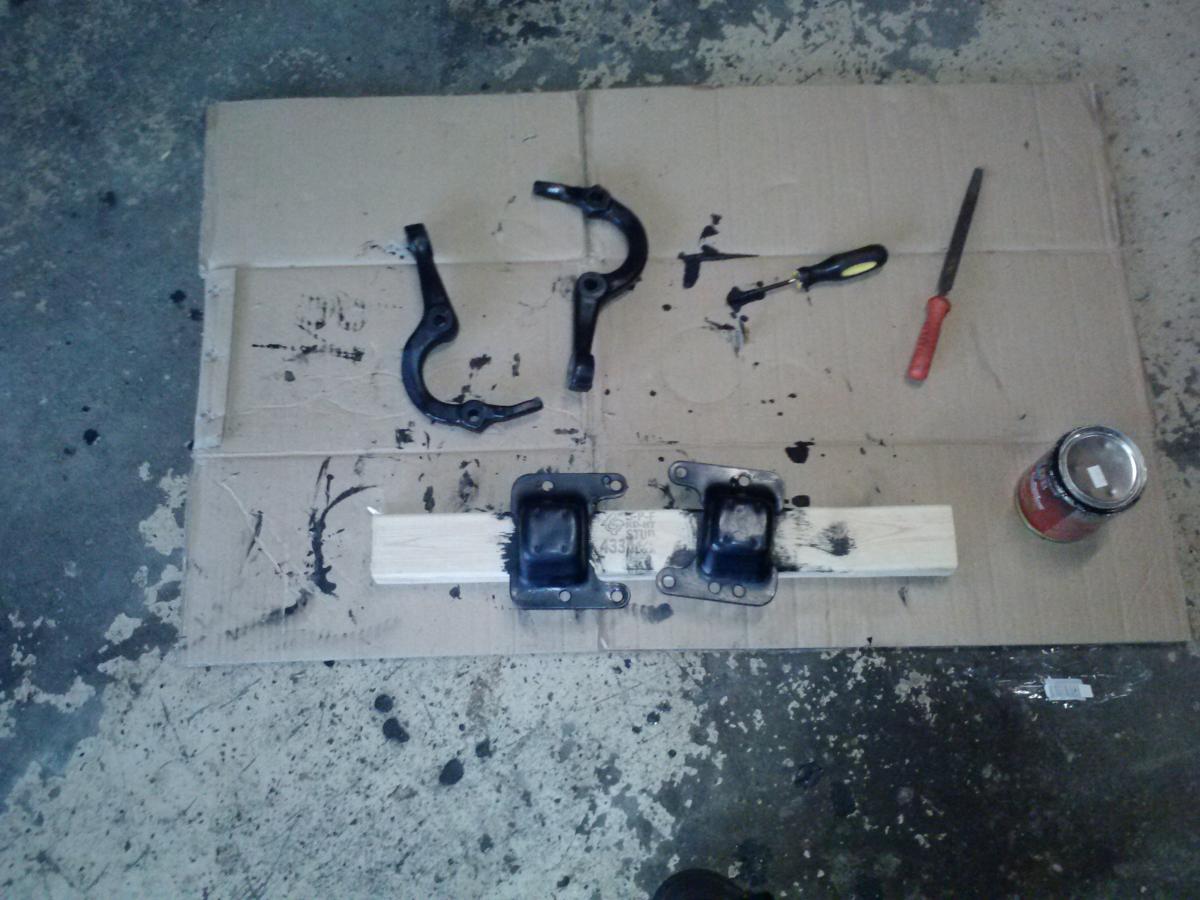
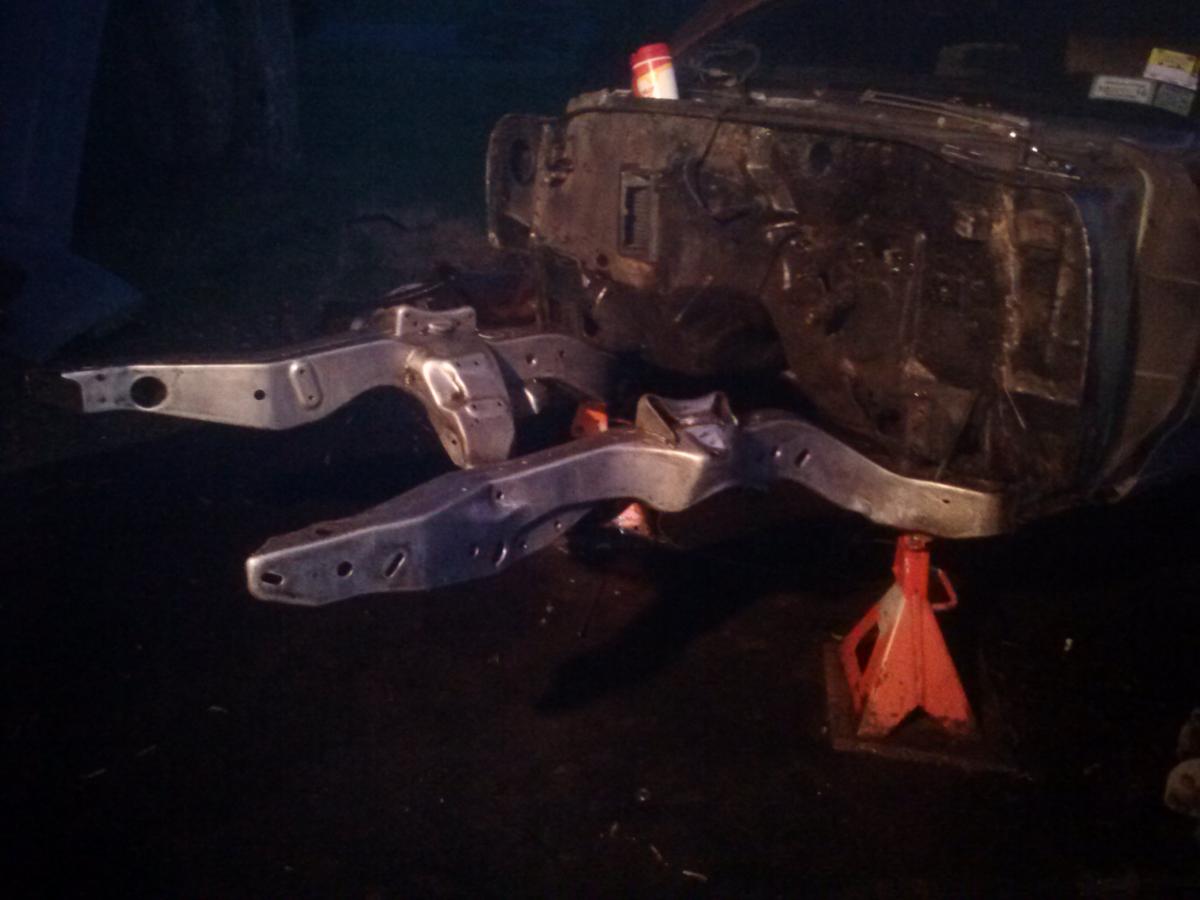
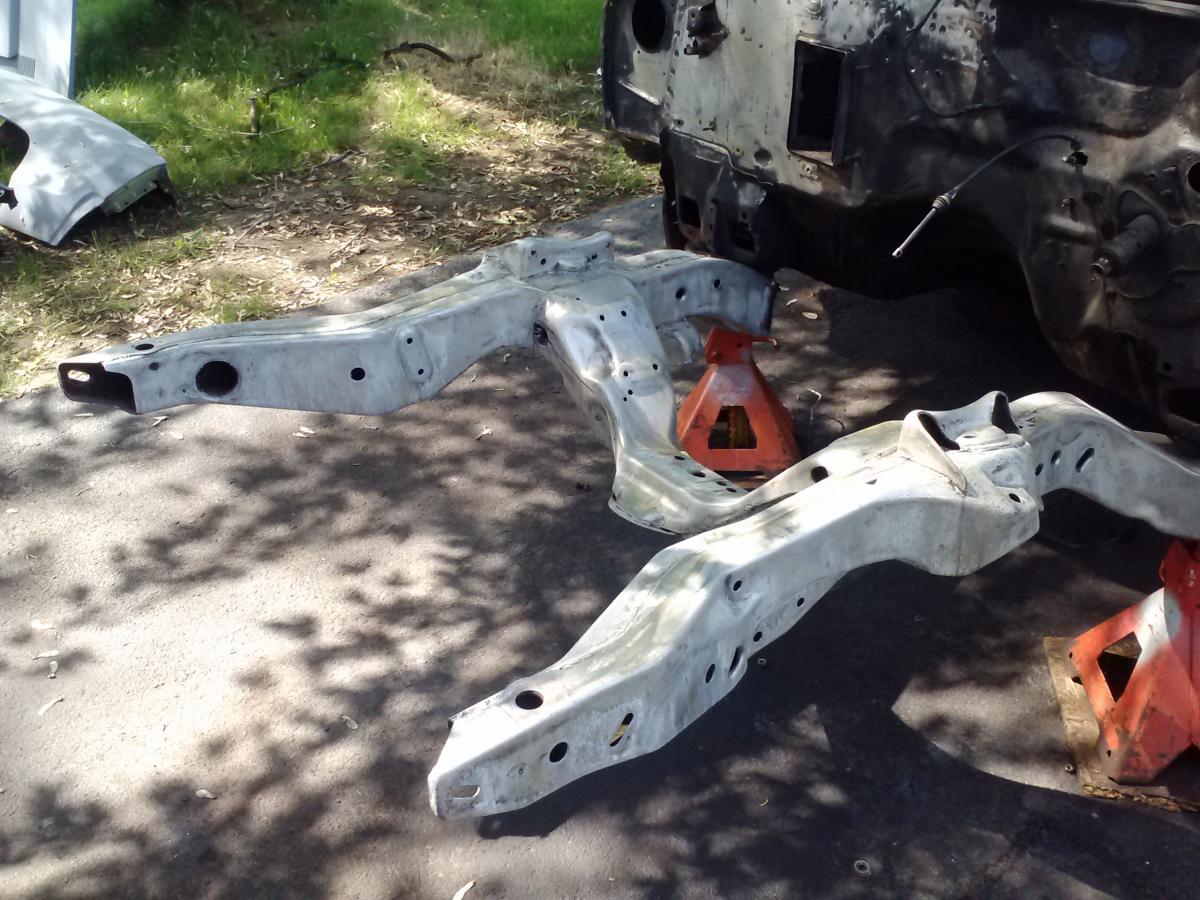
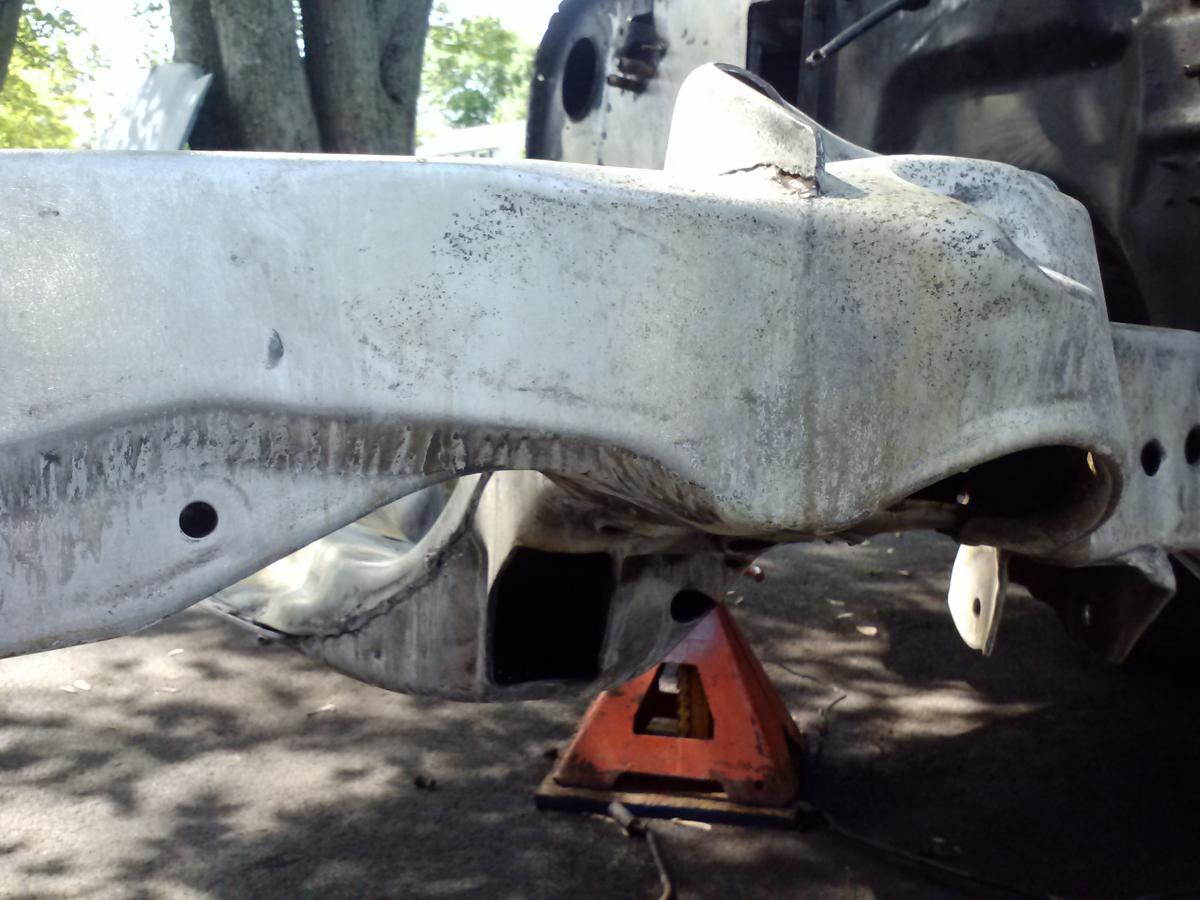
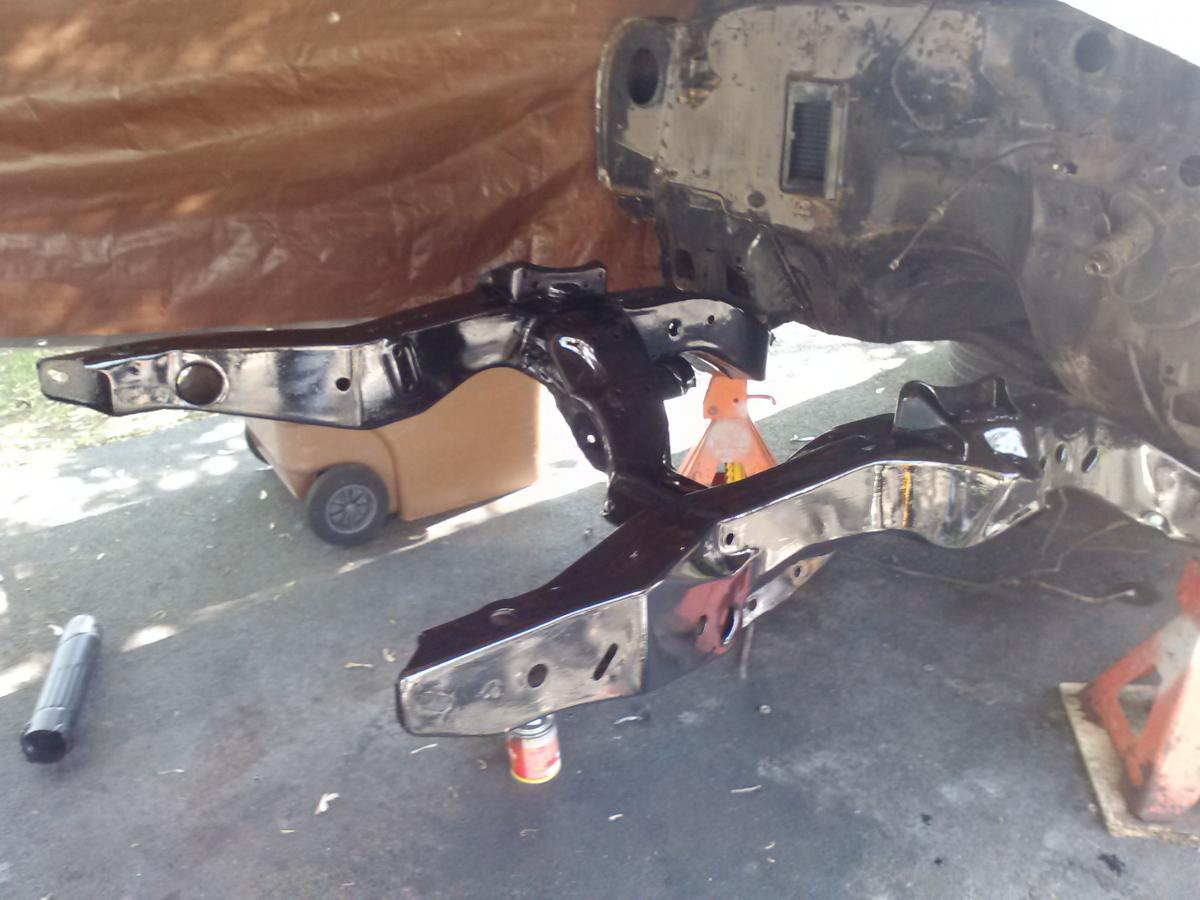
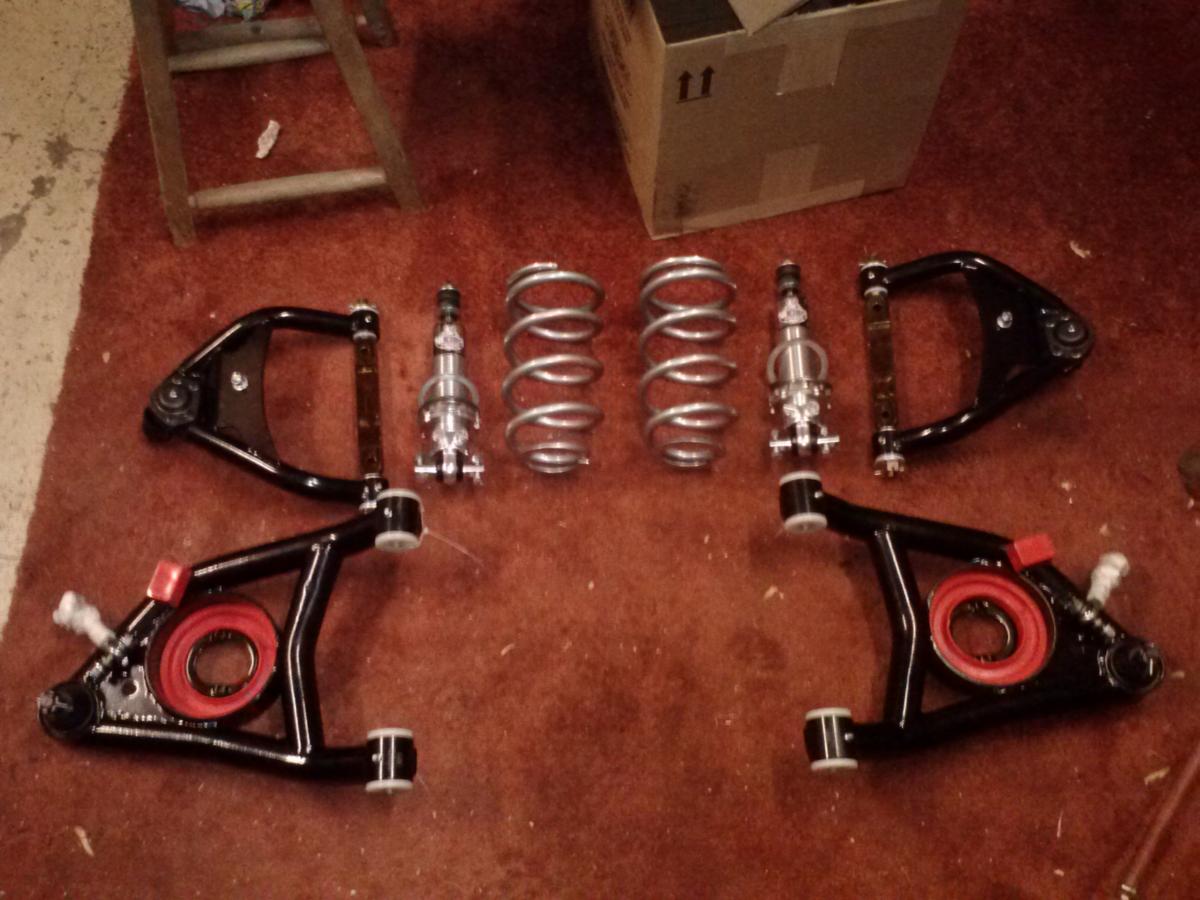
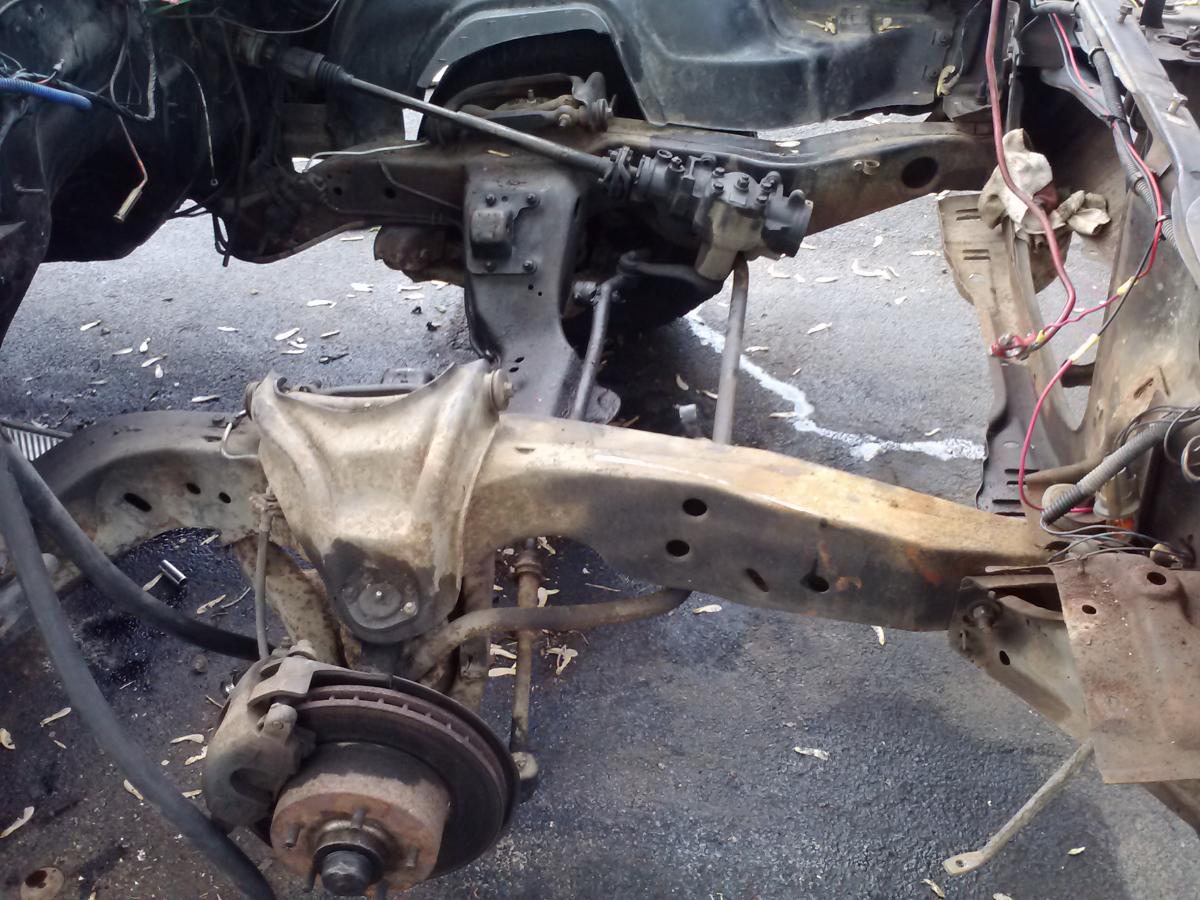
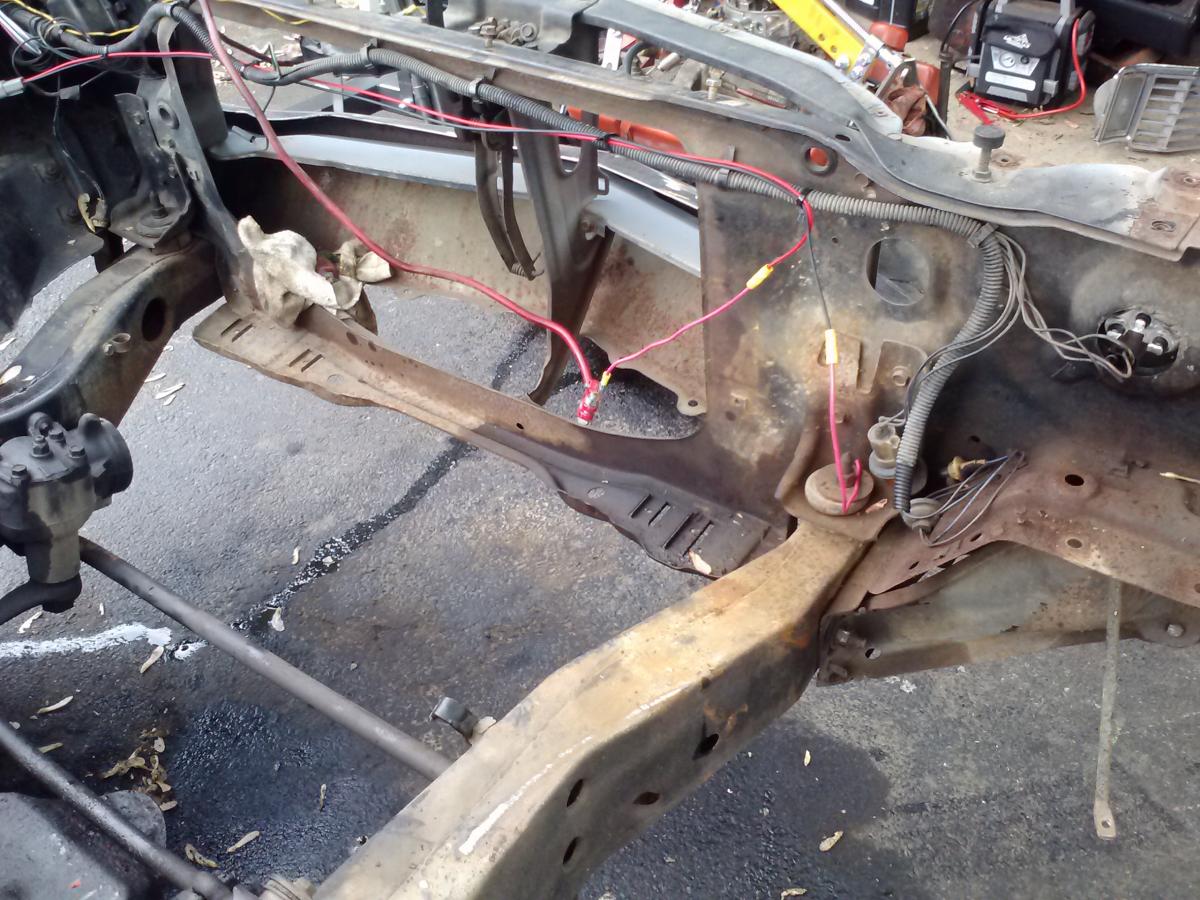
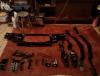
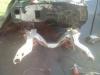
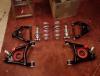
More progress! Got everything stripped off the car from the firewall forward and de-greased everything. Had to wash it 4 or 5 times to get all that gunk off. I took an angle grinder with a wire wheel to strip the remaining rust and paint then sanded the entire thing down to bare metal with 60 grit. I washed it down again and then etched it with the metal ready solution. Brushed on 2 coats of semi-gloss black POR-15. The paint is still wet in the picture so it looks glossy. I'm only doing the frame in the front for now to avoid taking the body off the frame and starting an even bigger snowball. I decided not to coat the firewall with POR-15, instead I'm just going to prime and paint it with regular paint. I hope my compressor is up to the task. I started cutting metal out to make patches for the lower corners but too much is gone, I'll just replace the whole side part of the cowl with a replacement panel. Stupid rust! I should get the front end parts back from work soon. Can't wait to see how they come out. Got a pile of parts waiting to be installed- I ditched the stock suspension for tubular control arms and Viking coilovers. Steering box will be replaced with a rack and pinion kit. Just waiting for paint to dry and back-ordered parts to get here so I can get the front end finished up. I'm trying to wrap up the engine build and get it fired, but I'm a dumb-dumb and keep ordering the wrong parts. There's still a lot of work to do.


-
when a good deal falls in your lap you have to jump on it!
GatorDog72 replied to bigscaht's topic in Engine Tech
Wow nice find! You stole that thing for $400! I paid that for my engine and mine was a siezed up pile of crap. 4 bolt mains too. Did it come with heads? -
You are right, it wont fit without some trans tunnel modification. 4L80E is definitely a huge trans. It would be some extra work to get it in there
-
4L60E should work fine as long as you don't beat it to death or drag race. If you plan on abusing it, a 4L80E would be a better choice
-
Bearings are cheap peace of mind. Be sure to check your clearances with plasti-gauge before re-assembly.
-
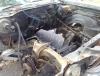
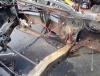
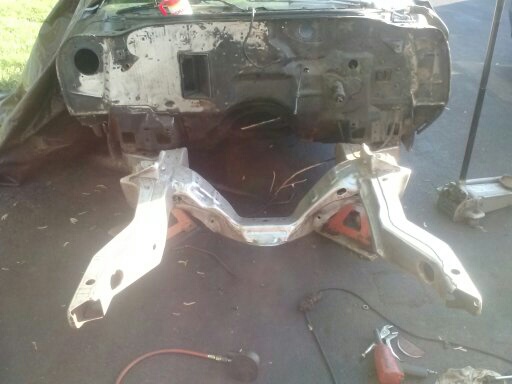
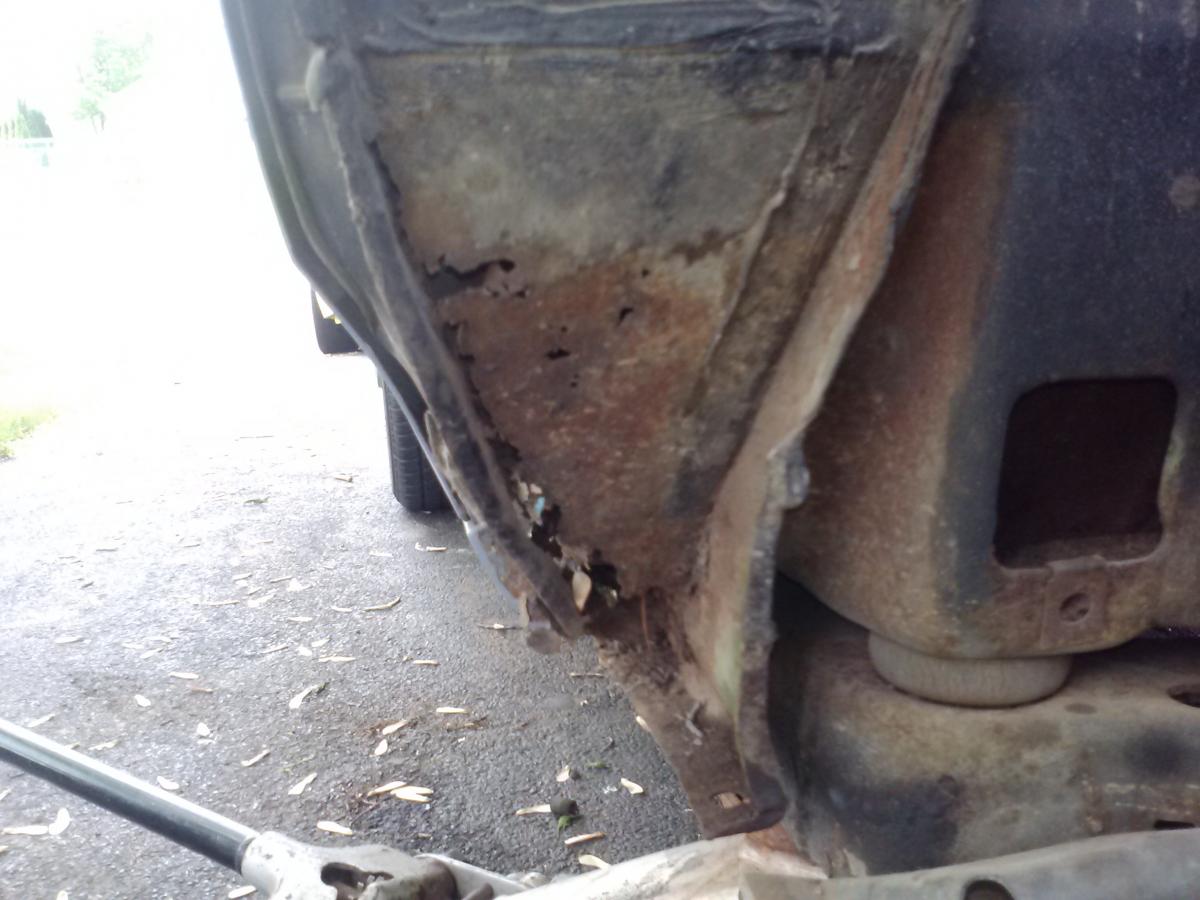
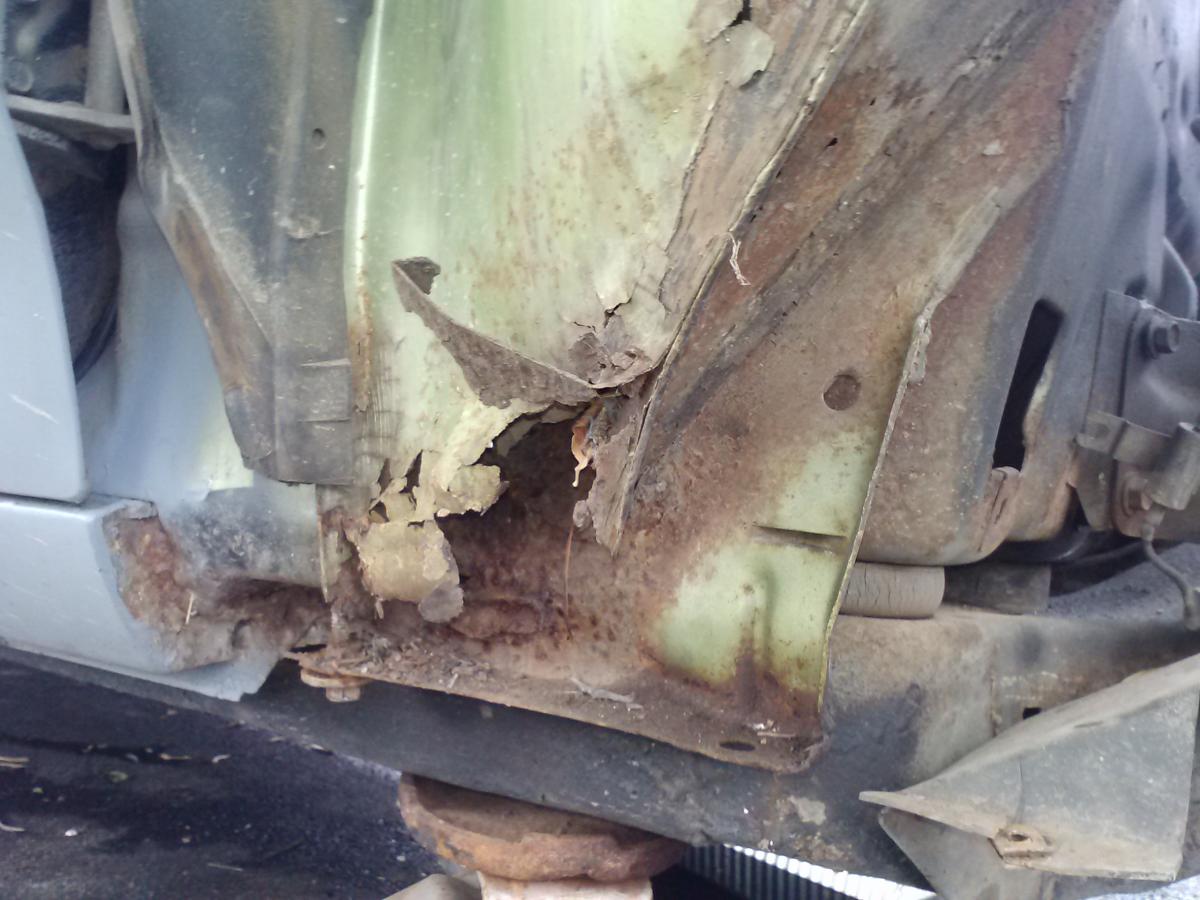
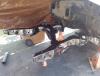
I got the rest of the front clip off the car and decided to strip everything off from the cowl forward so I can get all the rust off. I plan on repairing the small rust areas at the bottom corners of the cowl and painting up the frame and firewall with POR-15. I'm going to bring my core support and all the brackets and small parts to work and have them blasted and powder coated. I ordered a complete body hardware kit because some of the bolts were really rusted and made it a real PITA to get apart. Right now I'm stuck because the crappy weather shut down my program. I'll have to rig up some tarps so I don't have to worry about mother nature screwing up my plans. Also, I had my hood leaning against a tree and the wind blew it over last night putting a dent in it... I inspected the steering, suspension, and brakes and everything is either worn out or rusted so it looks like I'll be replacing all those parts too while the motor is out. This entire project snowballed really bad from the start, I guess I'll just keep making it bigger. This project most likely wont be done in time for the EM, so I'll have to leave it home. Hopefully I'll have it done in time for the Syracuse Nationals at least.
-
you should see around 14.5 volts if the alternator is charging properly. Try pulling the ground wire off the battery with the engine running and see if it stalls out.
-
It should be the port on the lower front of the carb, next to the idle mixture screw.
-
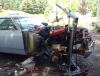
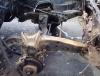
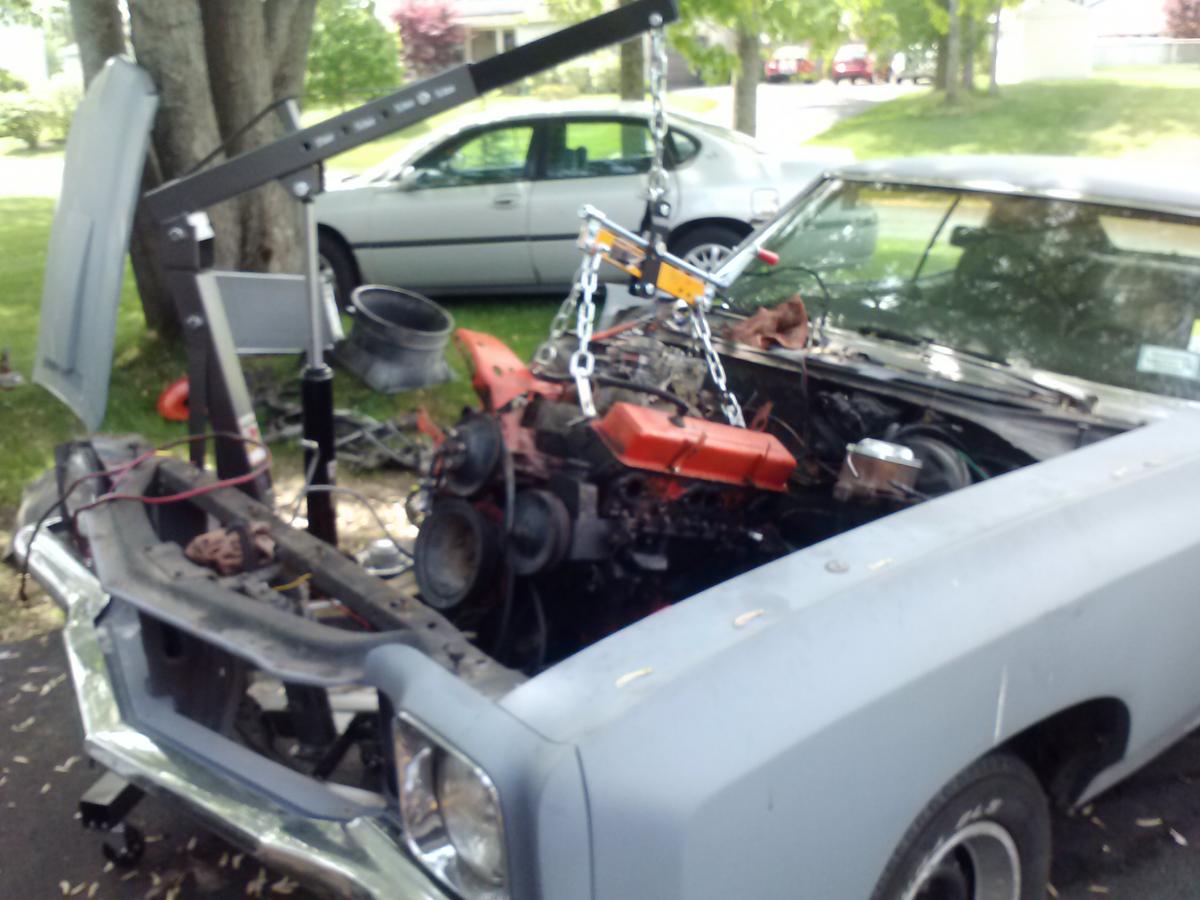
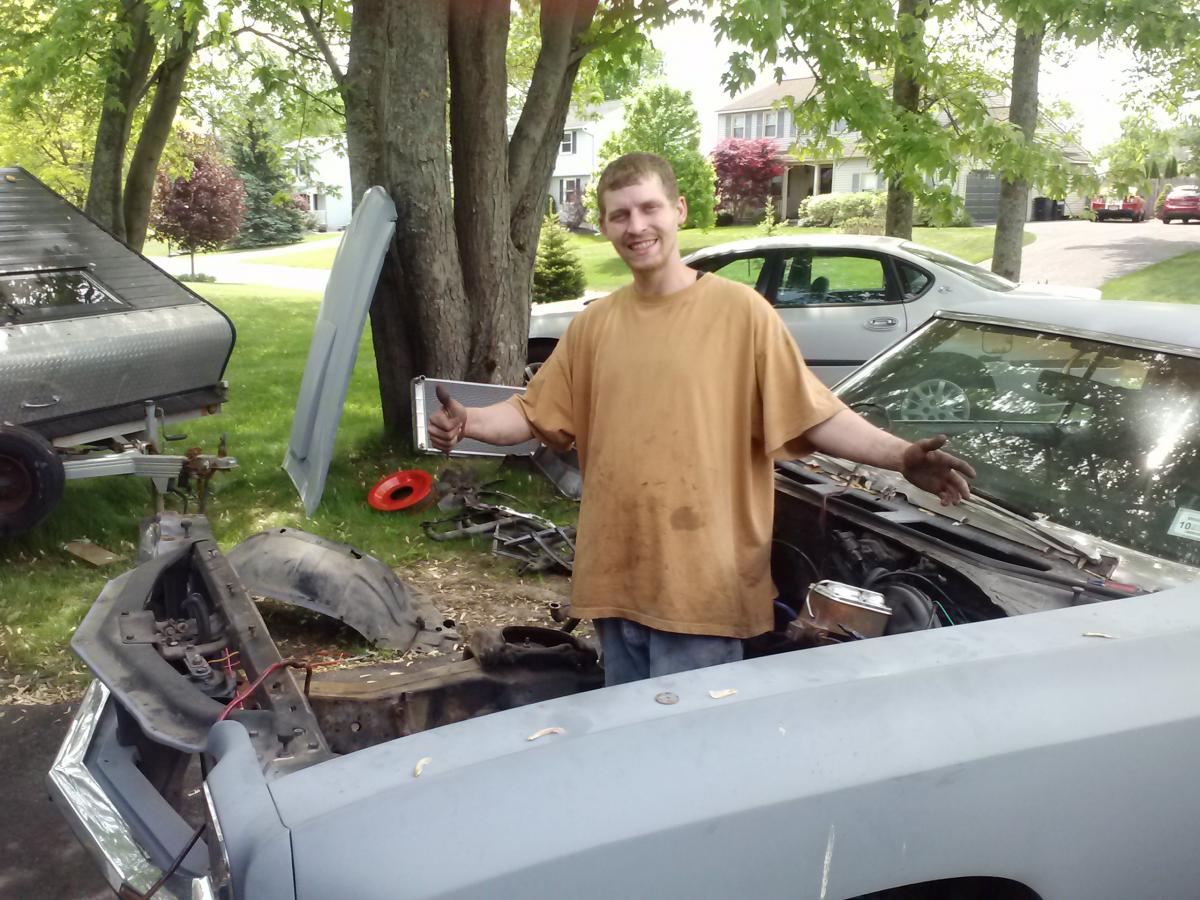
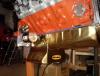
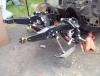
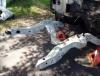
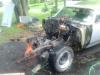
Motor is out! Took the fender off and that gave me plenty of room to get the hoist in close enough. Now it looks like I have quite a large mess to clean up in my engine bay. Of course I found some minor rust issues...nothing critical, but I'm glad I found it so I can repair it before it gets too bad. I think I'm going to finish removing the front clip so I can paint up the frame and some of the rusty parts before the new engine and transmission go in. Also found some spots of the original gulf green paint. I think I would like to repaint the car the original color at some point.