B-Man
-
Posts
117 -
Joined
-
Last visited
Content Type
Profiles
Articles
Forums
Gallery
Events
Everything posted by B-Man
-

1972 MC 350/Auto - LED Head Light & Turn Signal Conversion
B-Man replied to B-Man's topic in Electrical Tech
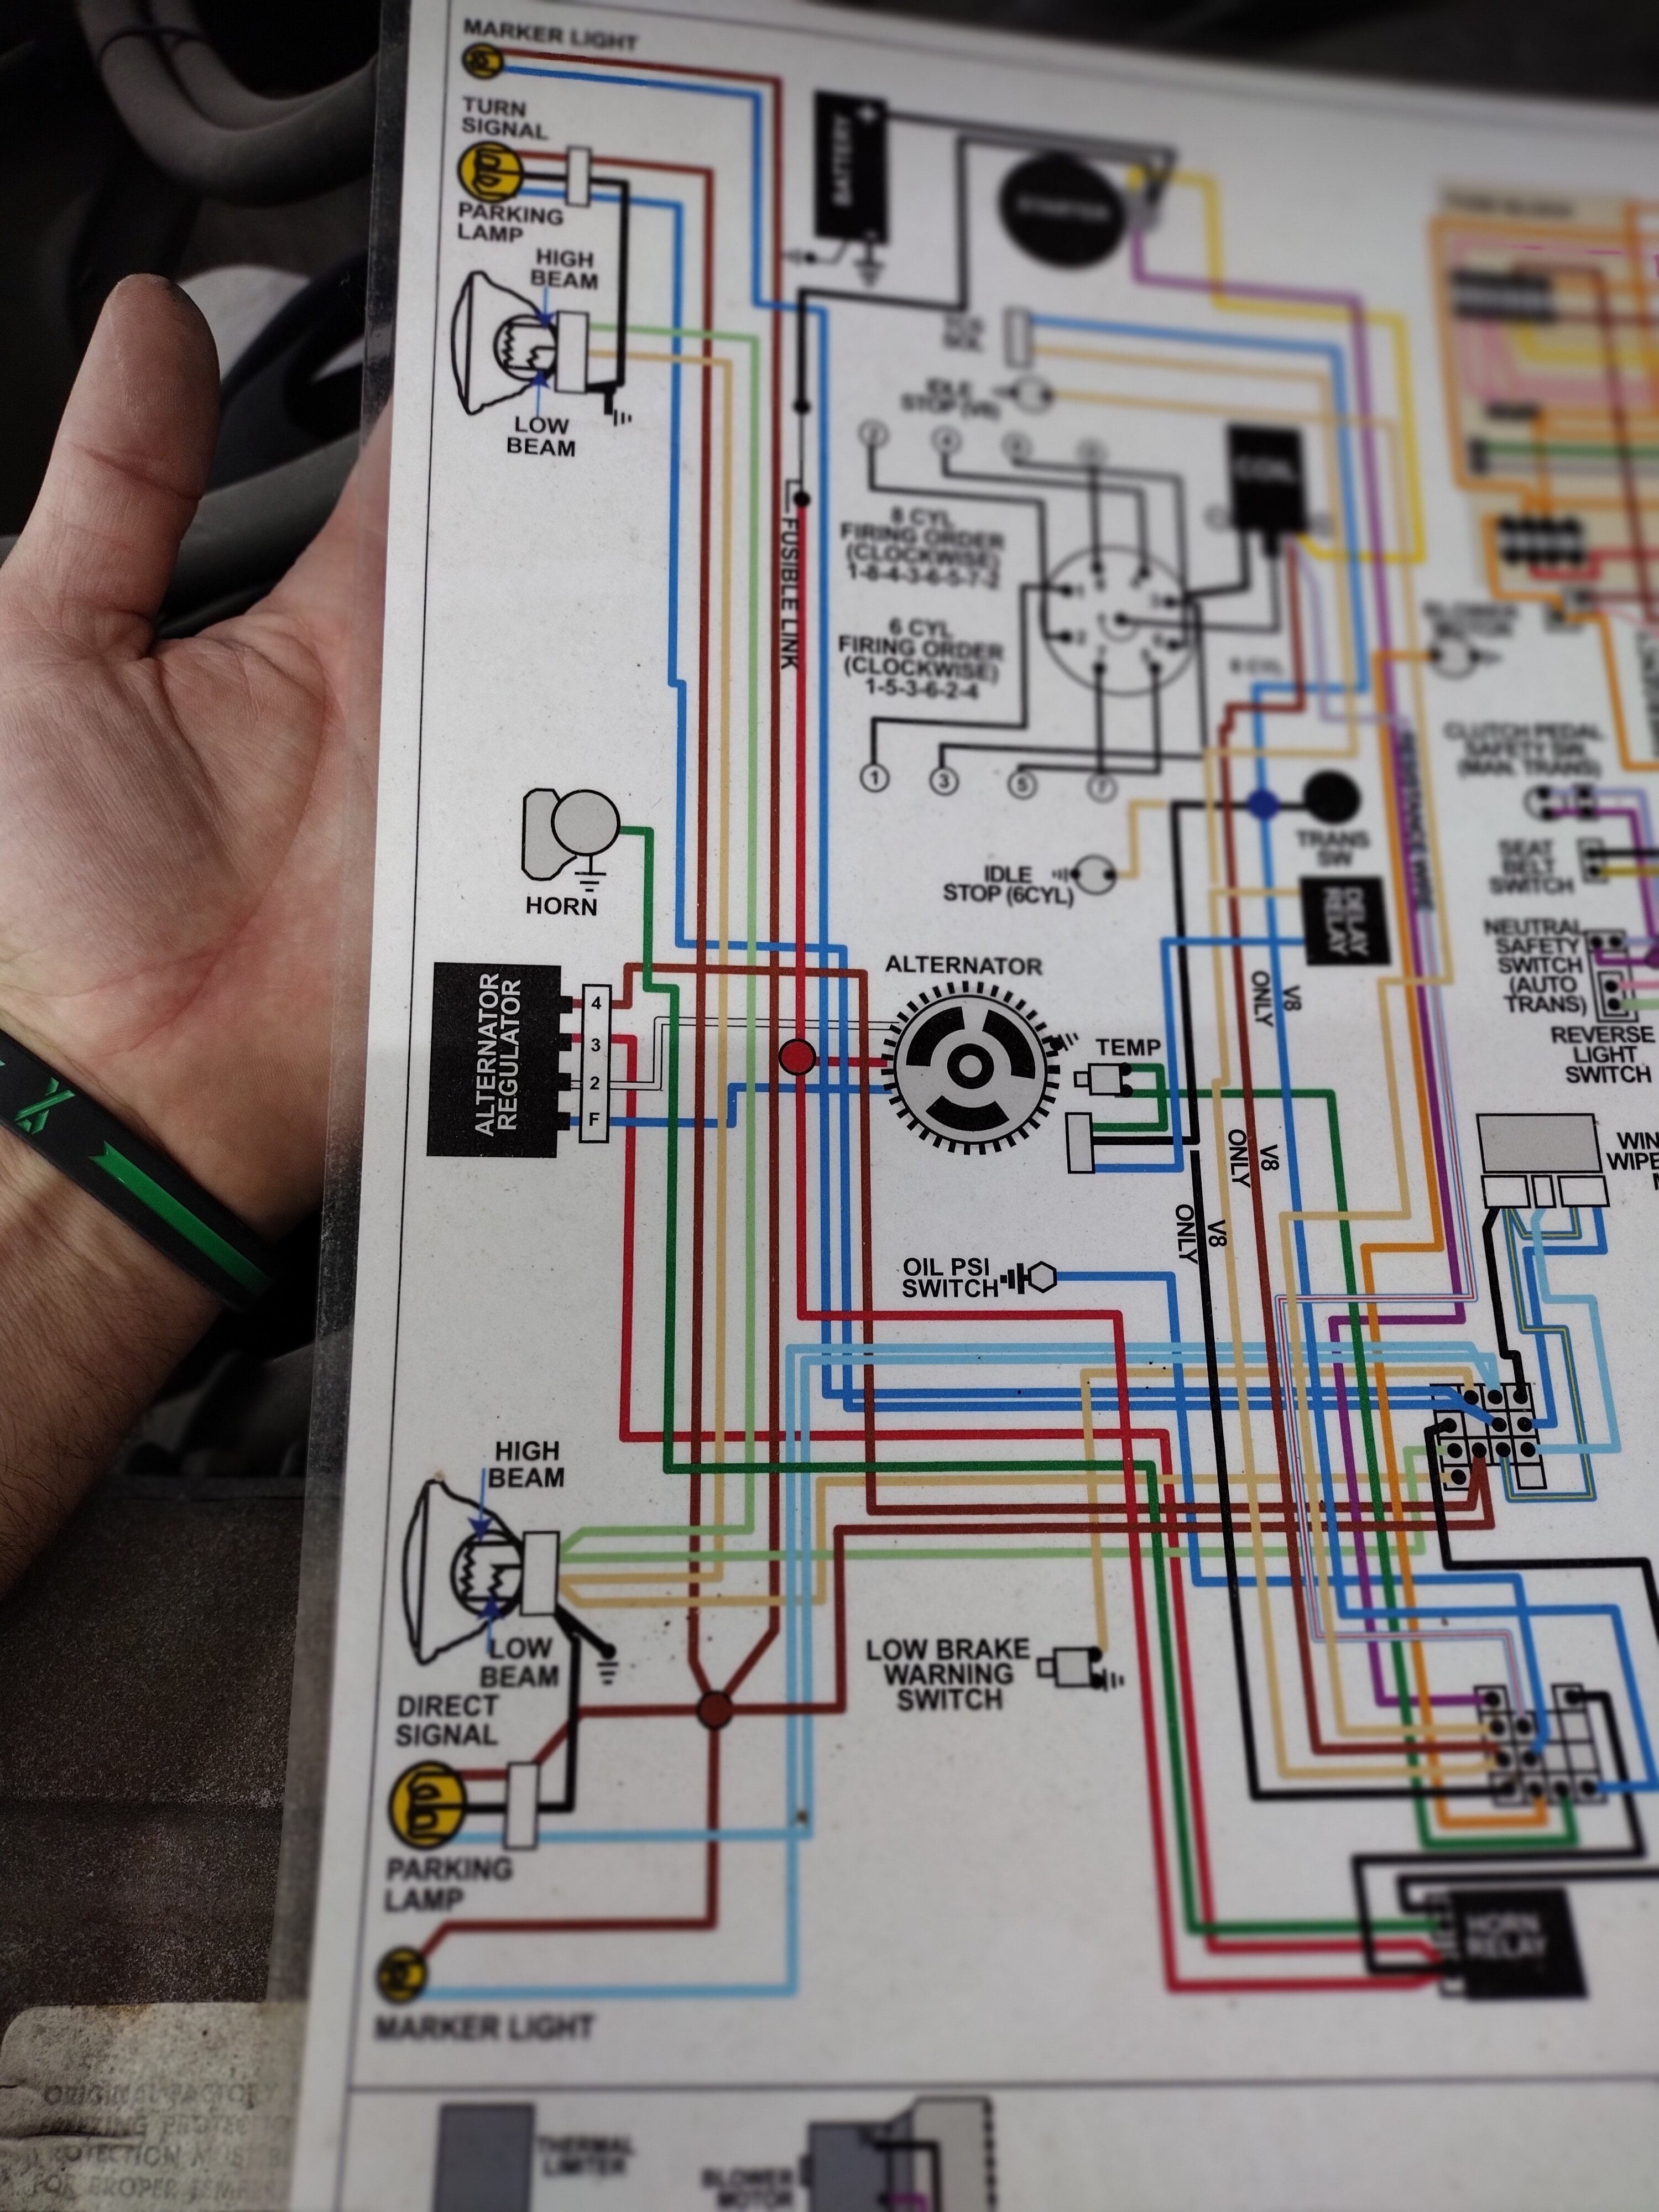
So I've got this next set of switchback bulbs in. The passenger side is still acting very funky. As it was with the other set. So although I want to blame the bulbs there is sufficient statistical evidence to suggest something is up with the passenger side blinker circuit. Both turn signals work fine with regular incandescent bulbs. Weird. Any ideas what would cause one side of the circuit to have intermittent function with the switchback vs regular incandescent? There must be a weak point somewhere. -
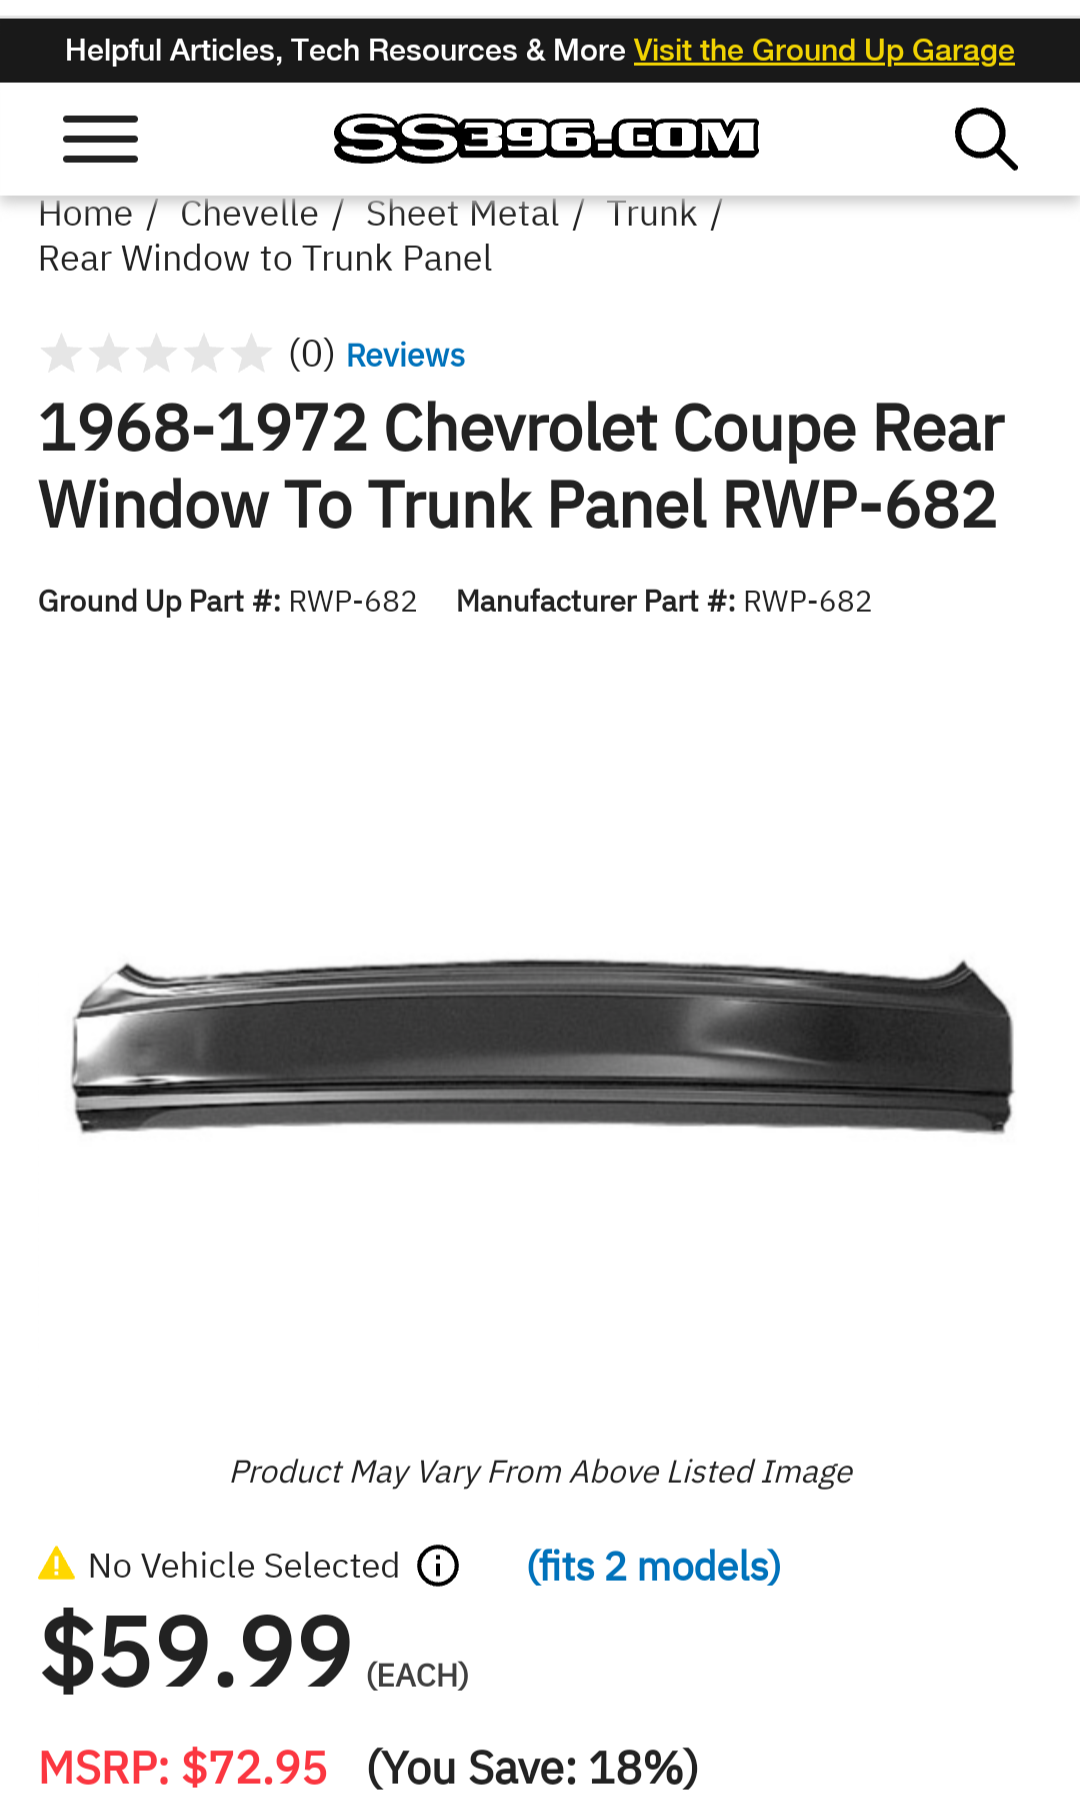
1972 MC 350/Auto - Roof, Sail Panel and Trunk Repair / Replace
B-Man replied to B-Man's topic in Auto Body Repair
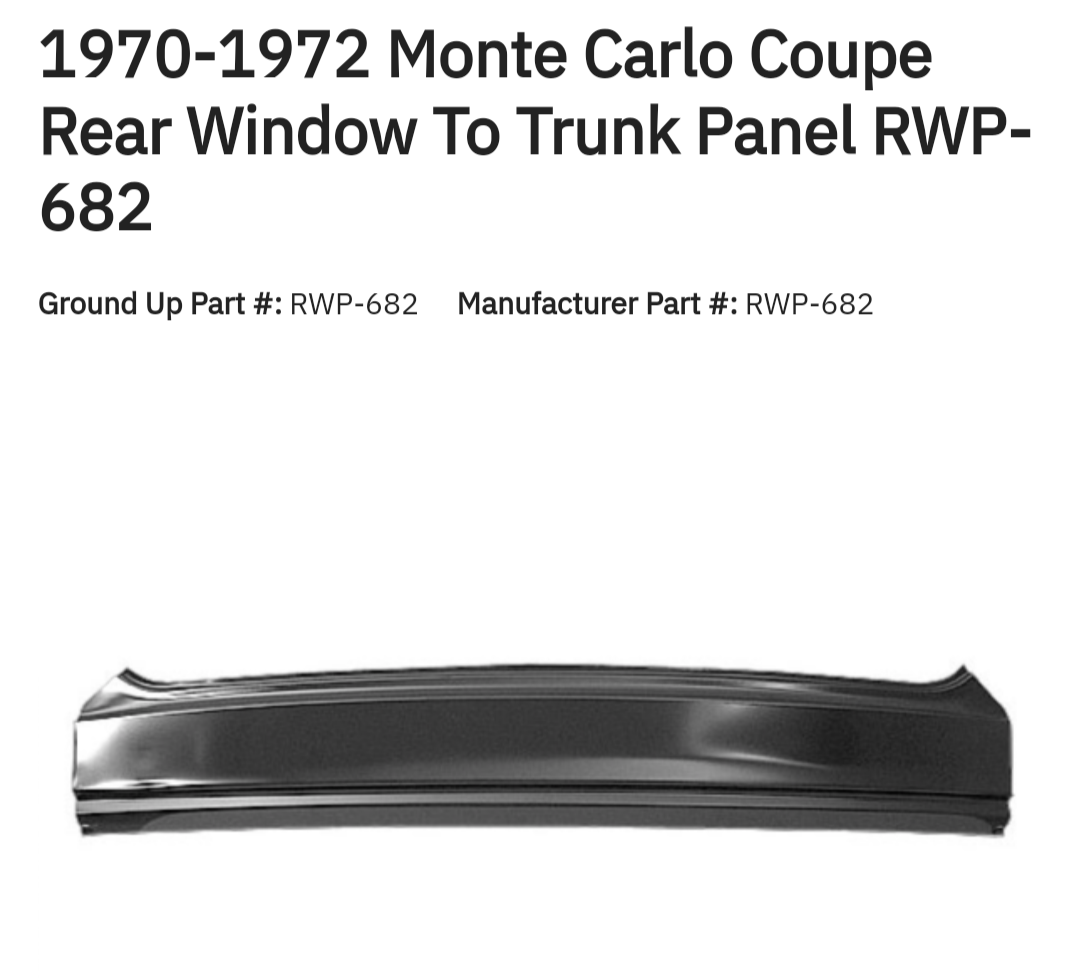
After nearly a month this rear window to trunk panel has finally shipped from SS396! Some more surgery coming up, but at least it's metal this time boyz haha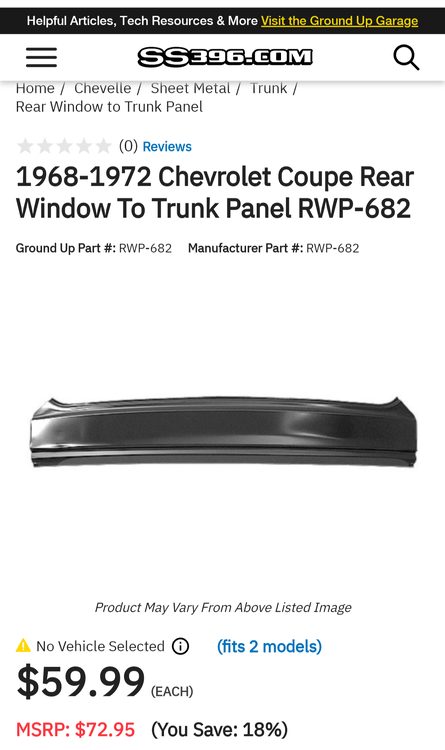
-
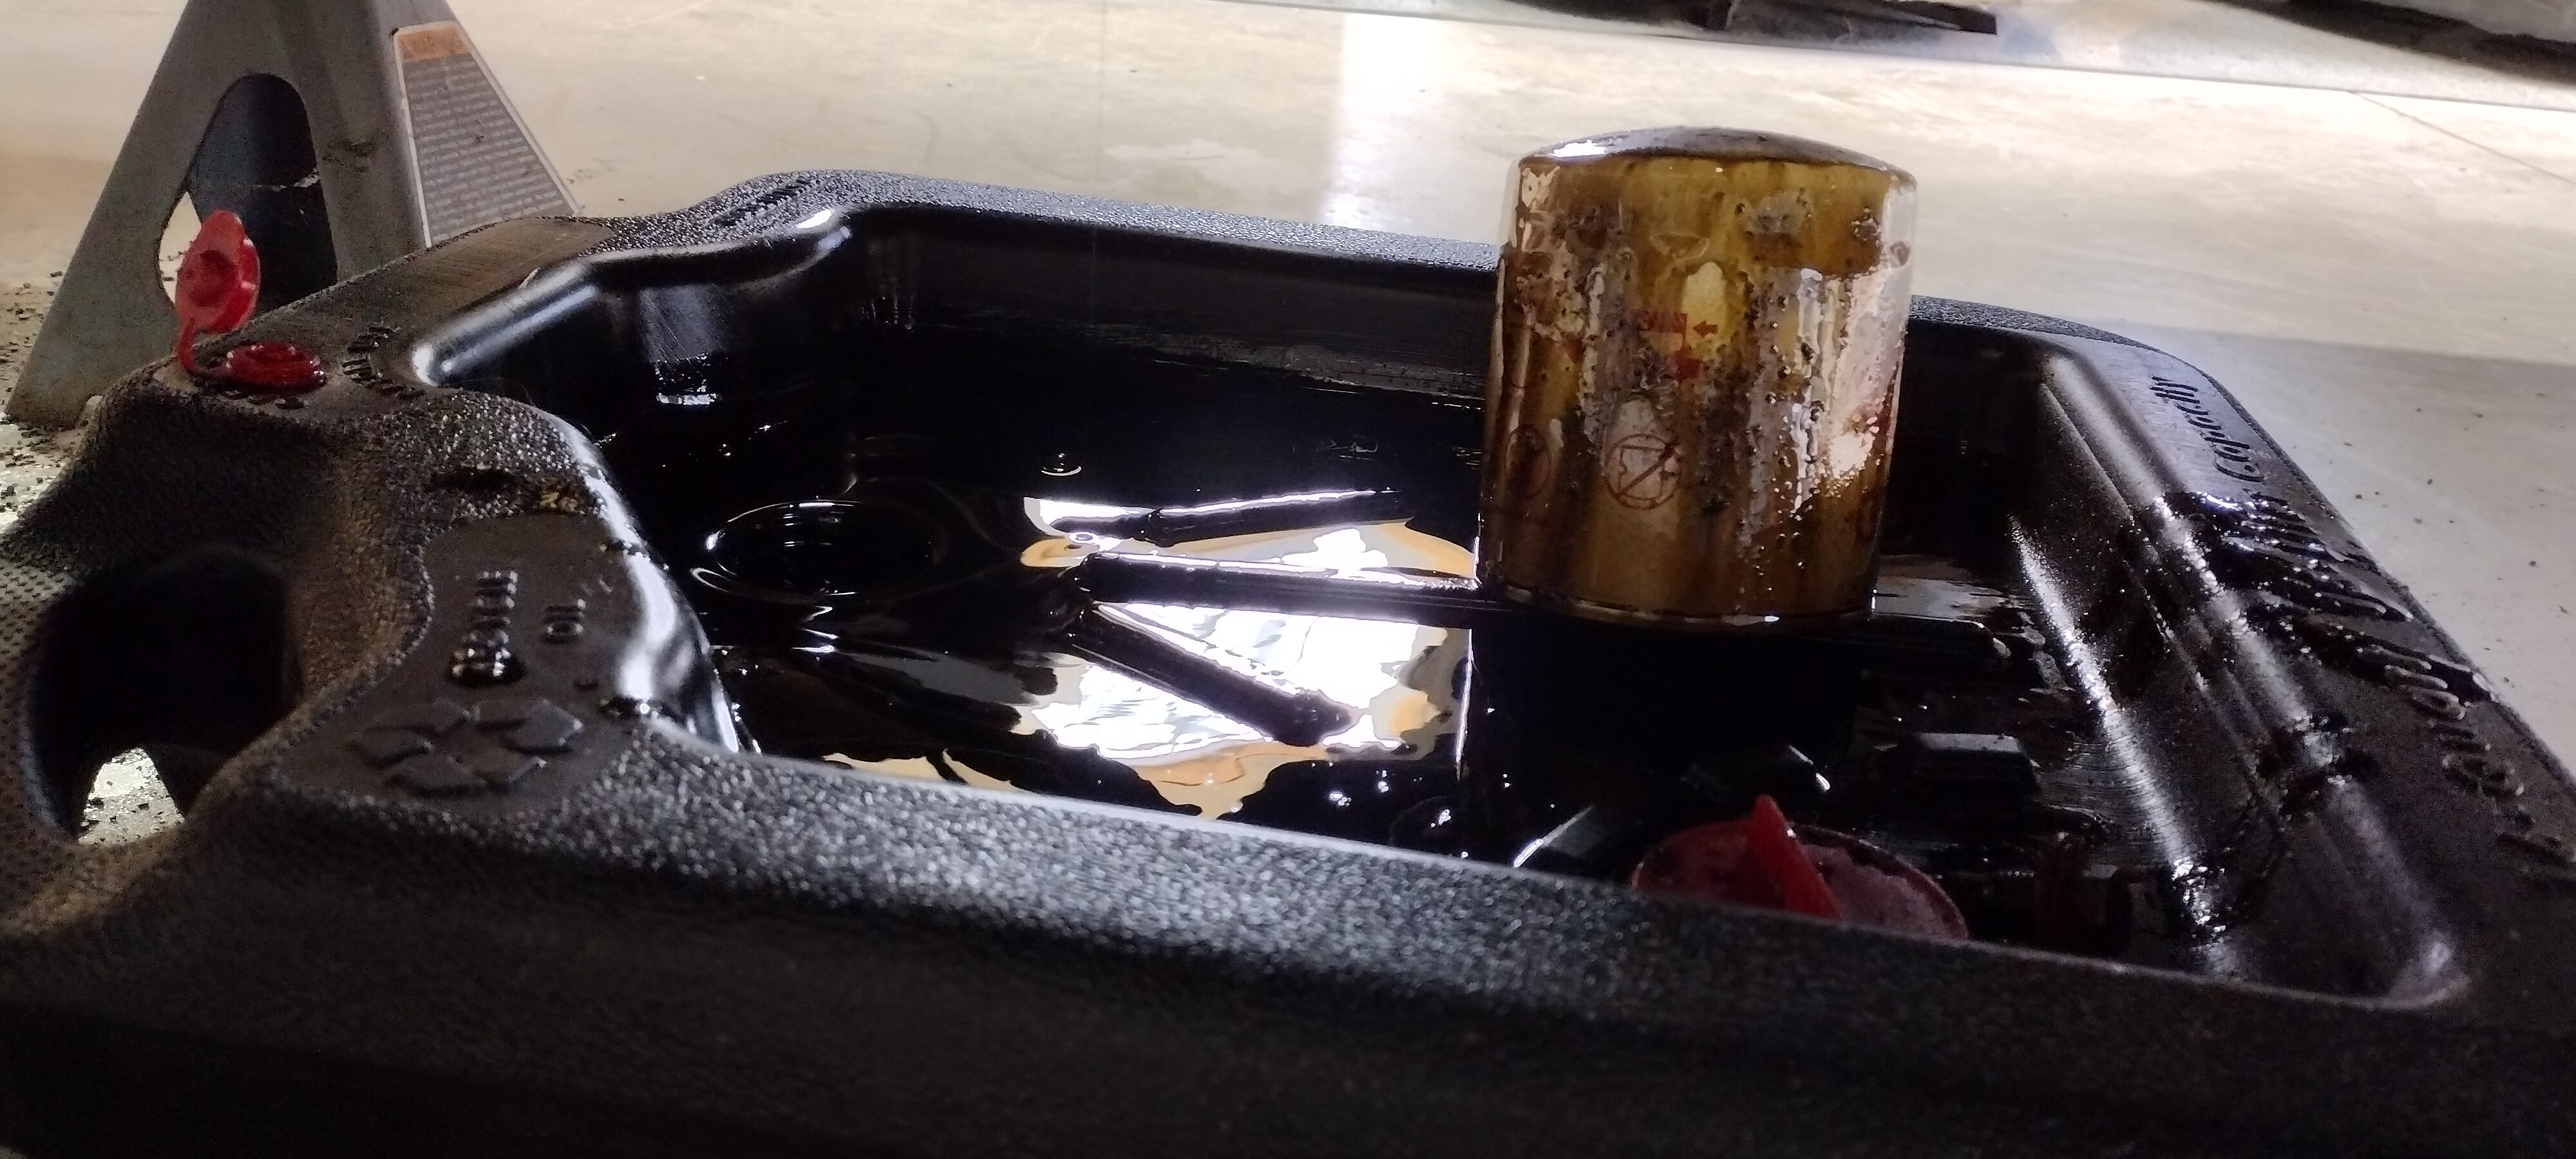
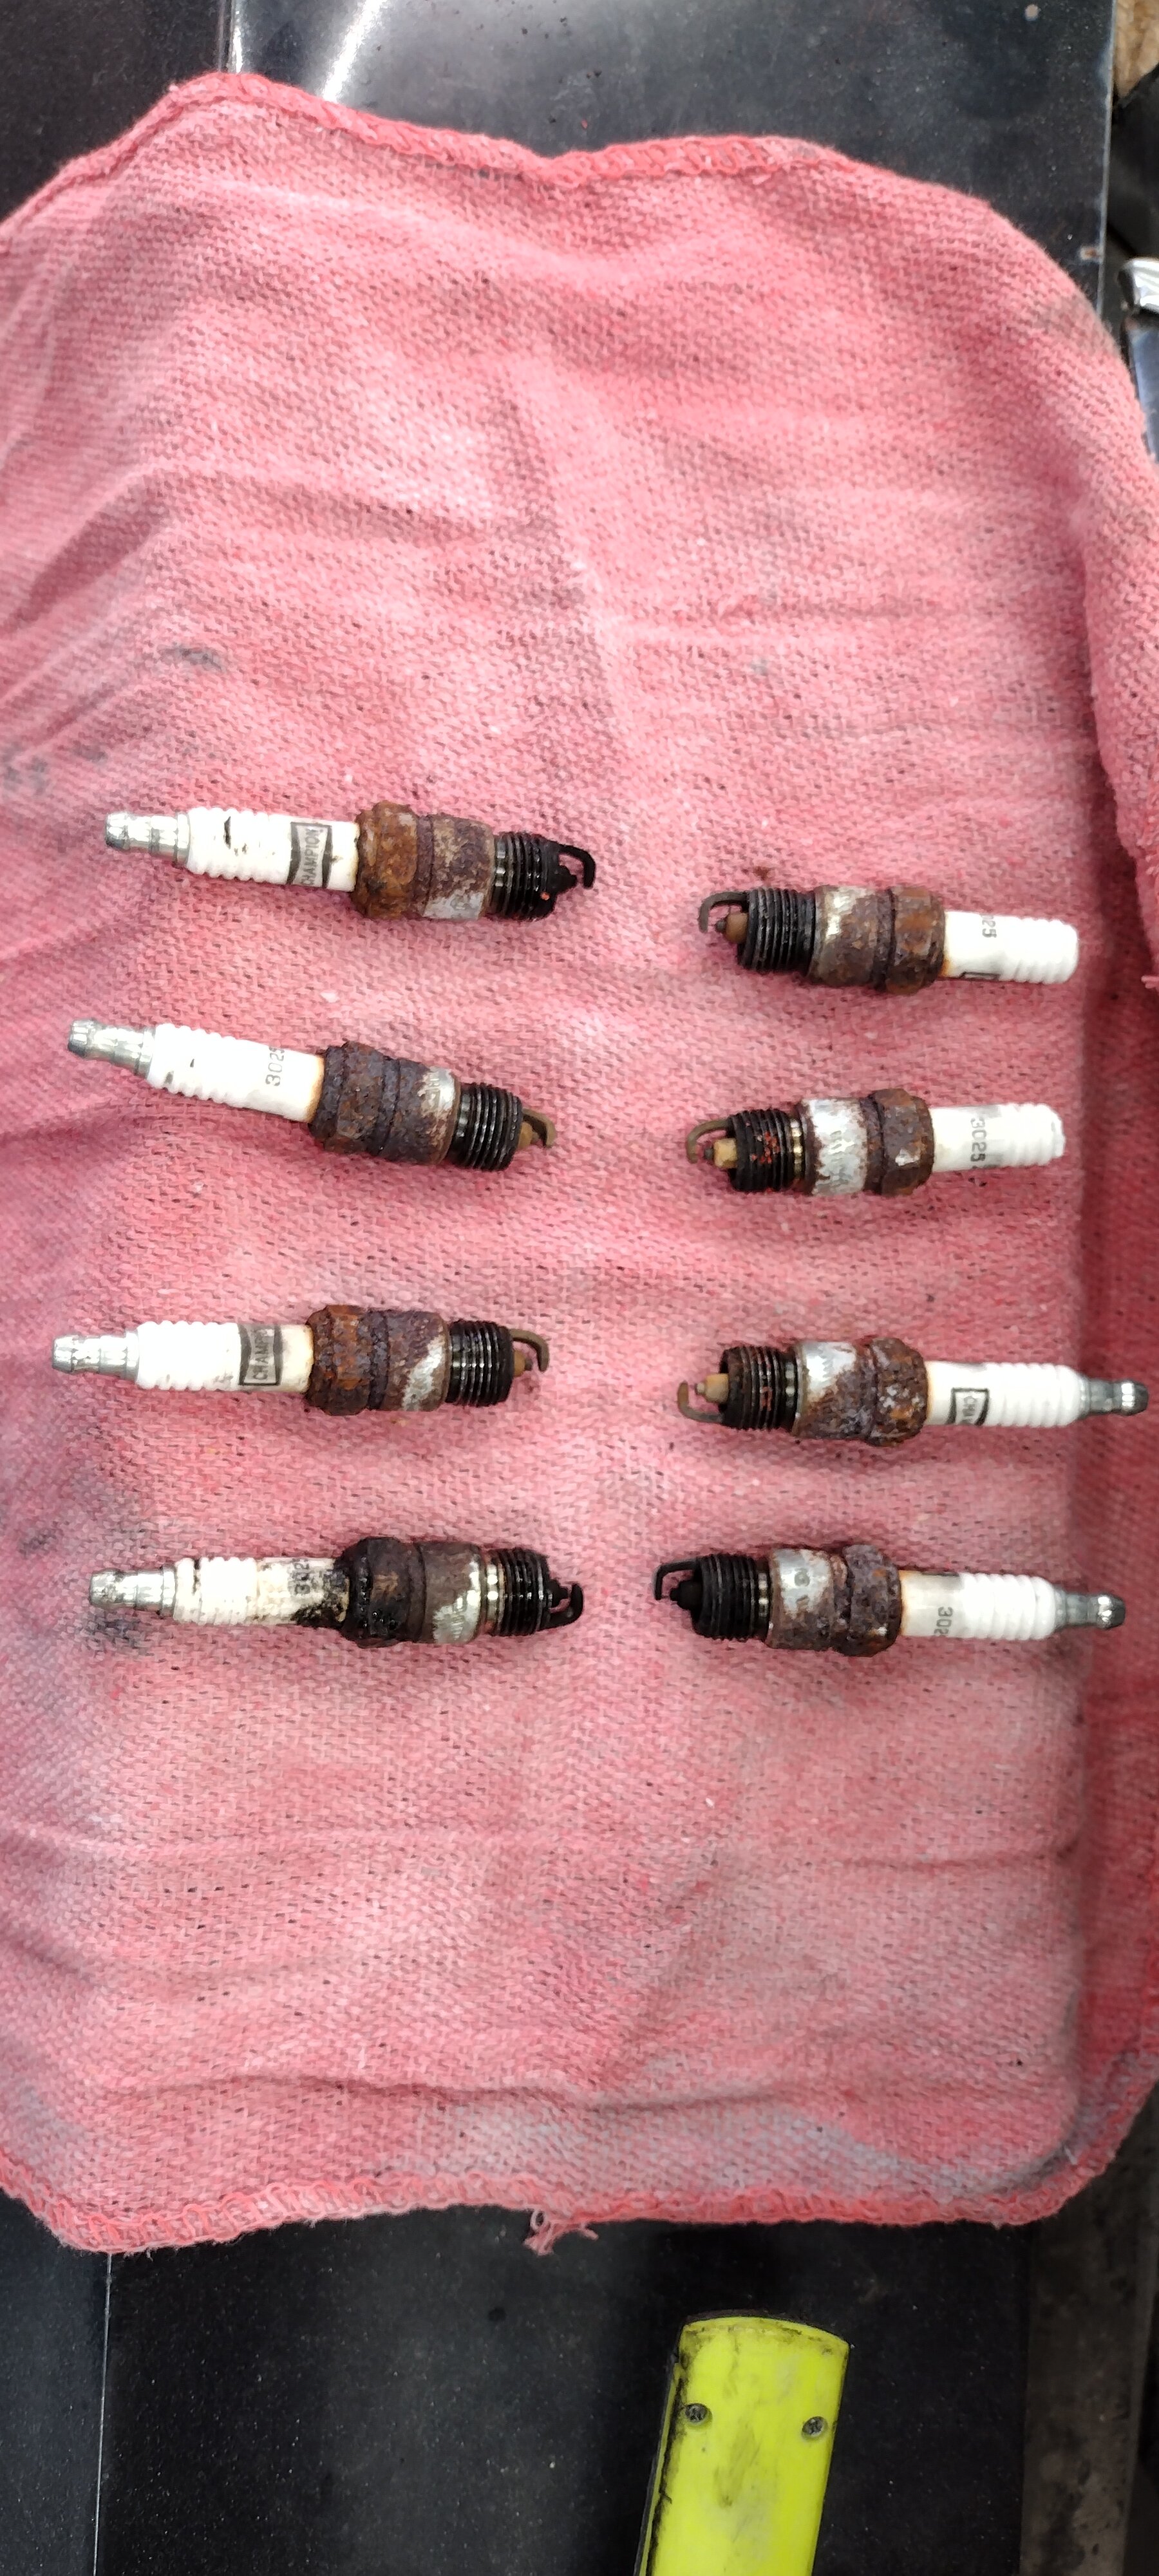
Ok, so the parts store had some $10 each fancy Autolite [correction: AC Delco] but no NGK. So I went with the [AC Delco]. Thanks guys I did also buy the zinc additive. And went with 10W30. Thanks for the input. Appreciate it!!
-
And any thoughts on what oil to run these days? I've always just assumed 10W40 for old GM engines. But maybe there are some more recent schools of thought? I will run a WIX filter no doubt - sort of gotten sold on them after all the YouTubers I follow tend to swear by them for whatever reason.

-
So what flavor and brand of spark plugs is the current favorite amongst the SB350 crew here on the forum? I'm trying to wind down my winter efforts and get ready for driving weather here in New England. Figured I would do the old school tune up since I have yet to to attend to this items since I bought this Monte Carlo a couple of years ago now. Plugs, plug wires, oil, filter(s), etc. These old 3D25 Champions look to be original, haha!!


-
1972 MC 350/Auto - LED Head Light & Turn Signal Conversion
B-Man replied to B-Man's topic in Electrical Tech
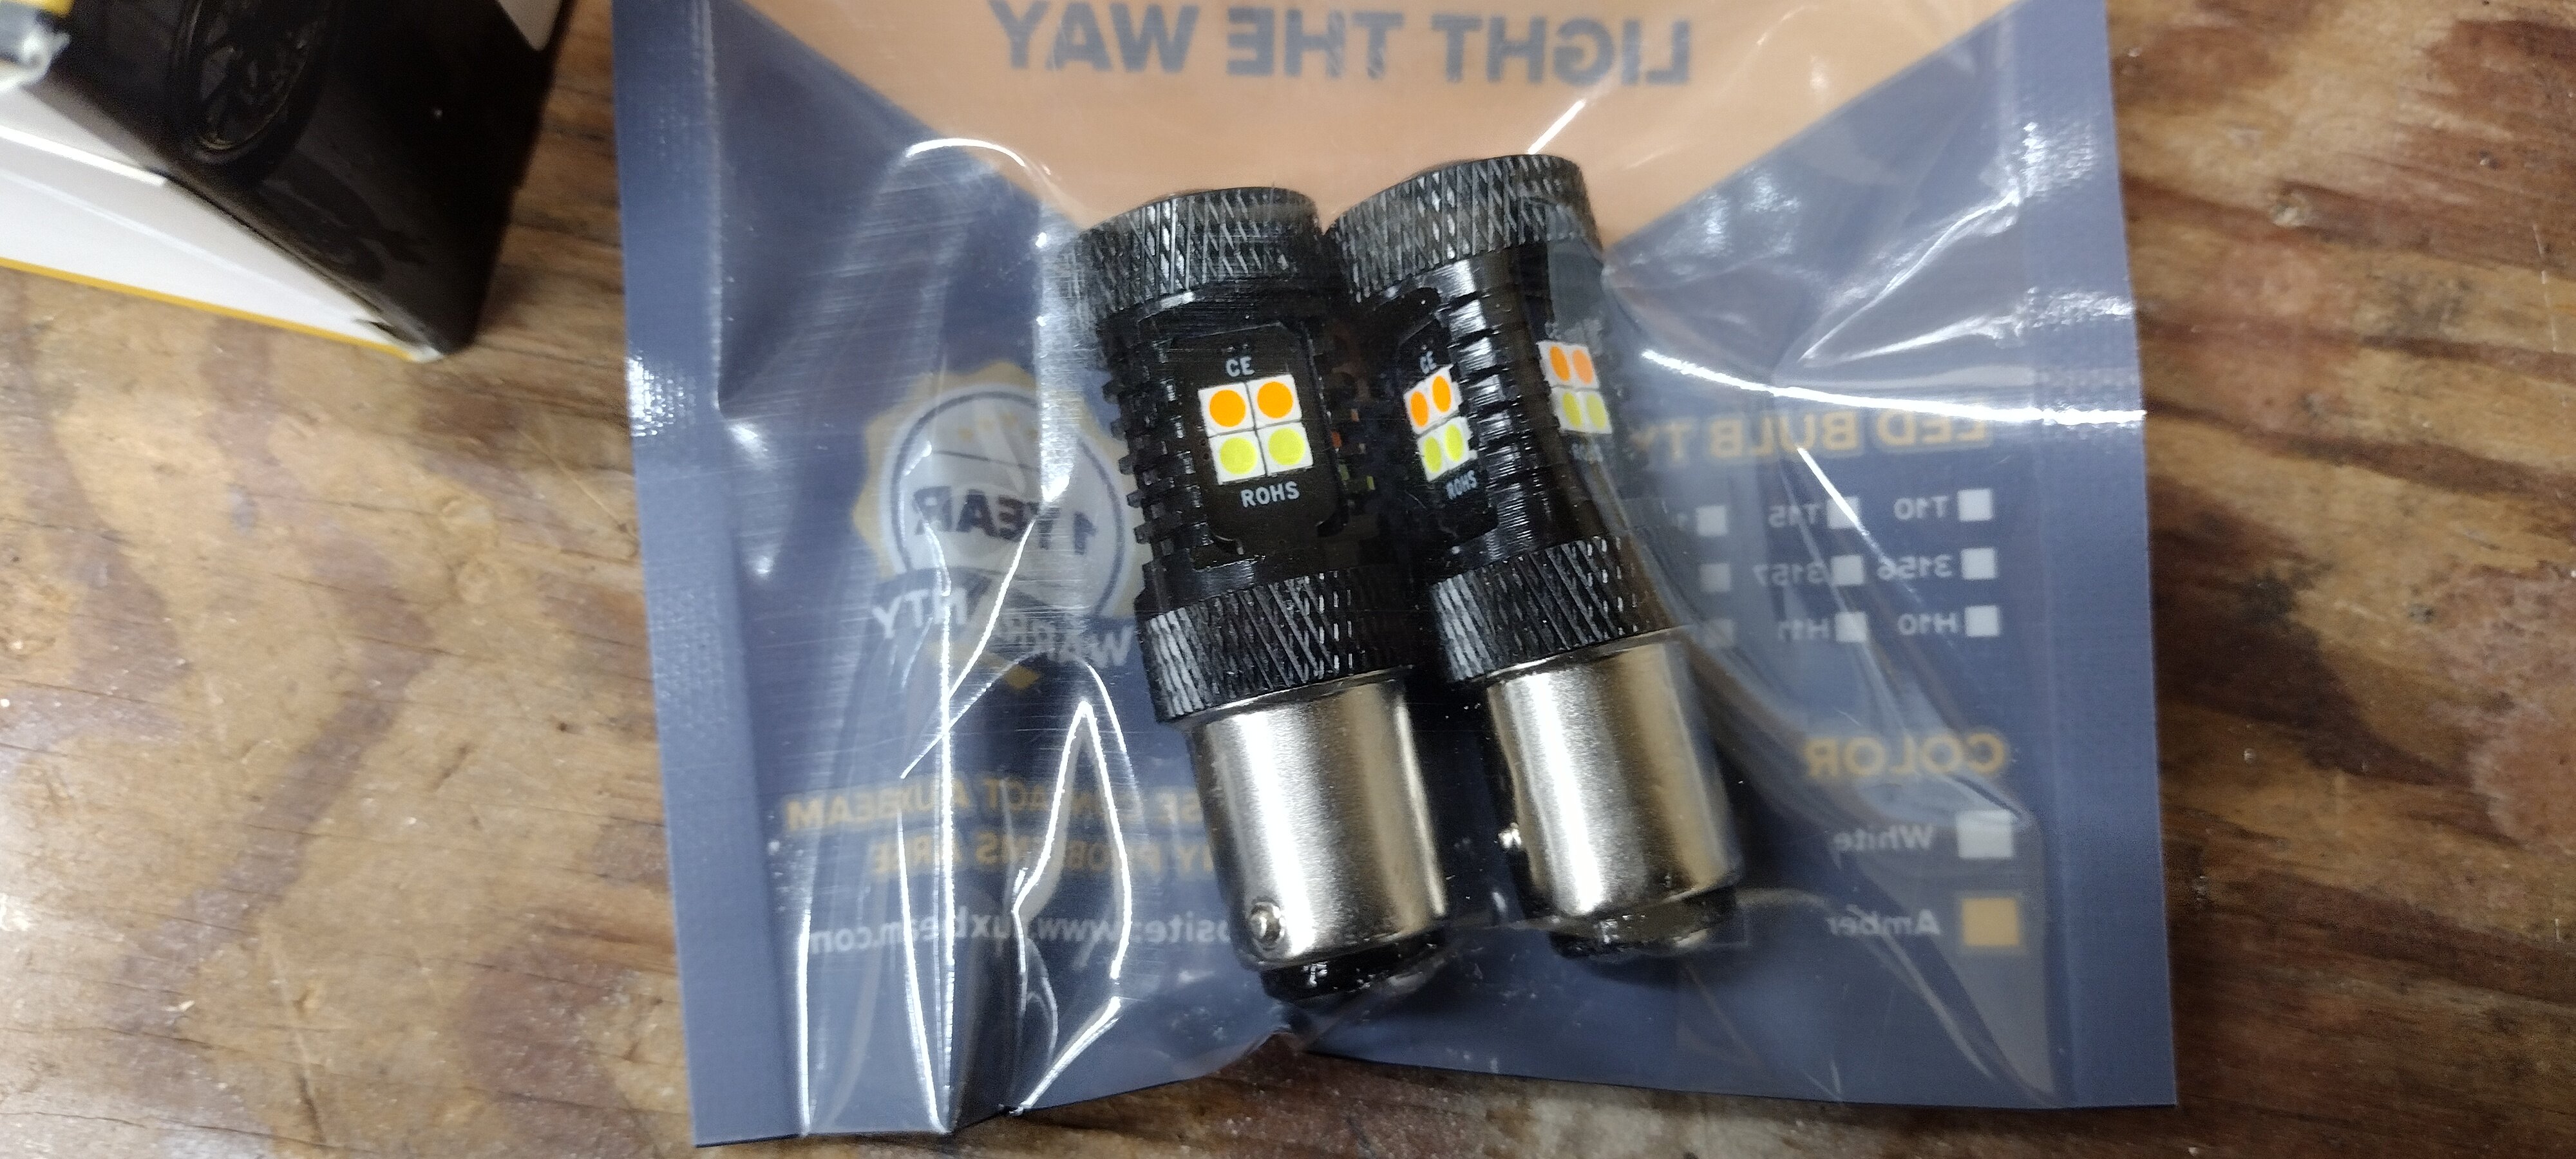
After returning the other set of 1157 switch back bulbs, I've now ordered these: PHINLION Super Bright White Amber Dual Color Switchback 1157 2057 2357 7528 LED Bulbs with Projector for Car Front Turn Signal Parking Lights https://a.co/d/a5Ae0t6 Admittedly, I do have a sneaky suspicion that something is up with the wiring for the turn signal on the passenger side. One of the original switchback bulbs is definitely bad. But there is some funkiness going on there when I swapped the bulbs between passenger and driver side. But the original incandescent bulbs work fine. We shall see once this next set comes in. Hopefully I don't have an electrical gremlin to troubleshoot! -
1972 MC 350/Auto - LED Head Light & Turn Signal Conversion
B-Man replied to B-Man's topic in Electrical Tech
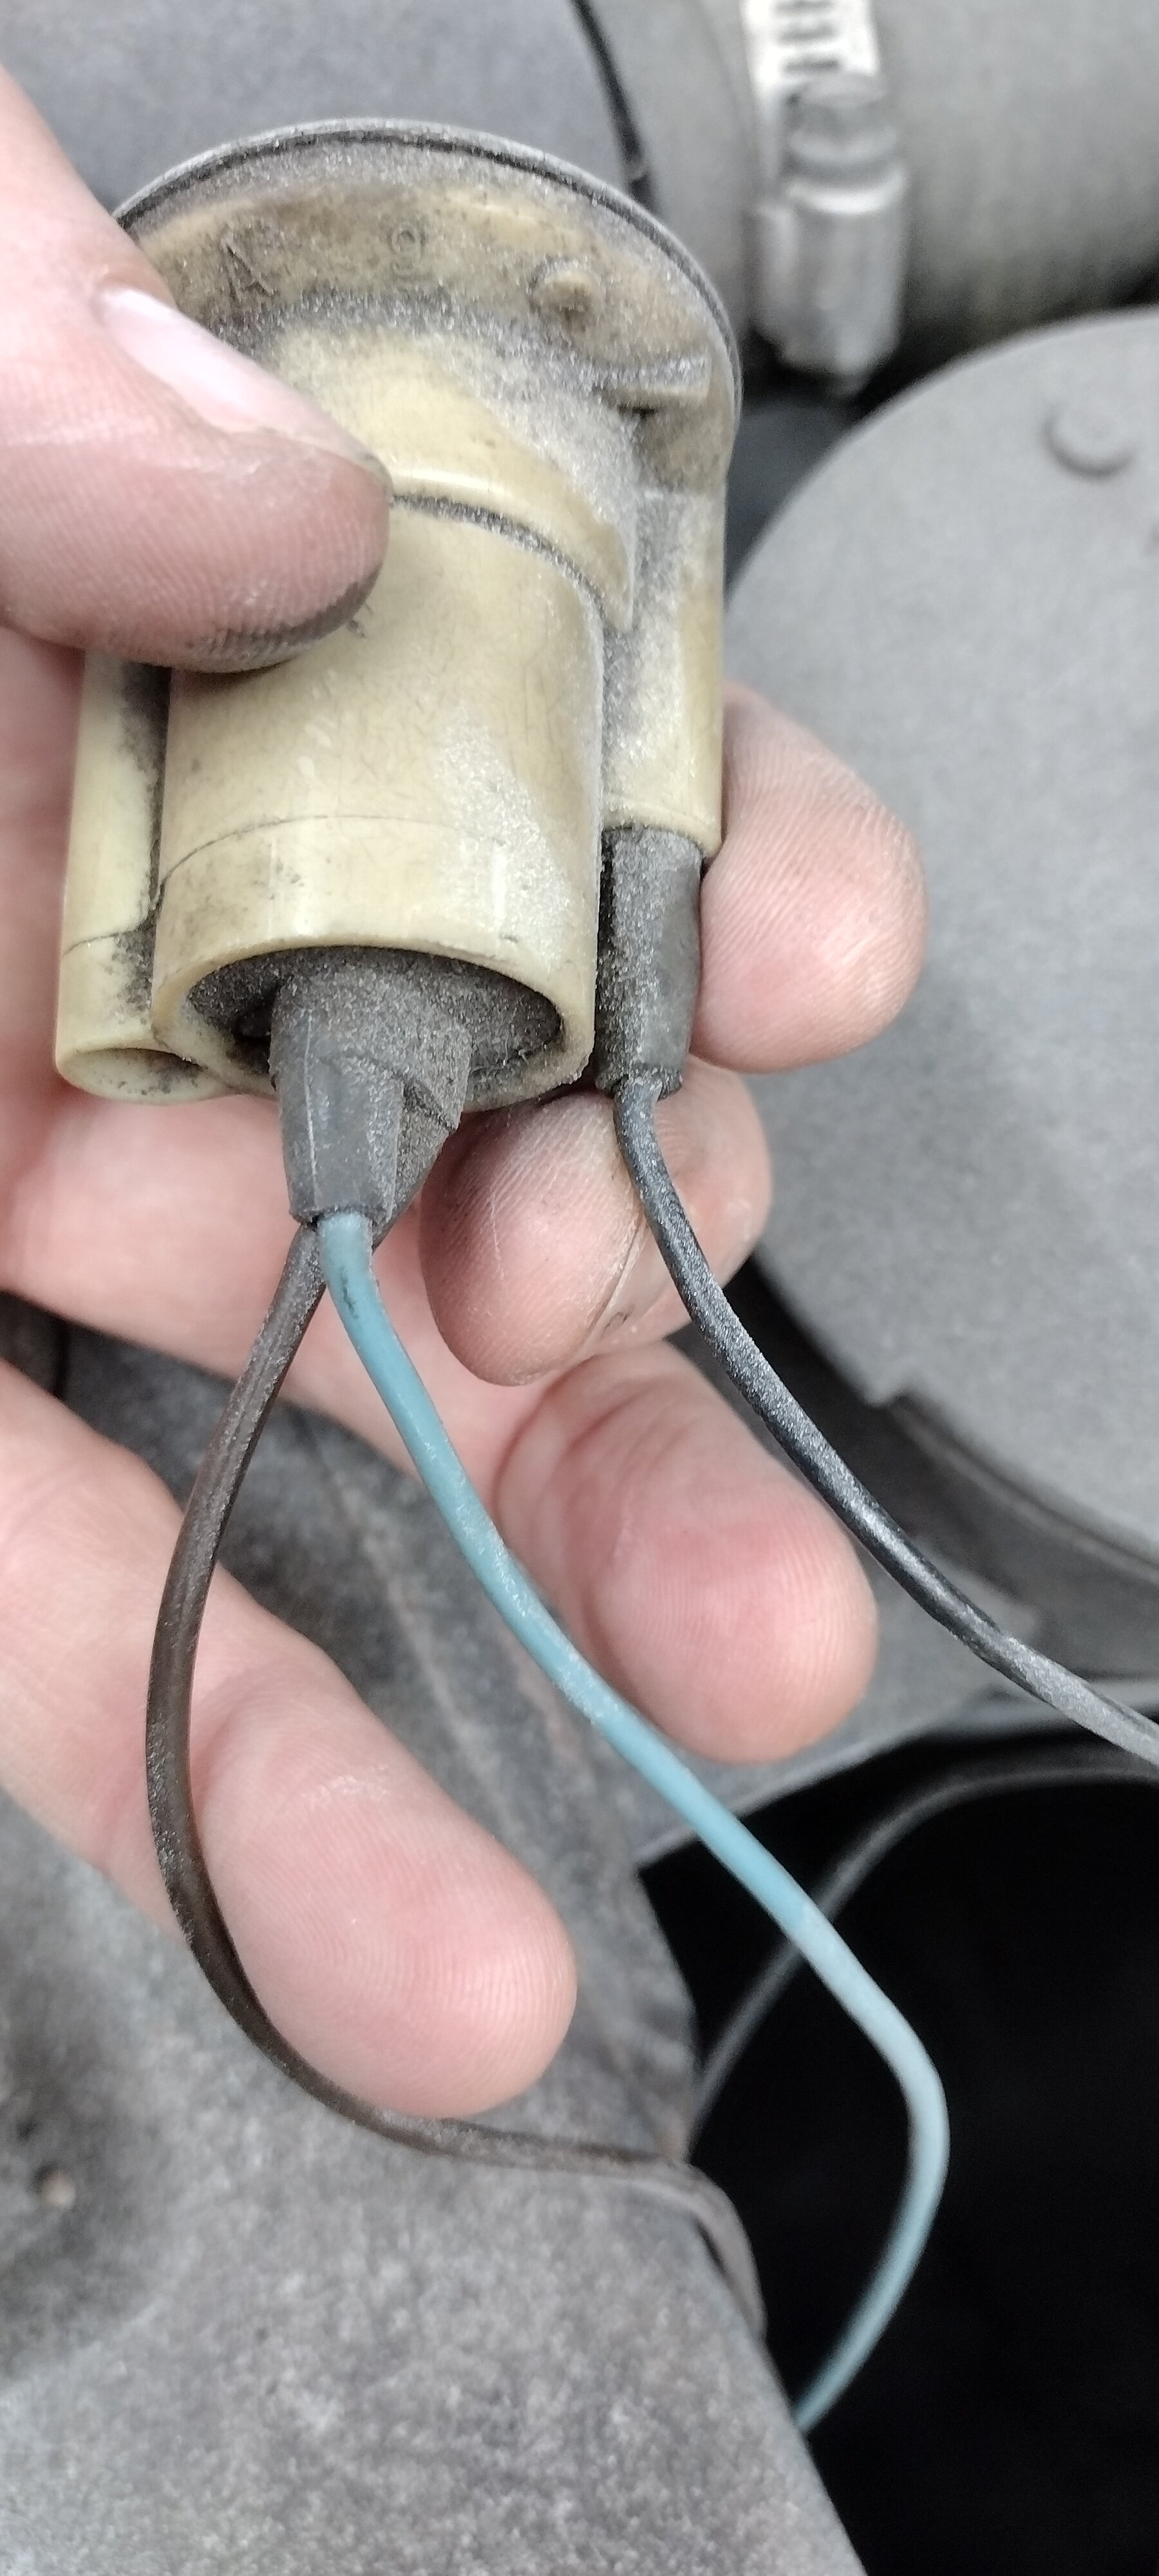
I just wired in the new, correct sockets - easy peasy. I mated the yellow wires on the new sockets to the blue original wires. Then brown to brown and black to black. The regular 1157 filament bulbs work properly with the headlights and turn signals. Interestingly, I'm getting some weird function with these switch back bulbs. One of them is very obviously not working properly. So maybe I got a bad set, or they are just of low quality. I'm going to return them (Amazon) and order a replacement set. Will see what happens. A little annoying for sure, but typical with these fancy new gadgety things, haha!


-
1972 MC 350/Auto - Roof, Sail Panel and Trunk Repair / Replace
B-Man replied to B-Man's topic in Auto Body Repair
@Robert, yeah man, will do. I'm out in my garage right now. I just put the final primer-filler coat on the passenger side. And getting ready to do the initial 'gross sanding' on the driver side. I do think I will end up pulling the glass off that giant hole in the driver side sail panel and rethinking my approach - it needs more structure under it than what I was going to end up with on my initial approach. We shall see. Something creative will come to me! having fun, and looking forward to some spring driving!! -
1972 MC 350/Auto - LED Head Light & Turn Signal Conversion
B-Man replied to B-Man's topic in Electrical Tech
@DragCat all LEDs are polarity sensitive. They are electrical diodes, which are the equivalent of mechanical one way check valves. They can only be put into a DC circuit in one direction in order to function properly Note that with the 1157 type bulbs the little detents that stick out are at different longitudinal positions along the barrel. So they can only go in one way -
1972 MC 350/Auto - LED Head Light & Turn Signal Conversion
B-Man replied to B-Man's topic in Electrical Tech
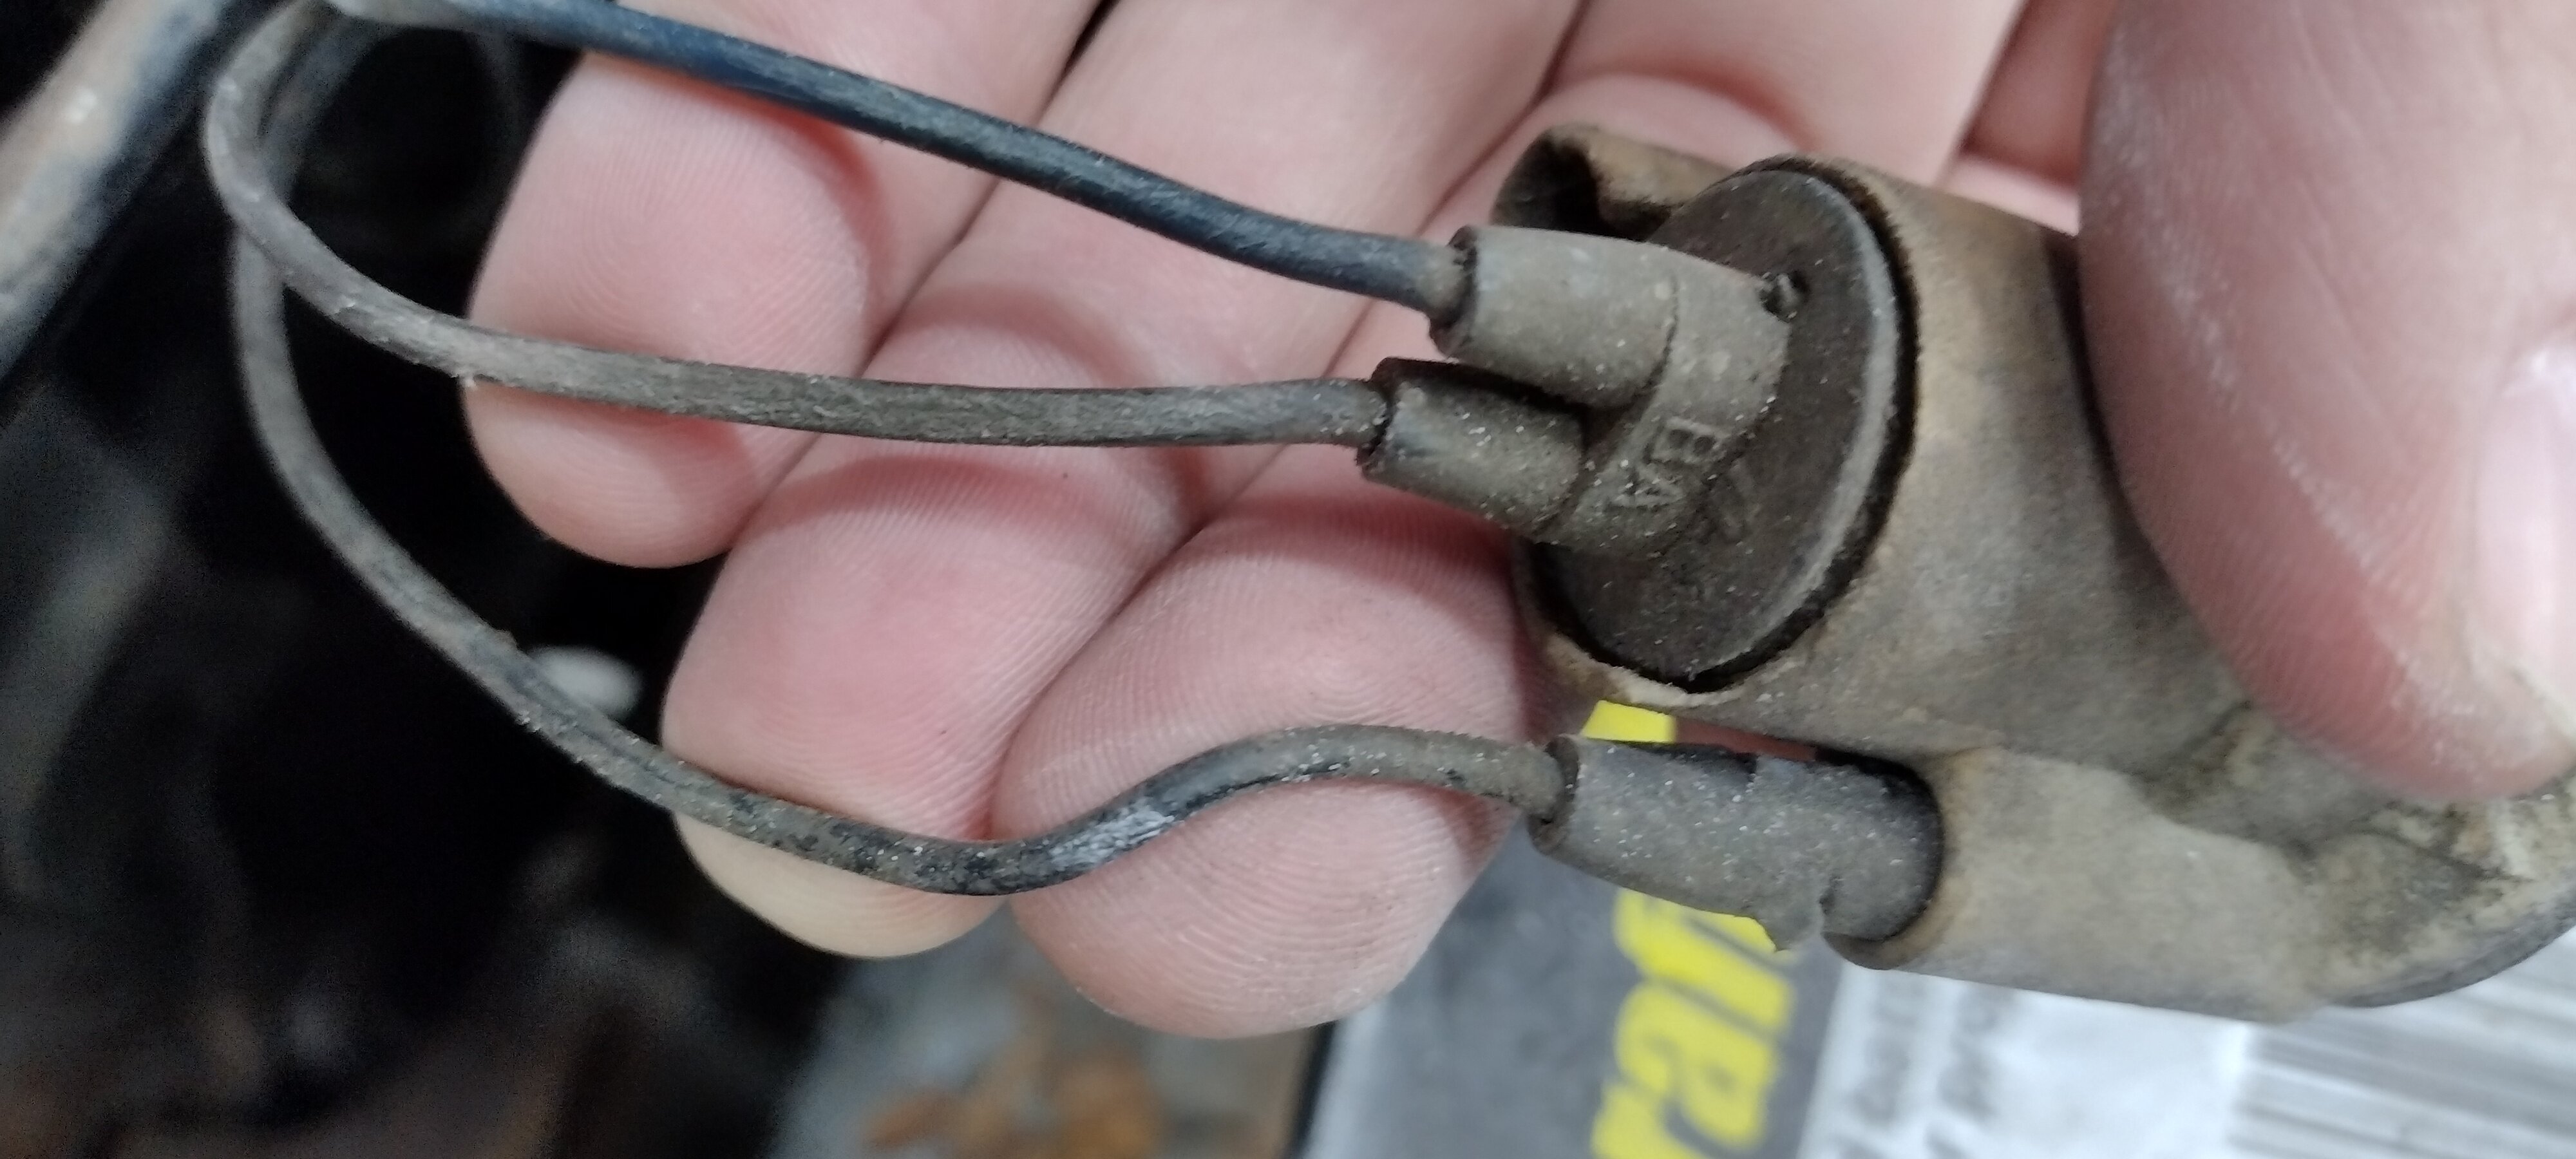
The 1157 bulb sockets above didn't fit. They have 4 plastic 'ears' vs the original having only 3 metal spring-ears. So I've ordered these: Standard Motor Products S55 Pigtail/Socket https://a.co/d/eVSyzyf -
1972 MC 350/Auto - Roof, Sail Panel and Trunk Repair / Replace
B-Man replied to B-Man's topic in Auto Body Repair
A couple of small spots to fill and resand, but for the most part the passenger side is all done. On to that GIANT hole in the driver side!!! I haven't used any of the thick fiberglass mat that I bought yet. And only about 1/4 of the resin. I'd estimate that I'm about $100 to $150 in materials into this, and about 6 to 8 hours of glass and sanding work. Certainly a big $$ savings, but a good amount of time.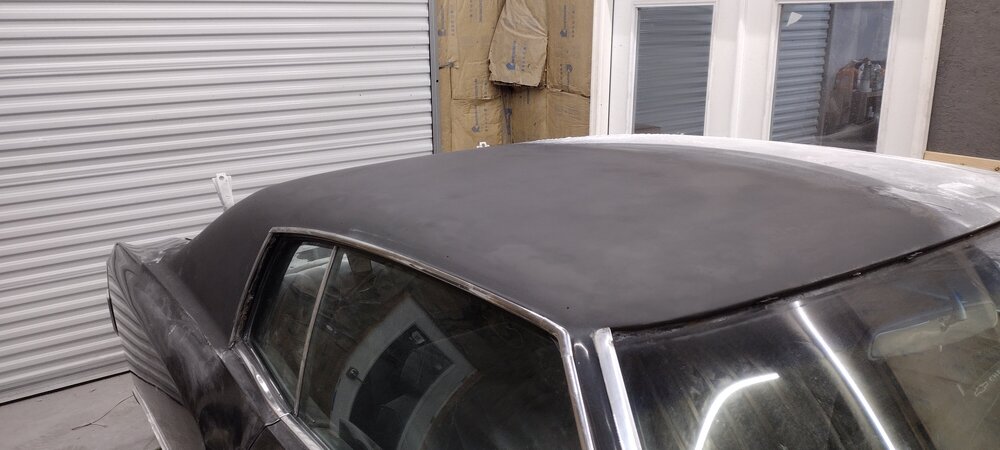
-
1972 MC 350/Auto - Roof, Sail Panel and Trunk Repair / Replace
B-Man replied to B-Man's topic in Auto Body Repair
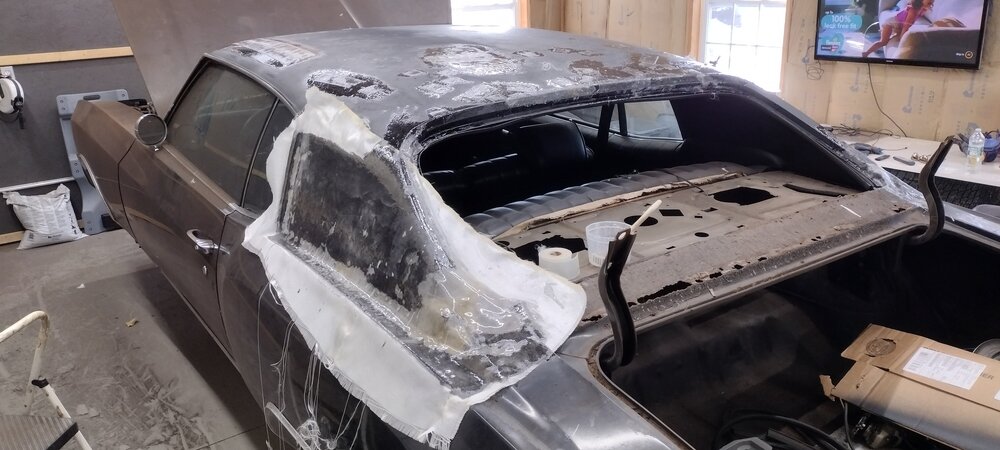
A quick interim update. The first go at patching the holes with fiberglass went very well! I wasn't happy with a few spots so I cut the hardened glass out and filled with flox (resin with cotton fiber bonding). And I put a first layer of micro (resin with microspheres) over the glasses areas. I will be sanding them in a few minutes here and will report back. I'm only working the passenger side for now. The resin sets up too quick to work too large an area at once. Happy with where I am so far!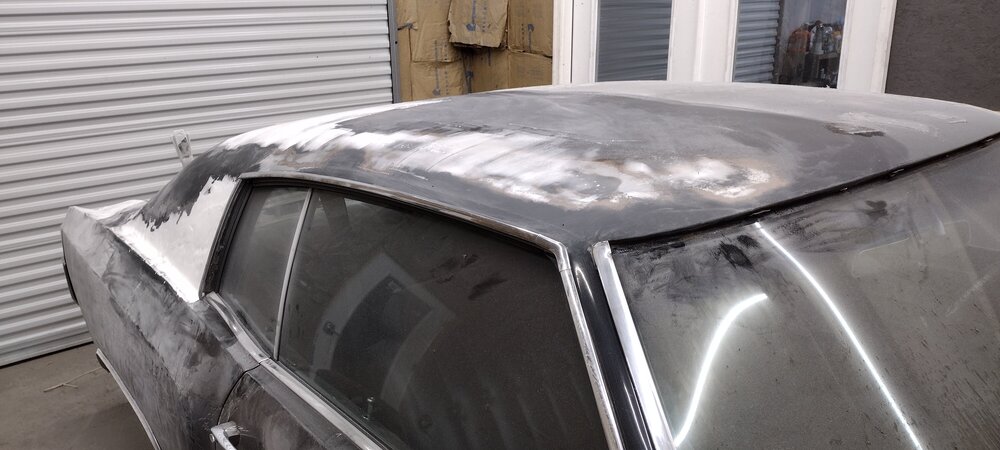
-
1972 MC 350/Auto - LED Head Light & Turn Signal Conversion
B-Man replied to B-Man's topic in Electrical Tech
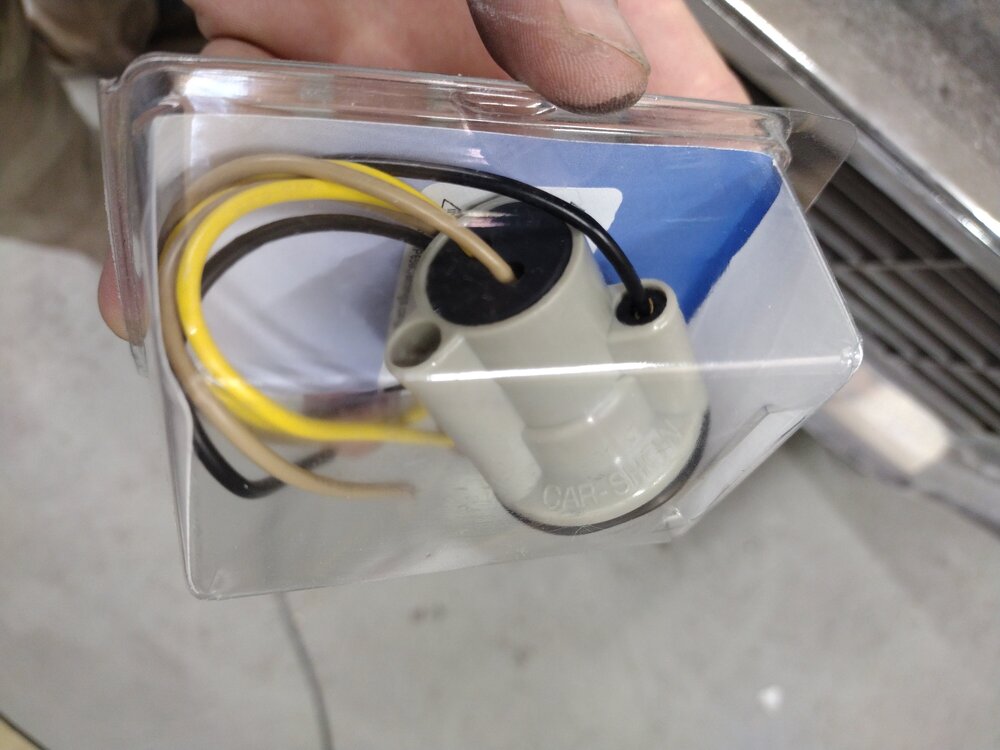
I also bought new 1157 bulb sockets and will be installing them this weekend. One of the turn signal switch back bulbs was acting very funky. I went back and forth between passenger and driver side a few times and realized that the 50 year old sockets just aren't worth relying on, imagine that GLL Stradard 1157 LED Bulbs Socket Holder Auto Car Plastic Waterproof Turn Signal Tail Stop Rear Brake Light Base Harness Plugs Connectors Pre-wired Wiring Sockets https://a.co/d/4gEUM9B And I sort of said it earlier, but last summer I replaced the headlight bulbs, retaining rings, hardware and sockets. So this job was MUCH easier last night, not dealing with 50 year old screws, inserts, etc. it took me maybe 30 minutes to swap out both headlights and the turns signal bulbs - a quick job for sure. -
1972 MC 350/Auto - LED Head Light & Turn Signal Conversion
B-Man replied to B-Man's topic in Electrical Tech
@jft69z, here is a picture of the part number label on the box.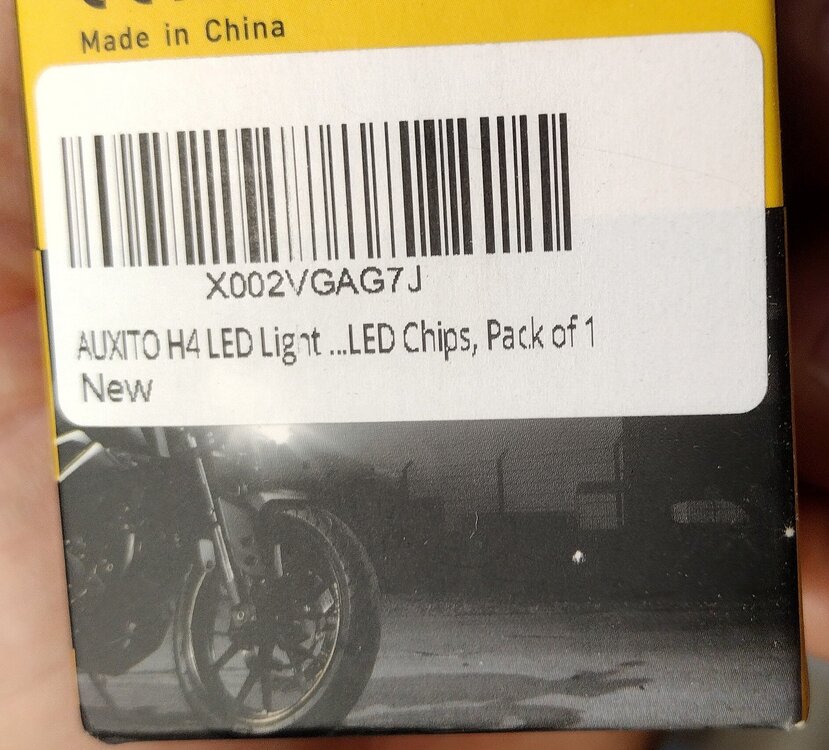
-
1972 MC 350/Auto - LED Head Light & Turn Signal Conversion
B-Man replied to B-Man's topic in Electrical Tech
Hmmm it's not them.. yeah weird, the link isn't working . I will pull up the part number off the box later and post it here. -
1972 MC 350/Auto - LED Head Light & Turn Signal Conversion
B-Man replied to B-Man's topic in Electrical Tech
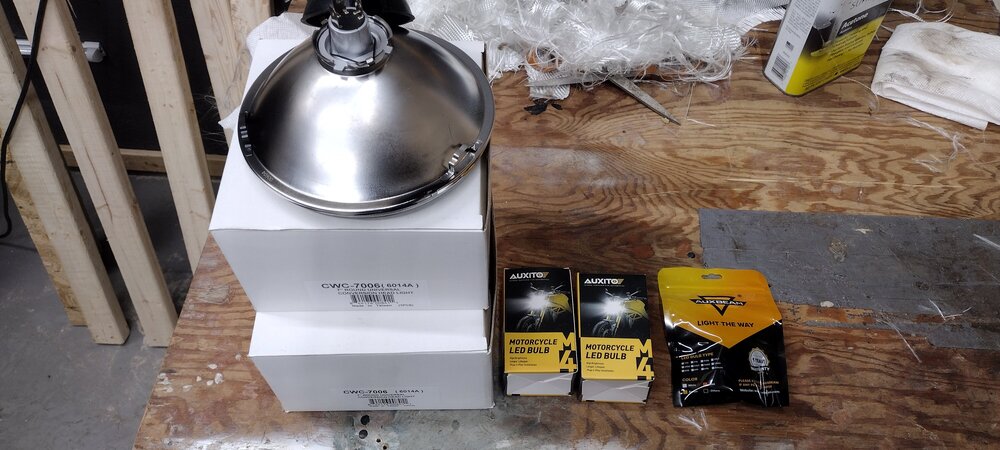
Here is what I bought. No idea about quality and longevity. But they were CHEAP ... which of course may be a bag thing, haha AUXITO H4 LED Light Bulb... https://www.amazon.com/dp/B092SHMWQZ?ref=ppx_pop_mob_ap_share IPCW CWC-7006 7" Plain Round... https://www.amazon.com/dp/B001OMEPEU?ref=ppx_pop_mob_ap_share Auxbeam 1157 LED Bulbs 1157... https://www.amazon.com/dp/B08D36F2KV?ref=ppx_pop_mob_ap_share -
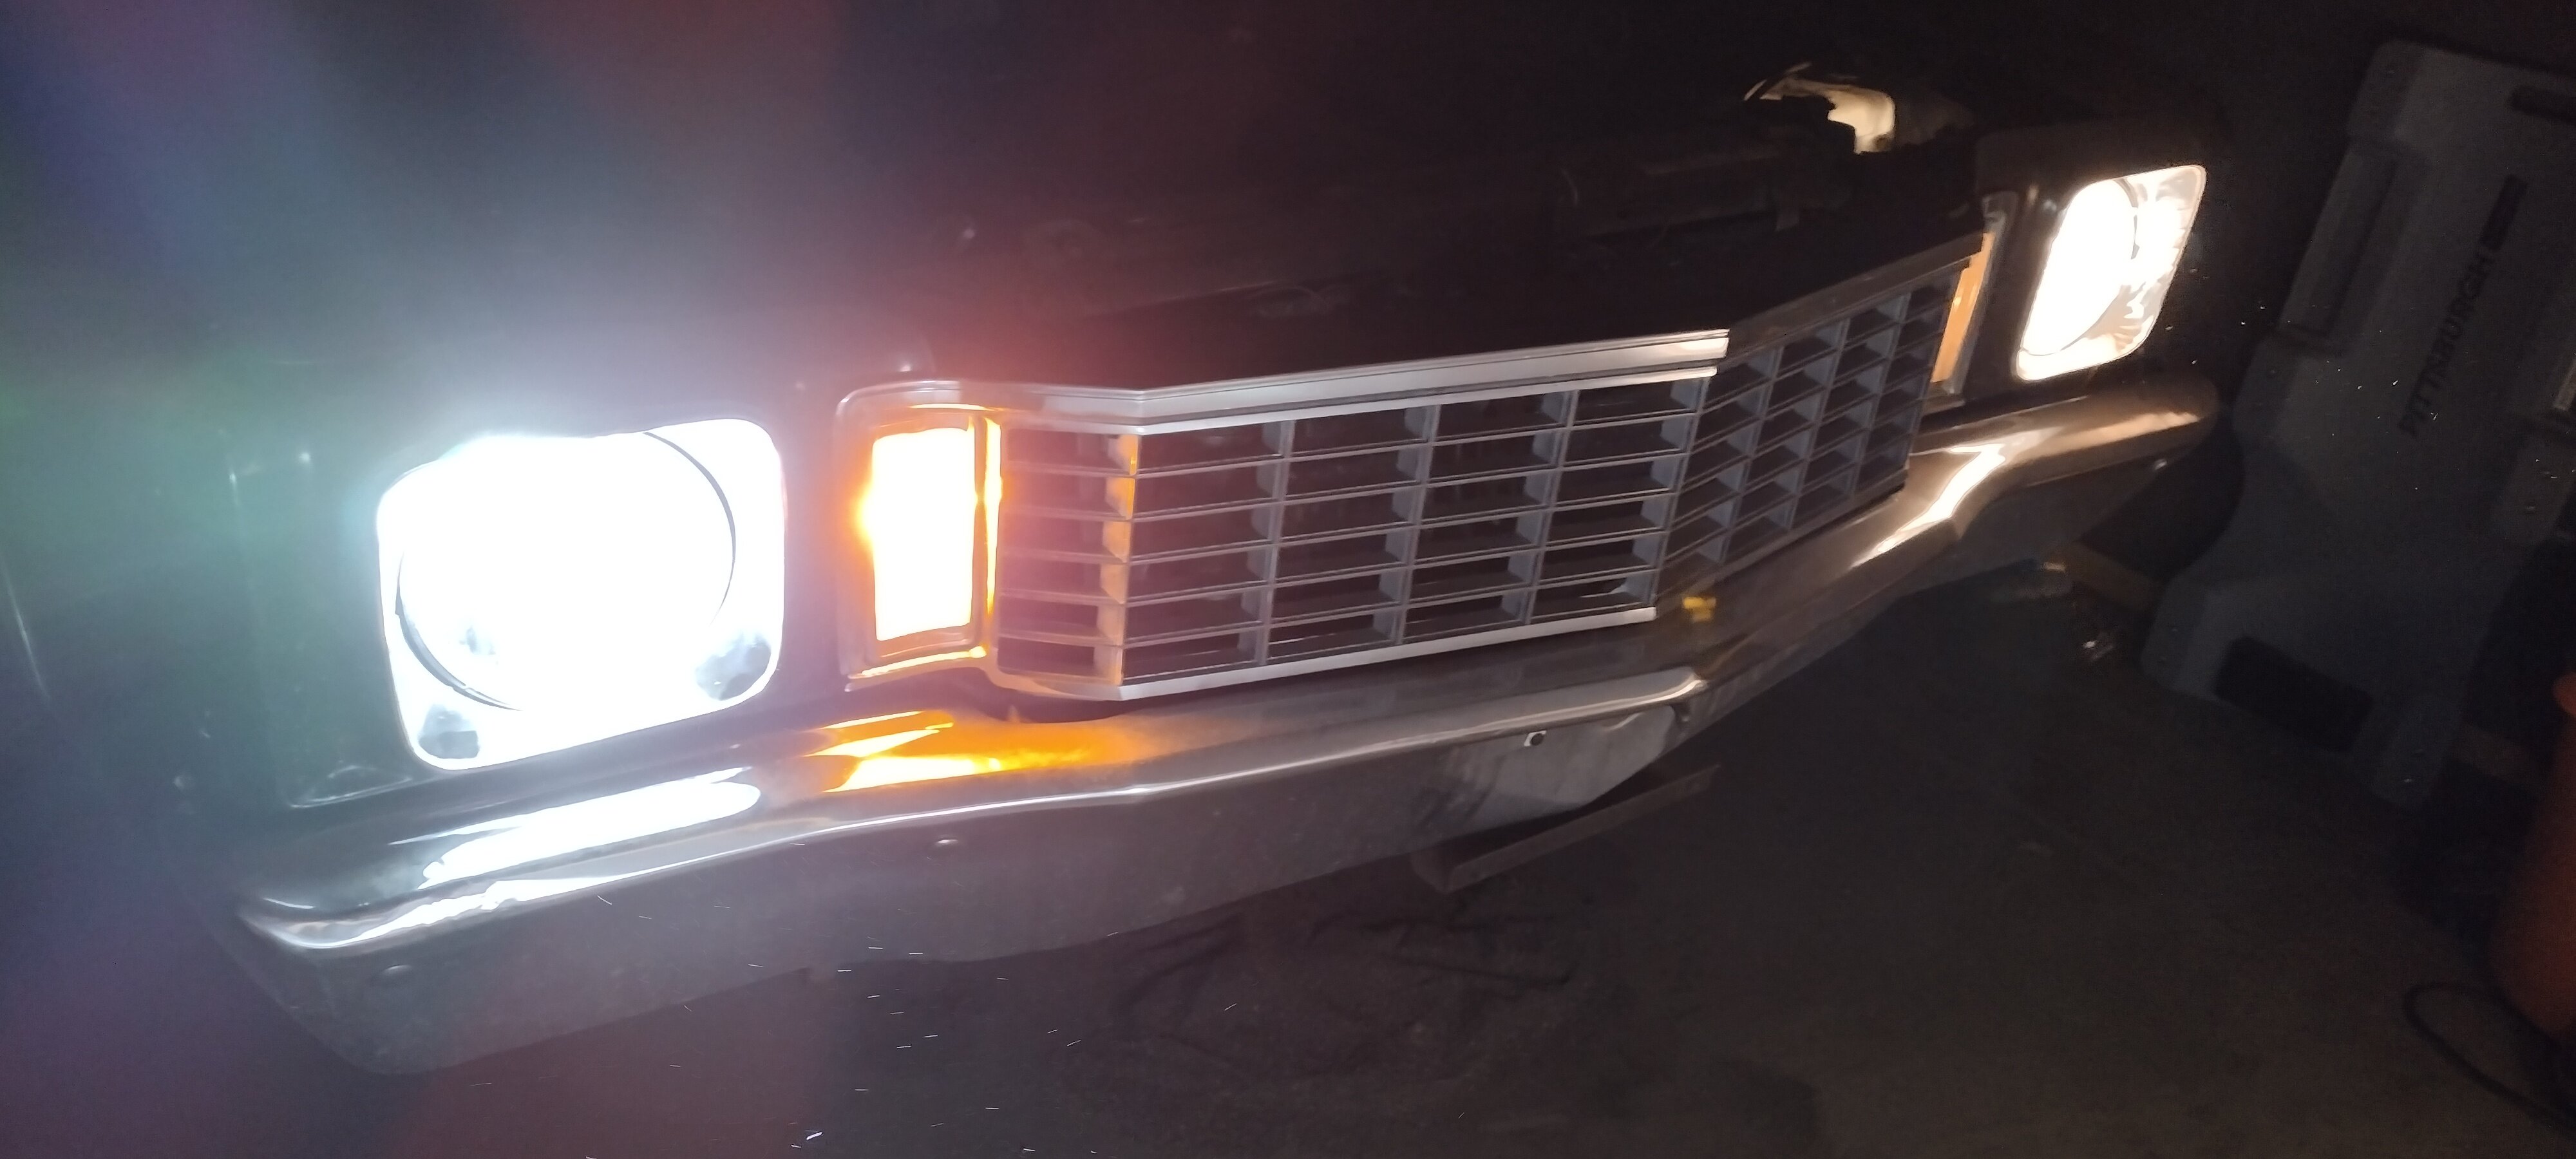
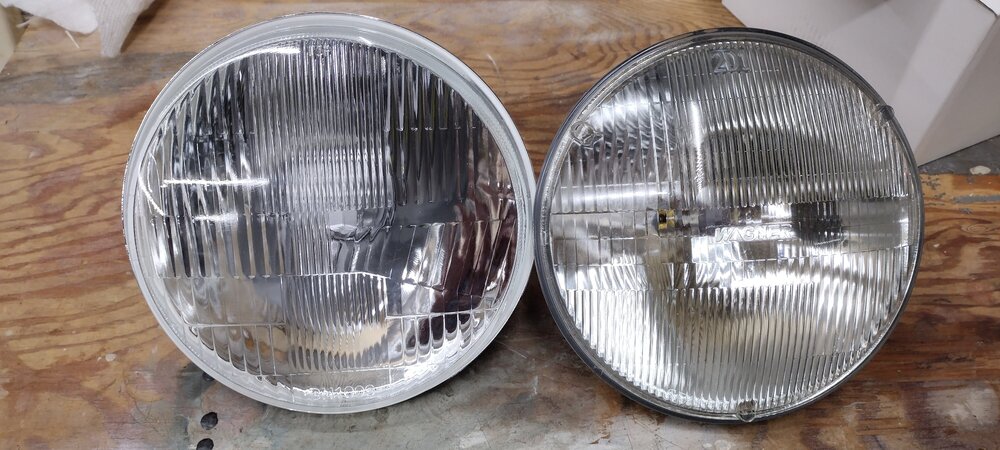
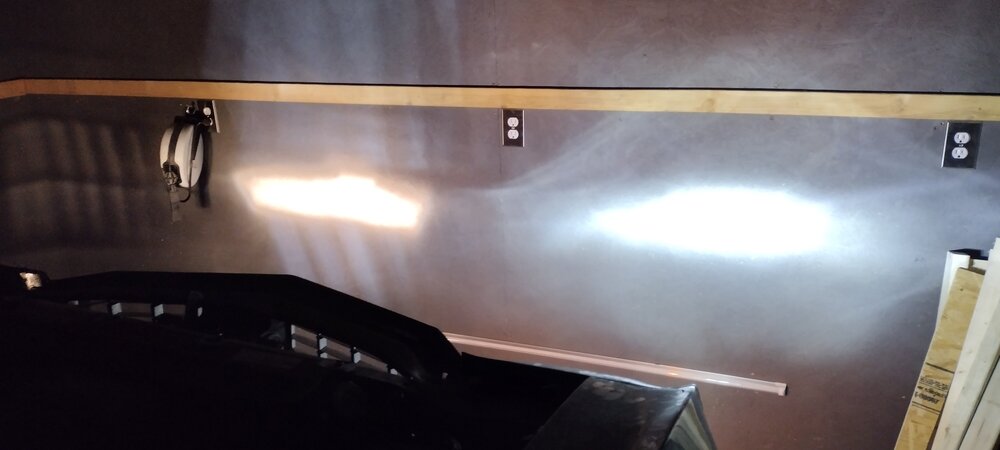
I've been contemplating the LED headlights for a while. Getting older, I just want more light in front of me at night. But of course I don't want to blind people, which is why I'd hadnt made the conversion up until now. Last week I came across a cool video on one of the first gen Facebook forums of "switchback" LED bulbs for turn signals. The idea is that when your headlights are on, the turn signals provide another bright white light bulb up front - more light!!! And when the headlights are off, so are the turn signal bulbs. When you use your turn signals the lights switch to yellow - cool!! So when the headlights are on, and you use your turn signal, the white light goes away and the bulb blinks yellow on and off. And when the headlights are off, they just blink yellow when using the turn signals You do lose the yellow lights up front when the headlights are on. Until of course you use your turn signal. I also bought some bulb-less 7in bezels for the headlights and installed LED light bulbs. They are pretty bright compared to the Wagner bulbs I recently bought off RockAuto. Below are some pictures of the conversion. You can see the new LED bulbs in the passenger side - headlight and turn signal - and the incandescent bulbs in the driver side. Quite a difference! It will be a while until I'm driving at night. But I will report back full results here when I do.


-
1972 MC 350/Auto - Roof, Sail Panel and Trunk Repair / Replace
B-Man replied to B-Man's topic in Auto Body Repair
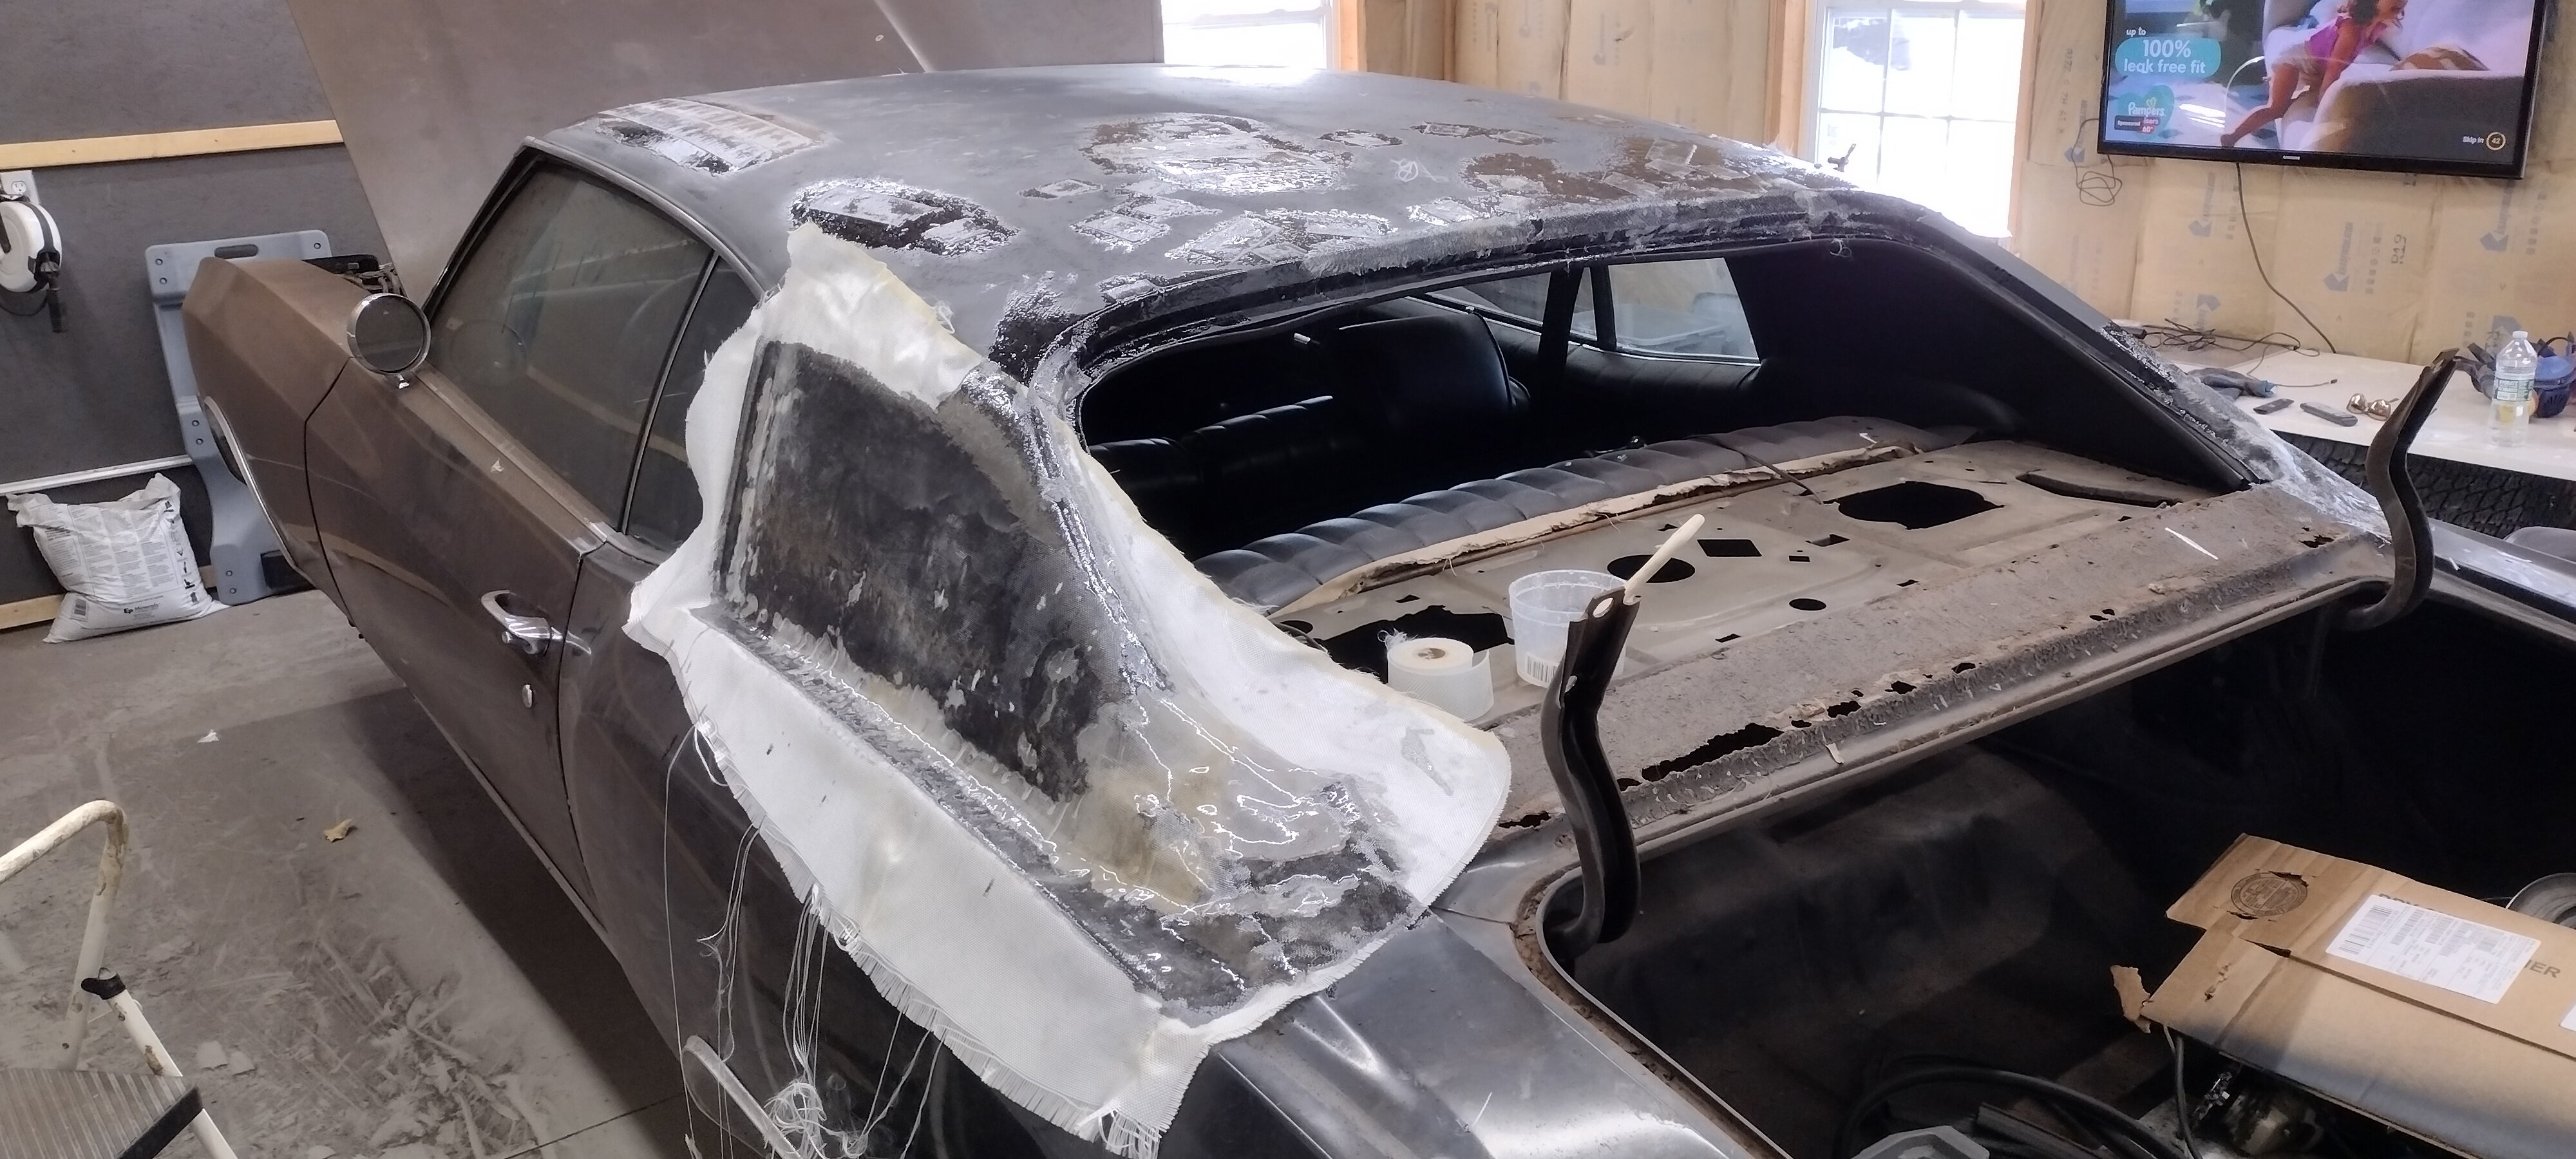
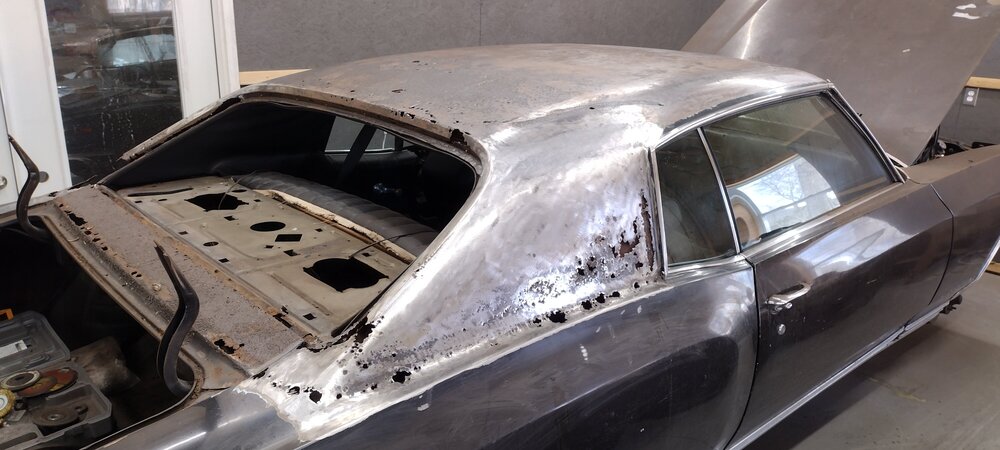
Ok, I've got the patches and first layer of fiberglass on. This stage always looks incredibly messy but it's actually a good start. Just wet the prepped metal with some resin, lay some fiberglass on it, then tap it with the tip of the resin-wetted brush. Tapping with the brush will push the resin into the cloth and get rid of any major air bubbles. From here I expect to go at with a 60 or 80 grit DA. After I get all of the high spots and edges down it will be prepped for the next layer. I'm hoping the next layer can be a full 4ft wide layer that will cover the whole roof. But I will probably have to fill some areas and build up and shape the big holes that we're missing so much metal. More later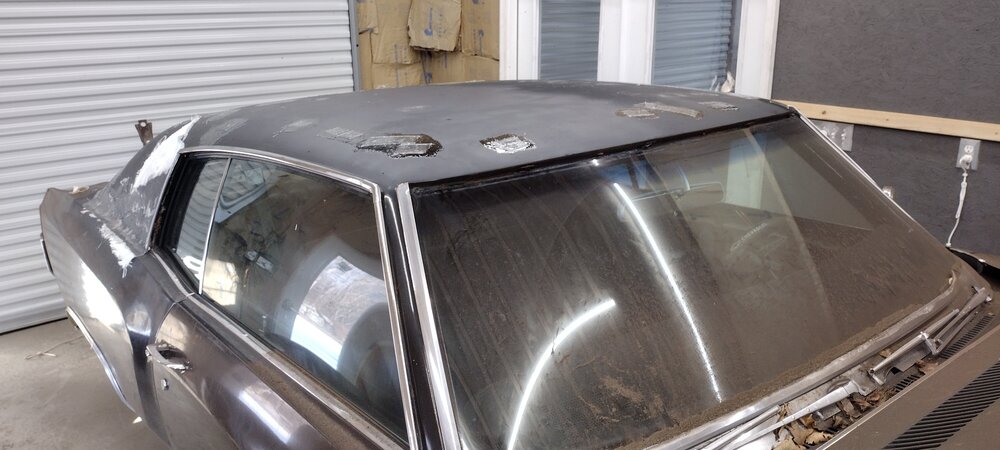


-
1972 MC 350/Auto - Roof, Sail Panel and Trunk Repair / Replace
B-Man replied to B-Man's topic in Auto Body Repair
$285 at West Marine. Let's go!!!!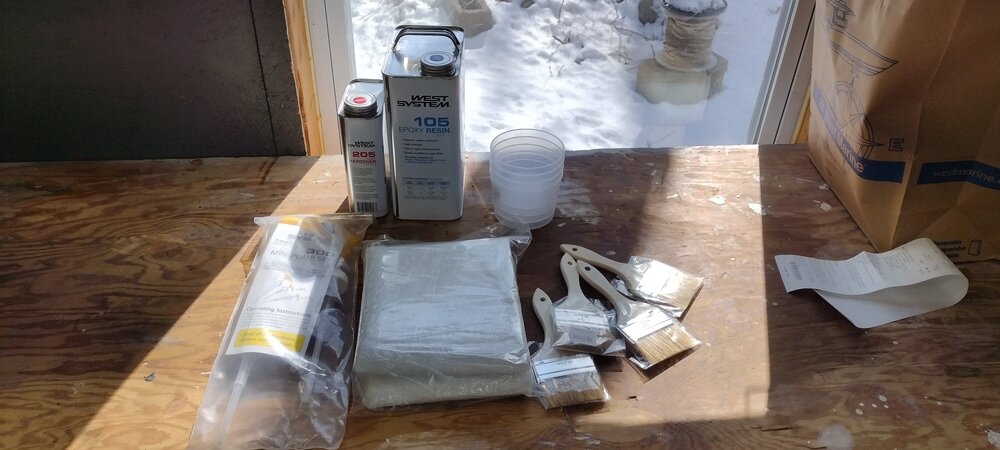
-
1972 MC 350/Auto - Roof, Sail Panel and Trunk Repair / Replace
B-Man replied to B-Man's topic in Auto Body Repair
Looks better already!!! Time to start some fiberglass work

-
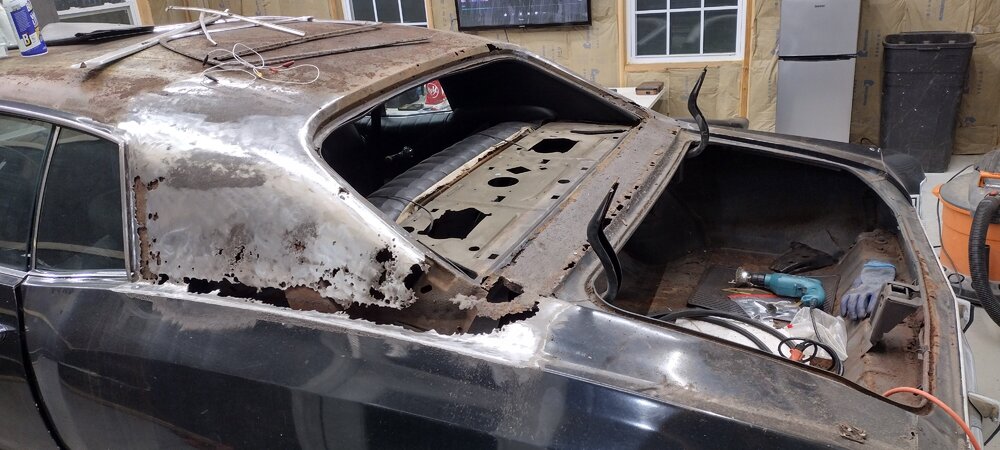
1972 MC 350/Auto - Roof, Sail Panel and Trunk Repair / Replace
B-Man replied to B-Man's topic in Auto Body Repair
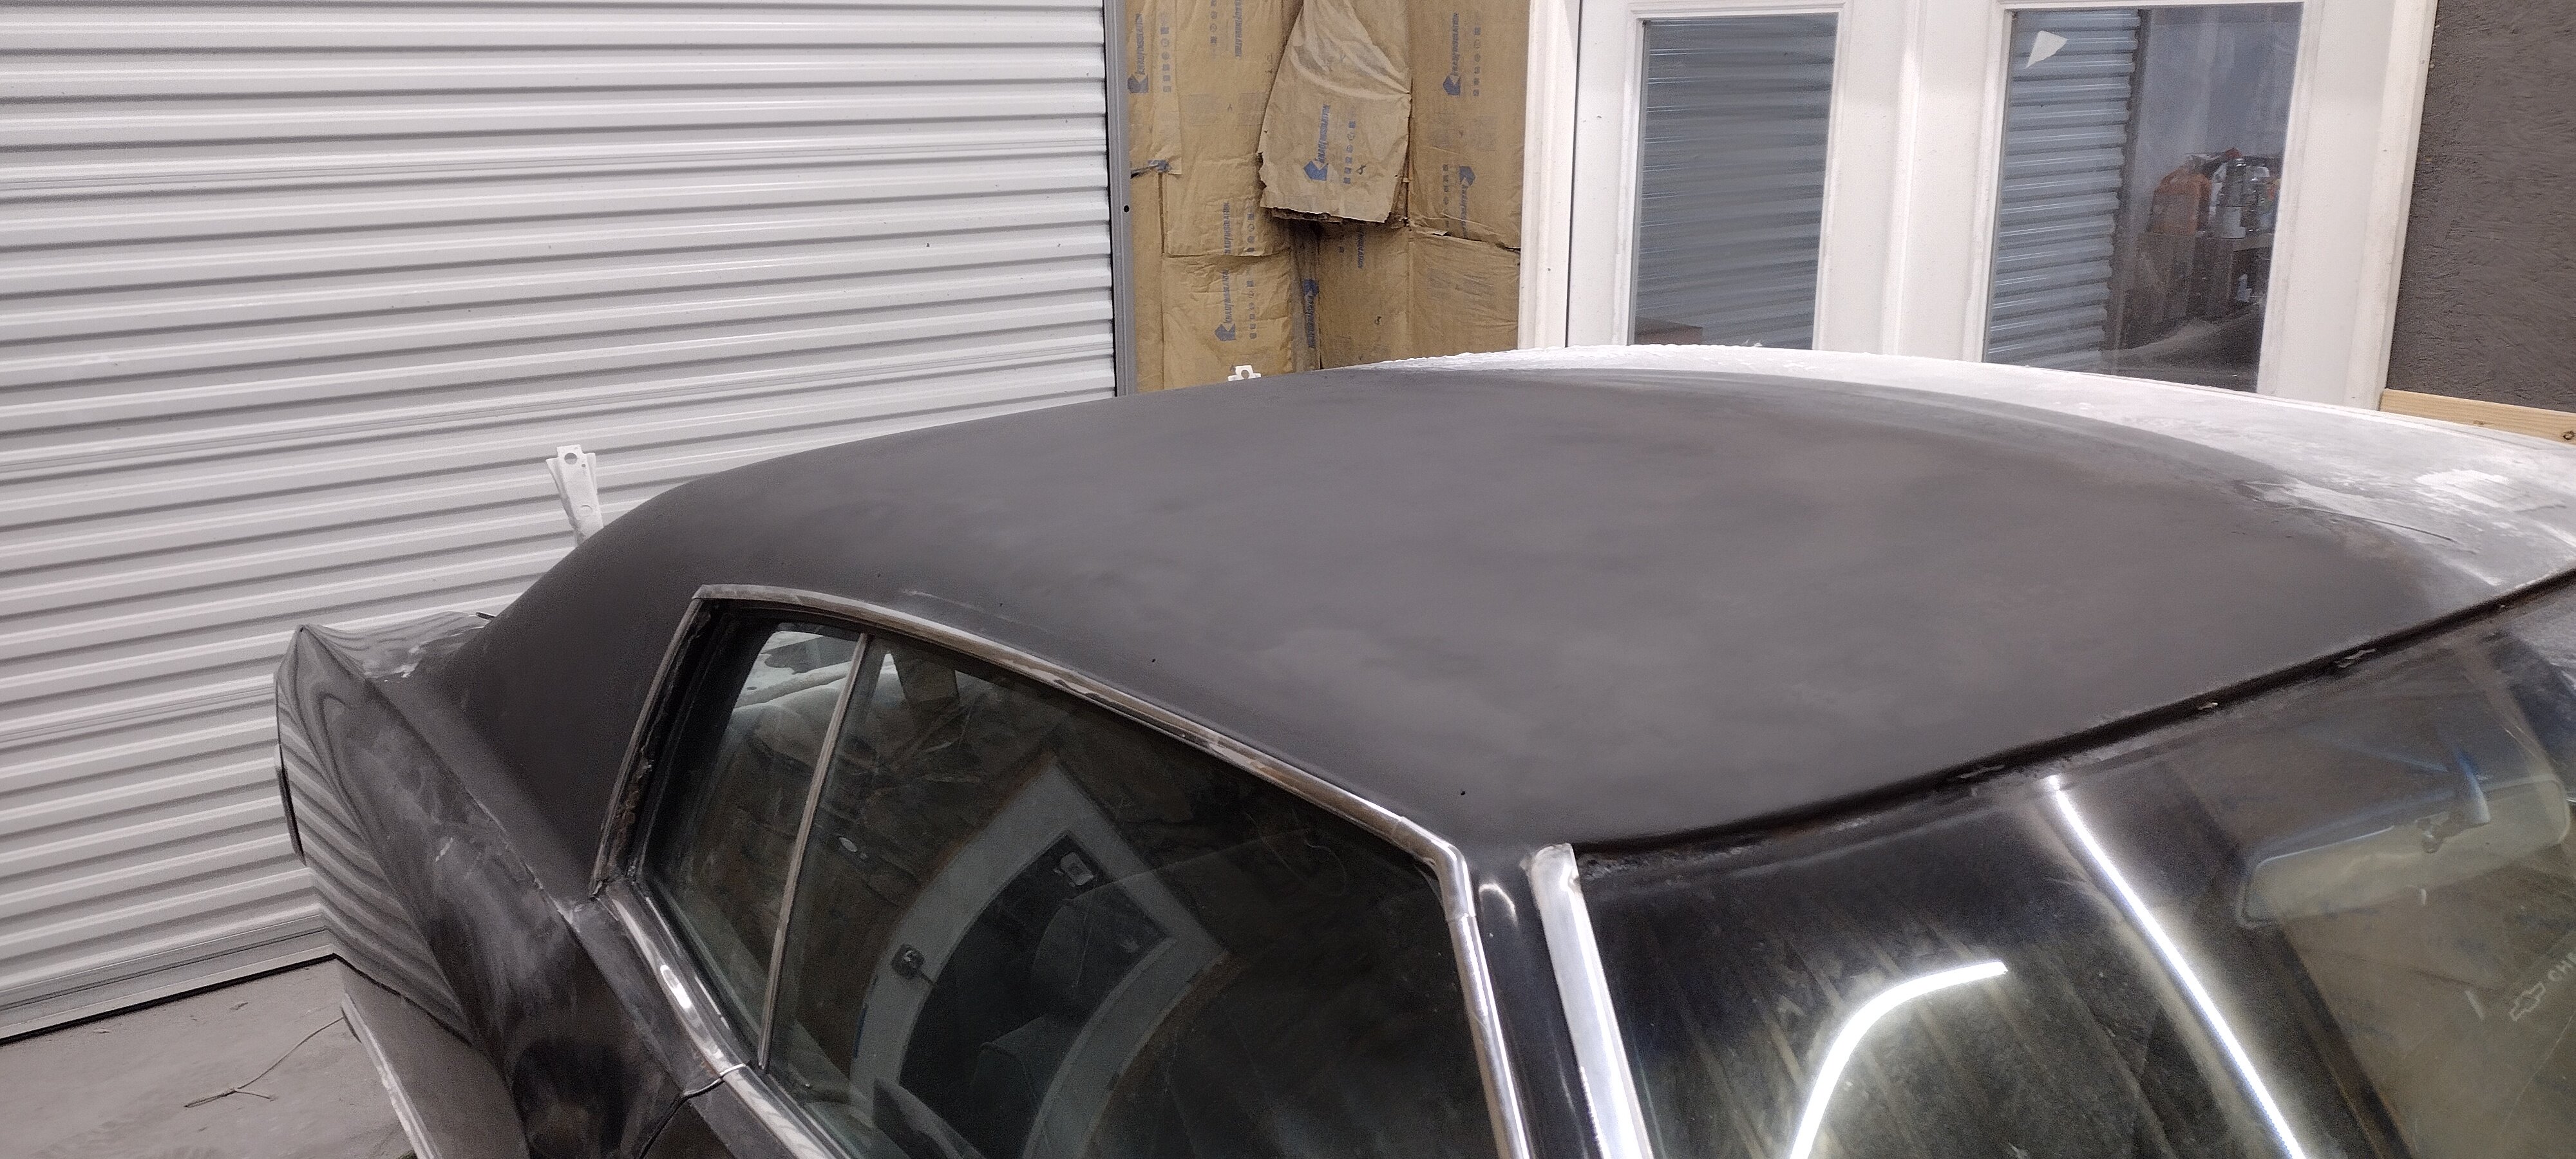
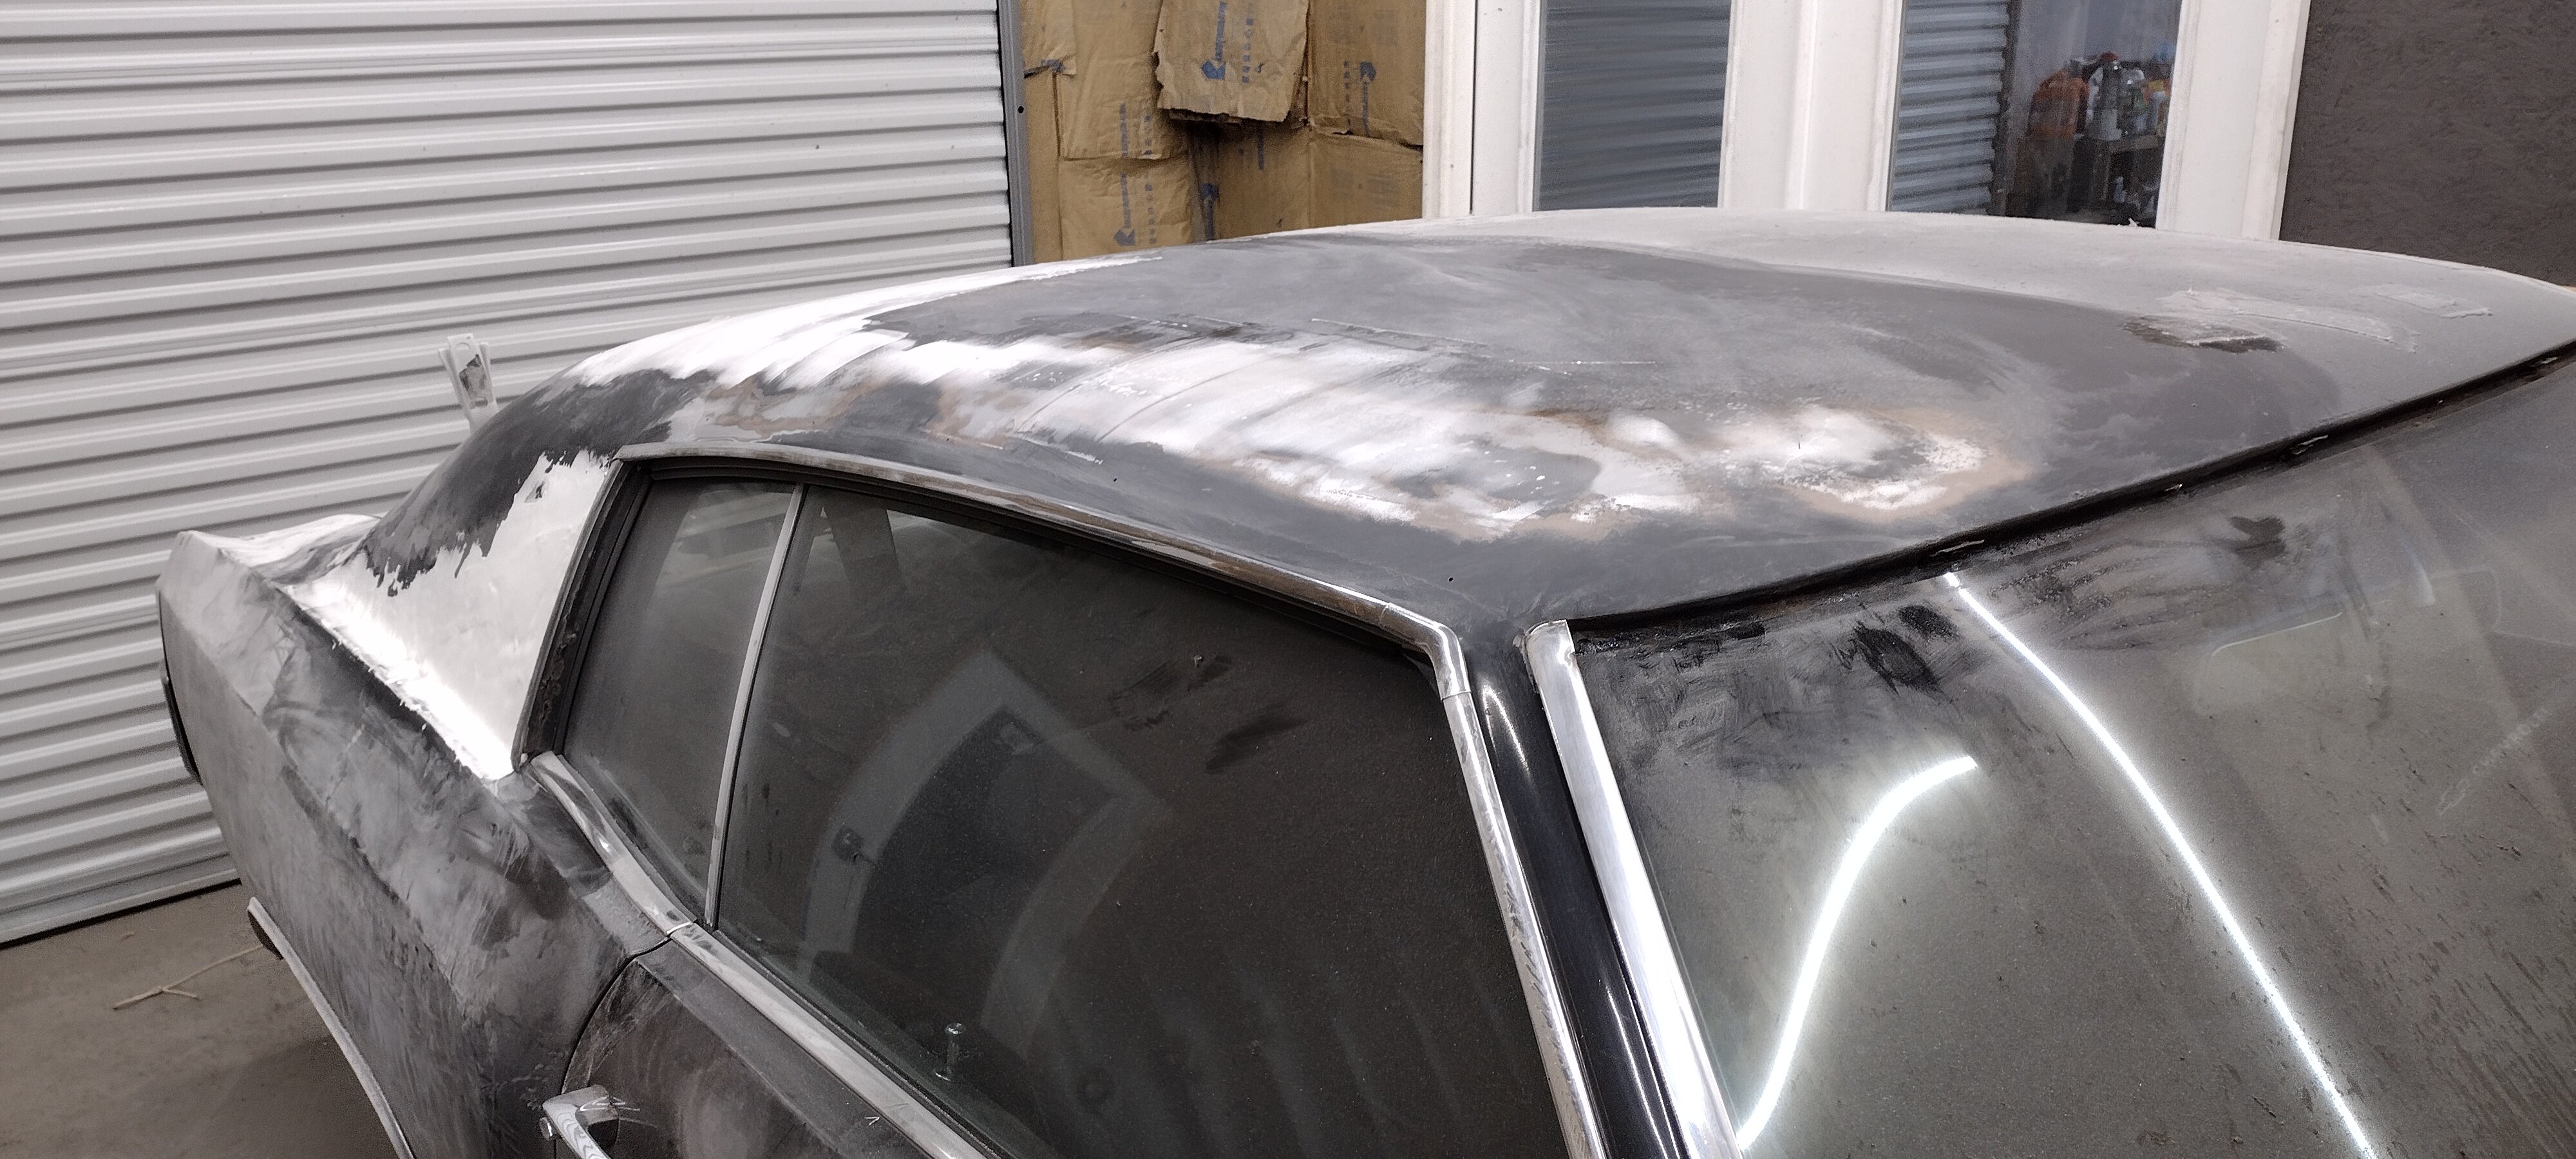
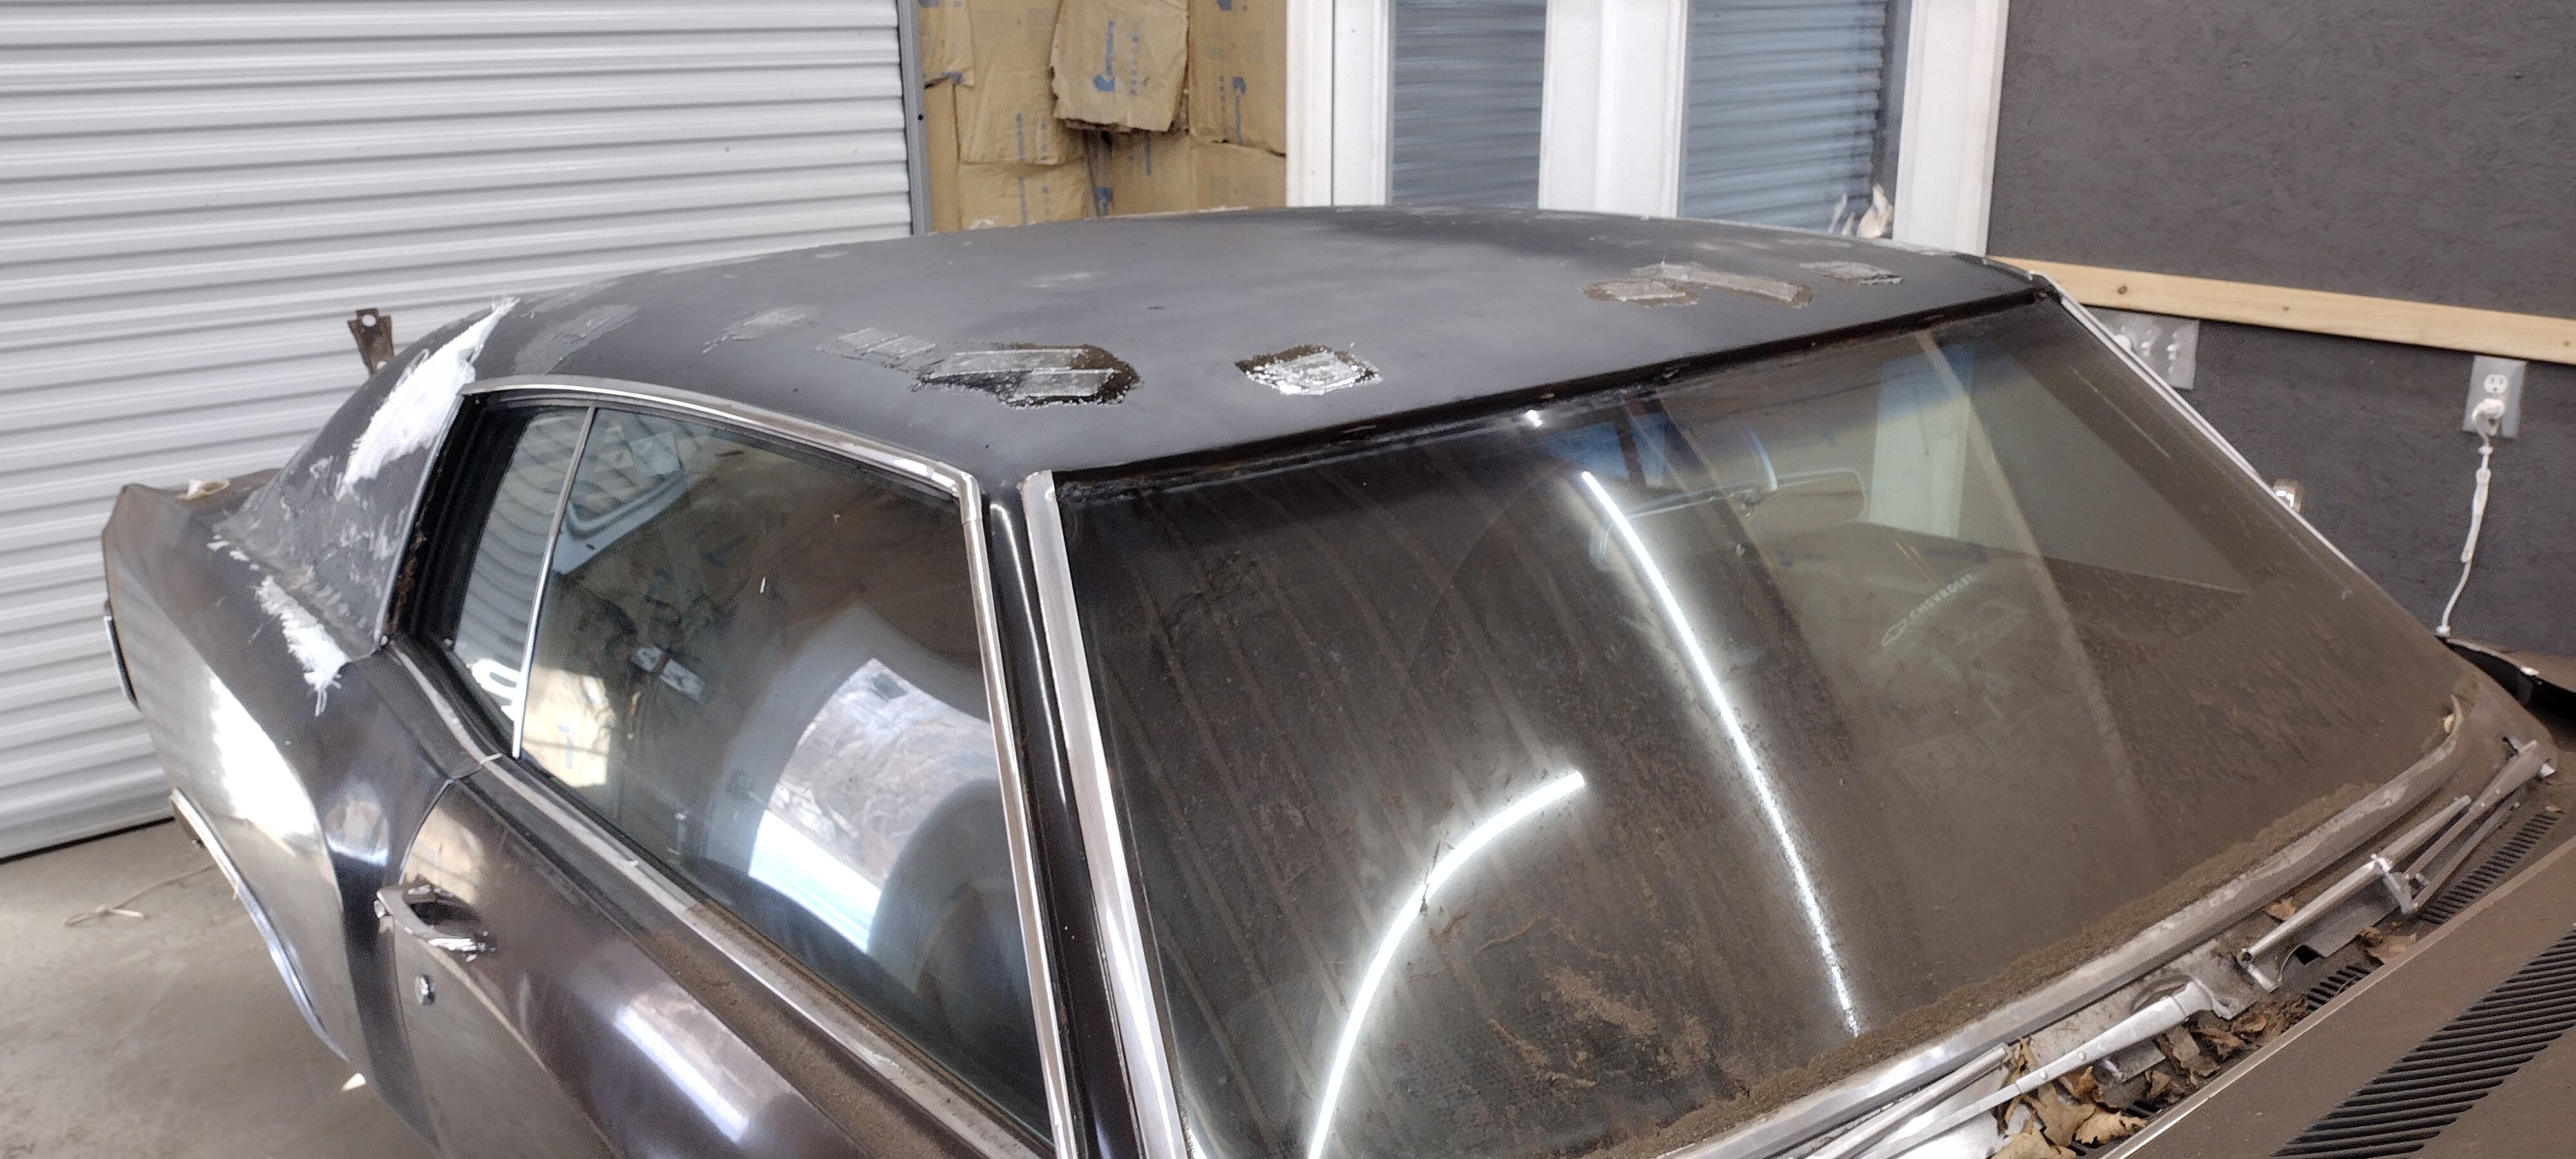
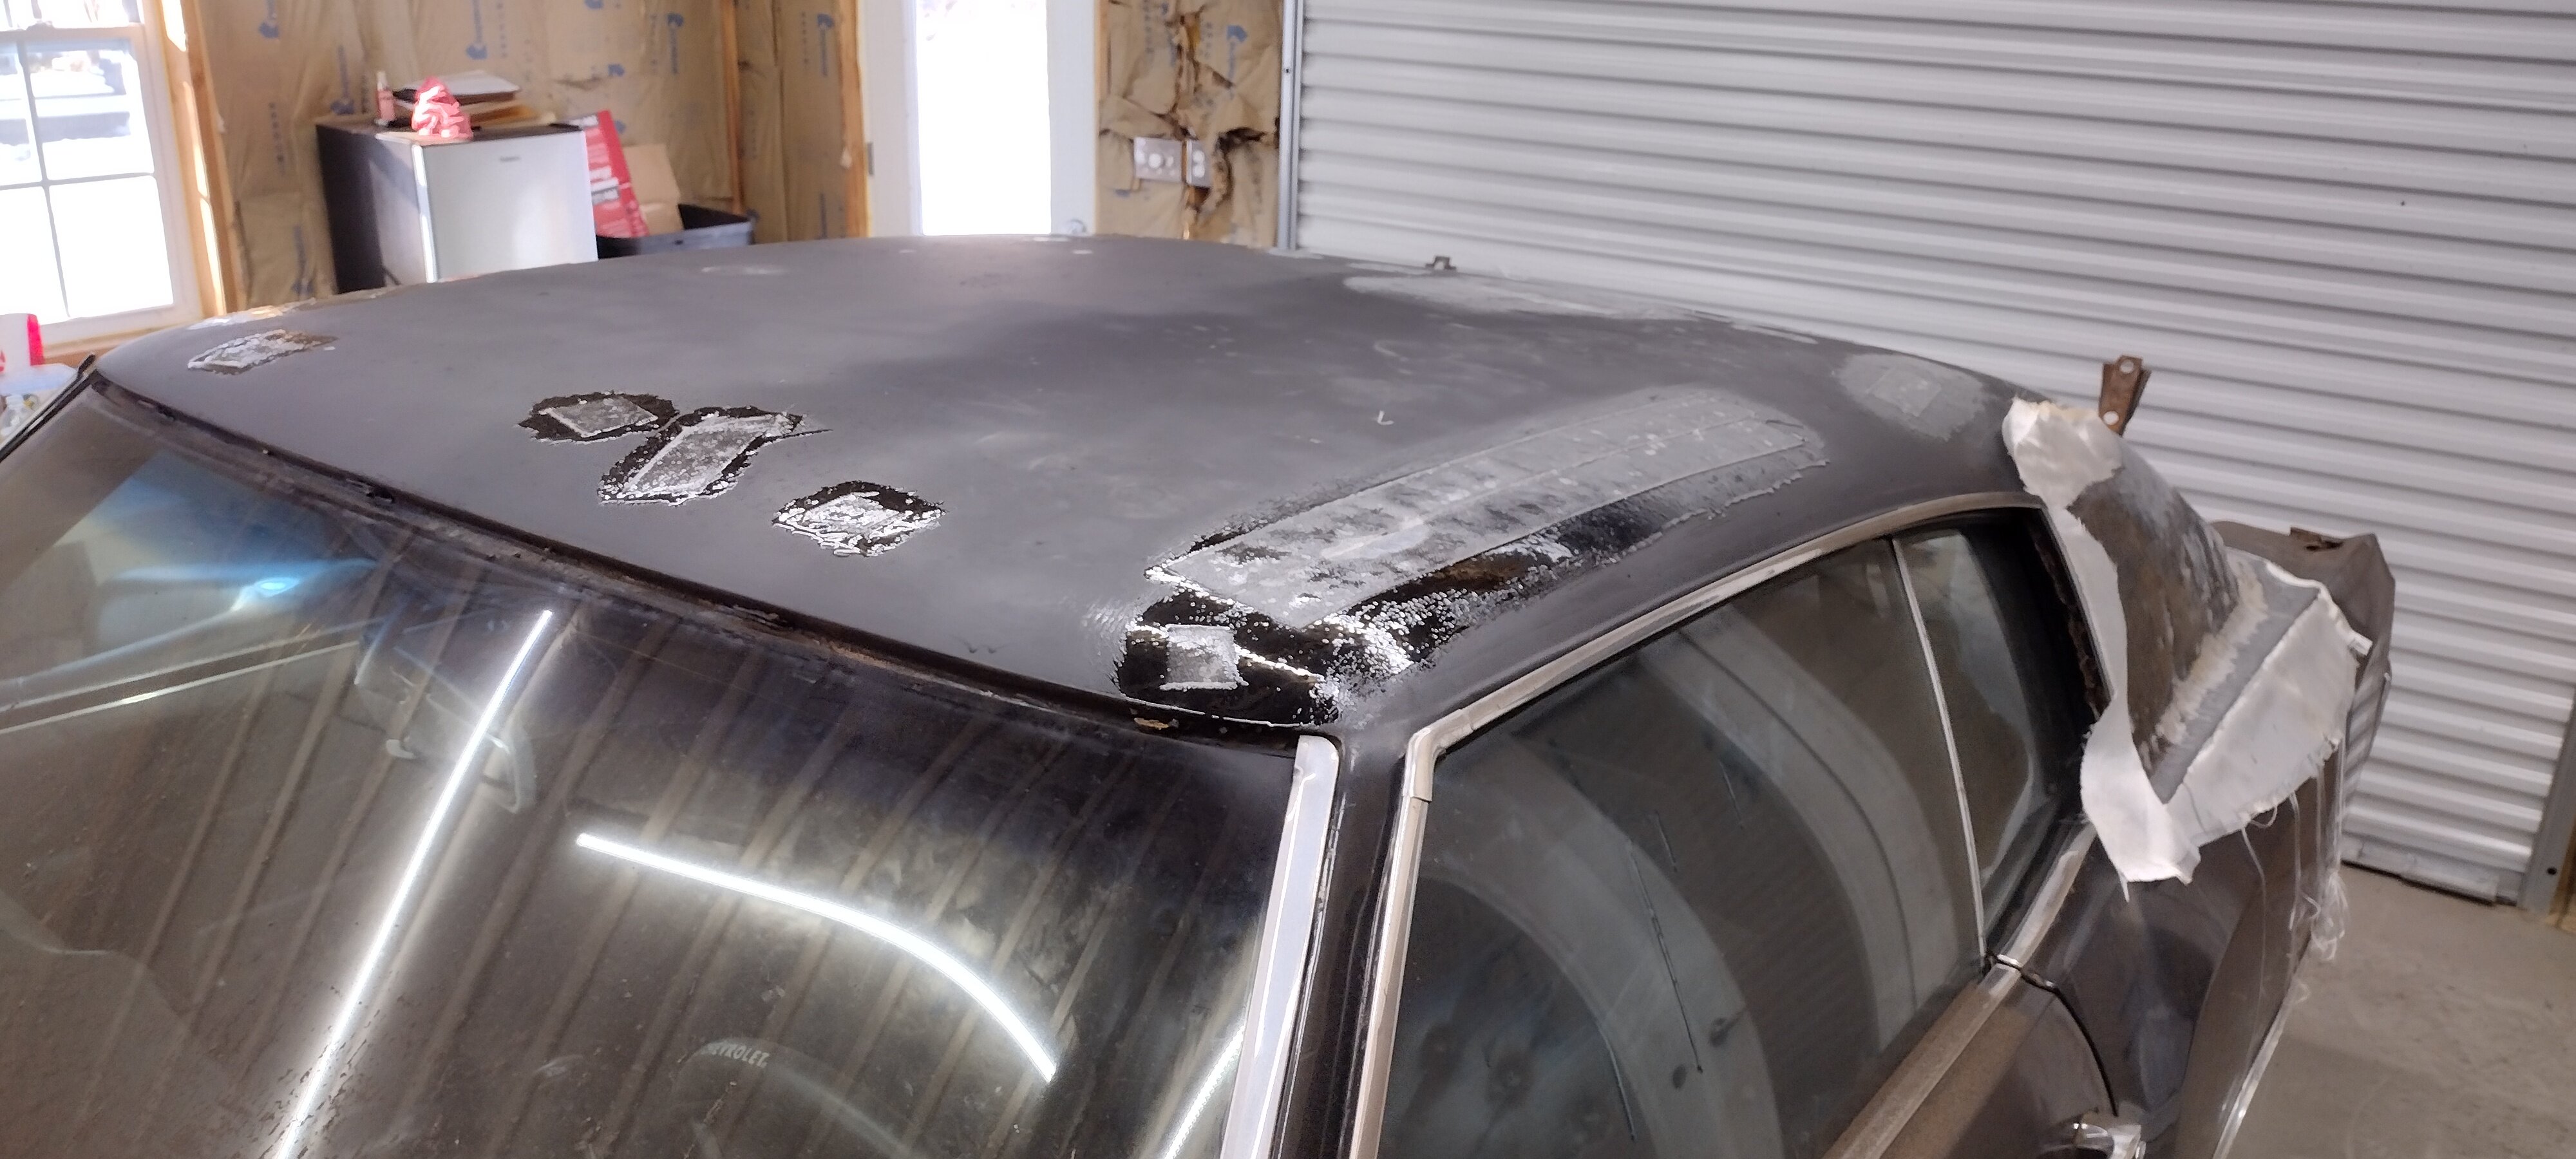
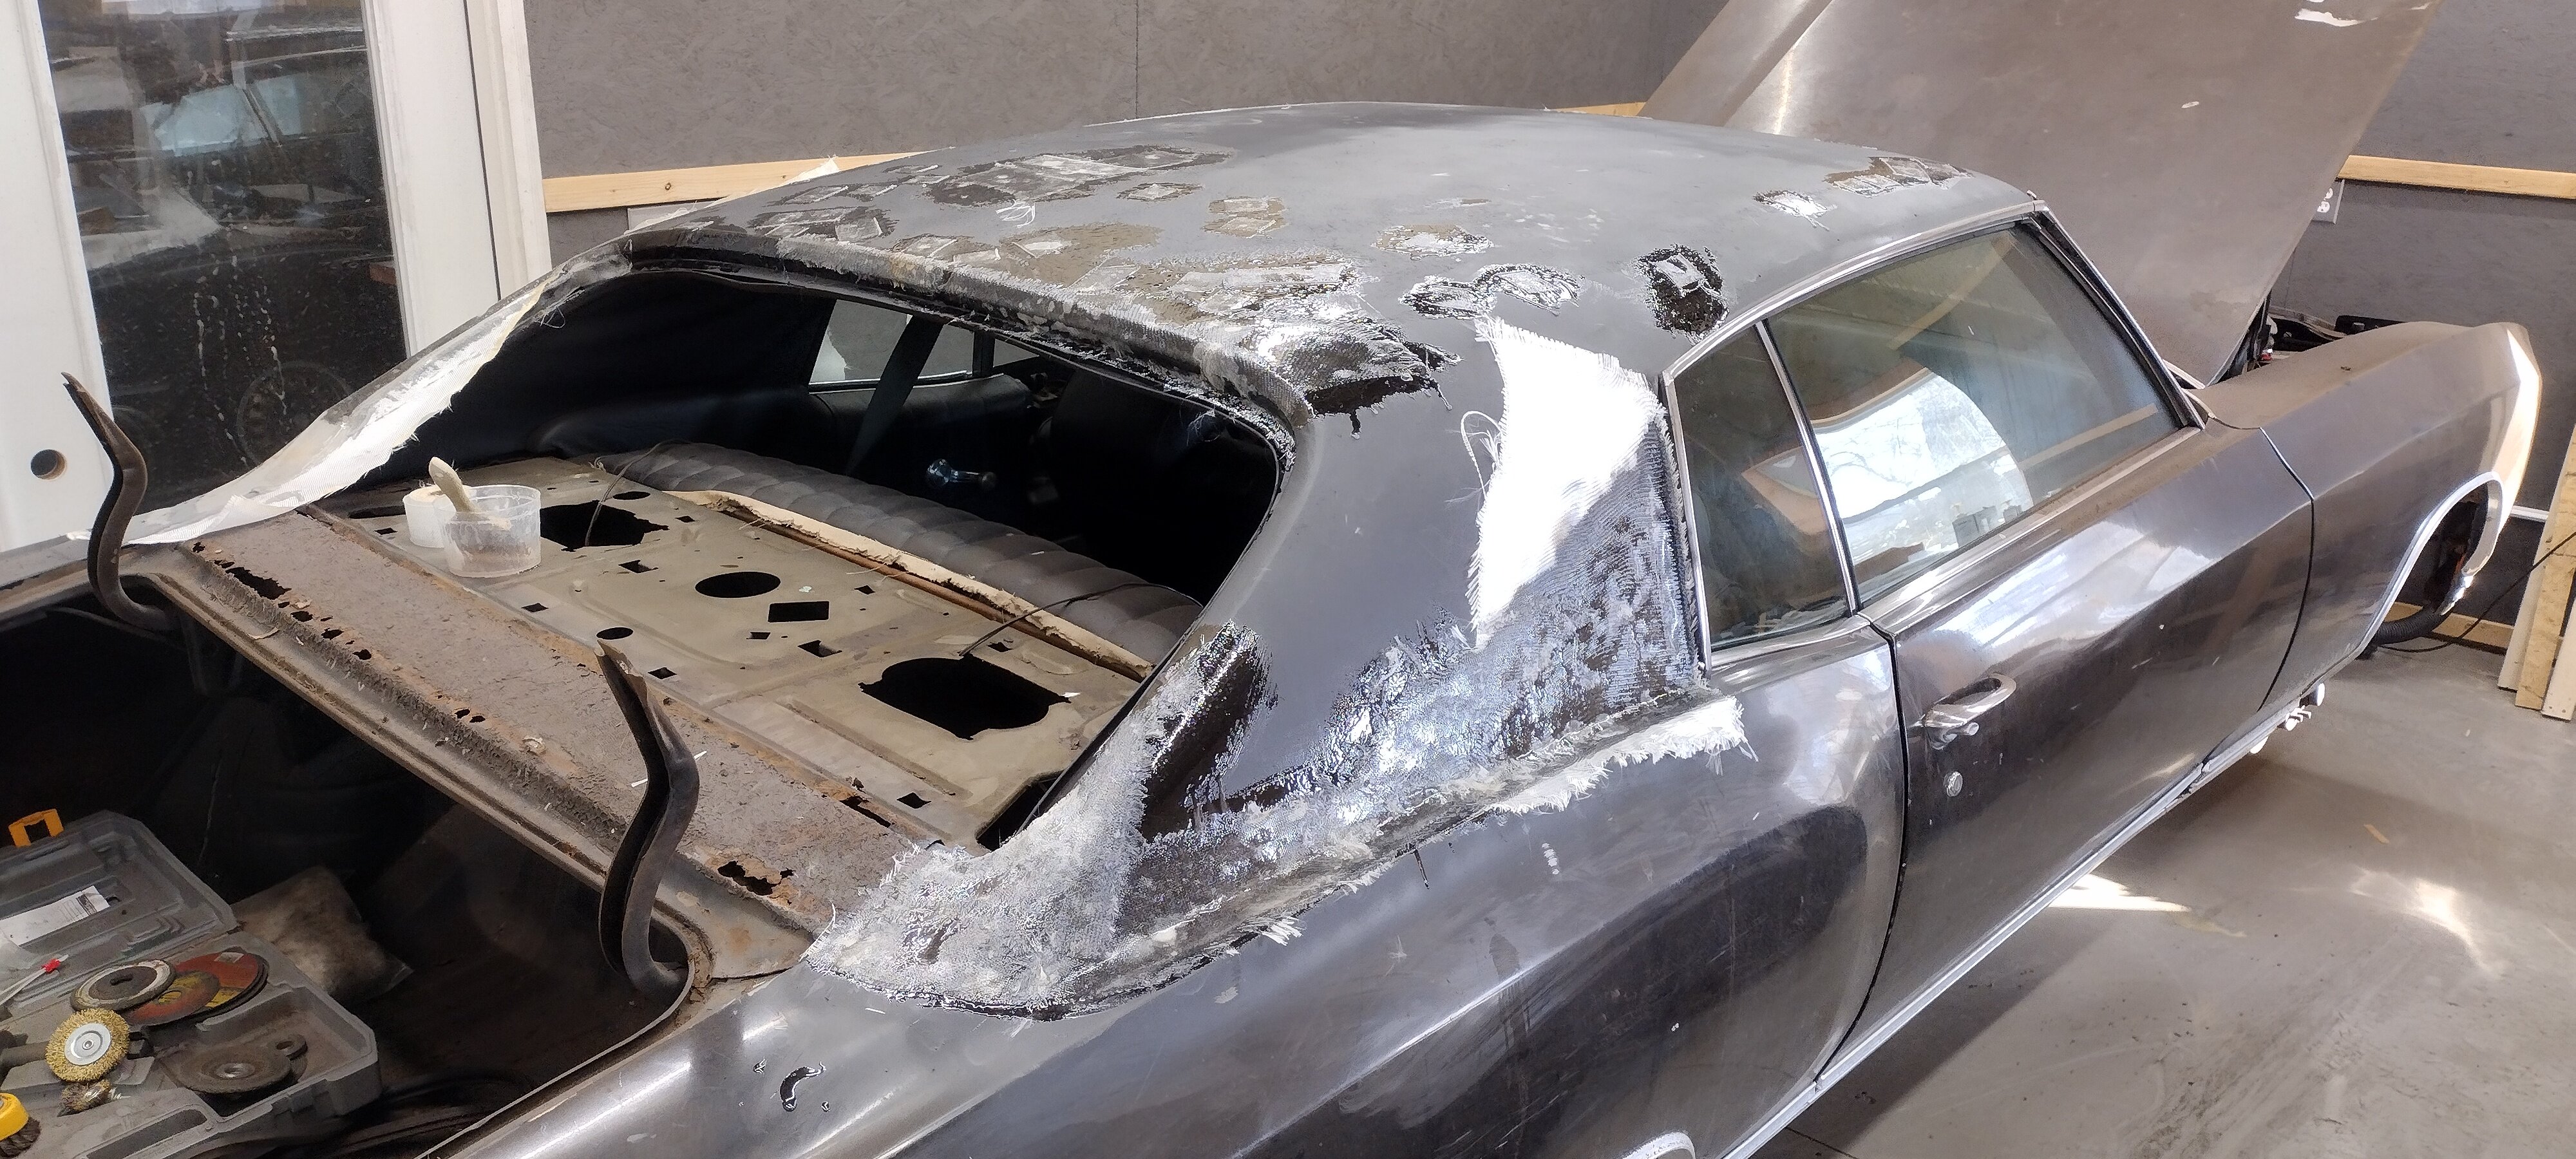
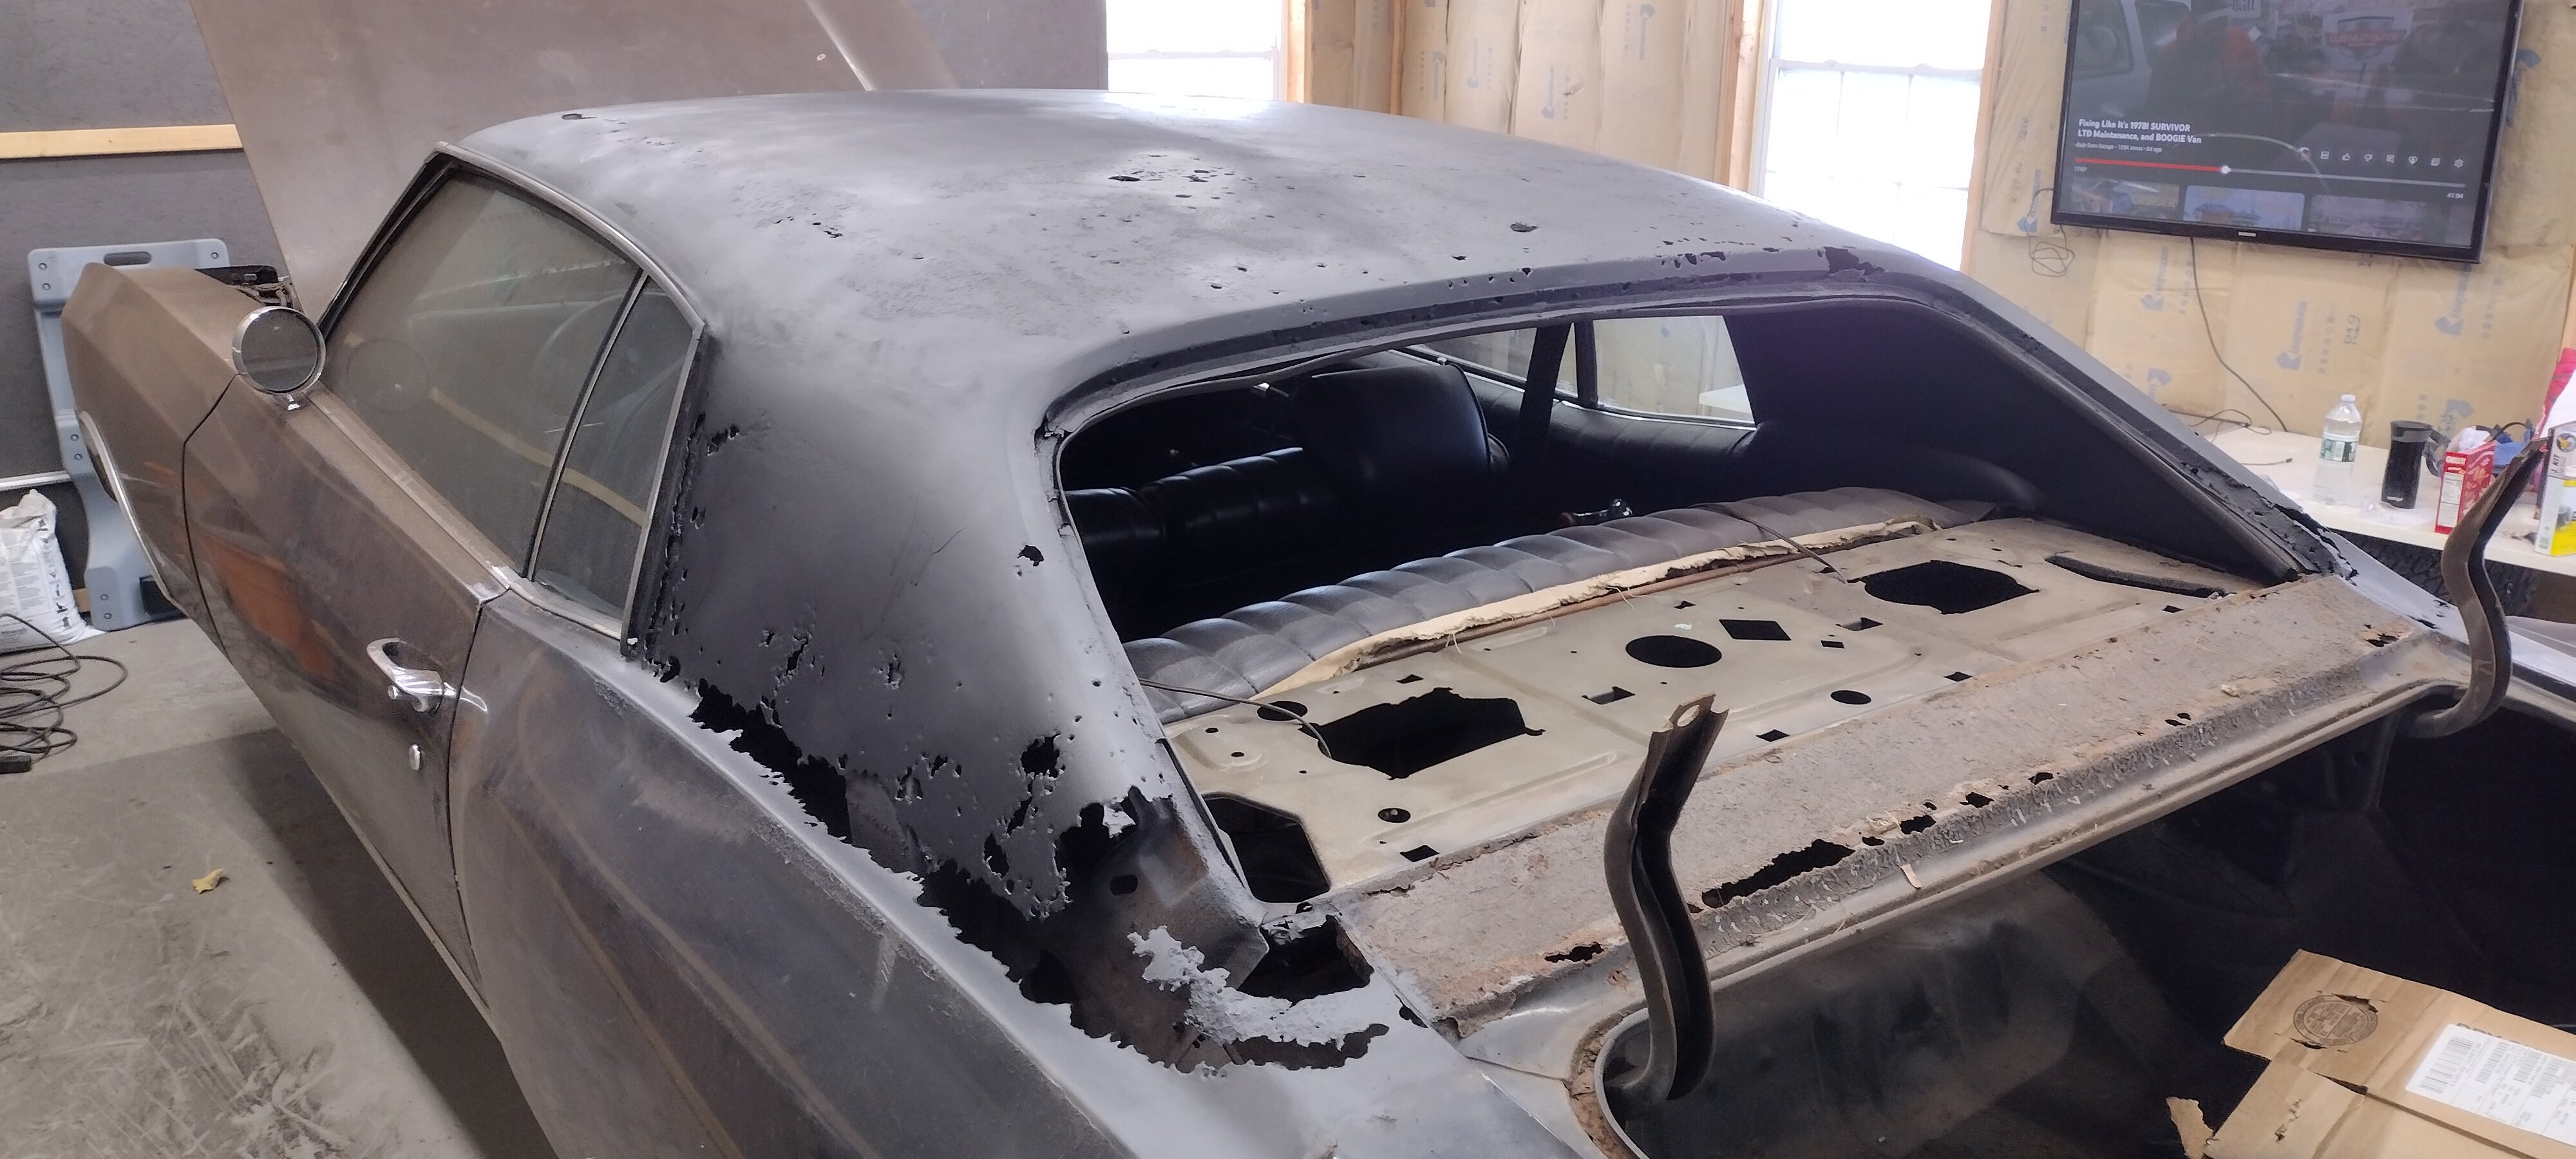
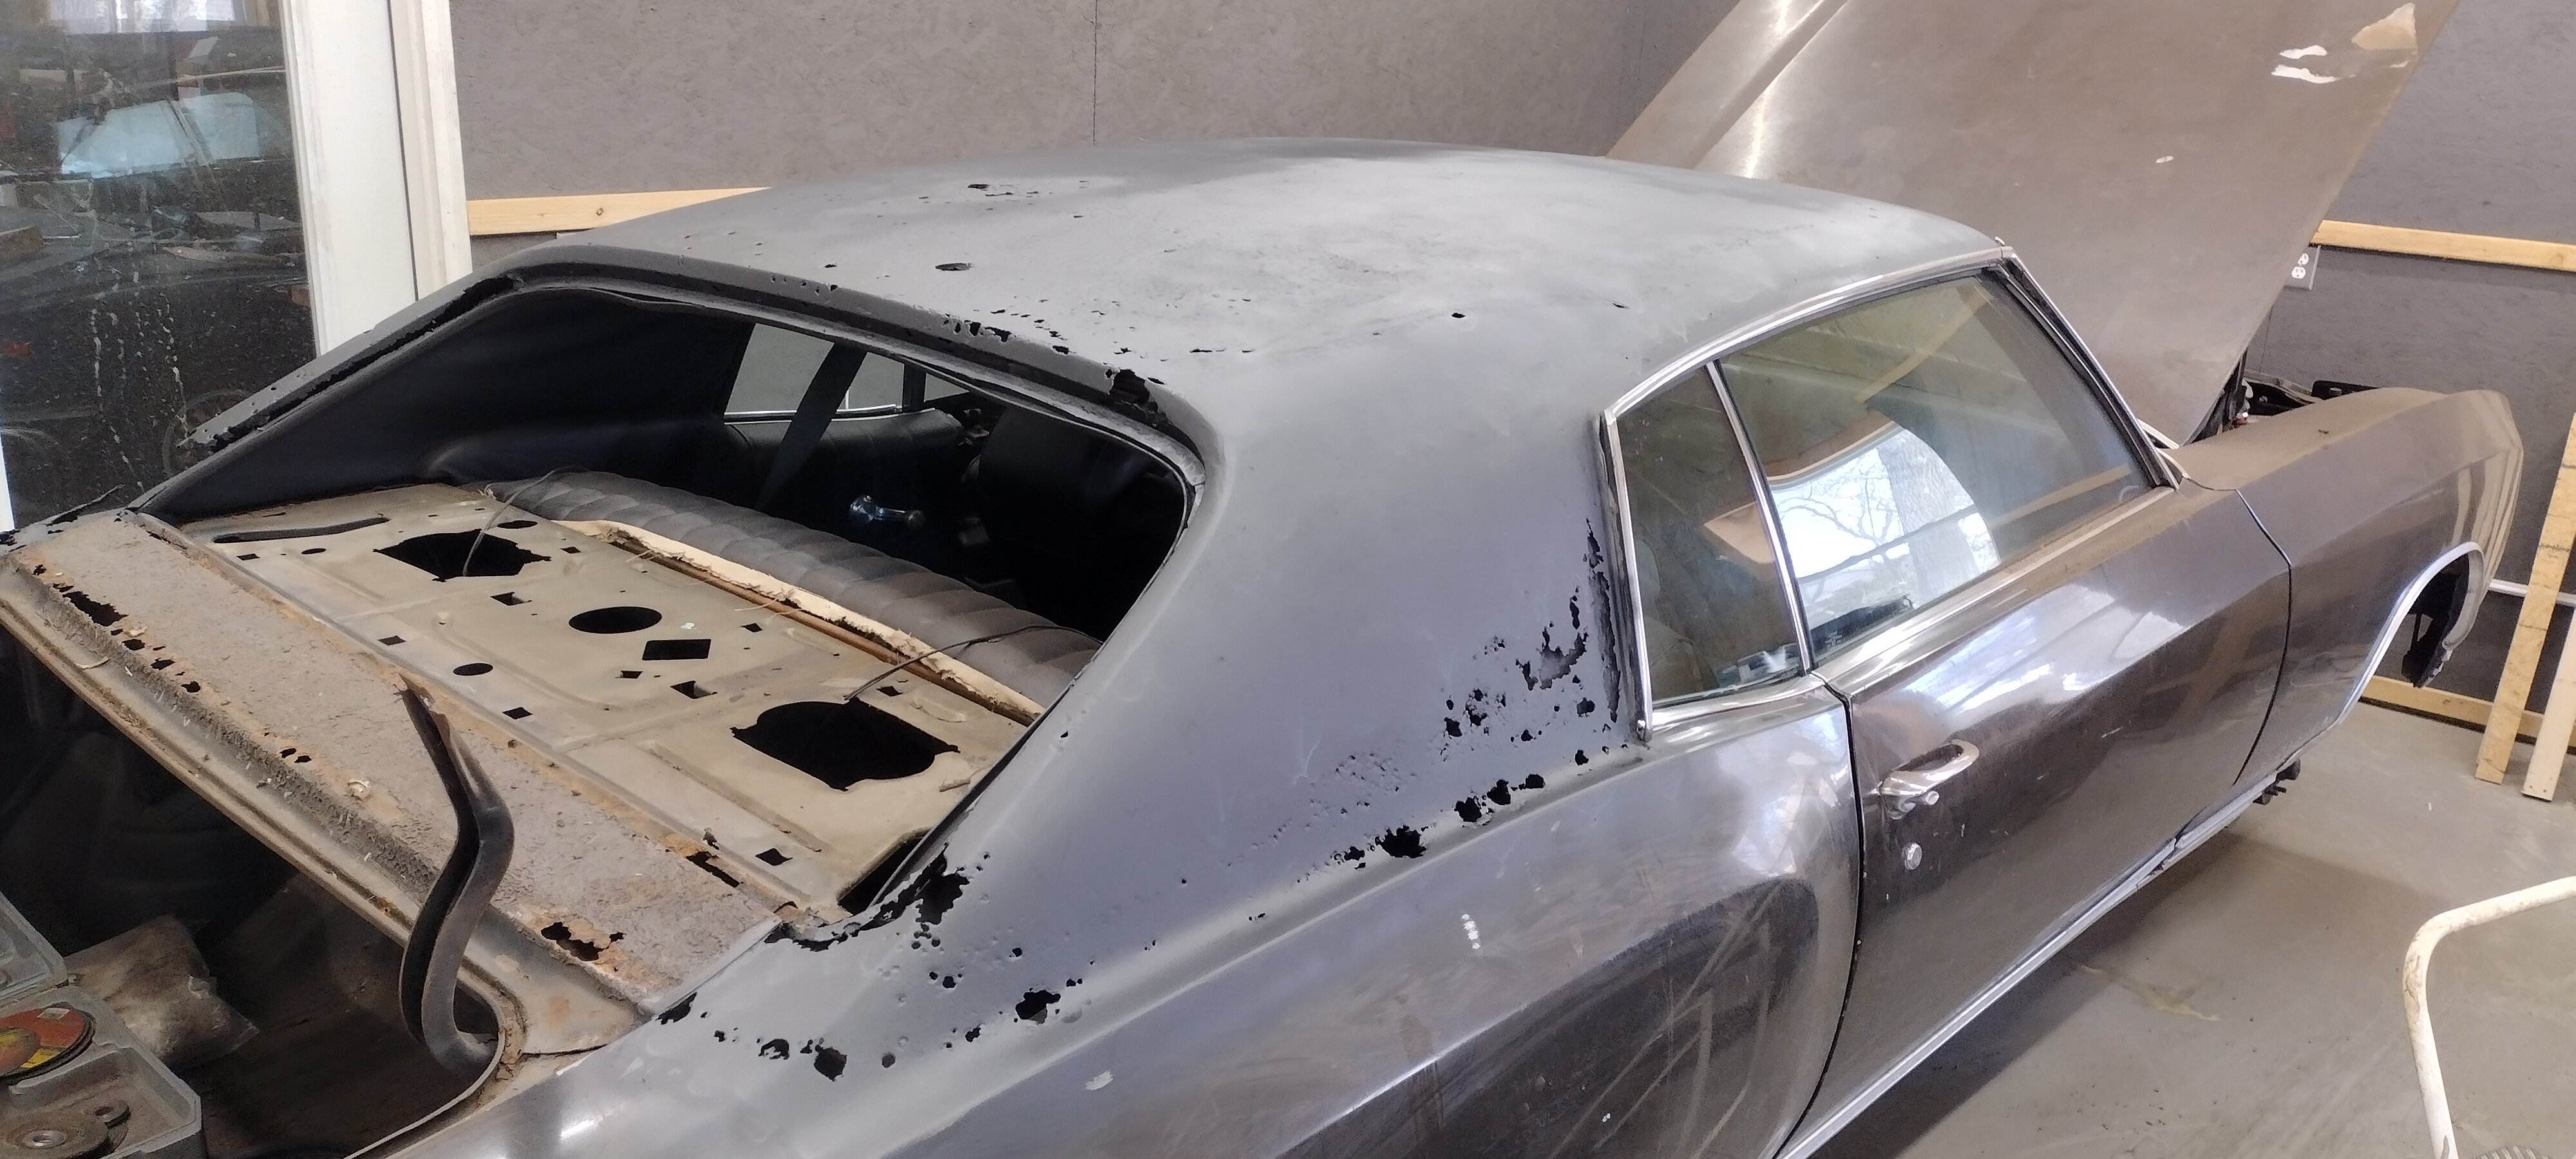
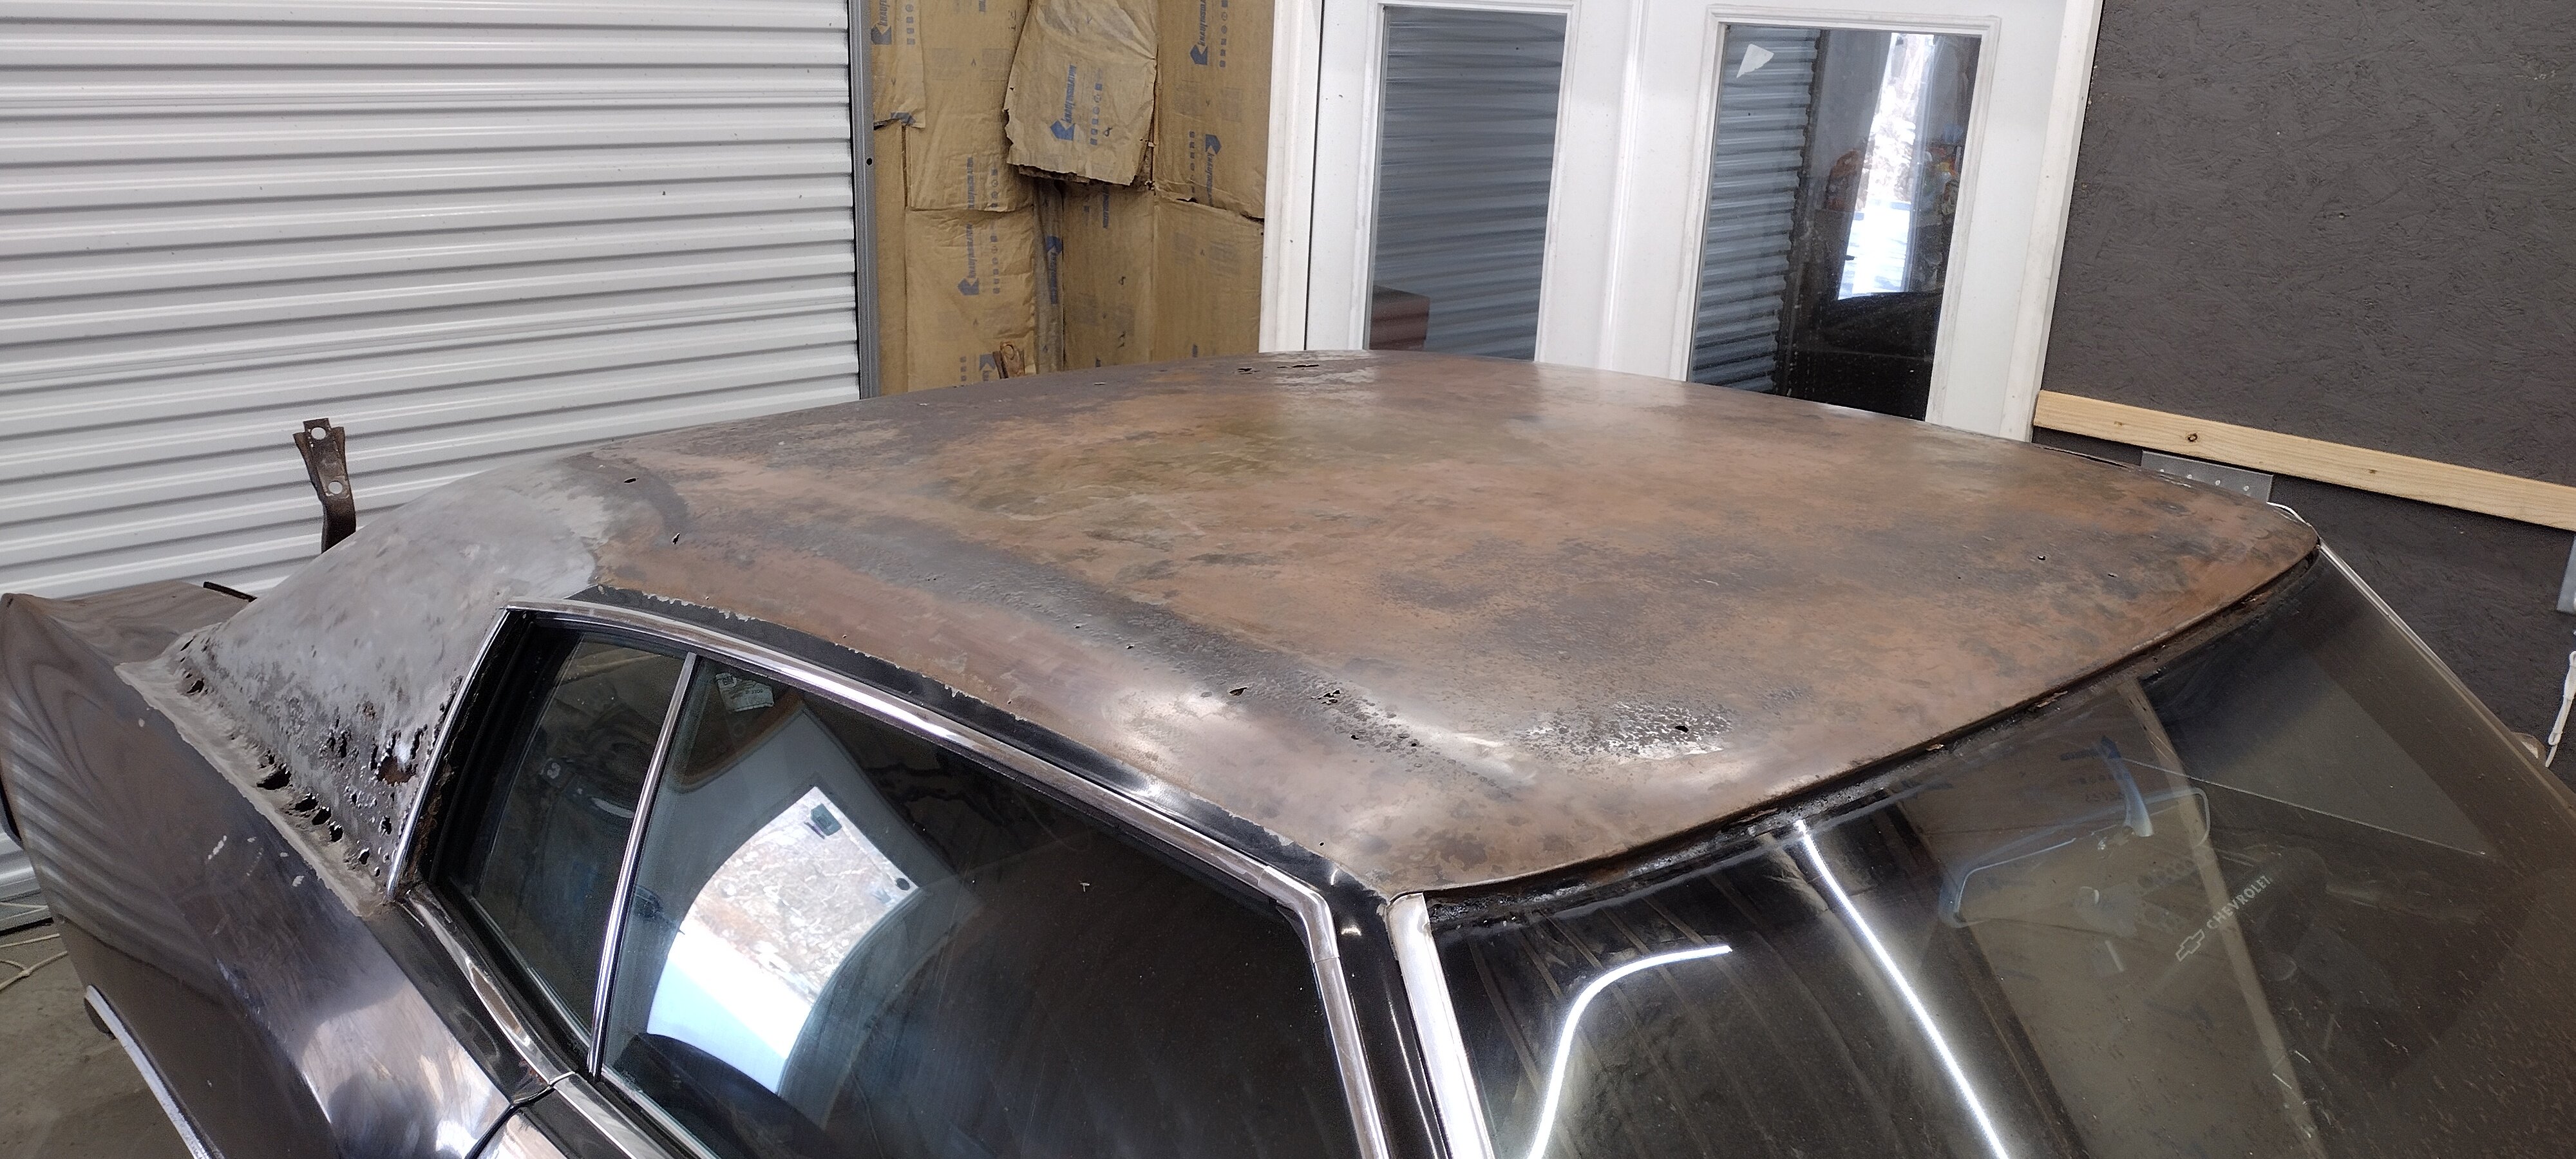
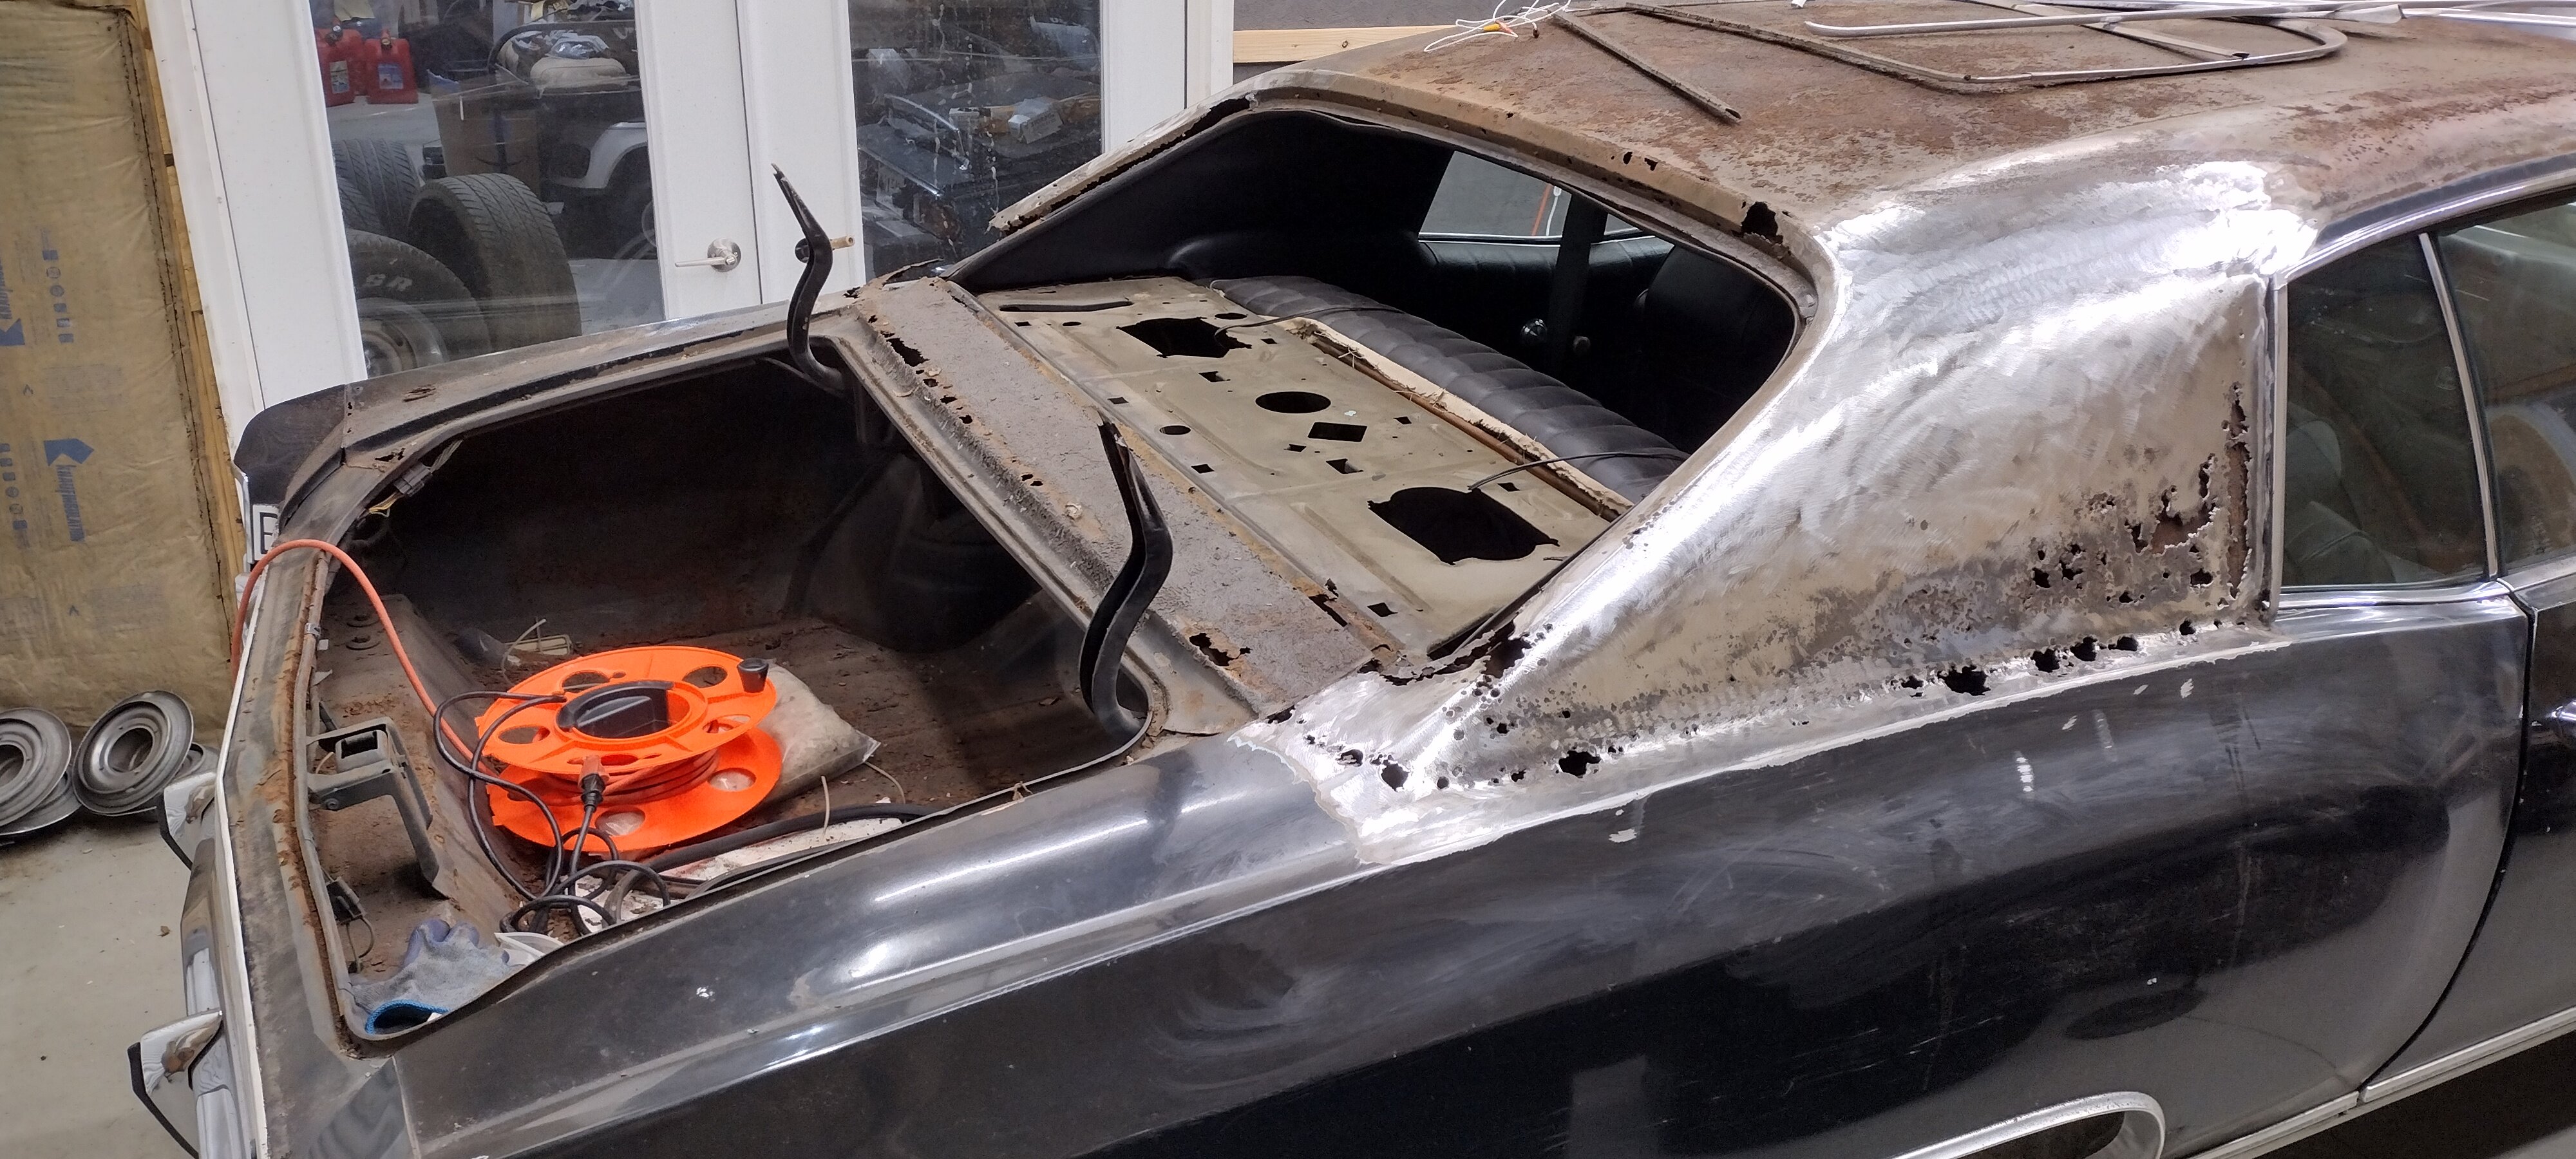
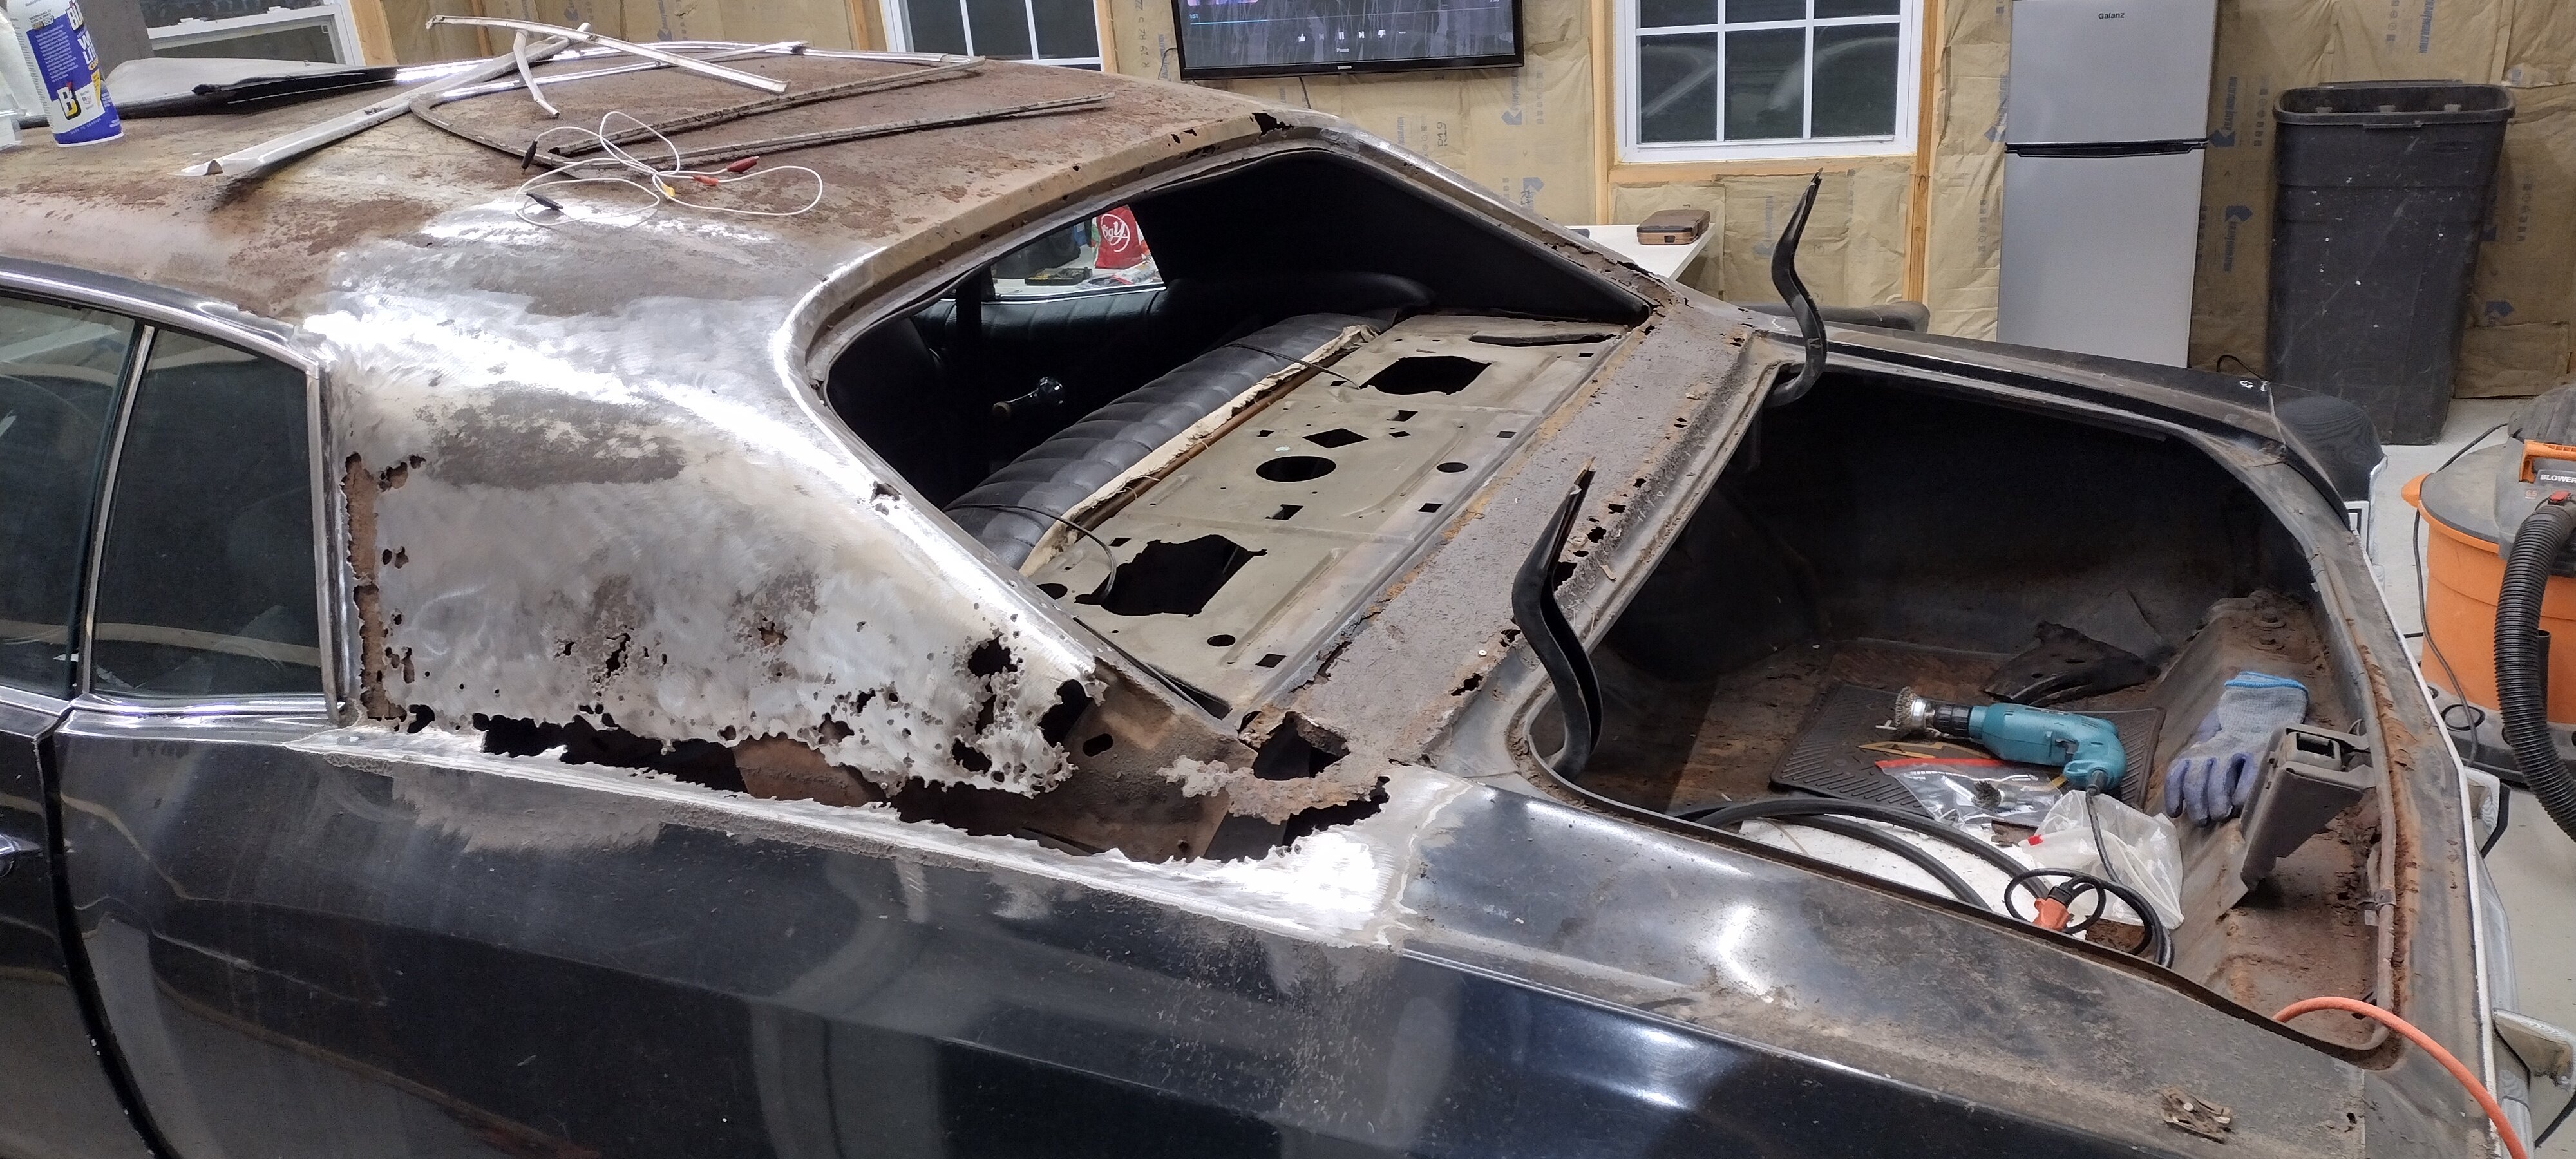
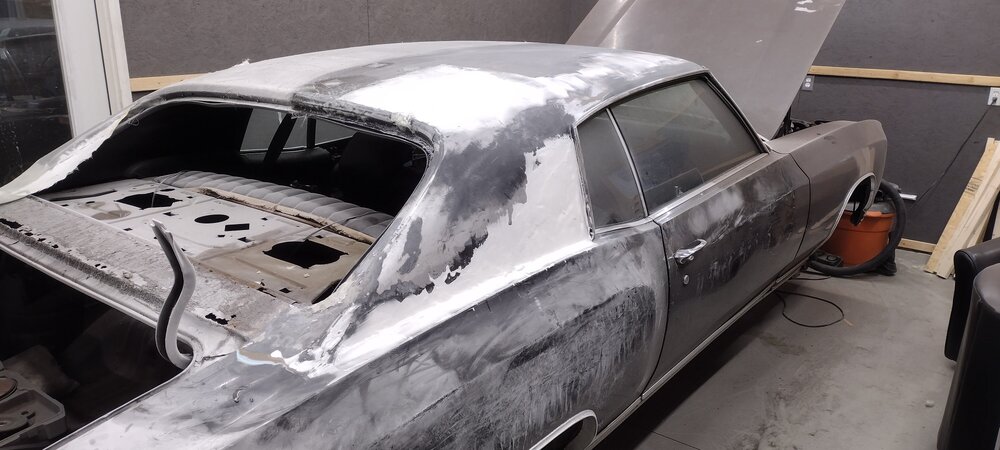
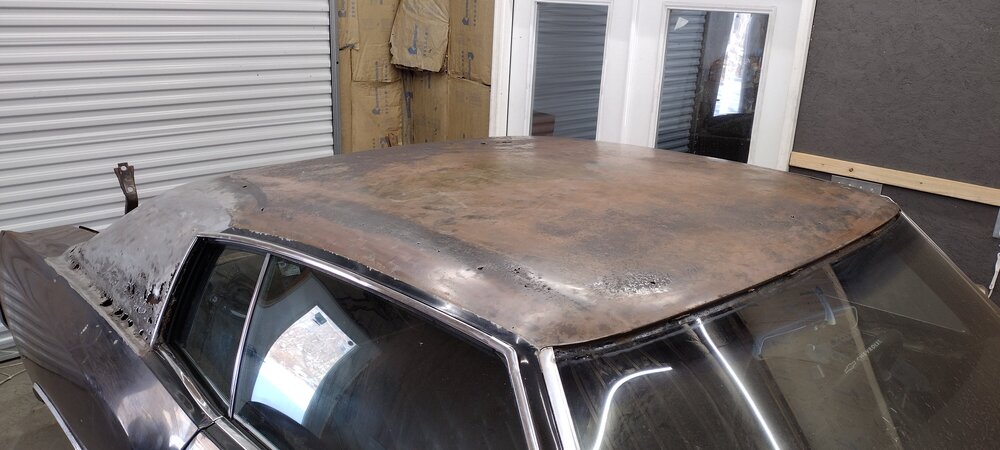
I've got the vinyl top, butyl rubber tape and major rust removed and cleaned up. I went through a bunch of heavy wire wheels and flapper discs. I picked away at it over the last couple of months, not having near as much time to work on the car as I would have liked (typical). I just cleaned it all up with acetone before I took these pics. Next step is to apply the rust reformer / primer to the whole top. I want to keep as much of the metal, and particularly the shape, as I can. It will make it easier to form the fiberglass correctly. It won't be perfect in the end but it will be A LOT better!!! Here we go ...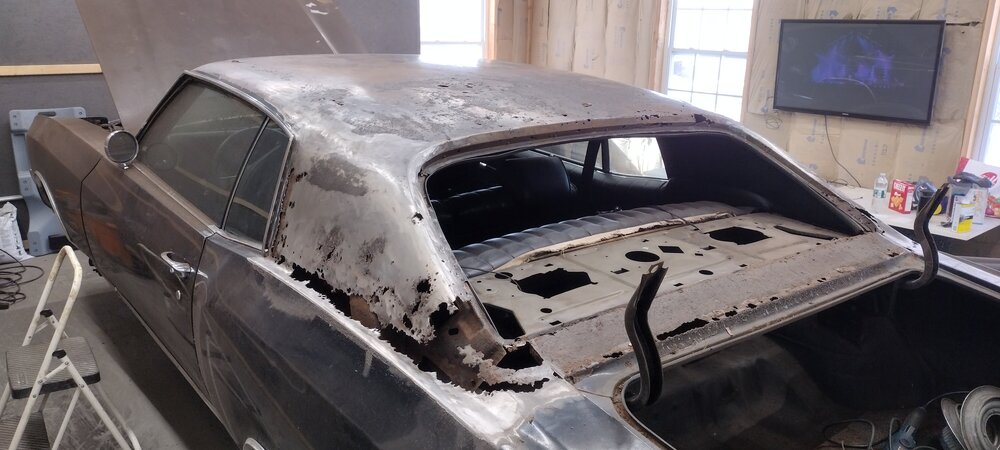
-
@Mikjone, just seeing your post. I tried sending a message but it would not go through. Let me know where you are and how to contact you. I'm in Groton CT. Thanks
-
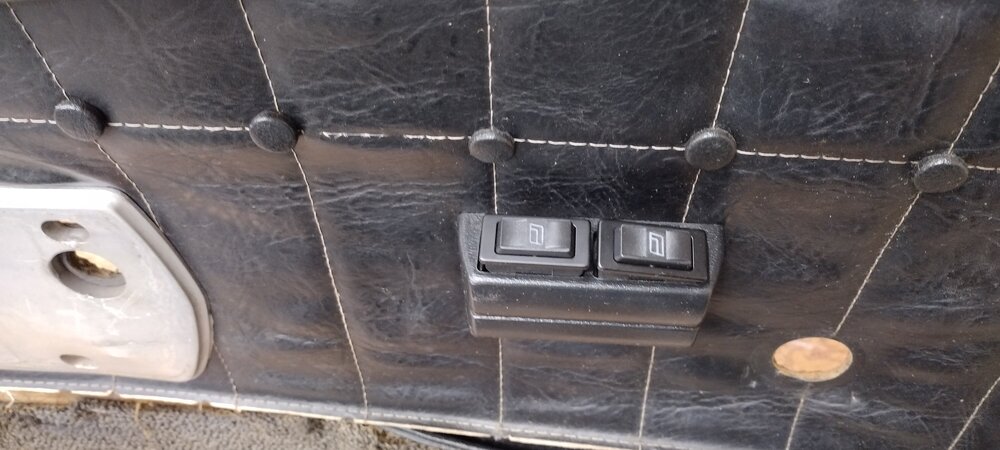
1972 MC 350/Auto - Power Windows & Door Lock Conversion
B-Man replied to B-Man's topic in Electrical Tech
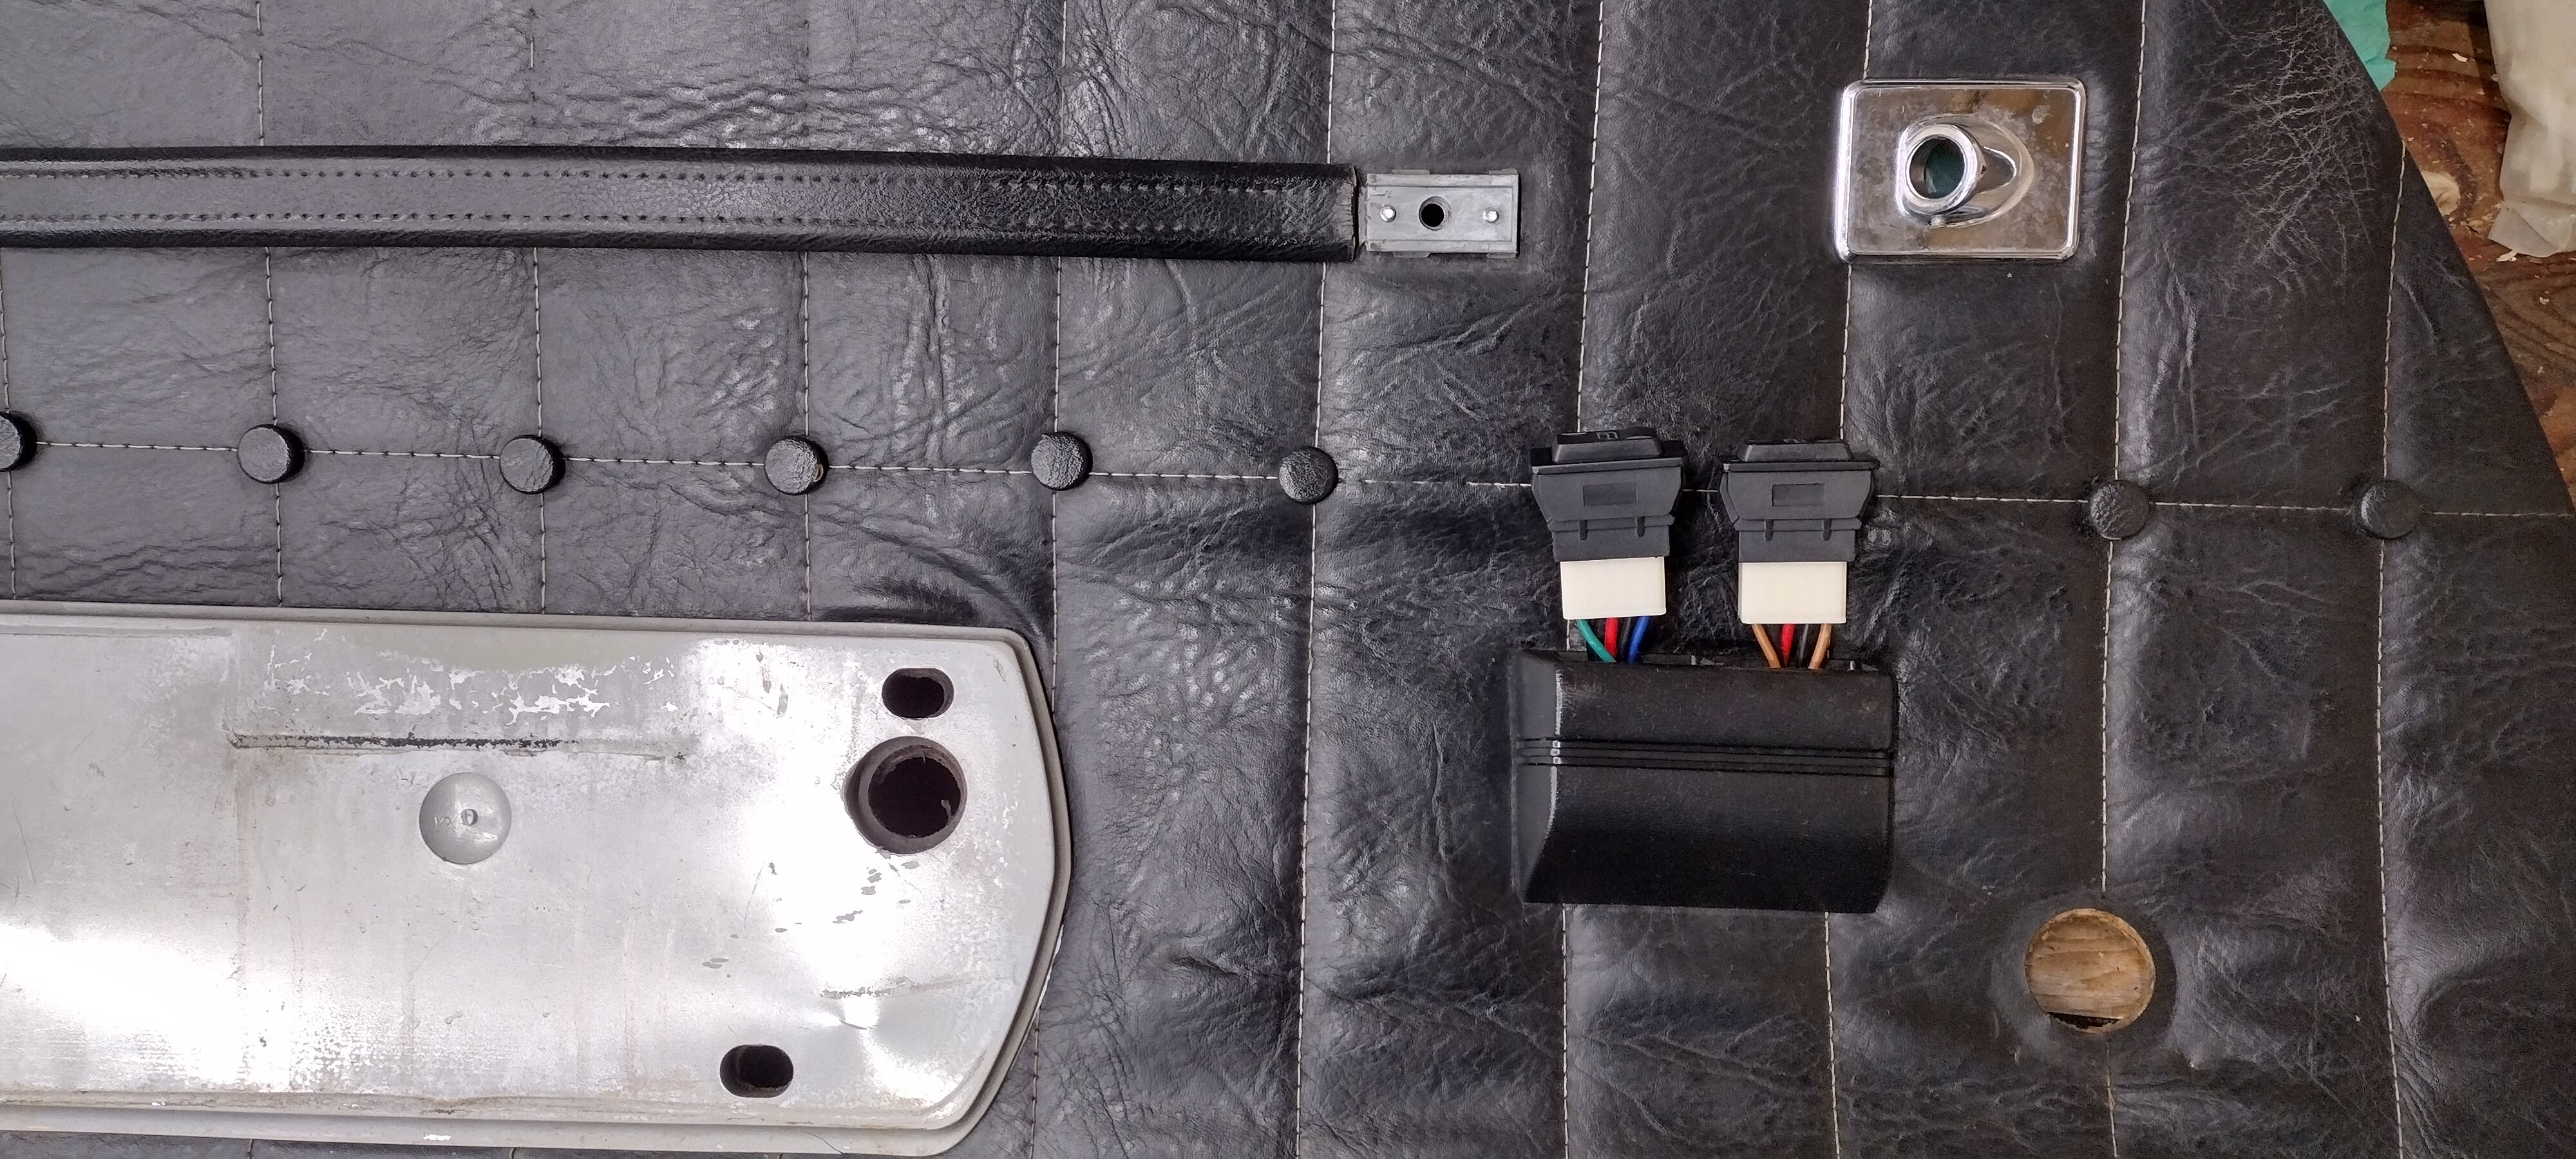
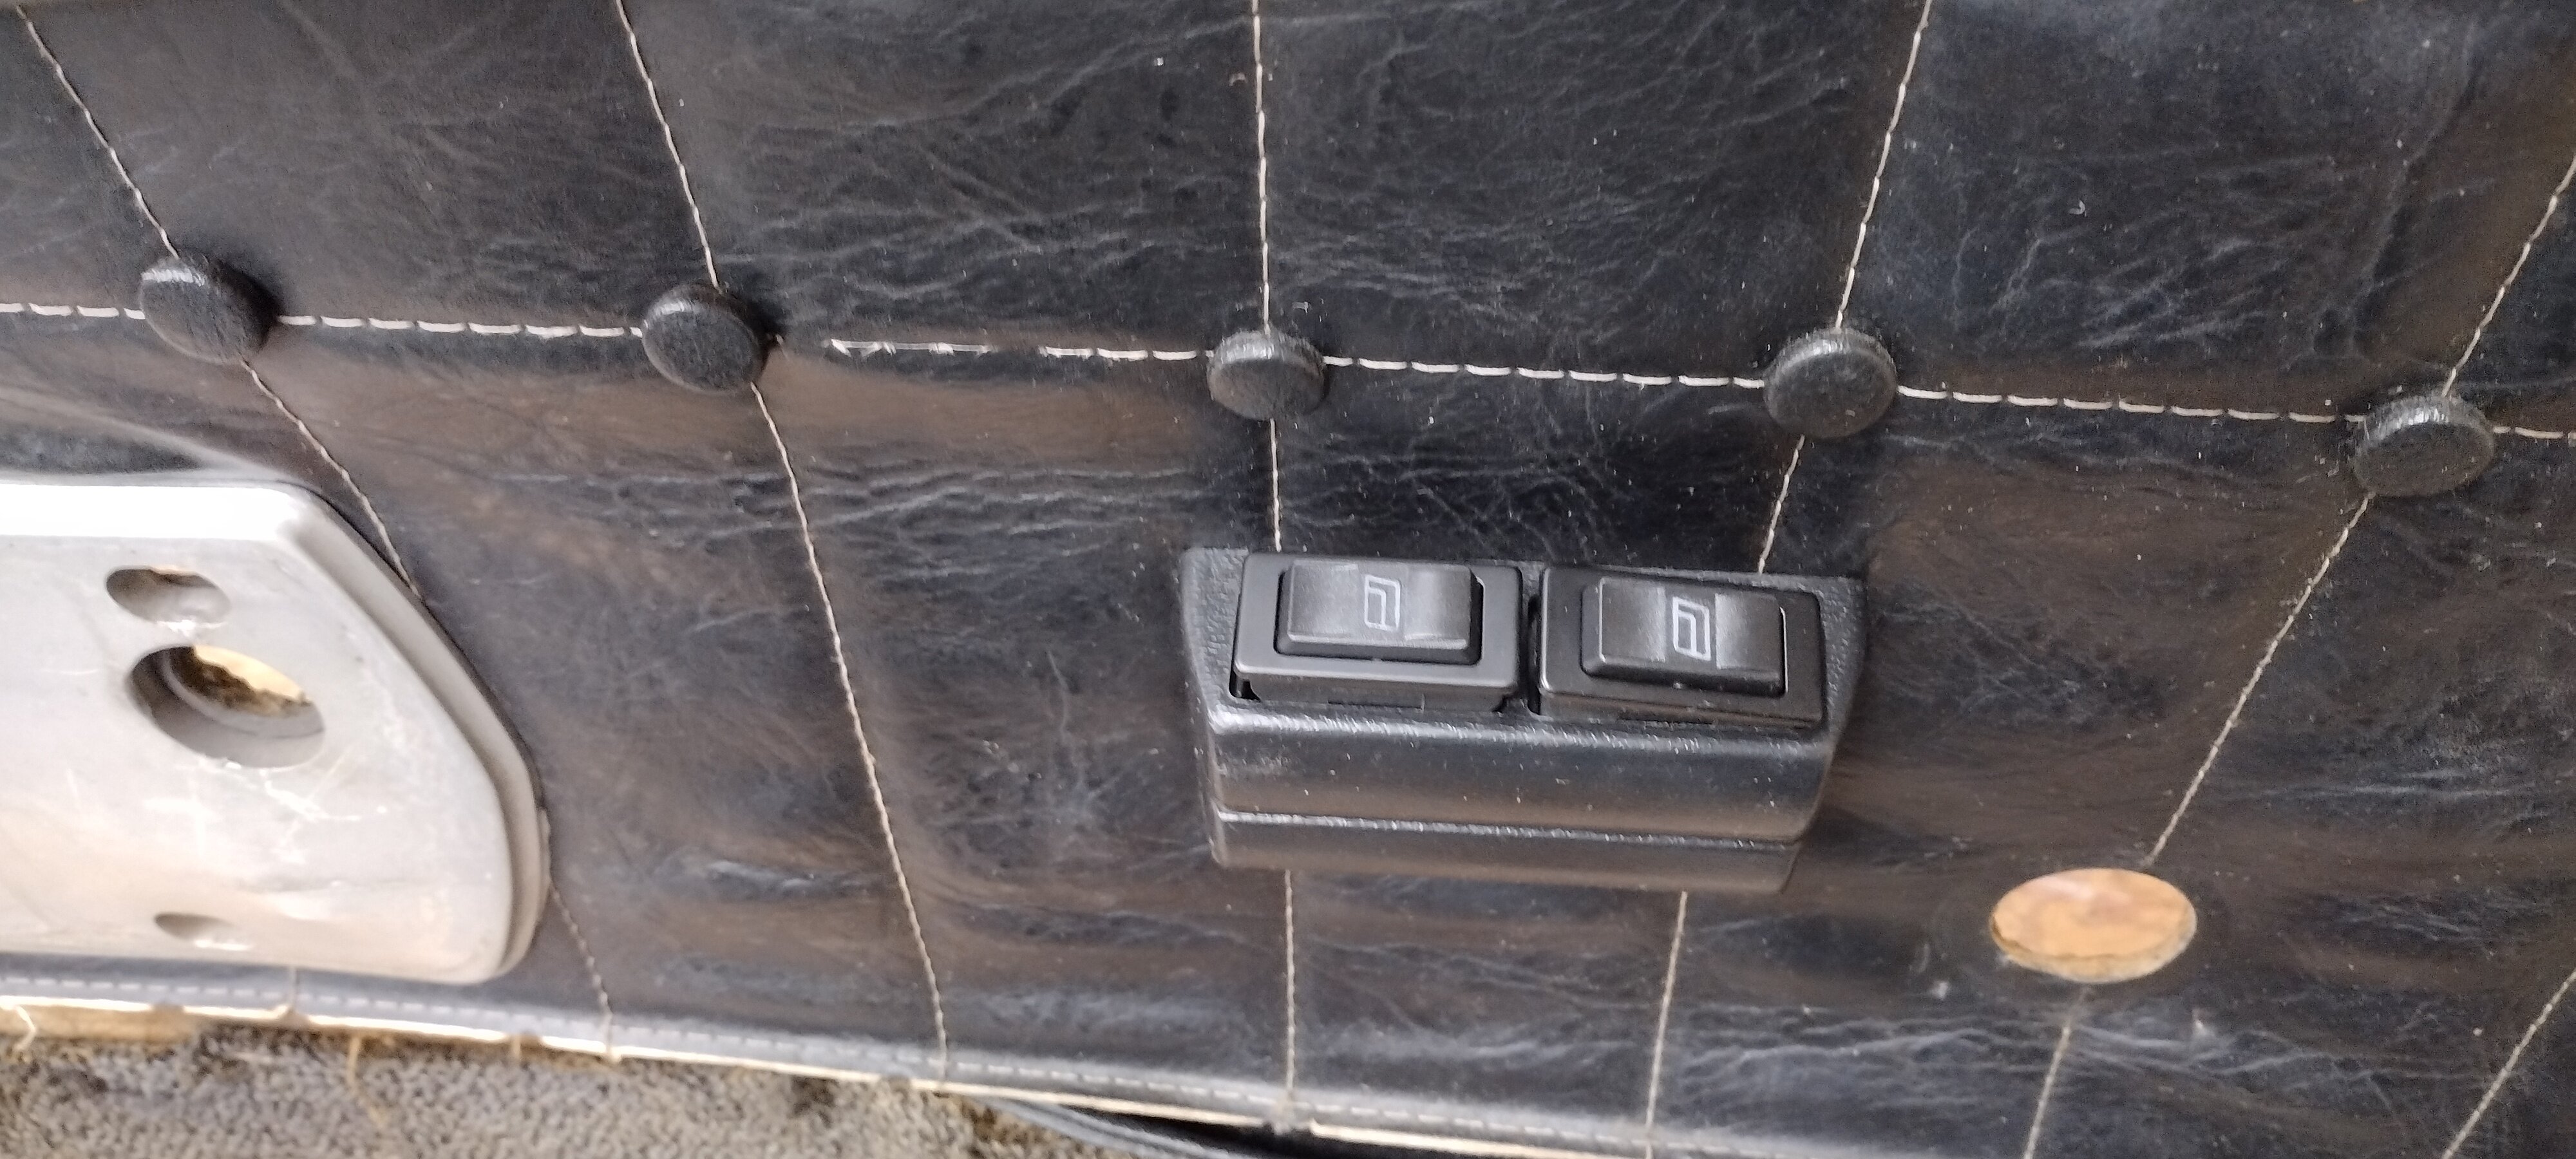
Last night I installed the driver side double switches and switch bezel on the door panel. A very simple task of course. And I think it will look very nice when finished. I placed the switch bezel vertically in line with the arm rear backing plate, then centered on the panel stitching. It seems like a good spot. Note that I'm on the hunt for a door panel in better condition than my current one. So I get a second chance to mount the switches! I also started the pass-thru in the door jamb for the cables and loom. I have a 7/8in hole behind the kick panel. But I need a smaller 90° drill to the hole in the door. I will line the holes with rubber grommets, then pass the cables thru with loom over them. TBD on the final routing of the wires and mounting of the keyless entry box. But likely behind the kick panel.

-
Does anyone have either an exact replacement for this driver side door panel, or a decent set of door panels that they are willing to part with? My passenger side is in pretty good shape. So I would rather just replace or repair this driver side door panel. The main issue being the carpet along the bottom and the rotted backing. Thanks! Note: I just installed the dual power window switch bezel from an aftermarket kit. So a replacement door panel would of course not have that.

-
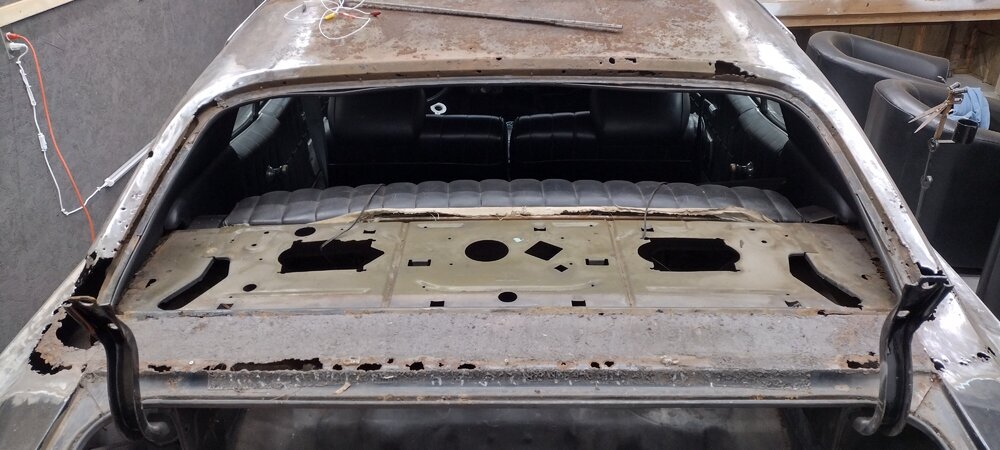
1972 MC 350/Auto - Roof, Sail Panel and Trunk Repair / Replace
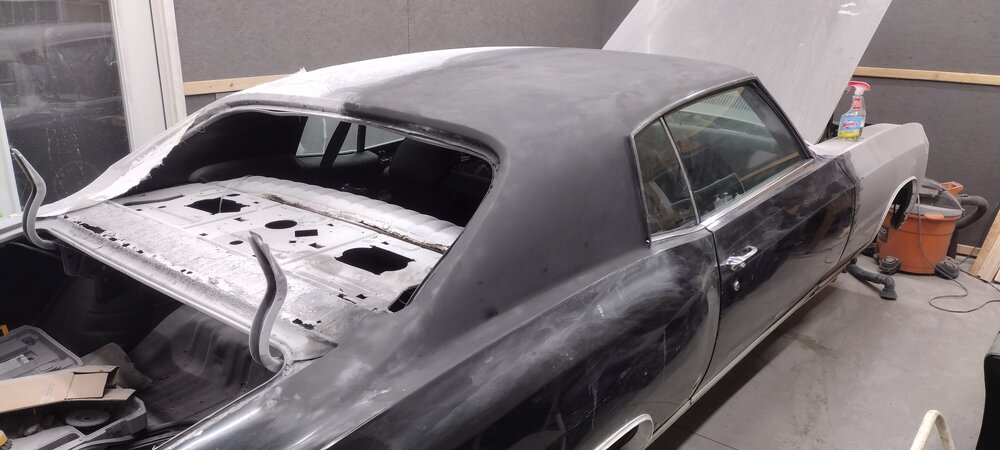
B-Man replied to B-Man's topic in Auto Body Repair
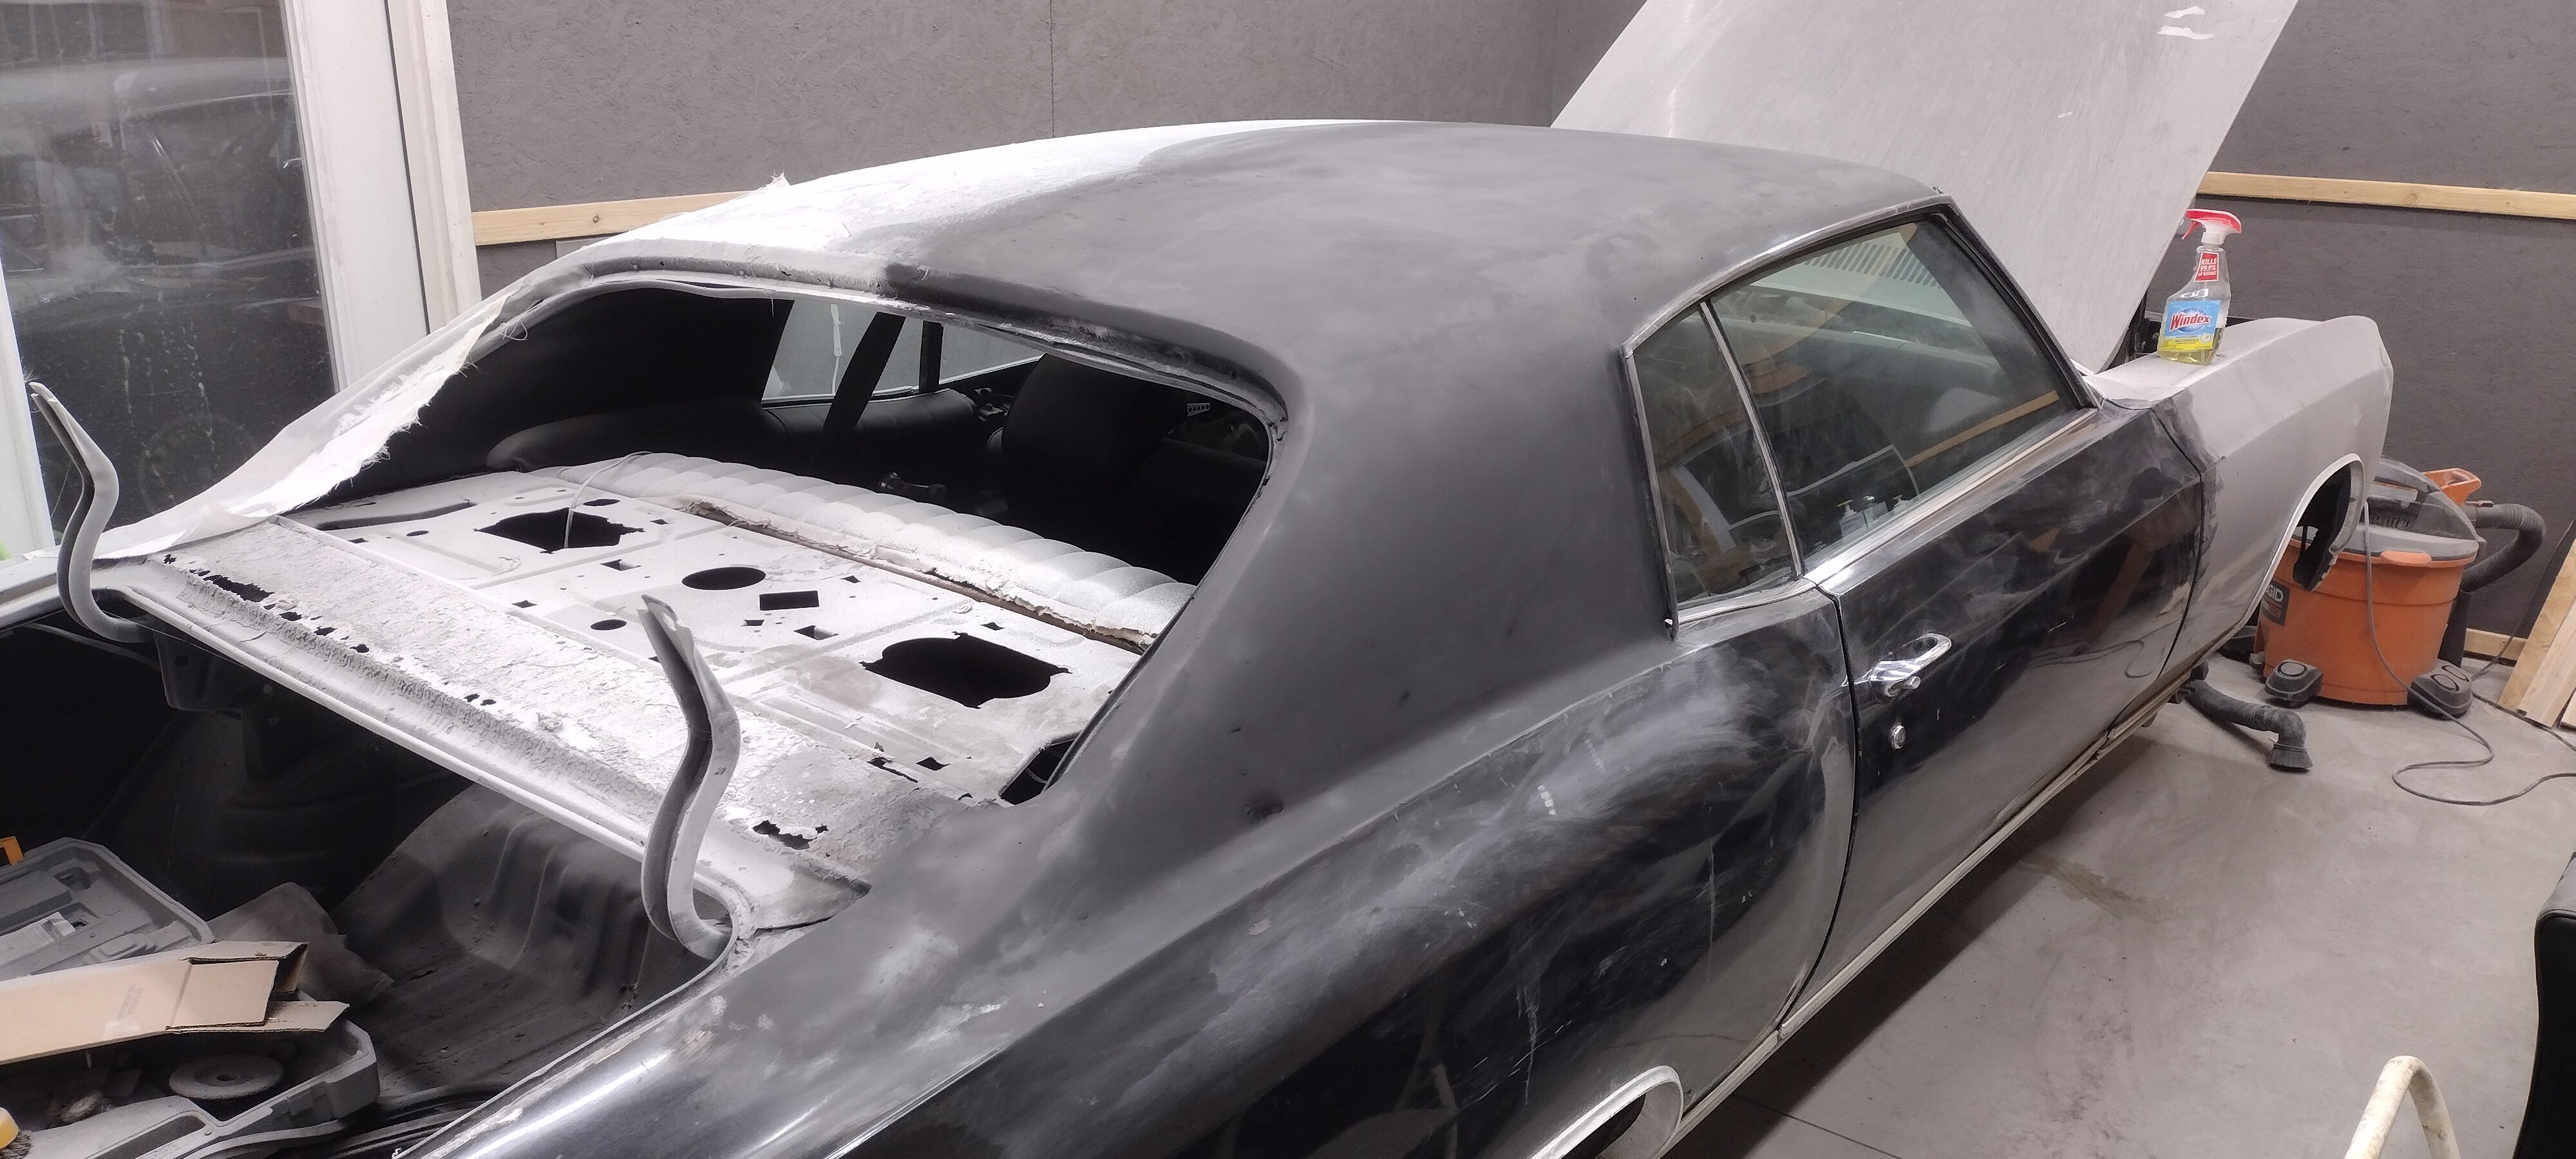
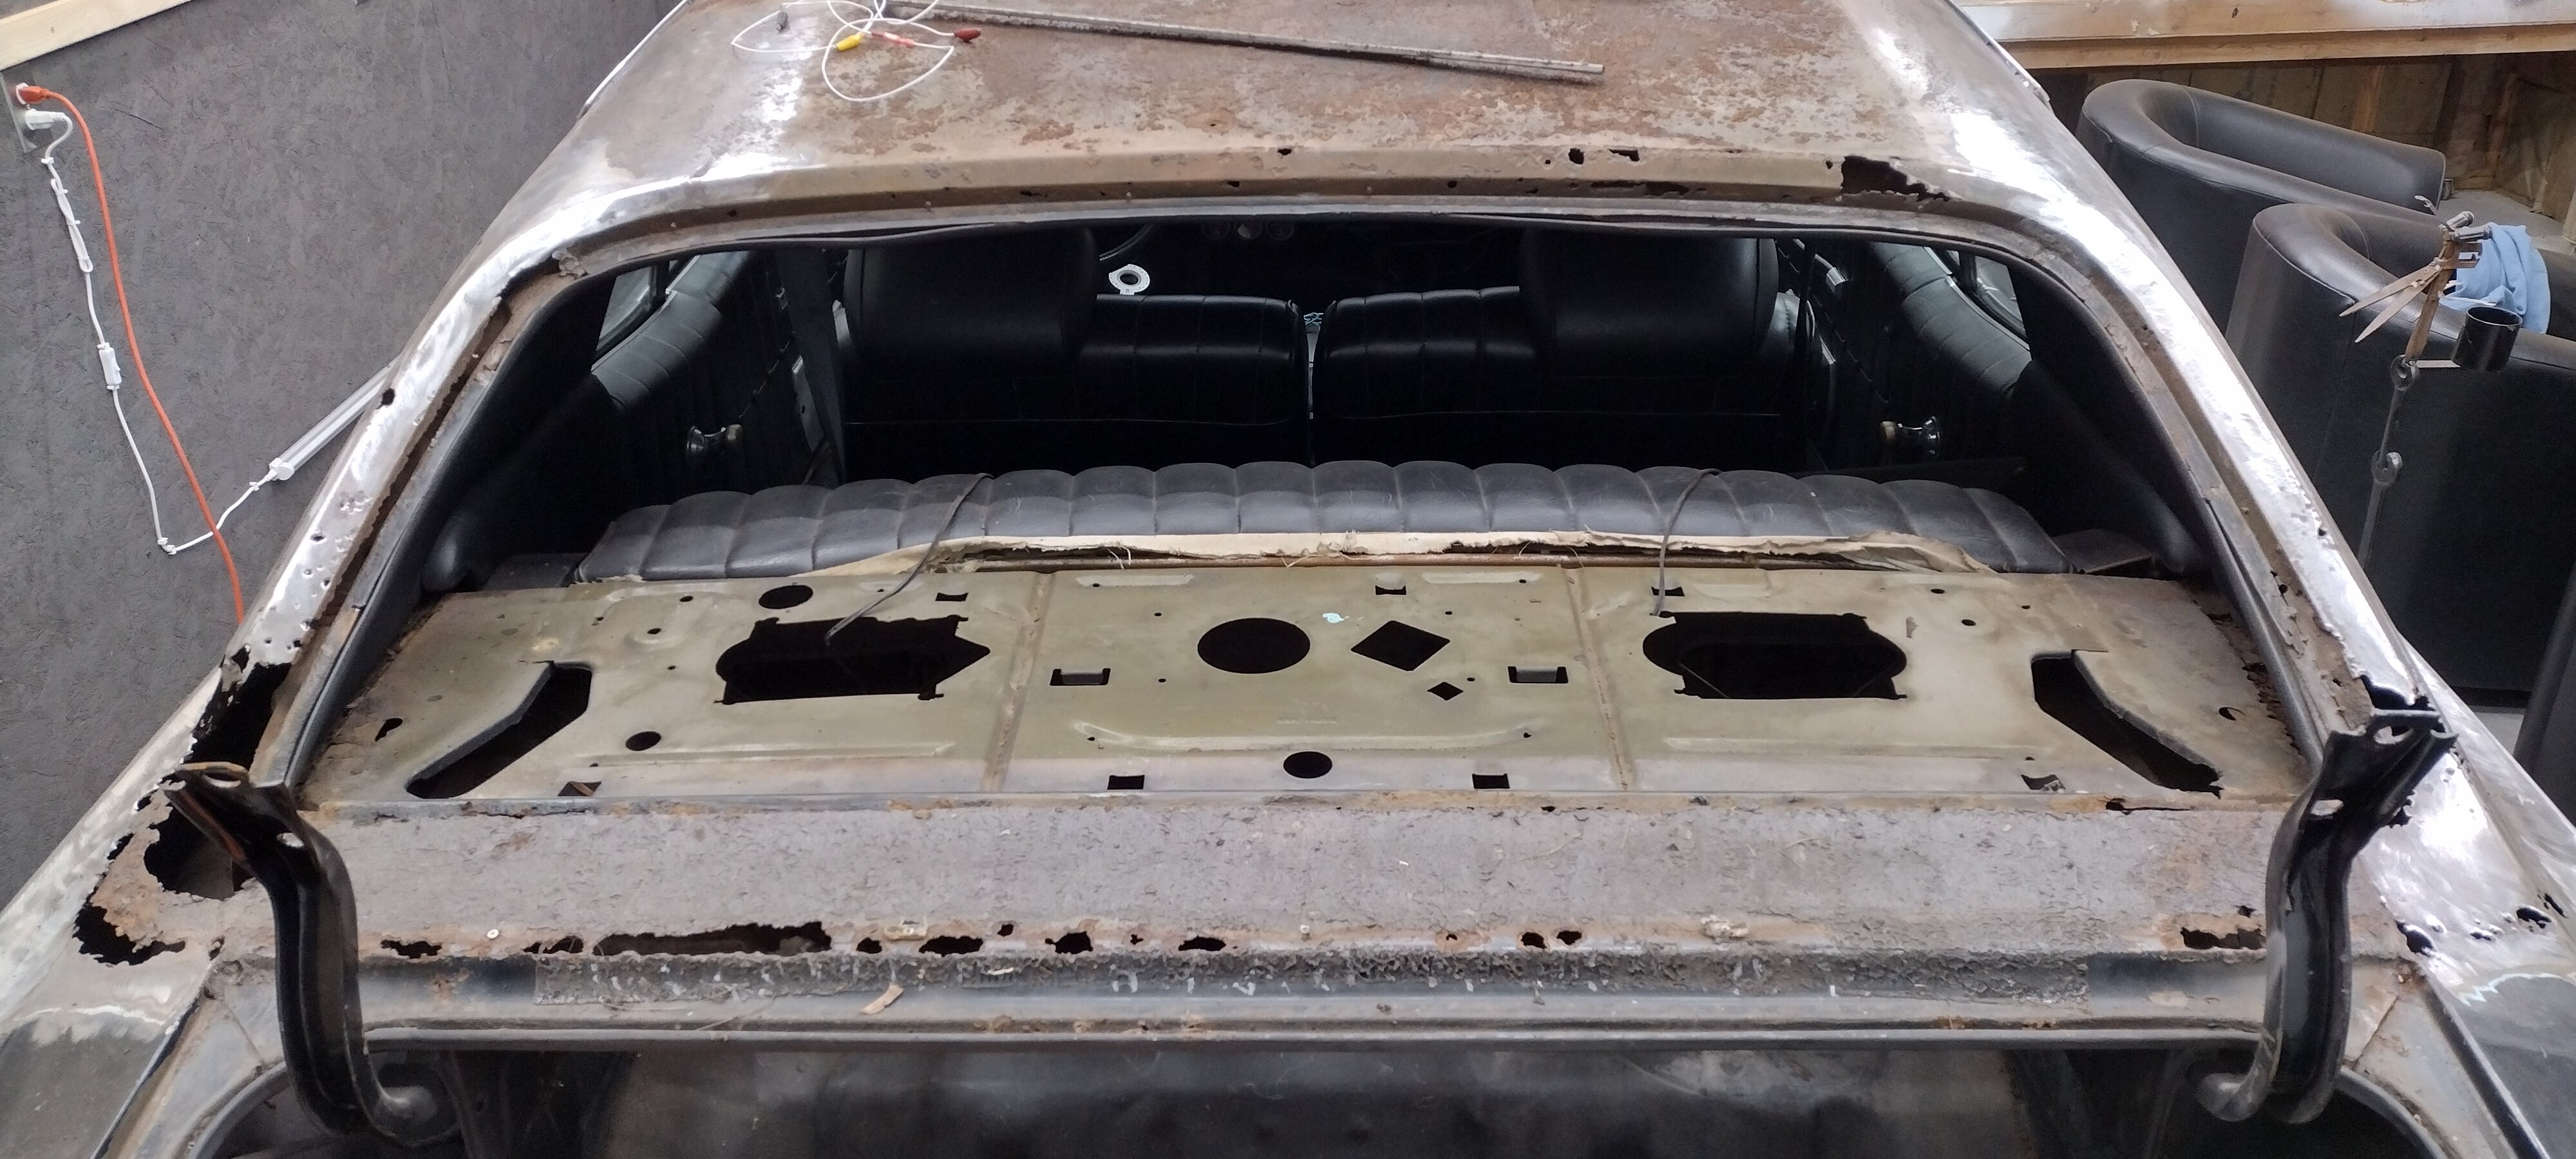
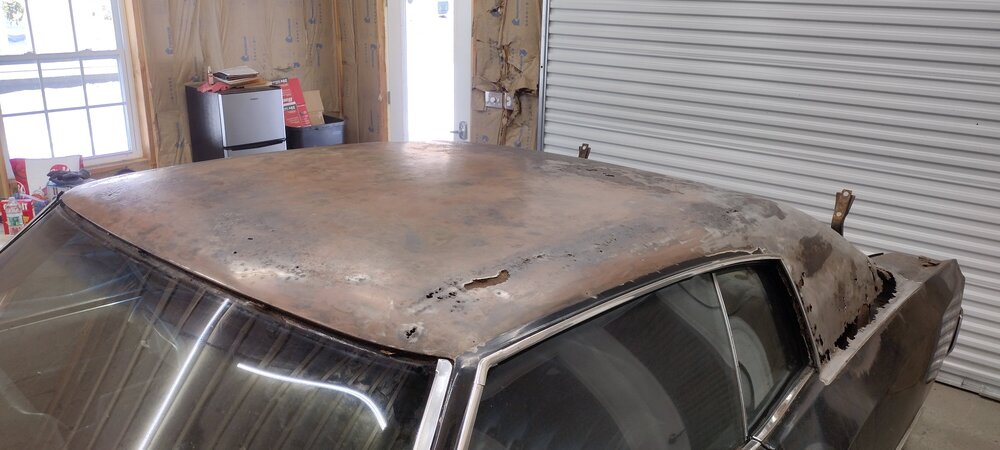
So a month later, after a number of non-Monte delays I finally have a moment for an update to this thread. I removed all or most of the goo glue from the butyl rubber roofing tape that's been in place for years. And I took some wire wheels and flapper discs to all the metal to see what I have to work with - not much, haha! The rear window came out quite easily. And there is a ton of silicone around the edge. So I am not the first to go this far on this car, for sure. I'm waiting for the trunk / window filler panel to come in before I remove the existing one. I want to make sure I leave enough metal to connect to of course. And in general I'm just figuring out ways to restructure what's here. I will eventually cut the rest of the Rusty edges out. There's a can of POR15 and some primer in my near future, no doubt. The incoming fiberglass will bond really well to both. Fun fun!