Tom Carter
-
Posts
98 -
Joined
-
Last visited
Content Type
Profiles
Articles
Forums
Gallery
Events
Everything posted by Tom Carter
-
That helps a lot. I was looking for a panel that wasn't in a good condition to disassemble however it looks like I tossed out my supply of tired interior parts. My wife calls me a hoarder as it is. I appreciate the pictures. I will update with my own when this process starts.
-
Well ok then. I'm glad I didn't go that way then. I figured the speaker size would be better in the panel. The dash speakers I have don't seem to do much compared to the rear. I am using the USA radio with the pre outs to an amp. I plan on switching to a four channel amp to see if that helps. The system works really well as is. Always looking to get better.
-
Well that is just perfect. That is just what I was looking for. Your seats look amazing. I notice that you are using the kick panels with the speakers molded in. How do you like those. I was considering them myself
-
That is a good idea. Do you have any pictures. I would love to see what it looks like as a finished product
-
YOUR THE MAN...i just ordered two cans from amazon. There was two kinds. the kind i ordered was 38363 ( SEM sand free) I appreciate your offer though.
-
Thanks for the advice. I plan on doing a test piece to see how everything goes. I also checked out the SEM paint selections. I think i am going to go with Shadow Blue for the trim. Its a darker blue and it think it would look good against the other colors.
-
Nice...do you know if they have a color chart or can they mix base on year and model
-
Nice. Appreciate the information. The plastic painting is something I haven't done before
-
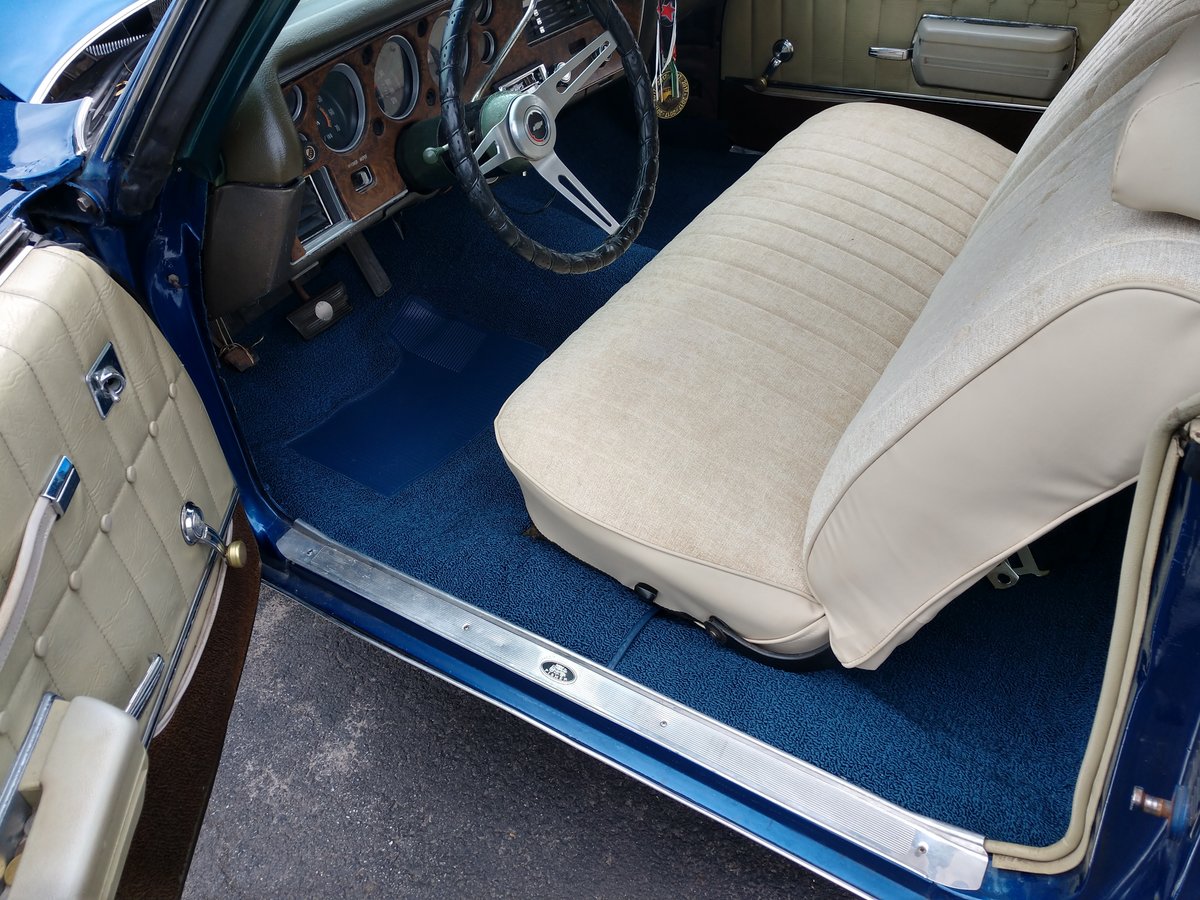
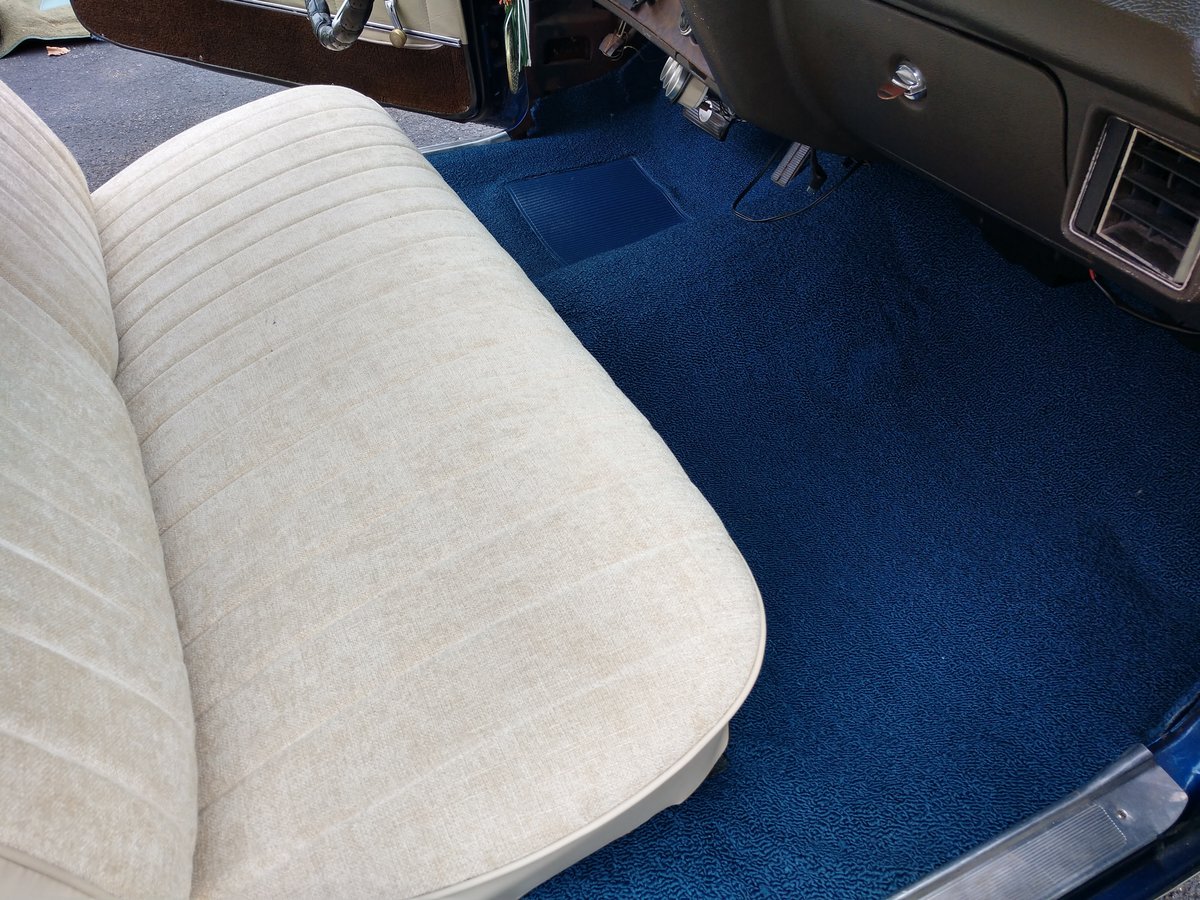
So I am changing everything that is green on the interior to blue. The car was originally green when I bought it. I changed the exterior color many years ago. Just replaced the carpet and the seat belts. Had the seats redone last winter. Custom covers were installed and I couldn't be happier with difference. I will update with more when it happens. The pictures don't have the kick panels installed because I still need to paint them. I plan on replacing the dash and painting the dash pad. I still need to change the color of the steering column. Not sure quite how I am going to do that but it will happen. I have the carpet replacements for the door panels as well. That maybe next weekends project.


-
I bought the lower panel carpet and the floor carpet from opgi. they both look great. If we make it the GM nationals (provided they don't cancel...fingers crossed) I can't wait to show you the difference. My interior is going to be so different.
-
so i purchased new carpets for the bottom of my door panels. I bought them from OPGI. I want to replace them however I have no idea how to do so. It appears that they are glued on the cardboard and in some spots stapled. I was wondering if anyone has replaced them out before and what is the easiest and most effective way to do it without damaging the cardboard. Also, I planned on using 3M adhesive to reattach them. Of course I appreciate you expertise and experience of the club. Thanks in advance for the help
-
So you need to come to the fathers day show at Emerson park...that is always a great show too.
-
So the new sending unit is installed. I looked at the one I took out. The float looked like a small clear plastic barrel. I went to move the float arm and it was just completely stuck. I forced it and something in the gauge sender snapped and then rattled when I shook it. The good news it the new sender seems to be built better and now I have full range of the gauge. I tested it out Sunday with a two hour ride to a Car show. Needed to represent the car club. Thanks again to all. Hope to see more of you guys this summer at the shows.
-
would that cause the fuel gauge to only show half way even though it is full. my gauge use to read half until it reached that point and then read correctly. I was told it was a baffle to prevent splash
-
Well for all those who read and gave advice I say thank you. After checking the operations of the harness wire and the gauge I have confirmation that the sending unit is toasted. I did order a replacement sender with the black float. It came a few days ago and I was able to test the gauge with the new sending unit. It worked to perfection. Now I just have to install that bad boy and its off to the races. Thanks again for all the advice and help.
-
Good deal...thanks for the help. I don't think I have done that as of yet
-
The cluster gauges all work good other than the fuel gauge and I am just leaning toward replacing the sending unit. if nothing else I can buy it and test it before I drop the fuel tank. The tank will come out with the hitch installed Steve but I need to have enough of an angle to drop it down and the slide it back. it needs to drop down further than the differential. If yours is a class one hitch instead of a class three you be in better shape even as far as tank removal. By the way I was kidding about the stalker Steve thing...I do forget she is on facebook though. Well hope to see you and Lisa in Norwich.
-
Yeah...The 70 didn't run a charcoal canister so I only use the one line. Either way it looks great. You didn't paint it at all prior to installation or did you spray it silver
-
That does look great too. Did the new tank have the interior splash baffles so when you take off there isn't fuel hitting the licence plate? That is a very convincing picture...you car looks great on the bottom picture too.
-
Stalker Steve...when did you look at the house. I did check the grounds but I am not to enthused about dropping the tank. I have half a though of replacing the tank and sending unit just so it is all new. Are you heading to Norwich on Memorial day?
-
I did check the brown wire for continuity. I even tried using a jumper from the sending unit to the gauge using test leads. I attempted to put a gauge in series with the curcuit as well and found the cluster gauge was reading less but still past the full mark. I was assuming the test gauge was pulling slight resistance. I suppose I need to just bit the bullet and replace the sending unit. The good thing is they are not to expensive I guess. Thanks for the assistance.
-
Hey Guys, I was dealing with a fuel gauge concern last fall and just didn't get much time to check it out. I changed my cluster over to a gauge cluster last year. all the gauges are working except the fuel gauge. I can't tell you if the fuel gauge failed before or after I put the new gauge in. I can tell you about five years or so ago I changed the sending unit because it would not read above half. The new sending unit did not fix that problem but it worked correctly after half so I let it go. Now the gauge just pegs past full after the ignition is turned on. I disconnected the wire that feeds the sending unit (brown I think) and the gauge will then go to empty. I can do a full sweep with the gauge itself. Every thing I have done leads me to think the sending unit failed. I would hate to drop the tank for a hunch but of course I will. I was hoping to get the opinions of the greatest Monte minds to help me save a little time. By the way, I changed the cluster due to a recommendation by a few guys in the club. I love the look of tach in the cluster. I had one mounted on the steering column. I could't be happier with the change over. as always...thanks for all the help
-
Steve, Knowing the headers I had would not work with the different angled plugs I started going the Jegs book. There are a few different options for the Monte Carlo including Patriot headers. I was thinking of giving them a try. I figured Patriot head with Patriot headers...what could go wrong...haha. I will let you know how I made out. P.s. I got the block back from the machine shop the other day. Reassembly starts this weekend...whooohoo
-
I put a 71 fender on my 70. The corner of the fender were it bolts to the core support is raised. I cut that off and welded in a flat piece of metal. After grinding and painting it looked as it should. I am sure that would be harder going from a 70 to a 71. I drilled the spot welds and was able to remove the piece behind the very front of fender were the light housing mounts. After removing that and swapped with with the 70 fender that was beyond repair. After rewelding that piece back into place the fender was installed. The mounts on the fender to the core support bolted right on and the front light housing mounted right on. The dowl pins lined right up due to the front piece swapped form the other fender. The whole repair took about an hour. Look as it should and no one has ever asked about it unless looking at the pictures.
-
I put the 2771 plugs yesterday...great clearence for the headers and the performance has returned. Thank you for the gap settings also. To be honest I was using the .035 so now I need to regap them but that is an easy fix. Thanks again...You guys are alway great to talk with