pab3589
-
Posts
79 -
Joined
-
Last visited
-
Days Won
7
Content Type
Profiles
Articles
Forums
Gallery
Events
Everything posted by pab3589
-
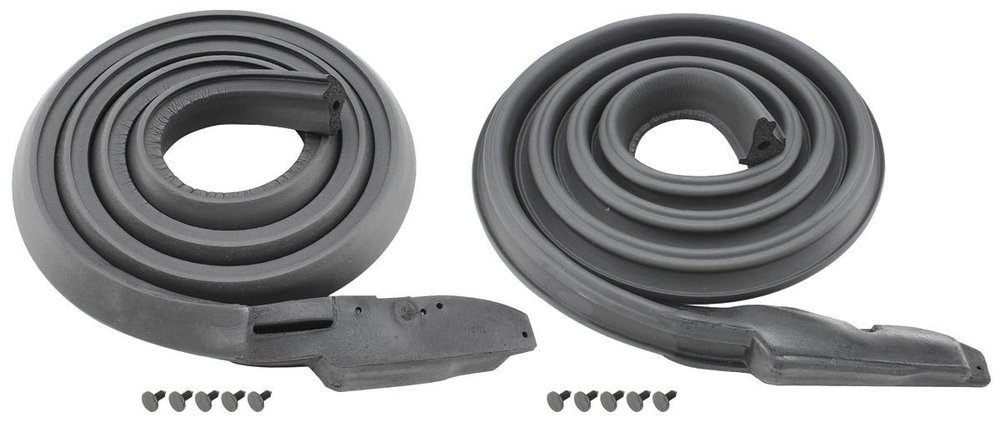
Joe , Great pics on the door seals, the metros look very similar to the Soff Seal I had. Antoine, I did mean that Miami LOL, hopefully flying out Wed (weather permitting and backups from the snow here will be cleared hopefully) stay in Miami for a few days and then cruise Friday. As far as the felts they were from OPGI they also have the little triangle for the rear quarter window and are very much like factory . Here is the part # Part# WC15119 ,
-
Sorry Joe, If it makes you feel any better he doesn't really like us either , it's the farther you get from NYC ..LOL .. Thanks for keeping the lights on we still had staff working out that way. I am at the Comptrollers Office for NYS State Retirement.
-
Steve , Love Lanies one of my favorite restaurants.. About 10 minutes from me go there quite often , was there last Friday afternoon and almost went today LOL If you ever go again maybe meet up for a beer.
-
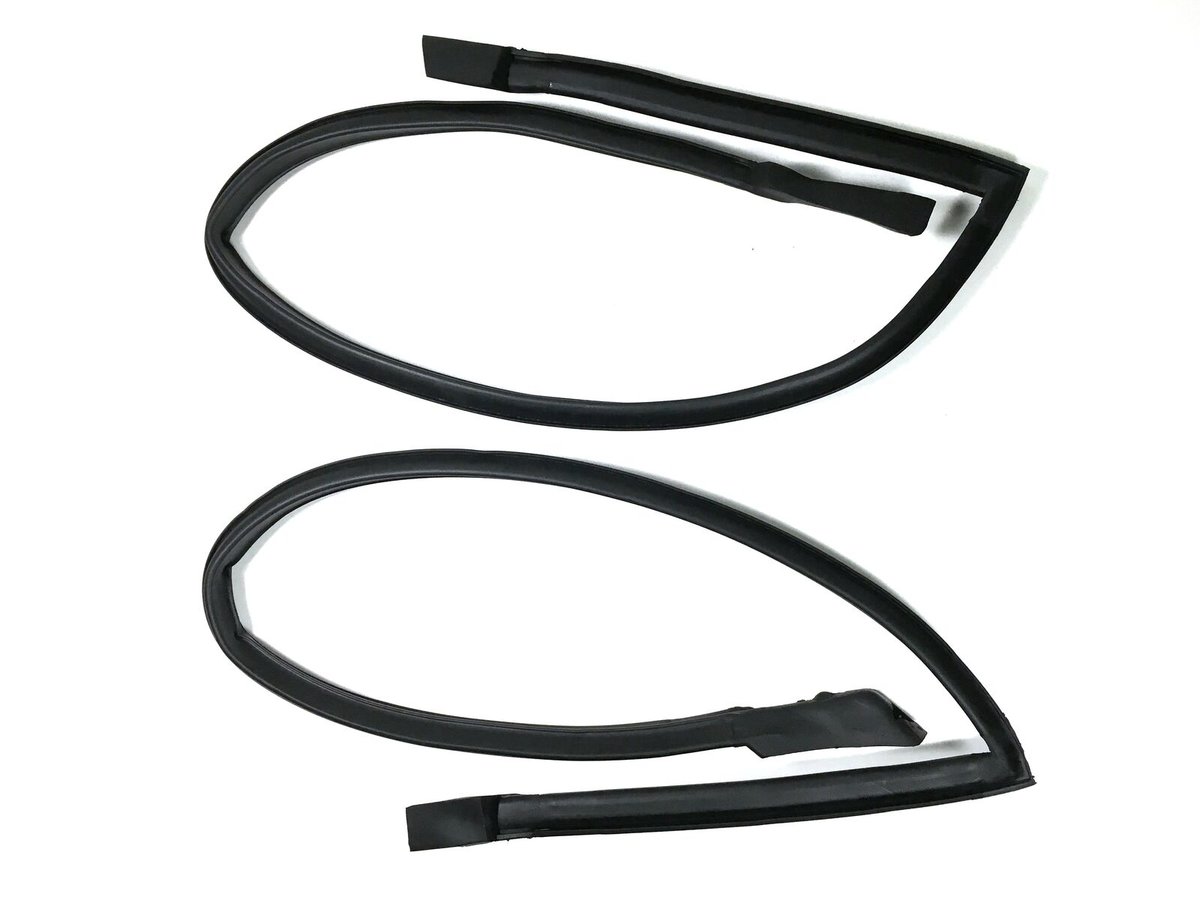
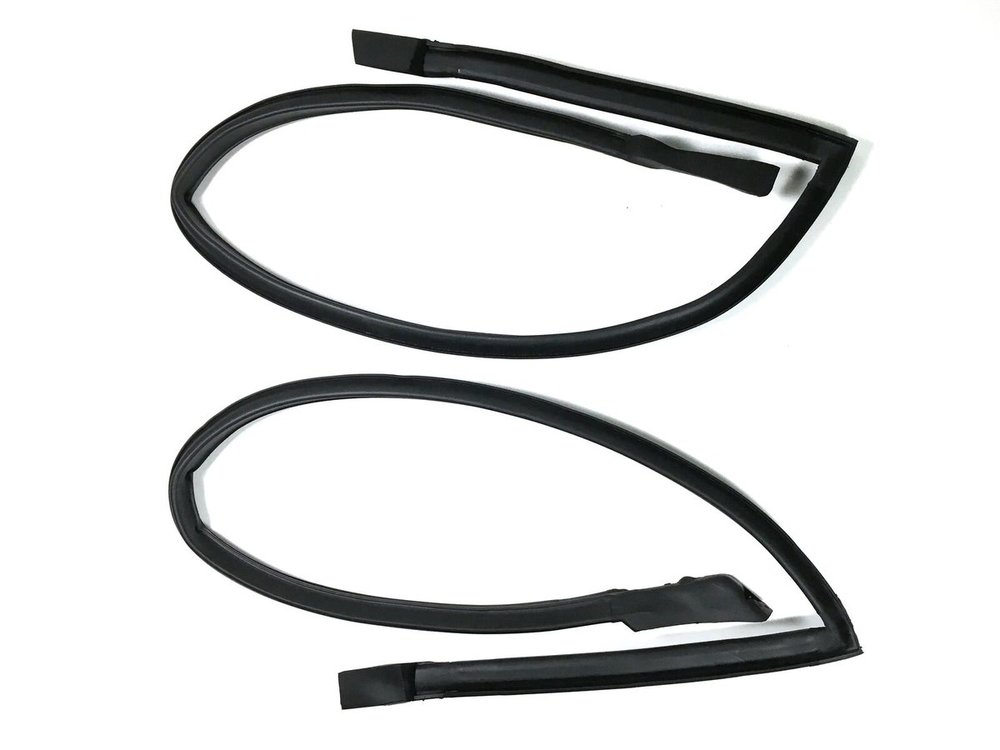
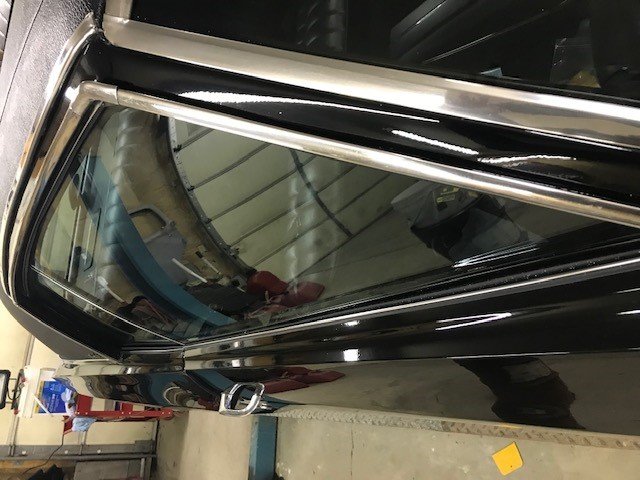
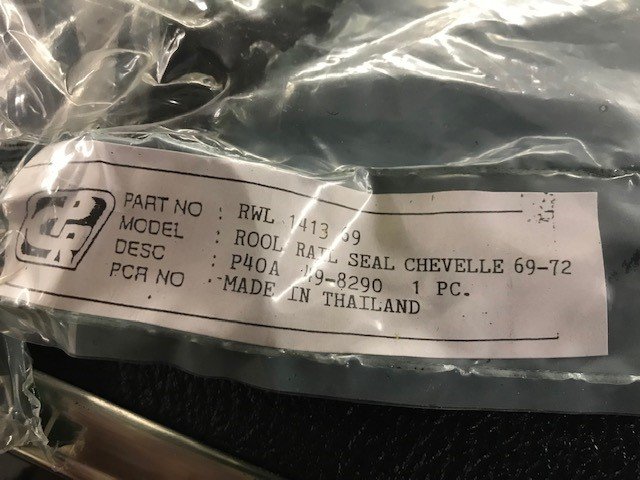
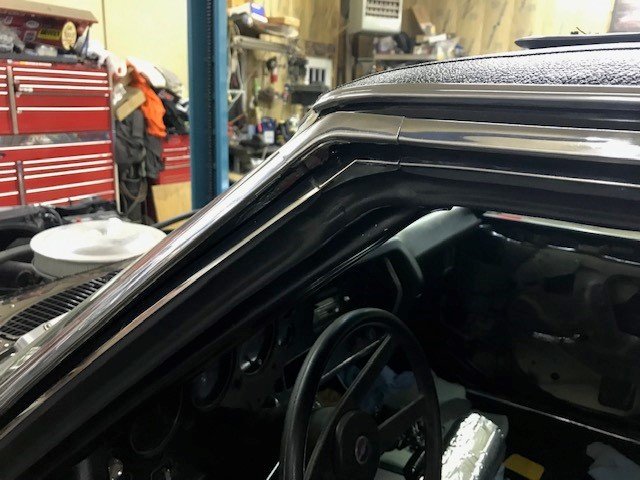
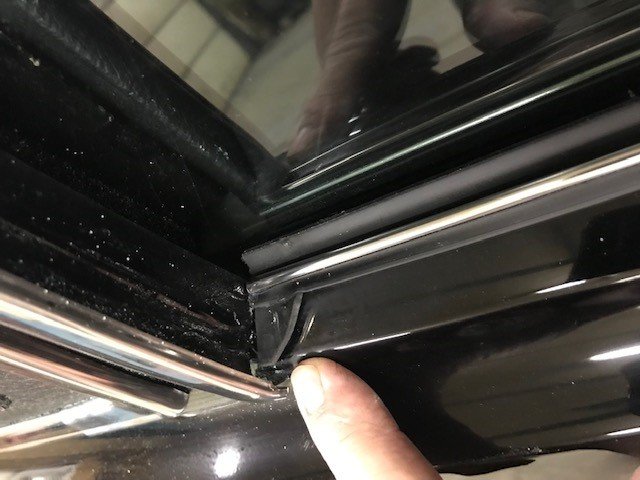
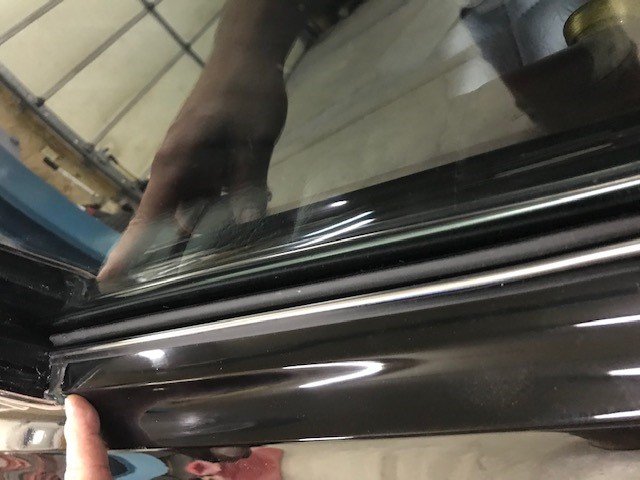
Antoine, I will post the pics I have now and see if that helps otherwise will be about a week or so as we are leaving for Miami and a cruise for a little over a week. I will try to explain also, but at the front of the door glass were it comes up the pillar to the roof line that corner there on the soff seal is not formed. If you were to lay the seal out on the table it would be whatever shape you made it into . The Precision ( much like the factory) is formed and is in the shape of the pillar and roof line. The soff seal can be installed but its tough to get a seal where the window hits that corner. I will say as a disclaimer there may be Soff Seal that are formed more like the factory ones. You also mention the outer felt, I think I could use most of the holes but ended up drilling some or at least the end ones and may have had to make new one s right through the felt itself. Reason I had to do this was this my 3rd set of felts ( 2nd pair I installed) and even though they are supposed to line up depending on how the holes were from the factory they may not line up. I used black screws from one of my many sets of felts and made new holes or whatever I had to do to make them look good from the outside. You wont really see them . Here is what the soff seal look like. Here is what the Precision look like Here is the Precision installed hope this helps.

-
Joe, I am glad the info I had helped . I didn't look at any other stuff precision had as everything else worked out ok. If I do have an issue in the future I will be looking at precision again for replacements. Be safe to and from work if you are getting the snow. The governor actually gave us the day off here in the Capital Region ( Sorry). Rob, I have heard good things about Metro but couldn't find the ones that look factory at that time and wondered if they have different grades of weather stripping etc... When I located Precision for the price and what I was seeing I couldn't go wrong ( since I already had SoffSeal I couldn't use) so I gave it a whirl and happy I did. Very close to factory ones.
-
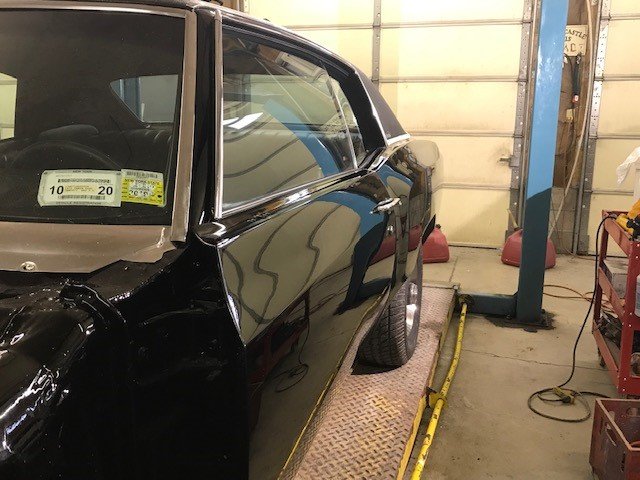
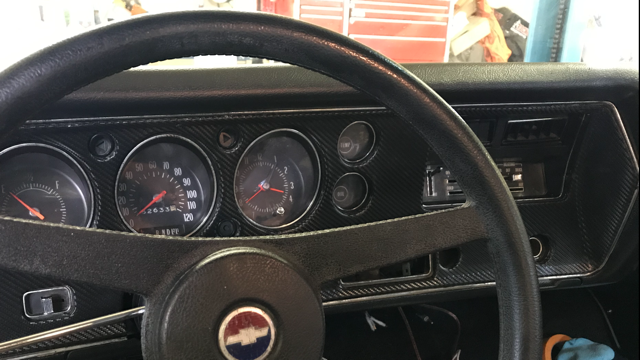
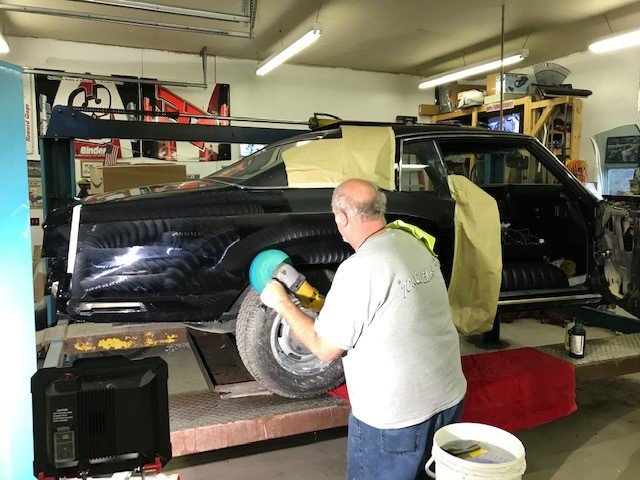
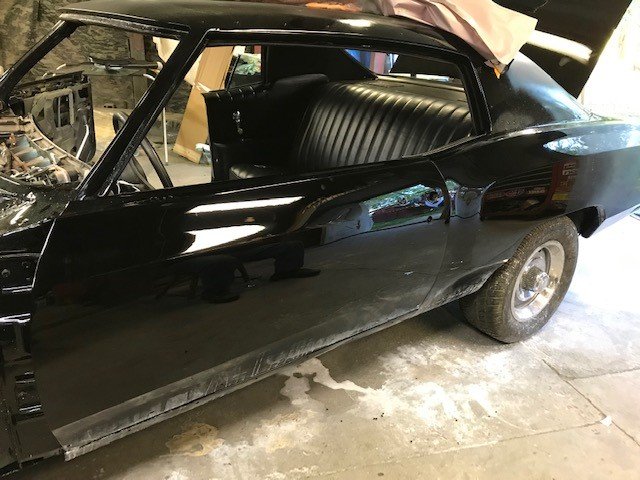
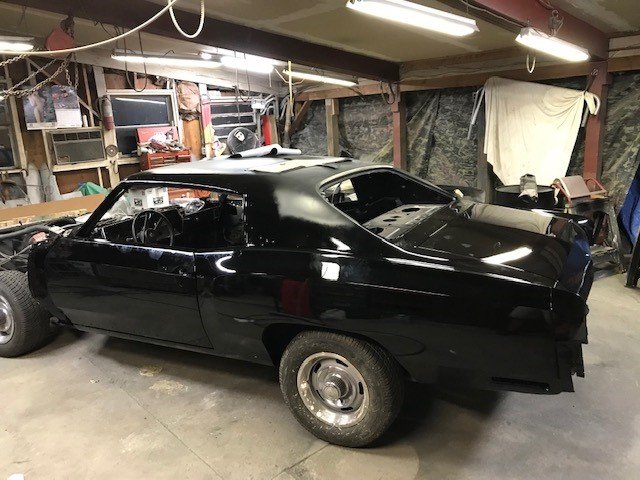
Hey all, Not much progress this week with holiday and getting ready for the holiday, just puttered around some... wrapped the dash with some carbon fiber wrap , better than the flaky rust wood that was on it. Will work for now until I get something better down the road. Finished up most of the buffing until we get fully assembled and will do final detail then. Here are some pics as always thanks for looking. Sorry not traditional dash but needed something . Here are just some pics drivers side finished up and looking pretty straight real happy . Maybe a few flaws in the paint (character) if you see them good eye,, if you don't I wont tell. LOL
-
Hey Rob, I actually found them at OPGI. Part# WC15119 , they are about the same price as the others I have purchased you do need to purchase the whole set inners and outers. Just an FYI these come with the staples for the inner felts , but I ended up screwing them in as installing the staples were going to be much more difficult.
-
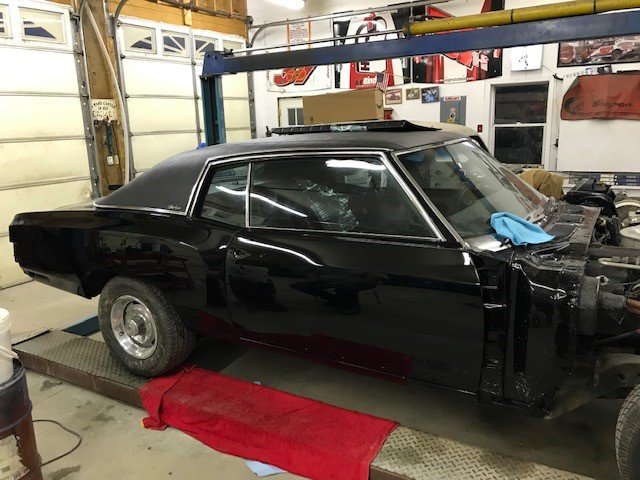
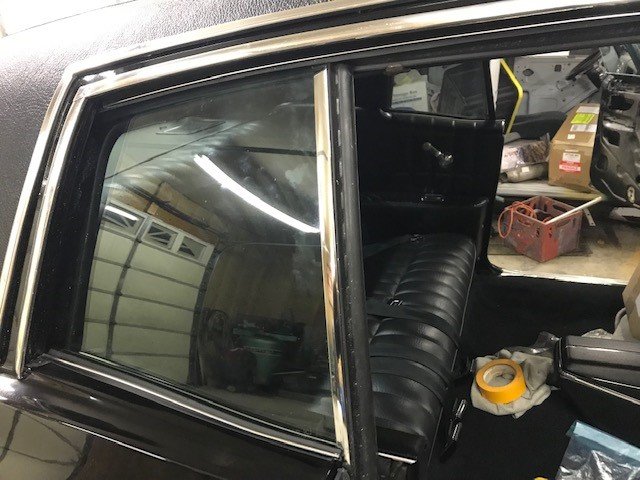
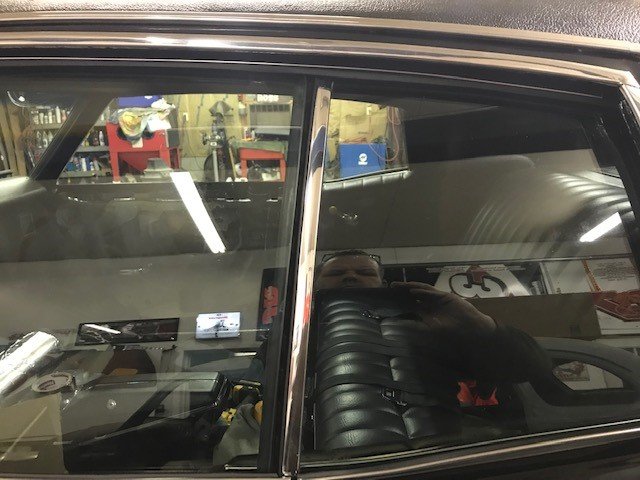
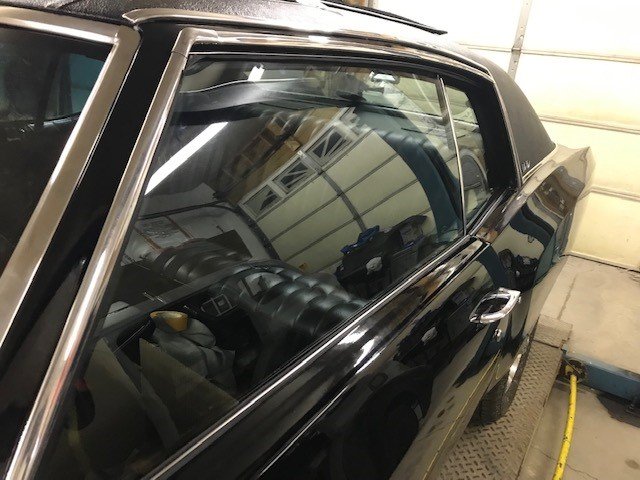
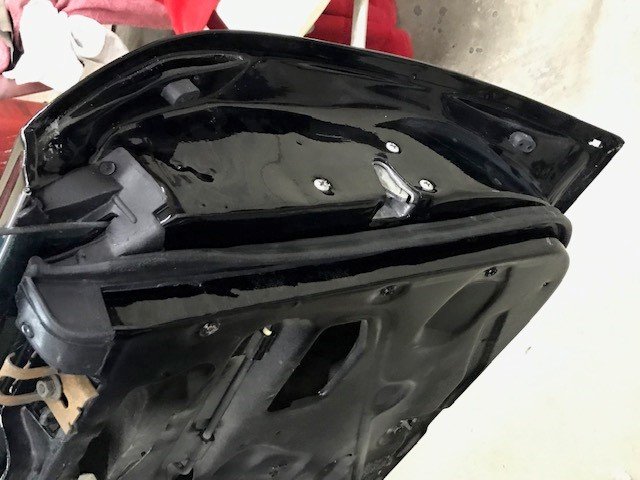
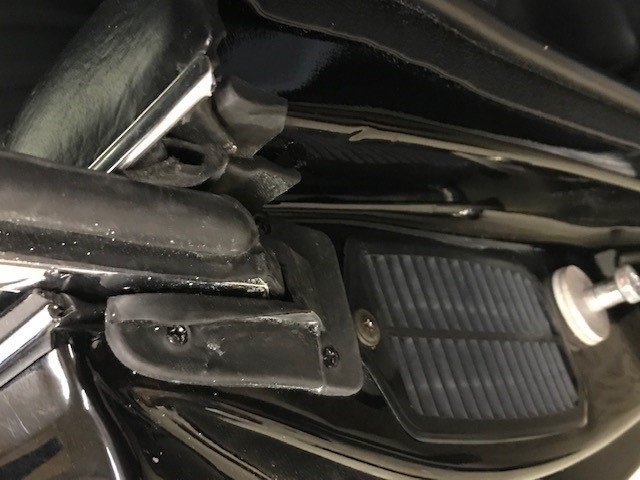
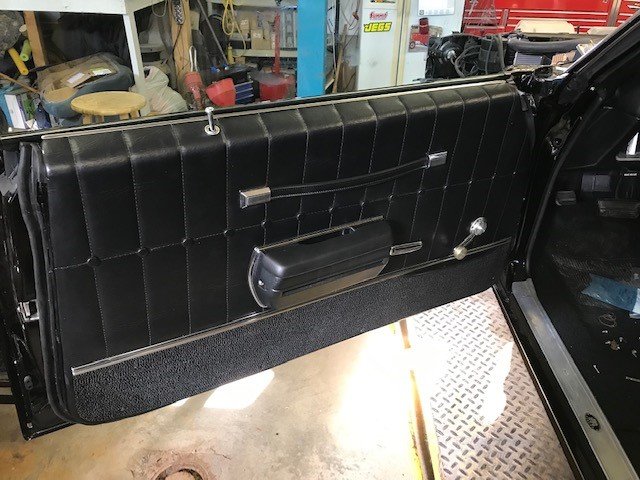
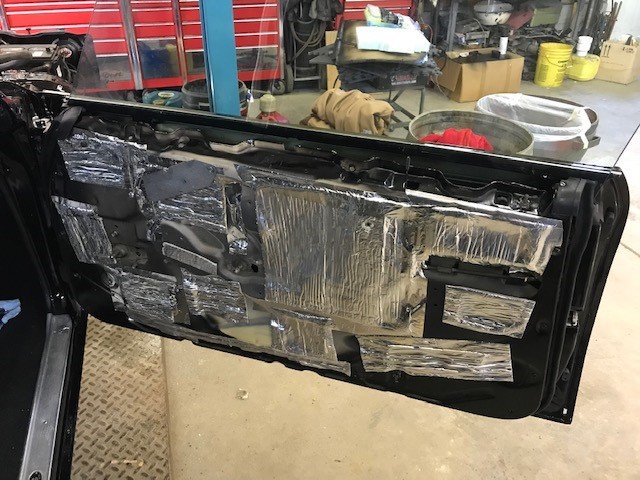
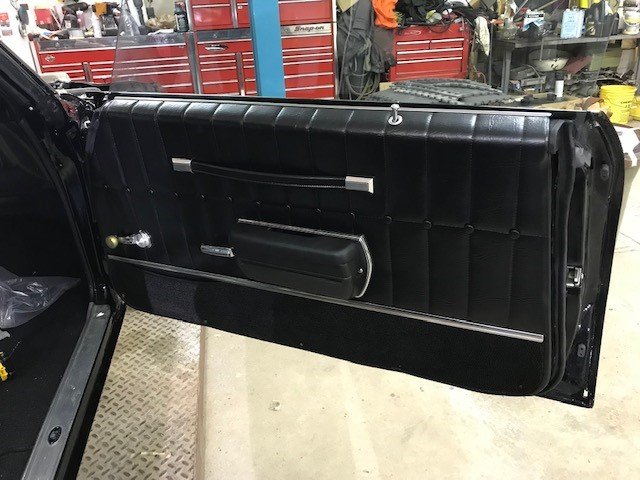
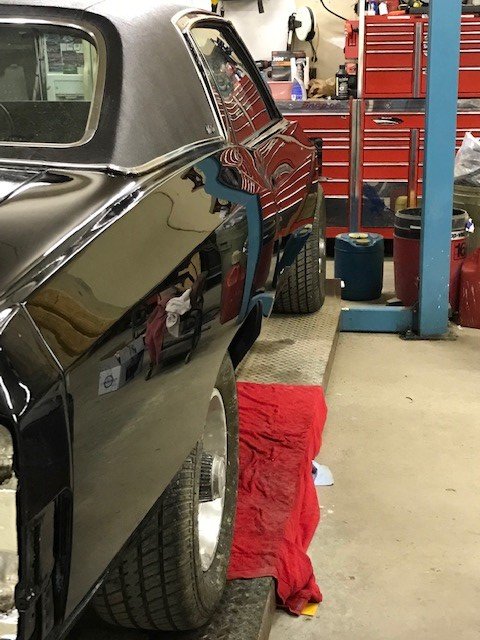
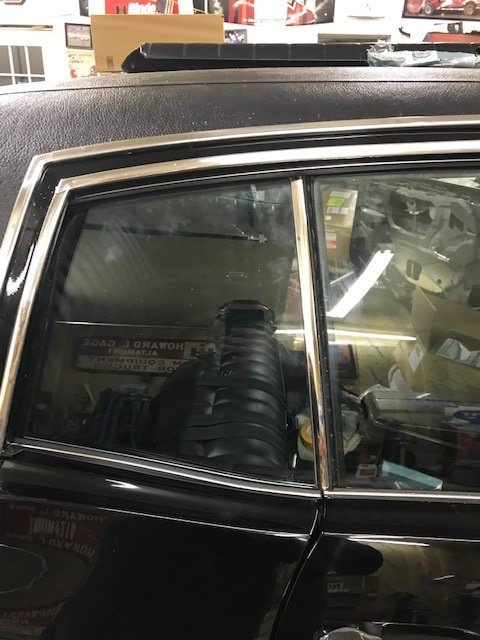
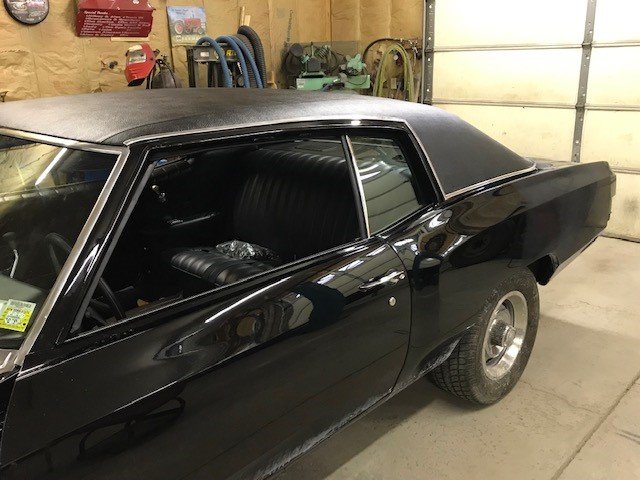
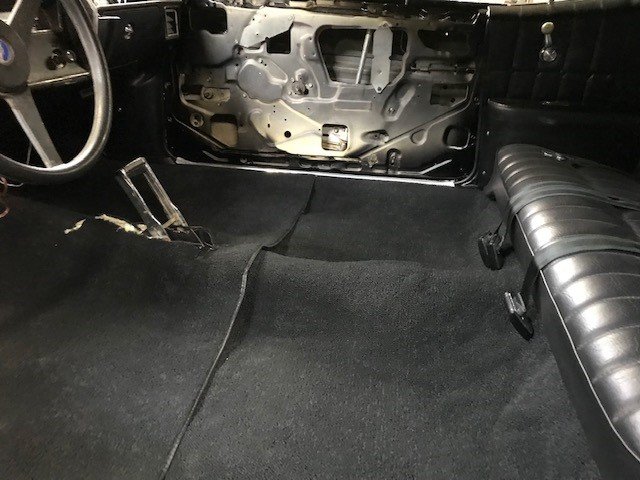
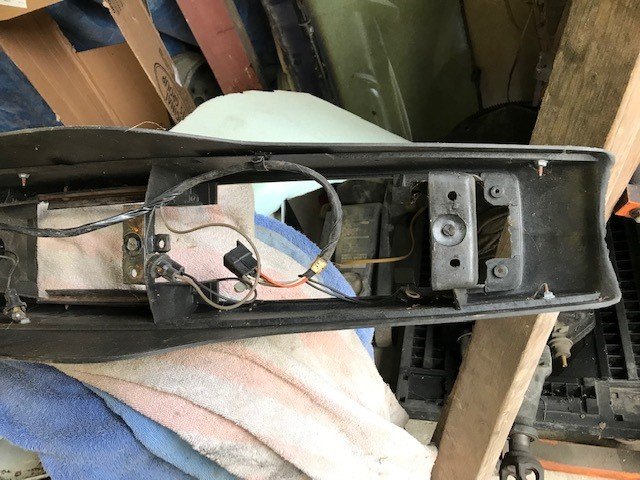
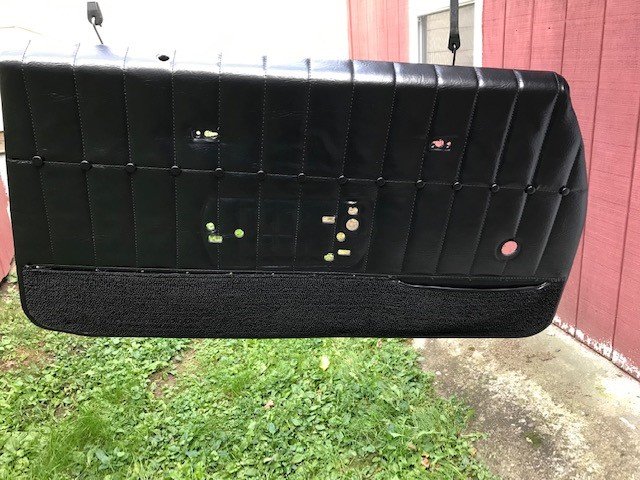
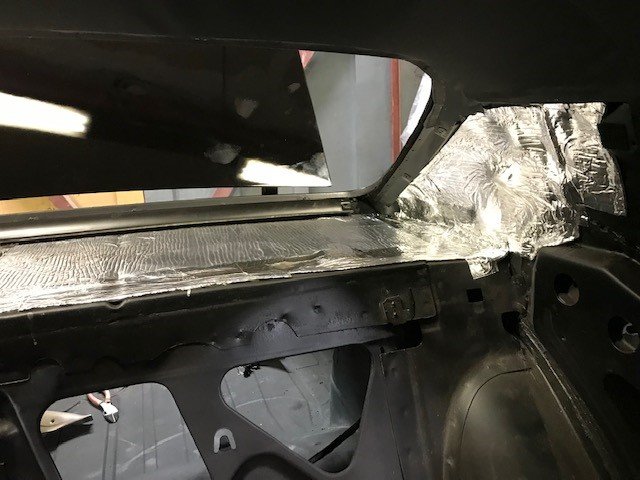
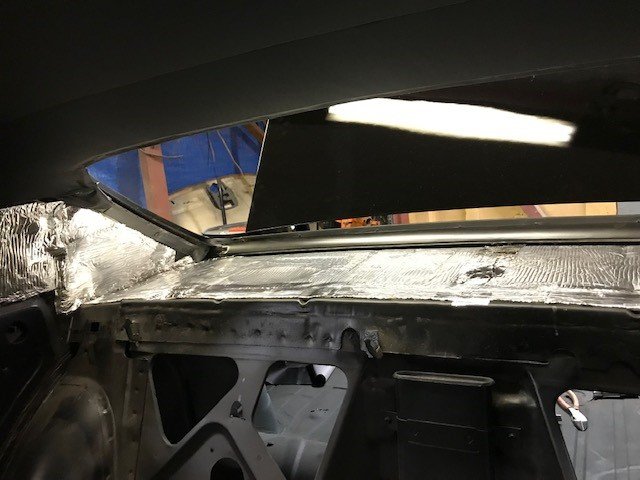
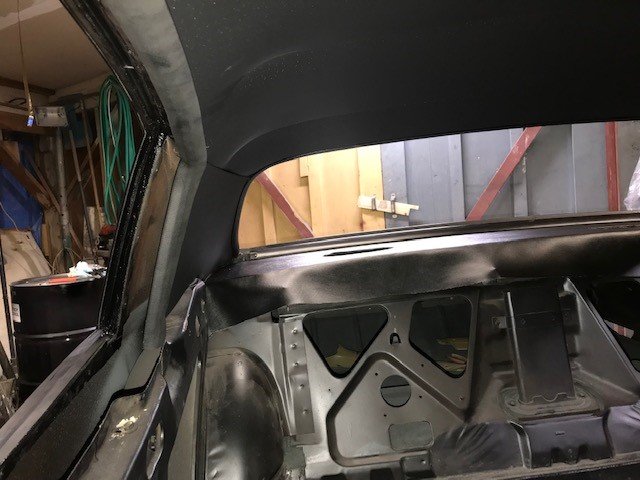
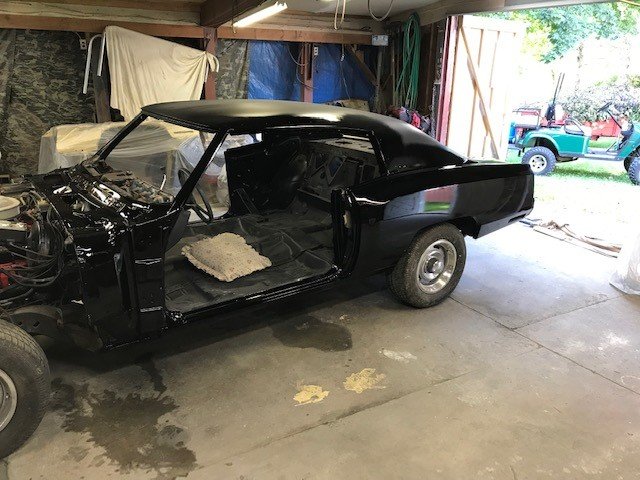
Hey All, Haven't updated in about a month. Not a lot to show, had some vacation and some stuff being done that doesn't really show a lot of progress. Messed around and finally got the floor shifter adjusted and working after having to buy a new cable for it. Had to install, uninstall and reinstall the roof rail weather stripping. Purchased soffseal at first and did not like the way they fit at all . Could not get windows adjusted well at all . The seals had no real form to them at the front corner. Bought a new set from a company called precision which are formed and look very close to factory about $30 for the pair, even cheaper then the soffseal ones and like the way they fit. Also had to change out the outer window felts, as the ones I kept getting were not factory looking at all. Finally found a set and look just like originals and have the rubber triangle at the quarter windows. At that point could get back to trying to get all the glass adjusted.The front windows adjusted first and the back were off enough had to rip the rear seat and interior out to adjust the rear windows and then reinstall. Hopefully will be good now. Feel like I have been doing a lot rework this month. Had some of the wet sanding and buffing done also. here are some pics and as always thanks for looking. Here are the roof channel weather strips I ended up getting which were a lot better quality and formed. Then just some pictures of the new door jamb seals and U Seals. Here is the outer window felts. Much better then the first 2 sets I purchased ( yes 2) finally found factory looking ones.The other ones looked like they were inners not even sure why they make them. Here is a close up of the quarter felts and you will see the correct triangle at the rear as the factory ones were. Here are the windows all adjusted hopefully should be good will find out when it finally gets driven. Could finally start buttoning the doors up getting some sound proofing in there to covers the holes and wherever it echoed or vibrated . The door panels painted and pull handles painted but put new chrome base for the armrests as well as bought new armrests and pads. Cleaned up and painted the sun visors and installed them. My buddy Howard buffing and some buffing results, should be good for now till we are done assembling and do final detail. Pretty happy with how straight it looks.

-
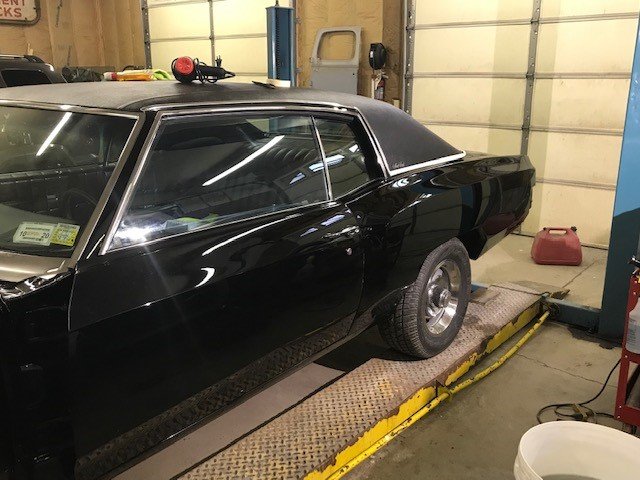
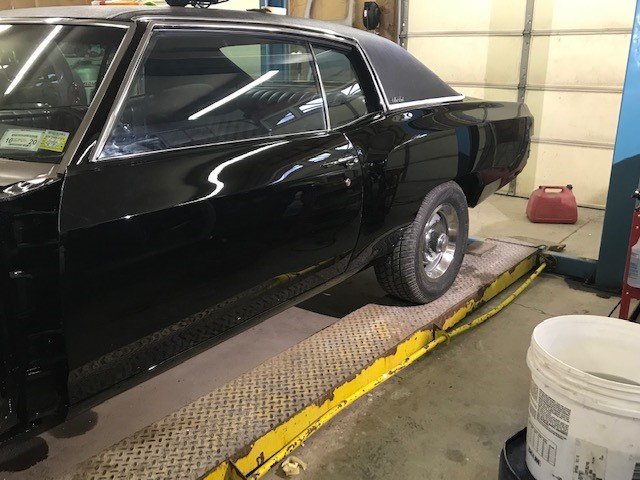
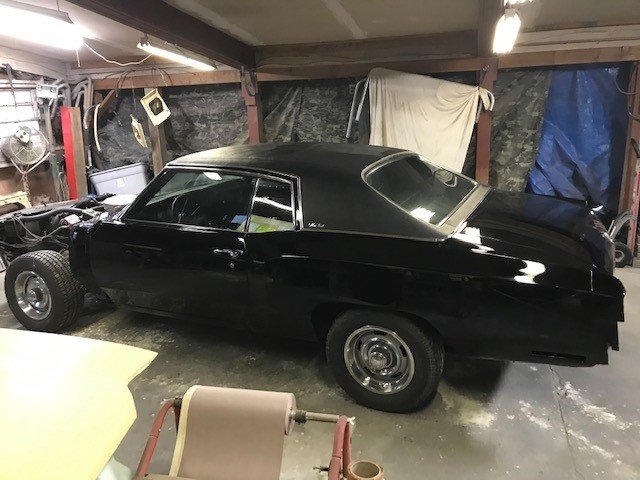
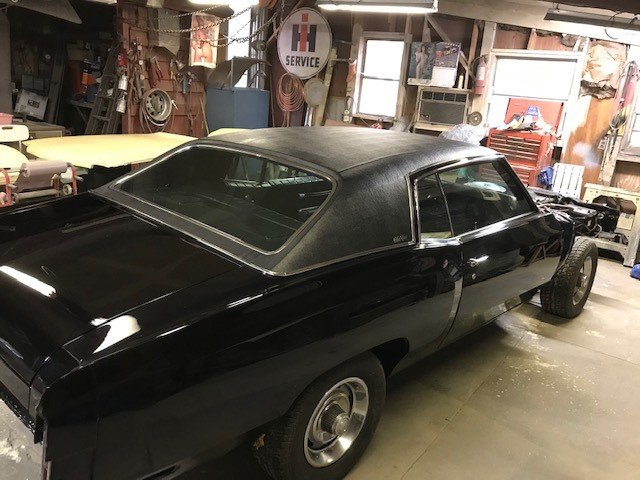
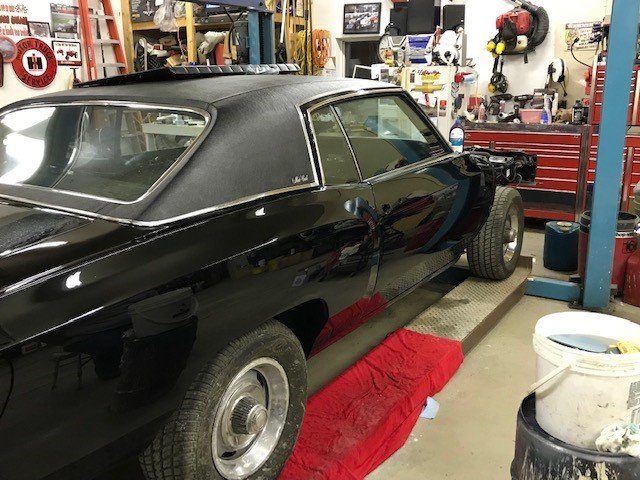
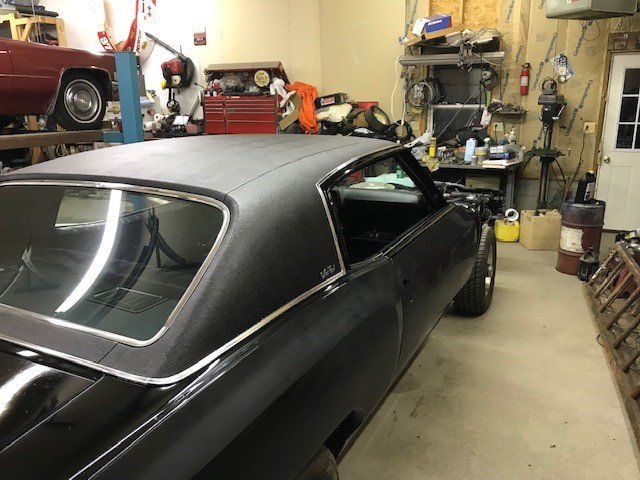
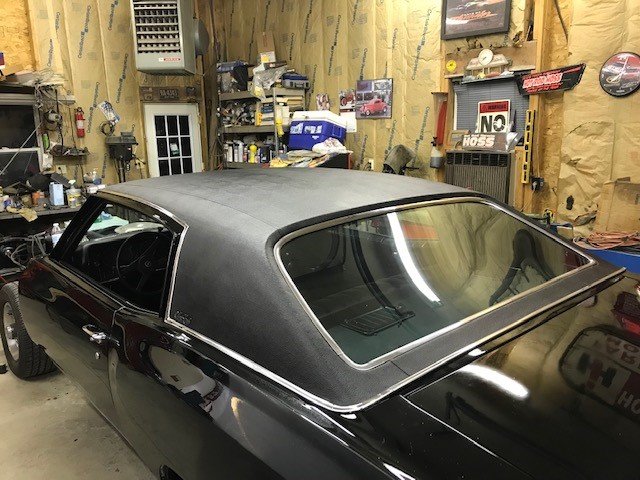
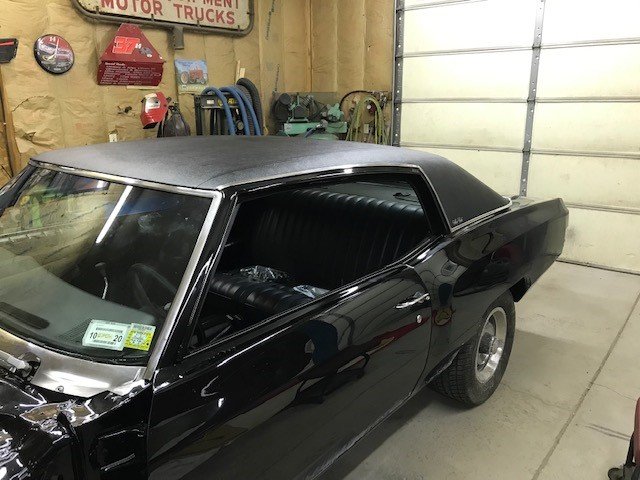
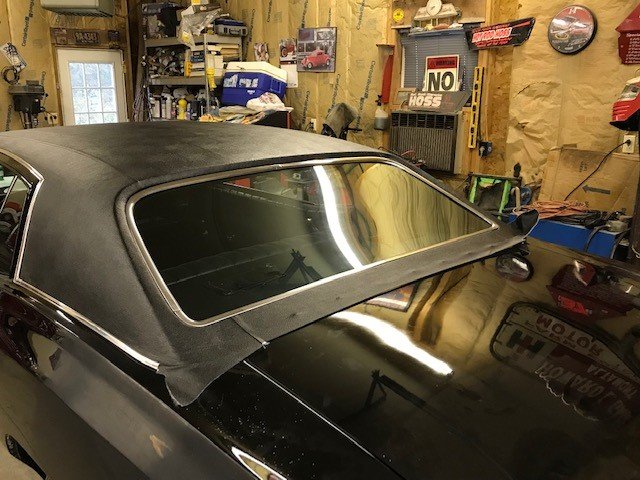
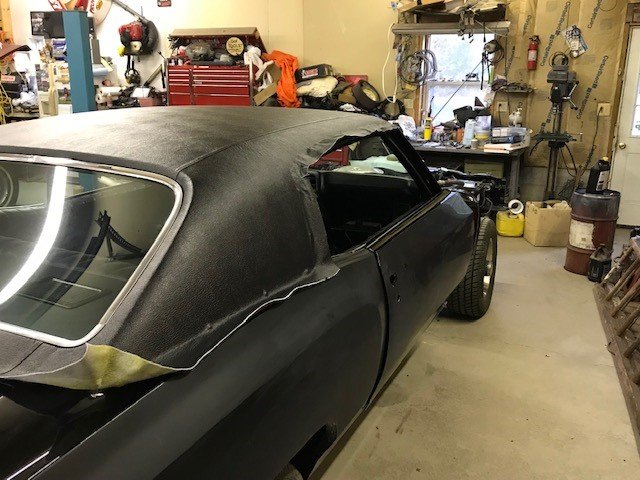
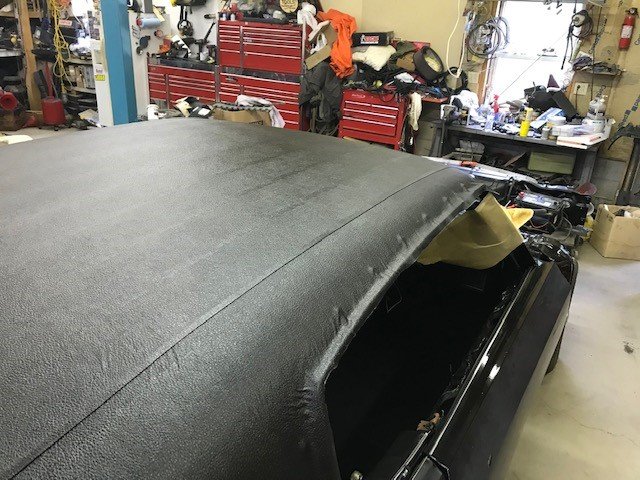
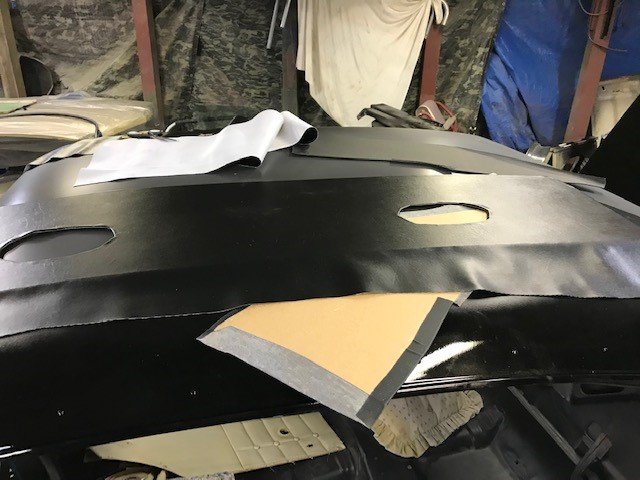
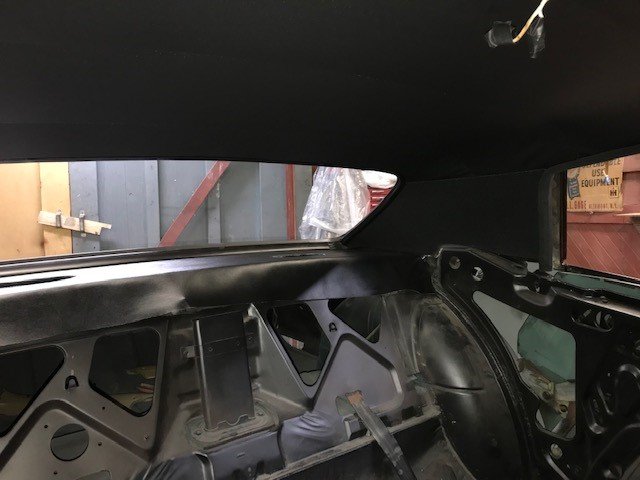
All, I know it won't look like I did much , but finally got the top trimmed and done .. took a bit to be cautious, and cleaning the trim and finding the emblems holes .. but the top I think is buttoned up, just need to clean off a little more glue where it got away from me .. whoops .... I will say the longer it sits there I think it looks better as it starts to relax, and not even out in the sun or heat, ( not that we have any in Upstate NY this time of year ) here are a few more pics... as always thanks for looking. Very similar to the pic the other day but you will notice this pic has the Monte Carlo roof emblem installed.
-
Just trying to get the roof buttoned up , pretty tedious cleaning the trim removing the brown paint shining it up some and trimming the vinyl top without making a mistake and ruining the whole thing. Leaving the trim all chrome for now not doing the color back on it. Here are a couple pics of progress.
-
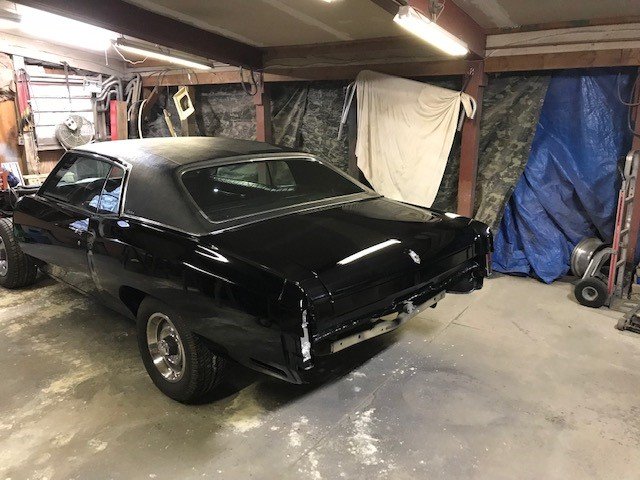
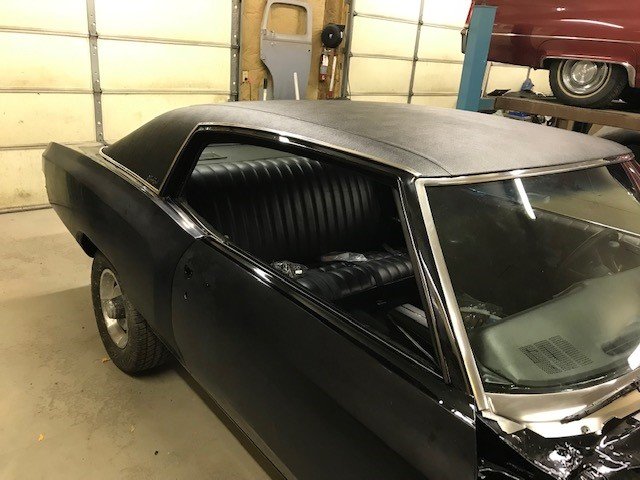
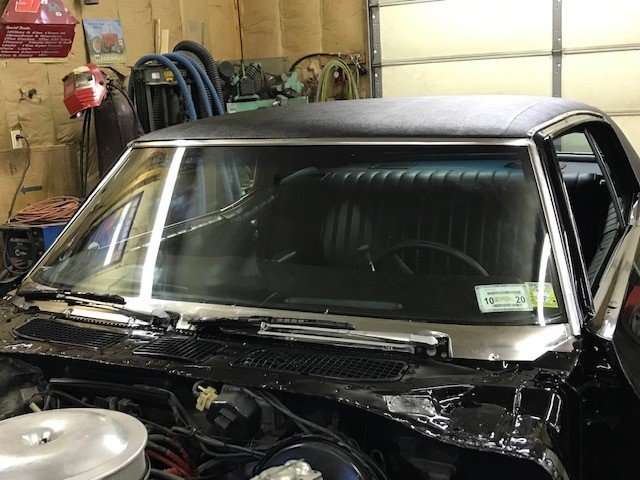
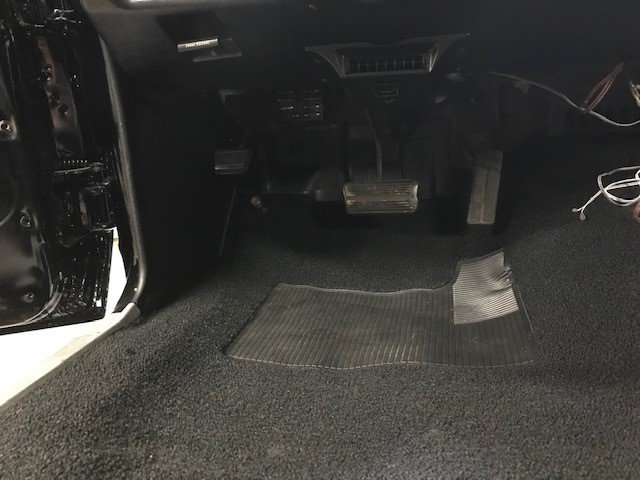
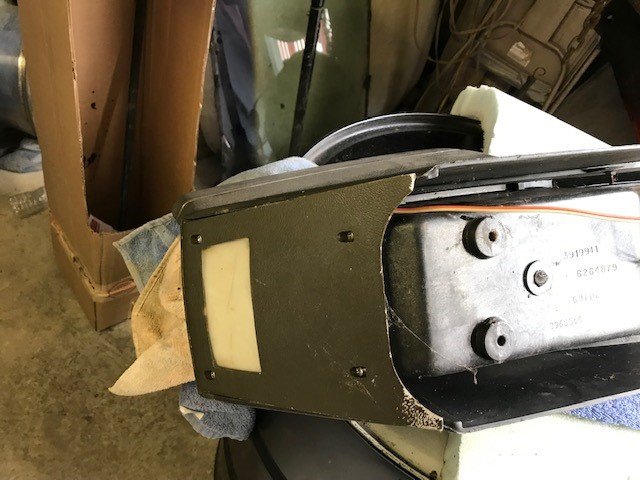
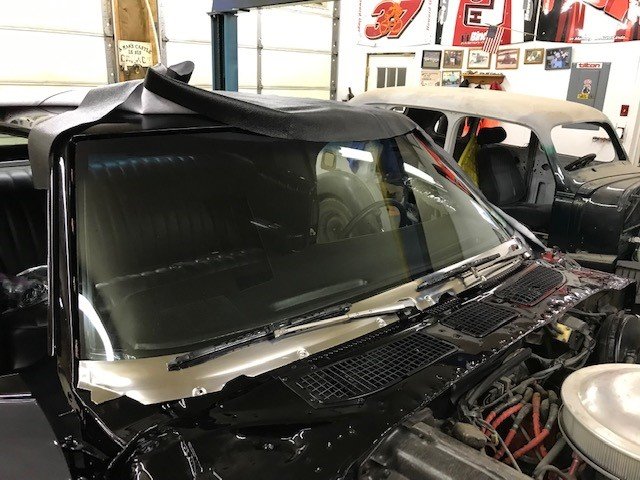
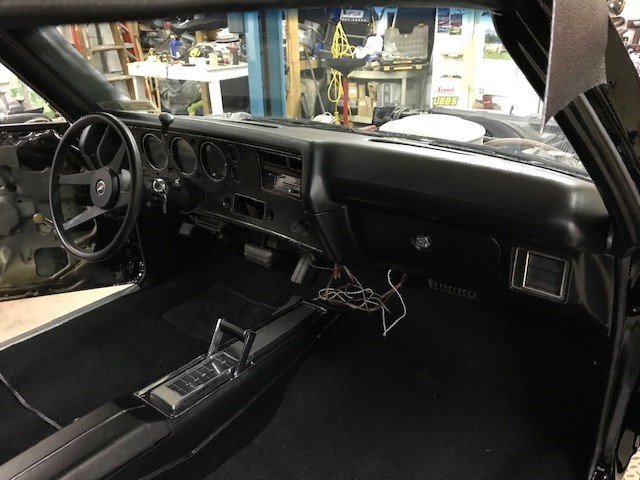
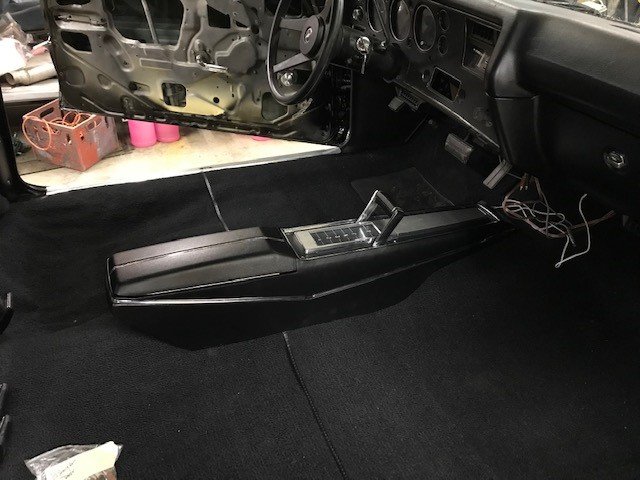
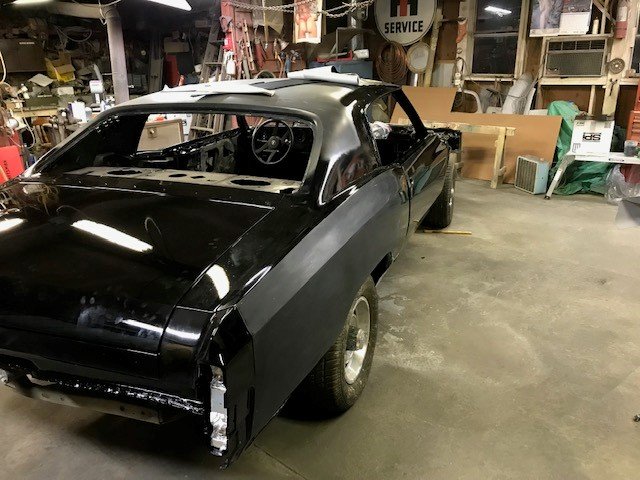
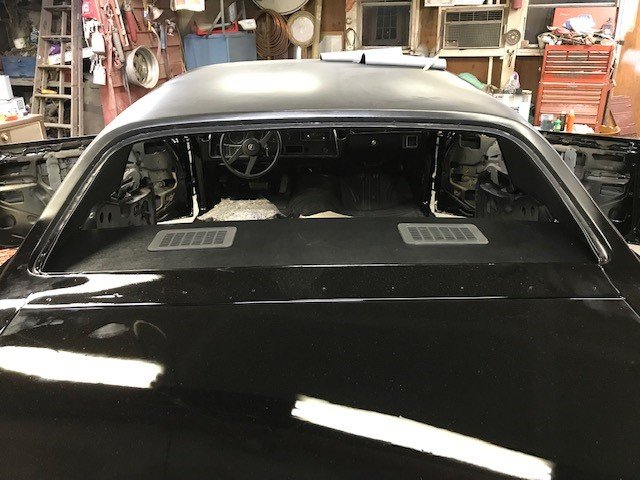
Another update, had a few more things done since returning from our last camping trip of the season. Got the dash pad painted , I actually bought a new one but it did not fit well , so I returned and ended up using the old one, and figured if I wasn't going to change color of interior I wouldn't have changed the dash. So I painted it for now and will change in the future when I come across one . Had the glass guy install the glass and also got the console pained and installed. Today I got most of the vinyl top installed . There may be couple spots where I think the top could be a little better , but all in all happy with it and think after being in the sun for a bit etc.. it will shrink up and tighten up.(hopefully). Will do around the windows etc hopefully tomorrow and then will let it set before cutting and trimming so the shrinkage will be done. As usual I added some pics and thanks for looking. Enjoy. Here is just the carpet getting buttoned up kick panels and etc installed Started installing some of the door glass felts door handles locks etc.. Here is the before and after of the console and installed y9ou will also see the dash installed as well , came out ok. Finally met up with the glass guy and had the front and rear glass installed. A new windshield was required for the front as it was broke. And now here are a couple of the vinyl top installed , came out pretty good in person the pictures don't do it justice, some imperfections will hopefully come out in the sun and obviously around the trim studs will look better once all completed.

-
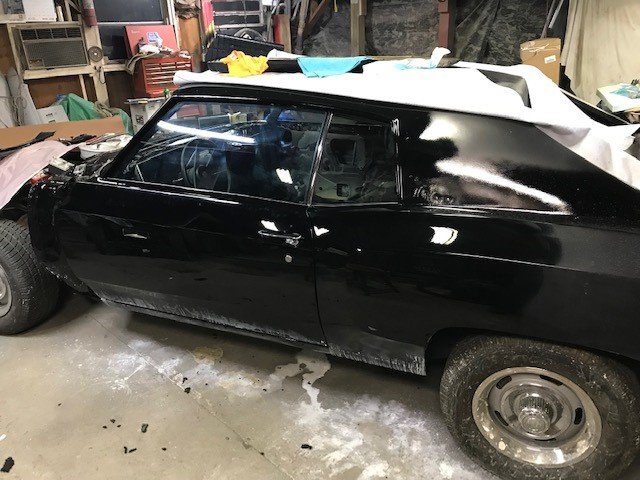
You got it James ,triple black !!
-
I did not make it to the valley, but my buddy who is helping me with the car went down. Unfortunately I am devoting whatever free time I have trying to get this thing done.
-
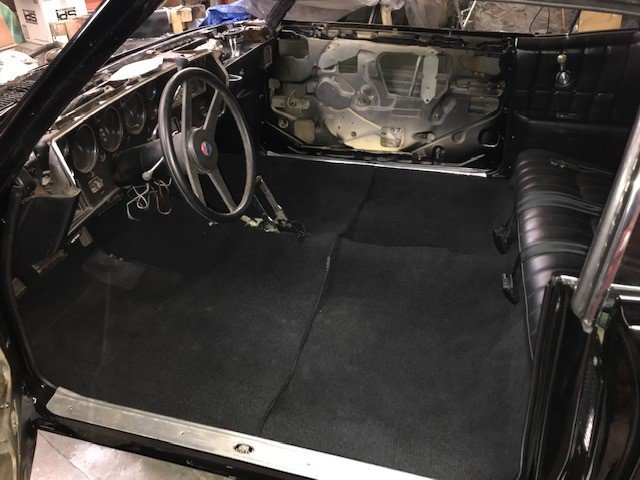
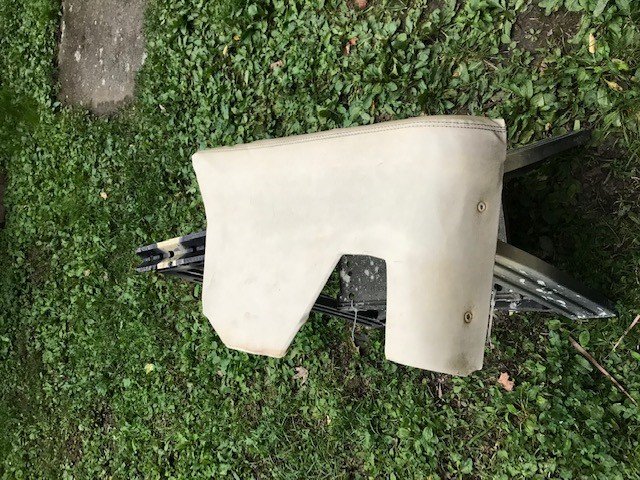
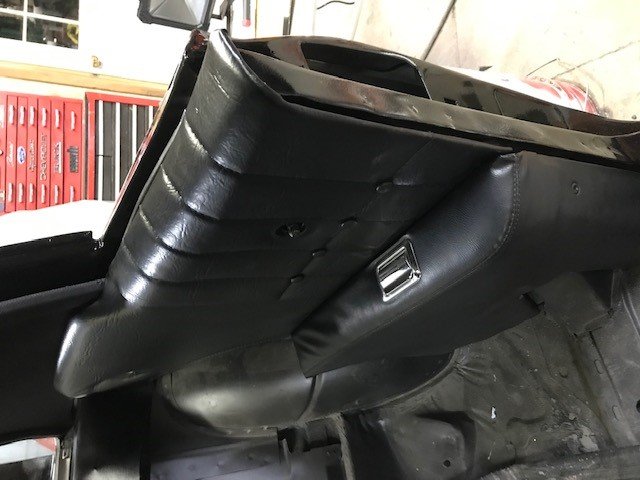
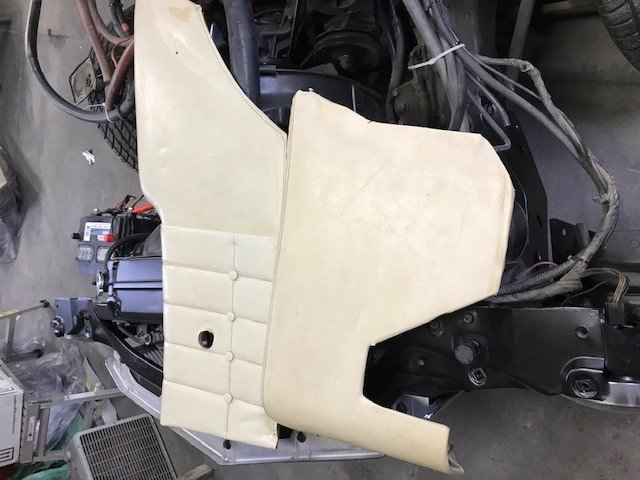
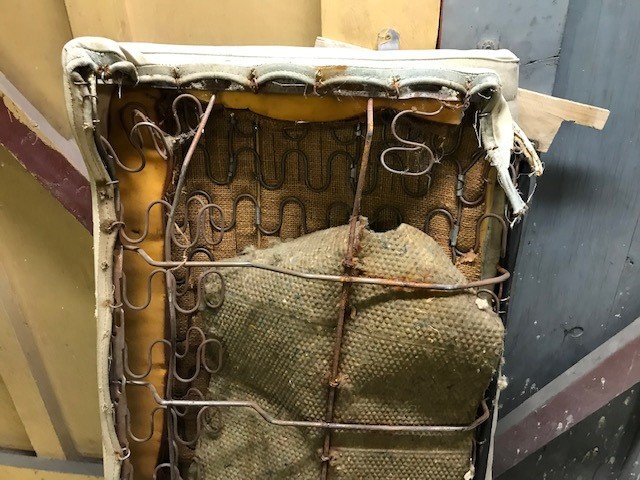
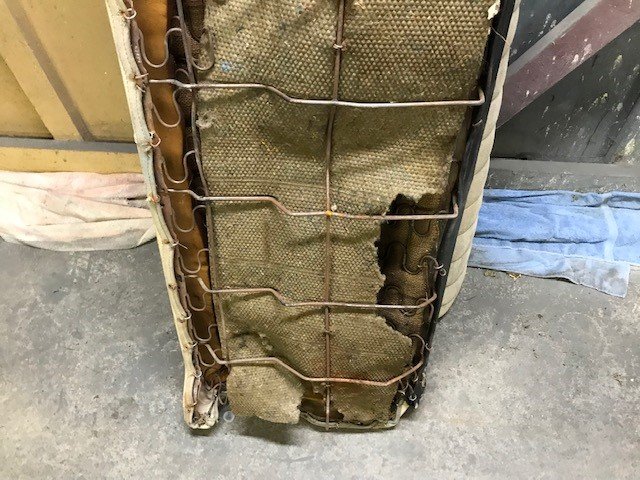
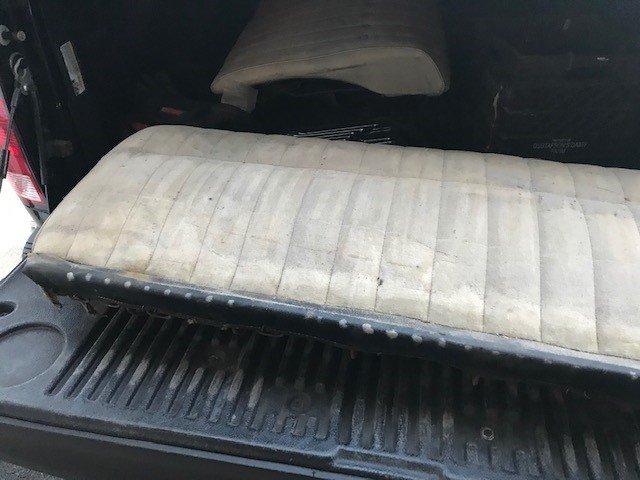
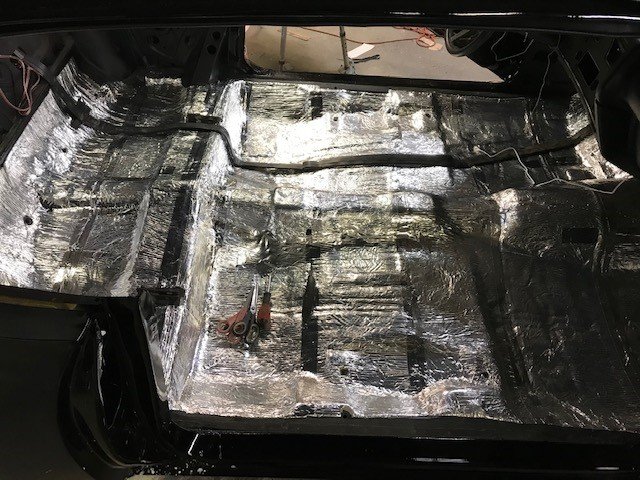
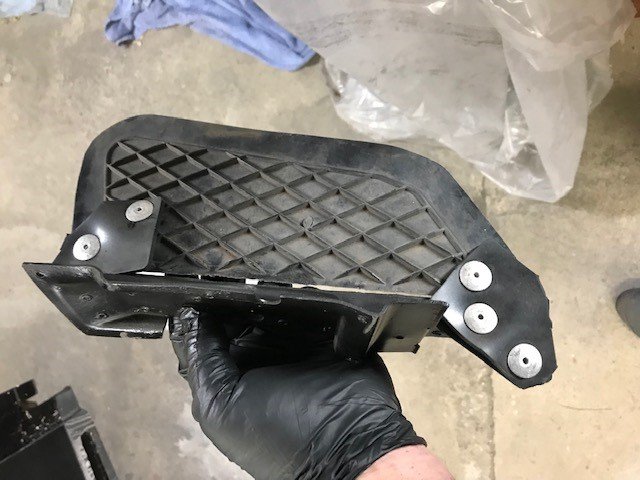
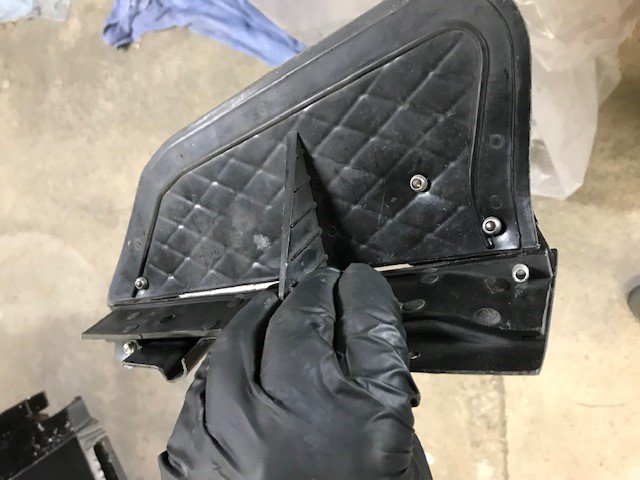
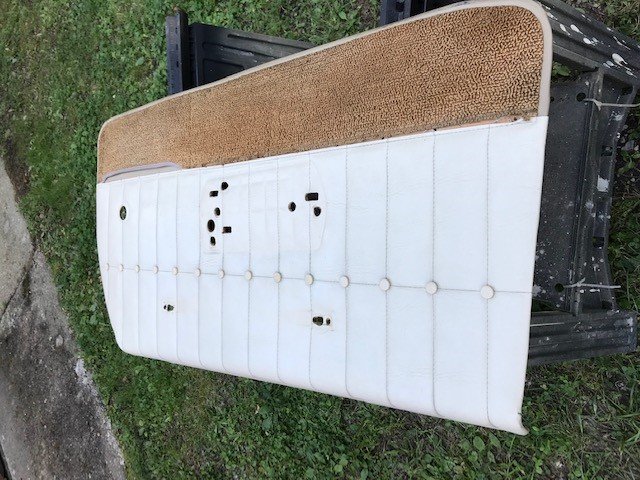
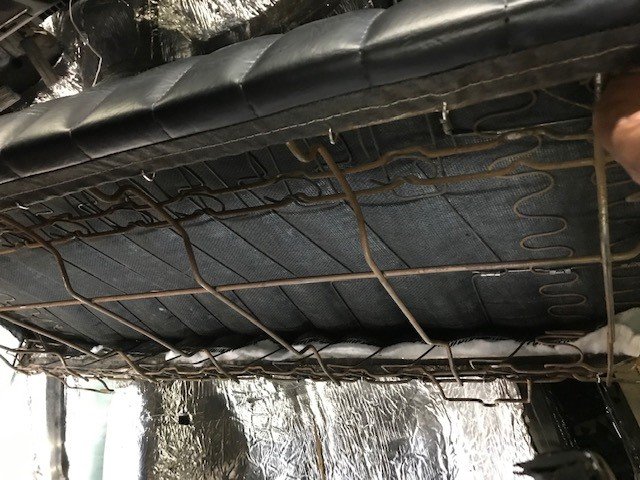
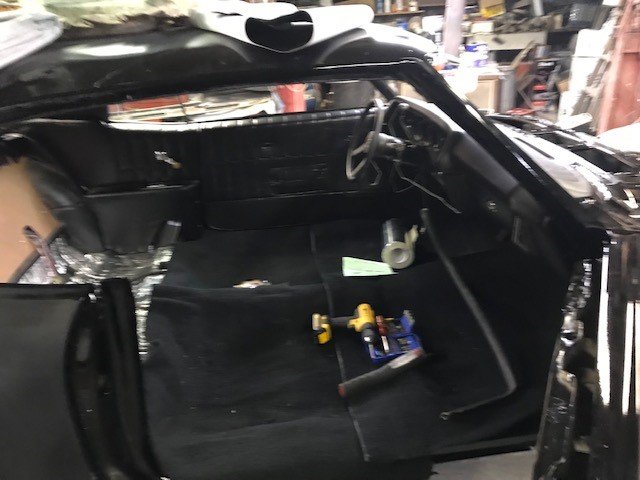
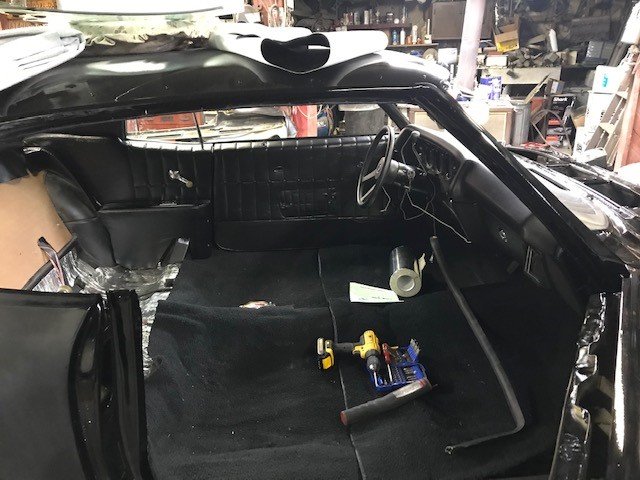
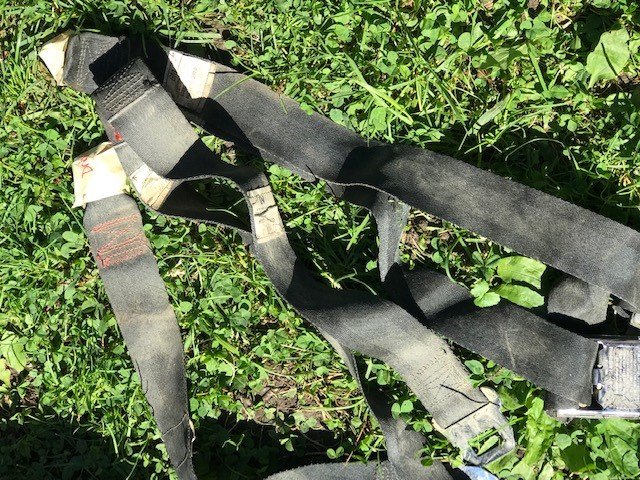
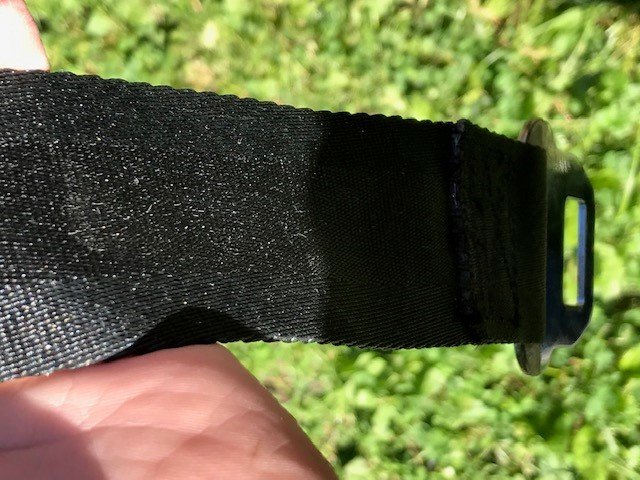
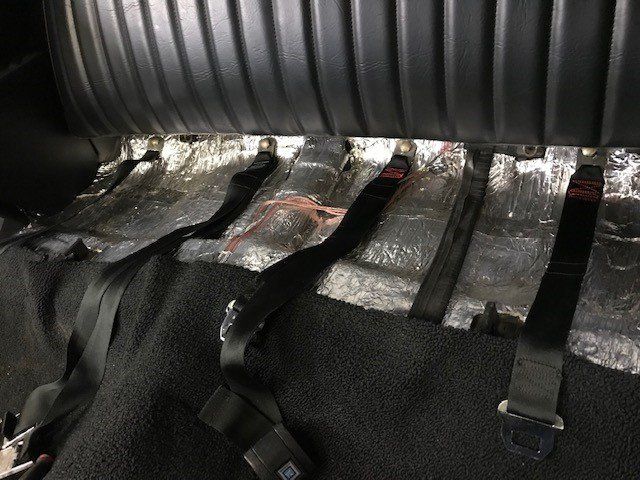
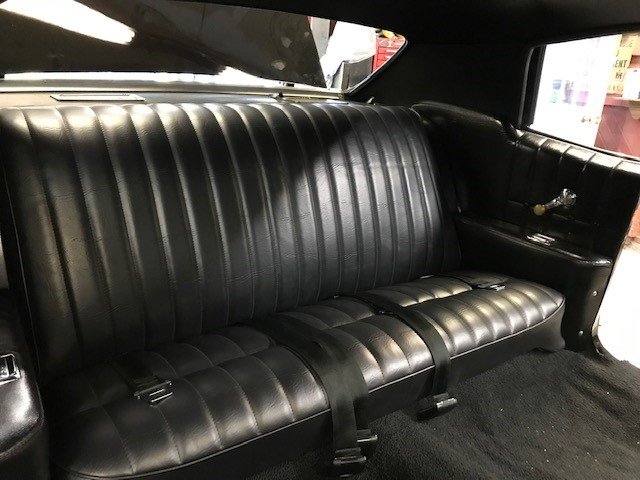
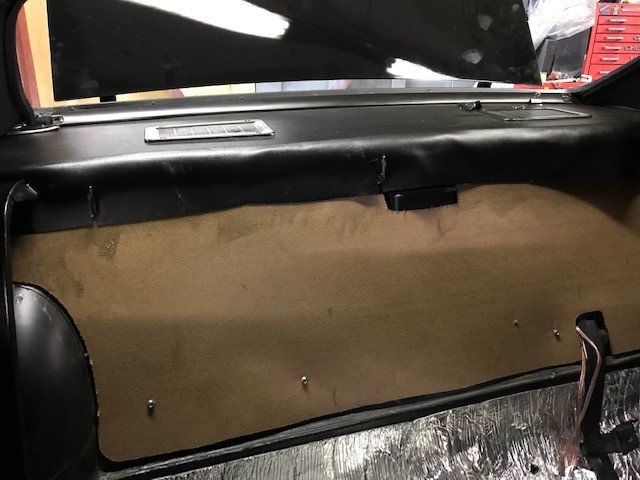
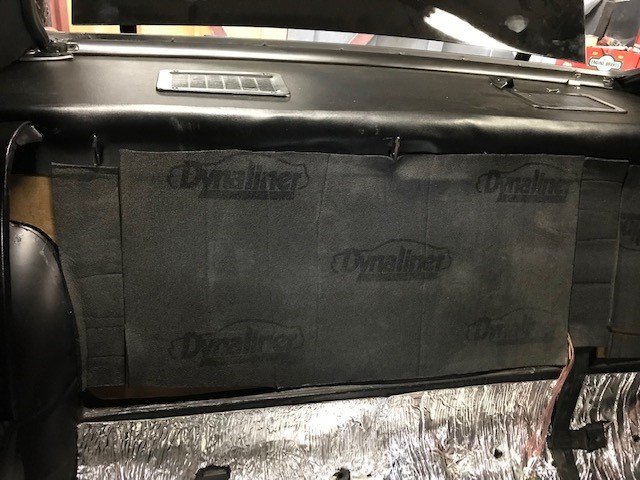
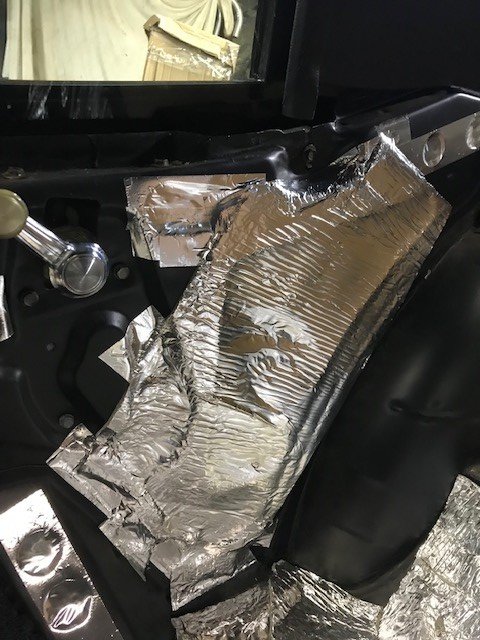
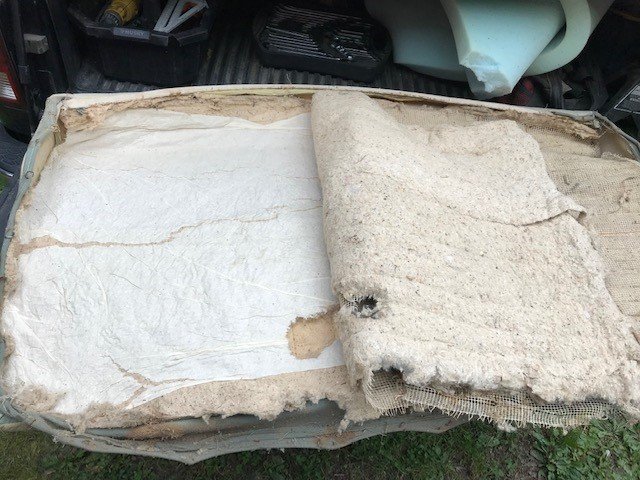
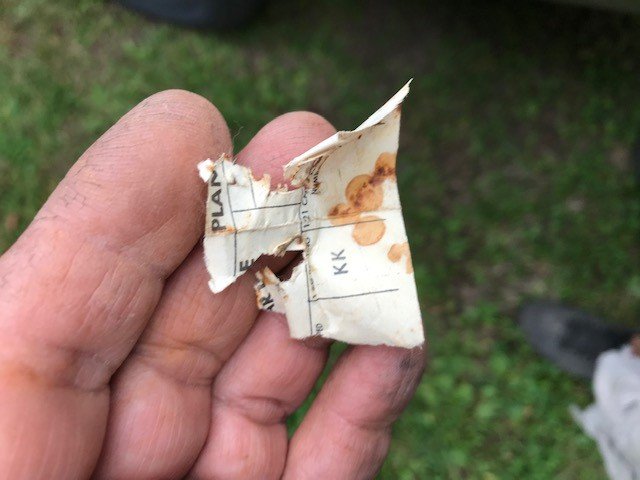
Hey All, Just a couple updates as I haven't been on in a bit. Was waiting for parts to come from OPGI, seems it took forever, , not sure I' m thrilled with the window felts , cant seem to find factory originals with the window sweeps for the outer windows. Installed what they sent for now. Started getting some more of the interior done, and some of it wet sanded and buffed just to see how she will look. Here are some pics thank you for looking and enjoy. PS if anyone knows where to get decent outer felts with the sweeps on them would like to see pics and where to get them. thank you . Just the sound deadener in the floor installed Repaired the fresh air door with rubber and rivets you will never see it and I think will last longer then the plastic bending back and forth. Cant see spending 60 bucks on these things and just have them break off. Not buying new panels and such now for interior. will give painting them with fabric and vinyl paint (and adhesion promoter) a whirl see how they last . Put in a trunk divider made out of the press board instead of cardboard or paper they had from factory and covered with some dynamat on the interior side we had laying around, and colored the other side (trunk side) with sound deadening undercoating. Used sound deadener in the sides instead of putting water paper back in, which really seems useless , should be sealed much better with this and provide a little noise reduction. Got the nasty mouse infested seats covered , the only thing I reused was the bottom seat foam which was still in decent shape , steamed it to freshen it and replaced new batting and burlap, had some 2' memory foam from a mattress topper cut up for the back of the seat. worked pretty well . Sad news is someone was here before because that was all I found left of the build sheet in the seat back. Assembled with the new burlap , went with black in color Just set in there to see how it looks Getting the seat belts cleaned up pretty happy with how they cleaned up. before after Carpet setting in there need to get the wrinkles out Back seat , rear panels and carpet all installed in the back. Here is a pic just after wet sanded and buffed may still see a couple swirl marks but after assembly will perfect it , but happy with how straight it looks.


-
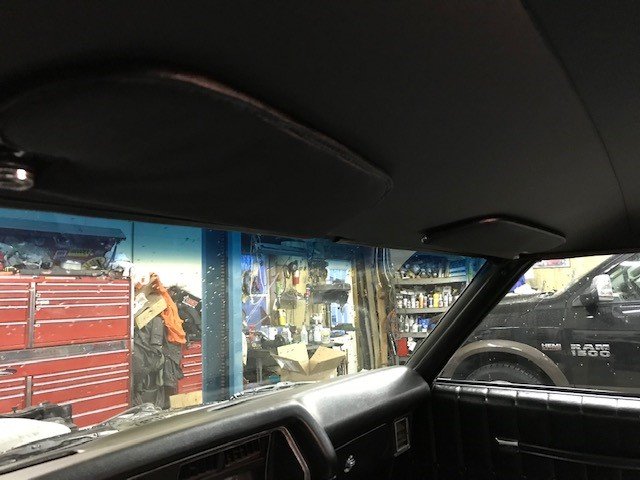
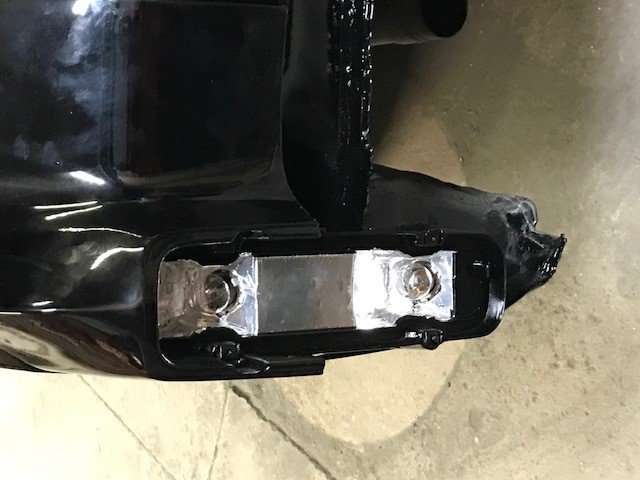
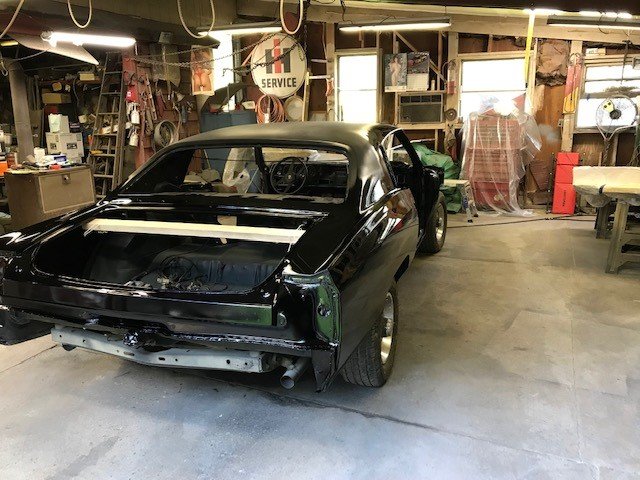
Hi All, Just an update was on vacation for a week in Myrtle Beach for golf and sun. Enjoyed vacation but also knew this thing is sitting at home and nothing getting done on it. So the latest there are the pics of the taillights with the foil tape , as well as got the trunk on, doors on , made the package tray panel and got that installed, sound deadener , sail panels and headliner moldings installed. Here are some pics enjoy and thanks for looking. Here are the foil tape taillight extensions. Here is the making of the package tray using tempered hardboard and black marine vinyl. About $20 dollars in materials and personally I think it looks better than the $50 piece of painted cardboard. Sound deadener installed before package tray and sail panels get installed. Will cut speaker holes later. Just a couple pics with the trunk and doors on it . Here are the finished package tray , sail panels and headliner trim installed.


-
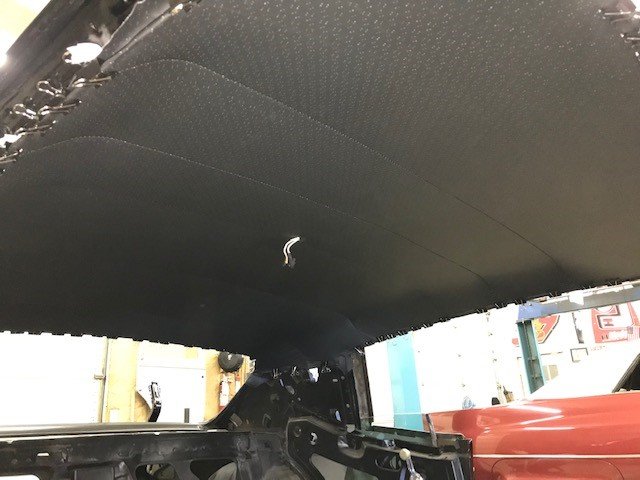
I grabbed it from Summit ,its PUI Brand with the sail panels and some extra fabric for visors, It was like $107 shipped. I watched a couple videos on line , and with patients with a bunch of binder clips to help hold it as you work and stretch it . I put it in the best I could , let it sit overnight came back on Sunday played with it a little more and then on Tuesday glued it in ,I got the good weldwood landau top and trim glue , brushed that around the metal and on the headliner waited a few minutes and started sticking it . As I glued it I popped off about a quarter of the clips , worked in that area and then did another quarter and so on. I will say I think having it sit in there a couple days with clips made it easier when I glued it .I felt like it went into place and when it came to gluing it was much easier to work and tweak then I thought.
-
Got the taillight extensions on last night and finally got the headliner glued in , just need to clean up and tuck in edges and install wind lace. Will post pic of taillights later .. didn't want to paint the silver on so I used HVAC Foil tape ( the real duct tape) . I think it will be a little more reflective and the temp is 600-800 deg which shouldn't be an issue. Here are a couple pics of the headliner maybe a little wrinkle here or there but happy with how it came out for a first time doing it. A little sun and /or massaging with the heat gun cautiously may help also. As always thanks for looking

-
Thank you ,, we tried the SPI Paint and clear and epoxy primer/sealer….heard a lot of great things, so far service has been great and the stuff lays out pretty good.. If any one else tried it and had bad luck with it please don't tell me now,,LOL
-
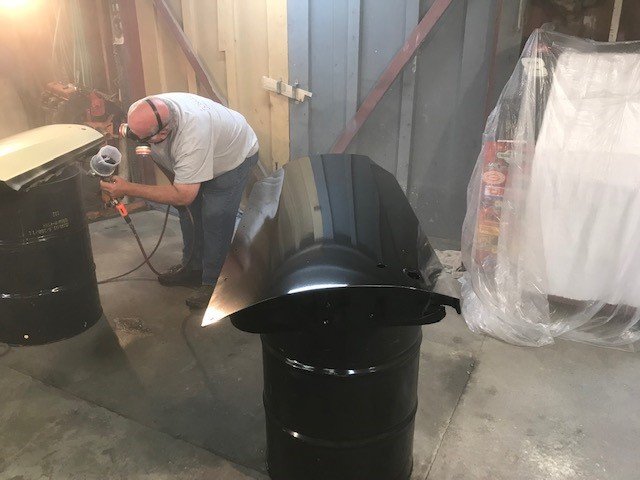
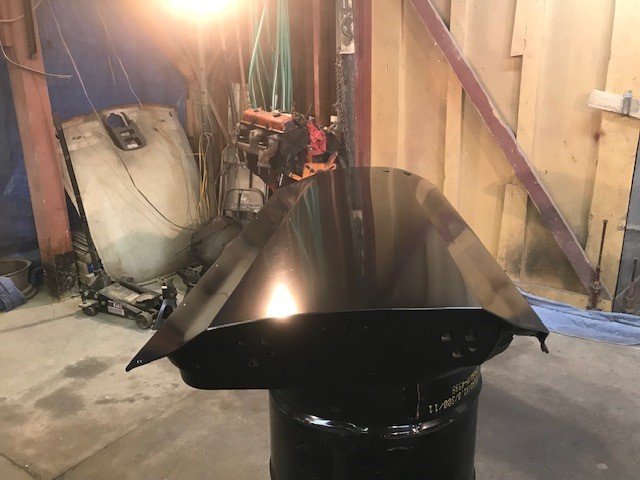
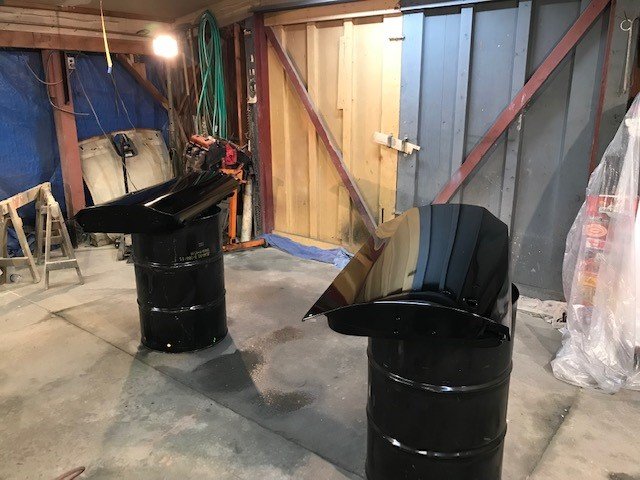
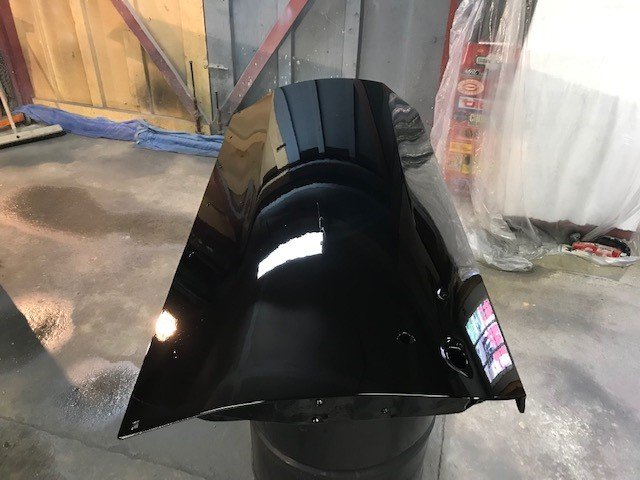
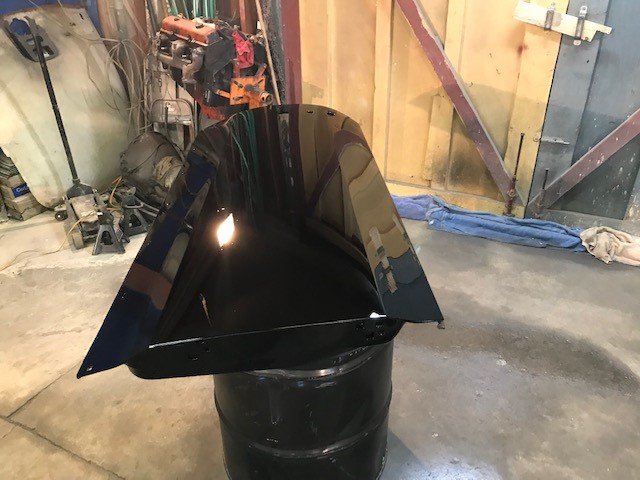
Hey all, Just another update , now that main part of car is painted can start some work on other things. Started putting in headliner let it sit over night ( glad I didn't glue it yet ) needs to be tightened up more after setting overnight even after leaving in the sun before hand. Will take pics of that when I am done. Also painted the doors, trunk ,taillight extensions and door hinges here are a few pics. Thanks for looking. Here are a few pics applying the black epoxy primer/sealer. Here a couple in the base coat. And got them clear coated today little dust but cant complain , a little wet sand and buff and should be good.

-
Steve, Syracuse is also on my list and hope I can make a lot of other shows next year. As for the Curtis Lumber show, did realize they were having one this weekend , especially with the Lake George show going on this weekend didn't think many others would be happening.
-
Dan, I hope mine comes out looking as good as yours ( sons) it looks great! The pics look very similar to what I am going through. I really hope to be there in Carlisle and meet a lot of the folks on here and their cars.
-
Thank you all for looking and the kind words, Rob , I am really hoping and should be done by then ( Eastern meet) , or at least respectfully done enough to get it there.
-
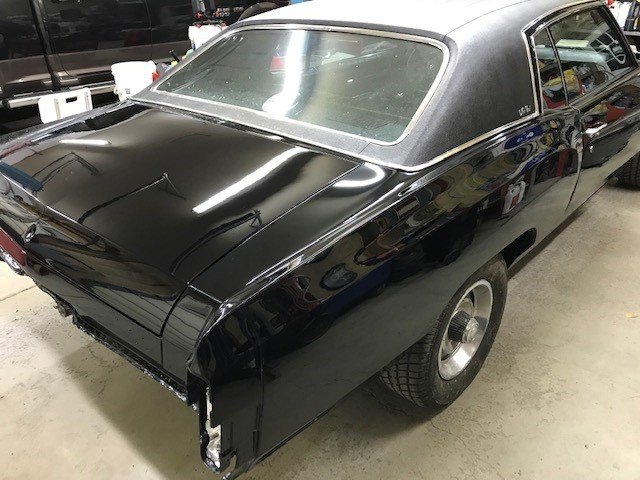
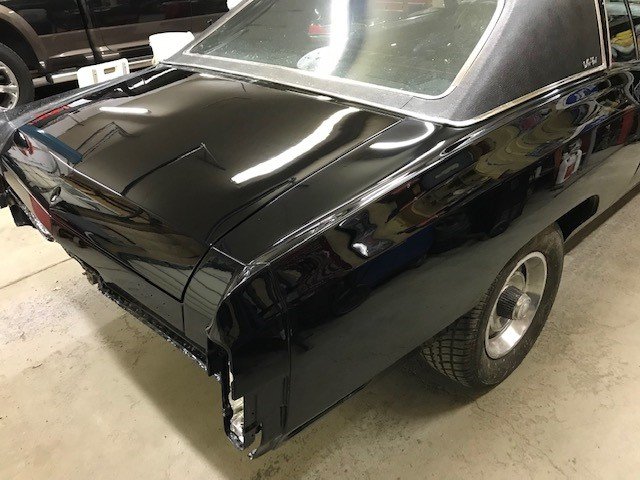
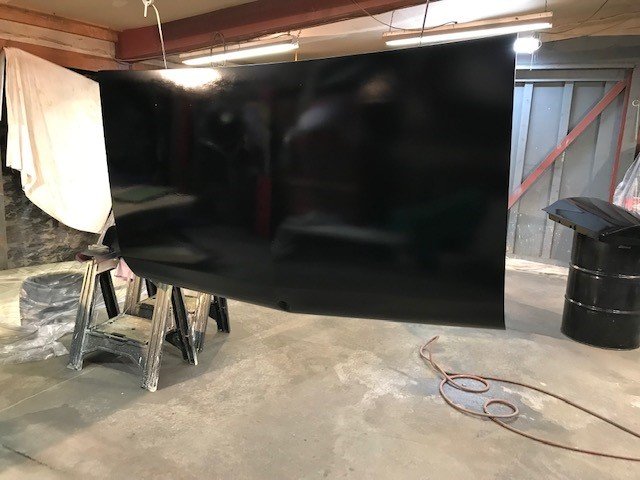
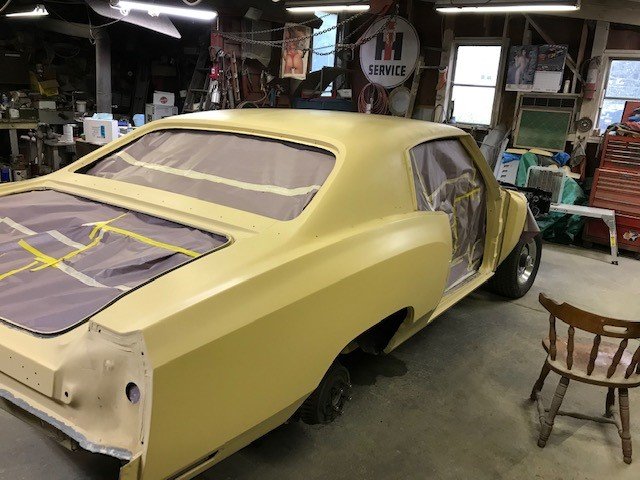
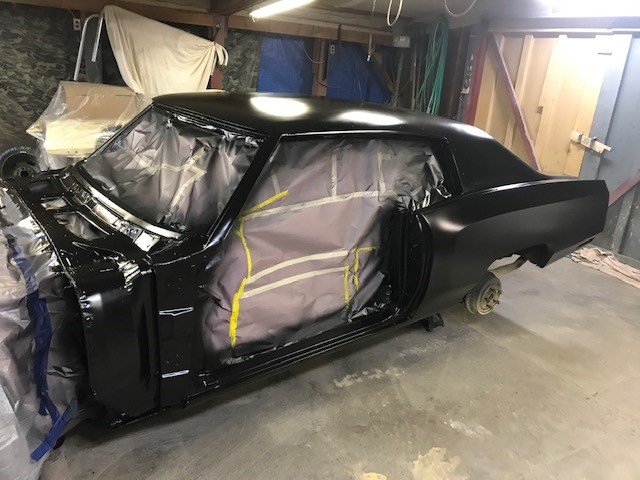
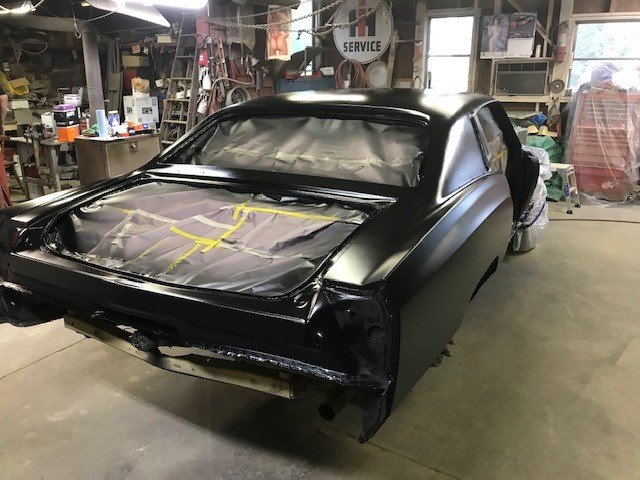
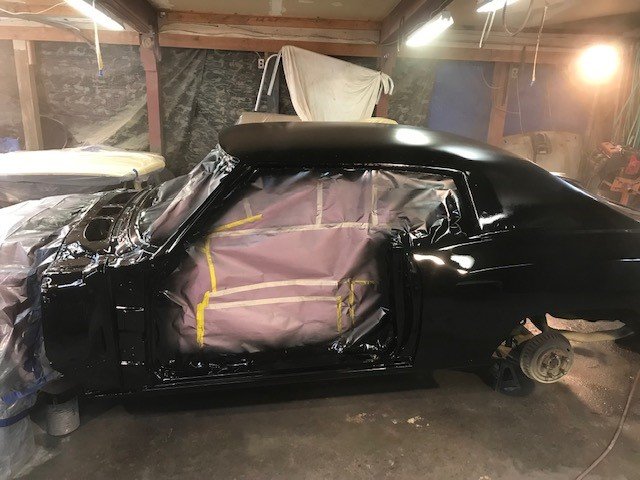
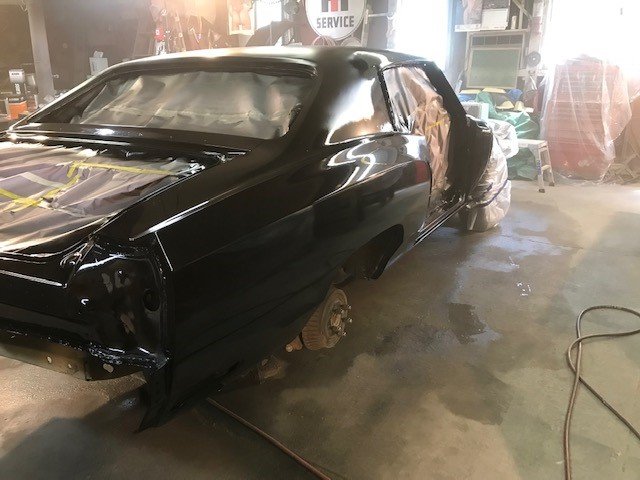
Hello all, haven't updated in awhile with the summer months and a lot going it has slowed down a little and of course way behind schedule. Don't think I will be able to get it done for this fall and probably wont make it out until spring.. Not a lot to update over the past couple months as you would not really see the progress , because it was block sand prime block prime block prime repeat … but here are a few pics of where we are now, so far its looks really straight hopefully wont get any thane wave.. still have a ways to go but enjoy pics and thanks for looking. Here are a couple wet sanded and getting ready to paint Here are a couple with the black sealer on it Here it is in paint And here it is in clear with the wheels back on it getting ready to wet sand and buff as we get other pieces ready to paint as well.

-
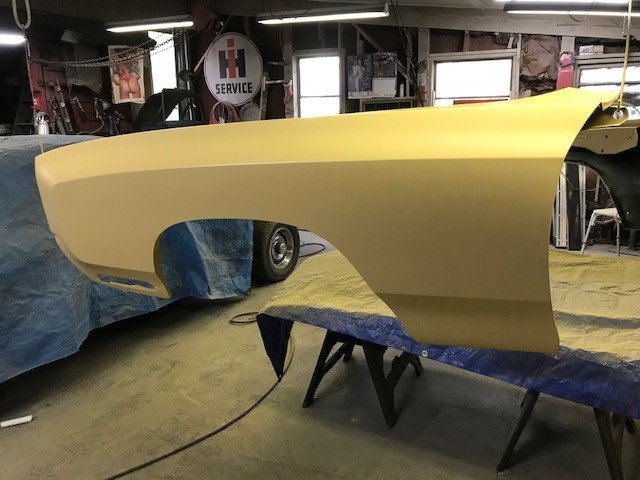
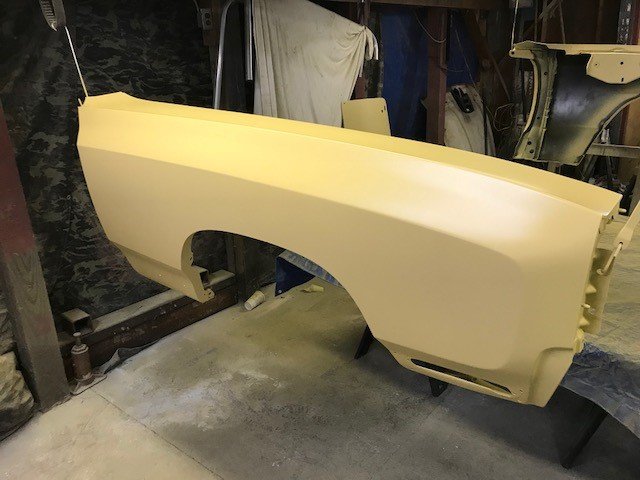
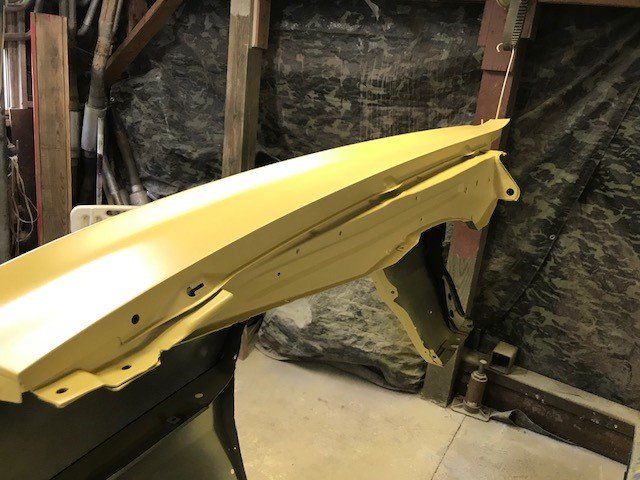
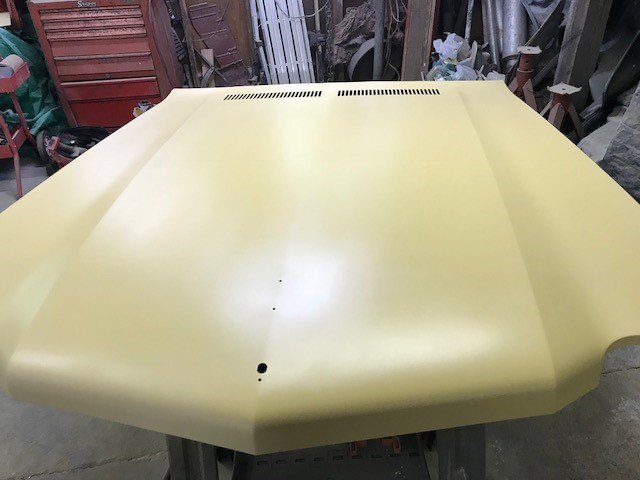
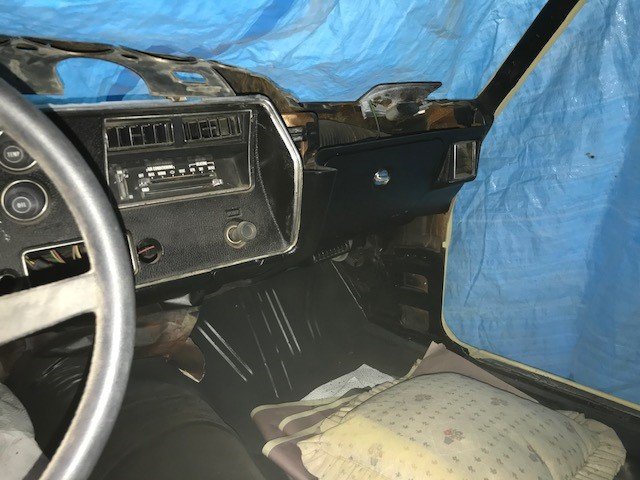
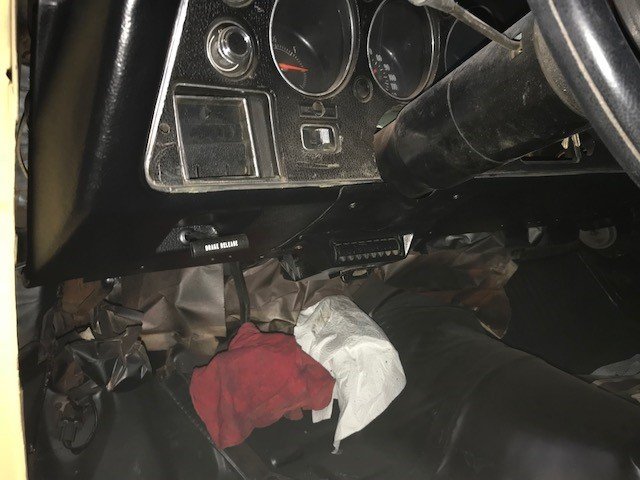
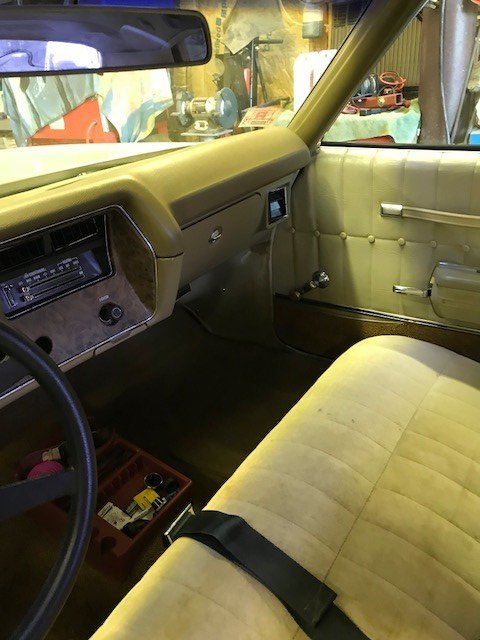
Haven't posted in a bit getting closer to paint got the fender work all finished up and finally in first coat of primer ready to start blocking, and the second round of primer on the hood ready for second round of blocking. Also the lower part of the dash painted black and some other little stuff here and there. Hers are some pics thanks for looking. Fenders all primed up. Hood primed Before and after of dash brown/tan to black and everything else a little dirtier right now.

-
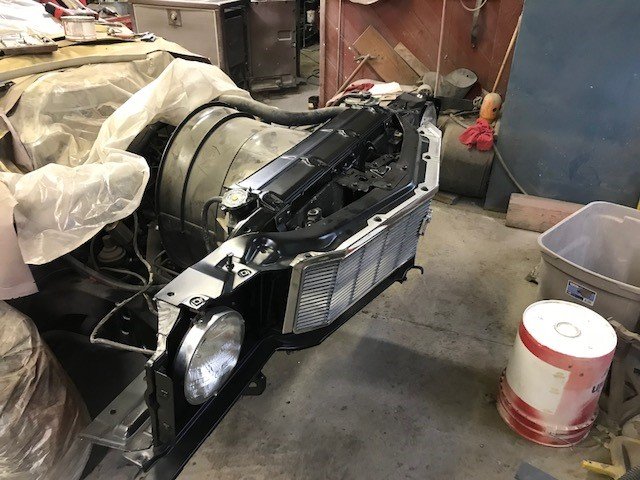
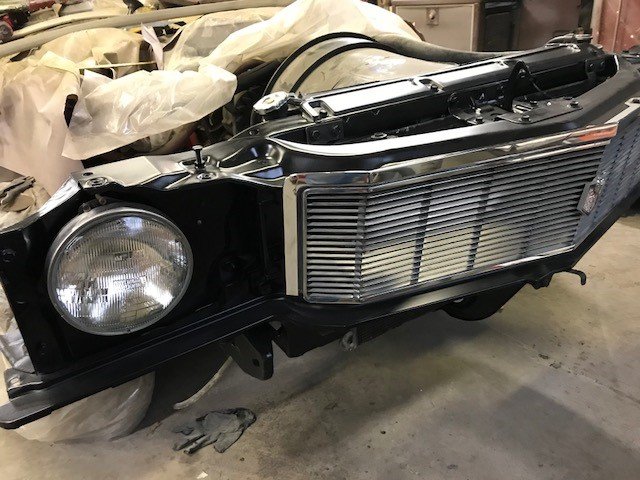
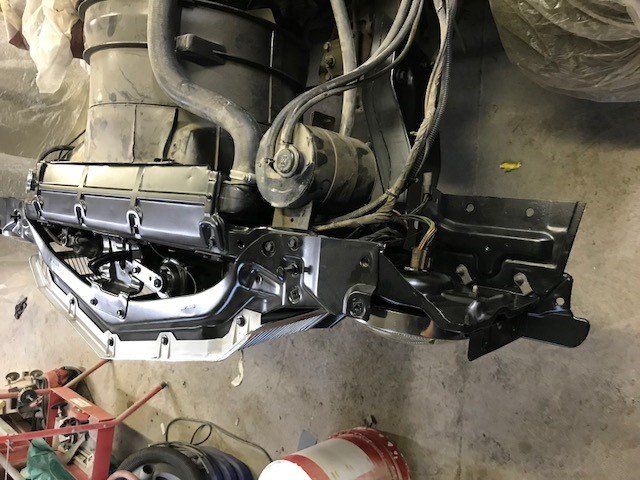
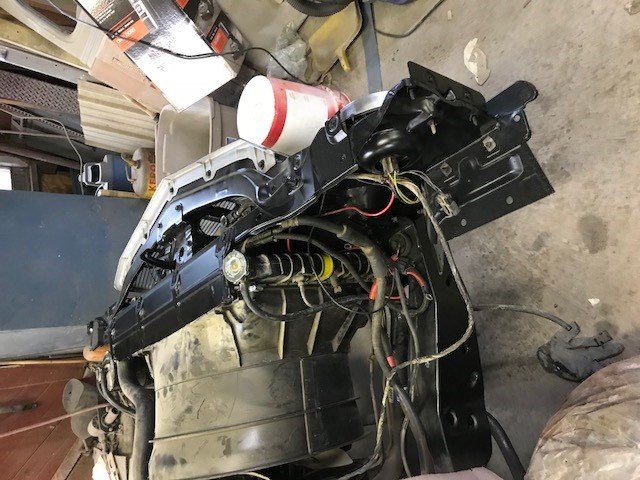
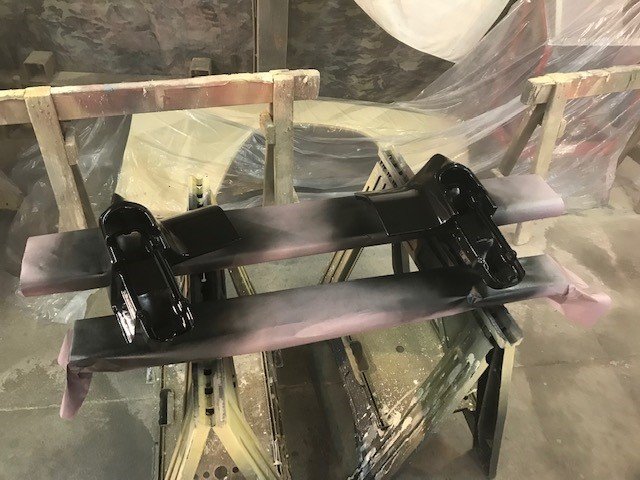
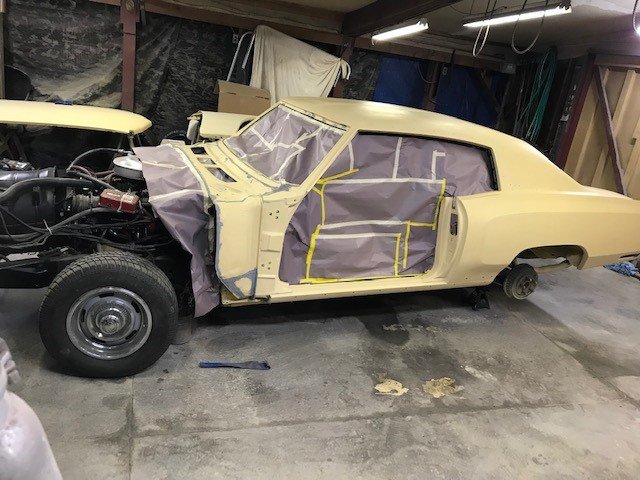
Larry, Good to know thank you. Ok here is an update from weekend, didn't have a chance to post yesterday but got the radiator support buttoned up yesterday ( Sunday) dint quite get the fenders done almost ready for primer . but happy with progress for everything I had to get done this weekend. Here are some pics Thanks for looking . Should have cleaned up the dust before taking the pic and yes my motor got filthy now. As soon as all the sanding is done will get her blown off and cleaned up some. Here you can really see the black bumper filler ( club expulsion ?? LOL ) hopefully it will look good with the bumper and such on there . I am glad I did it though now.