


72RustBucket
-
Posts
159 -
Joined
-
Last visited
-
Days Won
1
Content Type
Profiles
Articles
Forums
Gallery
Events
Posts posted by 72RustBucket
-
-
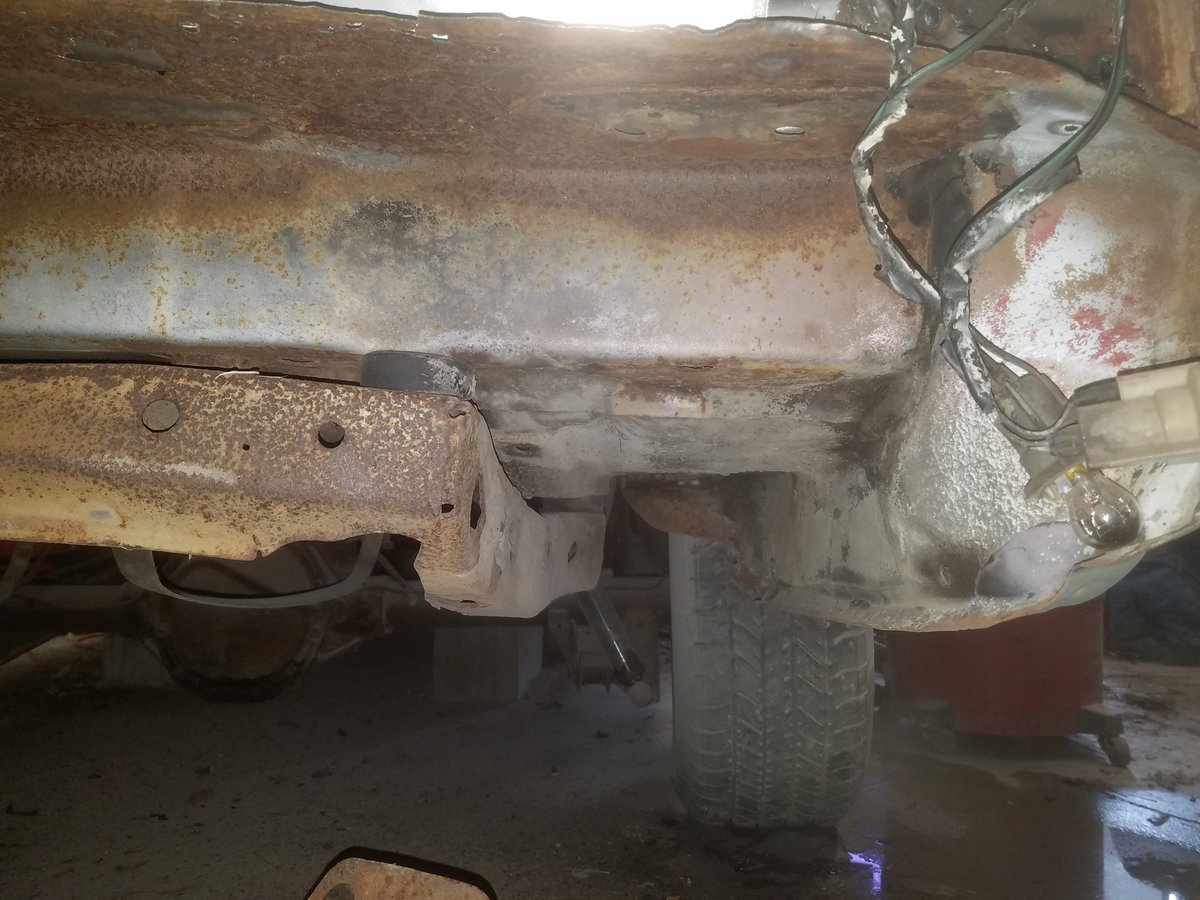
Quick pics
-
I'm pretty sure I know where this goes. Right behind rear bumper? I'll take a pic of mine tonight when I get to the shop though I think mine is twisted.
-
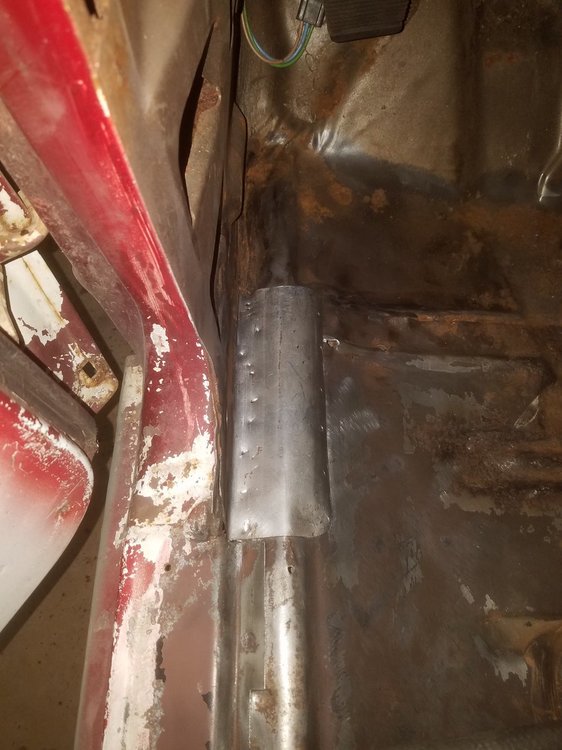
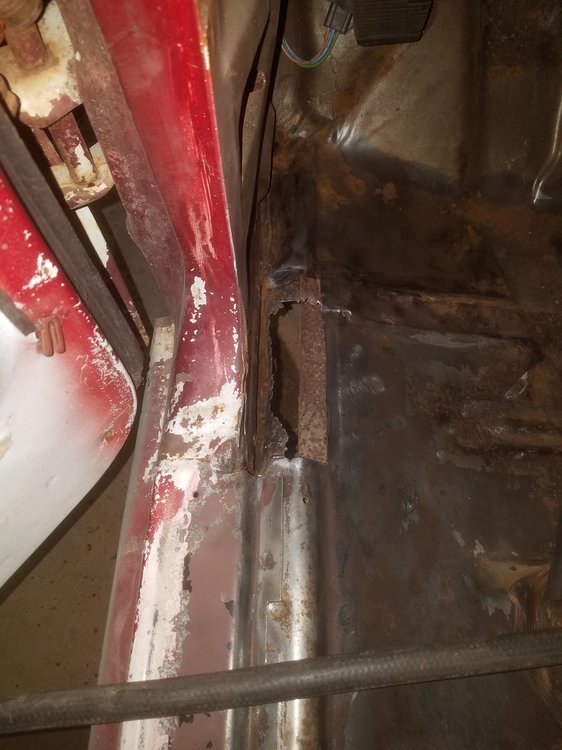
Waiting on parts to do more work to my tail panel, so started on the floor and trunk pans. Really only 2 spots that need patches. Made 1, the other might need to be purchased. There are some spots with some pitting, but the metal is very sturdy, so think I will be ok just treating those areas with ospho.
-
Thank you! I saw these come up a bunch when looking for tail panels, but wasn't sure how they would fit up. Thanks for the pics! I think you are right, this might be exactly what I need!
-
Is that a chevelle tail panel?
-
Well trunk gutters came in. Sadly I only need the corners, hopefully I can convince belden to sell me the lower gutter.
-
2 hours ago, mrbigg said:
Cool.
I’ll dig that piece out tomorrow anyway and post some pics.Thanks!
-
I ordered a set of aftermarket trunk gutters, they should be here today. After work I might try fitting them up. Will update when I get something done.
-
Small update. Haven't done any new work to this area yet, but I got a hold of Beldenspeed.com and they don't want to sell me their gutters, because they don't think they will help me. I can totally respect that! They said their gutters stop right at the curve, so they don't have the corners. I also don't have the necessary "lip" on my new pieces for their gutters to weld to...which I haven't put in place yet...because i want to make sure they are in the right spot...and I was going to use their gutter for placement lol.

So now I have 2 options. First is to buy the AMD or Goodmark reproductions. They appear to have the bottom corners, though the scant reviews I've seen have said minor adjustments to turn radius might be needed. I was hoping someone here would be able to give any sort of review on wither of these products. If they have the corners, I can match to whats left of my gutters to the reproduction piece, and then use the piece to postion my trunk latch.

Option 2 would be to basically fabricate everything myself, or at least do the corners myself, so that I can maybe purchase the pieces from Belden.
I do have the old corners, they are just all rusty and covered in filler...but could probably used as a guide at least.
So let me know what you guys think! When I get off work tonight I might try getting something done.
-
2 hours ago, Rancid87 said:
Looks nice! Will you be putting the 72 molding on the back or are you deleting it?
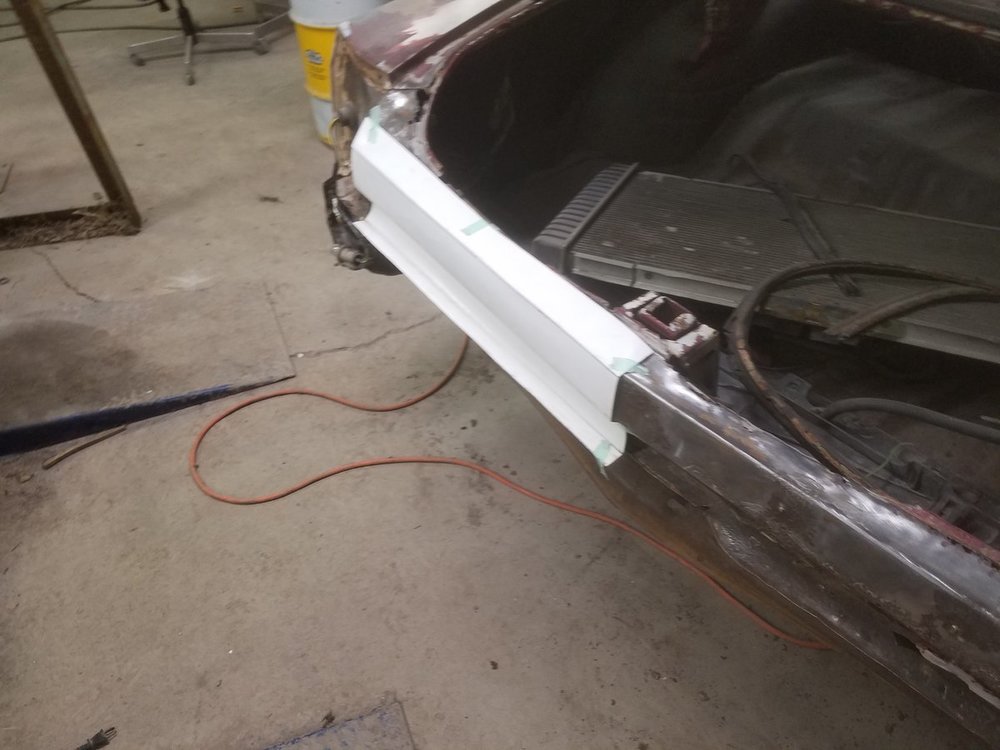
Still not 100% on that. I do have the molding, and it does make the trunk not have as much of a "lip" over the new piece...but I don't think i will be using the bottom molding/trim on the sides of the car, and that piece sort of matches, so not sure if it would look weird leaving the rear piece on.
-
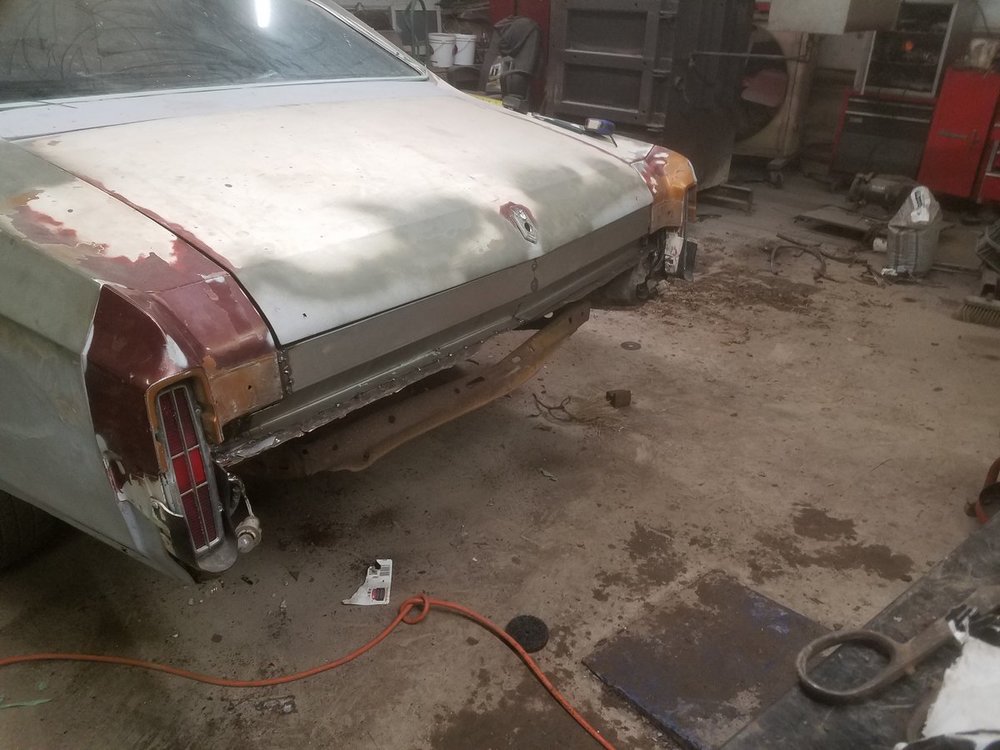
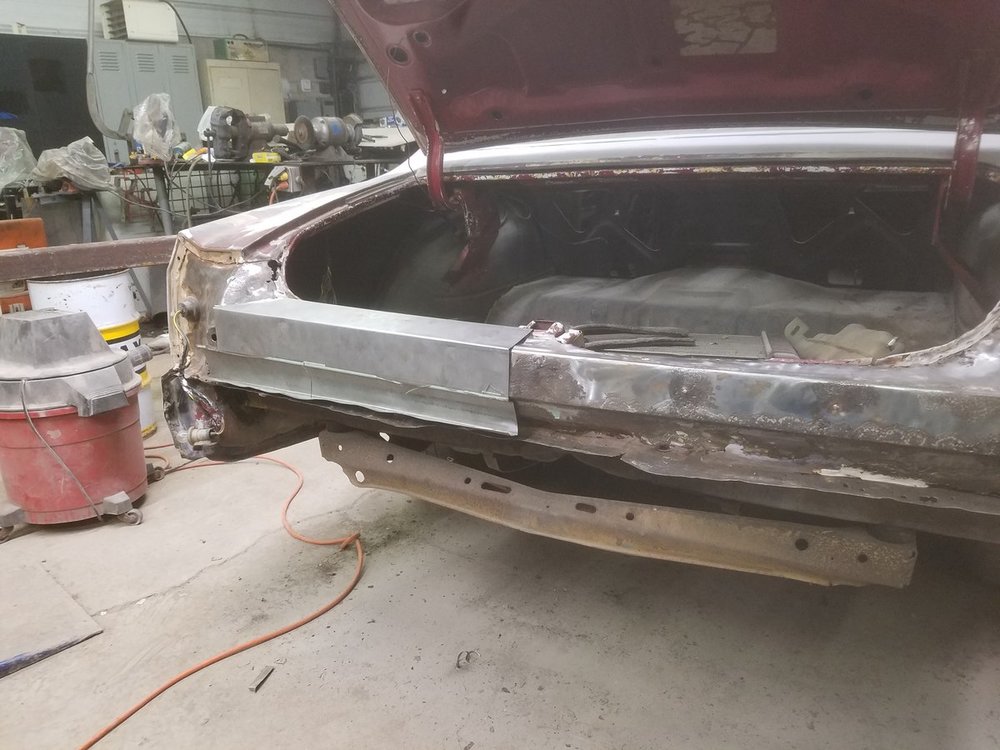
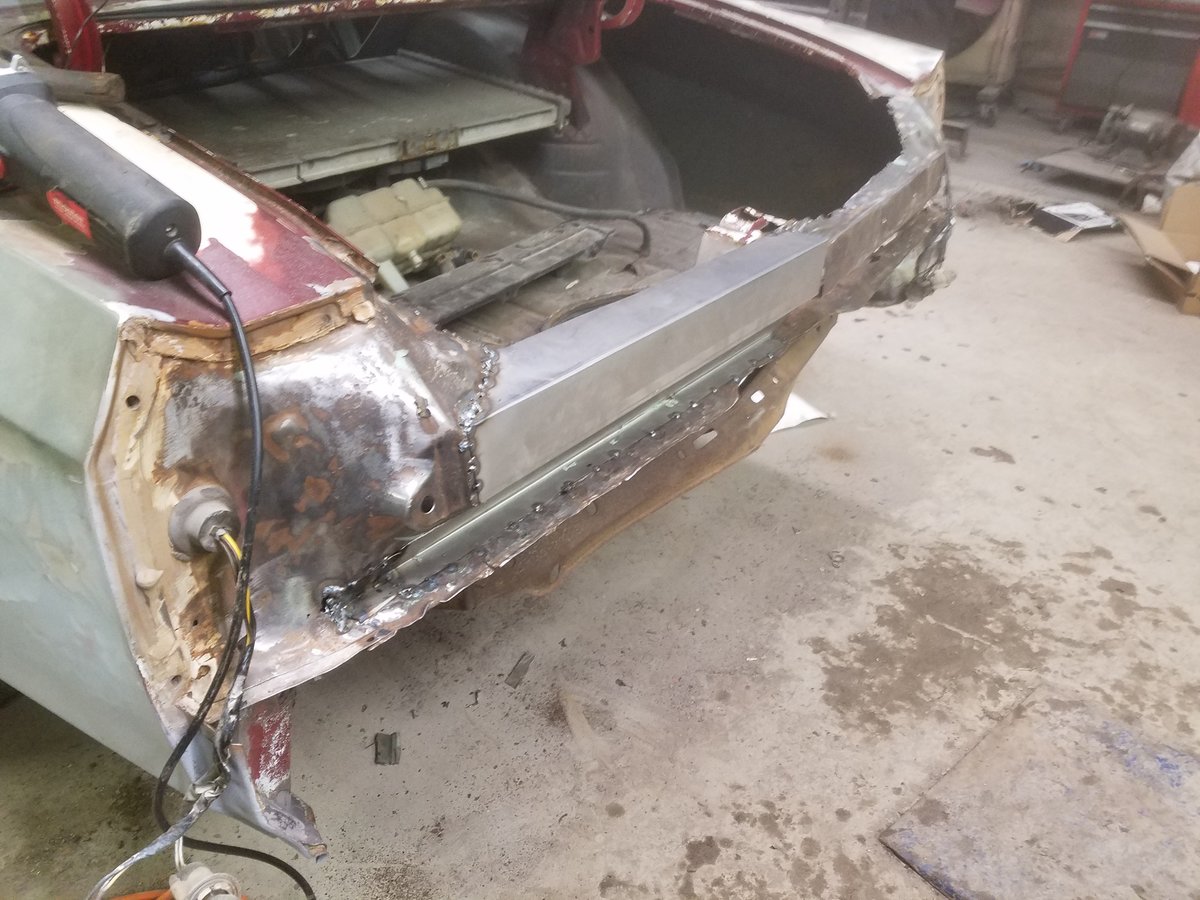
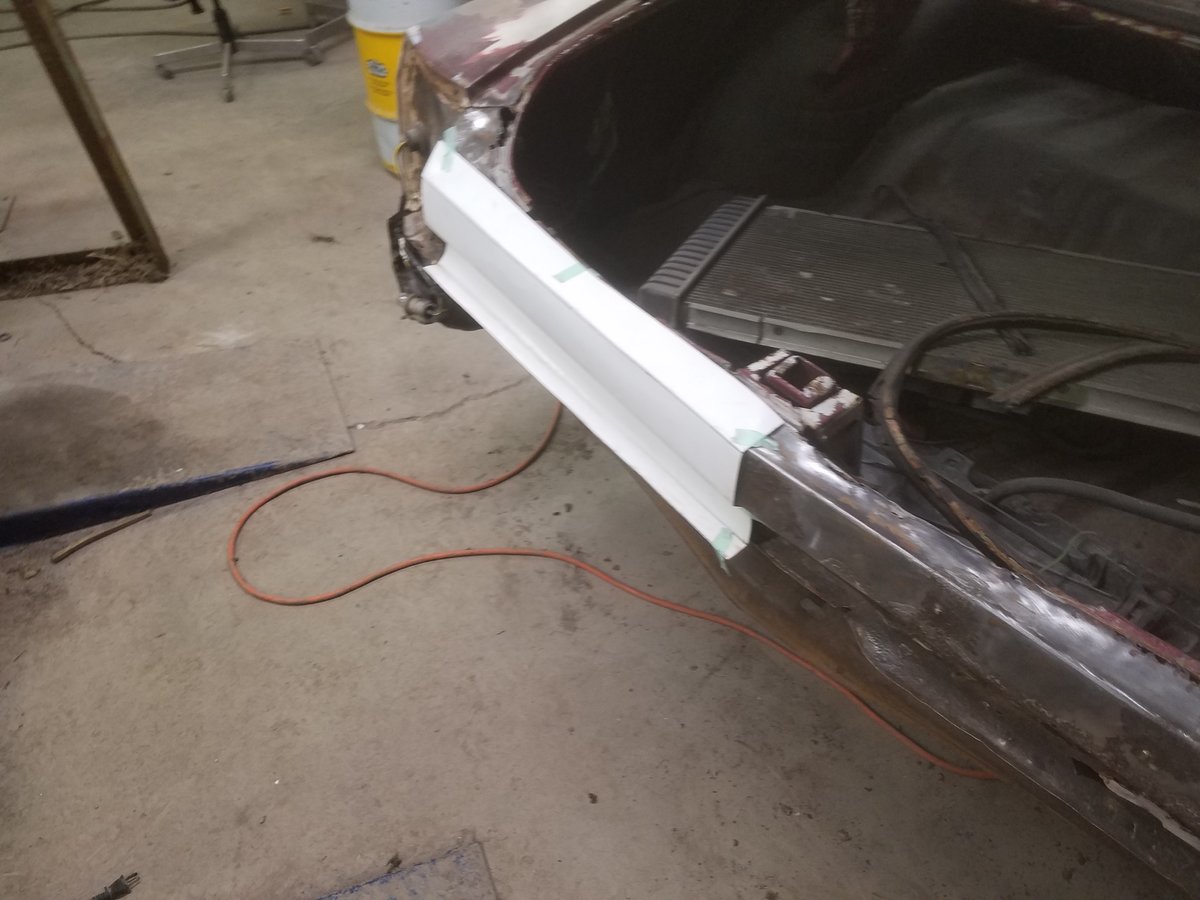
Passengers side is in. I think it looks good! Still have to put the bumper on, but it looks ok holding it up. Waiting to clean the welds/ re weld until I've got the lower trunk gutter. Want to make sure I don't need to re do anything.
-
 1
1
-
-
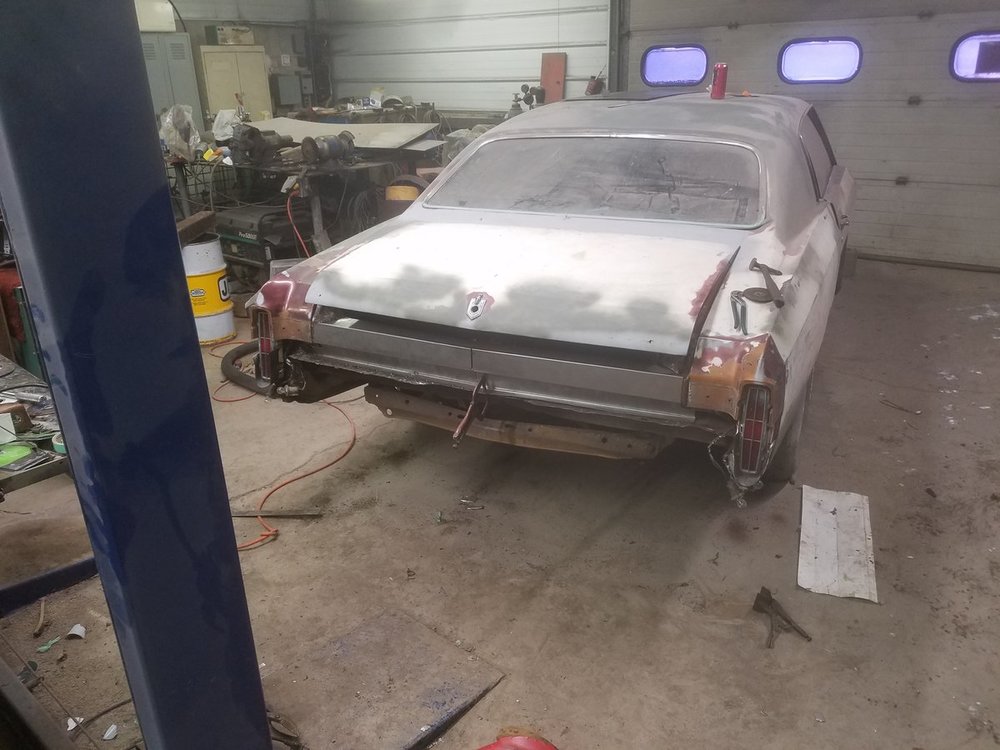
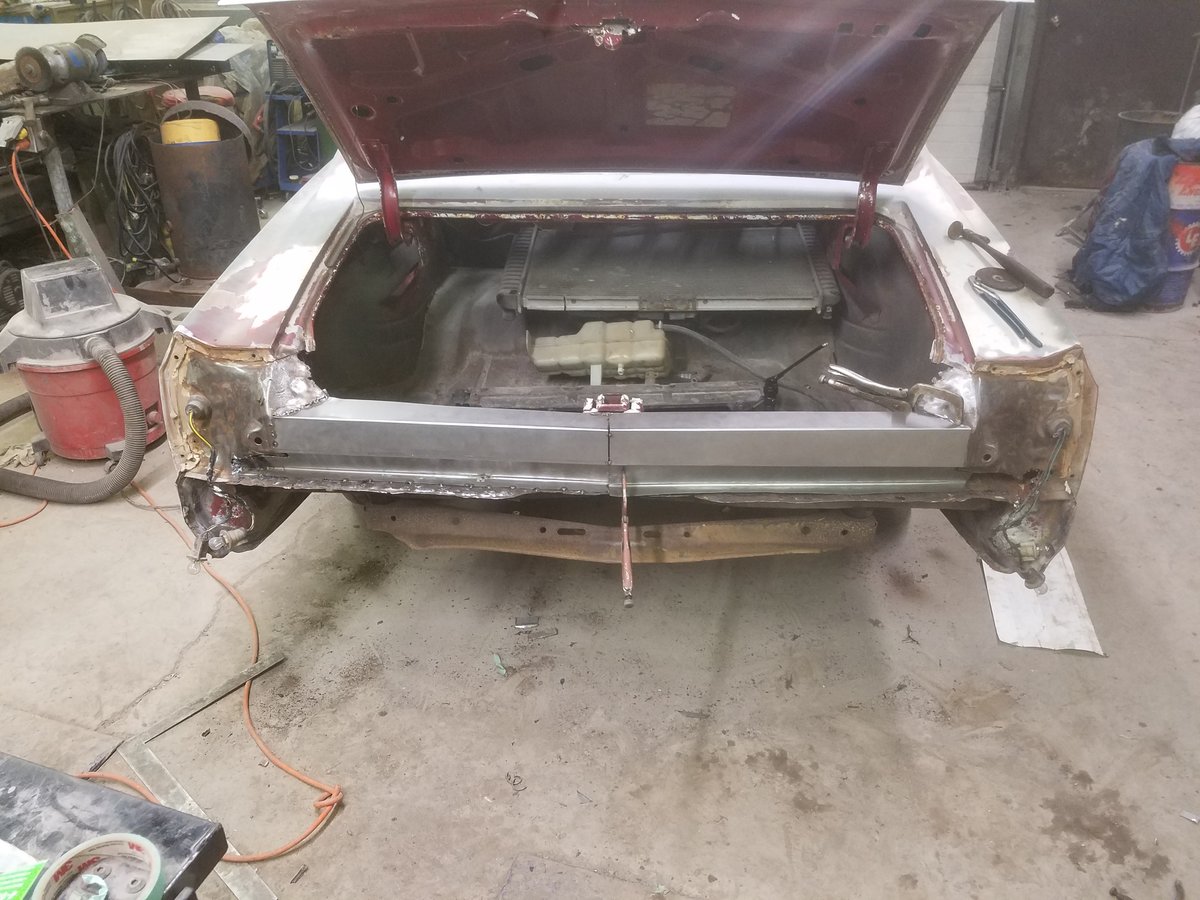
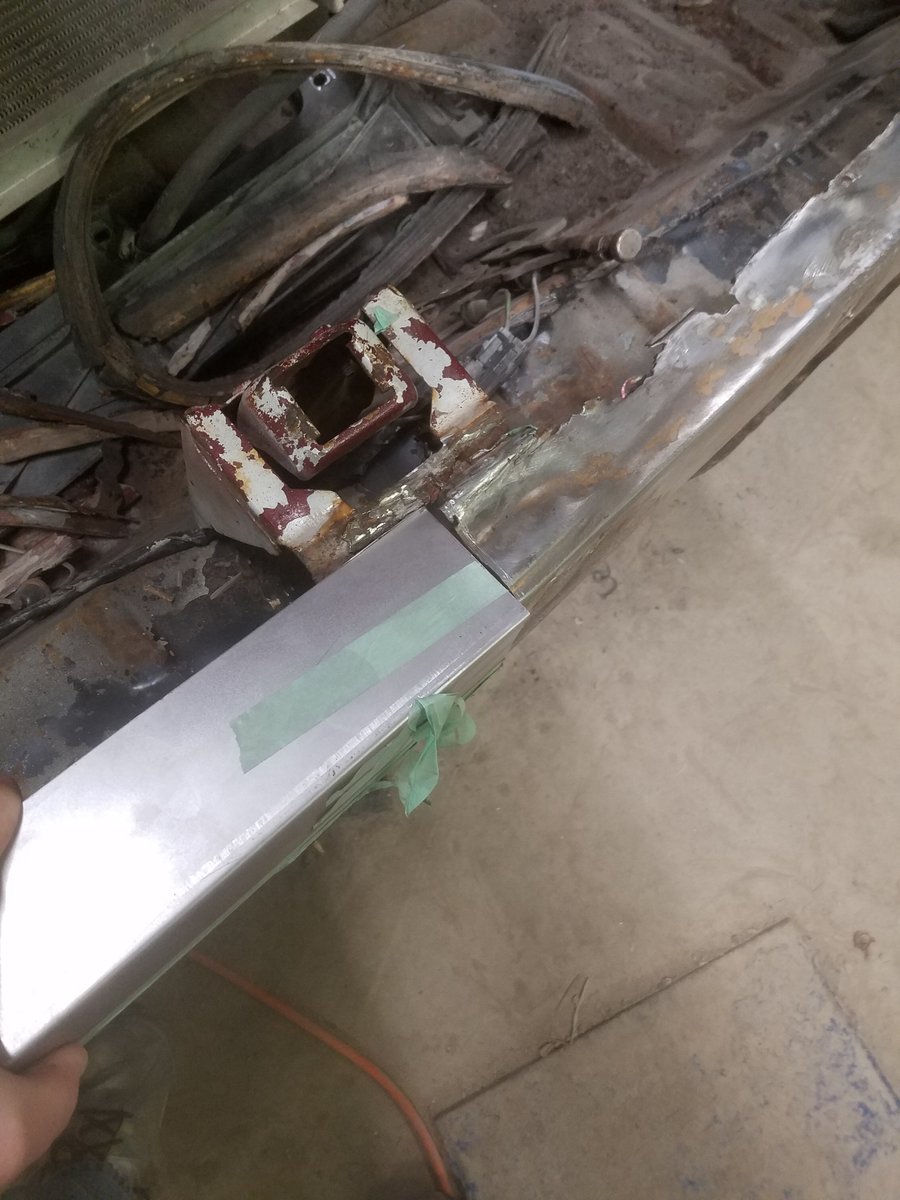
Tail light extensions on., cant put bumper on until its tacked, but I think it looks good. Measures the same on mirrored sides, so I should be even.
-
1 hour ago, 420ponies said:
I think you've done this type of work before. Lookin' good. You've got quite the project there. I was lucky enough to find good piece in Illinois when I was doing mine. Awesome job!

I took auto body repair my last 2 years of high school. I also work maintenance in an industrial setting so I'm around fabrication a decent amount, just never much on cars!
I actually got my first 72 summer before senior year. Drove it around all summer til it locked up. Pulled the motor and took it to body shop class. Found way more work to do than what was able to get finished, and I graduated with a shell of a car lol. Sold that one and bought this one from a member here.
The only fab I did on that car that I still have is the numbers. I deleted the license plate recess in the front and had them rechromed. I'll have to dig them out and clean them up for a pic.
35 minutes ago, Rancid87 said:Put the taillight extensions on if you can and close the trunk lid. Looking great!
This is a great idea! Thanks!
-
Last night I trimmed the passenger side and got it clamped in. Waiting to tack til I have a second set of eyes and hands lol.


-
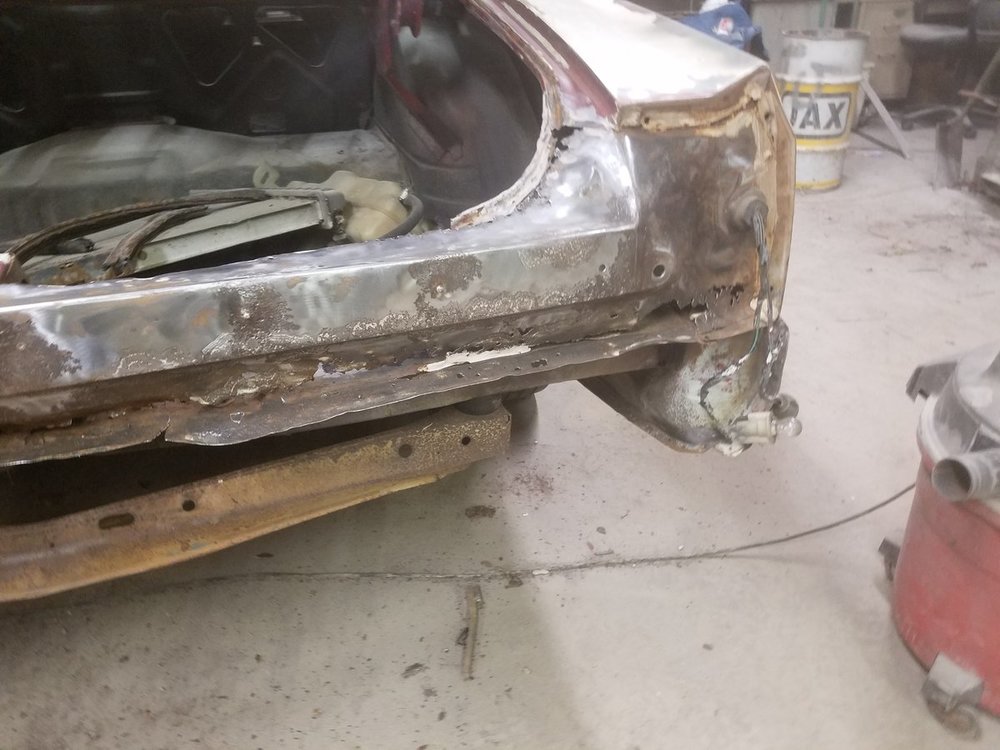
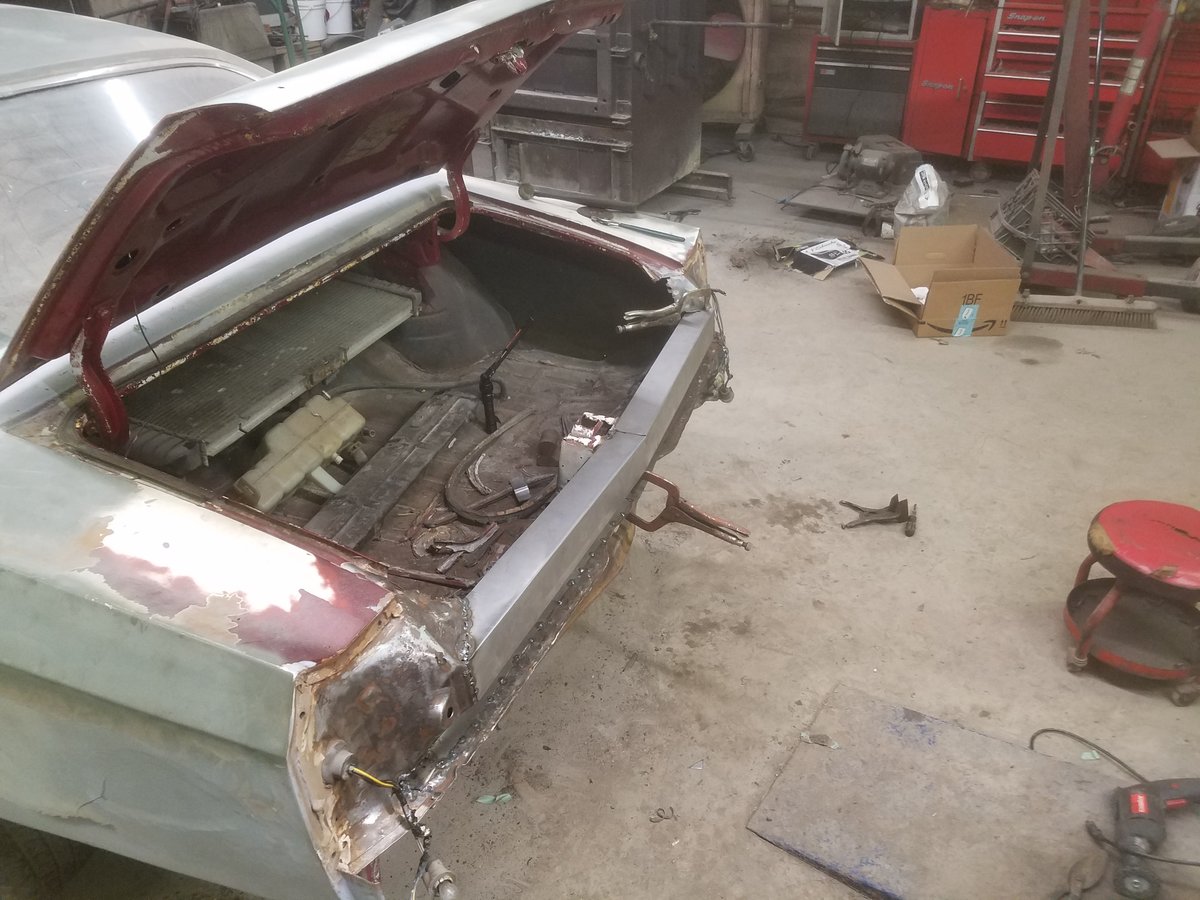
Well I spent the week slowly but surely making 2 identical pieces. Today drivers side went in. I think it's looking good! Definitely have some issues that I'll have to make sure to address. I'm thinking I might buy the lower section of the gutter from beldenspeed.com. that way I can line it up with remaining gutter(upper half should be salvageable) and then know where additional patches should go.
It may not look exactly stock but it will still look good! Let me know what you think!


-
1
-
-
1 minute ago, Jared Richey said:
Looking good. I would graft in an aftermarket lip from the chevelle tail panel. Or you might can buy just the lip
I'm thinking for the trunk gutter, I may buy a set. Idk how good the goodmark or AMD set are, but beldenspeed.com has some as well if I just want the bottom section. They also list dimensions so I may try making those too...I've got plenty of sheetmetal.
-
On 1/5/2020 at 9:54 PM, Rancid87 said:
What gauge steel are you using?
20. I have a sheet of 18 but with the bends 20 is very sturdy .
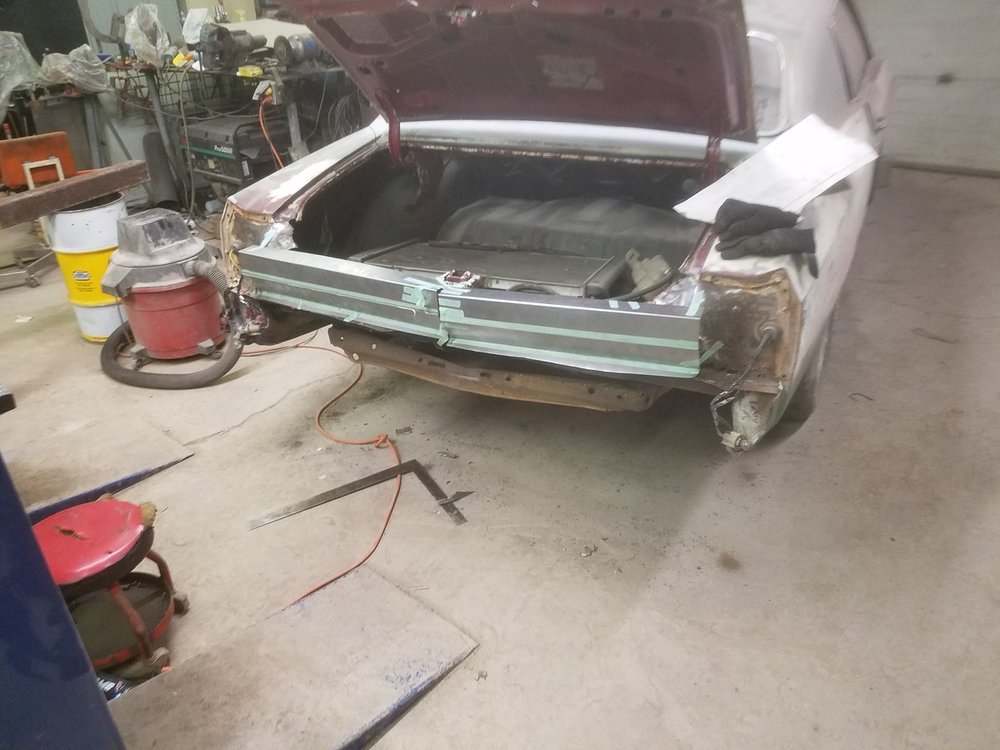
I started on attempts numbers 2 and 3 . Took my time and did everything to both pieces simultaneously to ensure they matched this time...they are identical enough for me now. They need to be trimmed a bit still before tacking in. Hope to get at least the one side in by Sunday.

-
Well we will call that first one the practice patch lol. It actually went in extremely nice after cutting out that half of the original...but it turns out one of my bends was slightly off making the face of the panel a tiny bit taller. This wouldn't have been such a big except I already did the first few bends on piece number 2 and they are spot on with the original. So next thing to do will be cut another piece and bend it at the same time as the other, so I know I have identical bends.
More to come!
-
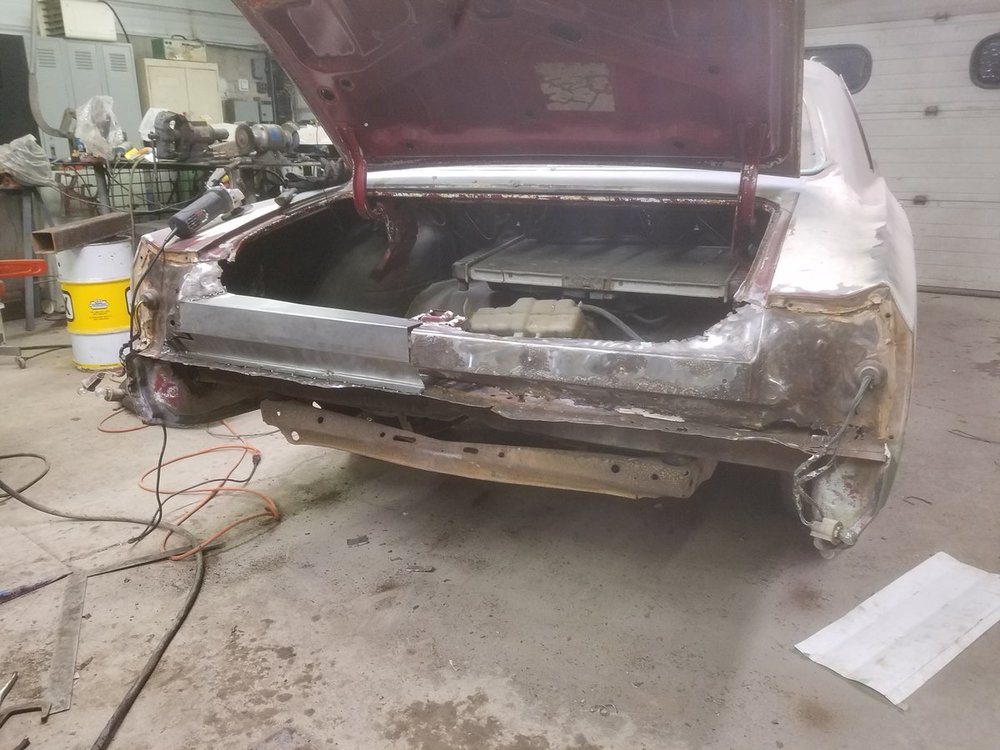
I'm having some fun. Not there yet but looking better and better. Going slow but I have enough steel for a few attempts. I've talked to Leo, and I'll cave if I think I have to. I think this can be done ! It just wont look exactly like factory but I don't think it needs to.
-
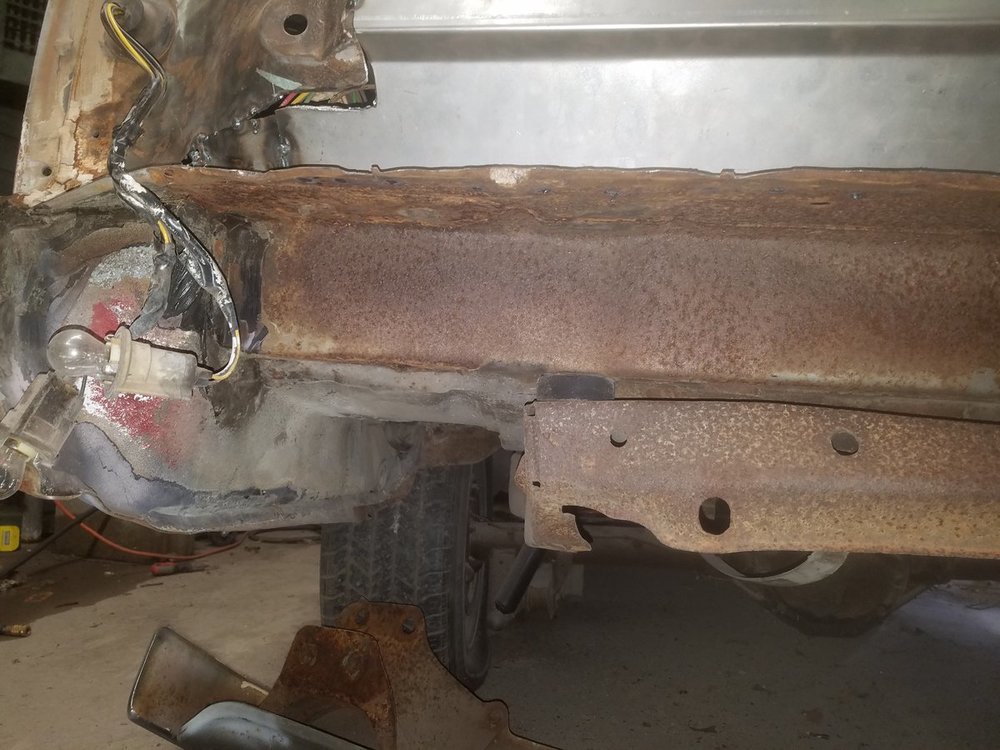
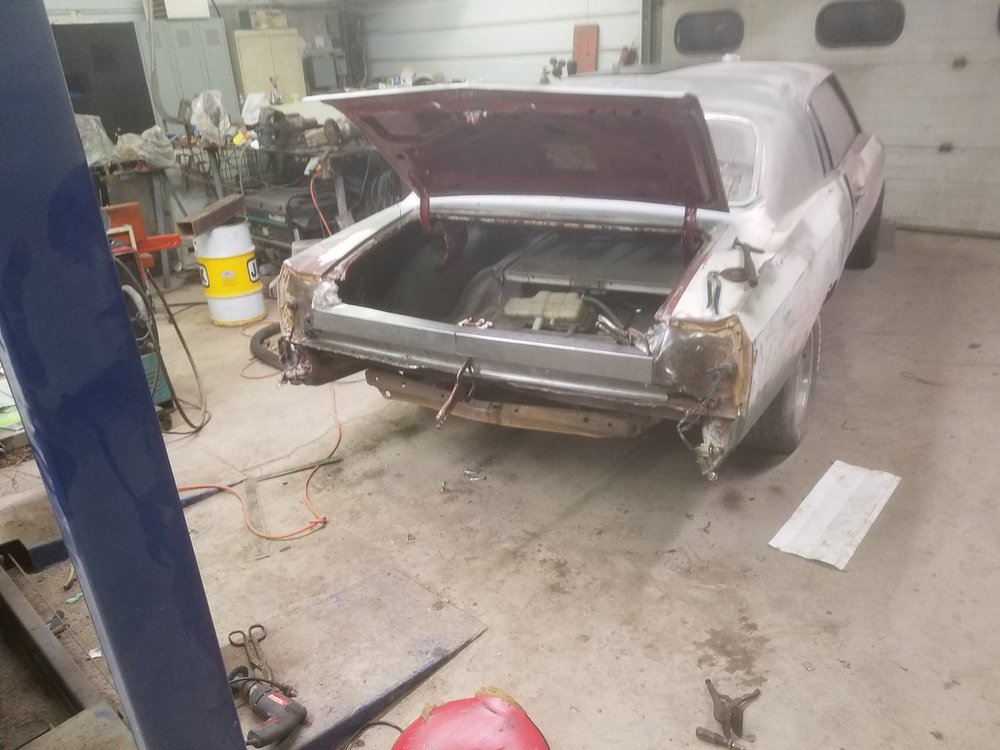
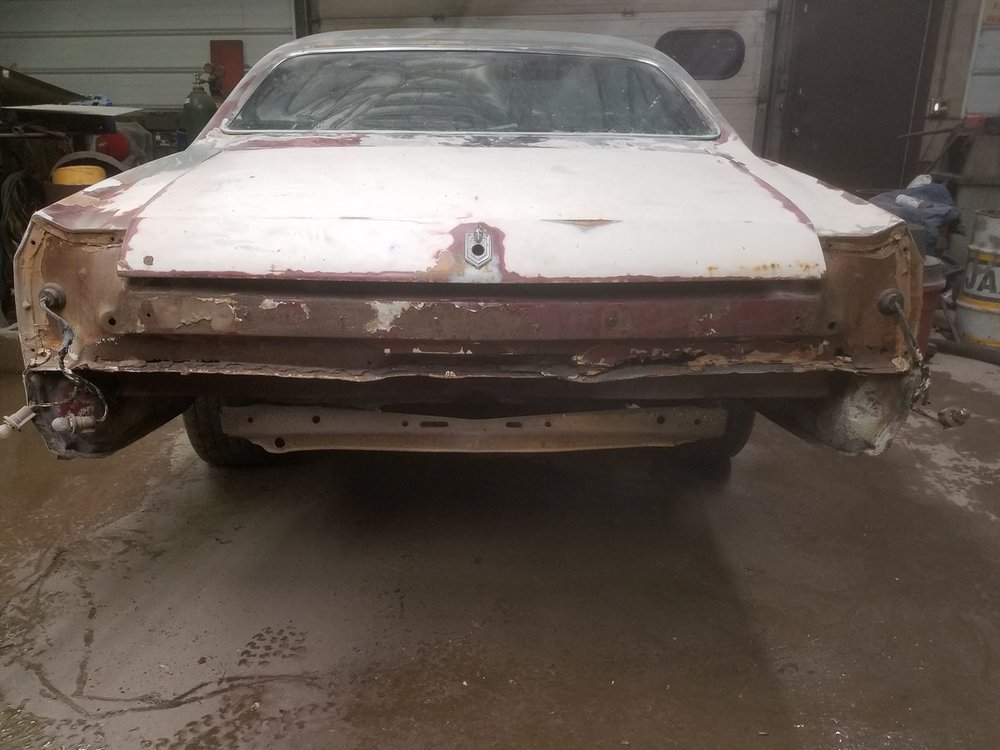
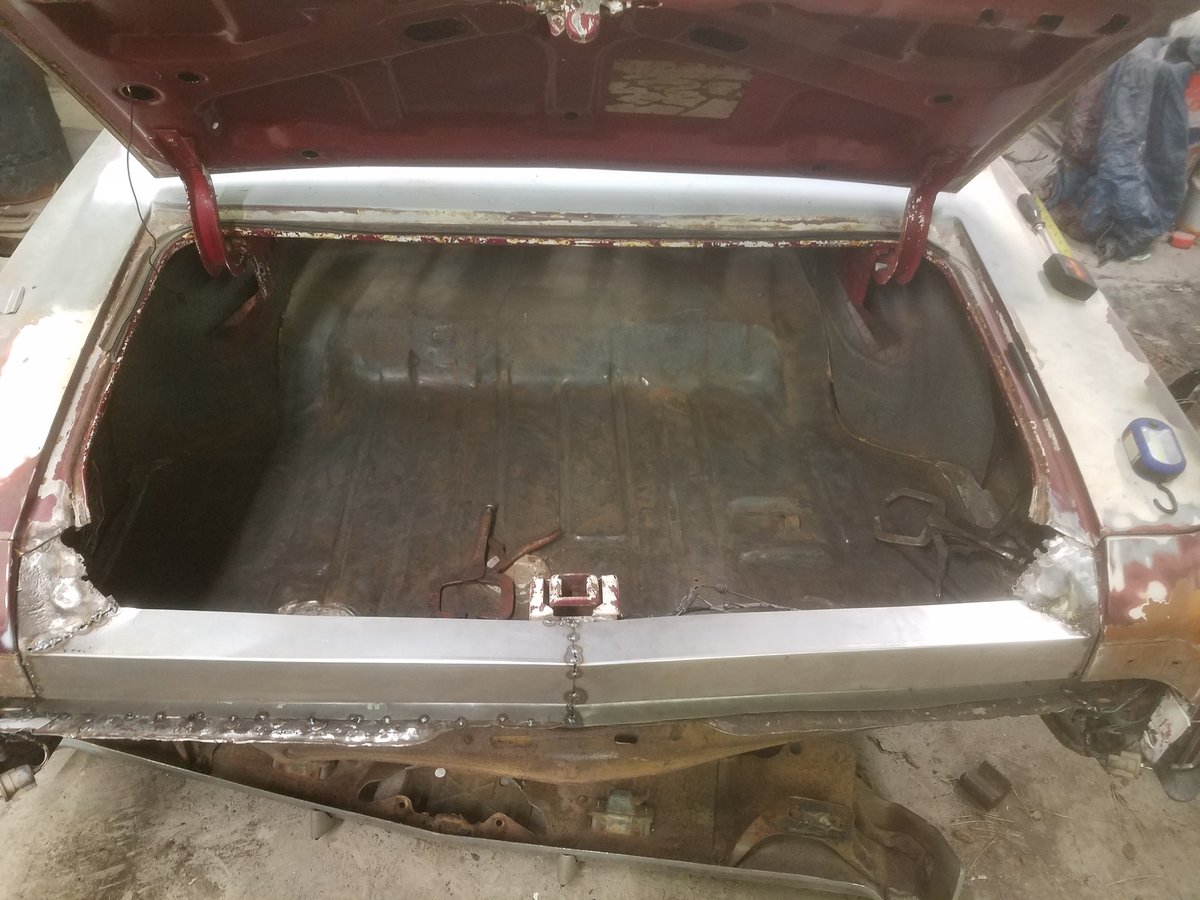
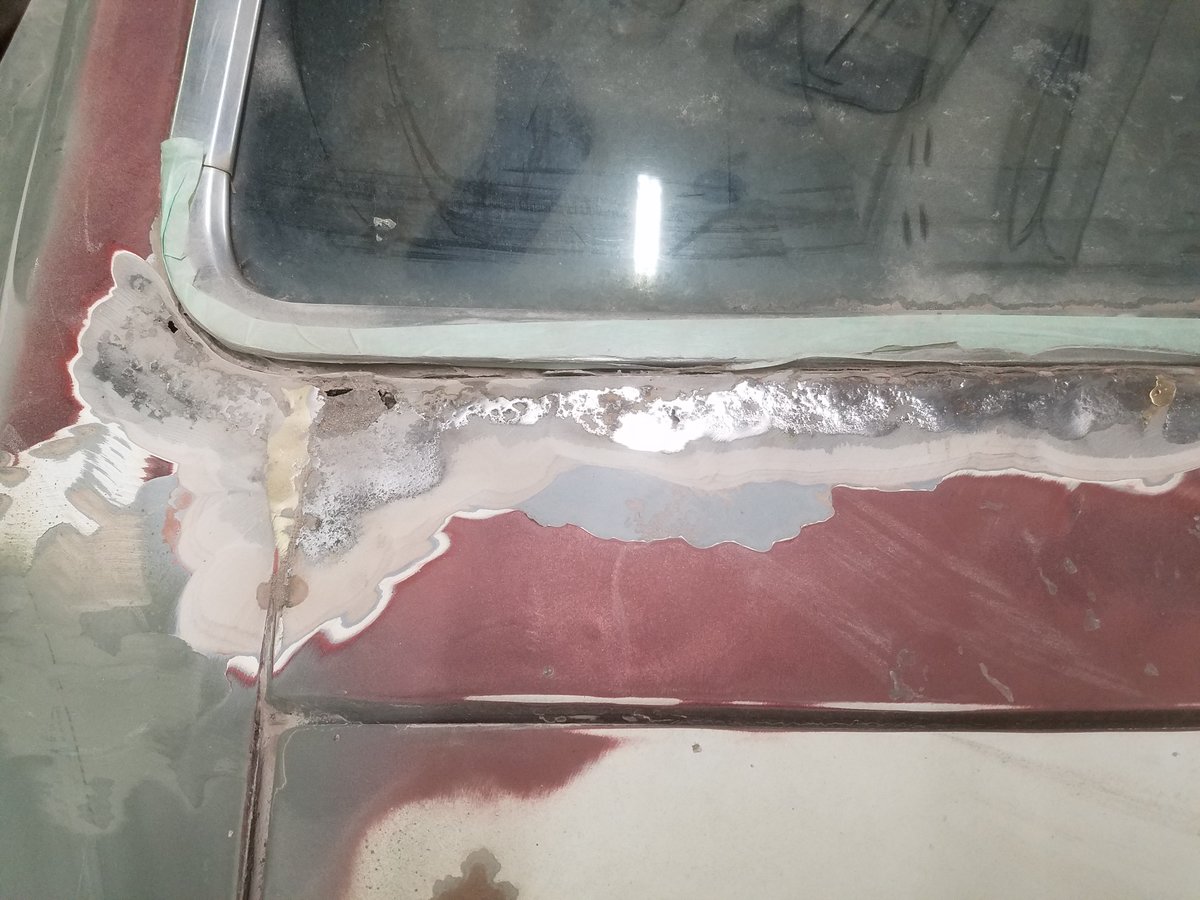
So my tail panel needs to be replaced.

I've done lots of searching on the forums for as much info as I could. I think I'm ready to tackle it. I've got some 20 and 18 cold rolled to play around with. I think if i do it in 2 pieces meeting in the middle it will be doable. I'm just making this thread to keep track of how it turns out. I wouldn't mind if anybody else had pictures of how they repaired their's for comparison...being that this isn't reproduced we gotta help each other out!


I already made a quick rough template and I think it will work.
I will update with any progress!
-
Sometimes you gotta treat them to something nice!
-
1
-
-
These guys are all correct! Jack stands on the frame to elevate the rear, jack on the diff to ease it down when the lower shock bolt has been removed. There is nowhere near as much tension on the rear springs as the front.
-
Do you have the complete upper arms as well as lower? Or do you just have bushings for the uppers? I haven't gotten around to this on mine yet so I may not have the best advice, but you can lower the axle if you are looking for more clearance, but that is going to be a lot of extra work if you lower it all the way to the ground. I'm pretty sure that would require disconnecting the shocks, and your springs would fall out...also I think that may damage the brake line on the axle if not prepared for it.
-
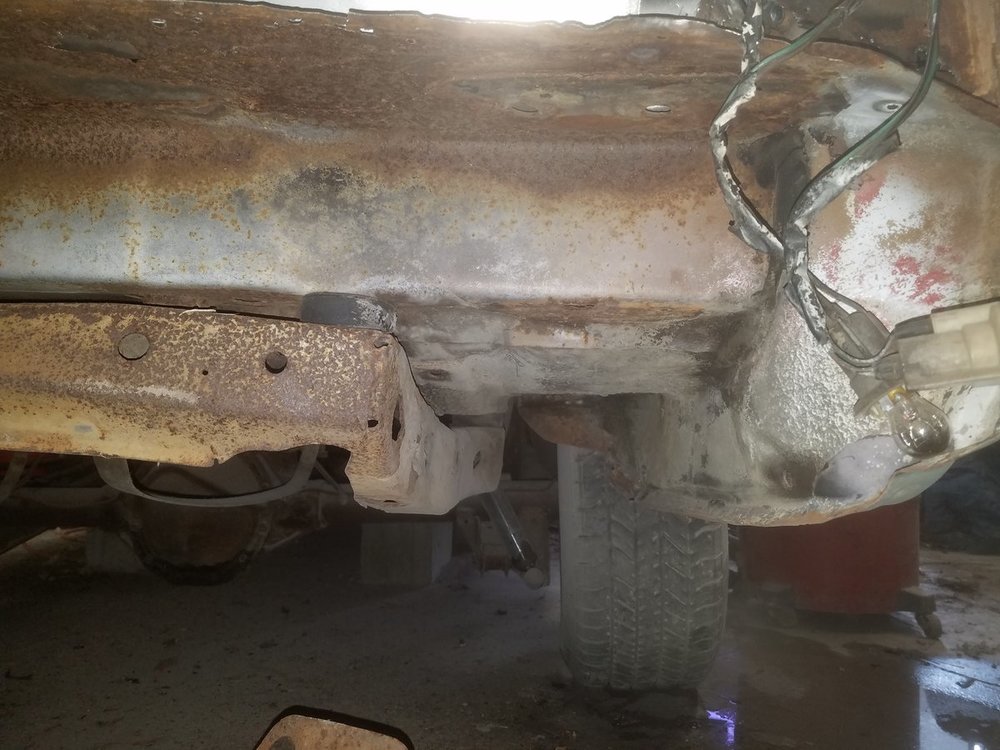
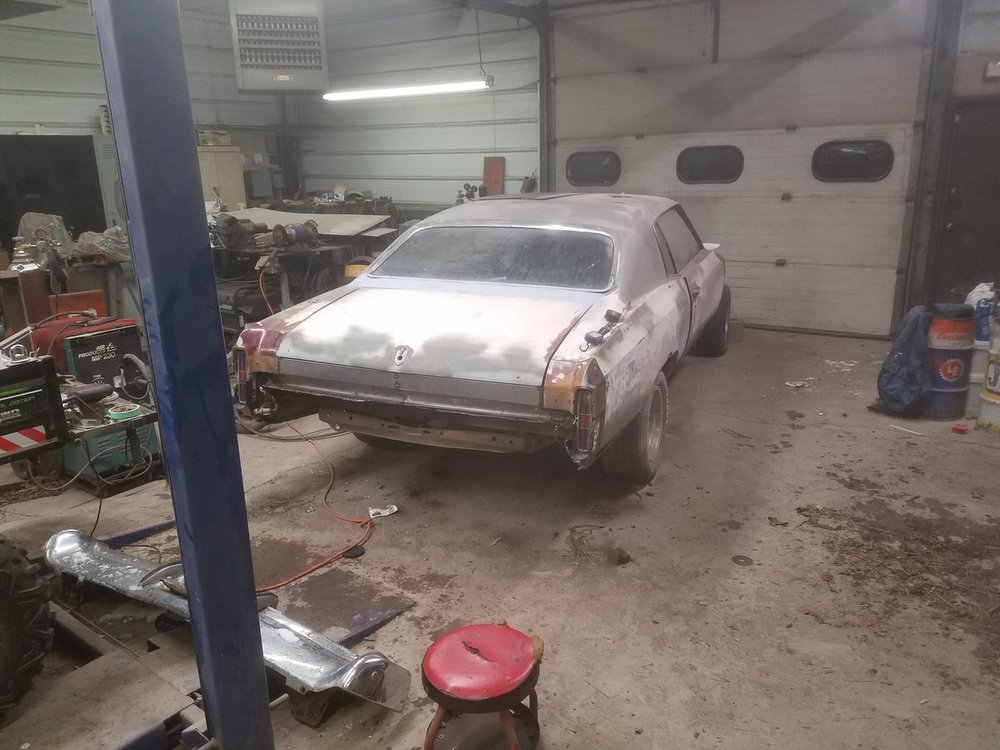
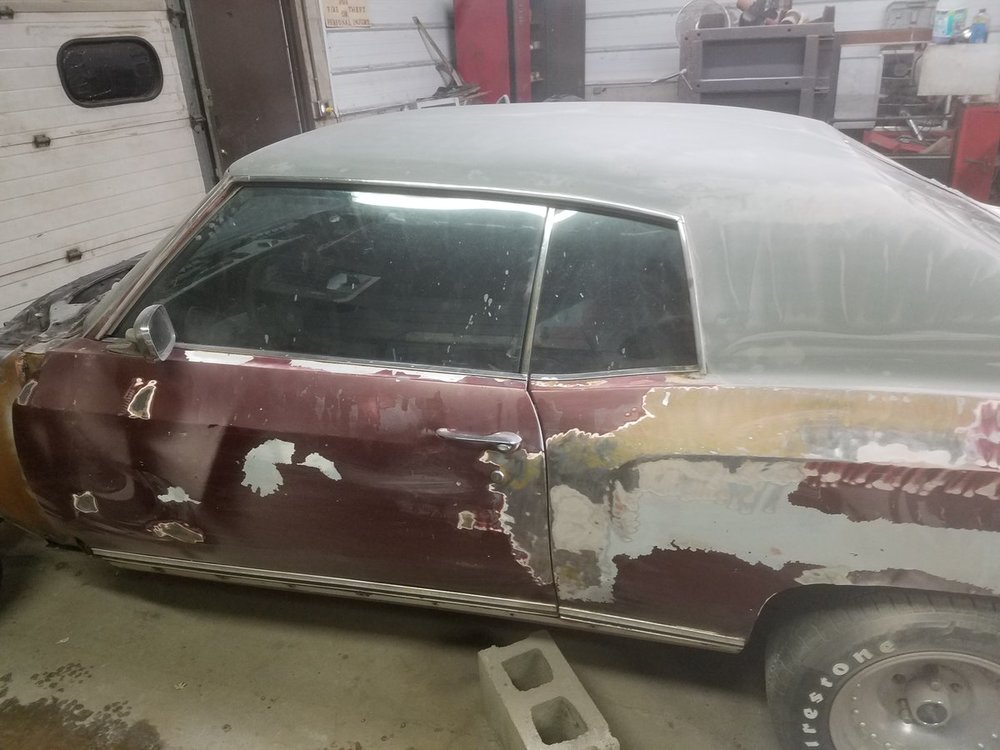
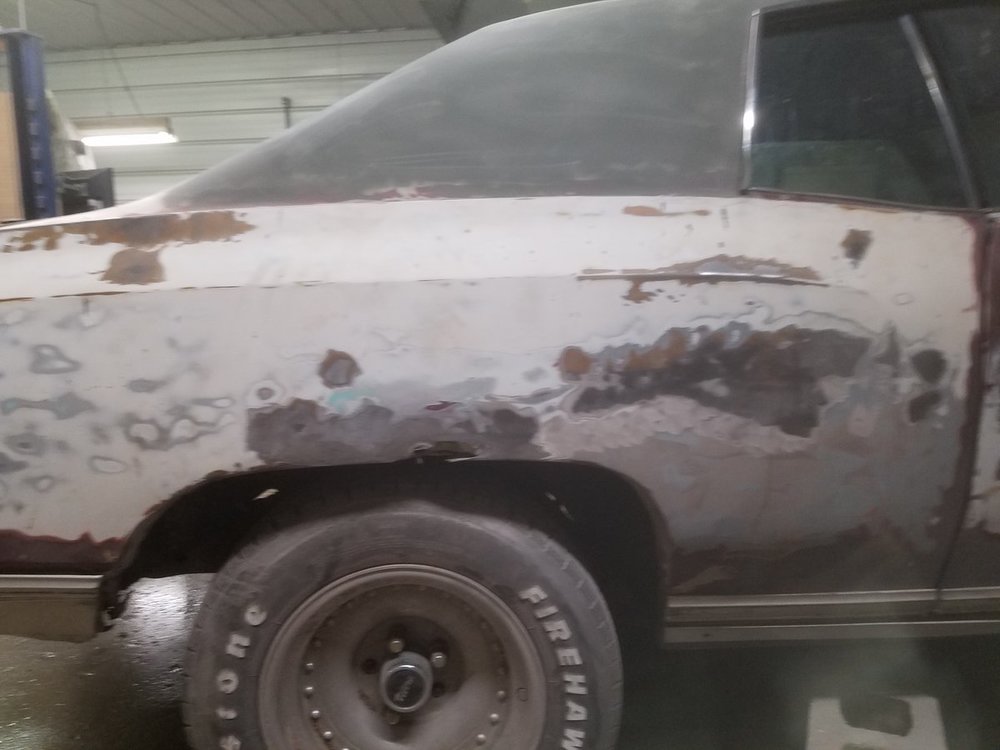
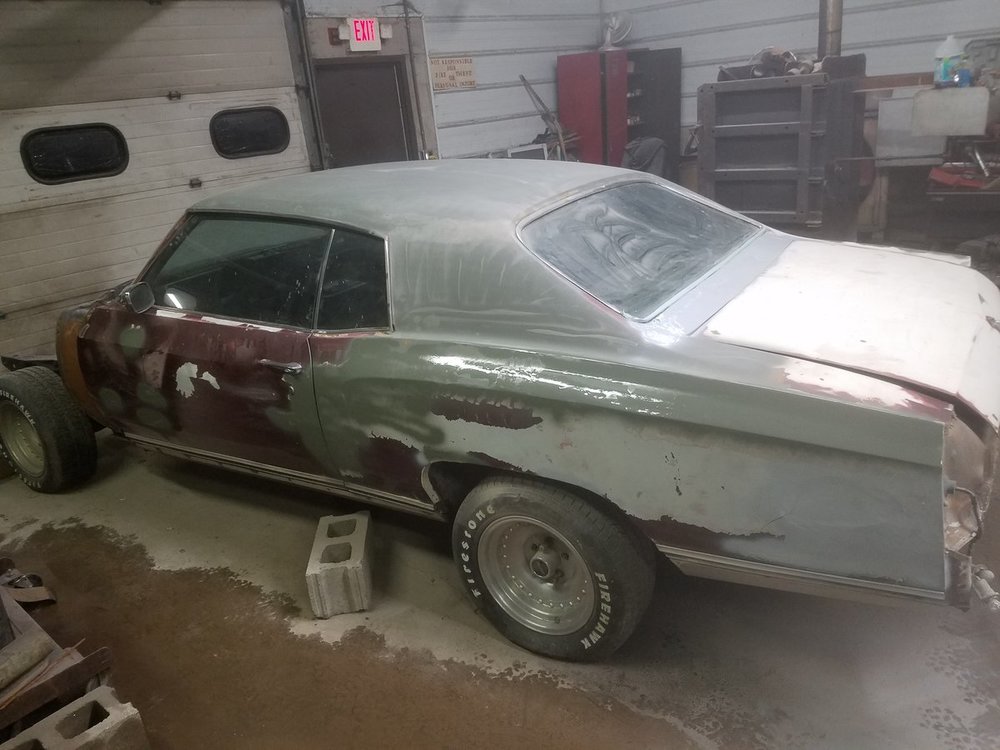
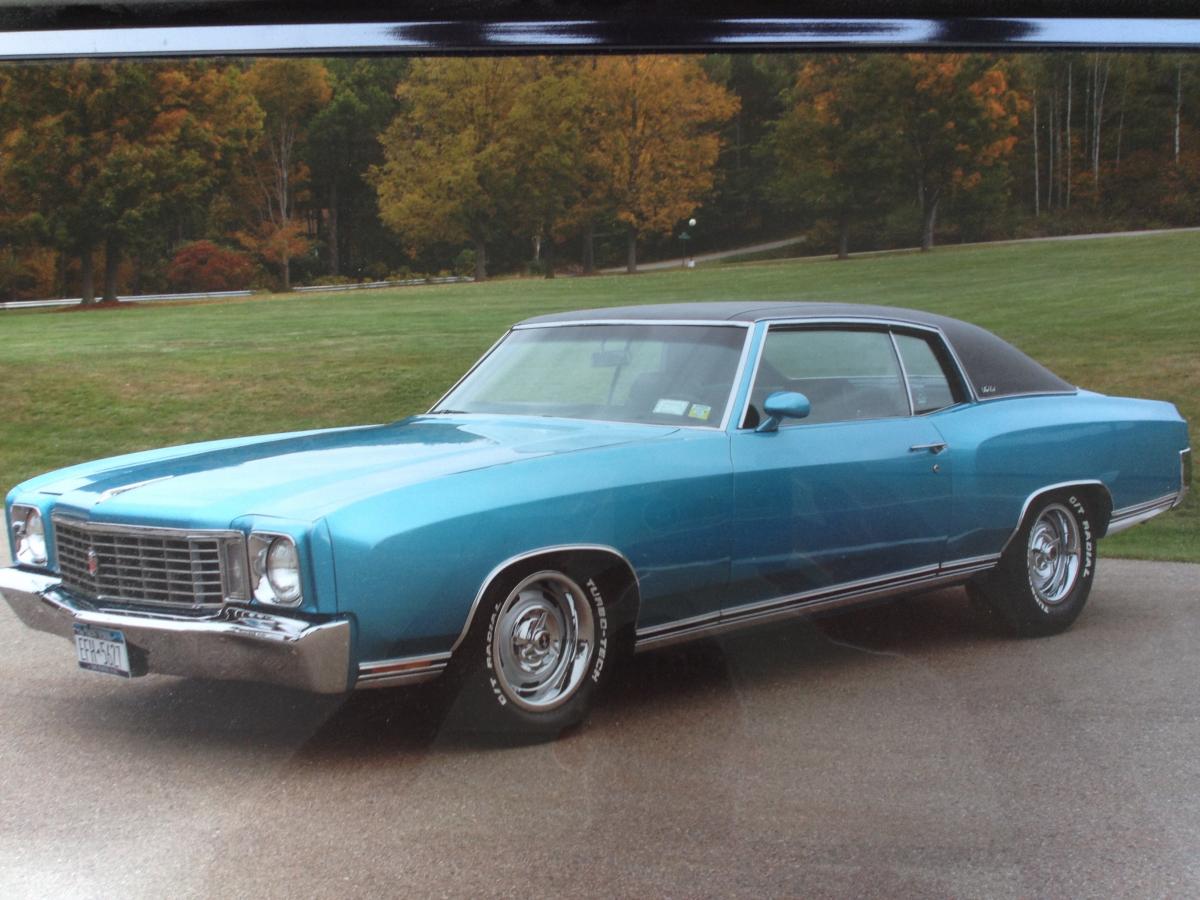
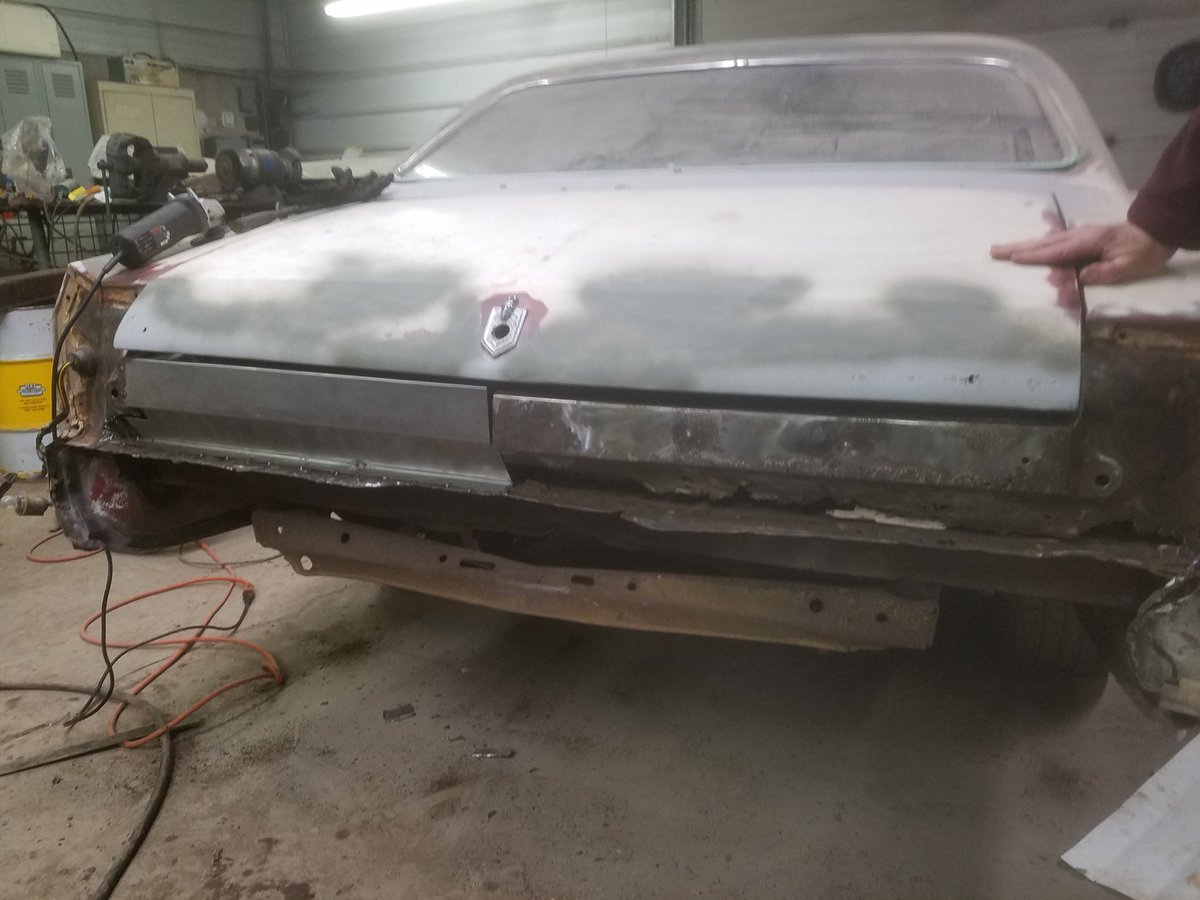
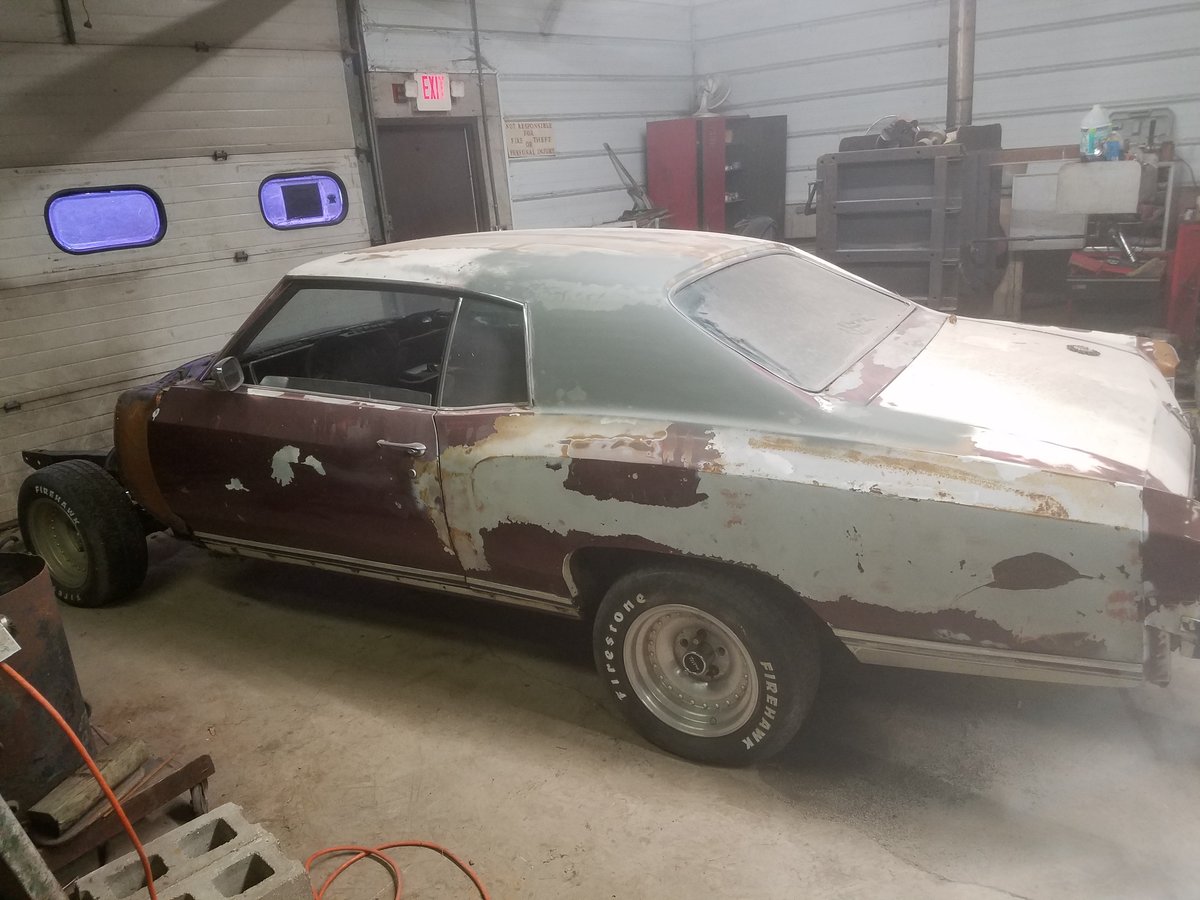
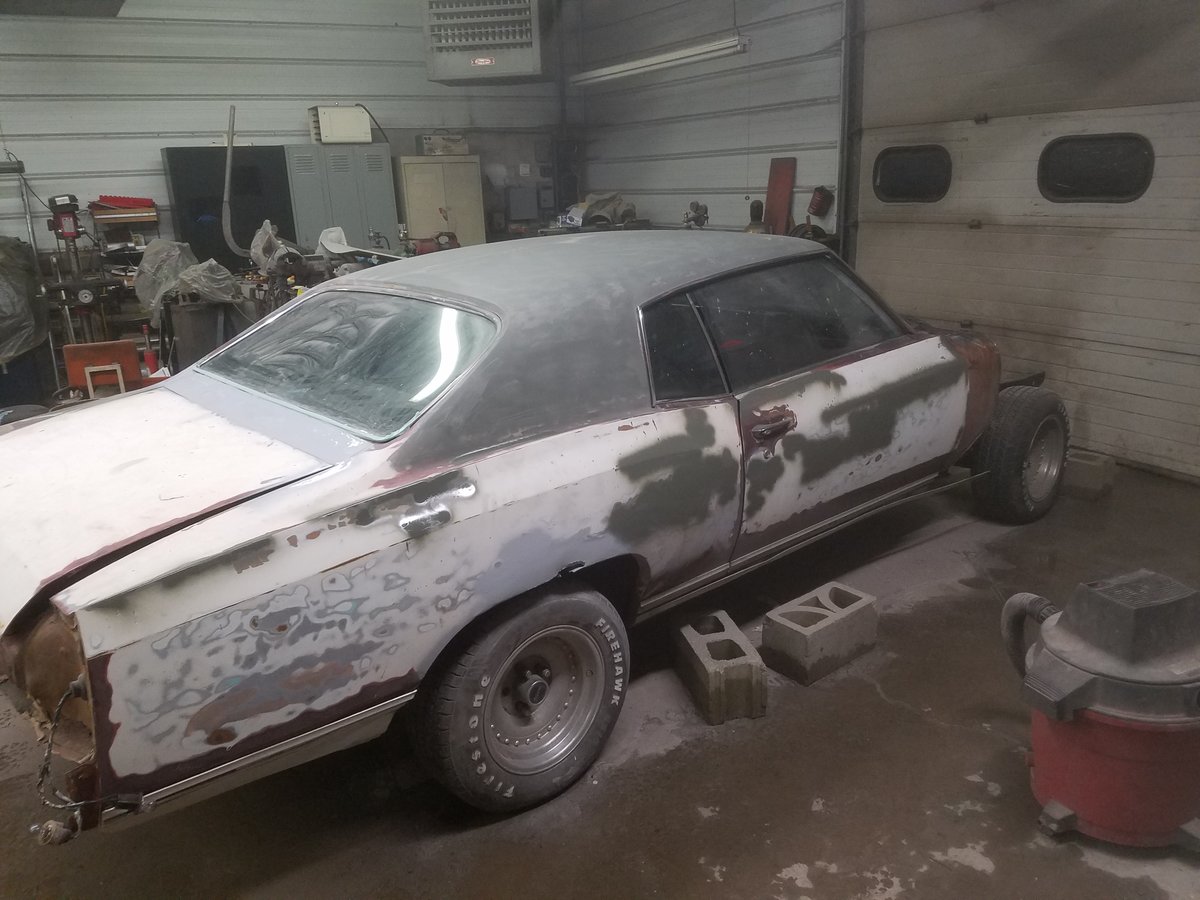
The Monte is allowed to live in the shop for a few weeks, so I'm using the time to try and save it from the elements. There was some surface rust coming through in some areas, and wanted to knock it down and protect it until I have the time and resources to properly treat and prepare for paint.
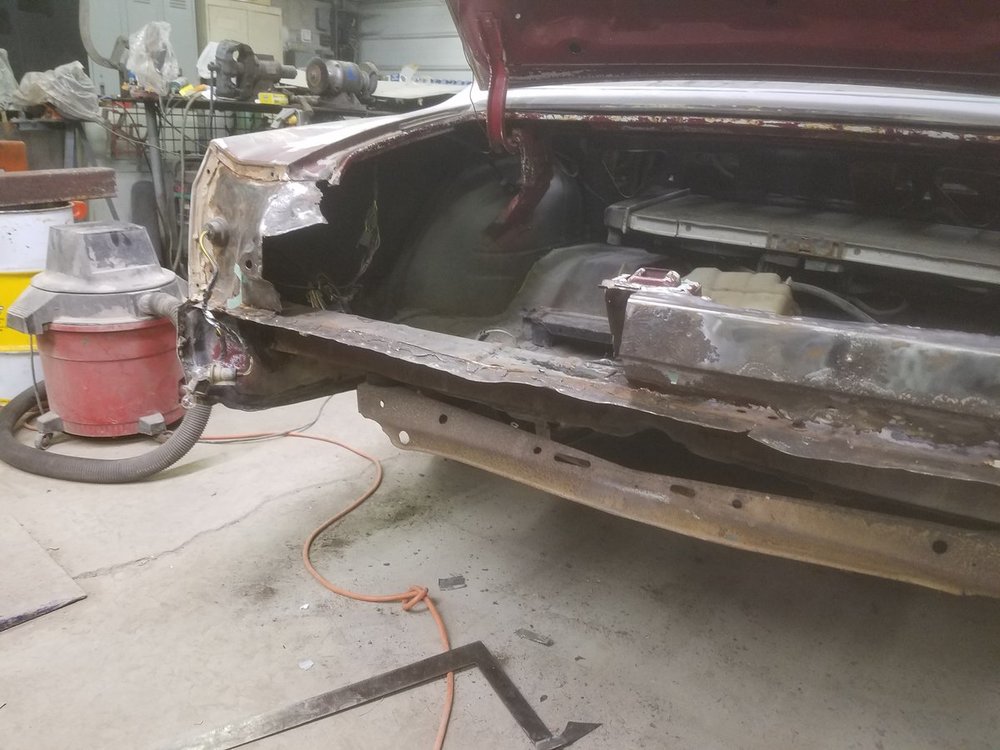
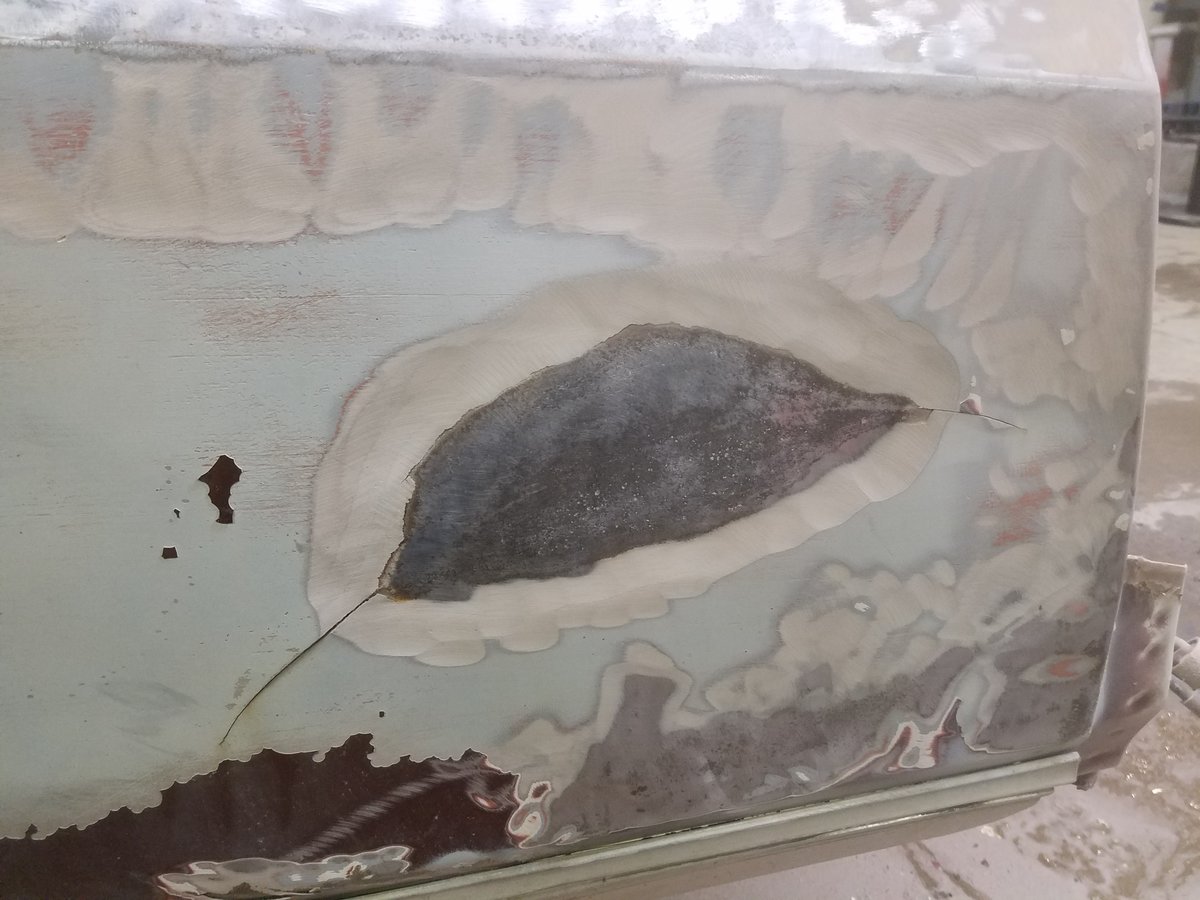
The biggest rust spot was on the drivers sail panel, all great metal...just exposed. I took it down to about 90% bare metal and did a quick etch primer.
After it dried I thought it looked pretty good so I decided to tackle the roof. There were smaller patches of surface rust popping through as it had been sanded on before. I honestly got a little carried away and stripped the whole roof pretty much...luckily I had just enough etch primer left lol. I got in a bit of trouble for going a little crazy and not covering the lathe and mill...luckily none of the vettes were in the front shop!
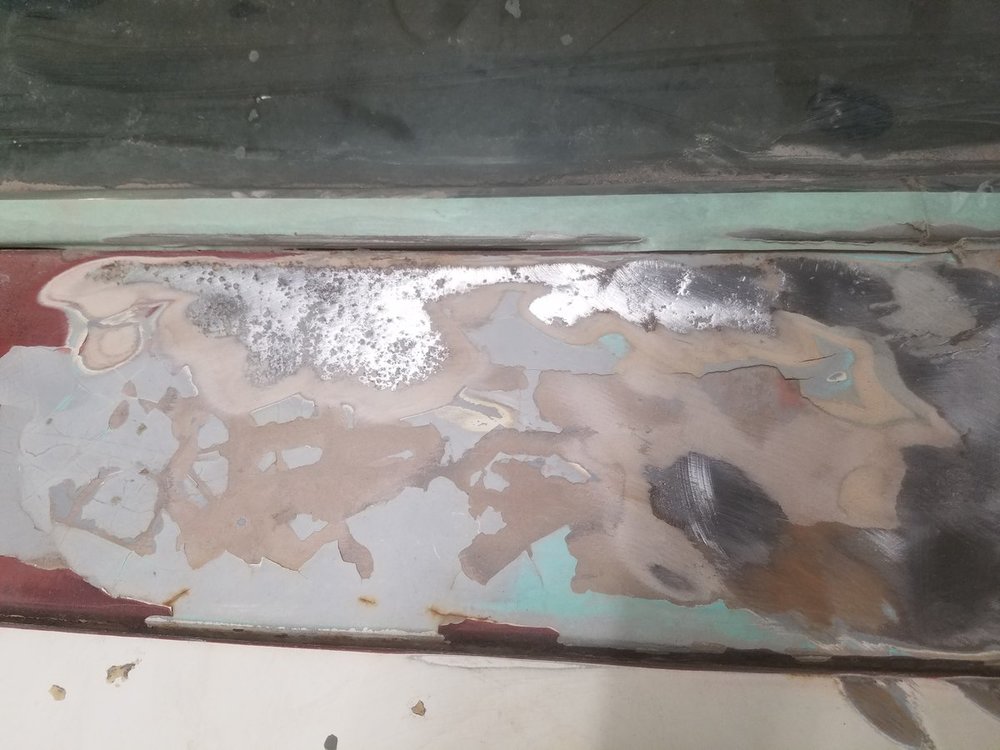
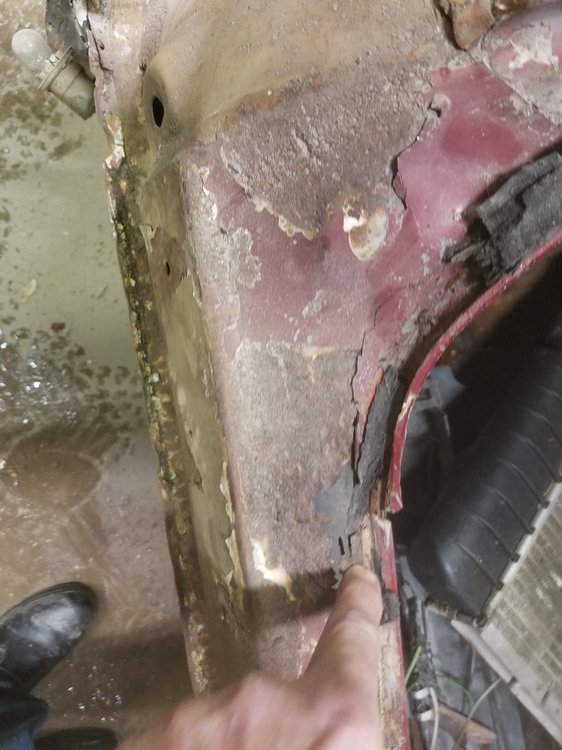
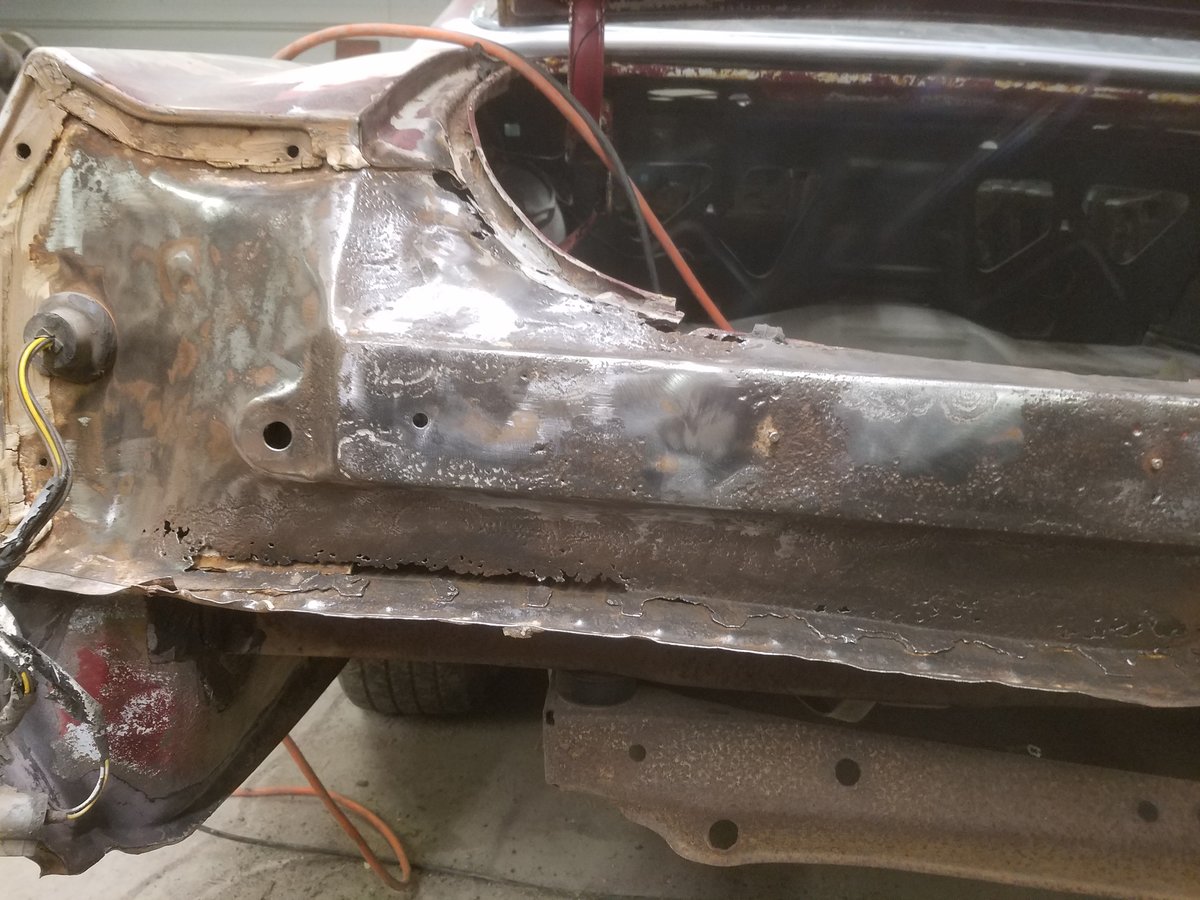
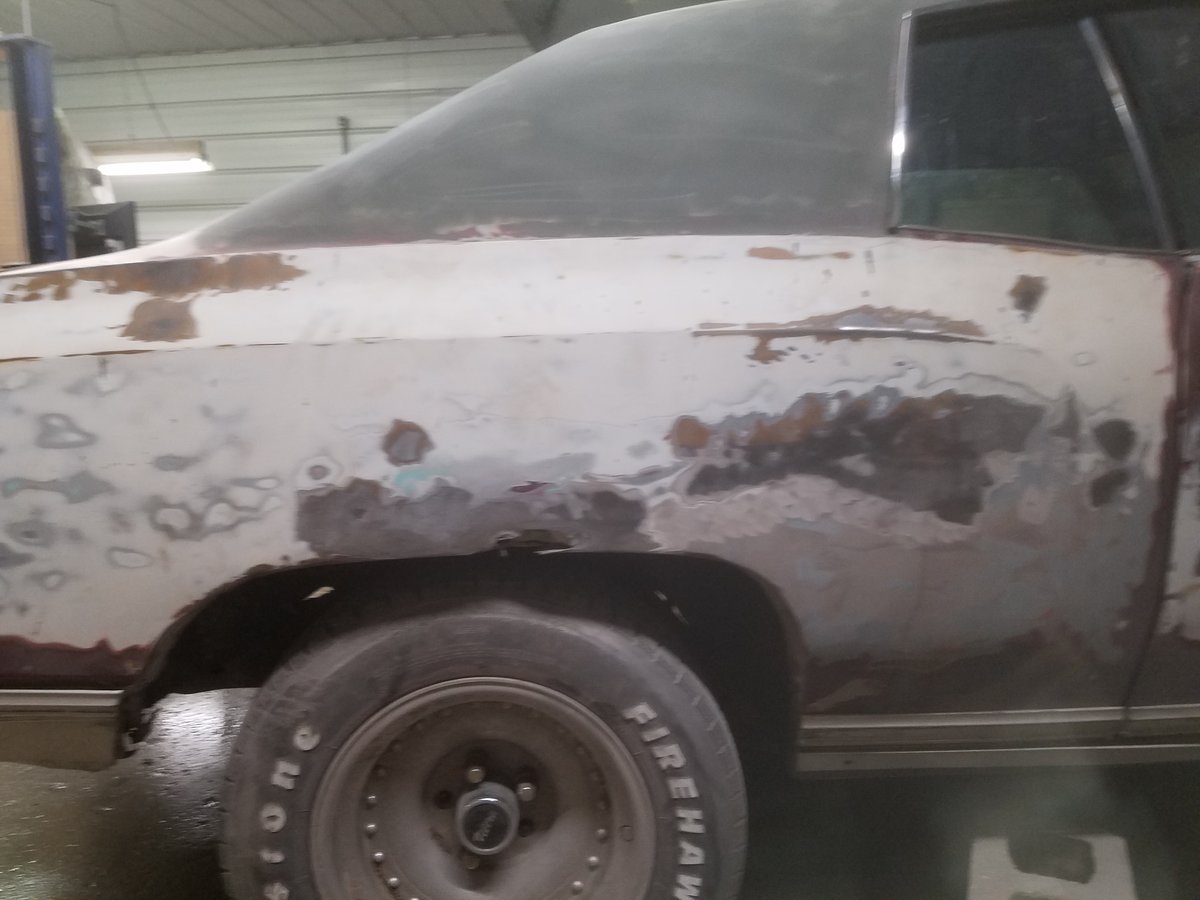
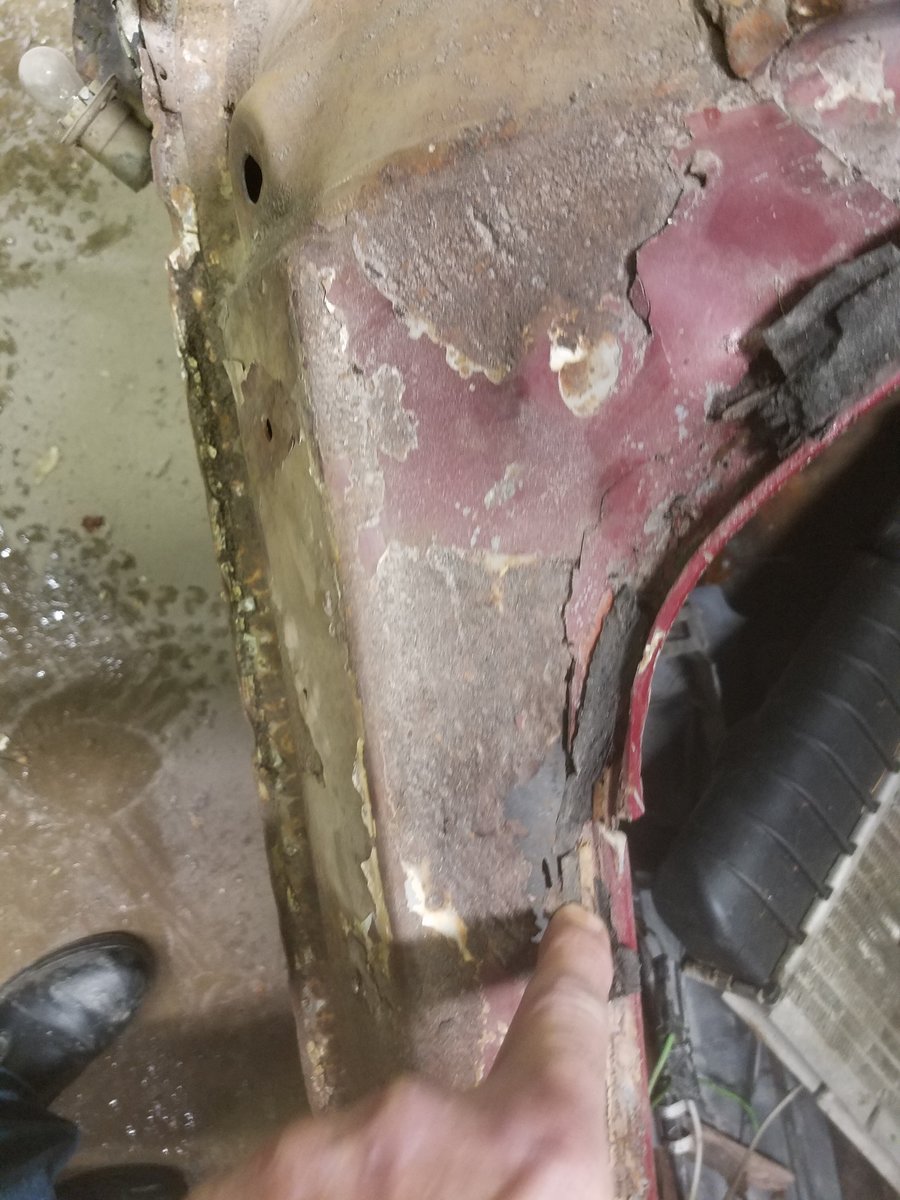
Today I was allowed to continue...with some supervision lol. Took care of the rest of the surface rust except the trunk. I also explored some of the worst of what I have to work with.
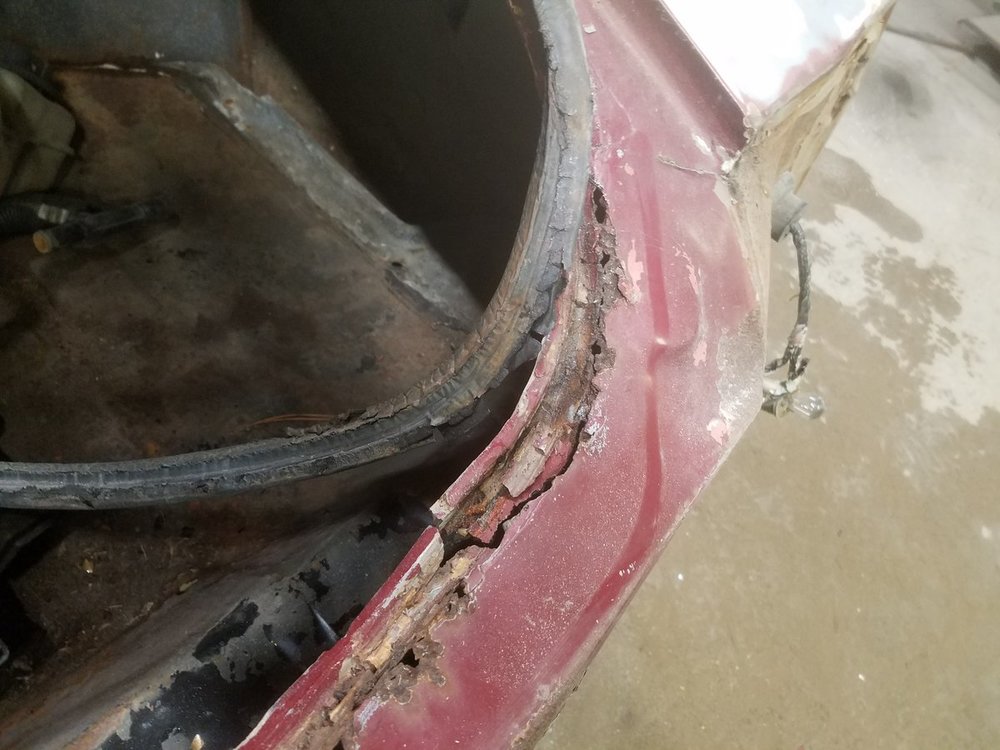
I'll probably need at least 1 quarter...maybe just a skin...deck filler panel may as well get replaced. Trunk gutter, and I will have to fab up a tail panel/ rear valance thingy. Luckily everything is still solid, so I can protect it and focus on mostly mechanical work.
Tomorrow I'll finish surface rust on the trunk lid, and probably try to see how much good metal I have to work with in the tail. I will also be trying to get the inside patched, treated, and coated before it has to live outside again. I have some Ospho on the way!


-
1
-


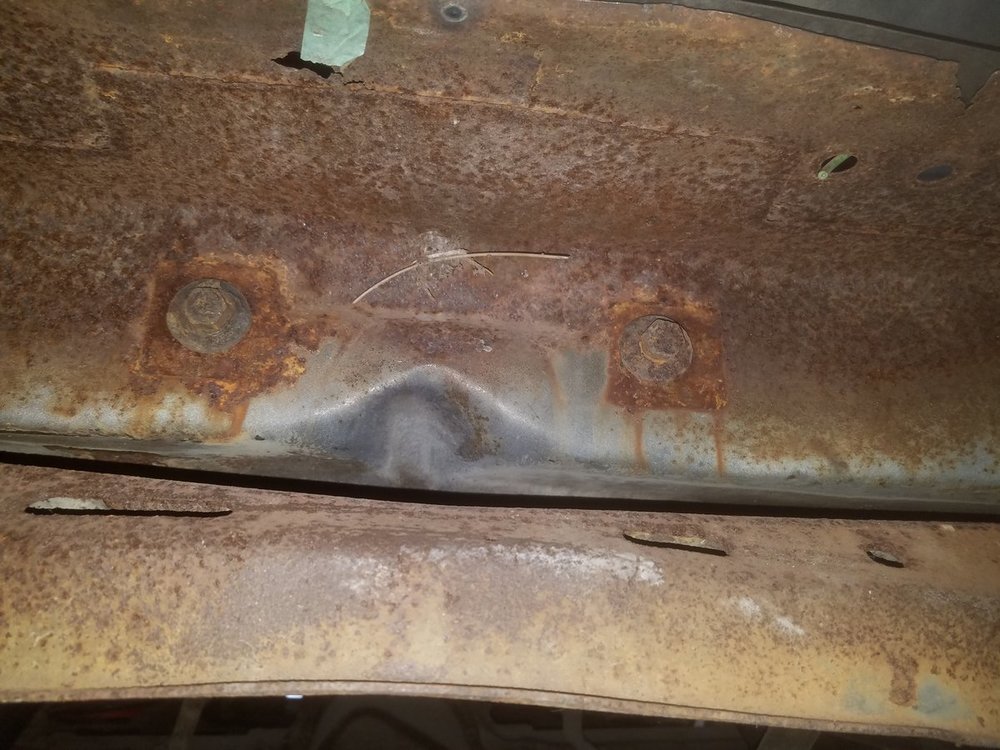
Trunk Floor Crossrail
in Auto Body Repair
Posted
I know, right? It's crazy. Let me know if you need more