


Scott S.
-
Posts
1,069 -
Joined
-
Last visited
-
Days Won
2
Content Type
Profiles
Articles
Forums
Gallery
Events
Posts posted by Scott S.
-
-
Not sure what brand my headers are, they came with the car. But the problem is the same.
Had to unbolt them and went with the short plugs (NGK) as well.
Guess that's why so many members prefer big blocks.....LOL
-
Now that's probably more rare than a numbers matching car..... Makes one curious as to if it was a special order car at the dealership ?
-
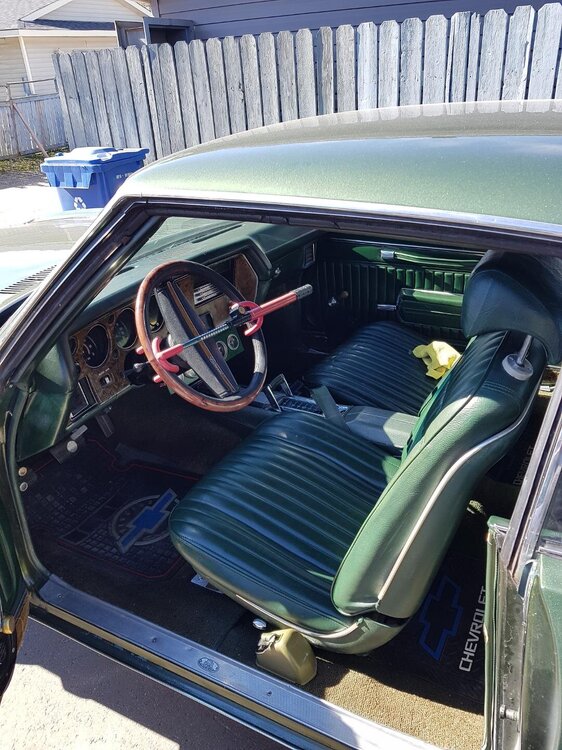
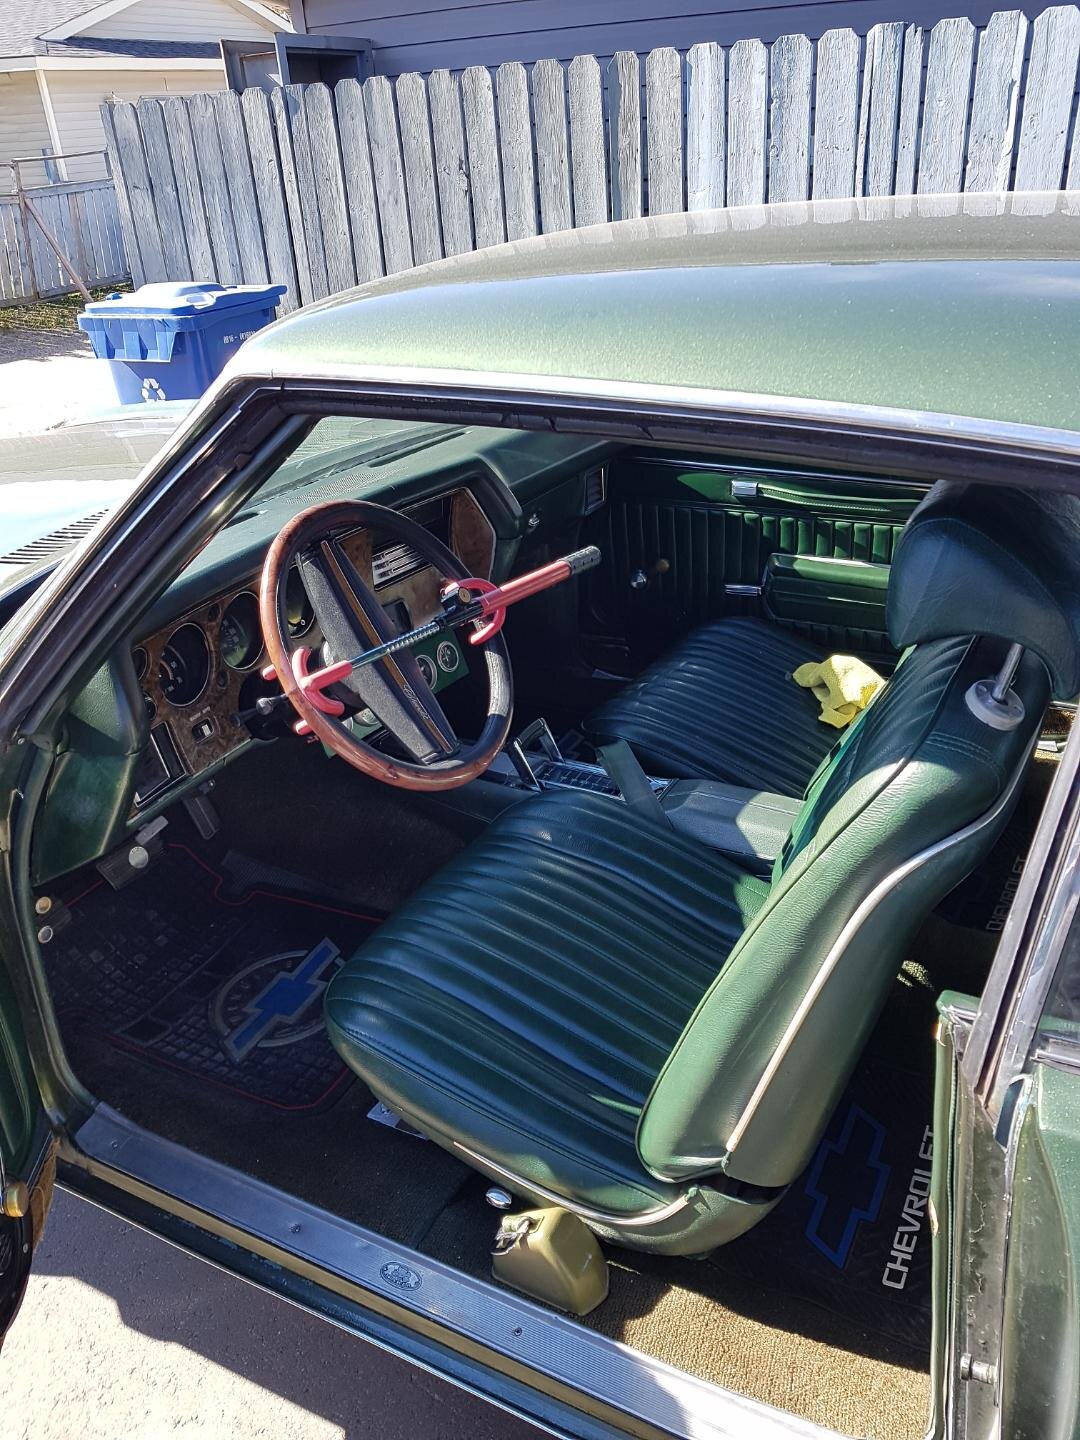
I pulled the dash pad and inquired at an upholstery shop about repairs.... Told me it was to far gone to fix.
So I did some re-enforcing and filled the cracks with an epoxy, just need to sand it smooth.
Any recommendations on a good vinyl spray to re finish it ??? It's 1970 Forest Green and I'm hoping to find a good match.
Scott.
-
20 hours ago, DragCat said:
Thats what I was thinking........I have a few of that style for at the track (water/whatever) But when it comes to my "adult" beverages I still use the old school foam Koozies.
And the "old school" ones float in the pool.
")
-
That's a lot of coozies !!!
Up here it rarely gets warm enough, and our bevies don't sit around long enough to need them.
-
 2
2
-
 1
1
-
-
Welcome Wesley,
From the looks of the pin connector, it appears to be the one that plugs into the player.. also known as the "head unit".
I don't think you'll find an adapter, but if the previous owner bought the stereo as a package, the Pioneer website should have a diagram that will guide you to what goes where. Then it should be a simple job of matching wires.....
Best 'o' luck, Scott
-
2
-
-
Bob,
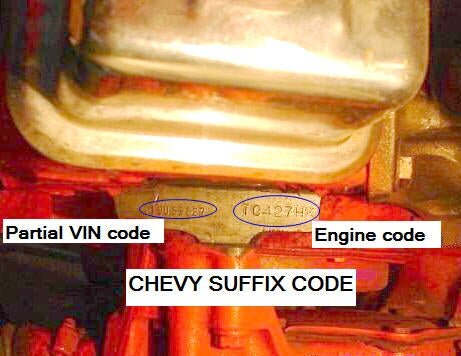
396SS.com has some stuff that might help.
Here's a couple things that can get you started.
My guess is that if there's no serial number, it's probably a replacement.
Scott.
-
2
-
-
You've been hanging around with Mark Worman again ????? LOL
-
1
-
-
That looks like what happened....... BUT, it still doesn't answer the question of where does the fourth belt go.... There should be a fifth one to match it for the front shoulder straps.
-
1
-
-
Hi Michael,
Are you looking to install it yourself ? Or get a shop to do it ?
I believe OPGI stocks them, but it may only be available in black.
A local restoration shop might be able to find the colour your looking for...... Florida should have a few of them.
Scott.
-
3
-
-
In the infamous words of Jimmi.....
Hey Joe, (lol)
The second white wire does come off of the door switch, but, as discussed, it disappears somewhere along the edge of the dash/parking brake assembly.
I'll take a better look the next time I get under there, as I can't really tell by looking down from the top side.
Thanks for all your insights. 👍
-
2
-
-
Yes.
I've connected the wire to a live feed, but then they stay on all the time.
I'm was thinking that they need to connect to the door switch, but the diagram shows some sort of block connection in line.
-
I recently replaced the light switch in Montelishi, and I still can't find the connection spade for the white/light grey 20 gauge wire that operates the under dash lights.
I've looked at the diagrams on here, and they show what appears to be some sort of common connection block............ But I just can't seem to find it.
It has a smaller female spade end on it, but not sure where it attaches.
Any ideas ?
-
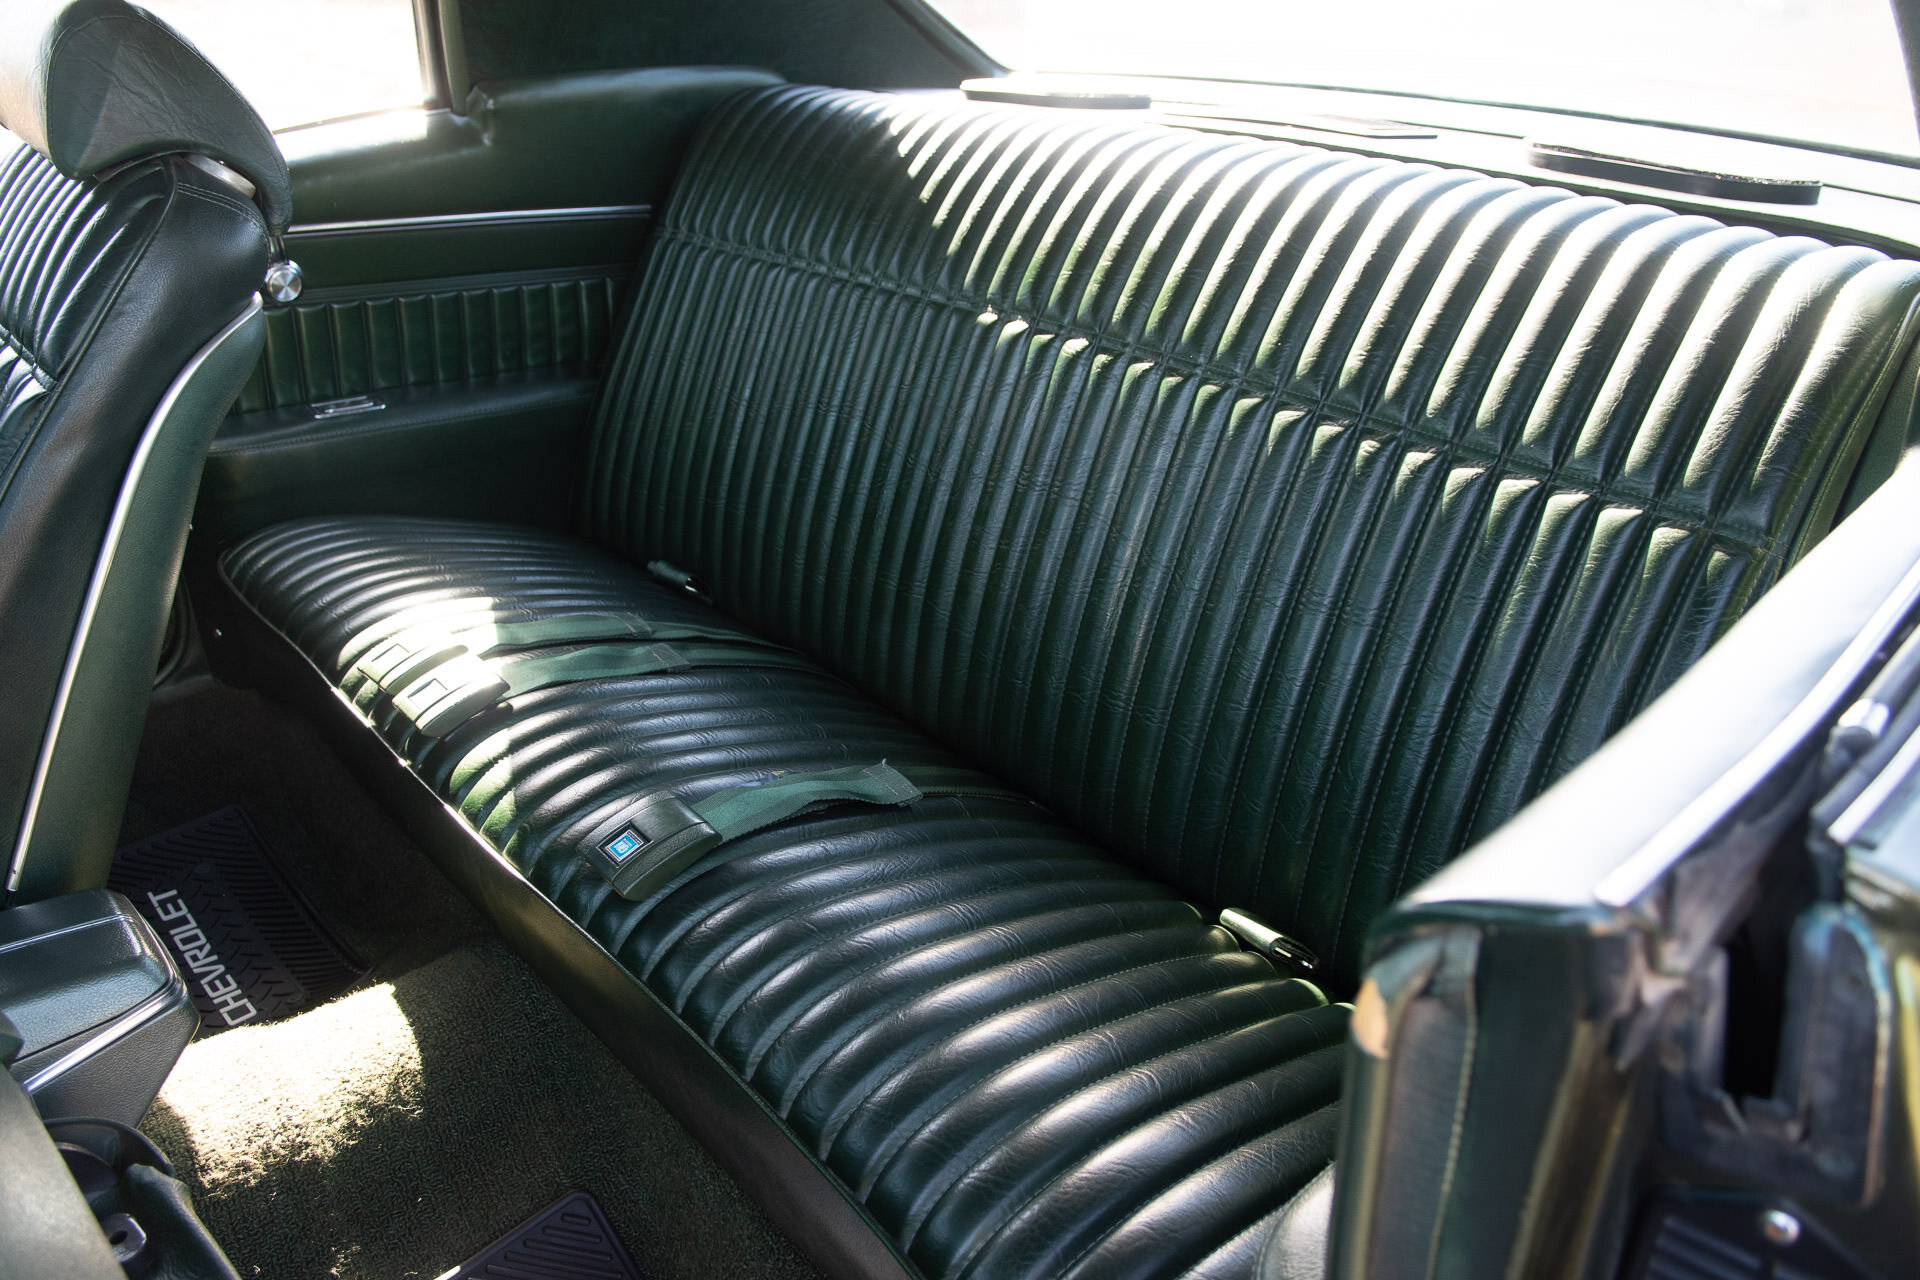
So the smaller buckles don't fit the male ends in the recoil boxes ?
I've got a '70 with bucket seats, and the front seats have smaller ones than the back seat.
I believe that they are spring loaded and just pressed together, but I'm sure someone here has taken them apart before.

-
My understanding of the two different sizes of buckles for the front seats is so you could tell which belt connected to which, as the lap belt adjustment was in the box, whereas the adjustment on the shoulder belt was in the lower belt itself. If the buckles were the same size, one could confuse them and they'd be out of adjustment.
Mind you, a tight belt across your wife's/girlfriend's/hitch hiker's chest might be a good thing.
-
2
-
-
Registered in the spouse's name ????
Hmmmm, seems to me I've heard that story before.....

-
If memory serves me right.... the two belts on the right are front seat lap belts that fit to the recoil boxes, the three sets in the middle are rear seats, and the one reversed female belt in the middle is for the shoulder belt. But I'm thinking there should be two of those.
-
Hello
in New Members
Any speeding tickets ????
Welcome to the "Machine".....:)
-
17 hours ago, John S said:
With your experience in machining, you should have no problem. I made an installer with a piece of 1/2 inch fine thread all thread, two correctly sized pieces of pipe one braced against the ears on the pumpkin, and the other sized to the diameter of the bushing, and a flat plate and drew them in by tightening the nut. And yes, I did freeze them overnight and lubricated them when installing.
John SLarge sockets work too....
-
3
-
-
The bushing kit I bought came wit a lube to install them..... And the freezer trick was a great help.
")
-
4
-
-
Doing it on blocks creates more work than yo need....
As for bending the bracket, a really big cresent(monkey) wrench works. Just clamp it to to bracket and you'll effectively have a pry bar.
When it came to getting the bushing sleeve out, I used a hacksaw to cut it down the length and basically split it. Not sure if you'd have room while the diff is still in the car, so a small sawsall and a lot of caution might be the way to go.
-
2
-
-
And sadly, most of them will never see the light of day or the open road again.....

-
2
-
-
I've questioned some of this "distilled" water before. Not sure if it's the water or just the container, but I had a few 1 gallon jugs that had brown sediment in them.
Not sure if there's an expiry date for this stuff, but I haven't bought any from Super Store since. I think Walmart uses the same..... Could just be by territory ?
Also, if you have aluminum components, there is a different A/F recommended for that.
-
1
-
-
Montelishi spends her winters outside, and I just don't want to take the chance on these -40 degree cold snaps.
I flush the system every spring before putting her back on the road, and use an additive to lubricate the system. Seems to work.... so far.
-
1
-
Small block headers
in Engine Tech
Posted