NavyCPO
-
Posts
124 -
Joined
-
Last visited
-
Days Won
1
Content Type
Profiles
Articles
Forums
Gallery
Events
Everything posted by NavyCPO
-
Thank you Doug!
-
Took the rear brake lines off as an assembly. Broke loose at the brake backing plates (thank goodness they just popped loose from there) took out the bolt for the center junction block/rubber hose and took to the shop where I have my vise. Clamped the junction in the vise and gave it hell with vice grips and finally got both lines to come apart. I have to admit I was tempted to re-use the lines and put them back together with my small vise grips and that lil devil guy on my shoulder kept sayin ah they'll be alright, and since you changed the rubber hose you'll probably never have to take them off again. Then that fella on my other shoulder kept sayin' NO don't do it! Do it right Dale, funny, he sure looked a lot like JoeT Blahahahaha! Anyway, went to autozone and picked up a 72" brake line and some tube nuts and went home and proceeded to build new rear brake lines. First one, went pretty good, and went right on the car. YAY!!!!! (Hope it doesn't leak, I'm not a flaring expert) 2nd one kept bending during the first flaring operation. Tried to use the tool to straighten it and continue flaring but had to cut it off and try again. (I only allowed myself a 1/2" extra) Attempt 2 bent again, and this time I broke my flaring tool trying to get it to straighten up. CRAP! Stop work, go to Harbor Freight (thank goodness we have one here in BFE finally) go home try again and still trying to bend but I managed to get it all the way down and do the 2nd flaring operation and I think it will be OK. We'll see when I go to bleed the brakes. That 2nd line was a Capital B to get on the wheel cylinder but I finally won after much cussing and ranting and raving!!!!!! Topped off the rear end with gear oil while I was under there and cleaned up a ground for what looked like the fuel tank sending unit also and called it a day. Was supposed to get my new rotor today but it didn't show up. Maybe tomorrow I'll start taking the HVAC box apart. The new Evaporator is here. Won't be long now, I should be back on the road again very soon. Probably next week sometime. Can't wait! P.S. I had my coveralls on yesterday and was there in spirit with Joe and Wayne if they changed out Wayne's TQ Converter yesterday and put on his new compressor I think it was? Hope you guys got her done!
-
found it. LOL Right after I posted it I typed in partsplace and it came up. DUH! Thanks Joe! Got any old Indian tricks for removing rear brake lines from the rear end rubber line? Got the single end done but the junction end where the two axle brake lines come in can't get them broke................sigh................
-
No, I'm looking for Wheelwell trim. Mine are banged up a bit and dented. I'll probably have to order full set, but would rather just get two front wheelwell trims.
-
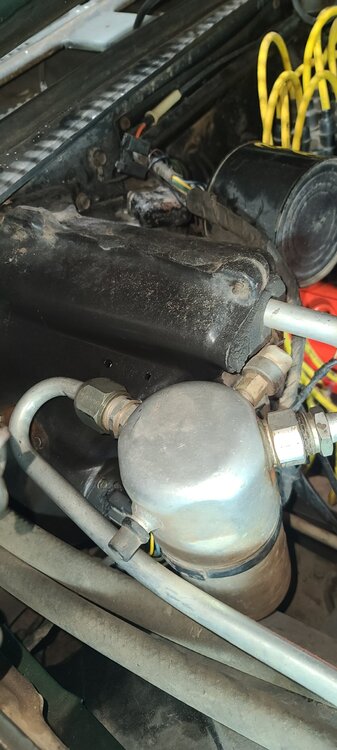
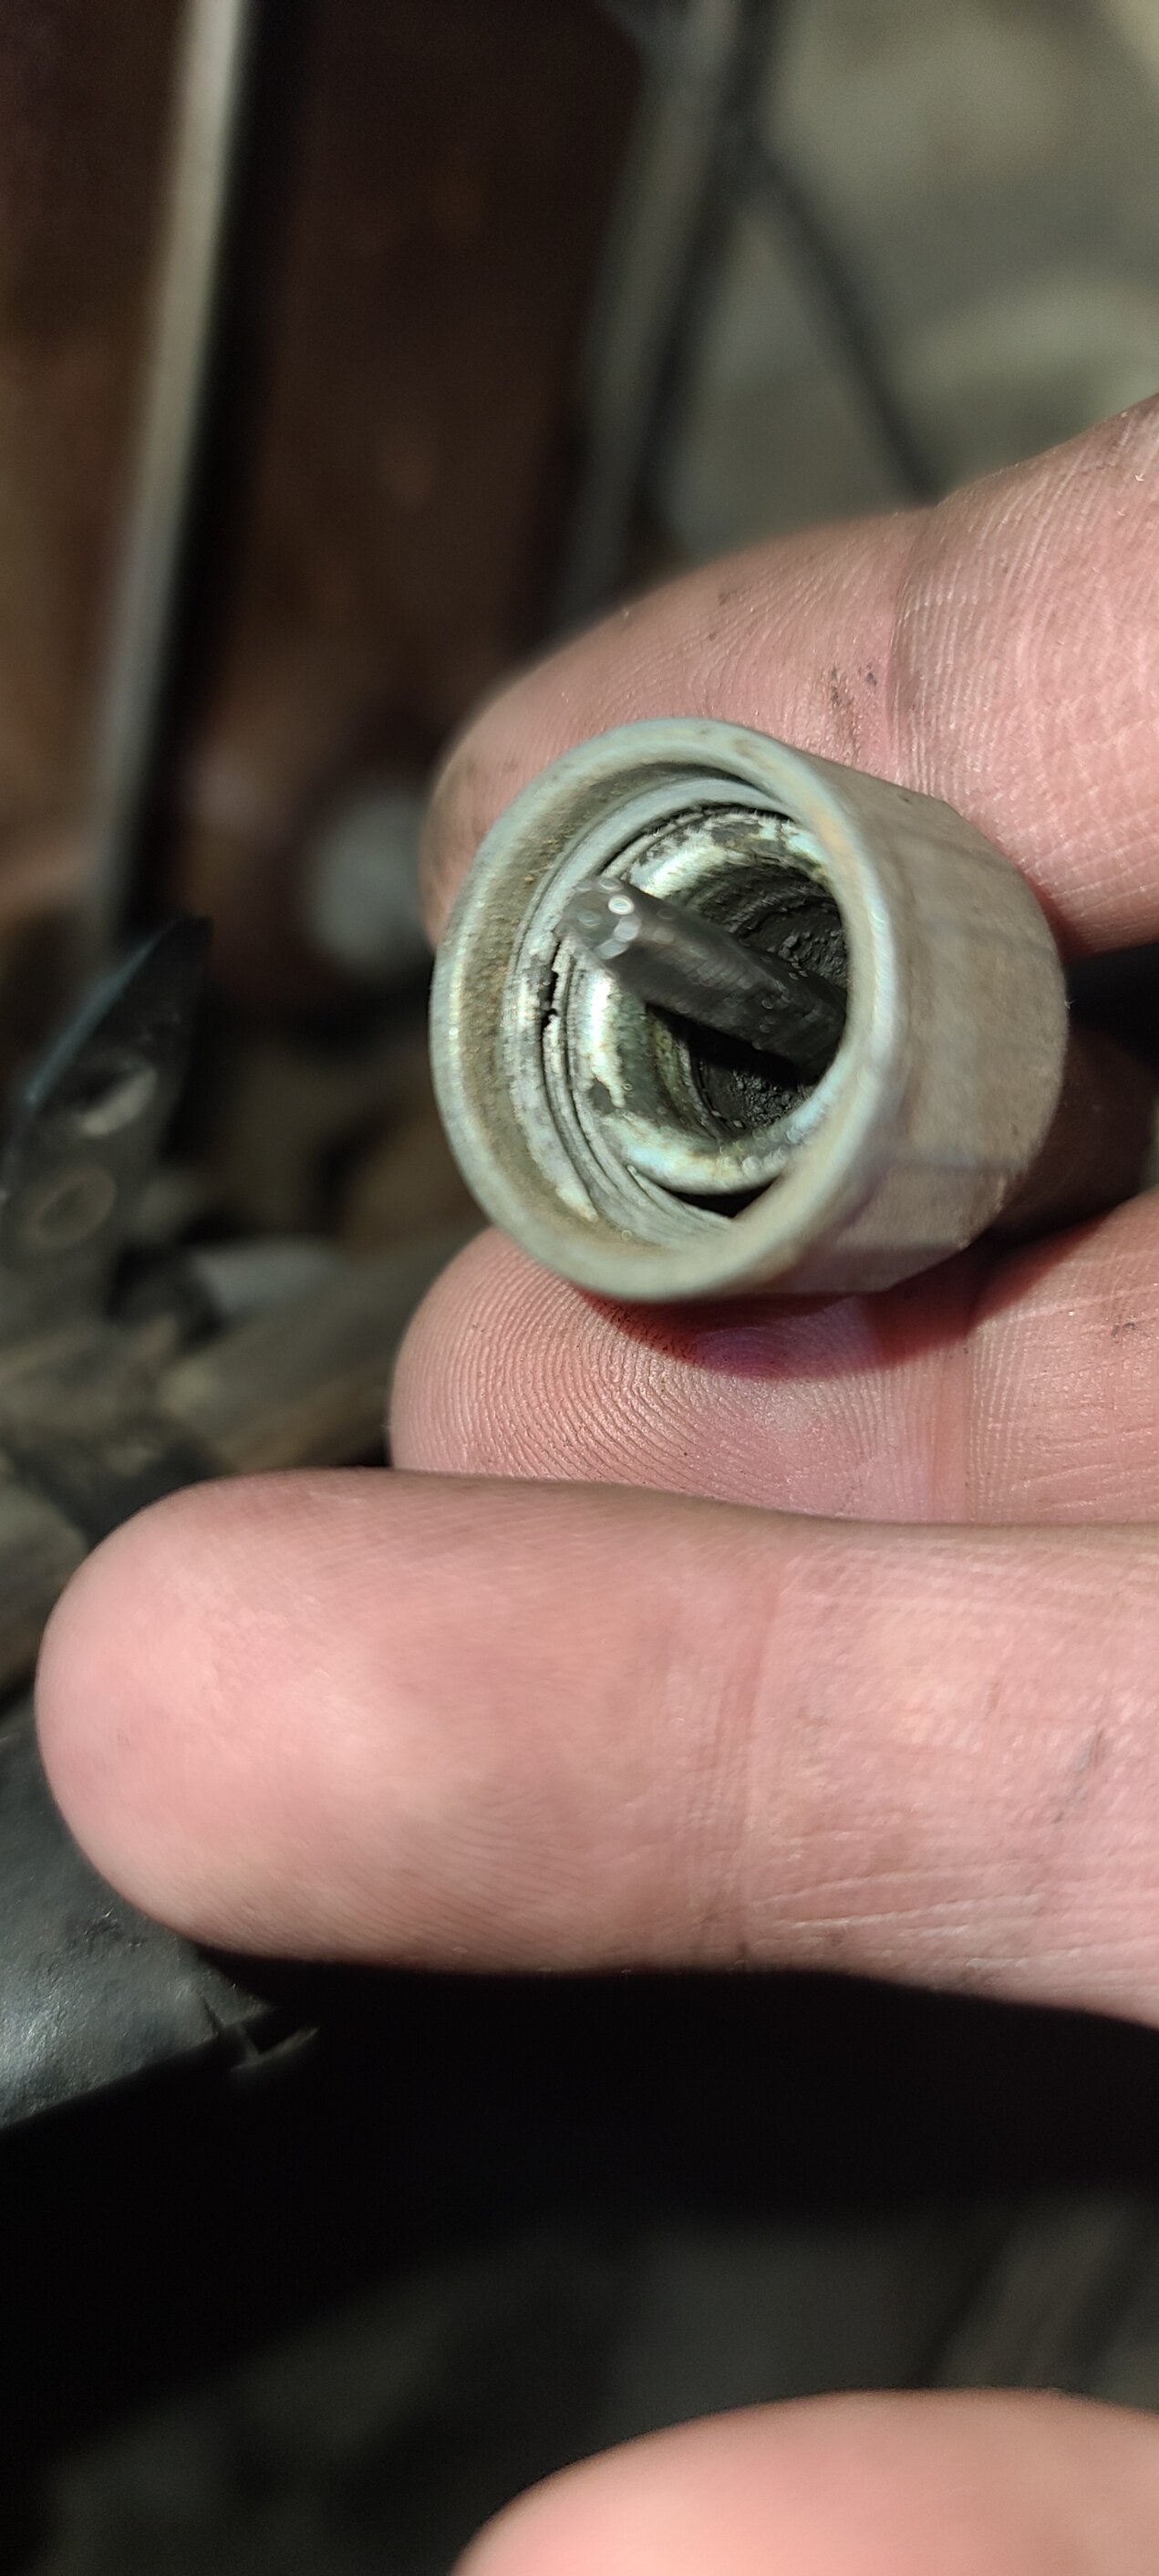
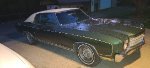
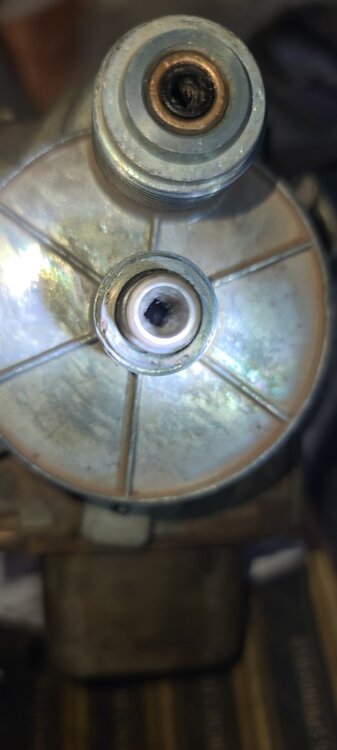
So I took the cruise control module off today to look at the transmission side input and see if there was a broken off piece of the cable tip in there and check to see if the transmission side input turned the speedometer side output. No broken off piece. Yes the lower input did turn the upper output, however it seemed like it took considerable resistance to turn it. I expected it to turn freely and smoothly but it doesn't. It turns but it feels tight and there is not a clean square port on the bottom like there is on the top. It's like it may have become stiff and worn out the keyway in the lower input. I can see the square down in the unit but there isn't any at the front of the opening. (See Picture) I'm thinking this cruise control module may be bad and either broke the transmission cable tip or wore out the square input on the cruise control module. Anyone know a good source for a Cruise Control Module for a '70 Monte? I thought I saw one on rock auto but can't seem to find it now. There are reman's or refurbished on Ebay for 189 but I don't know if I trust a refurbished one from somebody's garage. I need to get my speedometer working asap. I do see a cruise control eliminator for like $49 that I may go ahead and enlist until I can either find a new cruise control module or may have to go with a refurbished one. The first photo you can see the square is way down in the hole, where as on the top cable the insert comes all the way to the opening. Is the bottom one rounded out or is my cable just too short and broken off tip? I don't know. I shot some oil down the holes and spun it a few times to try and loosen it up some, but it still feels like it should be more free to me and nice and smooth, but maybe not. I don't know what's in there.

-
Thanks for the link, but it only took me to the FB Marketplace homepage. And it looks like the piece was for side marker molding. I'm looking for R & L Fender or Wheelhouse Molding.
-
What is the parts place?
-

For Sale: (2) 1970 SS454 Monte Carlo and 1 400
NavyCPO replied to Darlene Neumann's topic in General 70-72 Monte Carlo Forum
So sorry for your loss. My prayers go out to you and your family. -
Got the new Air Shocks on today, rear brakes are OK for now. Wheel cylinders looked fine and tomorrow I'll be changing the rubber line at the pumpkin and running the air lines for the shocks. Maybe painting the wheel hubs and the front rotor I put back together without painting. Paint was an afterthought................. Ordered the new Evaporator today and another POA Valve eliminator and a seal kit. Hopefully the HVAC box won't be as bad as I'm imagining it is!!!!! LOL
-
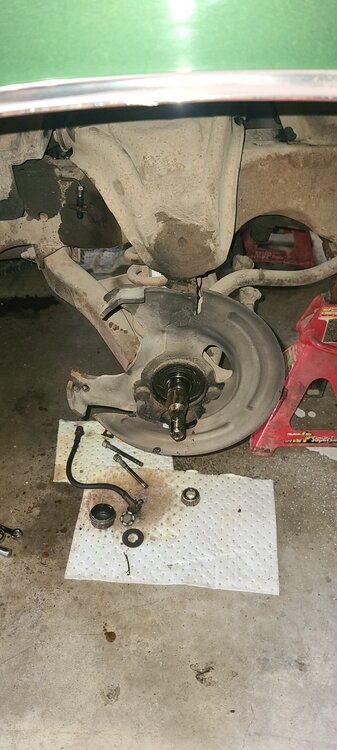
Well I ran into another snag tonight. Picked up my rotors from being turned and put the inner race in the first one no problem. Put the inner race in on the second one and it literally fell right into place without me even having to drive it in. Apparently this rotor is worn and won't properly hold the new race. I seriously doubt that Timken has a race that is out of tolerance, so I went ahead and just ordered another rotor from Rock Auto. I think I ordered the one from Raybestos. I put the other rotor back together and got it installed with new caliper and rubber line on the passenger side, now I'm AWP again (AWaiting Parts) for the other rotor. Oh well, I still have to install the air shocks and inspect the rear brakes while I wait for the other rotor. And I may go ahead and start ripping into the HVAC Box. After a thorough lashing and a Safety lecture mind you, Joe has convinced me to go ahead and bite the bullet and go ahead and replace the evaporator and get the correct one for my car. I'll have to order another POA Update kit too cuz I'm pretty sure I buggared up the threads on the one I have. But Joe's right, at least this way I will have the correct stuff on the car and the system should work much better than original because they new condensers and evaporators have improved technology to help them work more efficiently with R-134a. So now I'll have new Compressor, New Condenser, new receiver/dryer, new condenser line, new expansion valve, new evaporator and POA Eliminator. The only part that won't be new is the metal line that runs in front of the condenser and the big line for the compressor manifold but it looks to still be in pretty good shape. Now if only all of the vacuum and controls work to operate the system! I put up a good fight because I did not want to have to get into that HVAC Box, but I finally succumbed to Joes Logic. LOL He's absolutely right! Let's do it right!
-
Yes that is my plan. Even if I don't do anything to the rear brakes and they look OK, I'm still gonna do a complete bleed from furthest to nearest port several times to ensure all old fluid is purged out and flush the system and no air in the lines. :-)😎
-
Yep mine is definitely gone. This was originally a California car, but I guess when the ol' guy moved to Oklahoma, he took off all the smog stuff. I guess I can track that line down and just eliminate it all together. Thanks for the photo!
-
Came across this spreadsheet for GM Rally Wheels today. Thought it might be of some help for others as well. Confirms my 70 Monte has RPO 15x7 Rally Wheels. Factory Monte Carlo Wheels. Chevy Wheel Information.xls
-
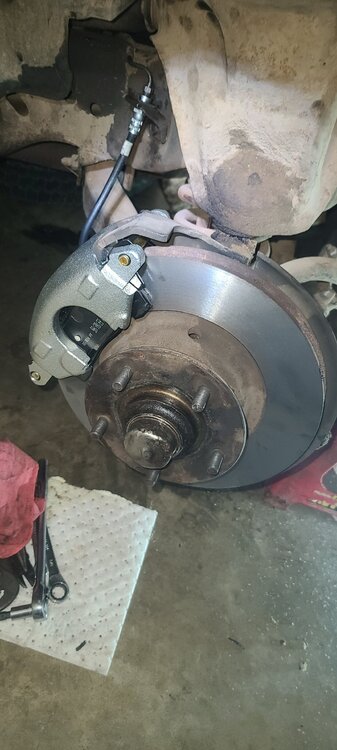
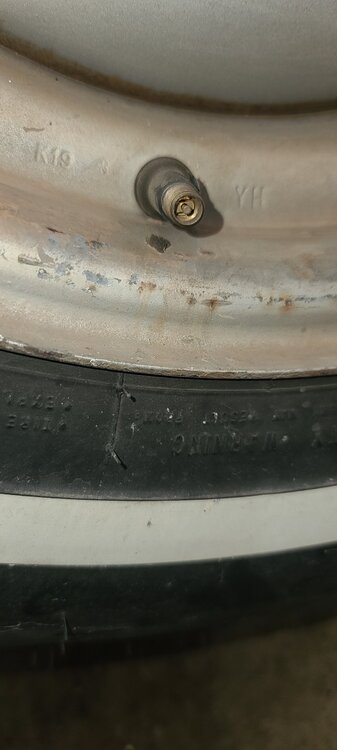
Made some more progress today! Finally things went pretty smoothly today. Got both sides of the brakes taken apart, took the rotors in to get turned and decided to go ahead and replace the calipers since they were only $31 apiece and with my military discount and tax exemption they only ran $56 for the pair. They'll be here in the morning when I got pick up the rotors. Got the front shocks changed out, easy peasey! Put my grill back in as I don't think I need to go back in there for anything right now. All in all, not a bad production day. Tomorrow, replace bearing races, and bearings and seals and put newly turned rotors back on with brand new calipers and pads and rubber brake lines front end will be done, just need to bleed them. Then I'll move to the rear brakes and inspect the drums/shoes and put on the Air Shocks. I'll see how I like them. I may go with a coil over setup later but for now, I chose the air shocks because I think the back of the car needs a little lift. I've got 15x7 Rallies I believe. If I go to the outside of the rim they are about 8" but if you go to the bead seat they are about 7" which is what I think they are. YH code on the wheels.
-
Nope. Is there supposed to be one there? What is it for? Got any pictures? Or know where it is in the manuals where I could find some pic's of it? I have traced the line backwards yet to see where it leads to but looks like it goes down towards the transmission tunnel and down into the darkness!!! LOL I've only got the front of the car jacked up now and can't get under the middle or back yet. Probably jack the [censored] end up tomorrow to change the rear shocks.
-
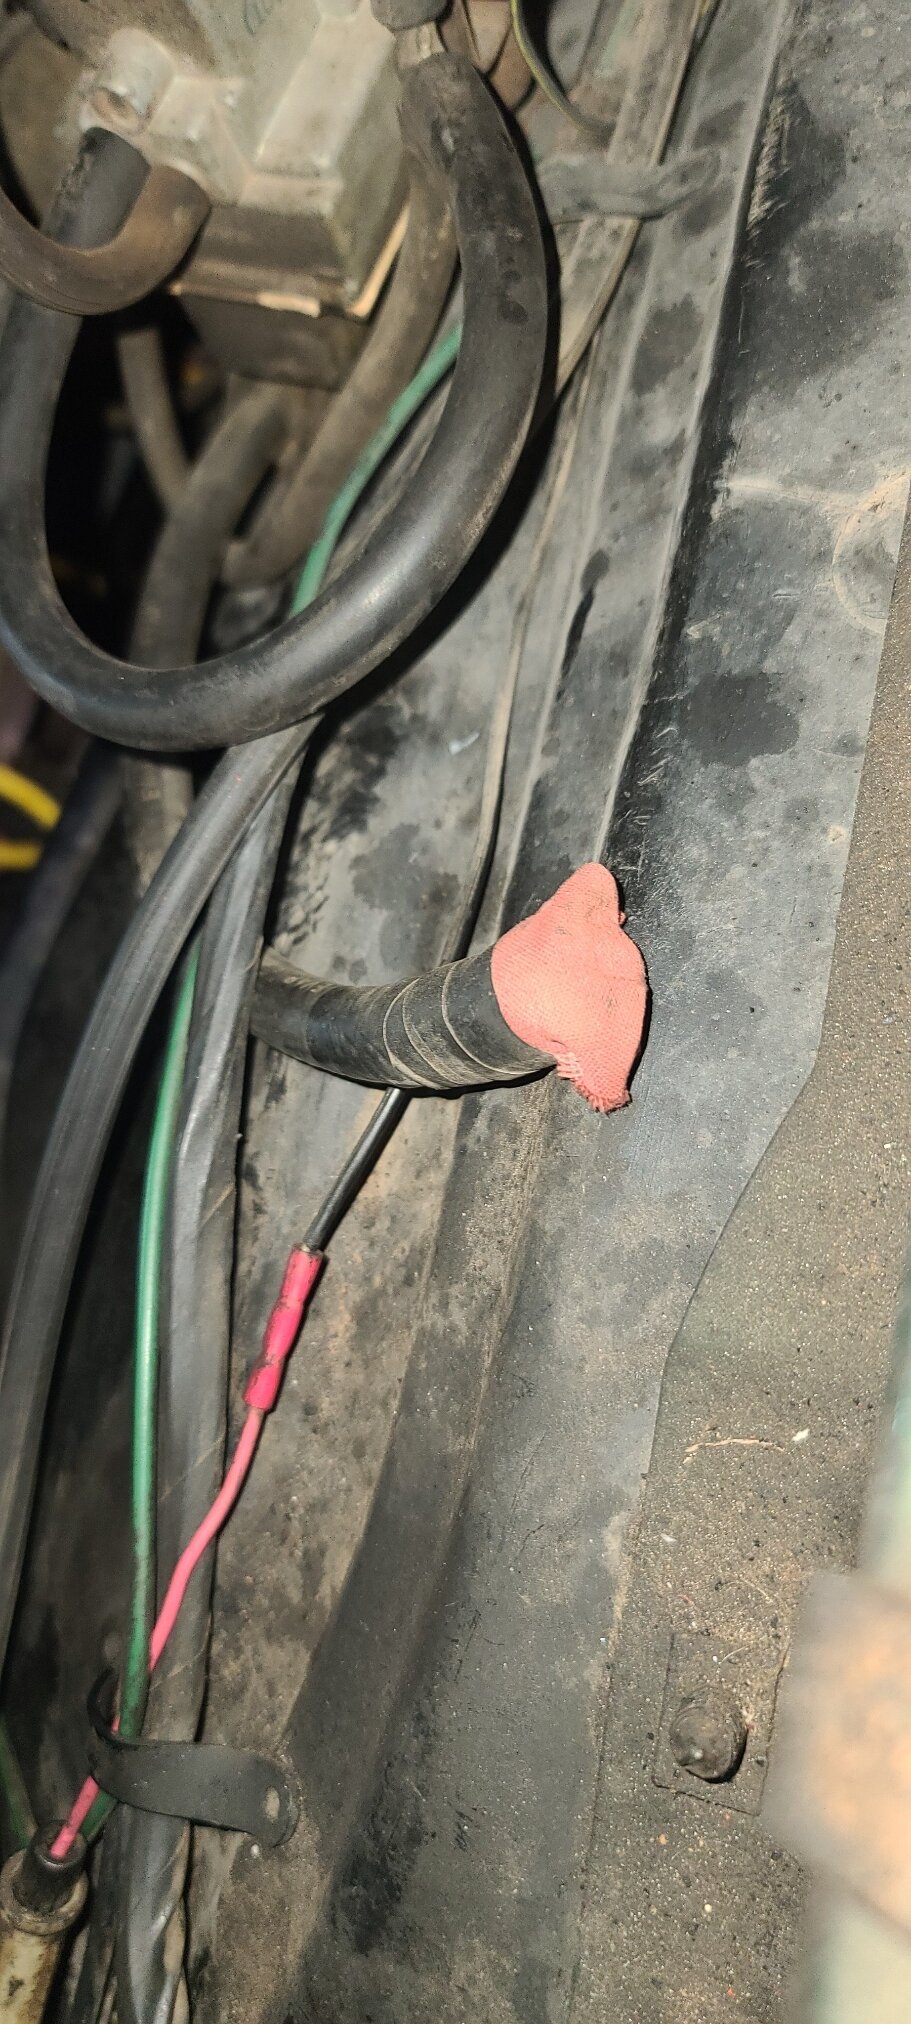
When are you guys going to tackle this?
-
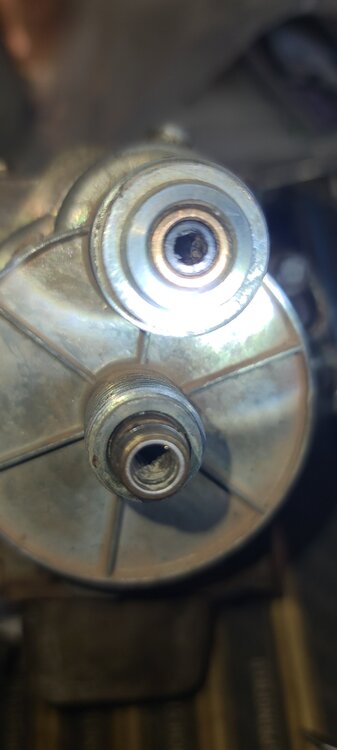
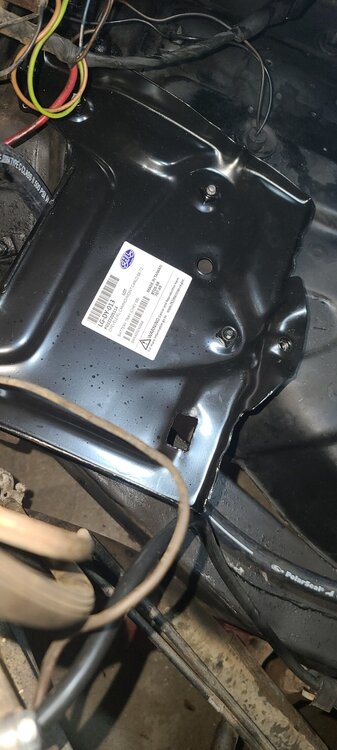
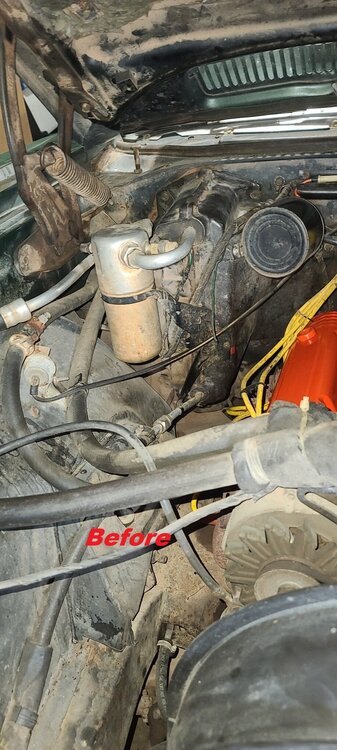
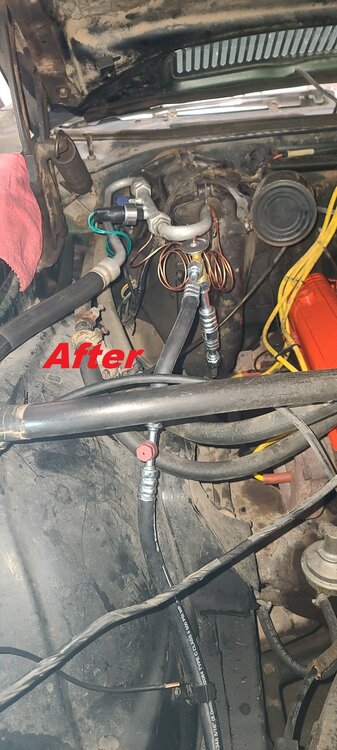
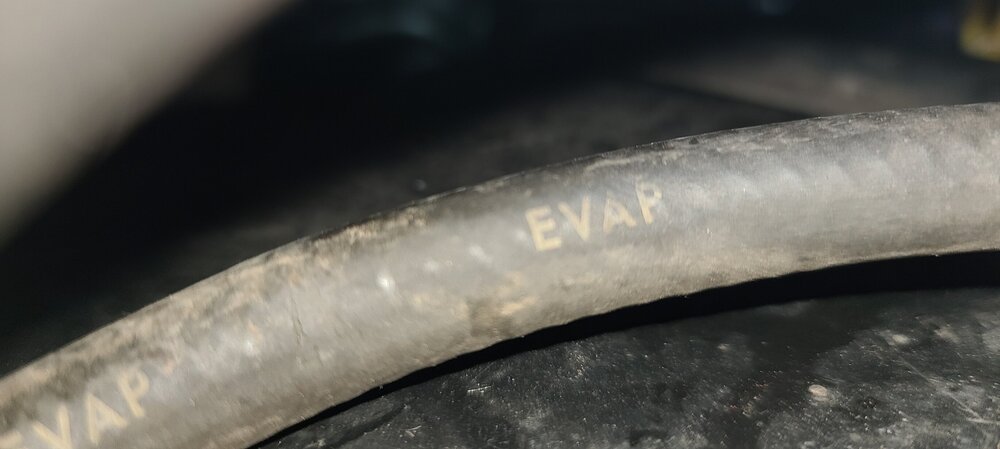
Got some progress yesterday and fixing to hit it again today. Installed the new battery tray, all new belts and found out why my speedometer isn't working, installed new battery and put new (temporary side terminals) terminals on until I can get a good set of pre-molded cables. It looks like the transmission side cable has the end broken off at the cruise control module keeping the tranny from spinning the module and the speedometer. I disconnected the cable for the speedometer side and spun it a few times with my fingers (counterclockwise in case you're wondering) and the speedometer needle moved when I would spin it. So it's either the cable or the cruise control module. The shaft looks awfully short to me on the transmission cable and it looks like it has jagged edges on it and broken off into the module. I haven't figured out a way to spin the gear in the module yet to see if the gears are still good. I plan to remove the CC module and make sure I don't have the end of that cable floating around in there if I can. Shocks, front brakes, wheel bearings and races and new rubber lines today, or at least get started on them. Oh, One more thing, I have this rubber line on the driver side fender well that is taped off with some red cloth and electrical tape that I have no idea what it is for or where it should go? It is marked "EVAP" on several places on the hose. Could that be something coming from the fuel tank like a vent line or something? Or is there supposed to be another VACUUM can on the drivers fender well or something? It's right around the area where the cruise control module is mounted. ??????????????


-
Isn't the adjustment on the cable on the back side of the bracket locked in by that orange/red button? And the Metal Collar is just securing it to the bracket right? I still don't see how you'd be changing the adjustment of the cable??? It may be easier to just disconnect it at the transmission as you say, but I'd hate to have that hook fall back into the tranny and have to fish it out or drop the pan just to change the TQ Converter. But I'm sure you'll you know your car better than I do. Are you going to get Joe to help you with the TQ Conv swap too or just the A/C stuff?
-
Oh My!
-
That's what I thought. Option 3 would be the easiest in my mind. Torque converter swap just have to drop the tranny back enough to swap out the converter and leave the cable attached then pop the tranny back up and reattach the TV cable. As I recall the adjustment is on the cable itself and the bracket just holds the collar in place. Thanks for clearing that up.
-
I bet you do, and the engine, and the rest of the drive train, interior, wheels tires, Wheel balancer, tire machine, alignment rack, LOL Why wouldn't you just disconnect the TV cable from the carburetor linkage and fish it out with the tranny? Maybe I don't understand 700r4's.
-
Honestly, I'm surprised your local Chevy Dealership can't do this job for you. They still work on cars there don't they? It is a Chevrolet isn't it? Just sayin'............... I bet you could get the parts yourself and take them to the dealership and one of the mechanics there could do the job for a few hours labor. Wouldn't hurt to talk to the service manager. Unless he's a dick. Am I allowed to say that? DOH!
-
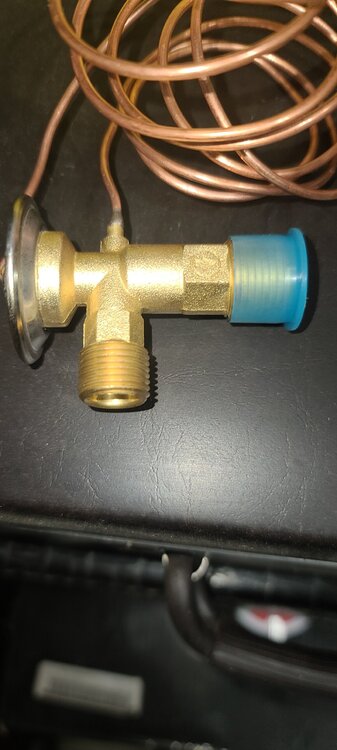
Expansion Valve installation Woes................
NavyCPO replied to NavyCPO's topic in General 70-72 Monte Carlo Forum
I had an adapter made for the expansion valve and a new line from the condenser, making money now right! But then I got the POA Eliminator cross threaded on the evaporator side I think. I'm going to try it anyway because after trying to get it in straight for over an hour or so, I think the threads on the POA Eliminator will only start crooked now. I'm going to see if it will hold vacuum and maybe the O-ring is compressed enough maybe to seal, but I think I'll have to order another POA Eliminator and may have to get an evaporator after all, but we'll see. For now, I'm ready to move on to the front brakes and shocks so I can get back on the road at least. Sigh............... -
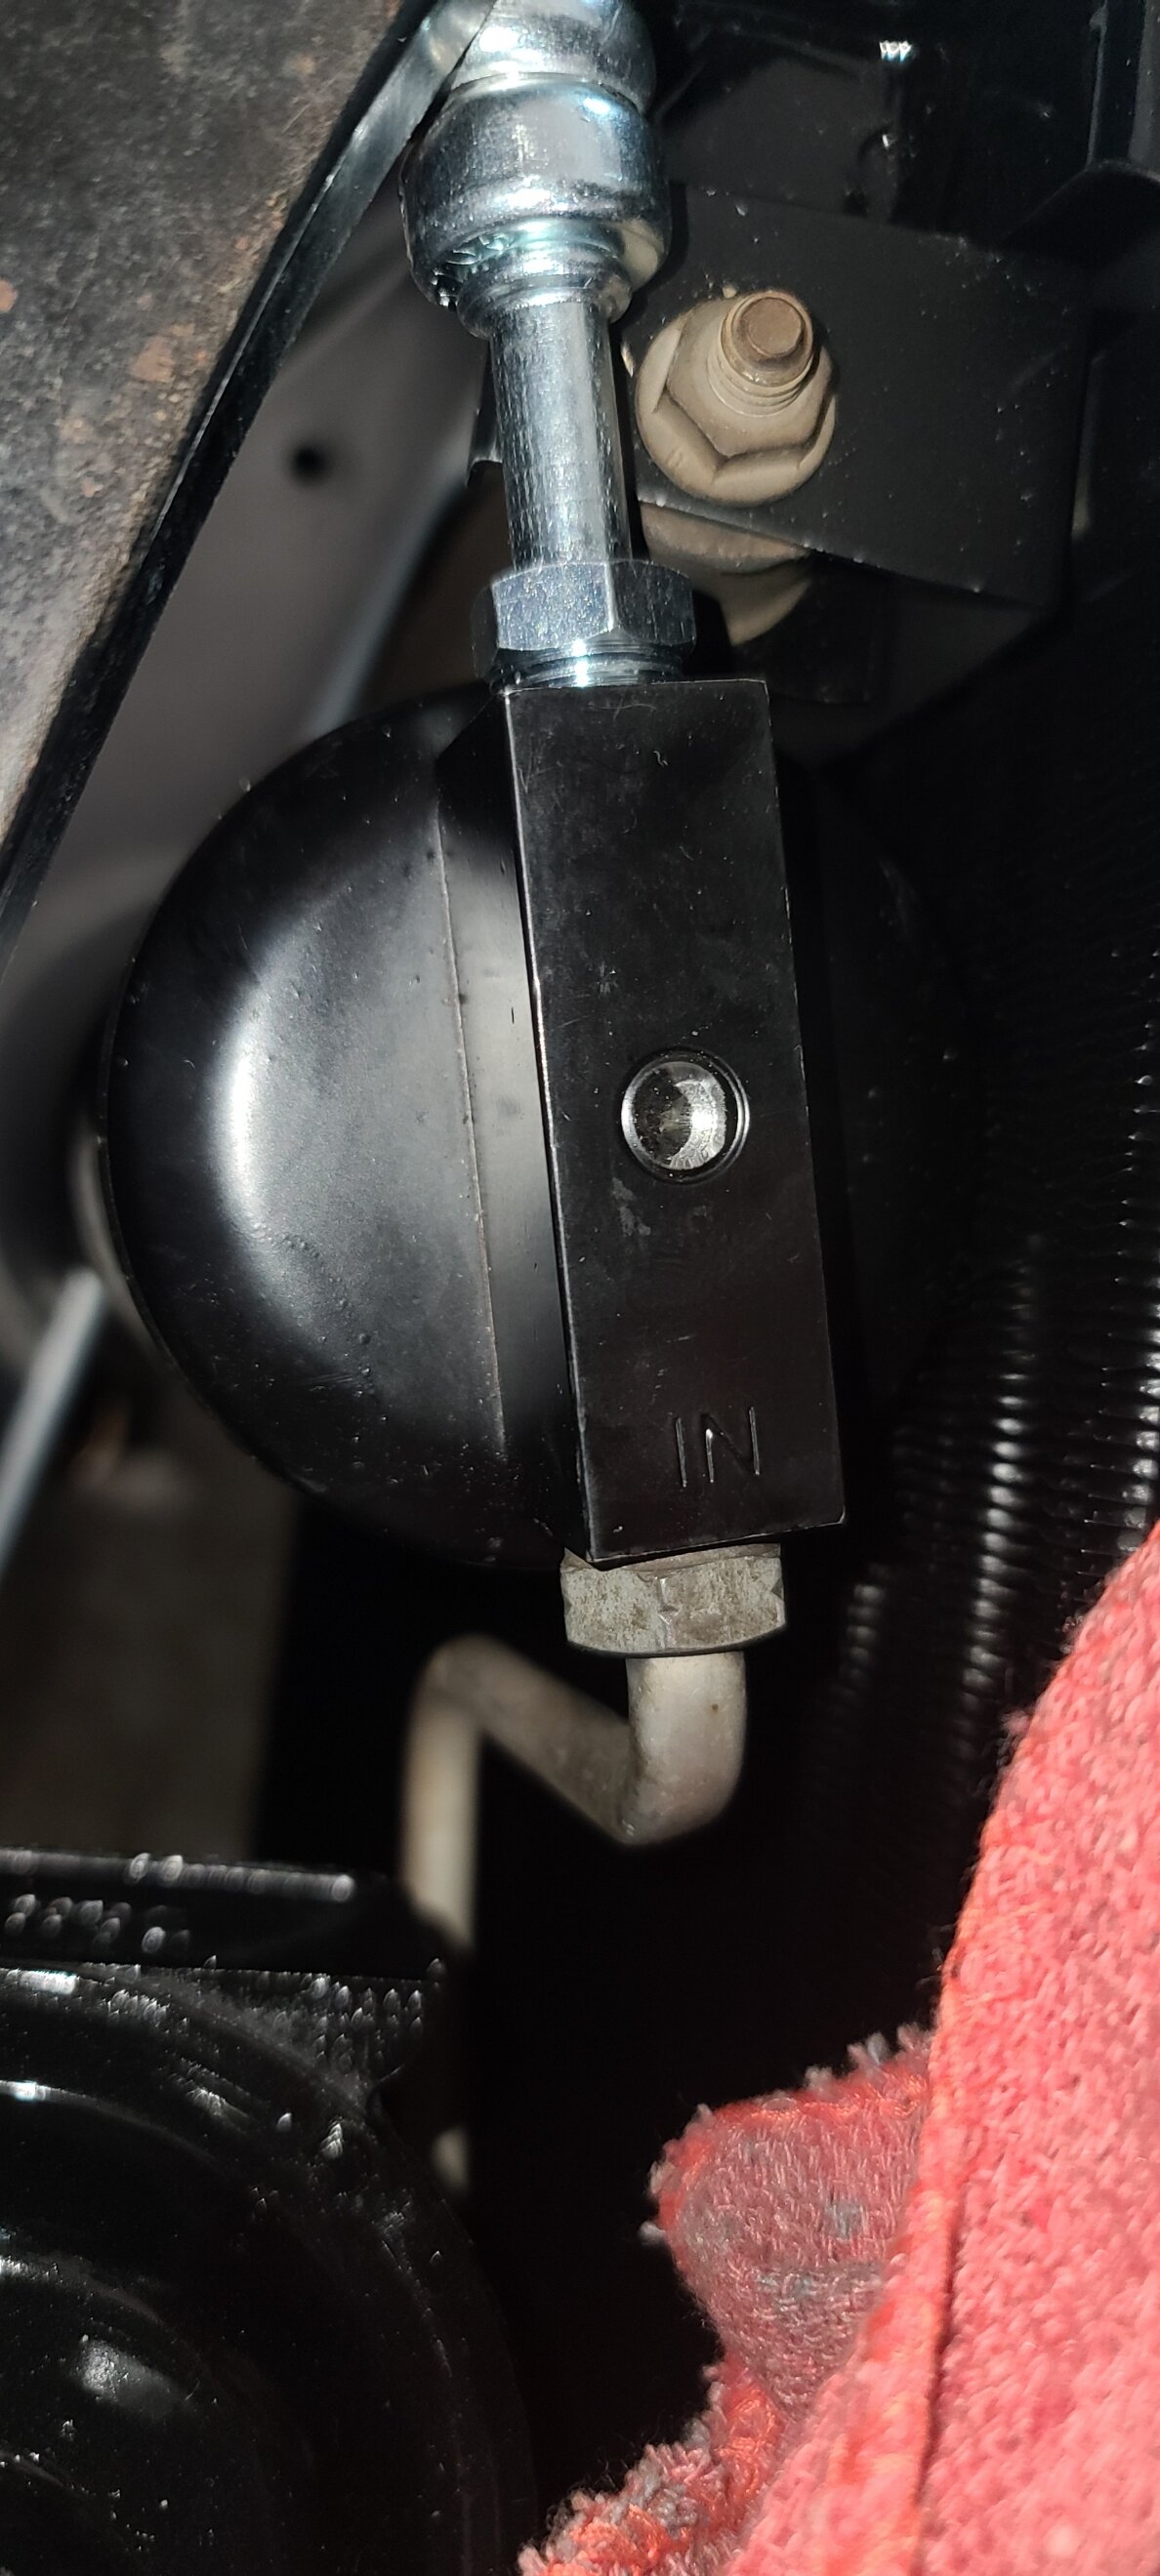
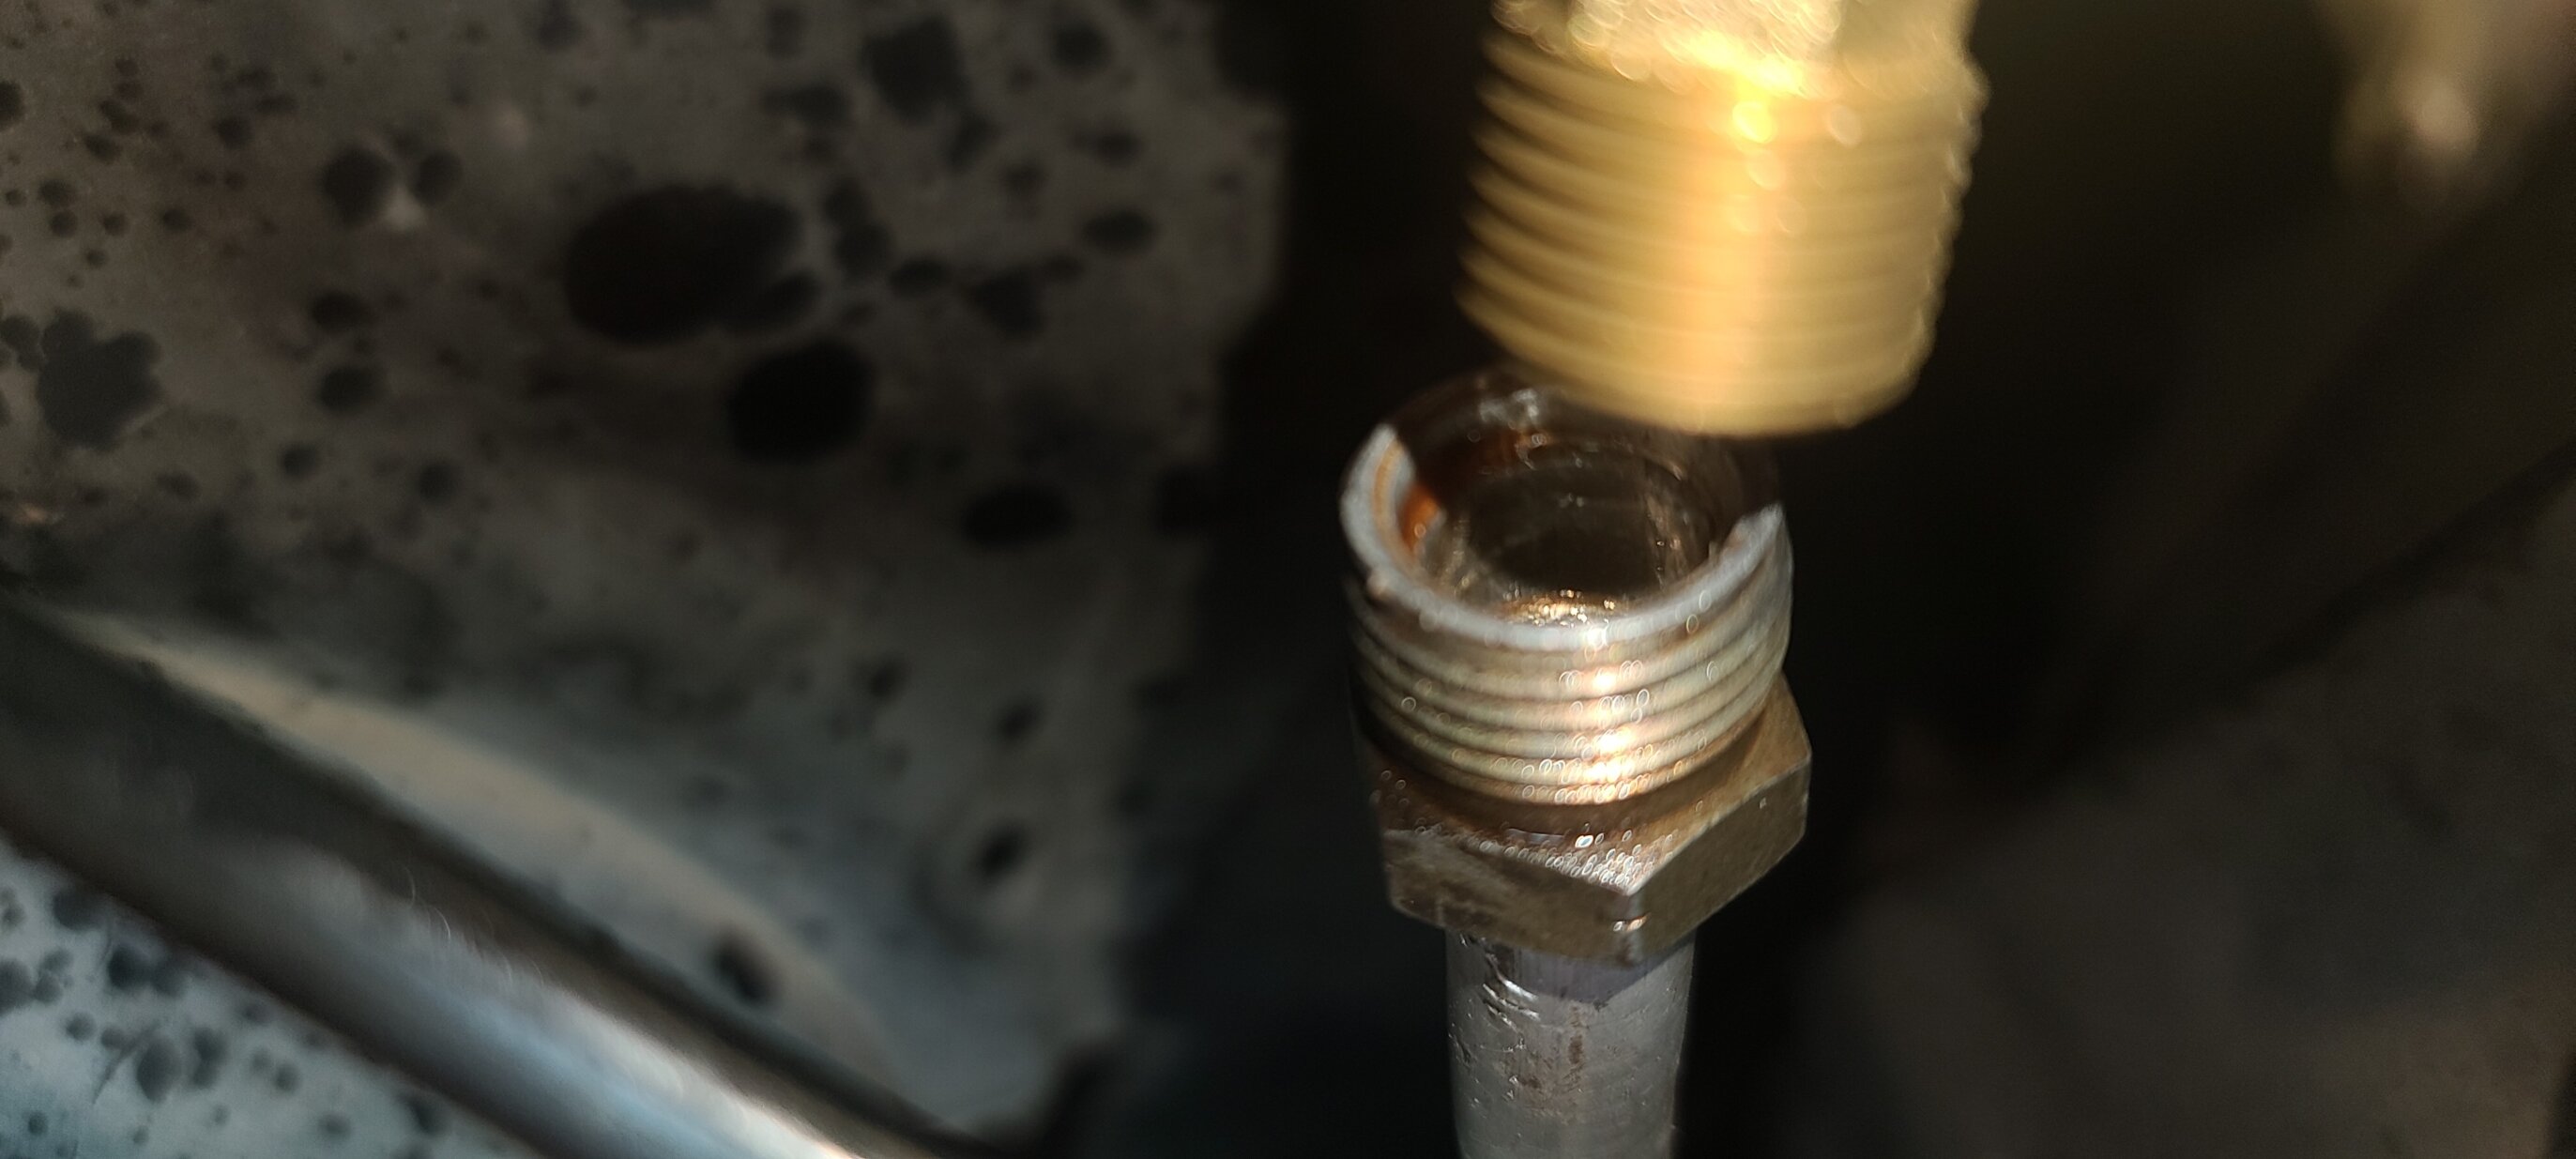
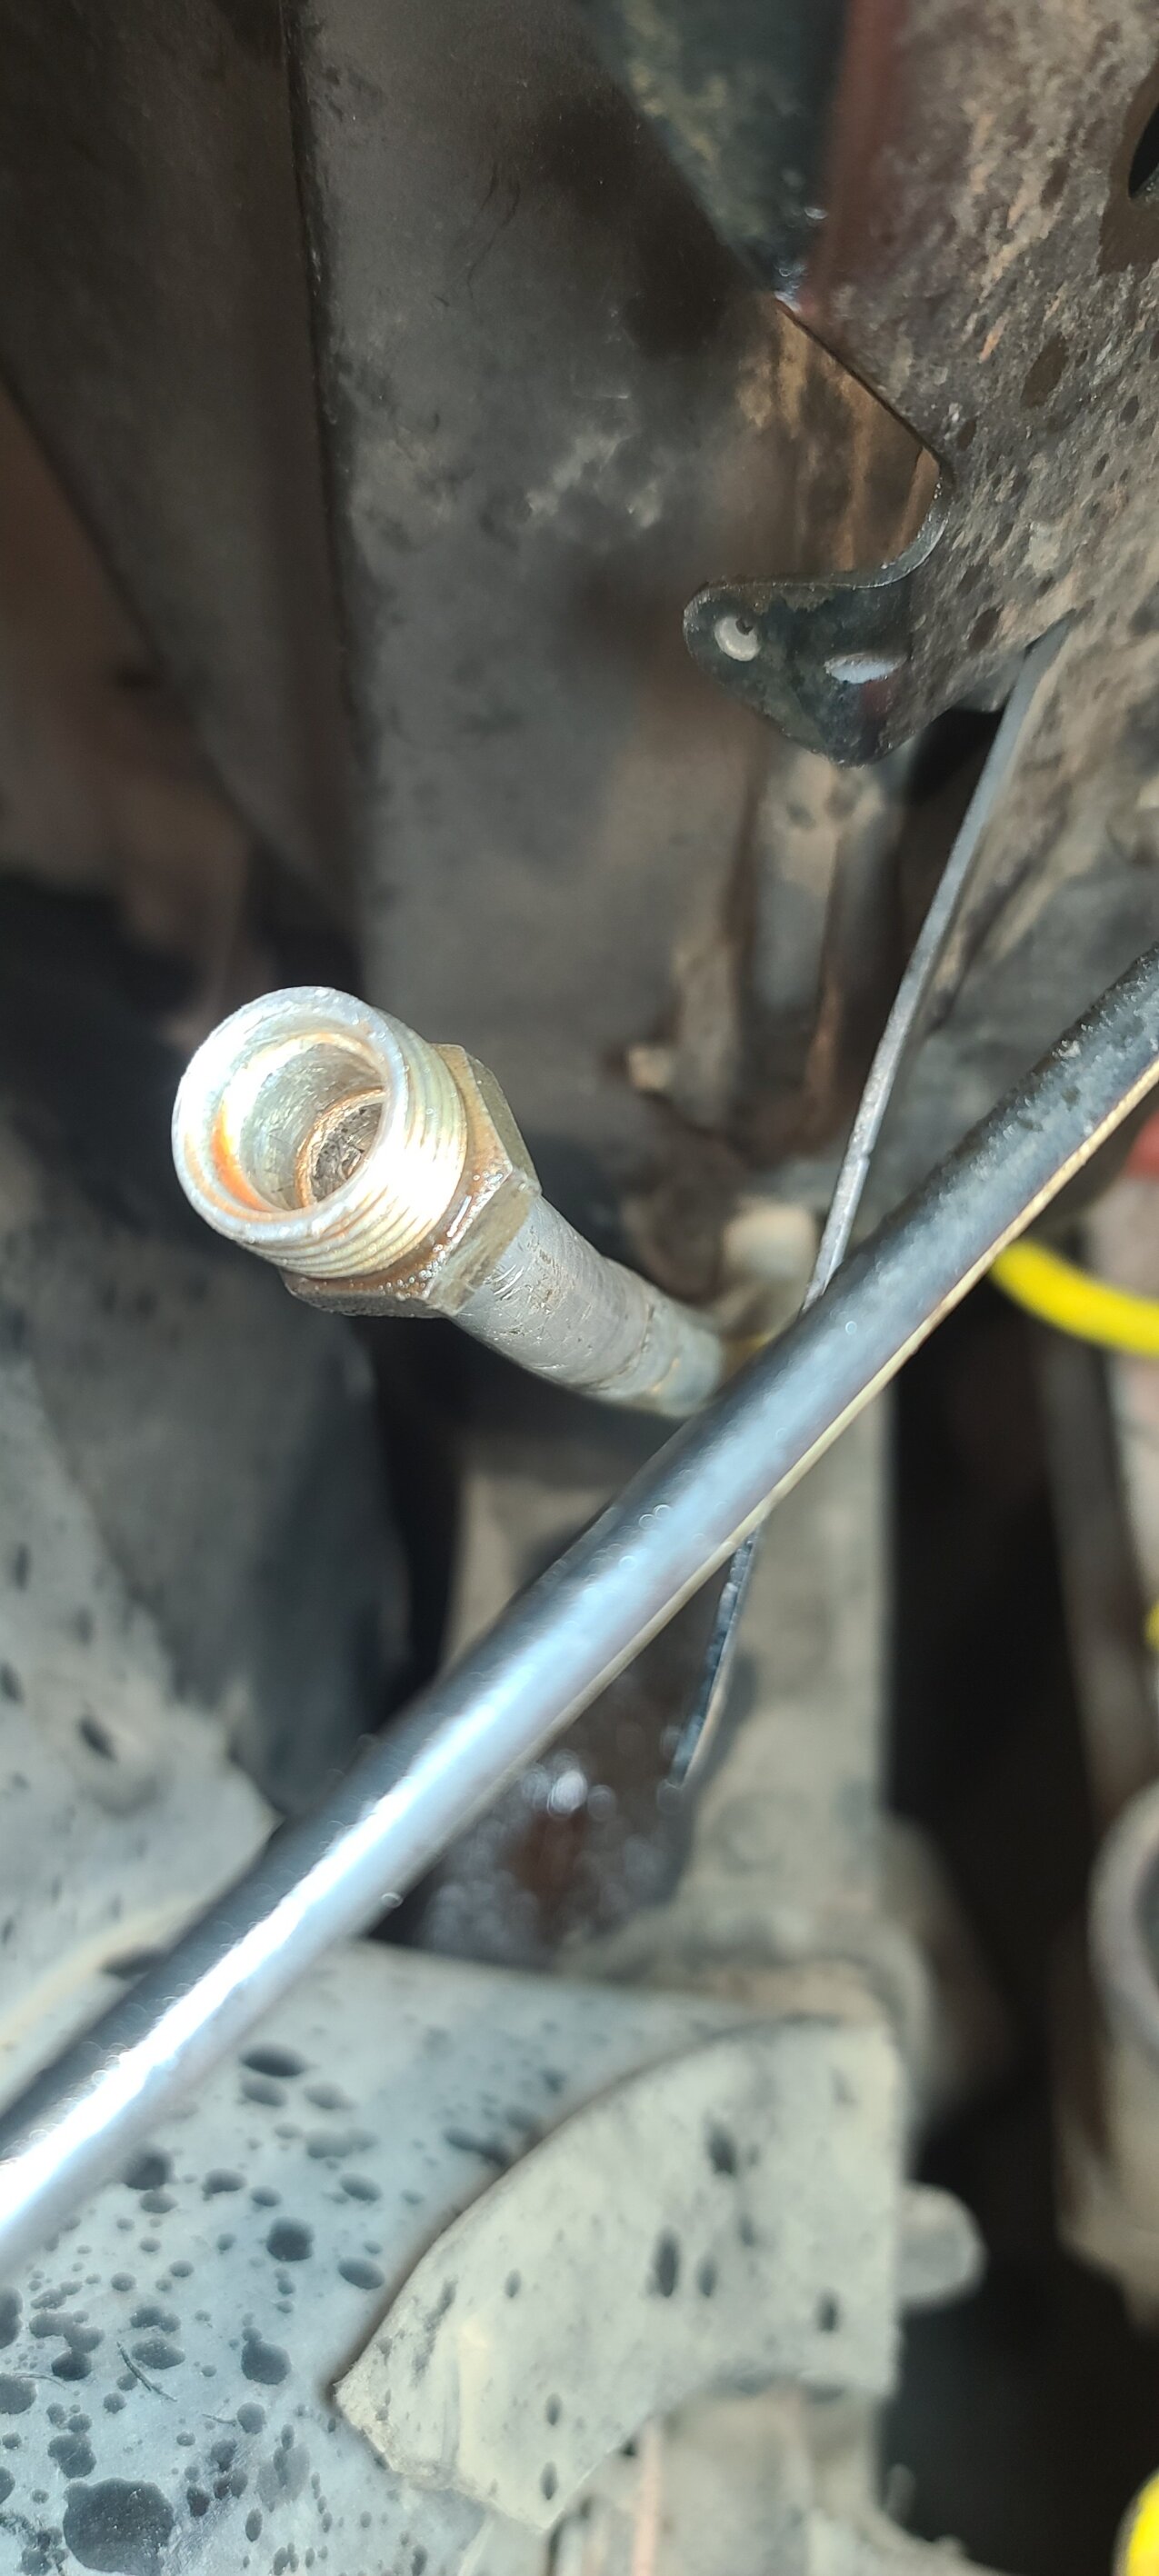
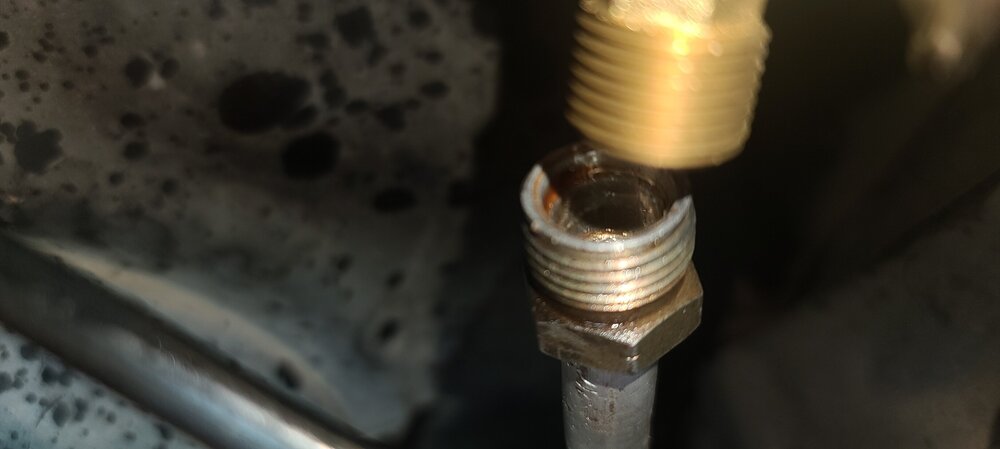
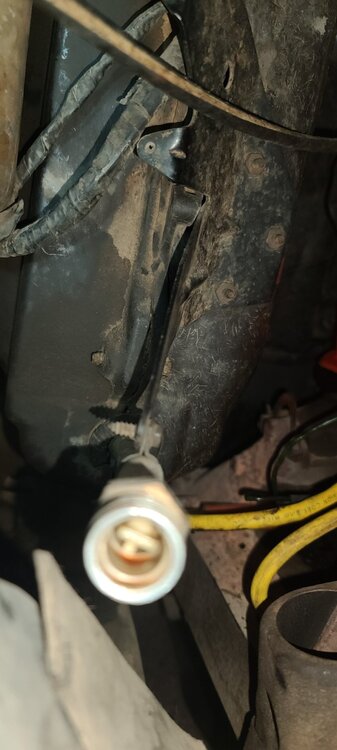
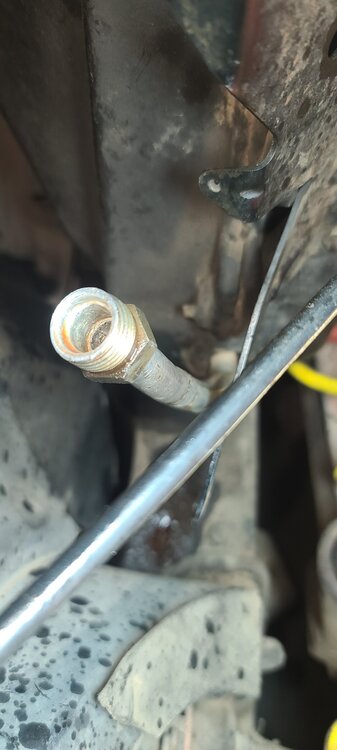
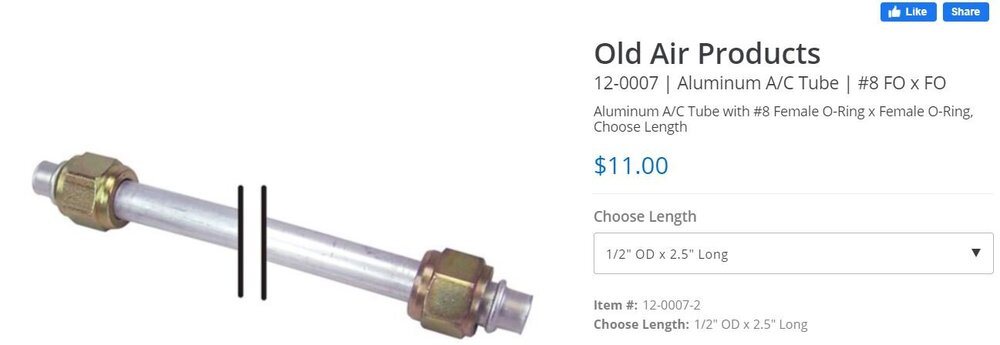
So I finally got the back side of the large lines to break loose. After several days of soaking with PB Blaster and Freeze Off and today putting the heat to it after several tries it finally broke loose. Then it came off easily. Man, it was frozen on there good!!! Then I had found an orifice in the lower line of the evaporator and I managed to fish that out of the system as well. It was stuck in there pretty good but I had a small pair of needle nose that was able to get enough bit on it that after about 10 tries, it finally came out! Now, I'm ready to install my POA elminator pipe and expansion valve! OH NO!!!! Dammit man! The Evaporator has a male fitting on the bottom tube instead of the correct female fitting that would have been on the original equipment. The line from the condensor fit the expansion valve so that one is OK, but sure enough the smaller end has male fitting to male fitting. Guess I'm going to have to get an adapter pipe or hose made to be able to install the expansion valve. Lucky for me, there is a shop in town that makes hoses, including A/C hoses and hopefully I can get one there. I blew some compressed air through the evaporator to blow out oil in the lines and any debris. No debris and only a little oil. Almost there. I think the POA eliminator fitting will be ok just a matter of bending to tubing enough to clear the hood hinges. See photo's............ I think the tube at Old Air Products would do the trick just not sure what size the line is? #6 is 3/8" and #8 is 1/2" tubing. I think it is #8 1/2". I'll go measure the OD of the tubing. But I hope I can just get one made in town tomorrow. Wish me luck!
-
Well, domestic issues keep getting into my way but I'm making progress. Got the compressor manifold installed and the last condenser line connected on the drivers side. Now for the passenger side. Was able to get the front side line broke loose and disconnected, but CAN NOT get the back side line to break loose. 1 1/4" and 1 1/8" nuts on the two fittings and I mean I have been horsing that thing and it will not break loose. Tried PB Blaster, Freeze Off and can't get it to break. Soaked it good in PB Blaster and let it sit overnight, hoping that it will break loose this afternoon. I saw that the lower line had what appeared to be an orifice in it. I tried to pull it out with a pair of needle nose pliers but could not get it to come out and was afraid I was going to break it so left it alone for now. I thought maybe I'd pull it out and clean it at least, but figured I'd leave it alone rather than break it. Started to put the new battery tray in and decided to pull off the lower bracket and blast and paint it first. Ready to install the new belts and got the correct size battery for the car, 78 series with side terminals. I think 1970 was probably one of the first if not the first year to have side terminal batteries. Now to clean up the wires and put new posts on them. Sure hope I can get that big line on the back of that RCVR/DRYER loose today!!!! May have to get some heat on it. Film at 11:00........................