

Clever Idiot
-
Posts
223 -
Joined
-
Last visited
Content Type
Profiles
Articles
Forums
Gallery
Events
Everything posted by Clever Idiot
-
 Thanks - might have to end up going that way. I haven't found a good video showing this particular step yet, but only a couple descriptions that make it sound like they did it by hand.
 -
Hey all! So the boot was cracked (no surprise there). Ordered new boot and retainer clip. Got the old one off, had the pin pressed out, new boot put on the shaft, and pin pressed back in. Got the little squares and clips back on, put on the bell housing, and greased it up. Then couldn't get the top part of the boot to go into the bellhousing to save my life. Rubber mallet got it most of the way there but then I ripped it trying to get it down far enough for the spring clip. Any tips for this? Heating up the bellhousing is the only thing I can think of, but I don't want to compromise the new rubber.
-
Ah! Beautiful. Thank you! They look metal - are they? I'm sure stock was plastic; I'm just curious.
-
I have the steel Chevelle inner fenders mounted, and there's a bit of a gap on the back side near the firewall. Are there extensions that are supposed to go here that I'm forgetting? It's been probably 15 years since I took off the front stuff. Pics for reference. Passenger side Driver side
-
Awesome, I love when I can contribute! I'll answer what I can. How much do they weigh? I haven't weighed them at all, my setup is going more cruiser/pro-touring. So the best I have is an estimate based off lifting them in and out of the car multiple times 😆 - I'd guess they're in the neighborhood of 40lbs? According to this link, they're 55lbs each, which I could believe. They're awkward AF to lift in and out of the car without scratching something, that's for sure. Airbags Yep, they have bolster airbags. However, my understanding is that they are only armed if the airbag itself is powered up and connected to a shock sensor. At one point I had the pinout for the power connector because they're power adjustable, and I recall the airbags were a separate connection to just straight power. I haven't verified that by tracing the wires out, however. I'm not sure how one would go about removing them, other than tearing the seat down completely. Recaros/similar Yeah, the tuner look is one reason I leaned away from them, but that's 100% personal preference. Plus I wanted something that easily folded forward to get in the back seat so I could maintain daily driver functionality. For the aesthetic I'm going for they just stuck out too much. My aim is to have the Monte look factory-ish, with subtle differences that aren't noticed without knowing the car, or at least not glaring. Like my steering wheel is obviously not stock and even a glance at the gauges would tell someone they're not stock, but other stuff I'm hoping to have blend as much as possible. Like shaving the lower rocker chrome, or the sail panel name badge, or the rearview mirror upgrade, or giant brakes - things not noticed right away.
-
Any tips for radiator pads for a 3" Griffin?
Clever Idiot replied to Clever Idiot's topic in Modifiers
Update! Good and bad news. Then pictures. Good news: the new upper plate fits the pads perfectly, and I welded on the extension plate on the bottom - it also fits the pad perfectly. Bad news: the radiator I bought isn't wide enough to fit the core support. I got the Griffin 8-70010-LS from Summit. It's listed as fitting the 1970 MC and Chevelle, with dimensions of 31.25" x 16.62" x 3". It's juuuuuust shy of what it needs to be. It either has the top plate half-covering the filler neck, or it doesn't reach the driver side isolator pad. Either in my haste of not measuring the core support or in my trusting of the application list, I goofed. What I should have gotten was the 8-70008-LS, which has listed dimensions of 33.25" x 19" x 3". And since I ordered the radiator back in December 2017, that's too far to stretch the exchange/return policy (which I expected and I'm not mad about). So next up is selling the Griffin on eBay or something to recoup some of the money and getting the proper one. Or maybe a different one, but unless I'm wrong Griffin has a good reputation and I sure don't want to spend a little less money now just to have to replace the whole thing later. Here's a video I found installing the 70008 radiator into a Chevelle. It shows the mods necessary to get it to drop in properly, although he fabs his own extensions rather than getting the parts. But the important part is it shows all the stuff needed to drop in a "DiReCt FiT" radiator 🙄😆 Now, for the pics of my below-average welding! -
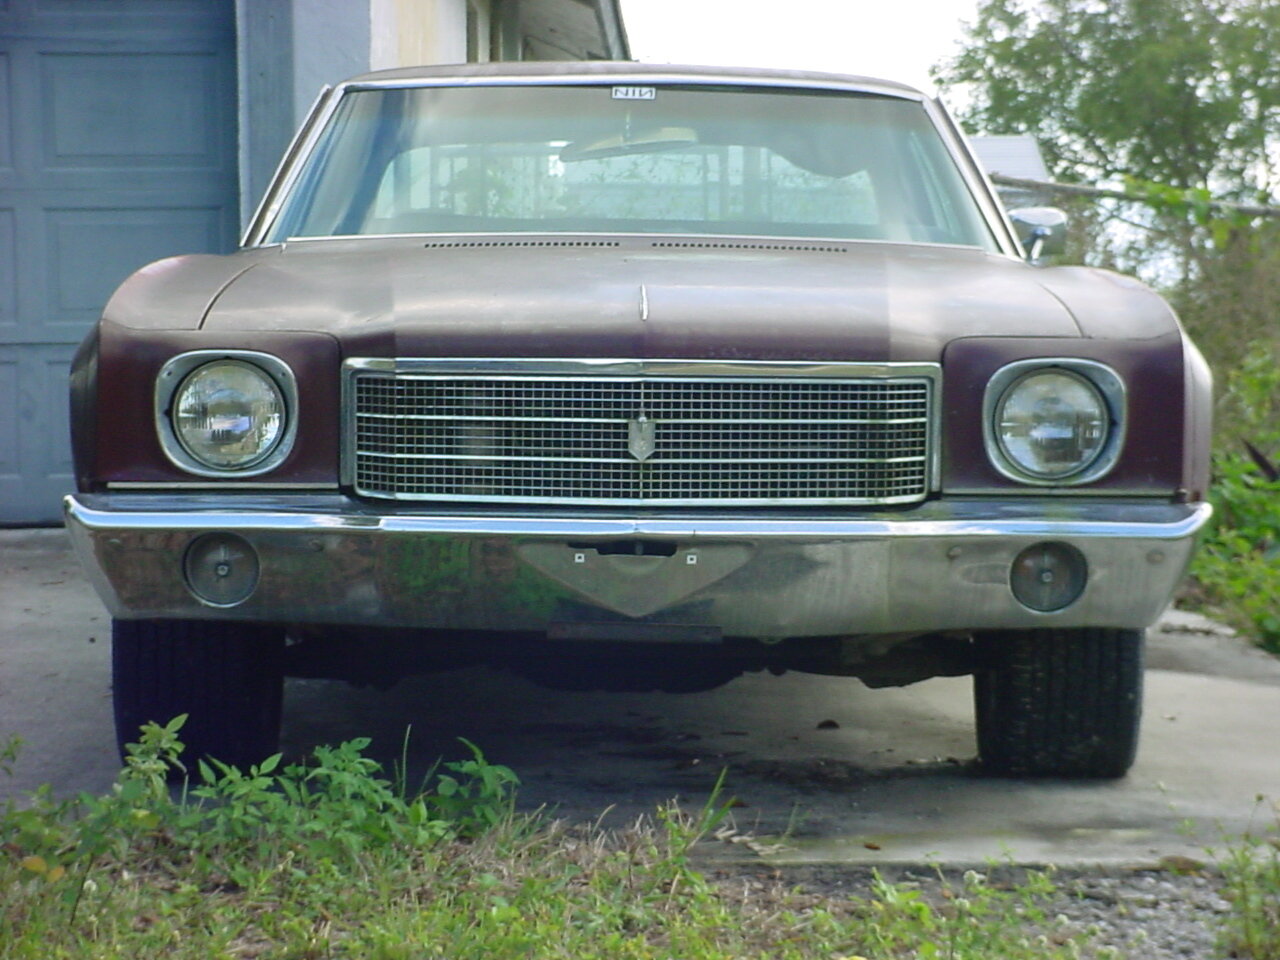
One way to find out! 😆 Great lookin' car! Love that color on it. Welcome!
-
"ah-ha" wasn't even close to what I said when I saw that 😂
-
DERP!!! So I went back, took out the new one. Compared the bushings old vs new by setting them on top of each other edge to edge to compare diameters. Perfect match. Aligned the pivot barrels of old vs new and looked down them from both directions. No so much as a millimeter difference. Carefully maneuvered the old rusty pedal by all my new shiny stuff, got the pivot pin in, and it was still shaking. So I decided to memory dump and look at it all over again to see exactly where it was moving where it shouldn’t be moving. And then it dawned on me. The package of pivot bushings came with 4. I assumed it was one pair for a brake pedal and one pair for a clutch pedal. What I saw with new eyes was that there was a whole lot of motion on the ends of the pivot pin where it passed through the bracket (I had put one pair of bushings inside the barrel of the pedal pivot). The other pair was supposed to go in the bracket holes. 🤦🏻♂️ I pulled the old pedal, put in the new one with all four bushings aaaaaand https://i.imgur.com/TNSmk6n.mp4
-
That’s kinda what I was thinking but I didn’t mic the inner diameters; just eyeballed it. I still have the original. Original bushings too, actually. I’ll take it all apart and put the original back in, with old bushings and then new just for giggles, see if that does any better. If it is then I’ll see if I can dip and paint the original pedal.
-
Hey all! Help? This doesn't look right to me, but I don't think I'm missing anything. https://i.imgur.com/iCSwAU5.mp4 It's the original bracket (dipped in Metal Rescue and painted), the original pivot pin. New bushings, new pivon retainer clip, new brake pedal. Pedal is connected to the master cylinder rod with a new clevice. All the motion seems to be coming from the upper pivot point. Holding the original pedal next to the new one I saw no differences in pivot width or diameters. The only things I haven't put on yet (that I know of) are the bumper, the stop light switch, and the tab that hits the switch. There's no way this amount of movement is normal, right? Second question: looking through the assembly manual it's not clear to me if the pedal should have a return spring or not. I found the diagrams for the brake/clutch and it showed a spring but maybe that was for the clutch? Or maybe it was 1:30am and I was a little cross-eyed... 😵
-
Any tips for radiator pads for a 3" Griffin?
Clever Idiot replied to Clever Idiot's topic in Modifiers
Hey look what I found! lol - old thread but I get endlessly frustrated by finding threads with my problem and no solution, so this is for anyone stumbling across this thread. In another thread here someone said that one option was a 4-core radiator, but it wasn't common? Regardless, GM welded tabs to fit the larger tank of the 4-core. So, I think this will work, because from what I can tell it's extending the support and top plate exactly where I need it to for the Griffin. I'll update once I have verification. https://www.thepartsplaceinc.com/product/chevrolet-monte-carlo-radiator-top-plate-4-bolt-style-black-oem-style-with-welded-tab-for-heavy-duty-cooling/60030 https://www.thepartsplaceinc.com/product/chevrolet-chevelle-malibu-radiator-core-support-extension-bracket-used-with-4-core-radiators/49881 -
My 71 SS restoration project
Clever Idiot replied to Dtret's topic in General 70-72 Monte Carlo Forum
OH! I am in desperate need of a factory VIN tag to replace my old one. Where/how were you able to get it? PM is fine if you'd rather that. -
Backup cams & dash cams, mirrors with LCDs
Clever Idiot replied to Clever Idiot's topic in Modifiers
Camera assembly arrived today and I did more digging online while I waited. Y'all it's super simple. The mirror is auto-dimming, and only requires power and camera signal. Everything else is handled in the mirror factory programming. Gen5DIY sold me a power pigtail with the mirror connector on it. Switched 12VDC+ goes to pin 2, Common goes to pin 5. If you hook up the reverse lights 12VDC+ to pin 1, the auto-dim is disabled in reverse. I didn't ask for that wire because I didn't fully understand what did what, at the time. Gen5DIY listed the part number as #900000 on the invoice but that could just be a generic number, I don't know. I can't verify it on their website; they send me an invoice via the email thread where I was asking all my questions. The also sold me the camera cable - that cable is on their website. Part #220609 for a 9' cable (I got that one) or part #220621 for a 21' cable. The two cables are for a Silverado upgrade (3rd brake light to mirror), and a Camaro upgrade (rear spoiler to mirror). There are other pins used on the Silverados with auto-dimming side mirrors - the dimming of the side mirrors gets signal from the rearview mirror (pins 8 & 9), but that doesn't apply here. There is a great thread on gm-trucks.com that walks through the addition of an auto-dimming mirror on a Silverado. It doesn't cover the camera either, just auto-dimming. So it doesn't all apply but he lists part numbers for making your own connectors and crimps and goes into great detail with wiring diagrams that still apply to the mirror requirements. I also found this pdf that has the wiring schematic, if you're curious to verify. Jump to sheet 68. I also saved the PDF so if they stop hosting it or change something, let me know and I'll put it up on my Drive public. From what I could tell in videos showing this installed on Silverados, the mirror is fused at 15A. The wiring schematic looks like it's 10A. I bench tested it with my power supply set to 12.5VDC and 2A, and it worked fine. My LCD ended up being partially non-functional, but that's a different issue. I did buy it off eBay, after all. So, the hardest part is mounting the camera and routing the cables. Probably have to pull the headliner. Mine's currently gutted so it's not an issue for me. But it's a hurdle for drivers. To summarize: Mirror from 2019 generation Silverado/Sierra. Should look like what I have pictured above, with a connector for camera (small round coax, looks like) and a connector for power, etc (square connector) 3rd brake light assembly for camera - GM #84487008 Camera signal cable - Gen5DIY #220609 or #220621 Mirror power connector to splice to your wiring harness - Gen5DIY will make/sell the power pigtail Provide switched 12VDC fused at 10A (or maybe 15A) to the mirror connector Provide reverse lights 12VDC+ to mirror connector Duct tape the camera to the rear window or something, I don't know. Make sure you match orientation that was in the brake light assembly so it looks right in the screen. If no assembly, bench test it before hand to determine proper orientation. Run camera cable from camera to mirror Wave magic wand and put all the interior back together Reference video of a Silverado upgrade. Gives an idea of what the connectors and pieces look like. ------------------------------------- In case embeds break or something: GM-trucks thread: https://www.gm-trucks.com/forums/topic/192050-how-to-a10-inside-rearview-auto-dimming-mirror-conversion-dd8/ PDF with schematic: https://www.gmupfitter.com/wp-content/uploads/2021/05/19_Silverado_1500_Body_Builder_2019.pdf Installation video: https://youtu.be/FedbYeRalrs -
Backup cams & dash cams, mirrors with LCDs
Clever Idiot replied to Clever Idiot's topic in Modifiers
Update for some side-by-side comparisons. Here's a Gen1 mirror vs a Gen2 mirror. And here's the Gen2 mirror I got, compared to the original Monte mirror -
Kinda related: I don't suppose anyone knows where to get one of these flat wire conduits? Mine was trash and is long gone. I may just go with a standard wire loom if it's too hard/expensive to find though.
-
Backup cams & dash cams, mirrors with LCDs
Clever Idiot replied to Clever Idiot's topic in Modifiers
Update: Contacted the wonderful folks at Gen5DIY for wiring help, they informed me that the camera from a Gen5 Camaro will not work with the live-view mirror from the newer truck. They have different communication protocols, apparently. They told me I needed a camera from a Gen6 Camaro or from the same generation truck that has the mirror. They also informed me that the mirror is not set up to take two inputs where it might switch between a live-view and a backup camera view. It's designed such that its camera is switched with the ignition in the 'on' position, and you switch to the camera view with the switch on the bottom of the mirror. They said I could set it up so that it's switched with the reverse lights, but suggested that the live-view is very handy to have. So I decided to go with the live-view camera setup, since it's better than nothing, the Monte has those big sail panels, and I like the full-display mirror. The other option would have been to get an older generation mirror (which looks pretty chunky to me) to match the older camera protocols, or get one with a 3.5" inlaid LCD (Gentex 657) that I've seen installed on the Camaro5 forum. A much more economical option, honestly - that mirror is about $100-$200 and the Gen5 Camaro camera is around $100. SO, now I've got a Silverado/Sierra 3rd brake light with camera on the way, that as far as I can tell is the rear live-view mirror camera. Assembly is GM part number 84487008. According to this eBay listing that's the assembly for a truck "w/o Cargo Camera w/ Video Display Mirror". All told, even with the super deals I found on the mirror and the brake light assembly, I think I'm going to still be $200-$300 shy of the Crutchfield kit that comes with everything, but that mirror has the capability of adding a backup camera and switching between. -
Backup cams & dash cams, mirrors with LCDs
Clever Idiot replied to Clever Idiot's topic in Modifiers
For anyone who finds this thread and is curious, I learned that Gentex makes the OEM mirrors with the LCDs for GM. I decided to go with OEM because they tend to be higher quality with better longevity, IMO, and plus it makes it easier to get parts and pieces if needed. It doesn't have a dashcam, but maybe I can figure out a front-cam option later. I opted for a full-width display mirror out of a 2019 Silverado (eBay for about half the price of a new one from Crutchfield). Now I just need to get a camera and wiring. Once I have it installed/working I'll post about it so others have a go-by if they want one. Update Edit: Bought a rear backup camera from a 2015 Camaro, again from eBay. Bless bad/unlucky drivers providing us cheaper parts to newer cars. I had a 2014 and saw how the camera performed in all lighting and how much it saw in its mounting position. My intention is to mount above the license plate on the horizontal lip of the bumper just above the plate if possible - which is the same location/orientation as the Camaro camera that year. Sticking with GM OEM for easy (easier, hopefully) compatibility and again, replaceable parts. It comes with the bracket so fingers crossed the bracket angle will work at the Monte plate height like it did on the Camaro. Also has the factory connector, so I just need to get the pinout diagram and put its factory connector mate on my wiring harness. -
Backup cams & dash cams, mirrors with LCDs
Clever Idiot replied to Clever Idiot's topic in Modifiers
My main challenge is finding a quality mirror LCD, ideally with an integrated dashcam. Car is currently gutted so wiring isn’t an issue at this point. edit: I skimmed and missed the part where you said the screen plugs into the lighter. Whoopsie. I’m thinking of installing the camera behind the plate and motorizing the plate to lower in reverse (as well as via a switch for fueling). -
Does anyone have any experience with aftermarket backup cameras and/or dash cams? Or rearview mirrors that have an integral LCD display for the camera? I want to add dash/backup cams and not cut my dash for a double-DIN receiver. I rented a Ford Transit from U-Haul some time ago and it had a screen integrated into the mirror, and it blew me away. I've also been impressed by GM's current rear-mirror screens. Difficulty is the rabbit hole of how many aftermarket options there, and none of the names sounding familiar to me. Ideally I'm looking for a mirror with an integrated dashcam, and a screen that turns off. Some options I've seen look great but they're video-only and never function as just a dumb mirror, and I'd rather have the mirror available if I want to peek into the back seat. Any opinions are welcome! Thanks.
-
Dash/firewall Reassembly - looking for a part
Clever Idiot replied to Clever Idiot's topic in Interior Tech
Yes that’s it! I think so anyway. Looks right. -
Yeah, I ended up getting mine off eBay from LKQ. I was looking at Corbeau or something but I wasn’t in love with the racer look, and I didn’t know how they felt sitting in them. My wife actually suggested the Camaro seats bc I had talked about how much I liked them in the Camaro I had at the time. It was a lot of fab work but I’m super happy with the result. And they’re power adjustable (yay!) while keeping the ‘flip forward’ aspect needed for our back seats. I’ll try to put together a write up soon-ish with the measurements I ended up with, it may save some time.
-
Here we go! Mounting them required cutting off the front hooks of the seat tracks - in the Camaro the fronts of the seat rails hook into the floorboard and the back bolts down. Where the tracks landed on the Monte's floorboard made that impossible. I started with centering the steering wheel on the center of the driver's seat back, then went from there. When I eventually do a write-up I'll go into more detail, but let it suffice to say it was a LOT of measuring and squaring, because every single mounting point needed to be fabricated and spot-on perfect to work. In case you want to gander at the work: https://imgur.com/a/maOjbkz Ok, so they don’t really look factory at all haha - but they look more factory than a Corbeau or Recaro, and have actual side support unlike the original buckets. On with the pics. The console (no lid) is just sitting there where it should, but not screwed down, although it's bracket is welded in place and the shifter is bolted down. The dash is half-bolted in place. Hopefully this gives an idea of how the seats fit in the space. Floorboard is covered with sound deadener from Sky High Car Audio - recommended to me from a mechanical engineer friend who used to build boxes for bass competitions. It's like half the price of Dynamat and intended for cars (so no toxic off-gassing in heat). And some with measurements, which may help Here you can see the factory seat belt bolt and the distance to the door metal Console spacing Finally, the height to the headliner. This is to the headliner rod, trying to eyeball the top of the headrest. This is more reliable, ruler against the headrest, but it's going to the roof itself instead of the headliner rod. More detail on the fabric. These seats were from a 2012 V6 (the SS has the 'SS' embroidered in the headrest).
-
Sure thing! I'll bolt up the dash and lay the console in place so you can see how they sit relative to everything. I'll try to get it done tonight.
-
I know it's an old thread but I've been inactive for a long time. I put 5th Gen Camaro buckets in mine. I had a 2014 Camaro and the seats were great side support, comfortable long distances (road tripped to South Carolina from FL), they have a flip-forward release latch in the top middle (like the '69 Camaros did), and they look factory-ish in the Monte. Taller than factory buckets, considerably, so it might not be the aesthetic you're looking for. Big drawback is it required welding mounting points because nobody makes a bracket to adapt (or they didn't in 2018), and I haven't done a write-up yet on how I did it and what measurements (but I will, eventually lol). I can post pics later if anyone wants to see, but the interior isn't even remotely finished - just have the sound deadener installed.

