pab3589
-
Posts
79 -
Joined
-
Last visited
-
Days Won
7
Content Type
Profiles
Articles
Forums
Gallery
Events
Everything posted by pab3589
-
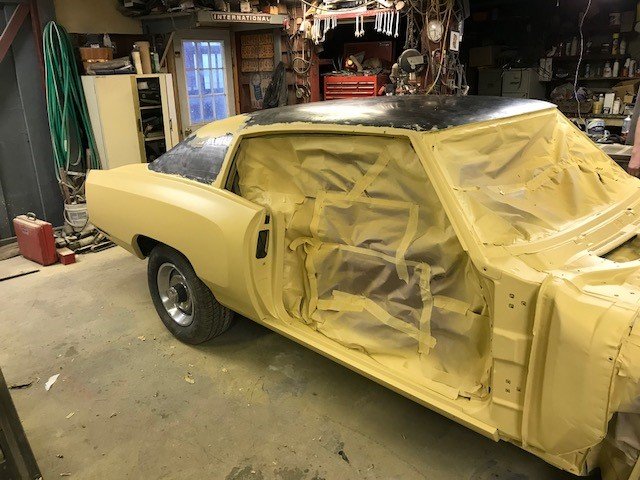
Hey Thomas and Rob thank you for that info. I assumed it was the argent silver that I took off of it ,but I am painting the car black so I am "hoping" the black may look a little better than the silver ? For some reason the silver really bugged me and the car wont be totally original anyway as the colors are changing ,also bench to buckets etc.. I went with the satin to offset from the gloss which the car will be. So hopefully it looks ok if not I can always change again ,like I have nothing else to do LOL. I am wondering now if anyone else has painted theirs a different color? or matched car color etc ? PS Please don't revoke my membership for painting it black LOL Larry, hopefully I can do the frame in stages as I move through the car I wasn't sure what I was going with but so far I like it, hopefully it holds up. How Is yours holding up and the POR as well?
-
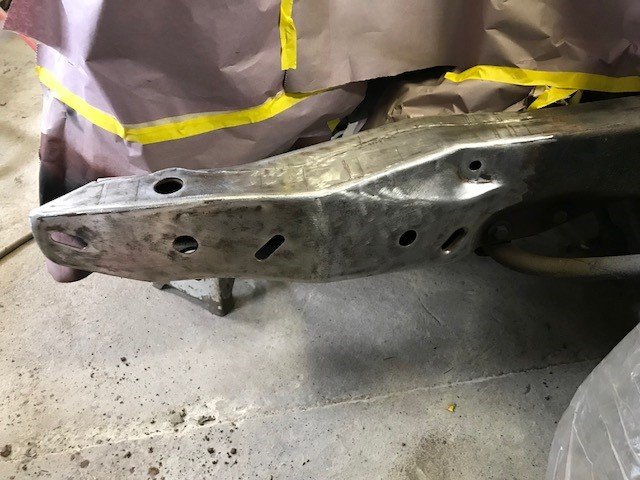
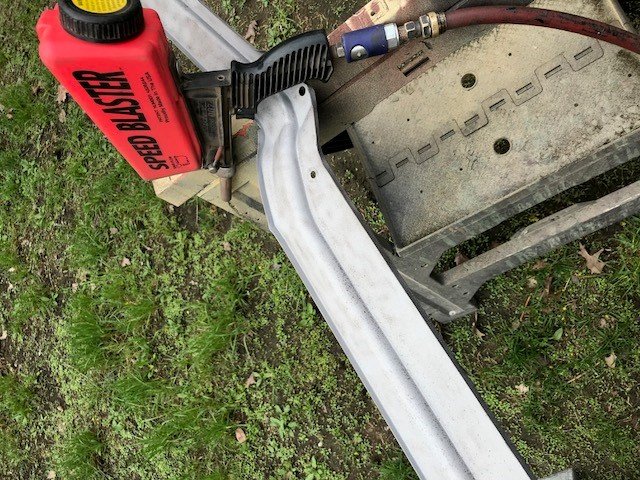
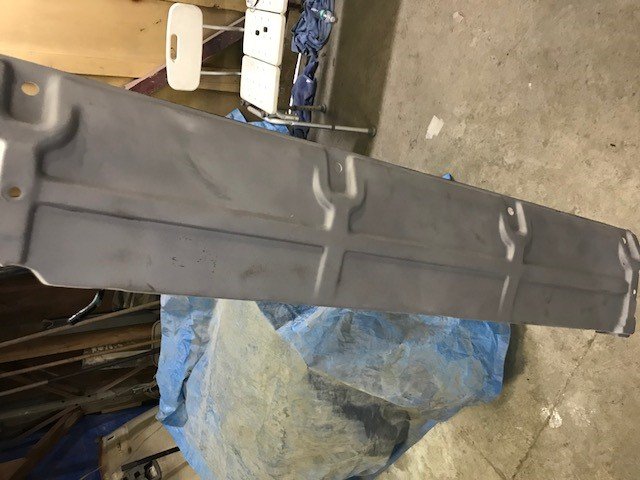
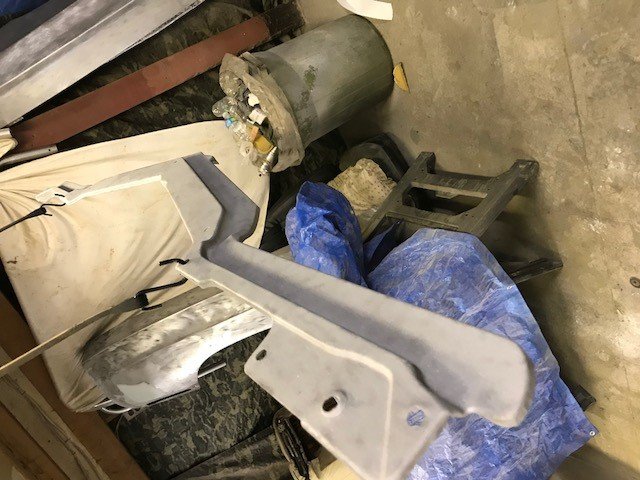
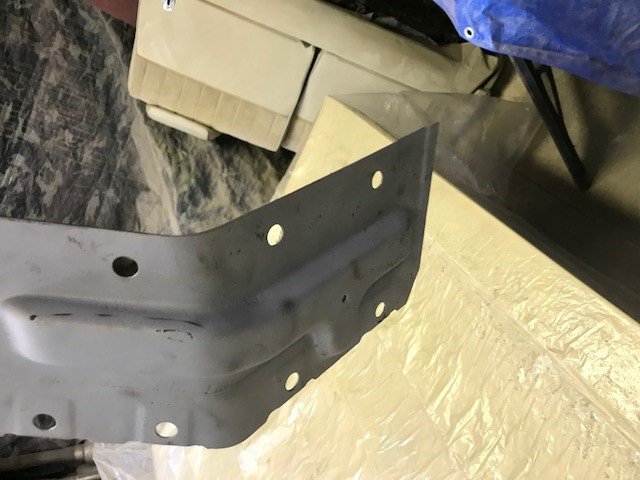
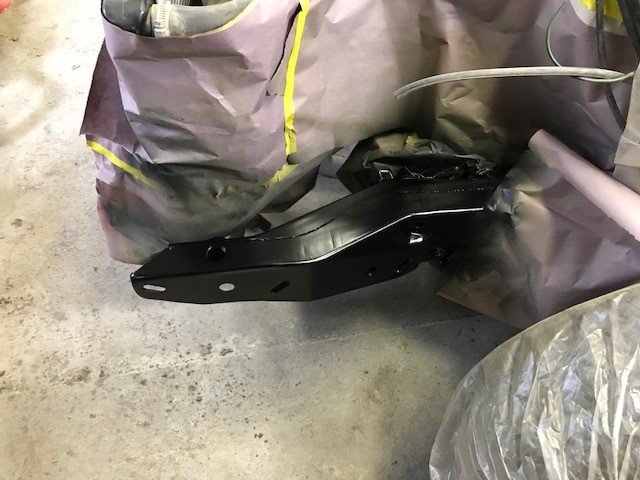
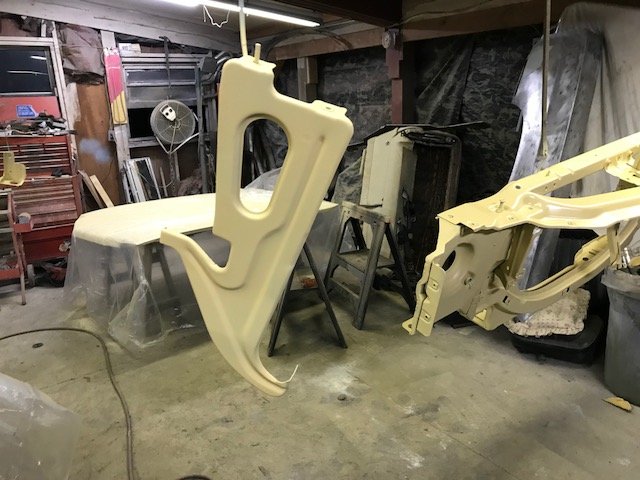
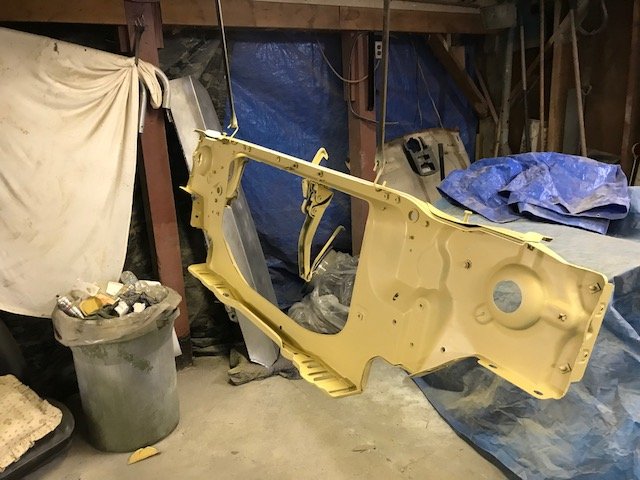
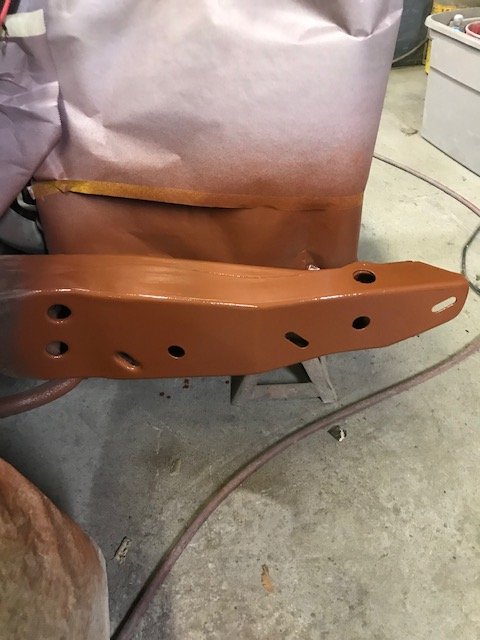
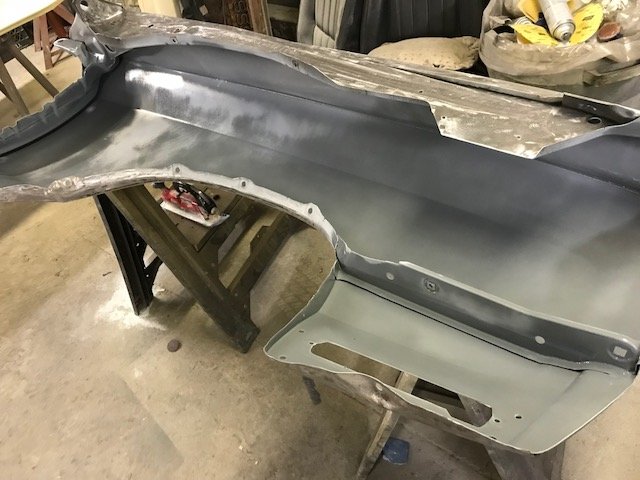
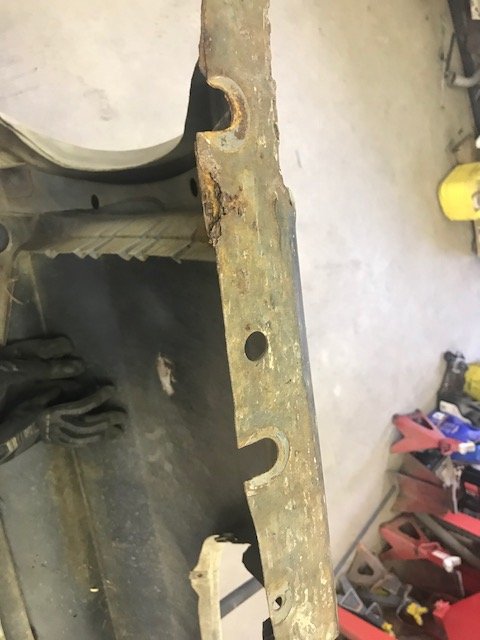
A few more updates for today. Spent a couple hours on car today(Saturday) was delayed as I had some other stuff to get done first. Got the drivers side front frame rail cleaned up like the passenger side ,as well as the inner fender well extensions ,upper radiator support and the front bumper filler panel sandblasted primed and painted. Will hopefully have time tomorrow to get radiator support back in and get the hood primed again as well as get the fender body work done and primed. Here are some pics I know they are nothing real exciting but just taking progress pics for down the road someday just so people can see what exactly was done and proof that things were sandblasted cleaned stripped condition etc.. Here is the pretty rusty backside of the bumper filler , and of it cleaned up after sandblasting. Here is driver side frame rail cleaned up and painted ( forgot the primer pic) Upper radiator support and filler blasted , primed and painted and then just the inner fender well extensions again forgot the primer pic

-
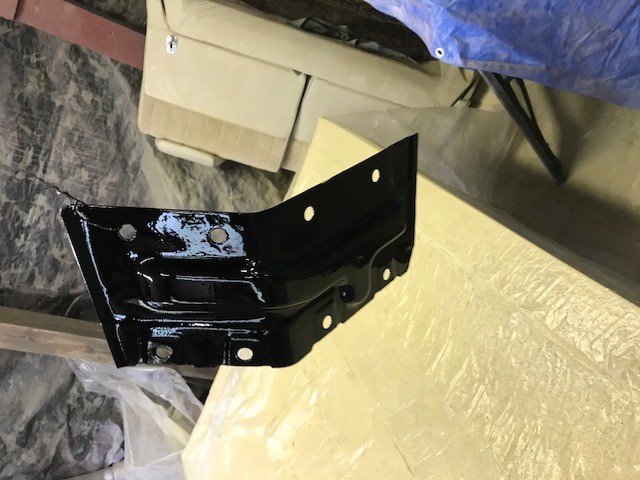
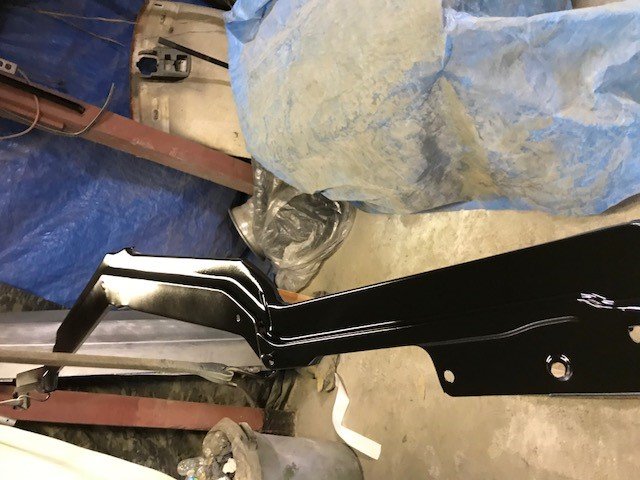
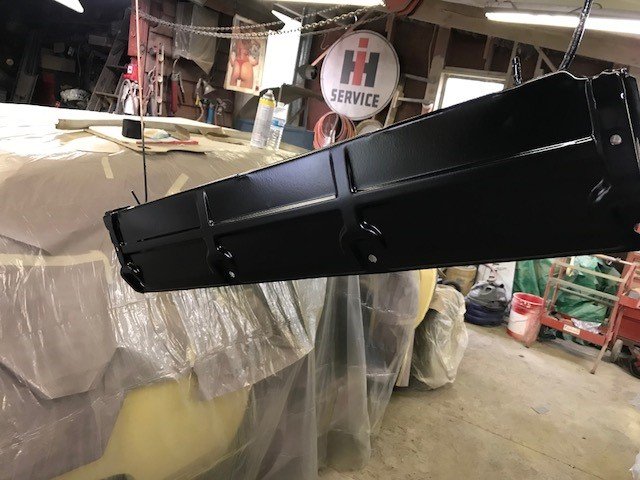
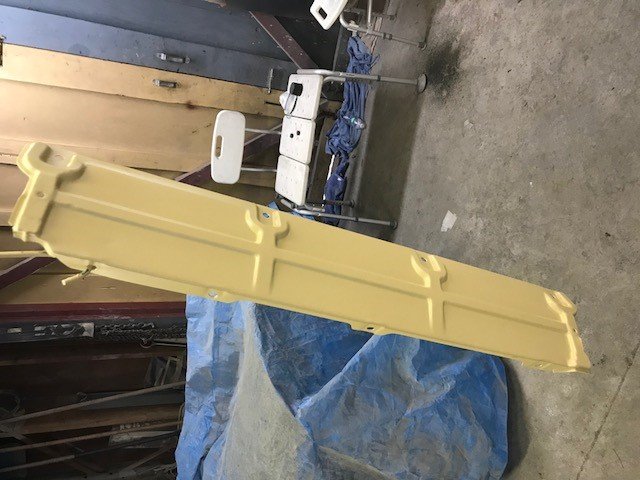
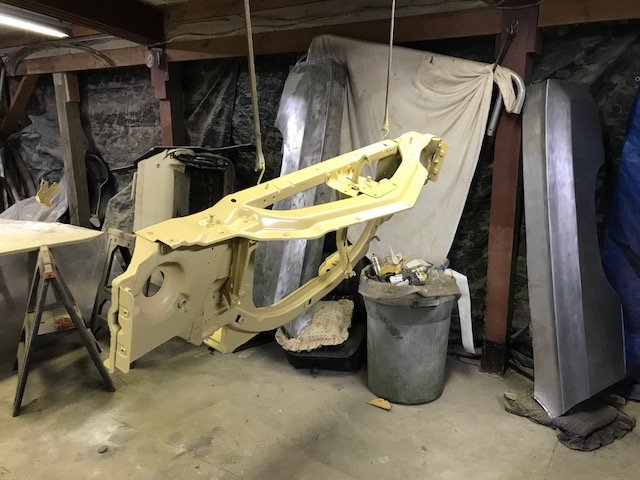
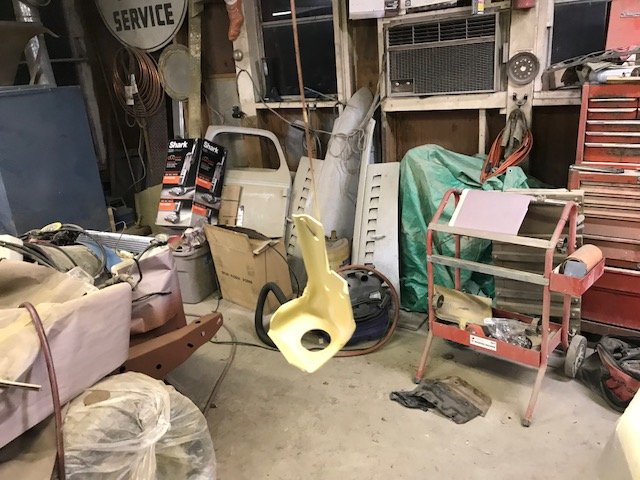
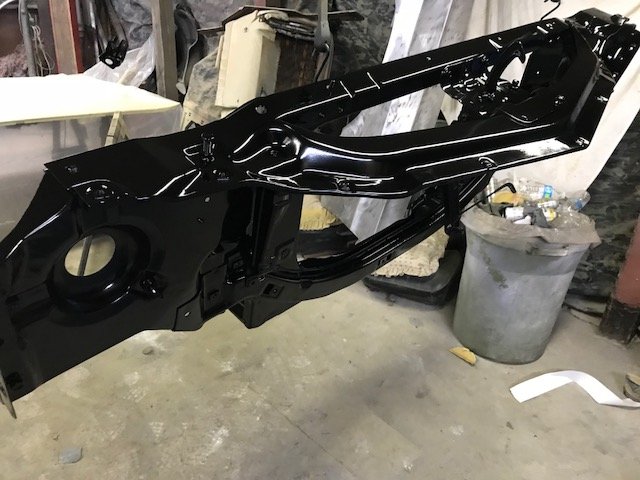
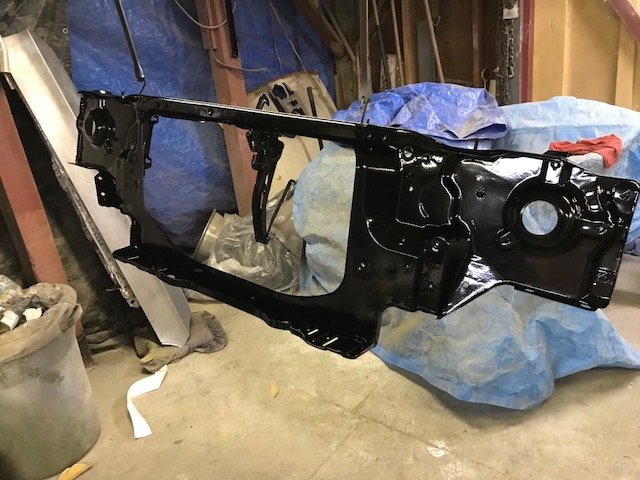
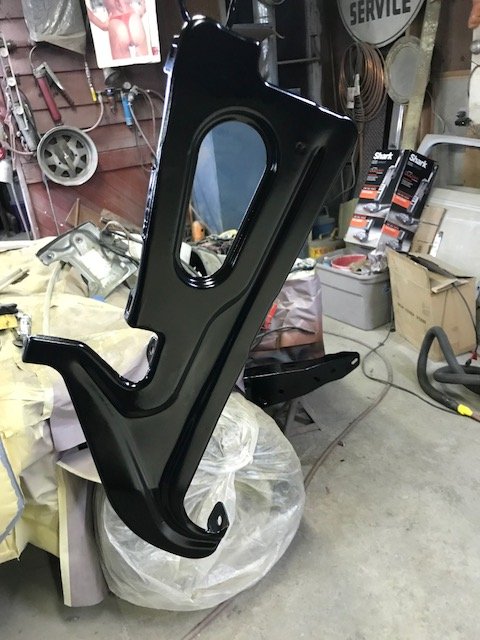
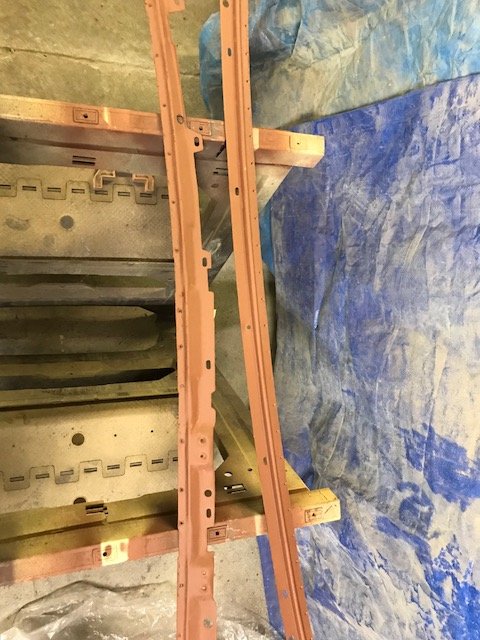
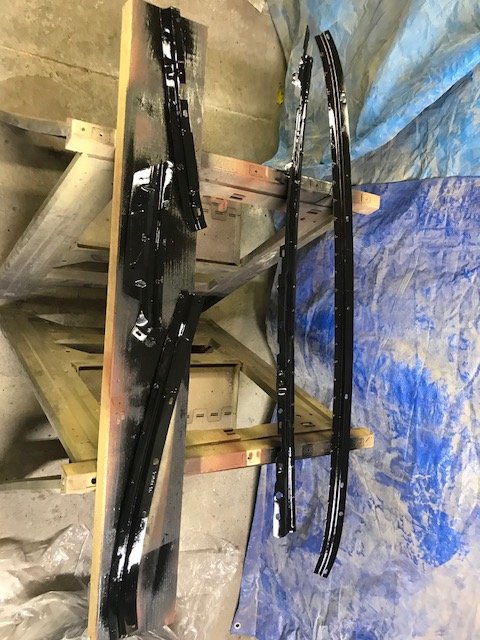
Wasn't planning on getting much done tonight (Friday)but needed to knock my weekend list down. Got the radiator support dismantled more and sand blasted, as well some of the pieces I got sand blasted. Ended up priming and painting and using the 2k urethane primer and a single stage urethane satin black we had from another project. Figured it would dry quicker and be a little more durable than the Rustoleum . Used that on the frame rail also. Will hopefully get the other frame rail cleaned up primed and painted tomorrow and can get the support back on the car by Sunday. I think I am doing the other frame rail with 2k primer before painting instead of the rustoleum rusty metal primer I used on the first one. So maybe 10 years from now I will let you know which primer held up better under the paint. Honestly hope they both do LOL. Here are some pics, paint is still wet so much glossier then will finish up. Will send those in the future of it flattened out but here it is for now thanks for looking. Here is this batch of items sand blasted, the pics look dark almost like the pieces are black but honest they were blasted LOL. Cleaning them up they are actually in better shape then I thought, Here they are all primed with the 2k primer And here they are painted with a single stage urethane, They will flatten out not a fan of the shiny black under the hood and such but it does look nice and clean I hope I made the right choice not being glossy LOL , We will see when they flatten out either way it will look nice cleaned up and well protected. and the frame rail , which I hope eventually will get the rest of the frame cleaned up and looking like this I will be thrilled.


-
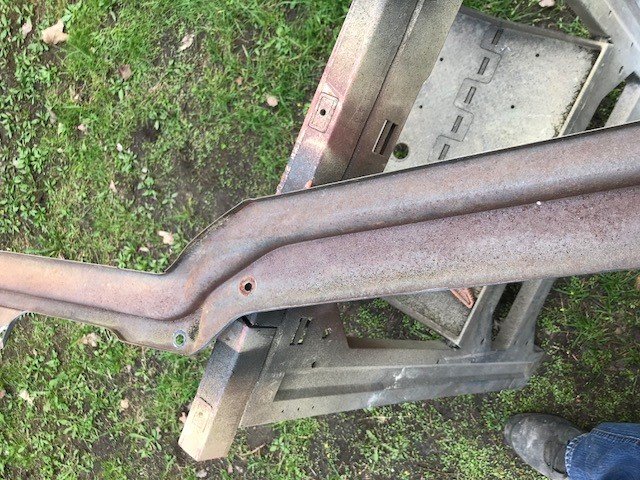
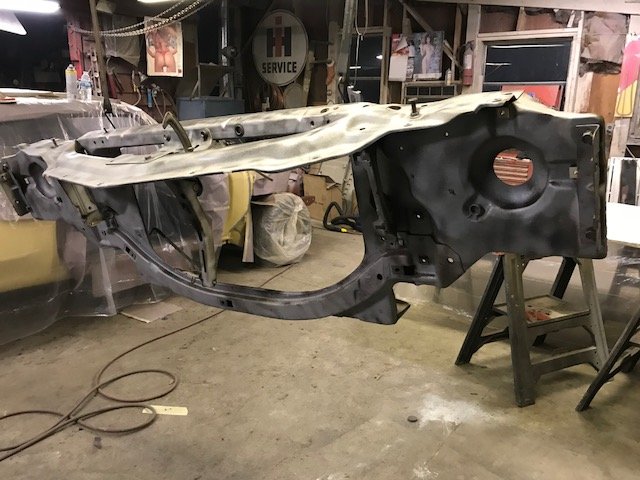
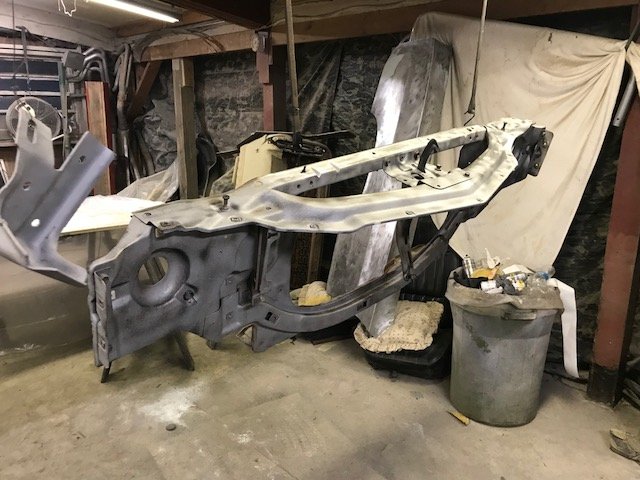
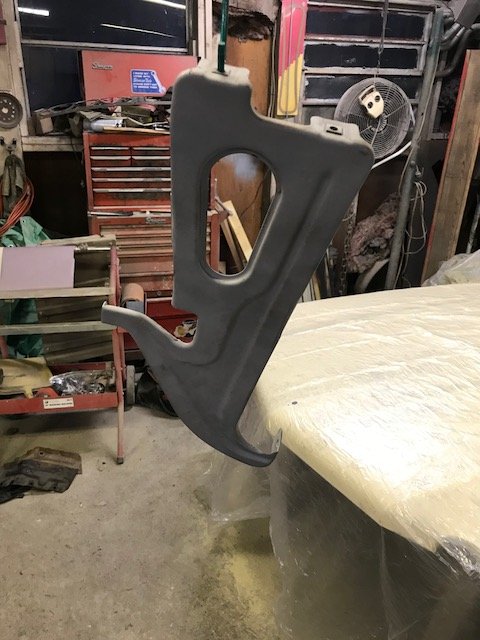
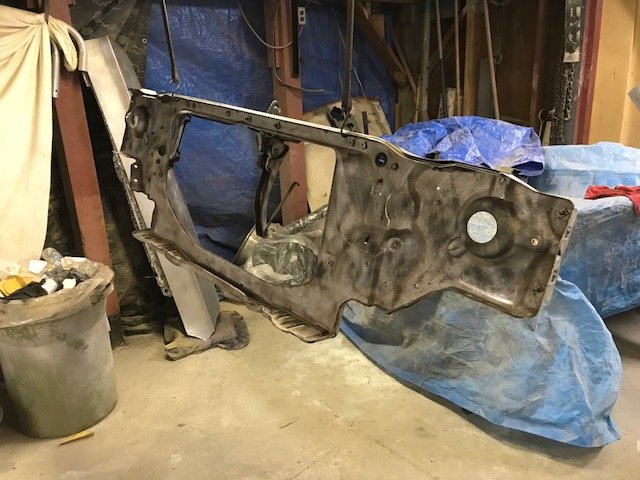
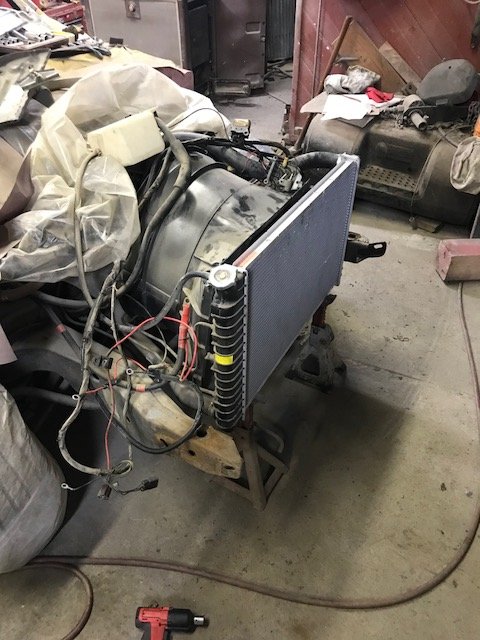
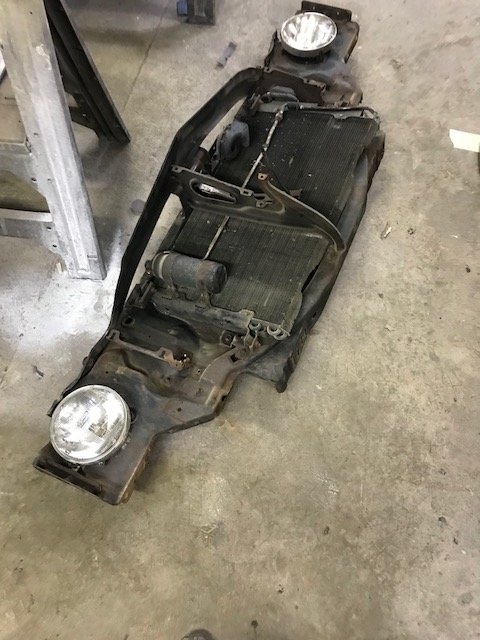
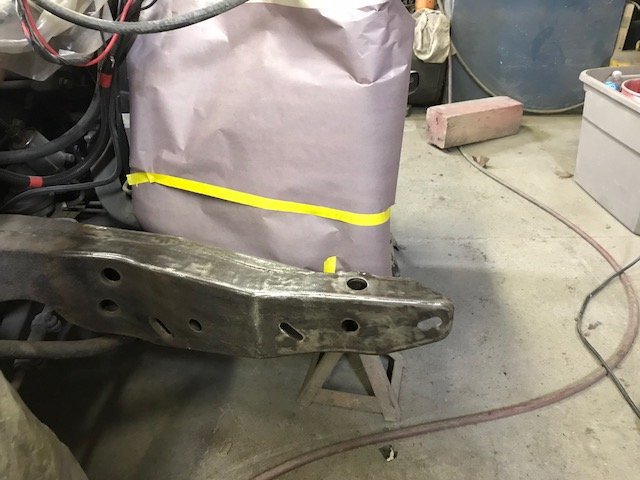
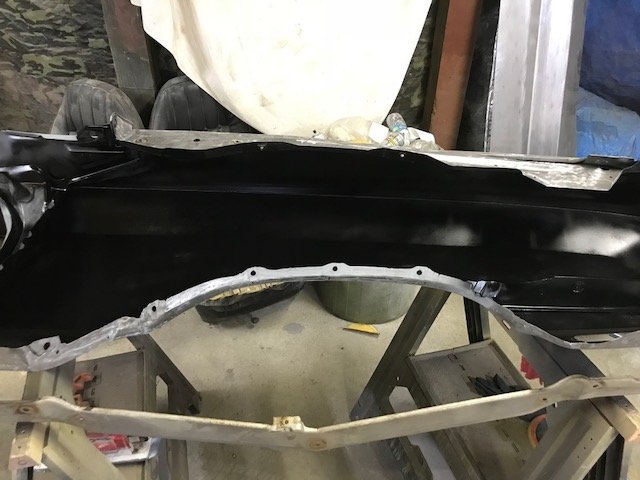
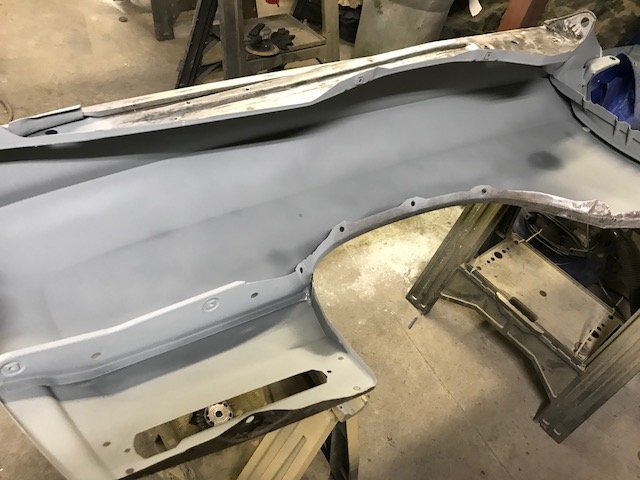
Haven't updated in about a week , made a little progress working on front fenders , seems like the most work on the car so far they are taking much longer than I thought. Just a lot of small areas and stuff to get into and get cleaned up. Then got the inside primed and painted. Used the cold galv again to fight any rust and rustoleum semi gloss. Will hopefully have the outside primed this weekend fingers crossed and prime and block hood again. You will also see I took off radiator support and decided to get that cleaned up. I wasn't planning on doing that but at this point why stop now. I am probably about 8 bolts shy of the frame off at this point LOL. I Will hopefully sand blast and prime and paint rad support this coming weekend . As I am typing this I realize I have a ton to do this weekend and something probably won't get done. Also started cleaning up the front of the frame rails and get them primed and painted. I will be doing that as I go along. Once I get the car painted I will move it to the other garage with lift and do the front end bushings brakes etc while I have the front end off it and finish the frame as I dismantle A-arms etc and clean everything up. Hopefully will have more updates this weekend (Sunday??). As always here are some pics, thanks for looking. Inner Fender ground down and cleaned up wasn't too bad , Primed with the cold galv And then inside of fenders painted as well. Took the radiator support off , Left the radiator in the car so I didn't have to drain. Need to remove condenser and headlight buckets from support and sandblast Started cleaning up the frame rail in front of control arms and will finish up painting frame rail as I work back on the frame and once car is painted. Frame rail sprayed with rusty metal primer. Just a note its from spray gun , as I found looking through the Rustoleum SDS sheets that the Spray cans of Rustoleum Rusty Metal Primer do not contain zinc in them , and only the quart or gallons of them do. So just use that thinned with acetone as recommended.
-
Welcome and looks like you have a great base to work from. Also new here myself and it is a great group of people here.
-
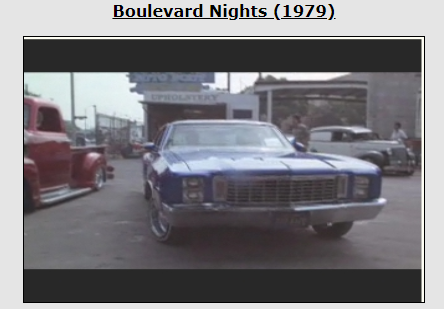
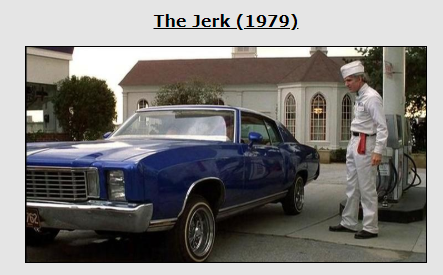
Not sure if this was discussed anywhere,but I did some searching and didn't see it. I was looking at the Monte's in the Movies Forum and noticed the Monte that was used in the Jerk was also the same one used in Boulevard Nights. Was easy to spot obviously by the stacked headlights as noted in the description for the Jerk. Just found it interesting and not sure it was noticed before.
-
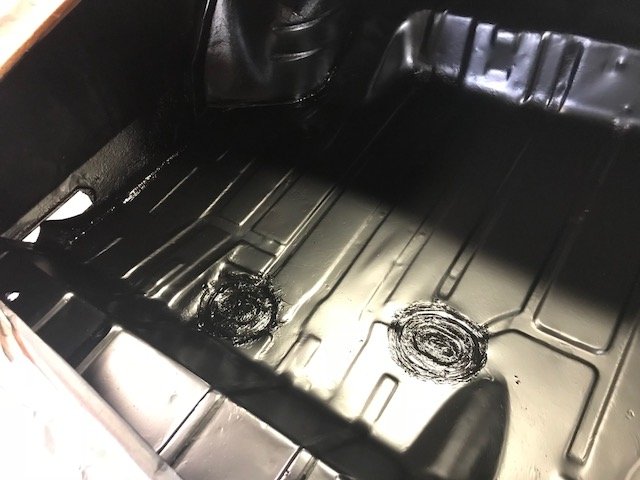
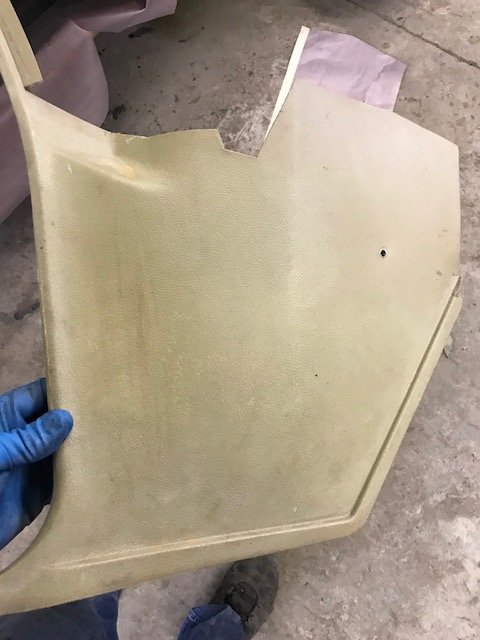
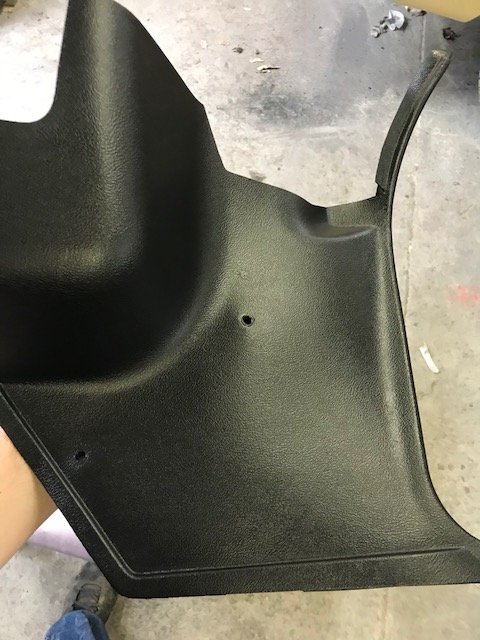
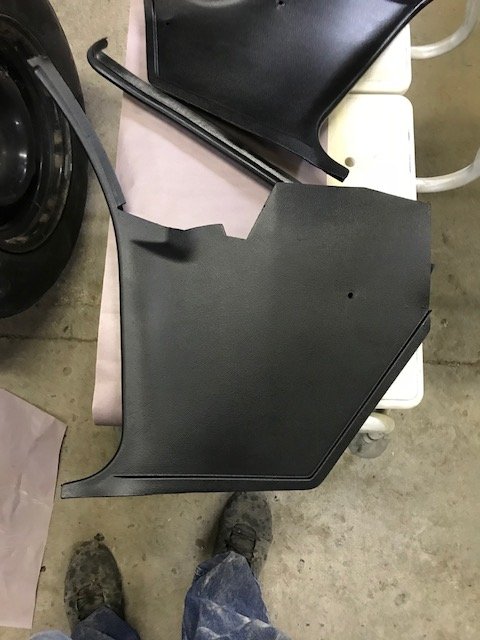
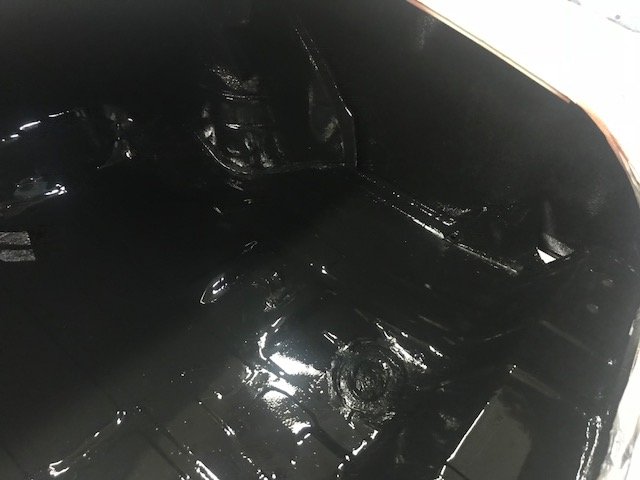
The trunk finally dried out and flattened out after a couple days. A couple cool nights in the shop took it a little longer . Finally got the spatter paint (black and aqua) 3 cans does not go very far. If it was not painted underneath it would have taken at least twice as much. Just did the trunk pans and trunk area did not do the inner quarter panel leaving them just black . As the spatter paint was drying,I started cleaning up and changing the interior color to black , Scrubbed with very fine scotchbrite pad and acetone , wiped down with acetone, Then sprayed with duplicolor adhesion promoter and top coated with duplicolor fabric and vinyl flat black. The sheen with the flat black fabric and vinyl came out really good more like a satin than a flat. I knew I didn't want gloss as it would be too glossy very happy with it so far many more pieces to do.Not sure how it will hold up but vs the price of the replacement panels in black I will give it a whirl. Will try to do the door panels also , what do I have to lose at this point. Some pictures below thanks for looking . A couple pics of the satin finally dried and flattened out A couple pics with the spatter paint just need to clear once it dries, looks better in person then in the pics. Before and after pics of the kick panels one may look a little shinier/ glossier not sure if it was the different can of paint or end of the can or what . may put another coat on see if I can match better or may not worry about it you will never really see the difference sitting under the dash anyway. Again doesn't look that far off in person the pic makes it look worse than it is.
-
Thank you both , Satin clear it is .
-
Thank you Larry I was debating doing that and would rather be safe then sorry. Did you clear it immediately or how long did you let the spatter cure for?
-
Thank you all for the comments and looking. Here are the pics after painting tonight, its satin so will dull down quite a bit , pretty wet and glossy right now could probably leave in satin but going to try to do the spatter finish will send pics when I do that. Thanks for looking.
-
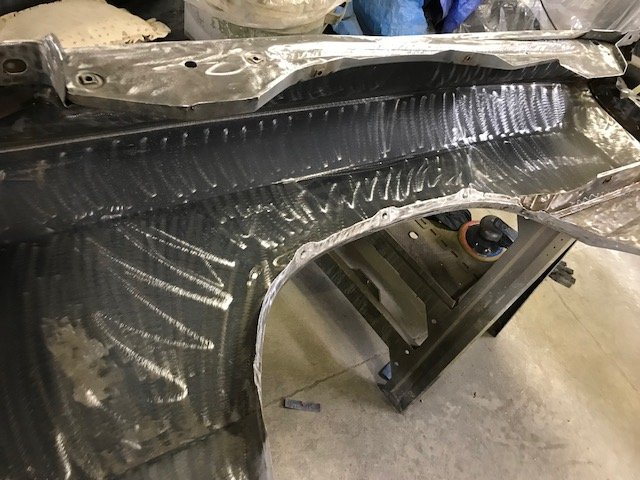
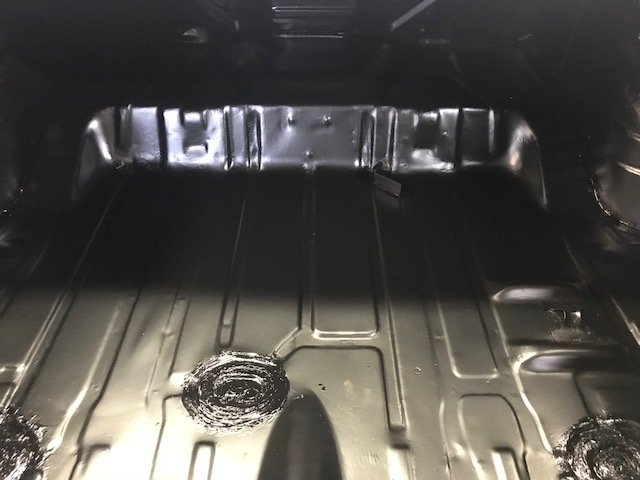
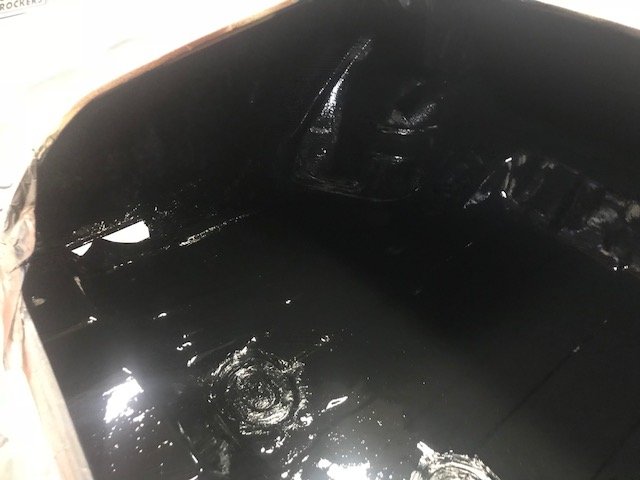
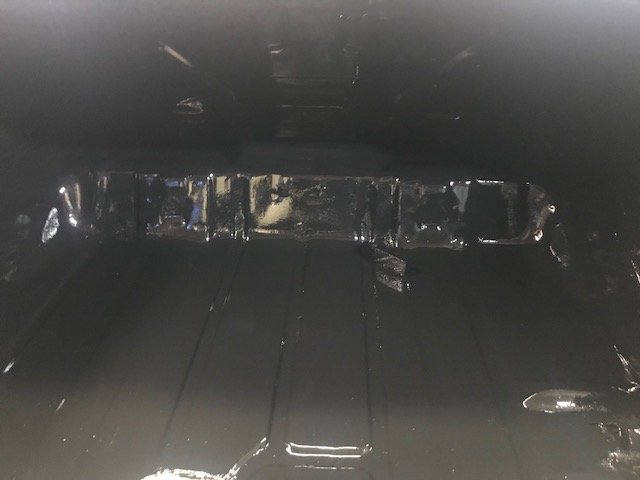
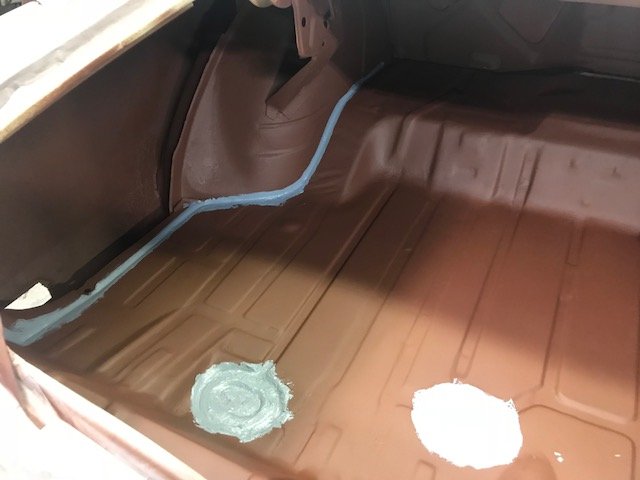
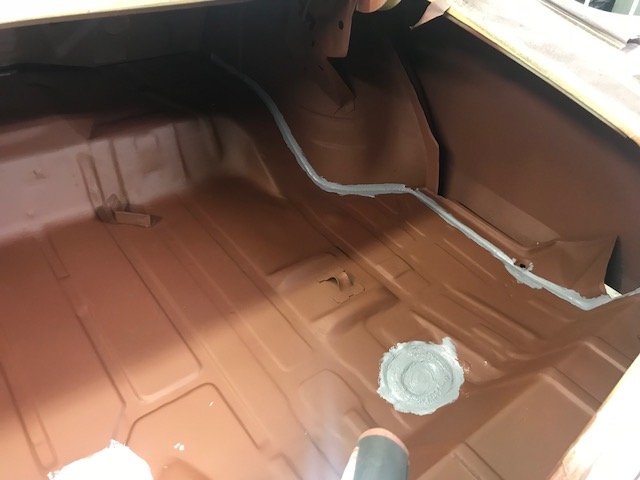
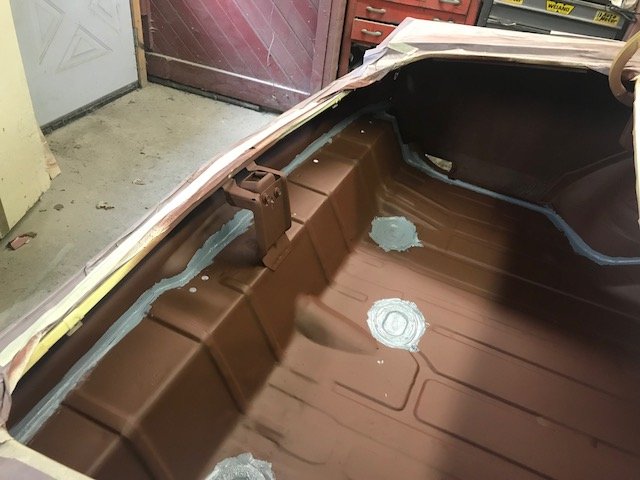
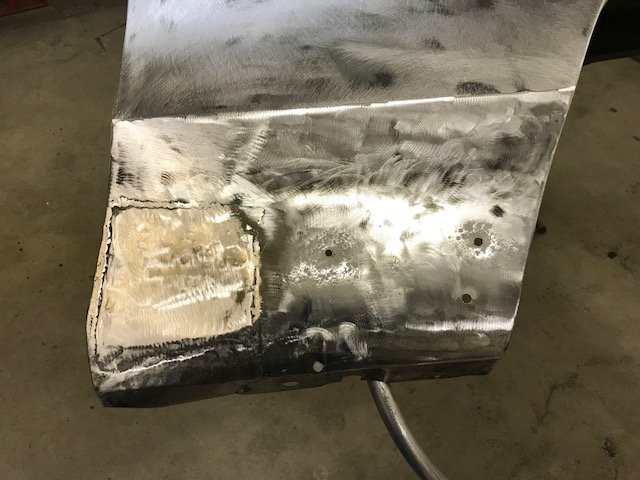
A little progress this week , after finishing interior was going to clean out trunk from all the dust and sanding etc. Wasn't planning on having to do the trunk but as I looked at it and started cleaning and see some flaking and some surface rust I just couldn't let it go. So into it I dug.. Got it all ground down and the speckle paint removed and the seam sealer cleaned out of it. Actually used some cold galvanize spray (rich in zinc) in the seam before I primed it .I also used the cold galv spray inside the rear quarters to try to stop any further rust or corrosion from the inside. I used rustoleum cold galv spray, looking through the sds it is very high in zinc compared to others, I put a different nozzle with a straw (from something such as wd-40 etc) an sprayed and soaked inside quarters to places you cant reach and see, in the roof behind quarter glass any where I could spray , its better than they did at the factory any way.So back to the trunk, then I used rustoleum rusty metal primer let that dry a couple days and seam sealed tonight. Will let that set overnight and will be spraying the rustoleum satin black in the trunk tomorrow. Ordered some black and aqua spatter paint for the trunk should have Friday ,not sure when I will get done due to Easter this weekend. As I was waiting for the seam sealer to dry tonight finished up the other front fender got that patched. I believe all the metal work is done now on the whole car, hopefully. Anyway thanks for reading and checking out as always here are some pics to follow. Enjoy and thanks for looking.Here is the trunk before, it wasn't horrible but as I started cleaning, couldn't stophere it is all cleaned up all the rust ground out and the cold gal spayed in the seams Rustoleum rusty metal primer sprayed in still wet Here are a couple pics primer is dry and the seam sealer applied And finally here is the last fender patch hopefully the last of the metal work on the car
-
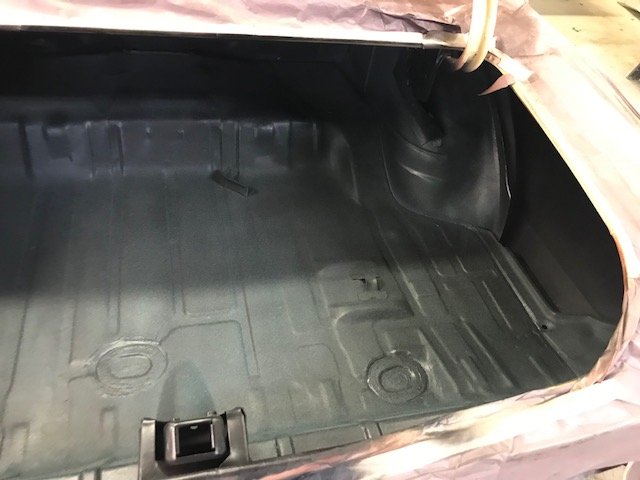
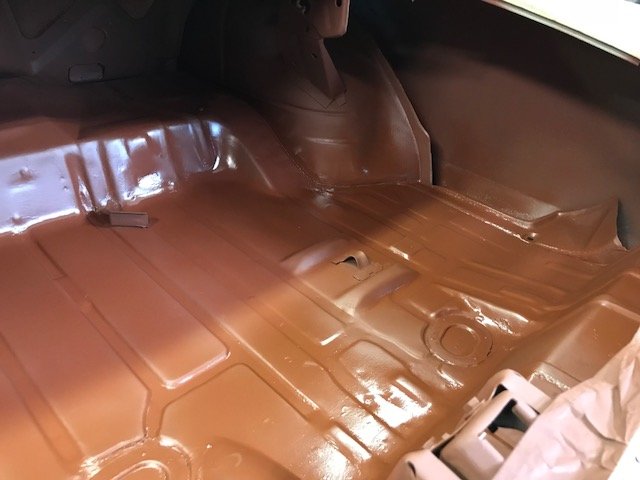
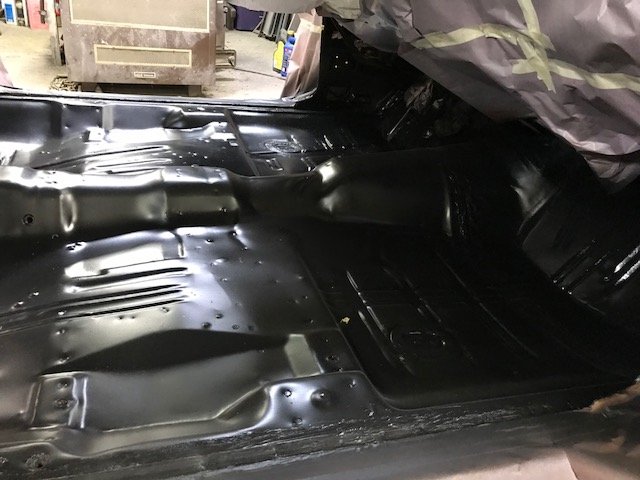
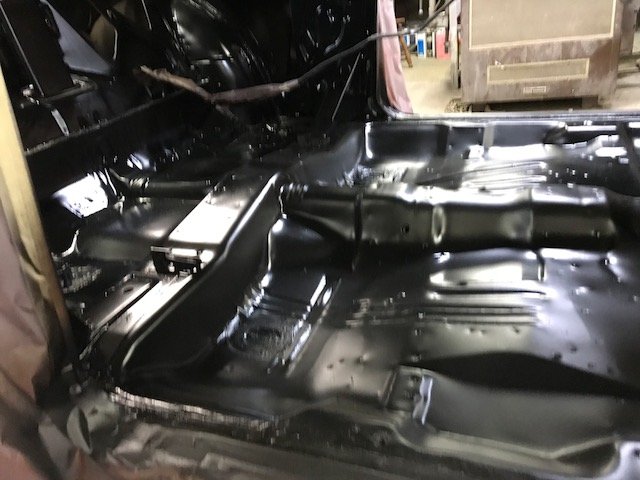
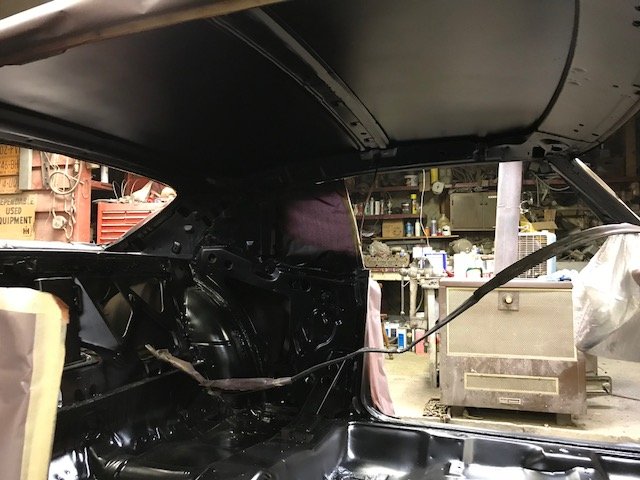
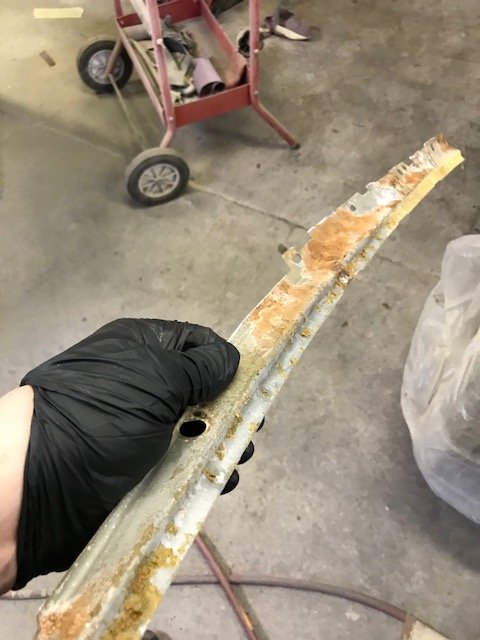
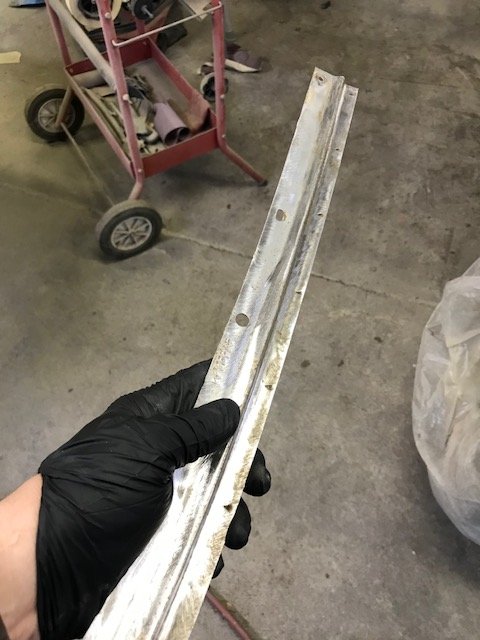
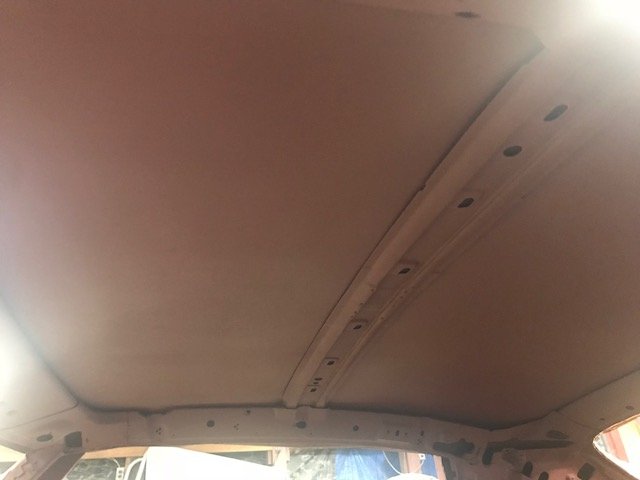
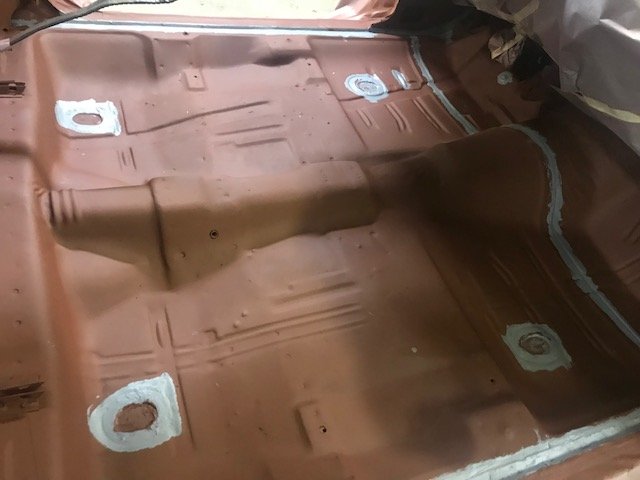
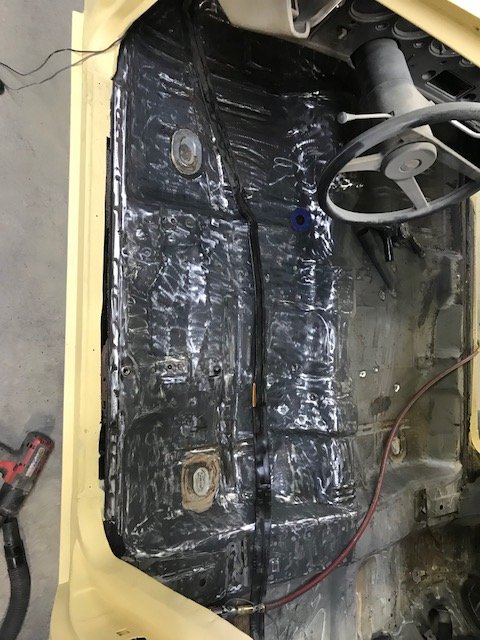
I appreciate all the support , it really does help motivate me as I love showing pics and the progress as much as you guys love seeing them. Got the inside painted tonight and took a couple pics. It still looks a little glossy but is drying to a nice satin finish, only to be covered up by sound deadener LOL, but at least I know what is under there and protected probably better than factory and will last many years. Also took some pics of the headliner rails I cleaned up primed and painted tonight as well while waiting for paint to dry. As always, enjoy and thank you all for looking. Here is a couple interior pics satin black rustoleum thinned with acetone sprays out and covers pretty well , Here is a headliner rail some are pretty rusty from previous leaks and glue etc Here is one cleaned up with angle die grinder sanding and polishing wheel. Here is a couple primed and painted ,better than factory and will probably last much longer.
-
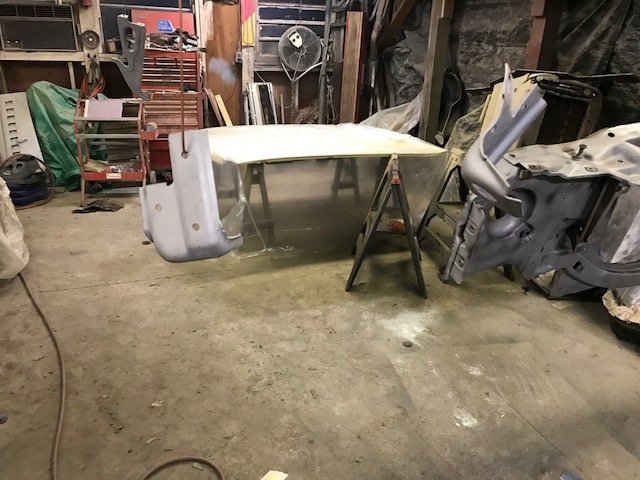
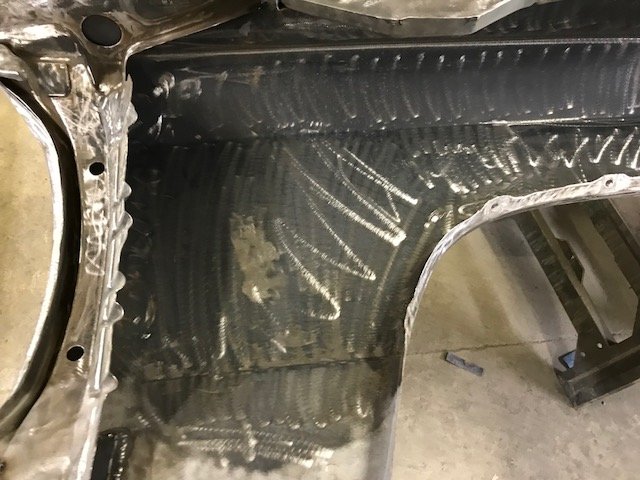
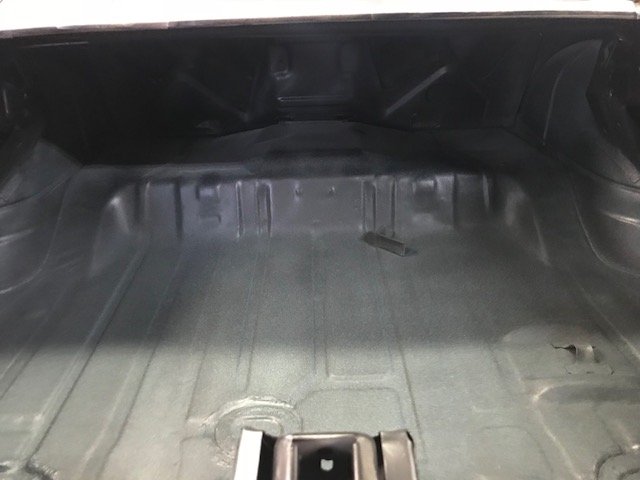
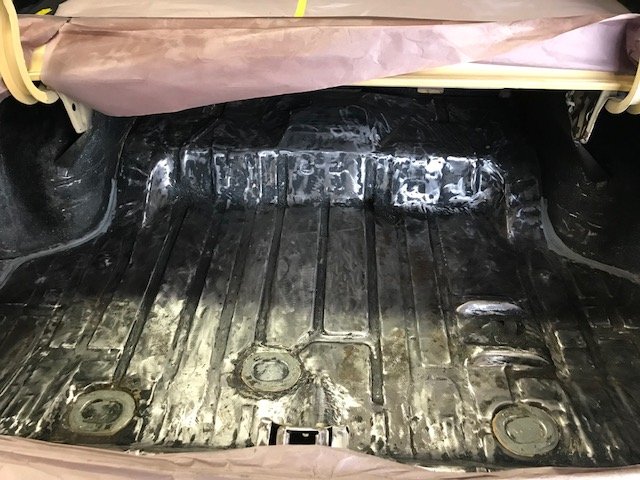
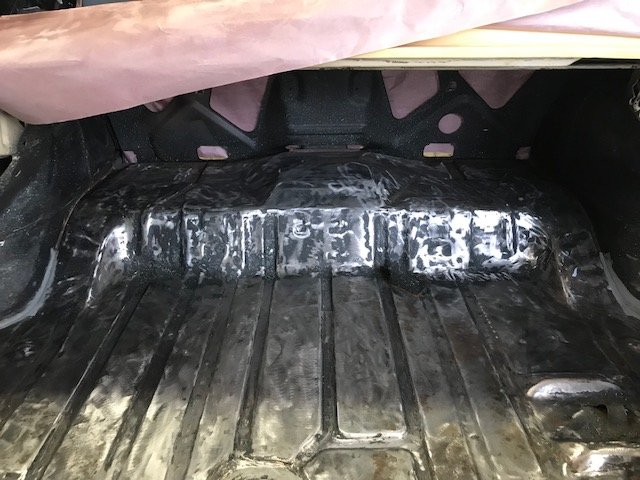
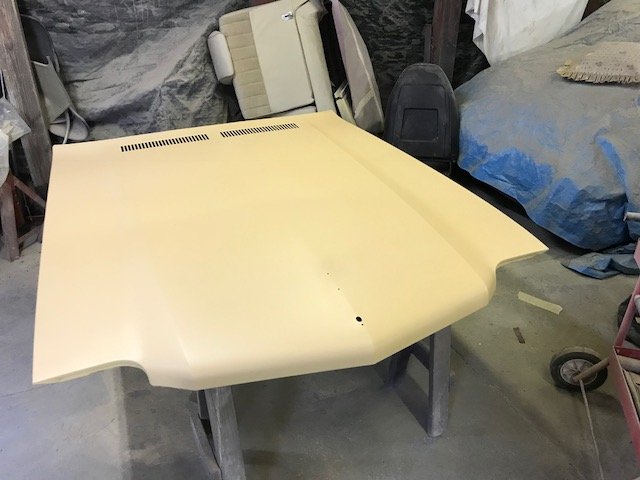
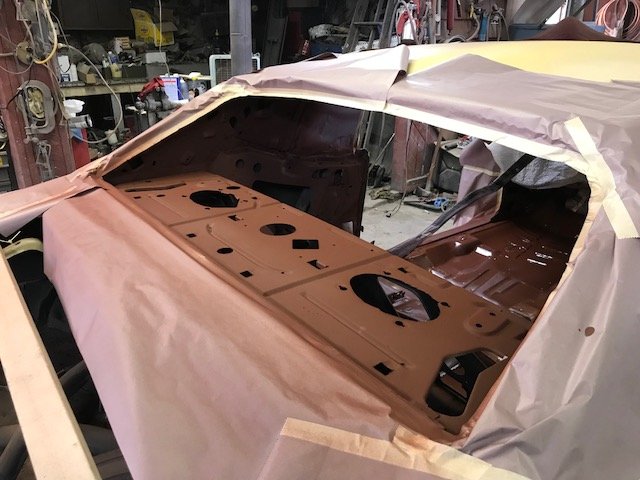
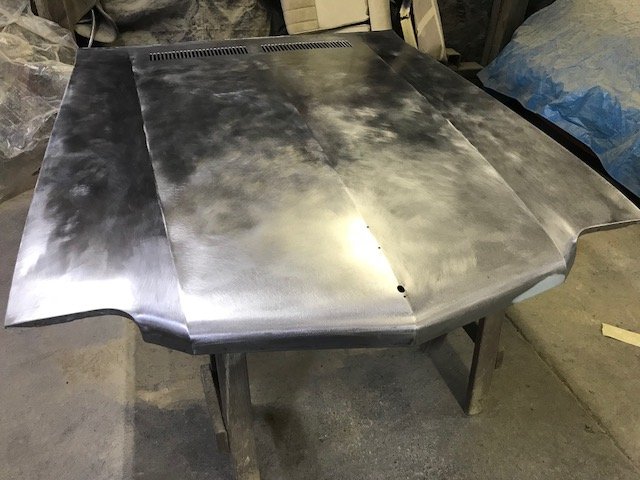
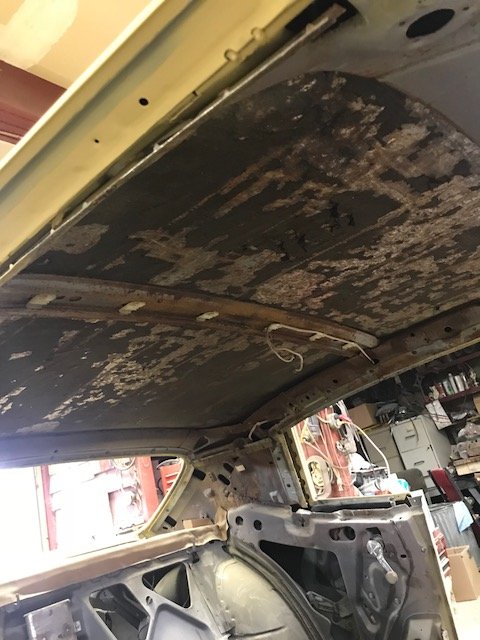
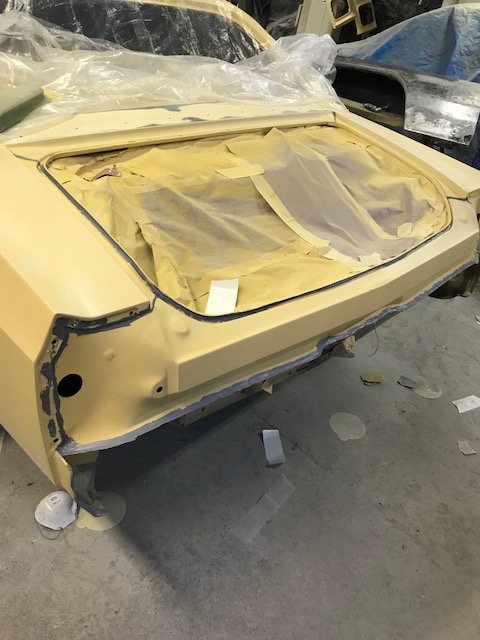
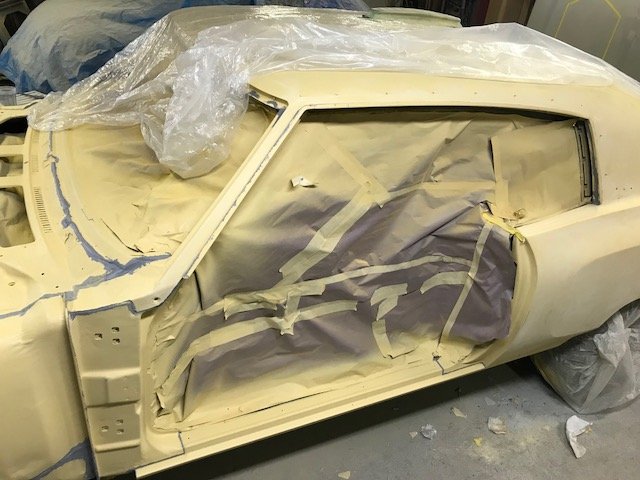
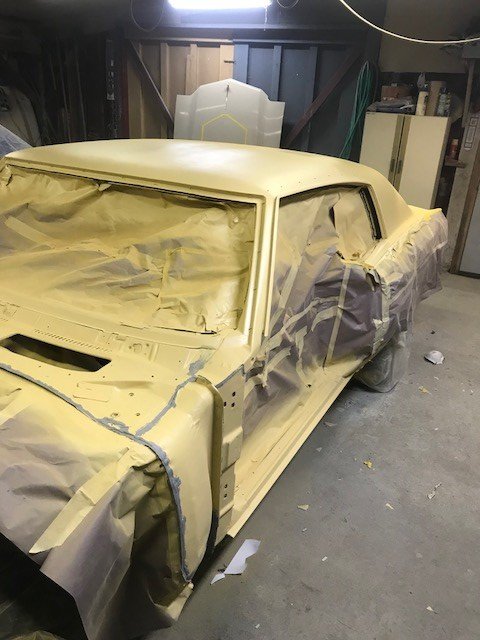
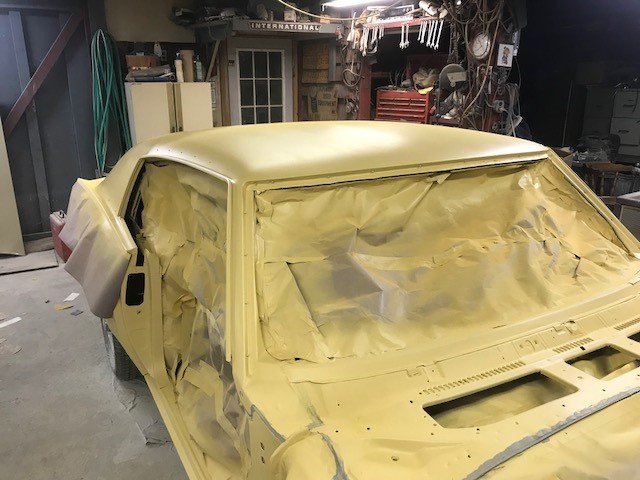
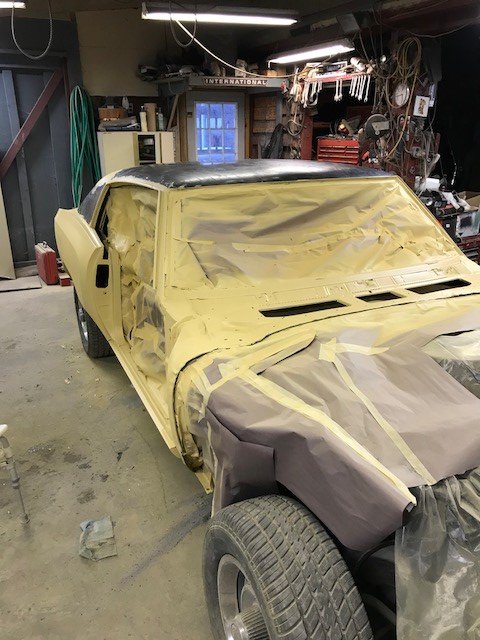
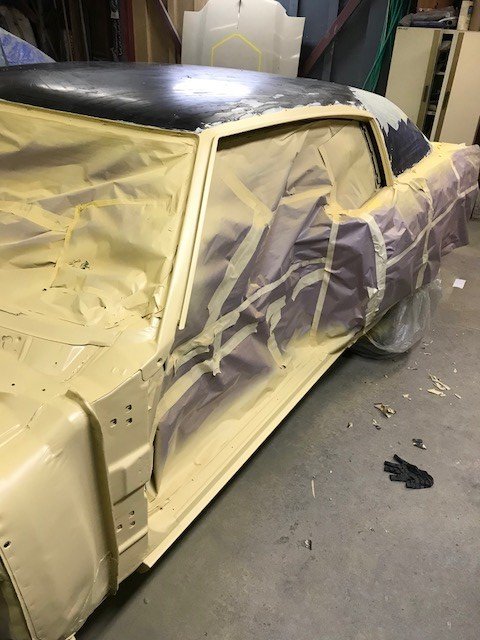
There is the hood primed , slowed down a little bit this week hurt the back and is impeding progress a bit but still trying to get stuff done. Finished stripping, sanding ,grinding, scraping and cleaning interior and got it primed. What a dirty nasty filthy rusty job and making sure to get all the sound deadener or cardboard crap out of roof and under support and around the perimeter etc.. Tonight I seam sealed the interior will let that dry overnight will hopefully get the inside painted tomorrow. Of course here are some pics. Thanks for looking. hood primed ready for lots of blocking Here is a couple pics of interior primed ..So much cleaner and fresher. Here is a couple pics after seam sealing it …
-
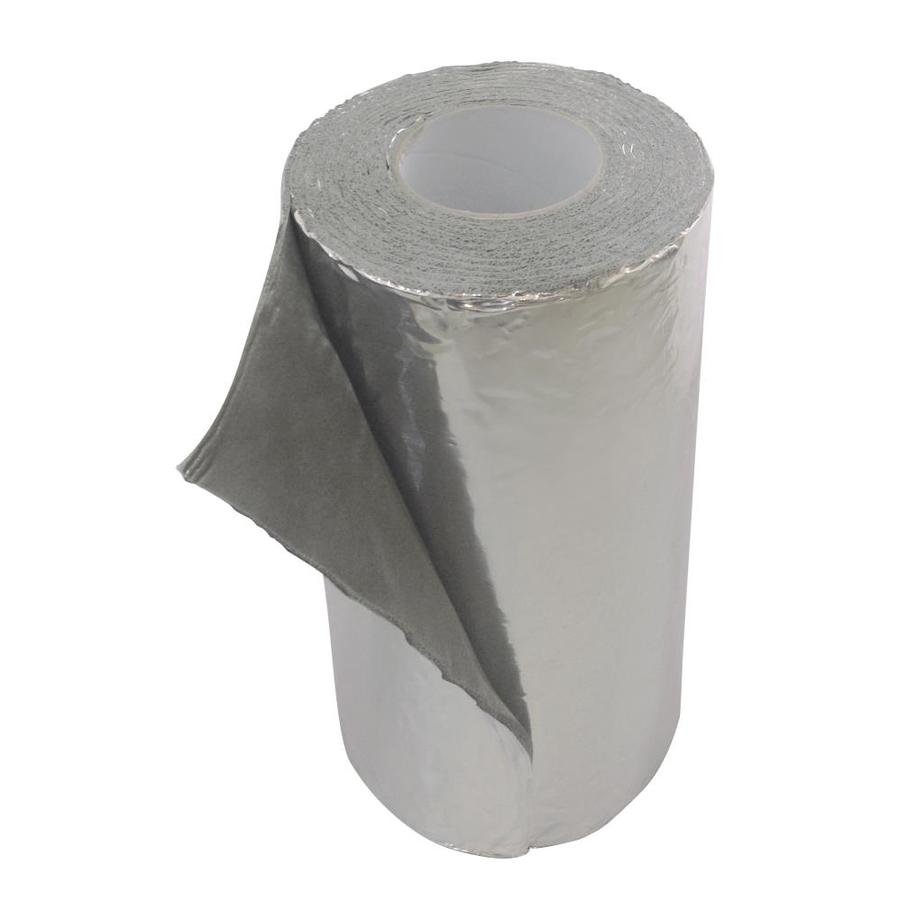
Guessing Steve may have used something like this ??
-
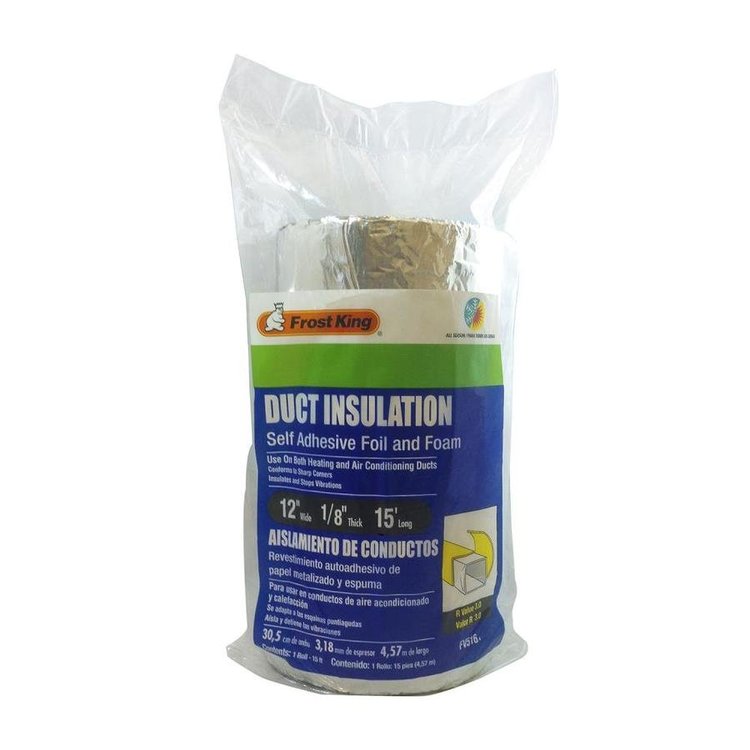
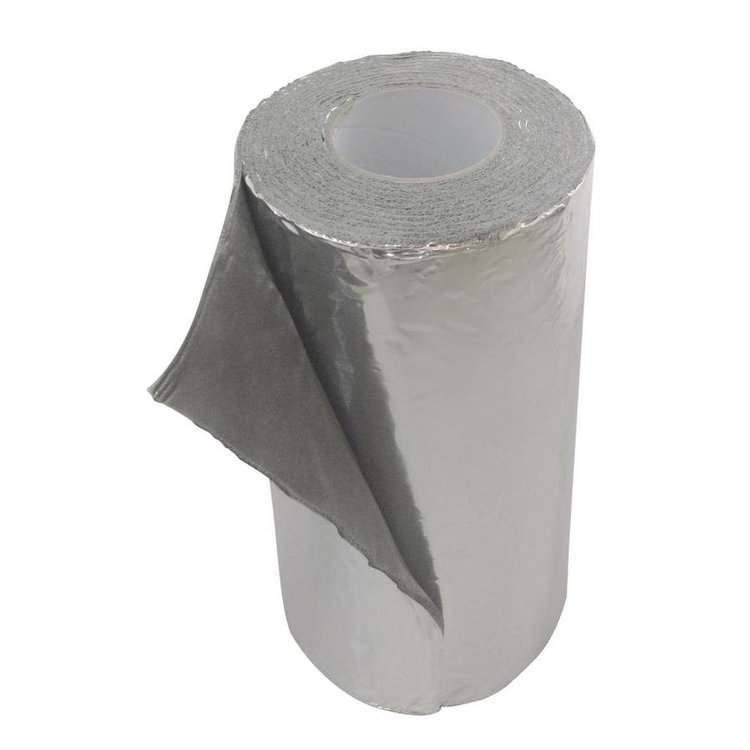
Charles , Here is the stuff I plan on using both at Lowes and Home Depot . About $19.00 Steve correct me if you used something else . Frost King 0.125-in Foam Plumbing Pipe Wrap Insulation

-
Awesome Steve I was hoping someone else did. Either way I am thinking it has to be better than the tar paper that came from the factory.
-
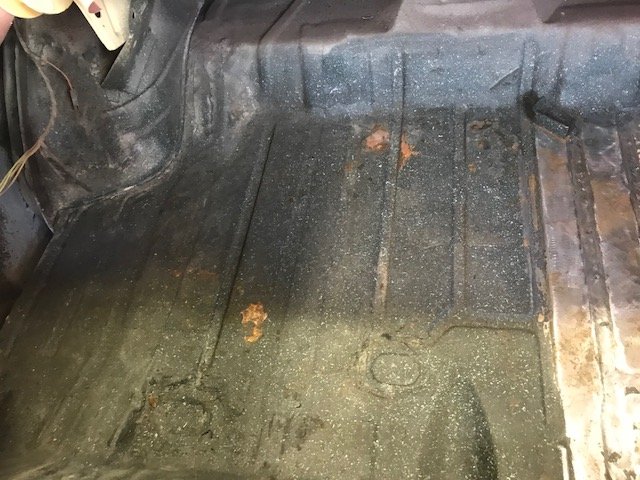
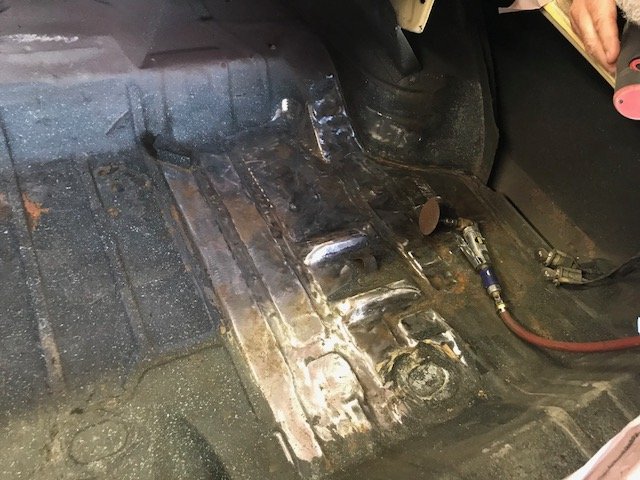
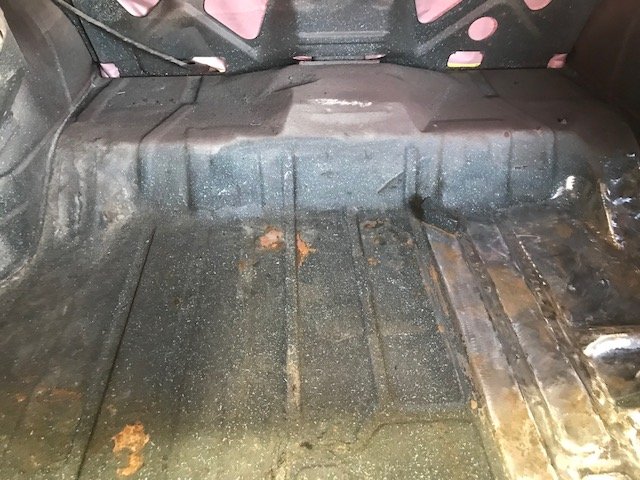
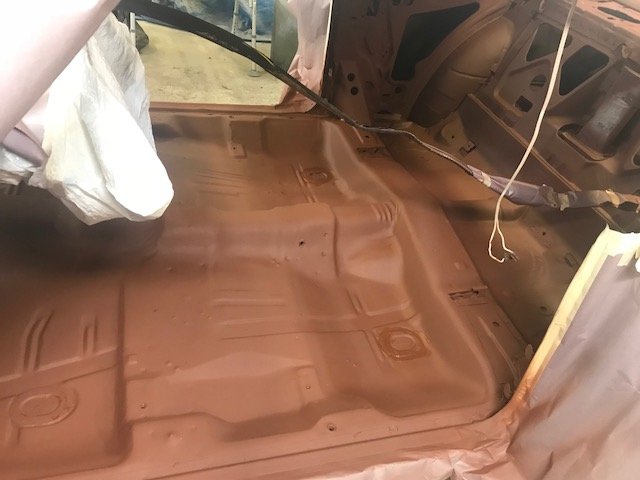
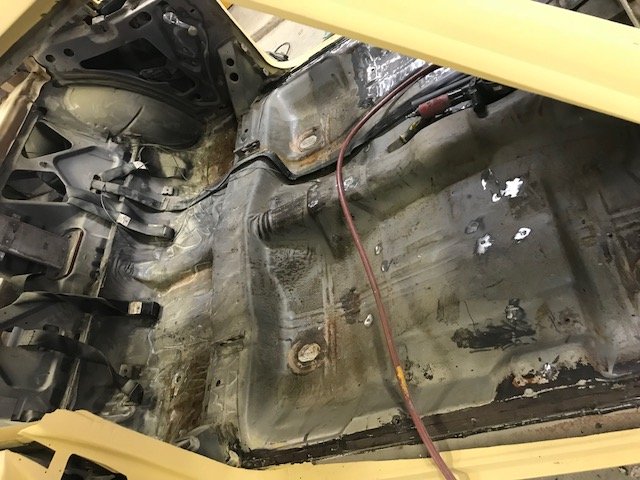
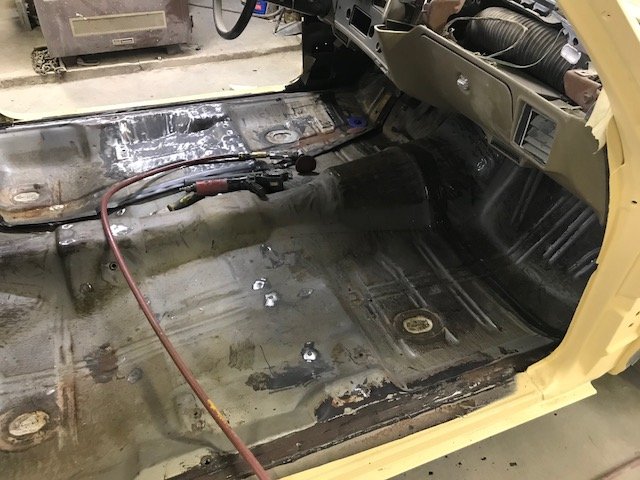
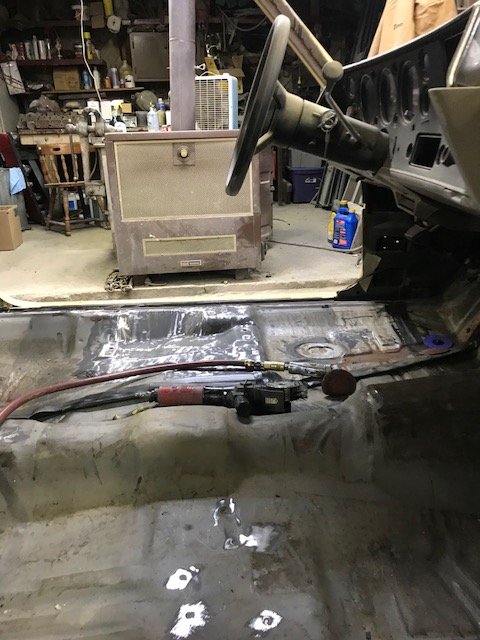
Here is a couple more updates and pics of progress. I feel like Its getting to the point where things are starting to slow down as far as obvious progress, because of the tedious stuff that is starting to get done. But here is what I have . Thanks for looking. Here is the one little spot of pinholes I found when finishing up fender after sandblasting, cut it out sand blasted and sprayed some high heat grill paint in there (no welding paint better than nothing) welded and ground. Second fender same kind of rust. Cut the brace out and have it welded in, will finish up outer skin when I get more sheet metal. Moved on to getting the hood sanded for now in pretty decent shape except for little ding in front took about 5 hours or so to sand these are why it took so long and all the edges, not a fan of using stripper seems to make more of mess. So just sandpaper and DA. Hood is now in primer forgot to take that pic, moved on to interior for now mostly cleared out Started sanding on the floor before I called it a day today , started with wire wheel ,but switched to 36 grit on angle die grinder . When I first started with wire wheel it took off kind of the greyish coating but there was almost looks like clean mill scale steel underneath which is probably why nothing from the factory stuck to it. Seam sealer comes right off in spots. Using the 36 grit to break through mill scale to rough it up and prime and paint, Will probably use rusty metal primer rustoleum and a coat of satin black rustoleum on the inside and should look good enough. Then add some noise deadener, going to try the frost king route or the like , stuff from home depot, lowes etc.


-
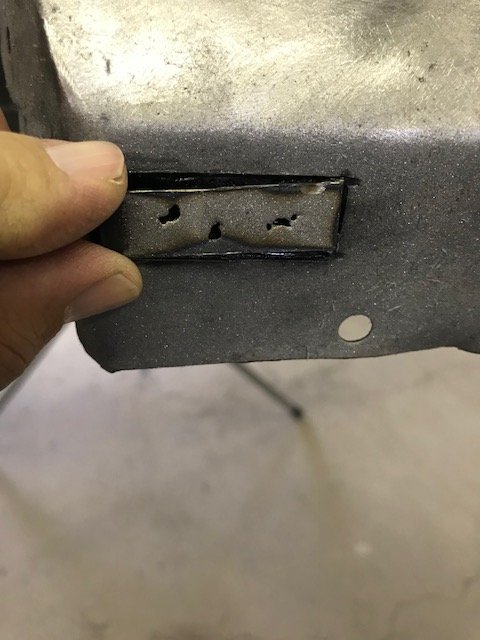
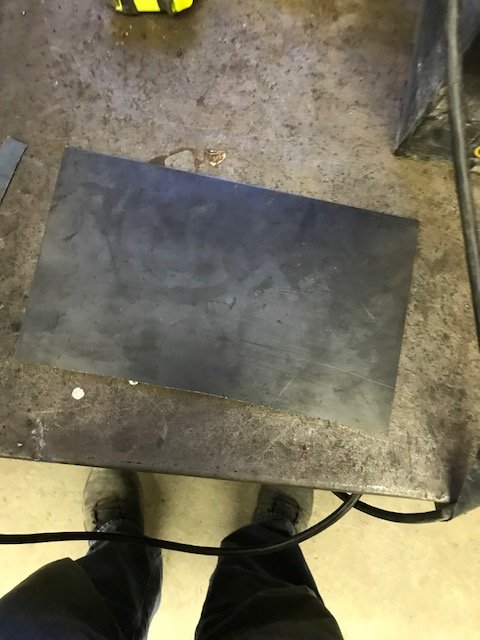
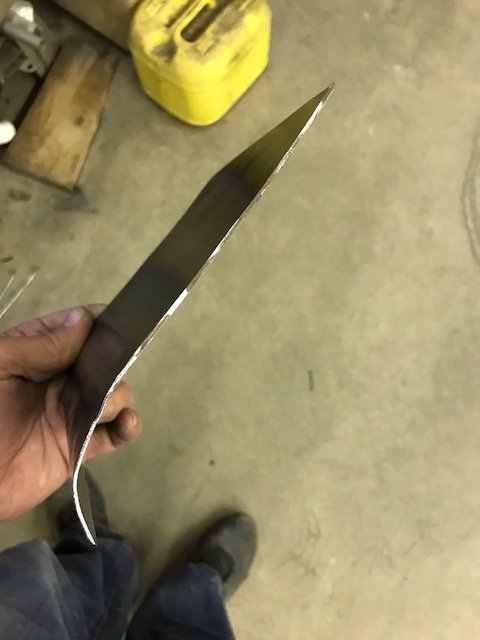
Just about finished with patching the driver fender need to fix one more small spot as I found some pin holes in the very bottom while sand blasting, will get the inside cleaned up and remove any surface rust there is. Made my patch tonight and got it welded in. Probably would have saved some time buying them but will probably save about $150 bucks or so for patches and brace shipping etc.. I may sound cheap but will use the money elsewhere and I do enjoy making them and getting the satisfaction out of making them. Here are a couple pics of patch. just some sheet metal I had coming to shape All welded in ready for a little filler

-
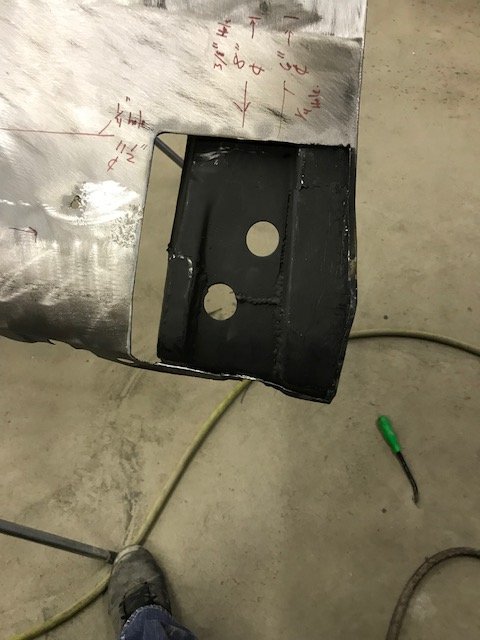
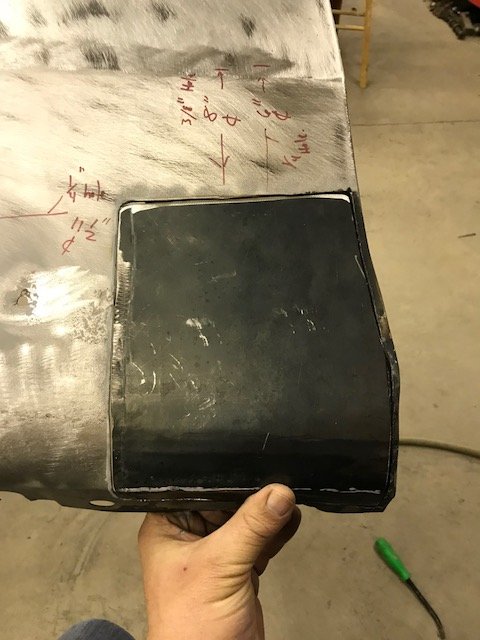
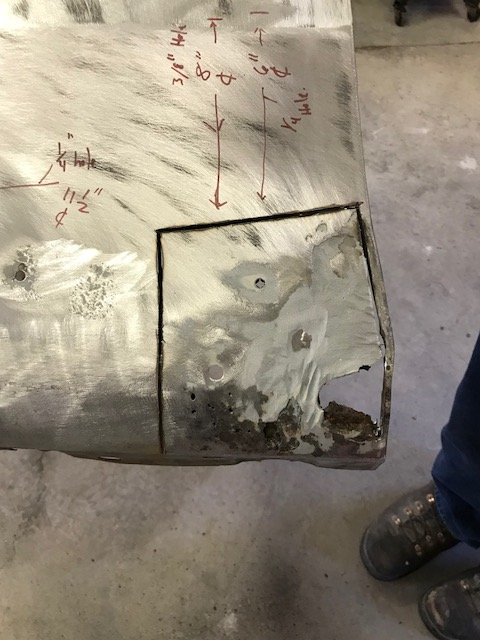
Haven't had an update in a bit just doing some sanding so not much to show. But have most if not all the seam sealing done in the first few pics . The others pics showing I have moved onto the front fenders. Drivers side sanded and mostly sand blasted. Cut out the rust on the fender and the brace is patched, hopefully patching fender tomorrow. seam sealed trunk lip and seam behind bumper cowl and driver jamb sealedcowl and passenger side , I will clean this jamb up, I liked how it came out better on the driver side, may look more factory this way but like it better neater. seal jamb under drip rail, also did the top but no pics of that yet must have forgot to take them cutting out the rust, driver fender, just wrote down some measurements for the trim holes that disappeared. cut out skin, sandblasted, cut out brace rust and patched the brace brace all done will patch the skin tomorrow hopefully.


-
GREAT!! thank you so much for your efforts.
-
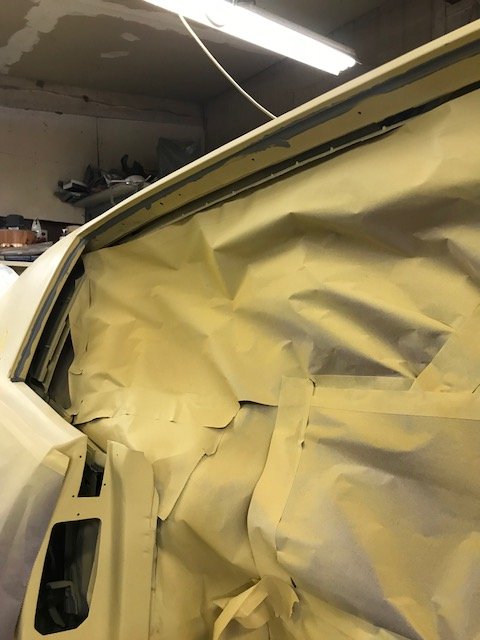
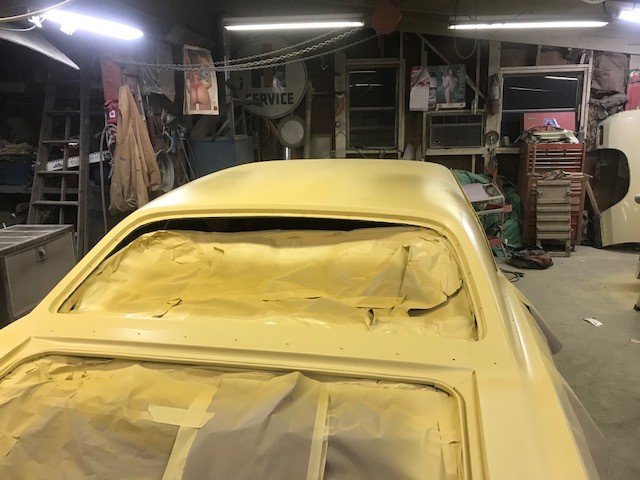
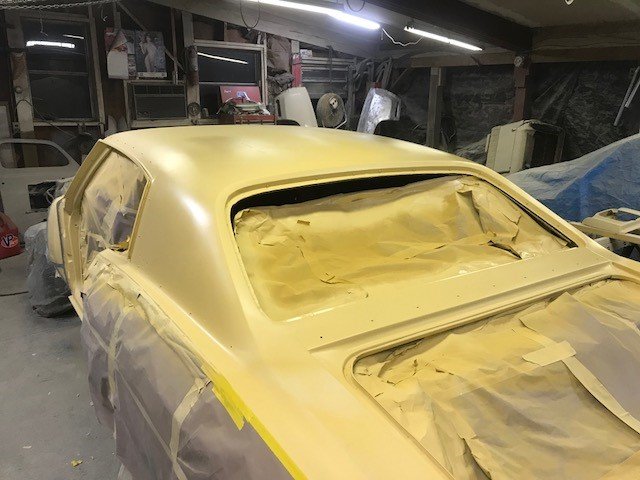
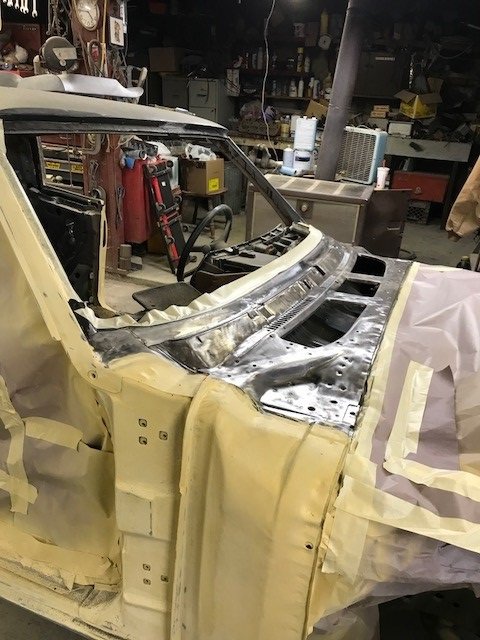
Thank you .. just got back on track after stripping the roof all back down again right down to the seams cleaning window channels again. Used zero rust under the filler and the primer and it lifted , didn't trust it any more so I took it all back out. A couple days of rework, but feel better about it now got the roof reprimed tonight and started a little seam sealer.Hopefully back on track now , a couple more pics.
-
Almost have it all primed , most of the blocking done , then onto the front fenders and hood. A little setback when we primed the roof. I used zero rust on the roof probably applied it a month and a half ago and when I primed over it, it lifted. Wont be using that again. Scraped it all off with razor blade. Will be removing all the filler where the quarter meets the roof because I believe it is under there also. Also around the rear window and the top of windshield . Not taking any chances now, will stick with what I know was trying something different. Will probably end up priming sealing and painting and putting vinyl over that.
-
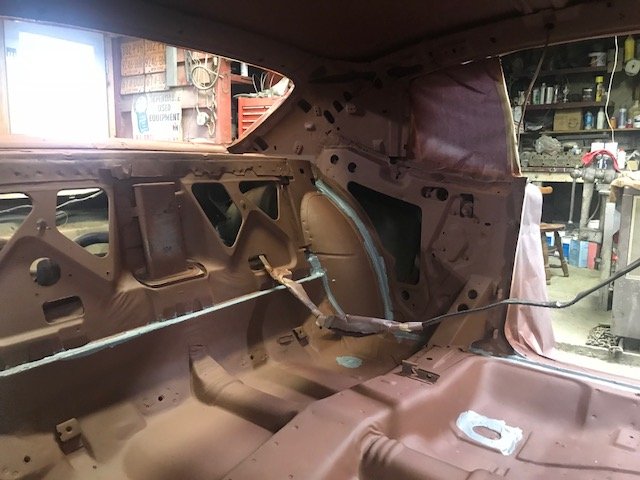
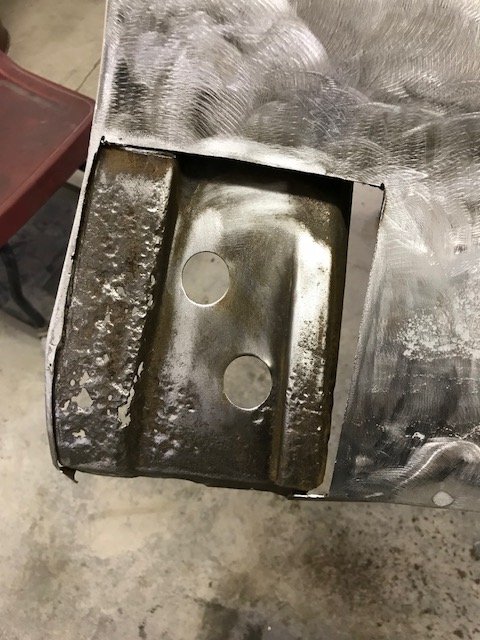
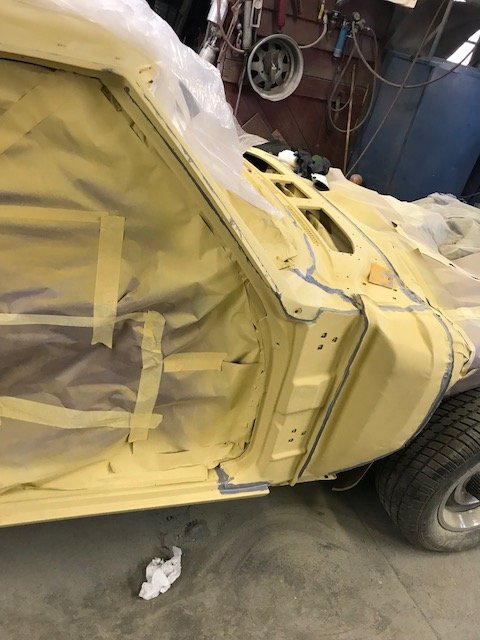
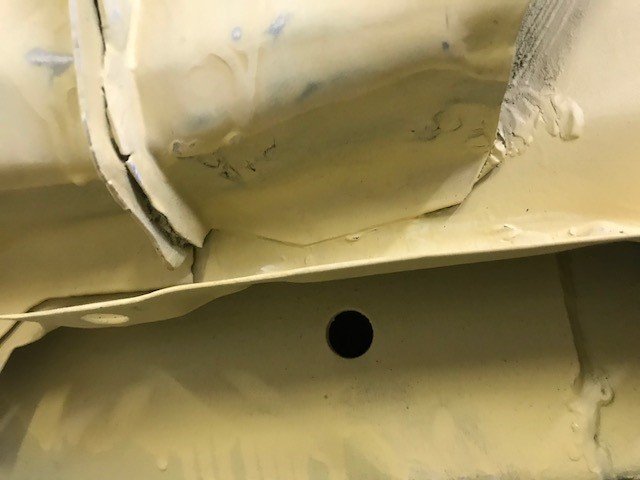
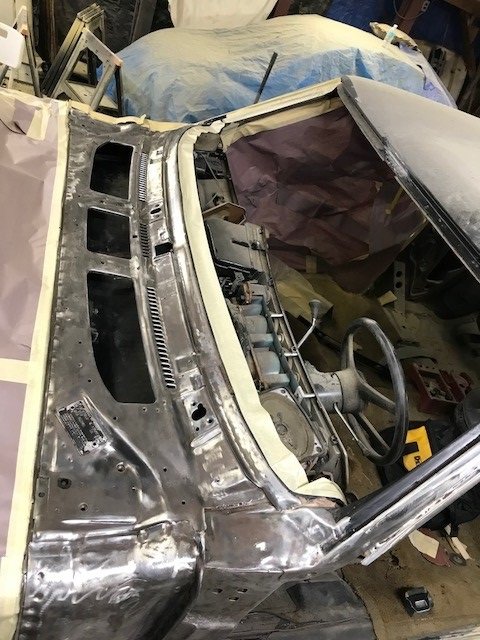
Took some pics today of passenger side cowl no plug on that side , but you can see from the front there is quite a gap that water could escape from, but I believe that should have seam sealer in there that I may have cleaned out other than determining if and where there should be a drain hole in the cowl , cowl is all stripped will scuff and prime tomorrow(Saturday)
-
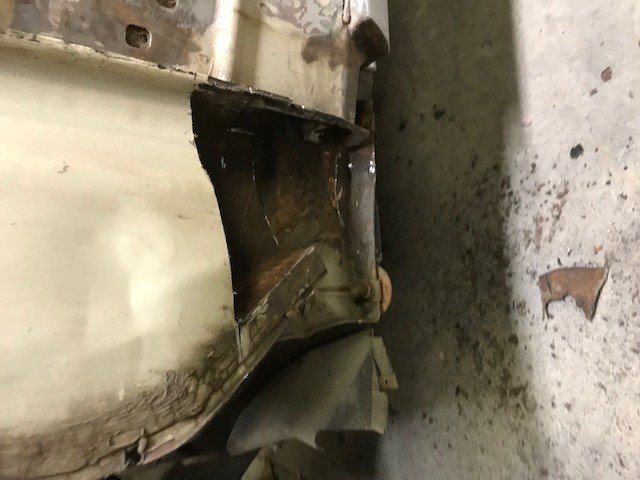
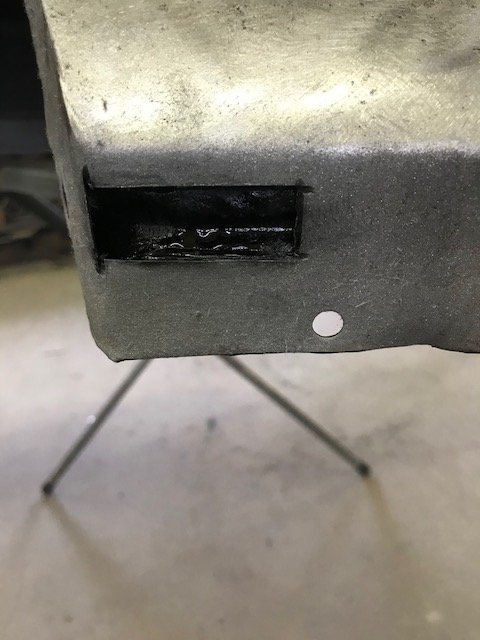
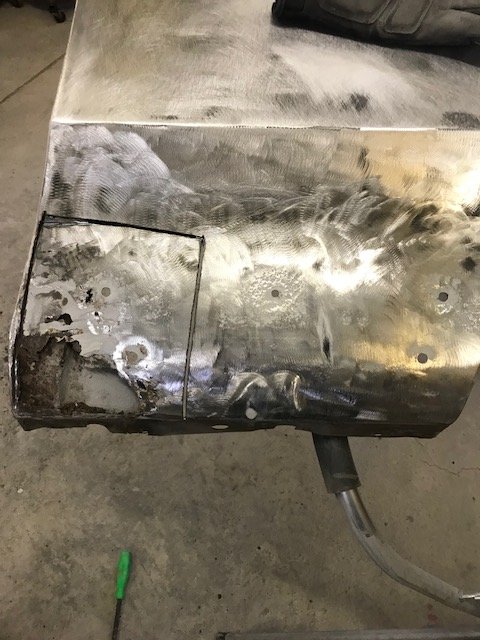
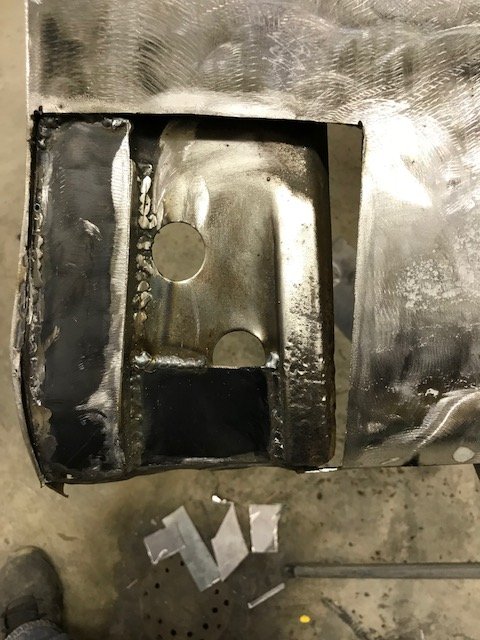
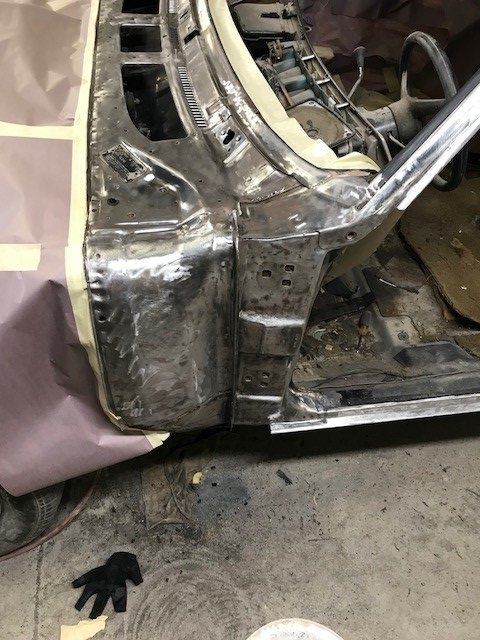
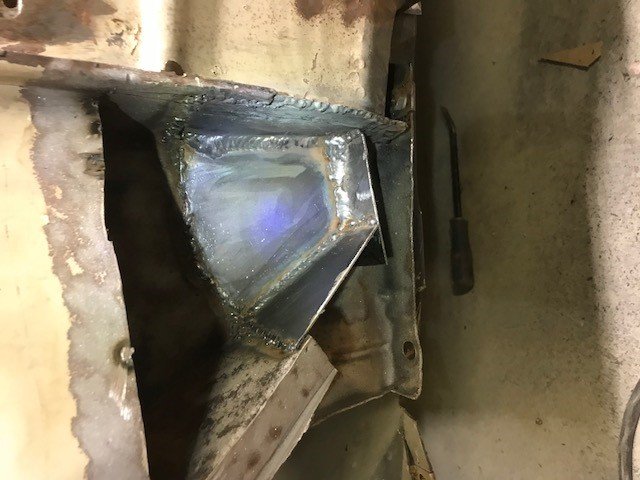
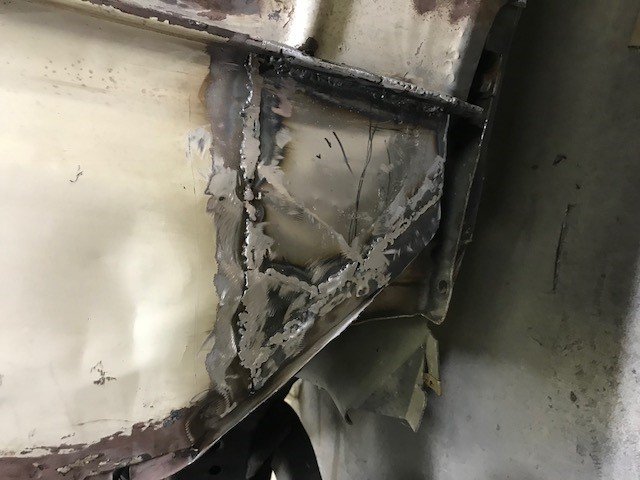
Yes James, I am wondering now if I should have just did frame off, but someone did a decent job before cleanest bottom side of the floors I have seen and are painted the body color of the car and frame real clean. As far as the grommets in the cowl checked both sides don't see any rubber grommet. I will check again and can take a pic of passenger side . Short of where the seam sealer should go there is no opening that I can see. I will want to put something in there though to let water drain out if I get caught in rain or wash it etc . but you are correct Steve it wont see any weather or tree droppings again. It actually does have new vent covers so someone did replace after all that crap got in there I guess. Anyway more pics below of the work tonight ,cut out some more sandblasted and more or less finished up my surprise find in the cowl. Sandblasted and found a little more . Just a little and cut that out too welding in the patches Pretty much finished will prime, seam sealer and dress it up better than factory even though you wont really see it I will be able to sleep knowing that more corrosion is gone .


-
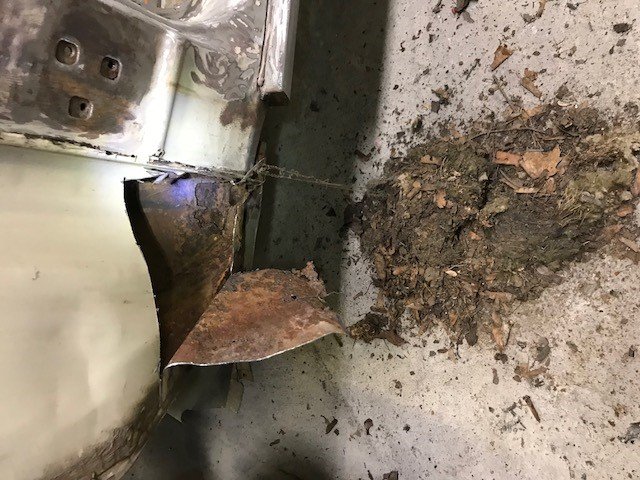
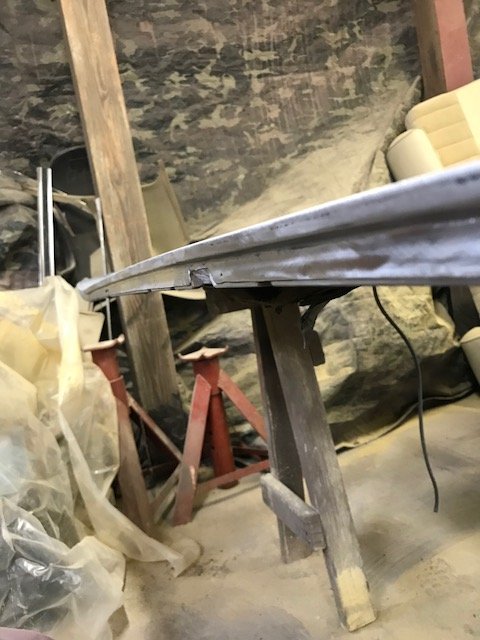
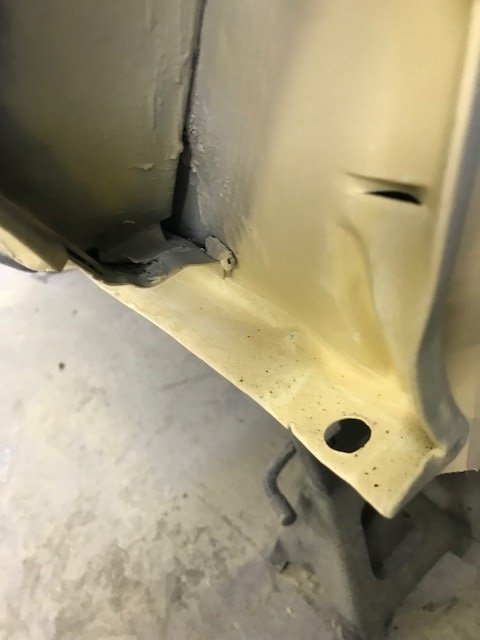
Thanks again all .. and Steve just looked up the Syracuse Nationals , would love to make it there and hopefully have it done by then. So a couple more pics digging into it tonight and some questions .I found there was a old mouse nest and leaves etc..in the cowl and rotted the cowl out, cut it out will sandblast and patch it. My question is does anyone know if there should be a drain hole there at the bottom ? Neither the passenger side or this side looks like it drains and seems like it should . Thanks for the help. Look what I found. cut out the bad the rest is solid will sandblast and patch. Good news its behind the fender on the cowl so no major body work