72RustBucket
-
Posts
159 -
Joined
-
Last visited
-
Days Won
1
Content Type
Profiles
Articles
Forums
Gallery
Events
Everything posted by 72RustBucket
-
What did you do to your Monte Carlo today?
72RustBucket replied to Canuck's topic in General 70-72 Monte Carlo Forum
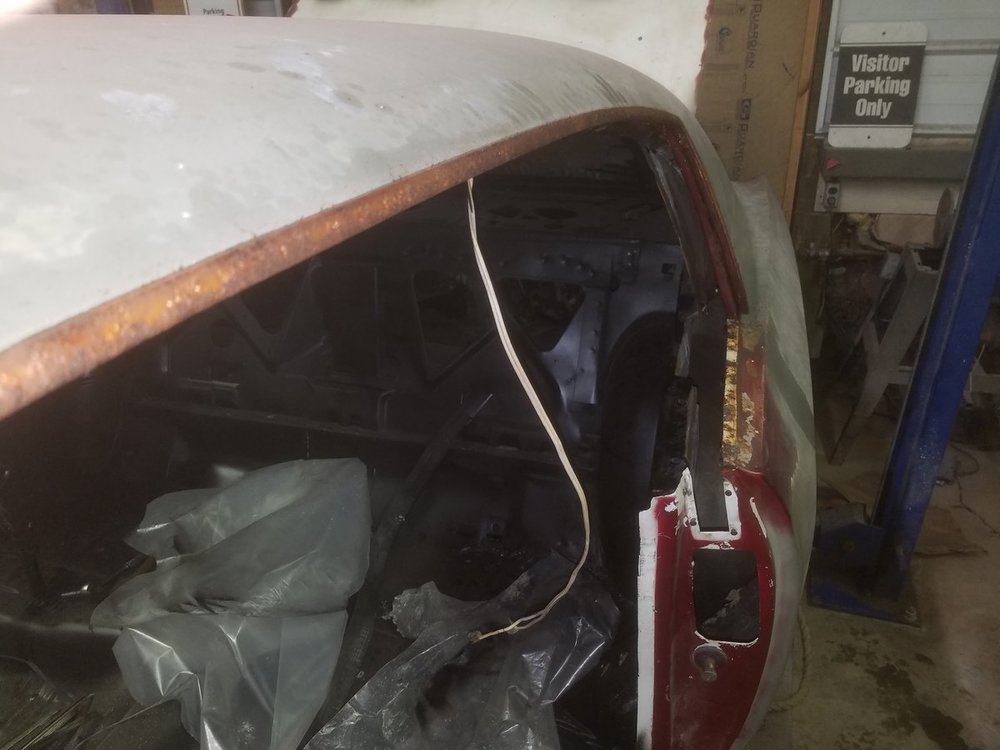
Got doors pretty much stripped, just need another once over. Removed weather stripping surround, quarter glass on both sides. Also removed drip rail molding, used wood block method with great success. Started stripping jambs. Took the 4l60e off the LT1, swapped in th350 to avoid crossmember and drive shaft issues. Engine is sitting in the car, hoping to get new mounts tomorrow and get it secured.
-
What did you do to your Monte Carlo today?
72RustBucket replied to Canuck's topic in General 70-72 Monte Carlo Forum
I did a thing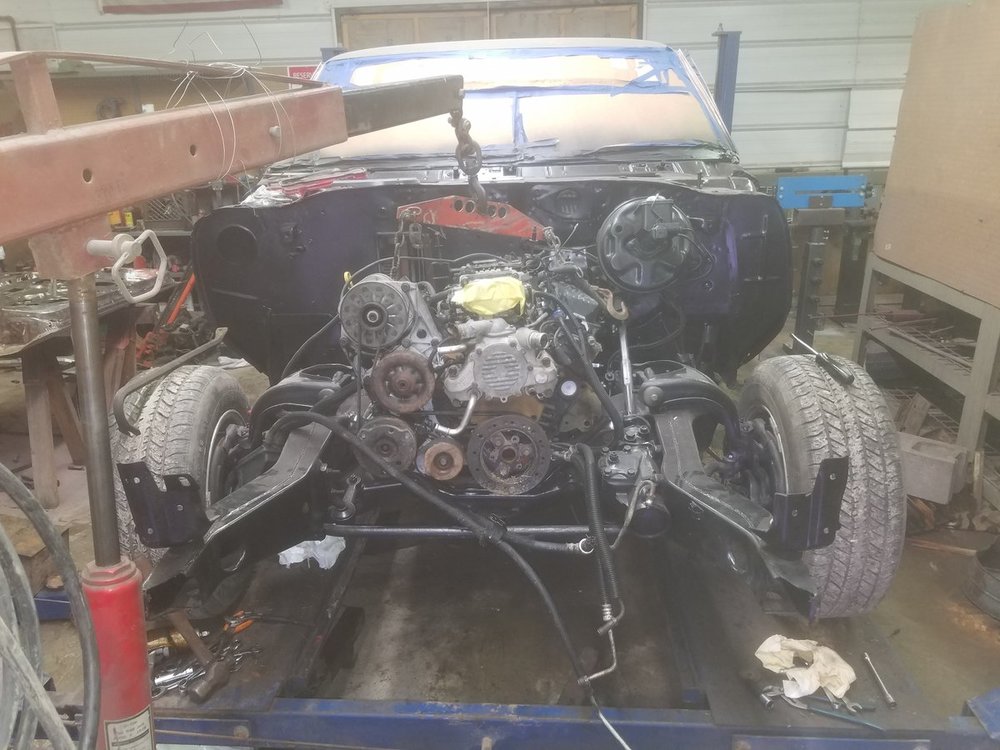
-
What did you do to your Monte Carlo today?
72RustBucket replied to Canuck's topic in General 70-72 Monte Carlo Forum
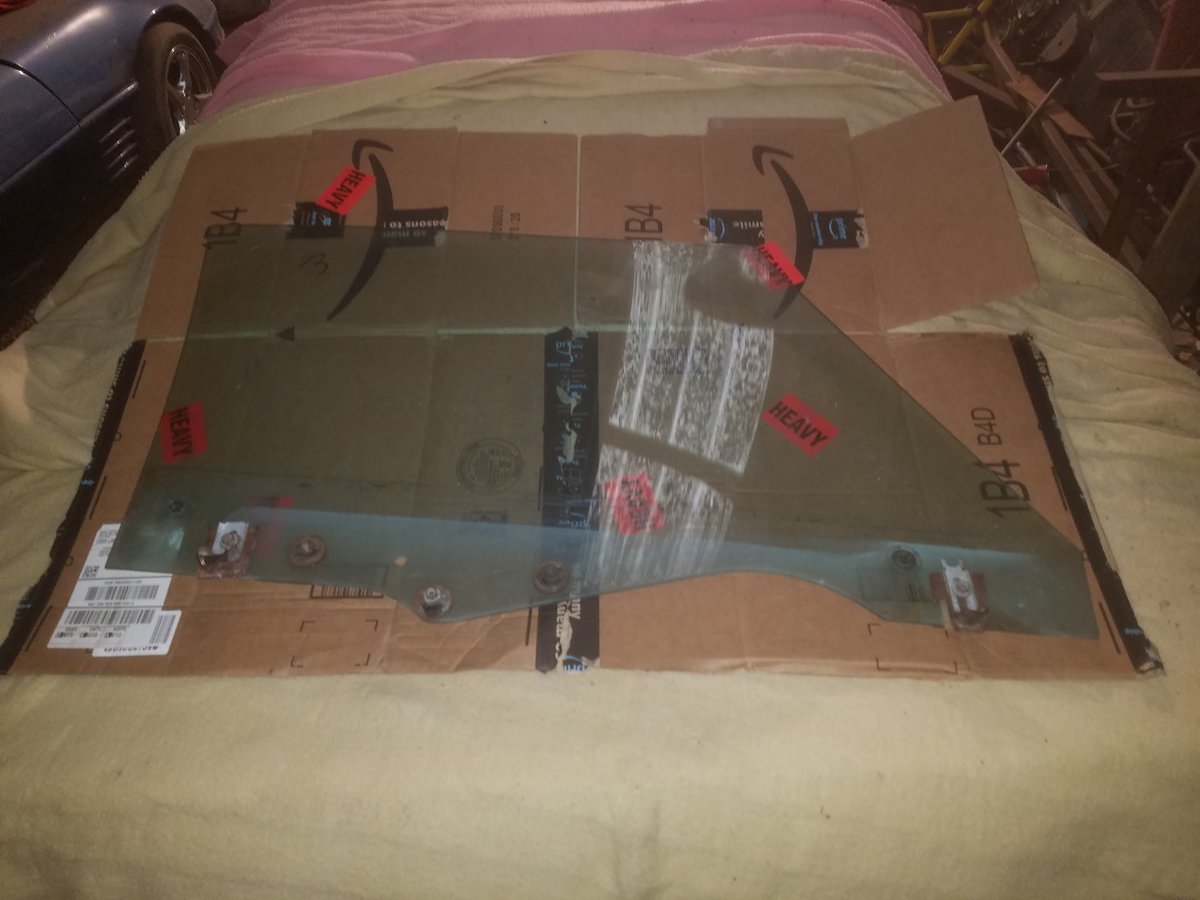
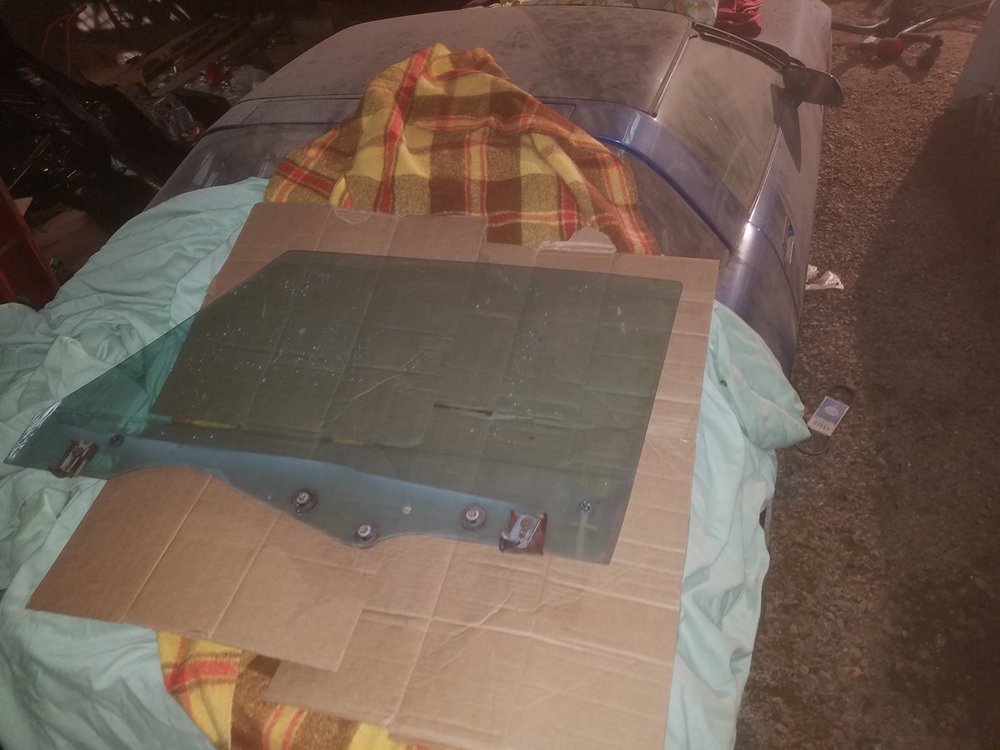
Glass is out, handles off. Doused all the internals in penetrating oil. They seem to be in good working order, so they shouldn't have to come out. Next step is to strip them...and probably find a better storage space for glass...definitely going to get talked to if I leave it here!
-
What did you do to your Monte Carlo today?
72RustBucket replied to Canuck's topic in General 70-72 Monte Carlo Forum
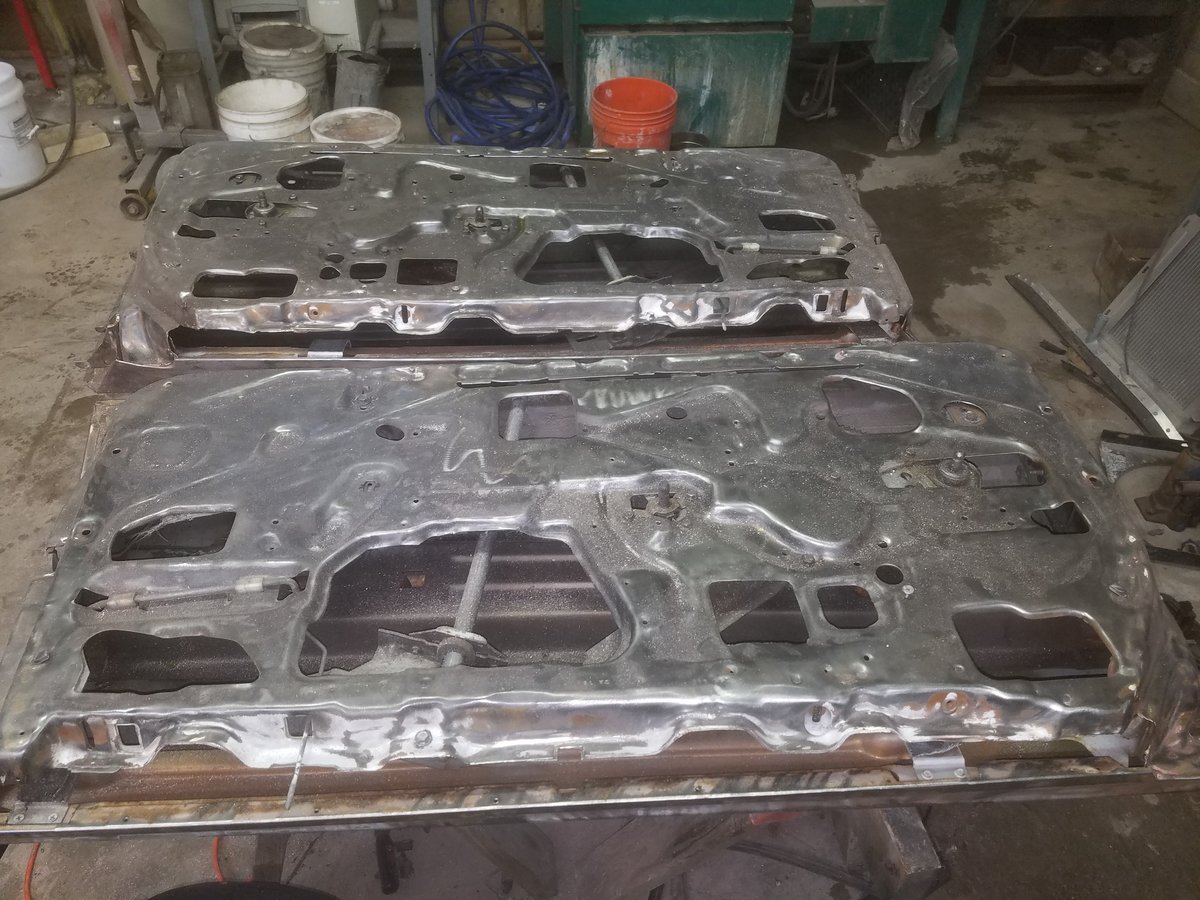
Its door time! Took them off by removing hinge pins and roller...hopefully I can get them back on without taking off the hinges! Next up is stripping them, filling trim holes, and any work on the internals that need to be done. I know for sure the drivers window is all out of whack.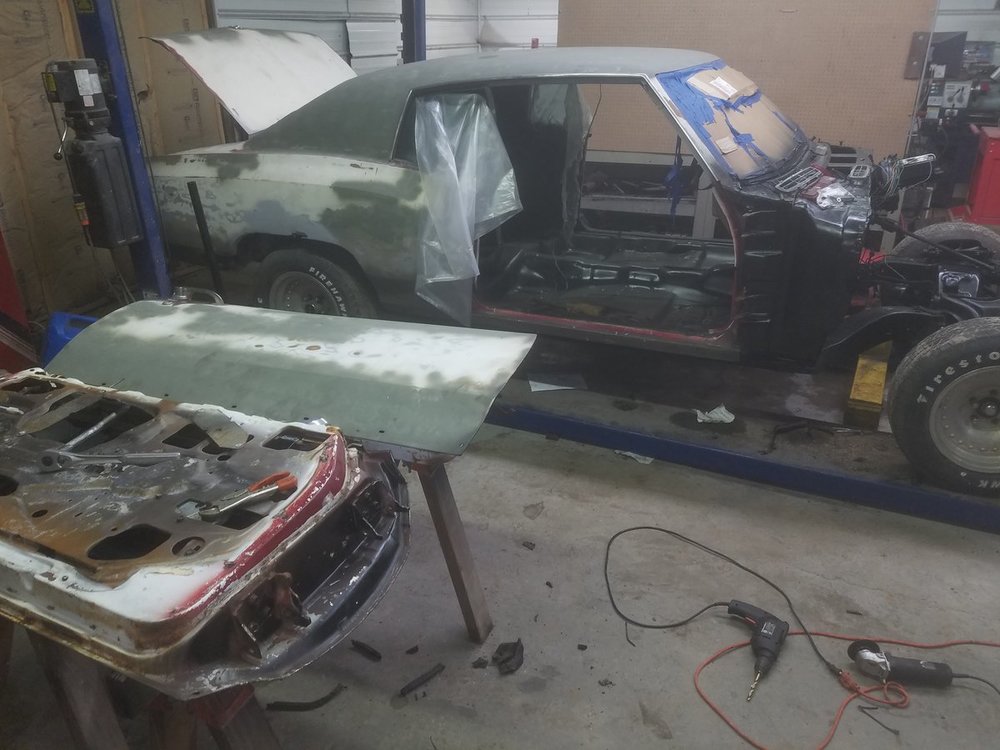
-
What did you do to your Monte Carlo today?
72RustBucket replied to Canuck's topic in General 70-72 Monte Carlo Forum
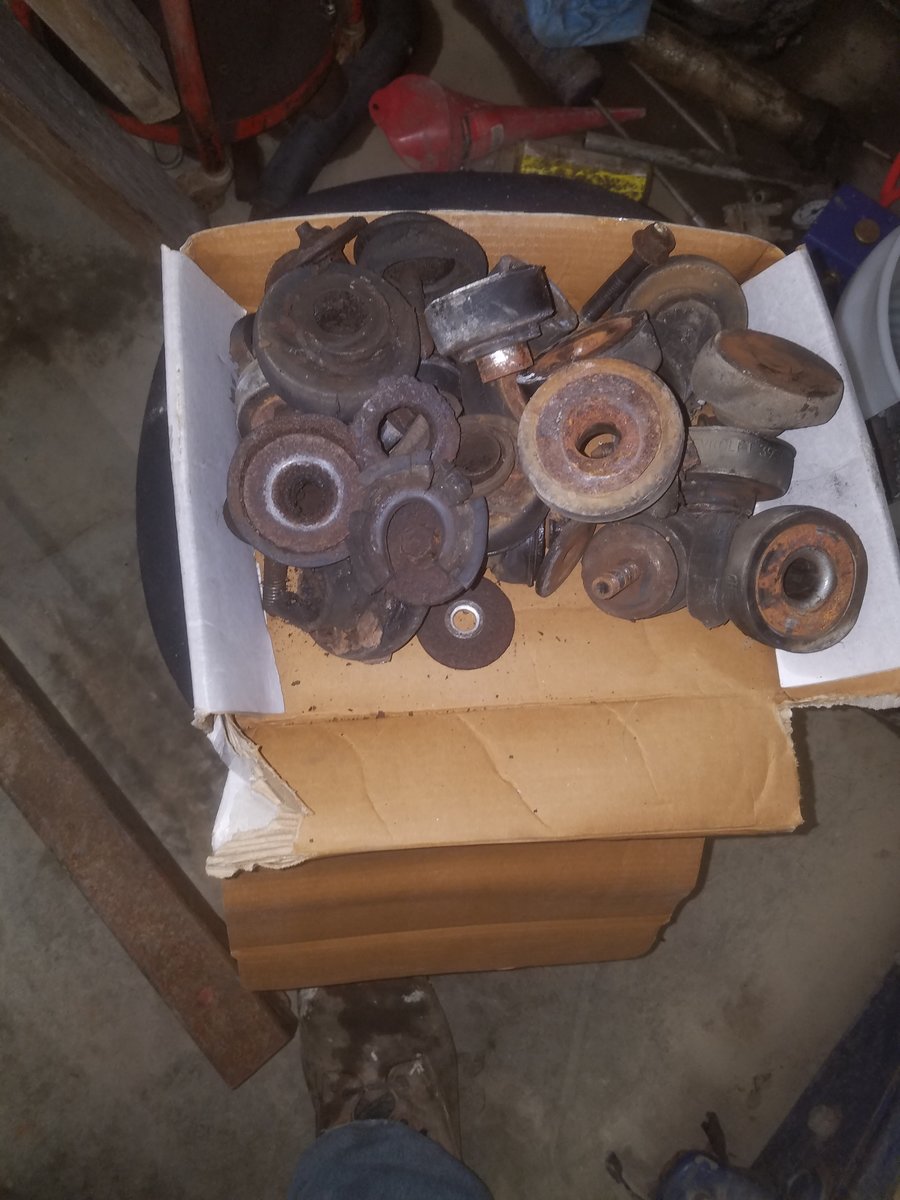
Replaced body bushings today. It went...ok. The firewall bushings fought me a bit...I also think I was short a couple bolts and washers...not super happy about that. Also, drivers side under door...the old bolt broke flush with the cage nut...didn't have anything long enough to drill and extract so its just sitting in there, held in by the other bushings.
-
What did you do to your Monte Carlo today?
72RustBucket replied to Canuck's topic in General 70-72 Monte Carlo Forum
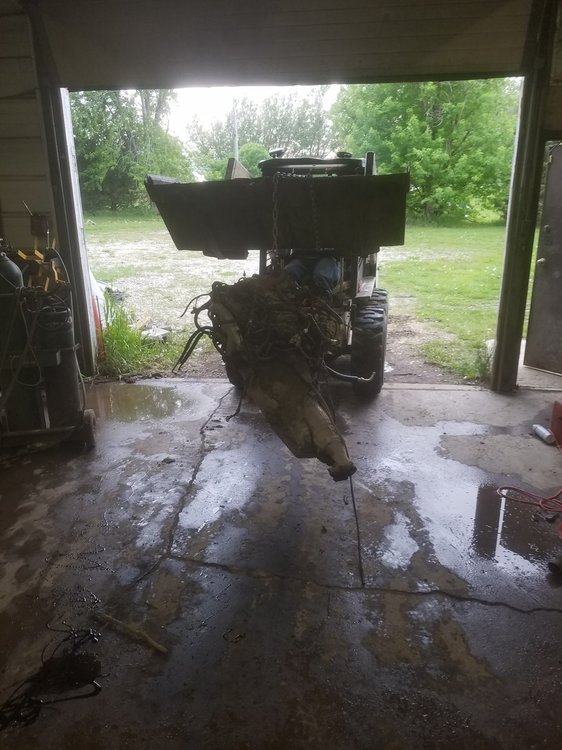
Not really something I did TO the monte, but more what I did FOR it. The donor went under the knife, and after a lot of cussing, we got her out. I tell you what, it didn't want to come out! Grandpa said he's pulled 1000s of engines, and nothing has pissed him off this much!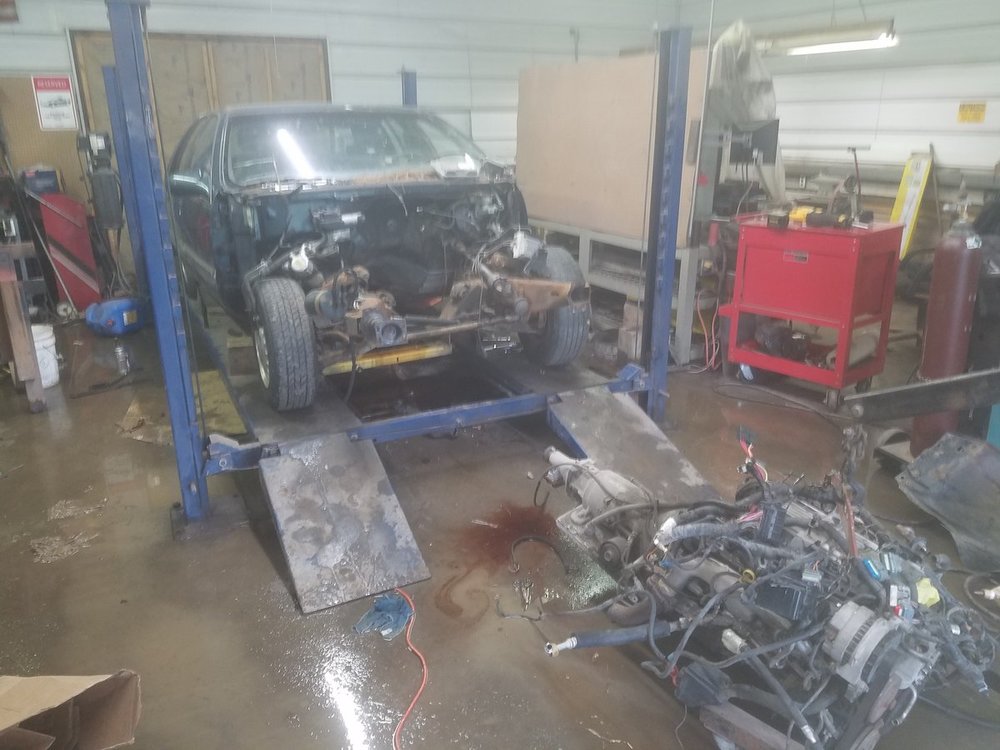
-
What did you do to your Monte Carlo today?
72RustBucket replied to Canuck's topic in General 70-72 Monte Carlo Forum
Thanks! I brought this up with my grandpa (shop supervisor). I'll be putting white in later. -
What did you do to your Monte Carlo today?
72RustBucket replied to Canuck's topic in General 70-72 Monte Carlo Forum
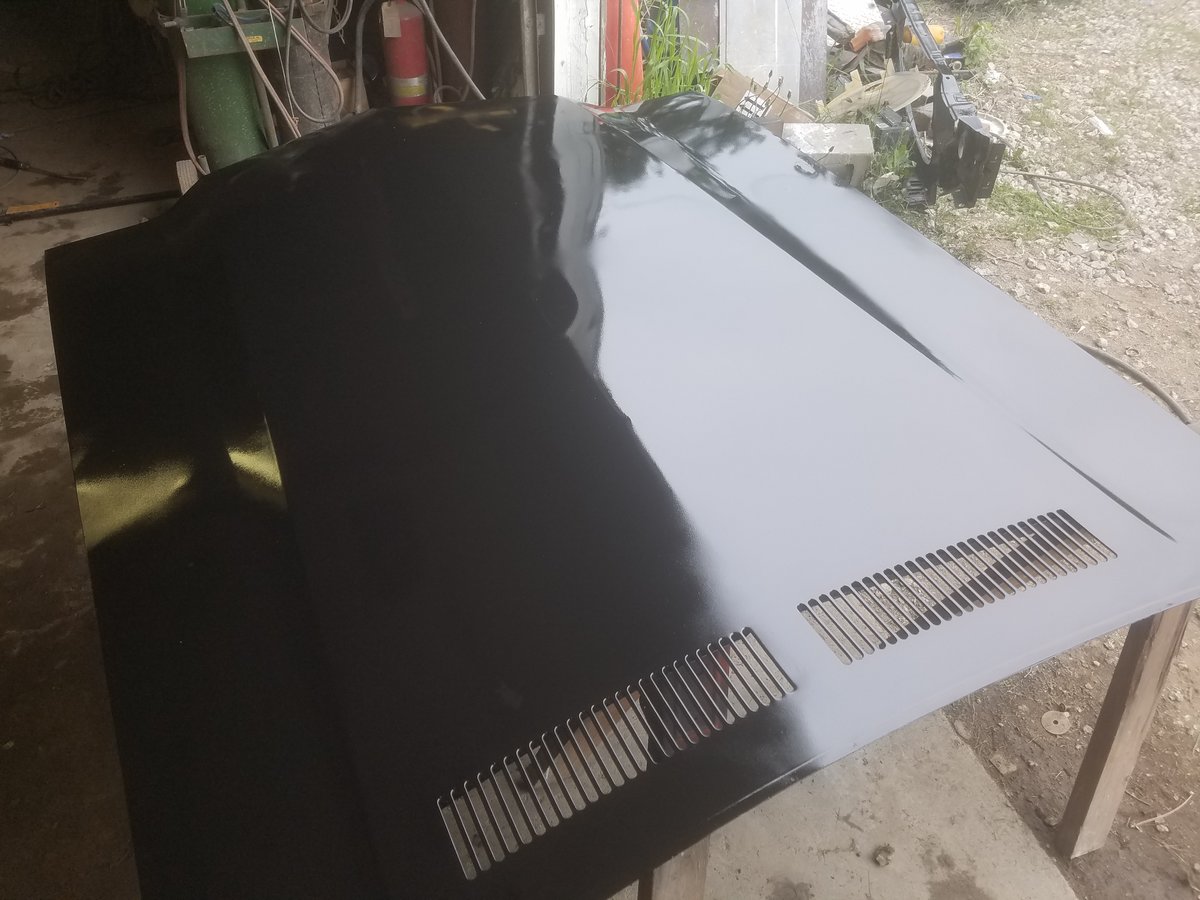
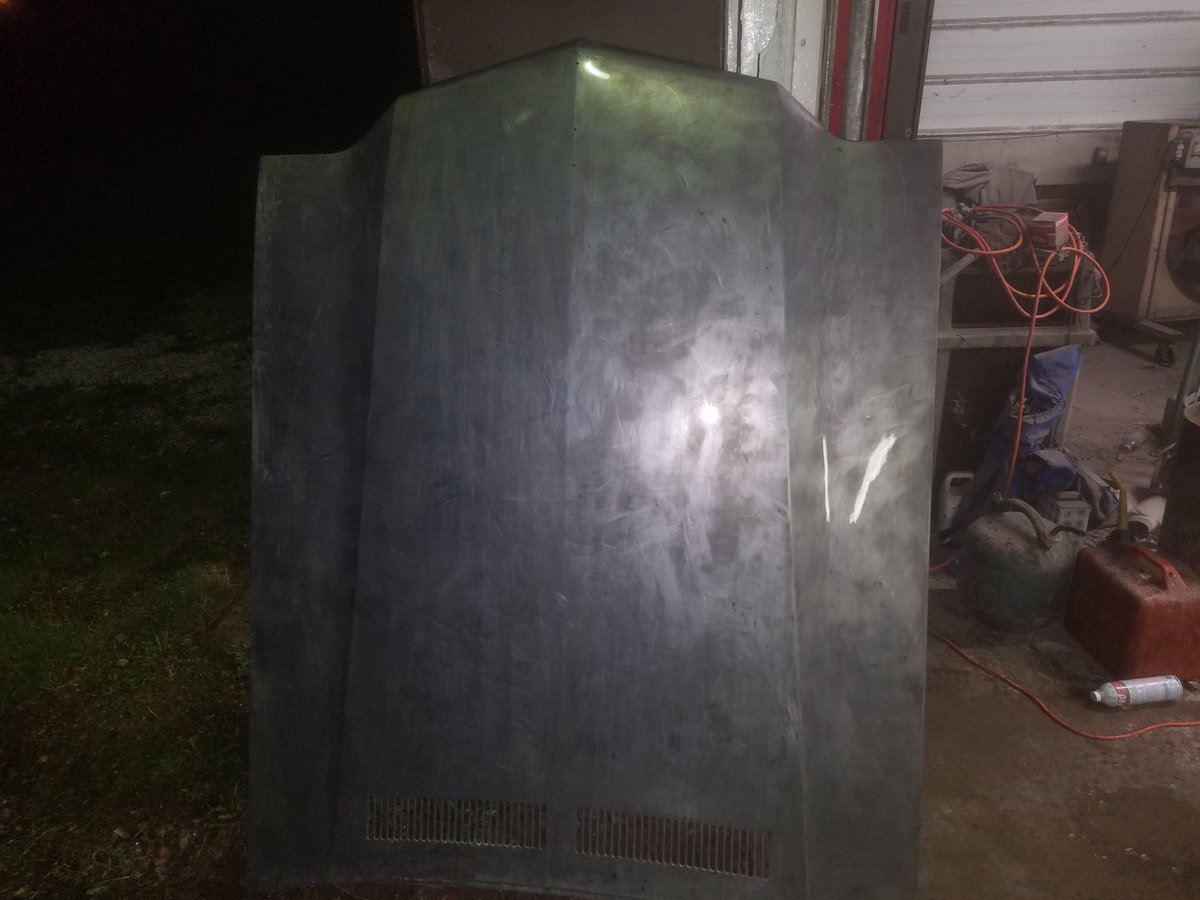
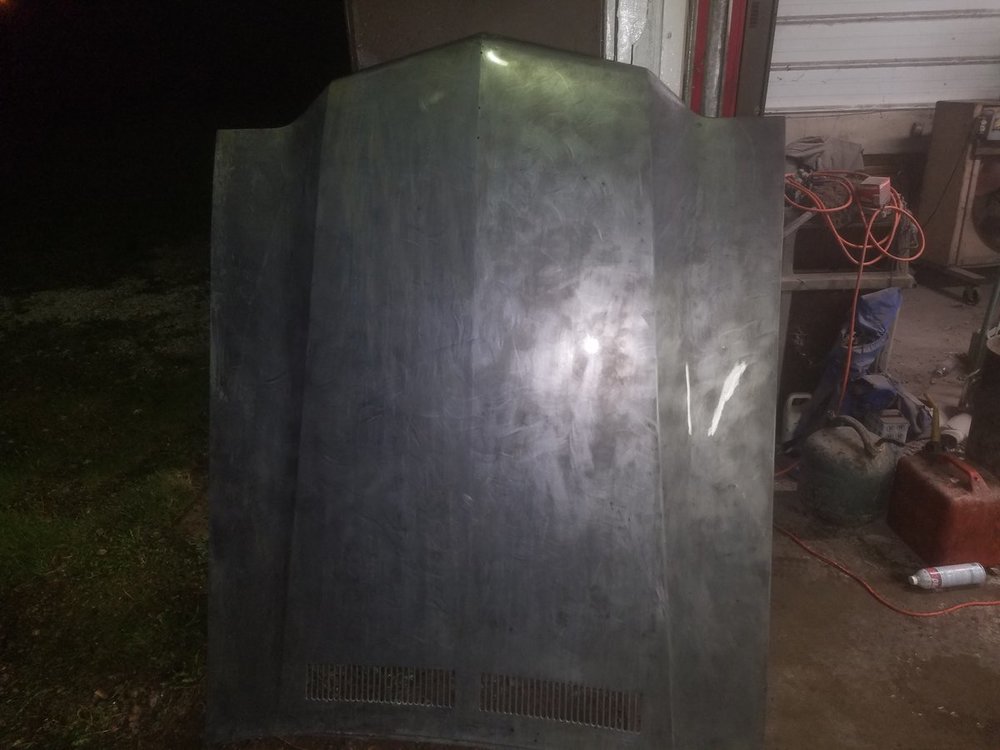
Got some primer on the hood, both sides. Also got extensions.

-
What did you do to your Monte Carlo today?
72RustBucket replied to Canuck's topic in General 70-72 Monte Carlo Forum
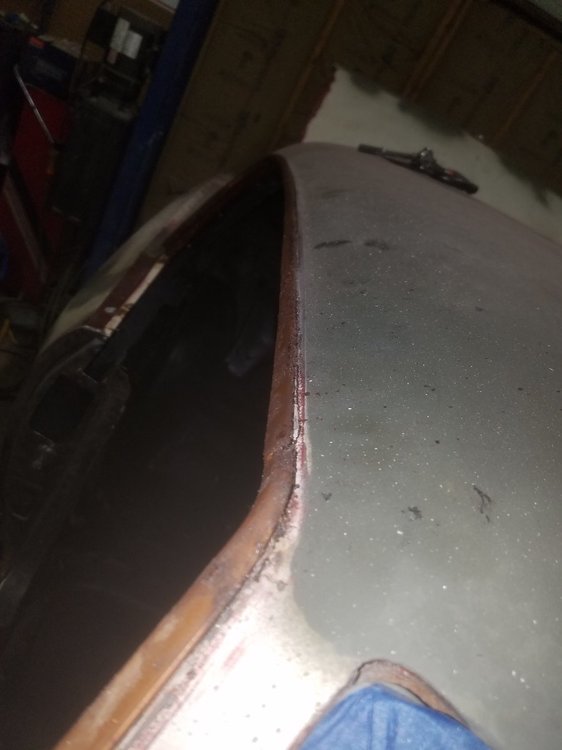
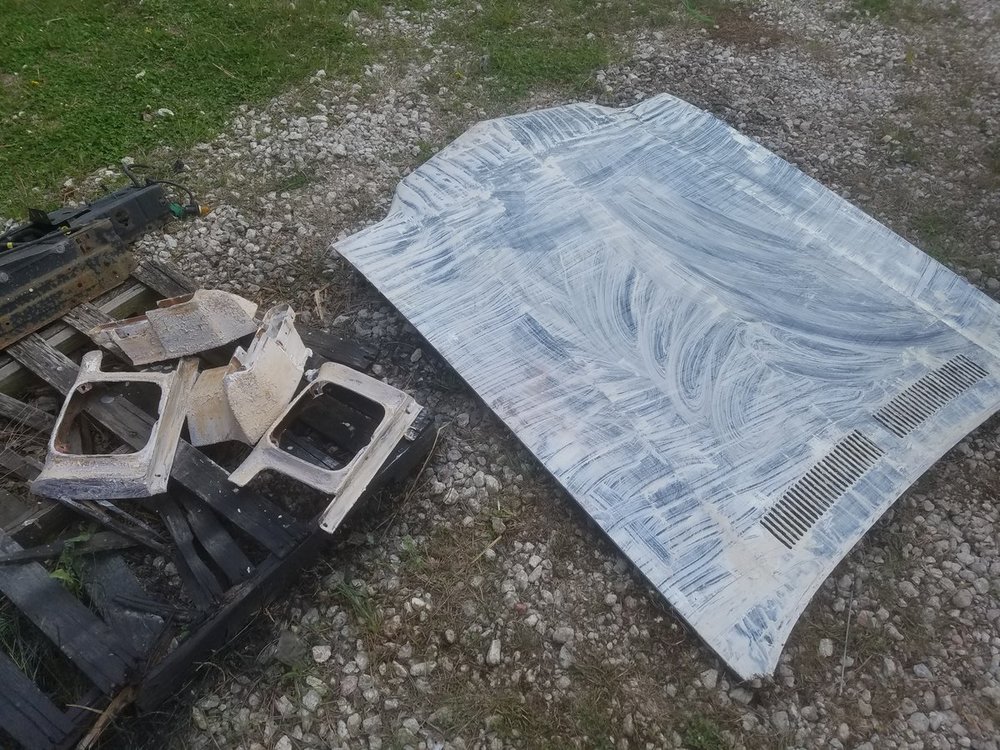
Got the hood stripped, treated, and neutralized. Should be able to put primer down soon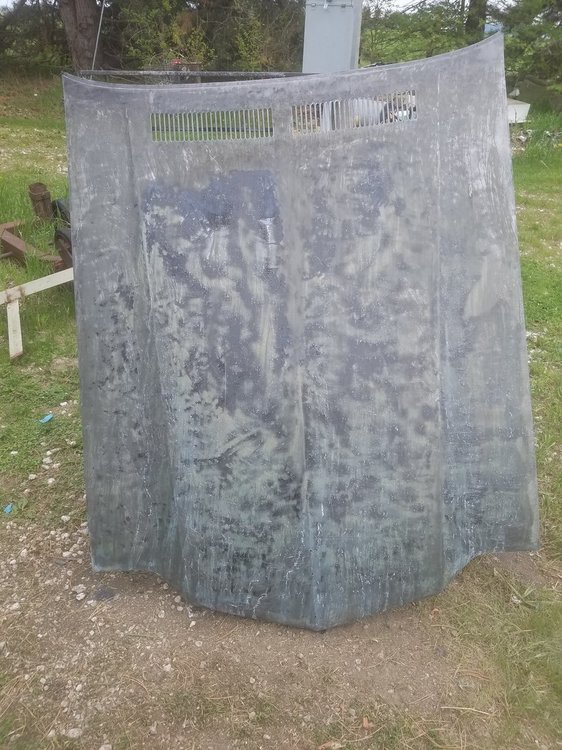
-
What did you do to your Monte Carlo today?
72RustBucket replied to Canuck's topic in General 70-72 Monte Carlo Forum
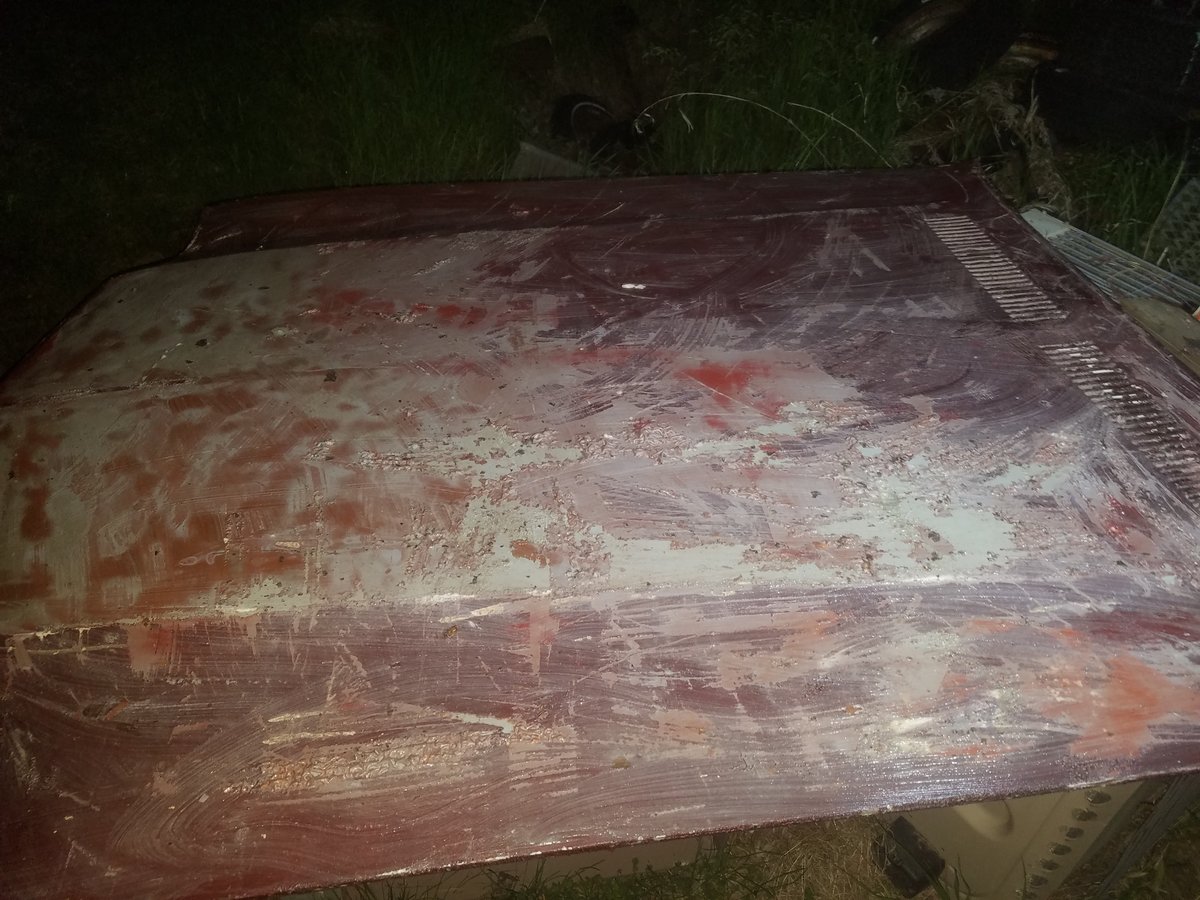
Found a really old can of stripper hiding in the shop today. We decided to see how effective it was for being so old. Tried it out on the hood...worked pretty great!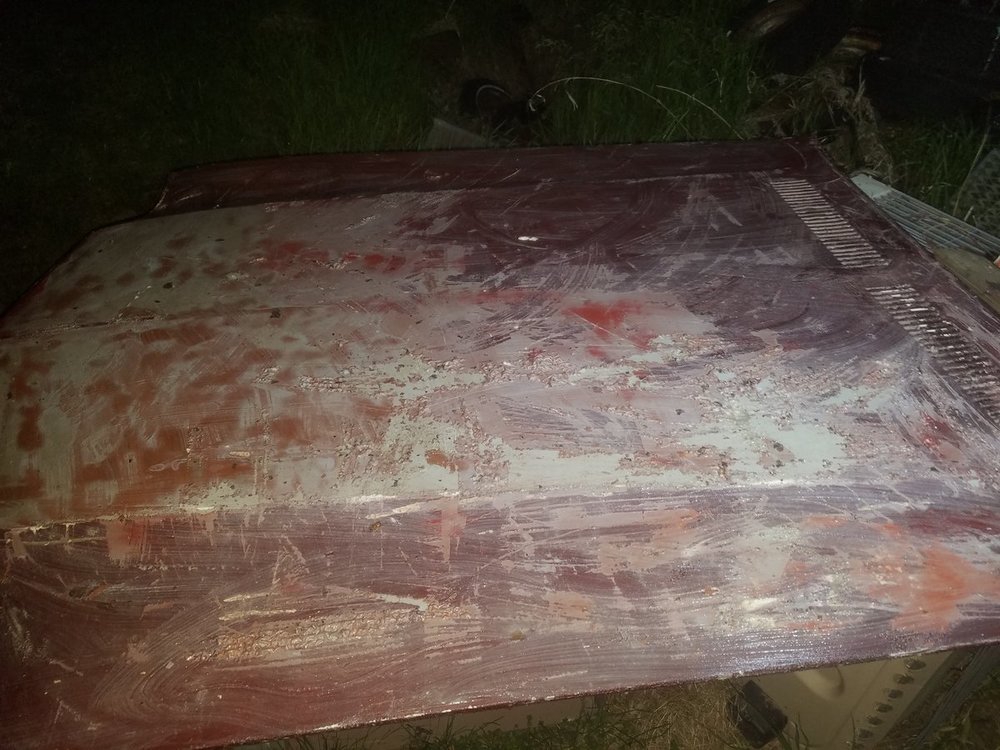
-
Hello again! Just looking for recommendations on the best procedures for replacing pins,bushings, detent rollers on the door hinges. I bought the kit from inline tube that should be good for all 4 hinges. Mine aren't the worst, but if I'm replacing one pin or bushing, might as well do them all! I know realigning doors can be a nightmare...I'd like to leave as many bolts in place as possible so it's less of an issue.
-
What did you do to your Monte Carlo today?
72RustBucket replied to Canuck's topic in General 70-72 Monte Carlo Forum
Fenders and core support are in epoxy now!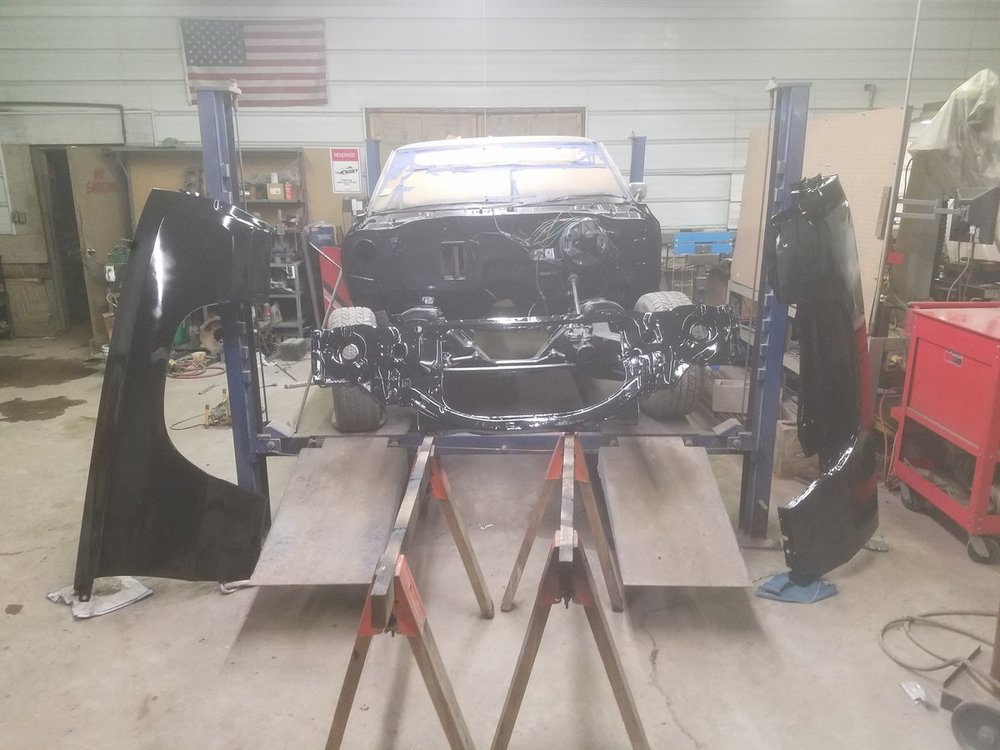
-
What did you do to your Monte Carlo today?
72RustBucket replied to Canuck's topic in General 70-72 Monte Carlo Forum
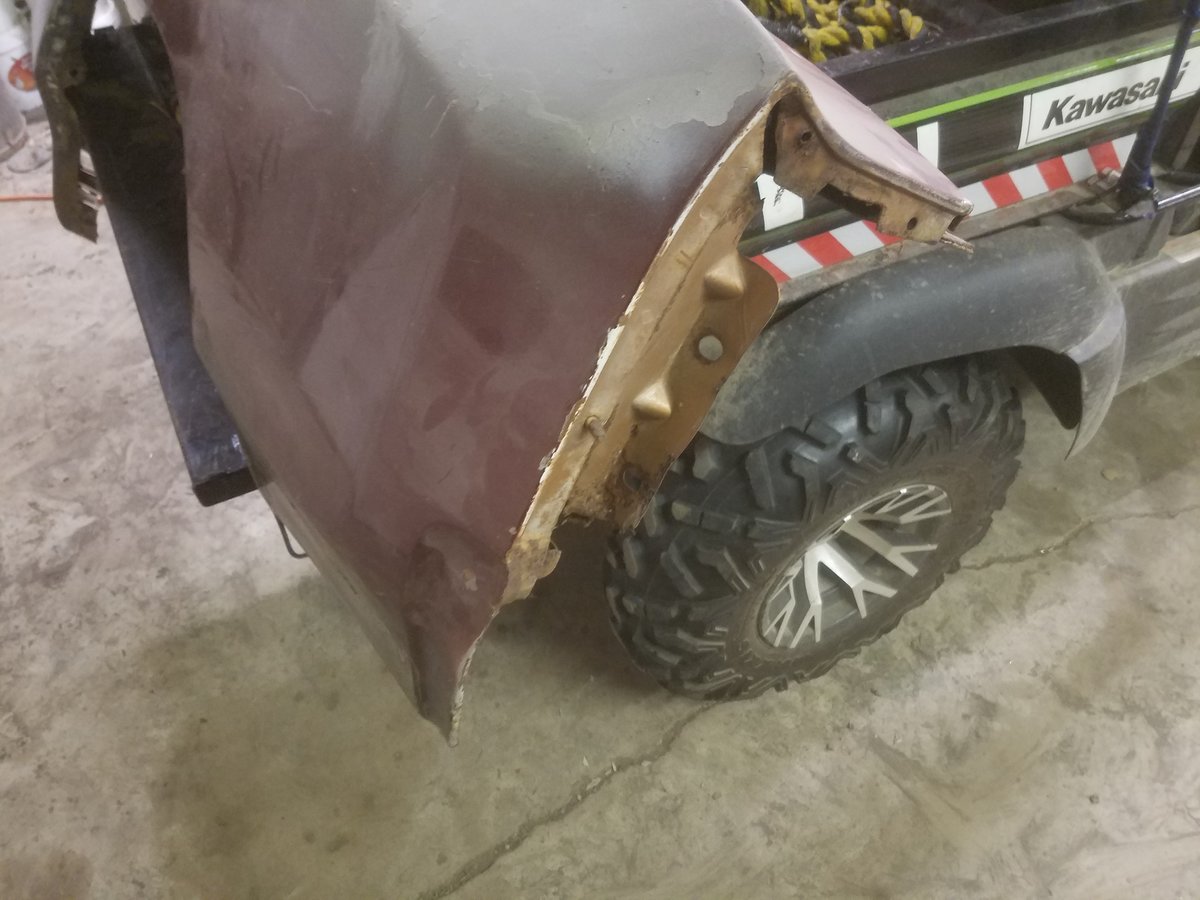
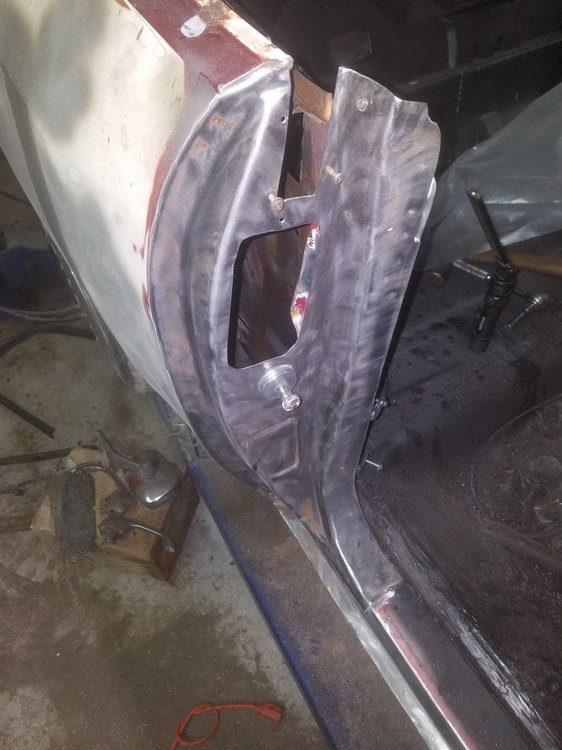
More fender work. Got both of them stripped. Did a bit of hammer and dolly work, and did my best to recreate the missing mounts for fender extension. I think I did...ok...lol. I'm waiting to drill the holes. Also got the lil fender to rad support rods cleaned up, as well as the filler pieces for fender,inner fender, core support. Now everything is ospho treated.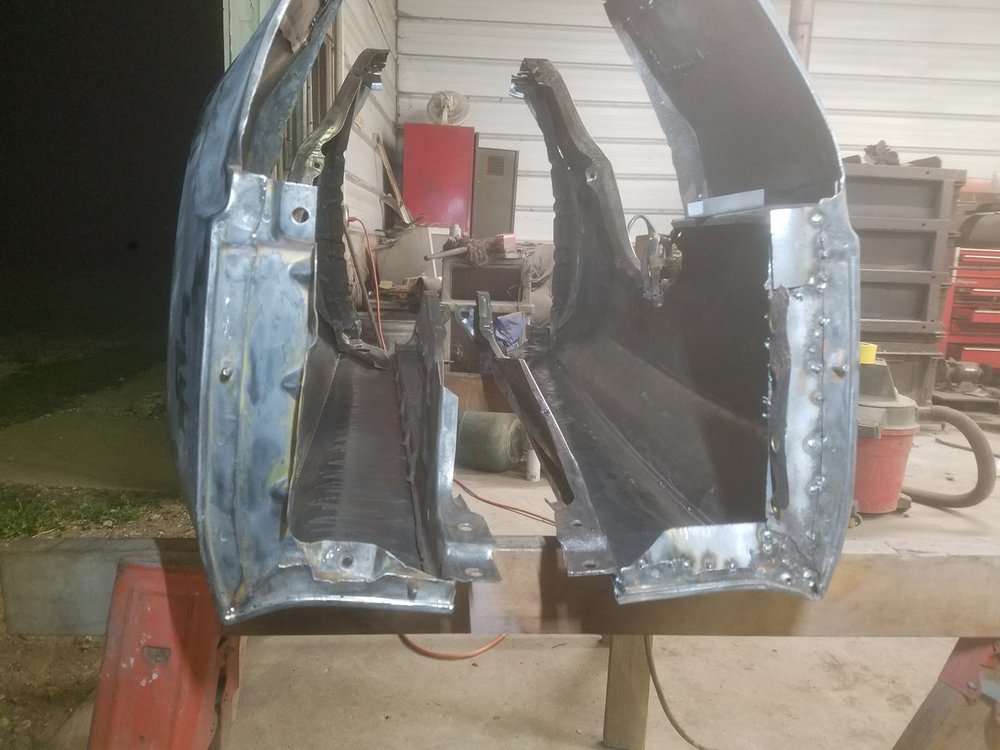
-
What did you do to your Monte Carlo today?
72RustBucket replied to Canuck's topic in General 70-72 Monte Carlo Forum
More fender work. Got one stripped, and got more gas for the welders. Tomorrow I should be able to get the other stripped, get all repairs finalized, and ospho both of them. I might also work on some smaller stuff, like extensions etc.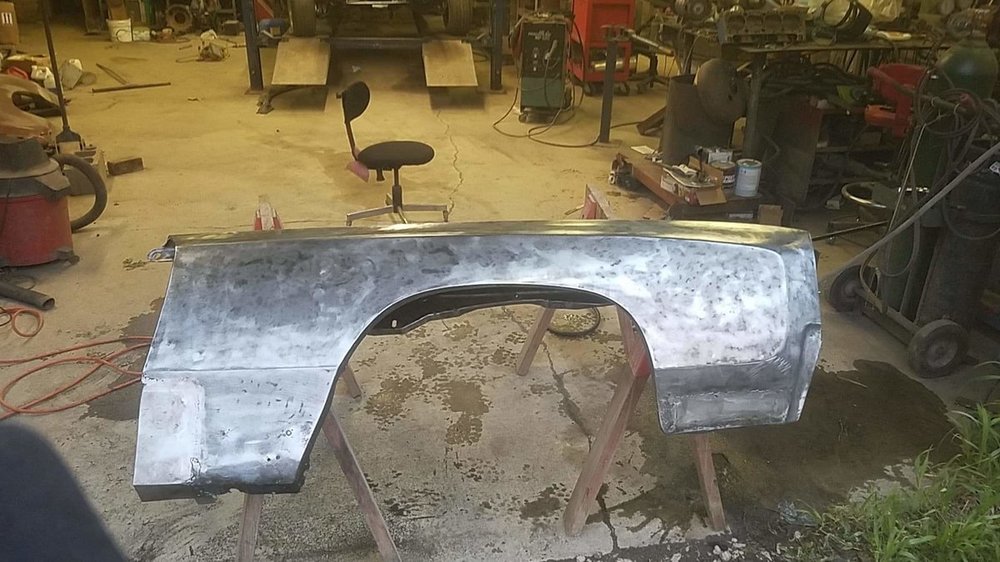
-
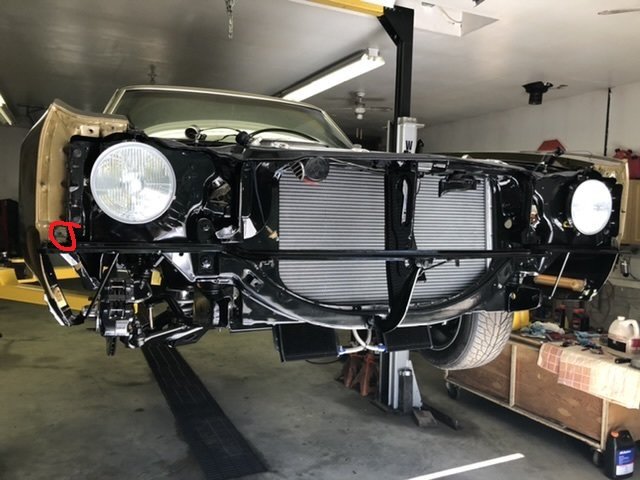
For fender extension correct?
-
I believe this is what I am missing, but shouldn't be a problem to fabricate.

-
Those are the brackets. But they are still missing that hole. I'm not at my computer, but when I am I'll edit some pics to show.
-
Ok, after playing around with the fenders, and rad support, and studying your pictures...I think what I'm missing might actually be for fender/headlight extension.
-
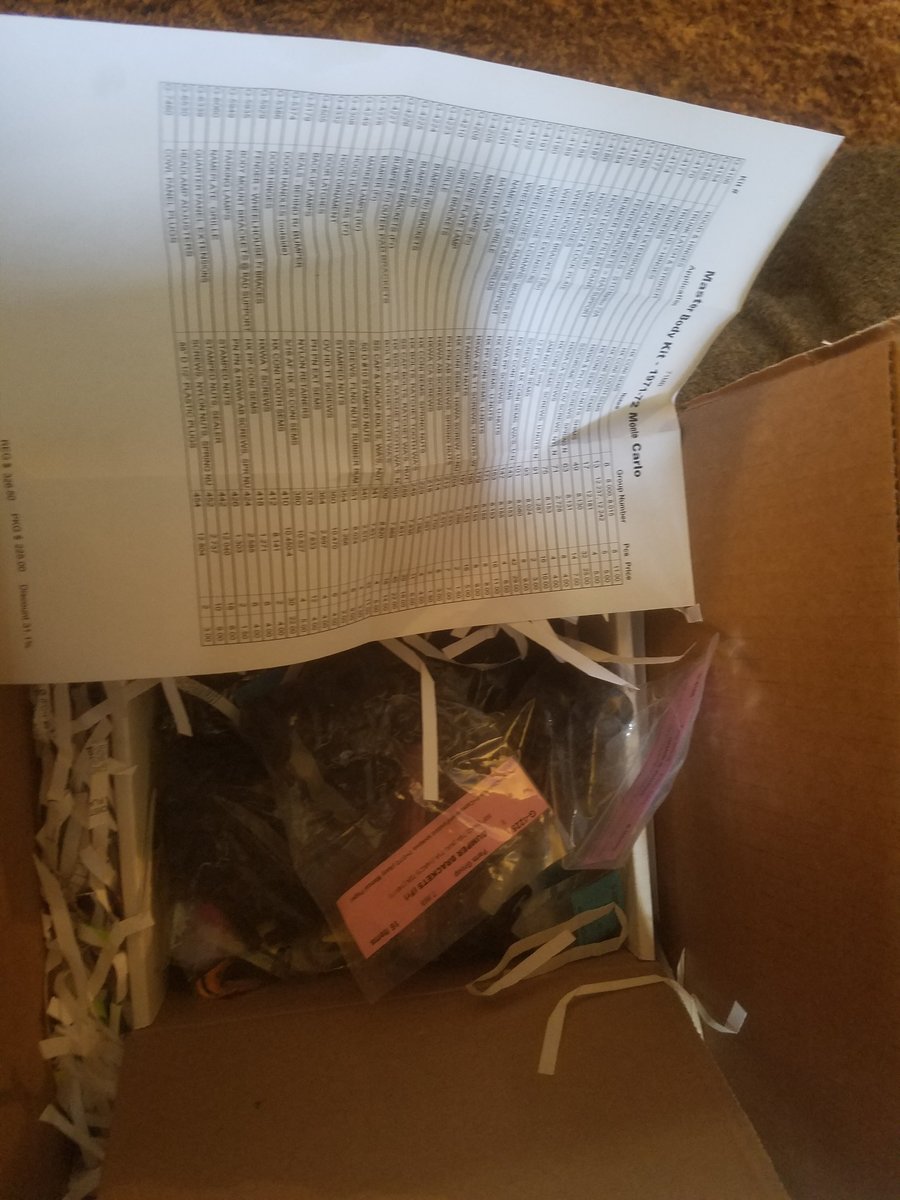
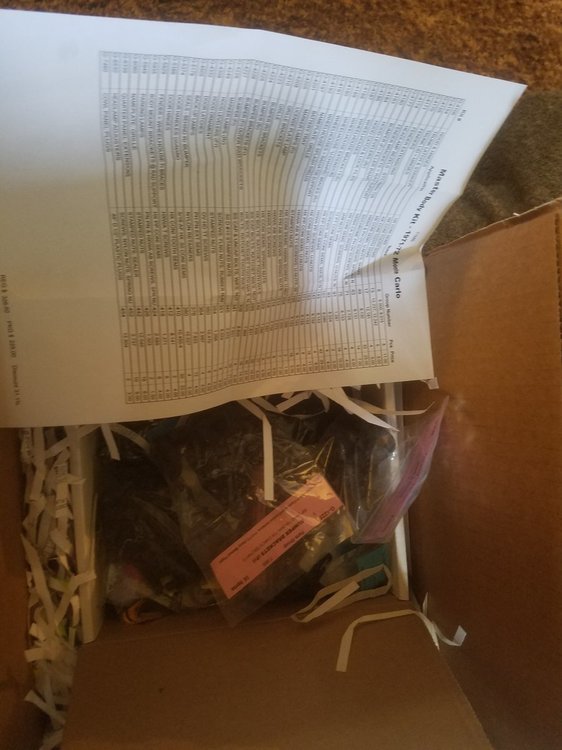
Luckily this just came in, so I shouldn't have trouble finding fasteners, just parts lol.
-
Well thankfully I do have that piece, but I'm not sure about hood latch...time to start digging!
-
Thank you! Hopefully I can fabricate it. Not sure if I have that valance... Is it this? https://www.opgi.com/sheet-metal-body-panels/valance/1965-70-front-lower-valance-panel/valance-panel-front-1970-chevelleel-camino-1970-72-monte-carlo-c990001.html
-
In your 2nd picture, on the left with the clip/u nut. That's what I'm missing.
-
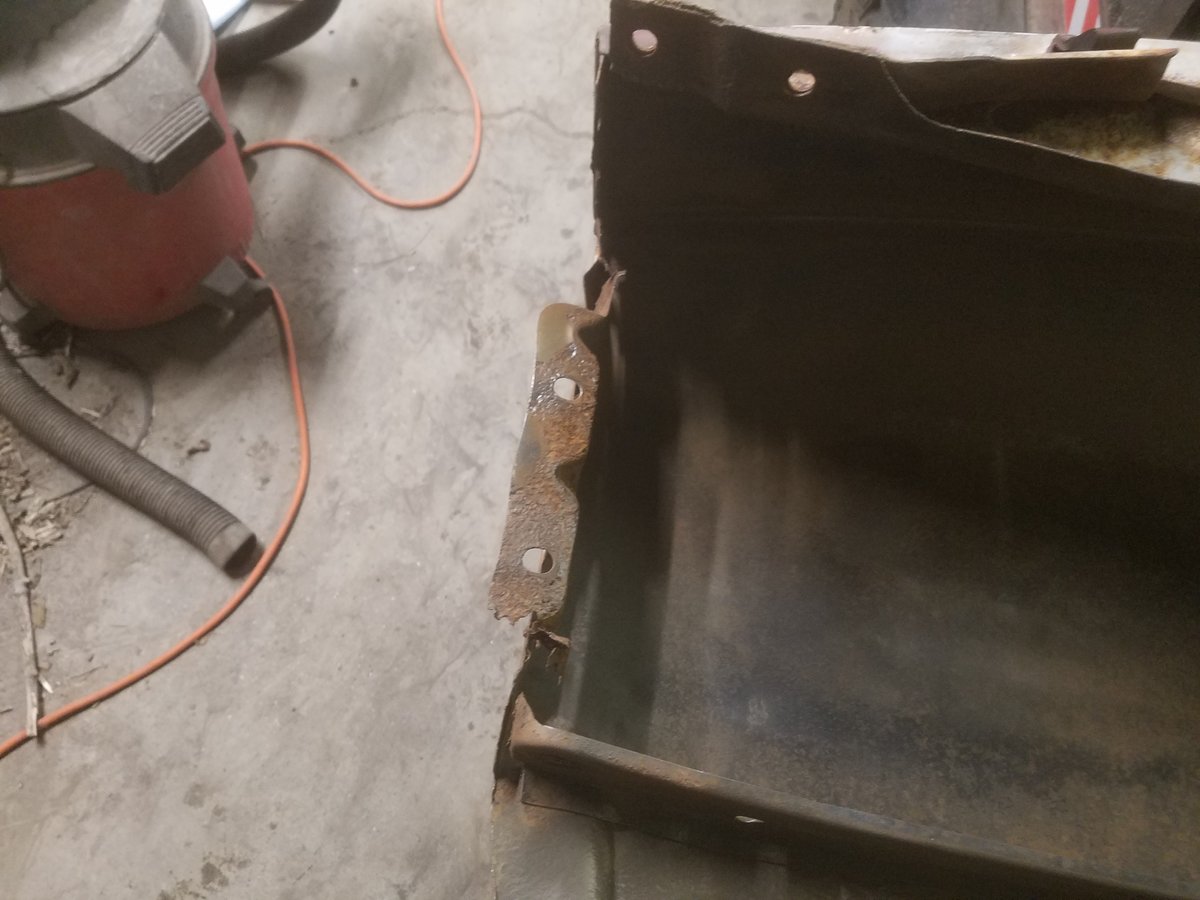
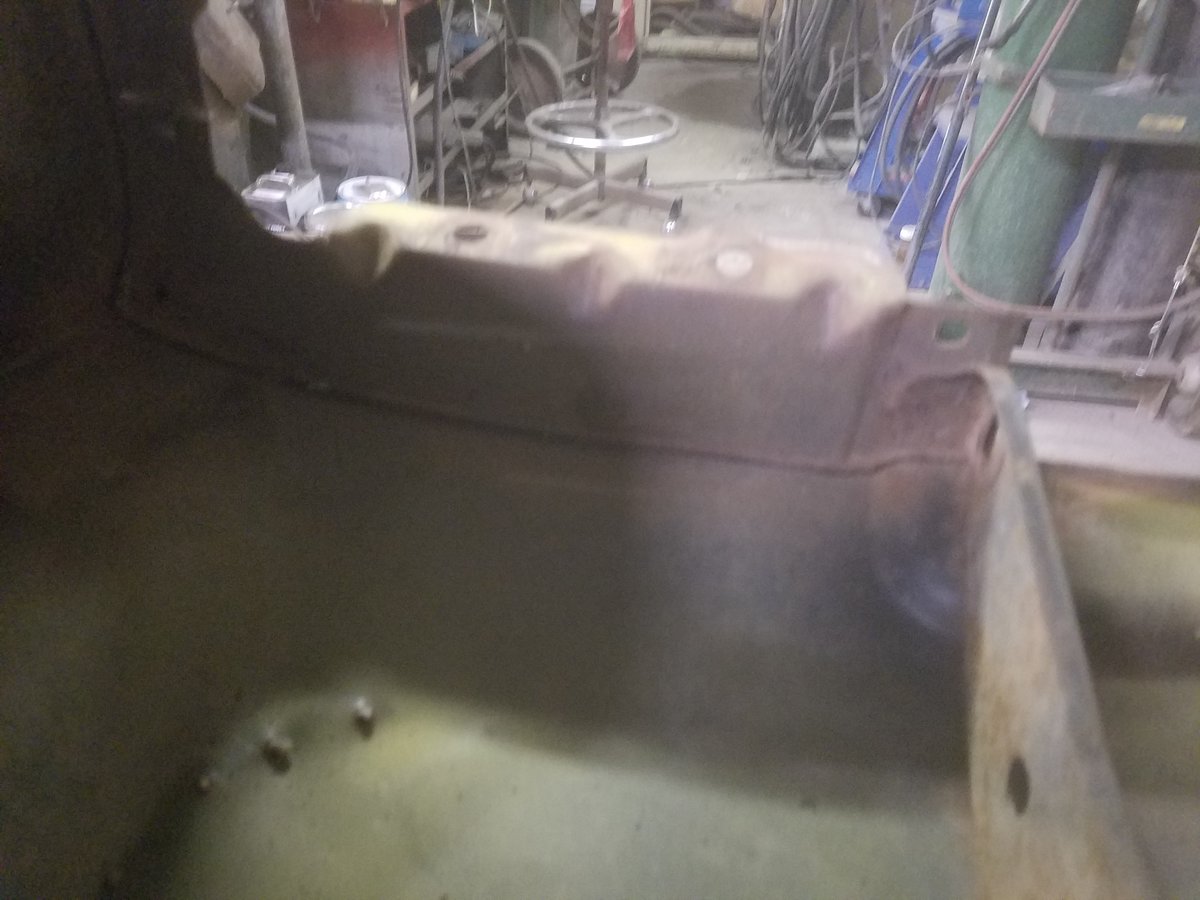
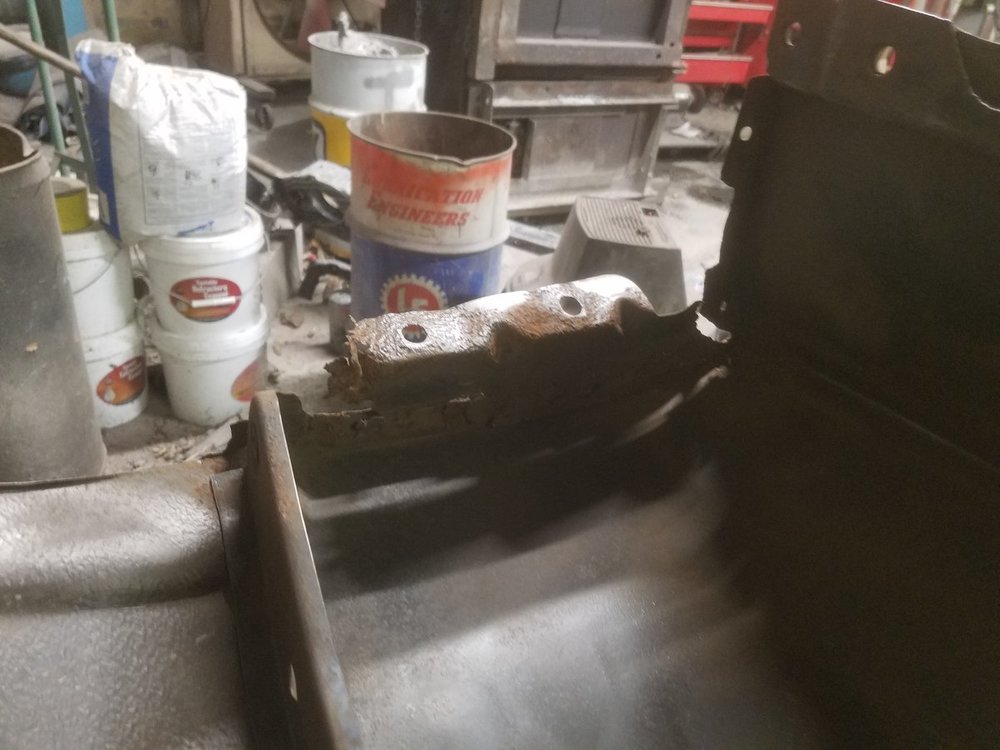
There is one small hole that is rotted off on my passenger side, but in tact on my drivers. I'm not sure what it's for. I think I can fabricate it easily.
-
Some pics. drivers side isn't as bad


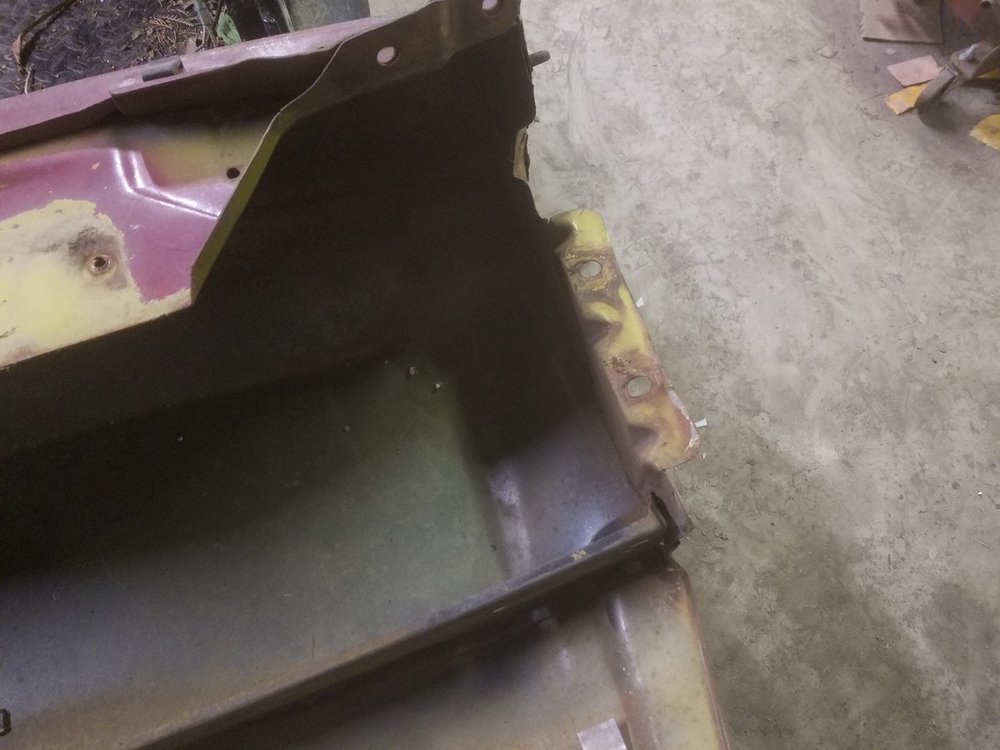
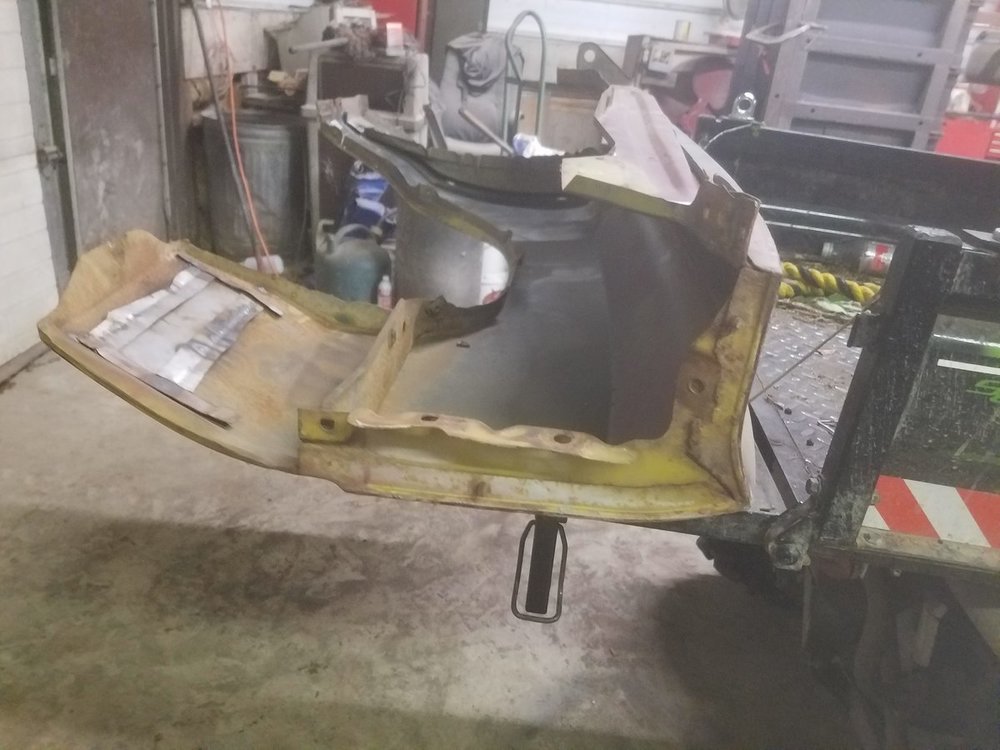
-
Neither, its vertical, on the front of the inside of the fender.