71SSclone
-
Posts
264 -
Joined
-
Last visited
-
Days Won
5
Other groups

71SSclone's Achievements
")


-
2025 FGMCC EASTERN MEET Location And Date Set !!!
71SSclone replied to Ron Tevis's topic in FGMCC Annual Eastern Meet
Thats closer to Fl than Carlisle is. Hopefully the car will be drivable by then. Notice I didn't say "Finished", because they are never really finished. John -
Sorry this happened. Rob. Glad you made it home. Thanks for a great weekend. John
-
Looks great!!
-
Favorite Colors / Bad Colors
71SSclone replied to Tonka Man's topic in General 70-72 Monte Carlo Forum
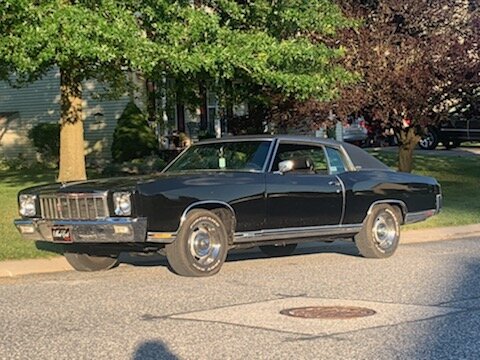
I never realized there were so many different colors available for the Monte. They all look great. Right now, since we are partial to our own cars, my favorite color is primer grey. But hopefully soon to be black. -
Count Down To Carlisle Eastern Meet
71SSclone replied to Rob Peters's topic in FGMCC Annual Eastern Meet
Carlisle is comng up fast. I'll be flying in to Harrisburg Friday morning. Have to do some errands while Im in town, so I will probably get to the hotel late Friday afternoon. My question is.... can I catch a ride to the fairgrounds with someone Sat morning, and can someone pack an extra chair for me? I don't think I'll be able to fit a chair on the plane. Thanks everyone, looking forward to meeting everyone. John -
May 28 Eastern Meet Informational Email
71SSclone replied to Rob Peters's topic in FGMCC Annual Eastern Meet
I am looking forward to this! -
This is exactly what I want to do with my dashboard. Thanks for posting the pics
-
So I have decided to refurbish my dashboard instead of buying a new one. Does anyone have any paint recommendations for the black plastic? I was going to use a chrome paint pen to detail the chrome trim on the dash, but after looking at it, i need to paint it first. Any help would be appreciated.
-
Count Down To Carlisle Eastern Meet
71SSclone replied to Rob Peters's topic in FGMCC Annual Eastern Meet
Since were striving for perfection, I'm not going to upset the bodyshop flow. But I might be able arrange a road trip to the bodyshop if anyone wants to see it in person. Ha ha -
Count Down To Carlisle Eastern Meet
71SSclone replied to Rob Peters's topic in FGMCC Annual Eastern Meet
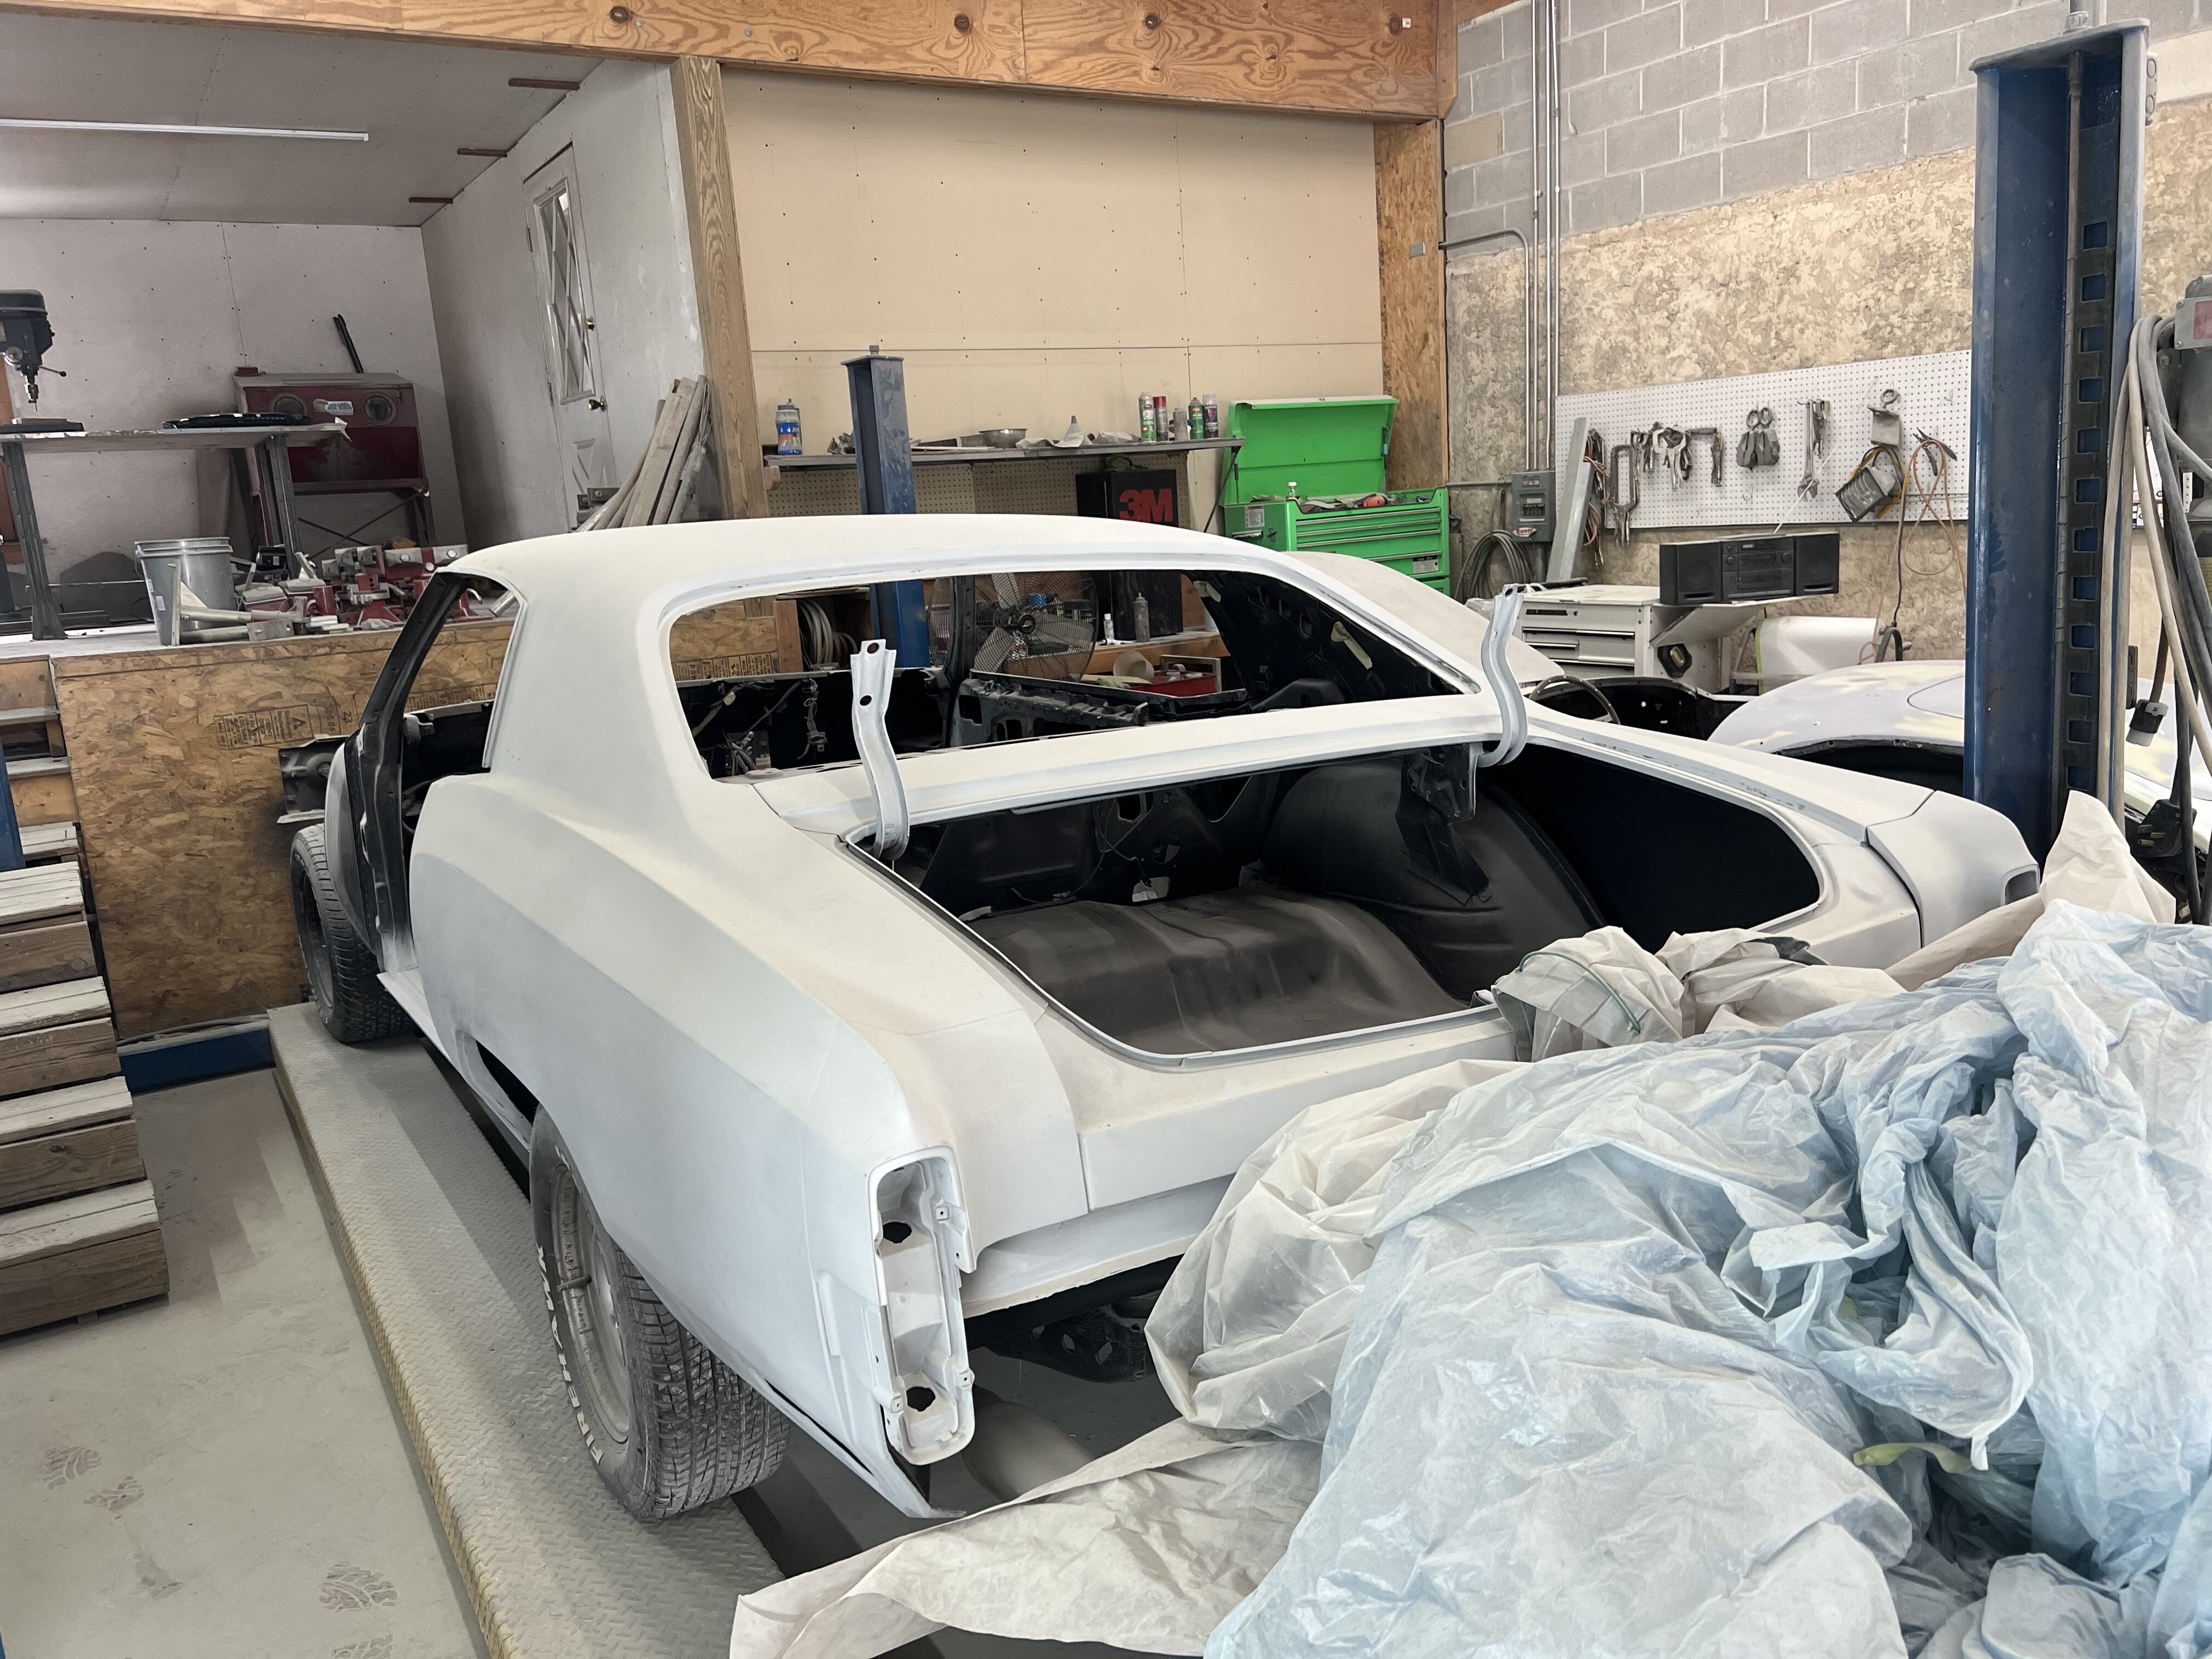
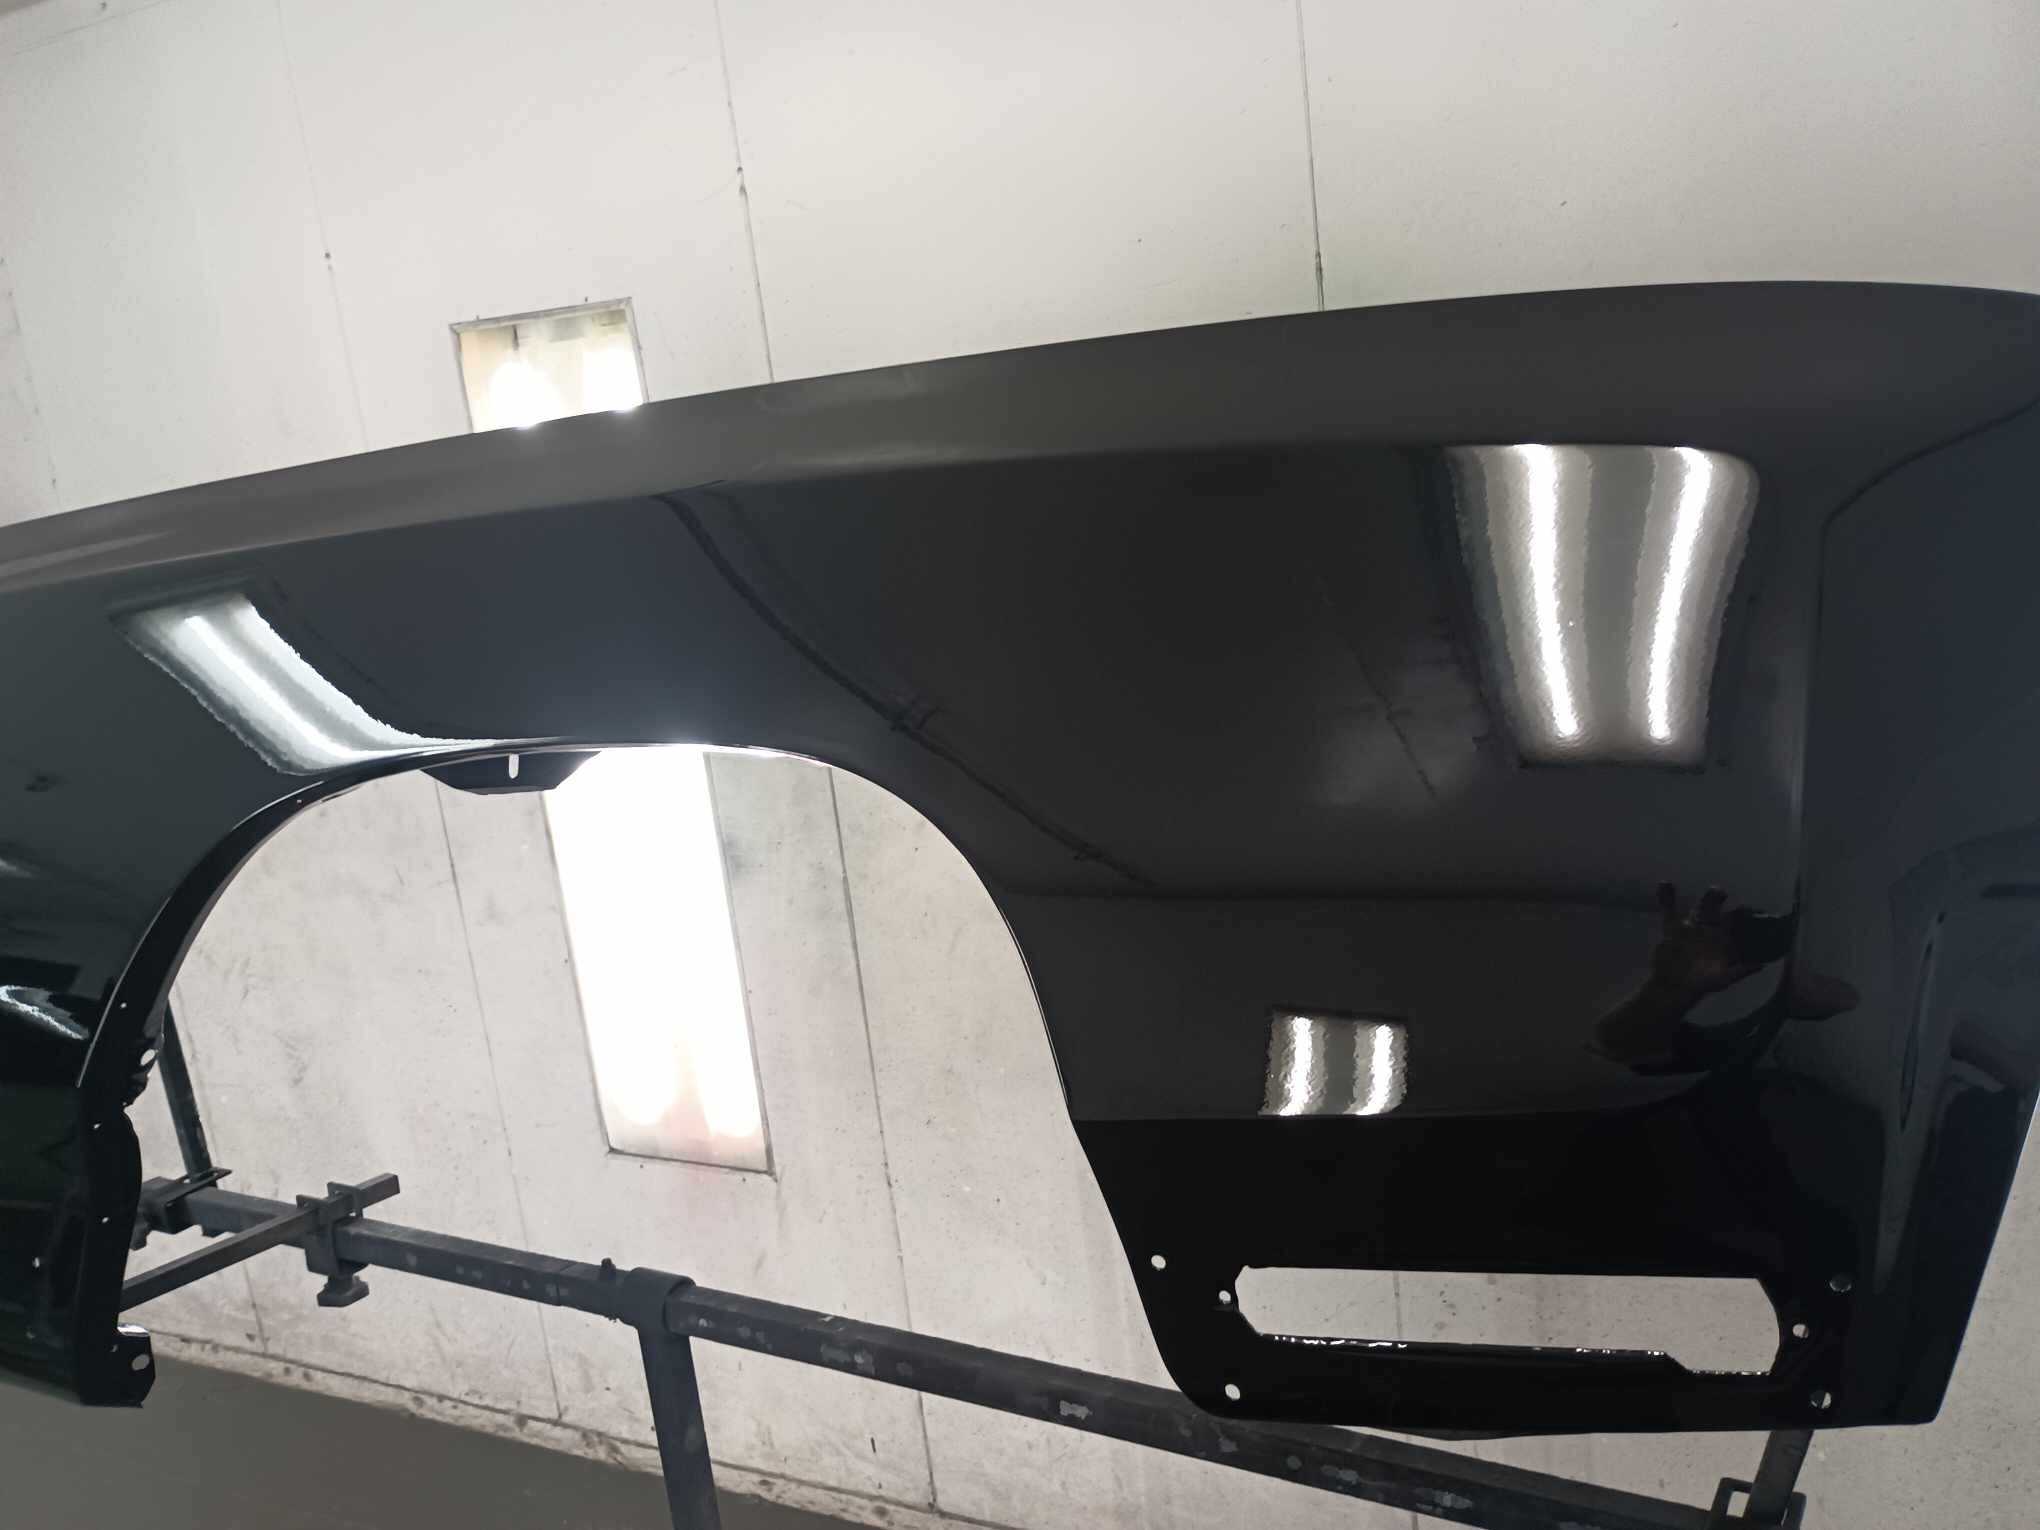
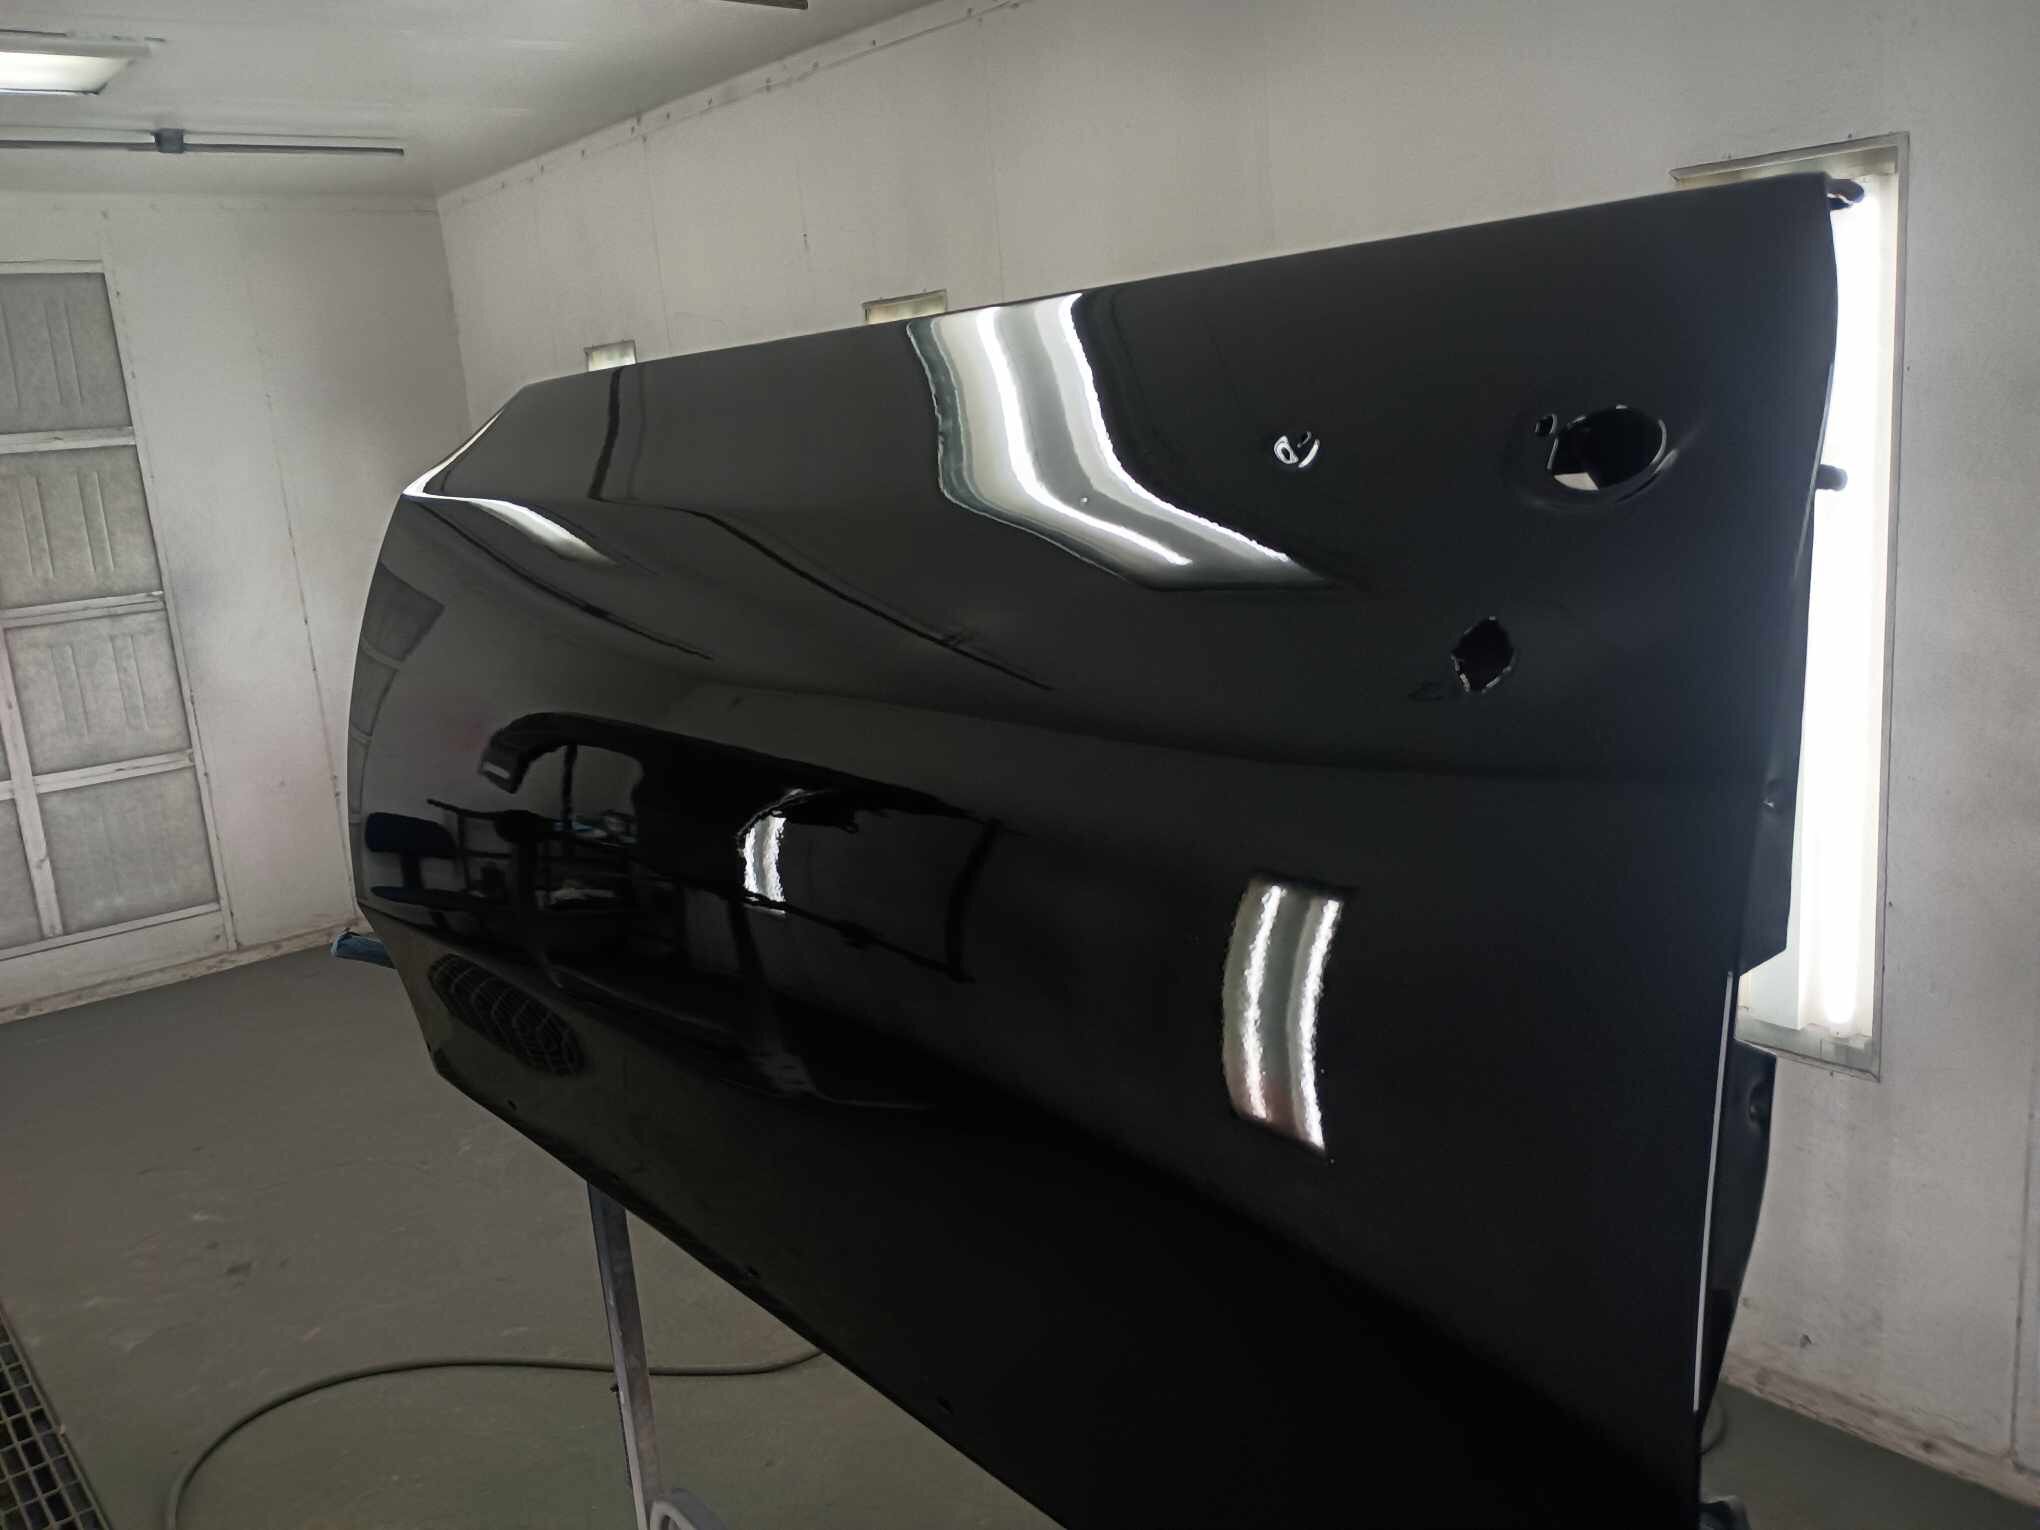
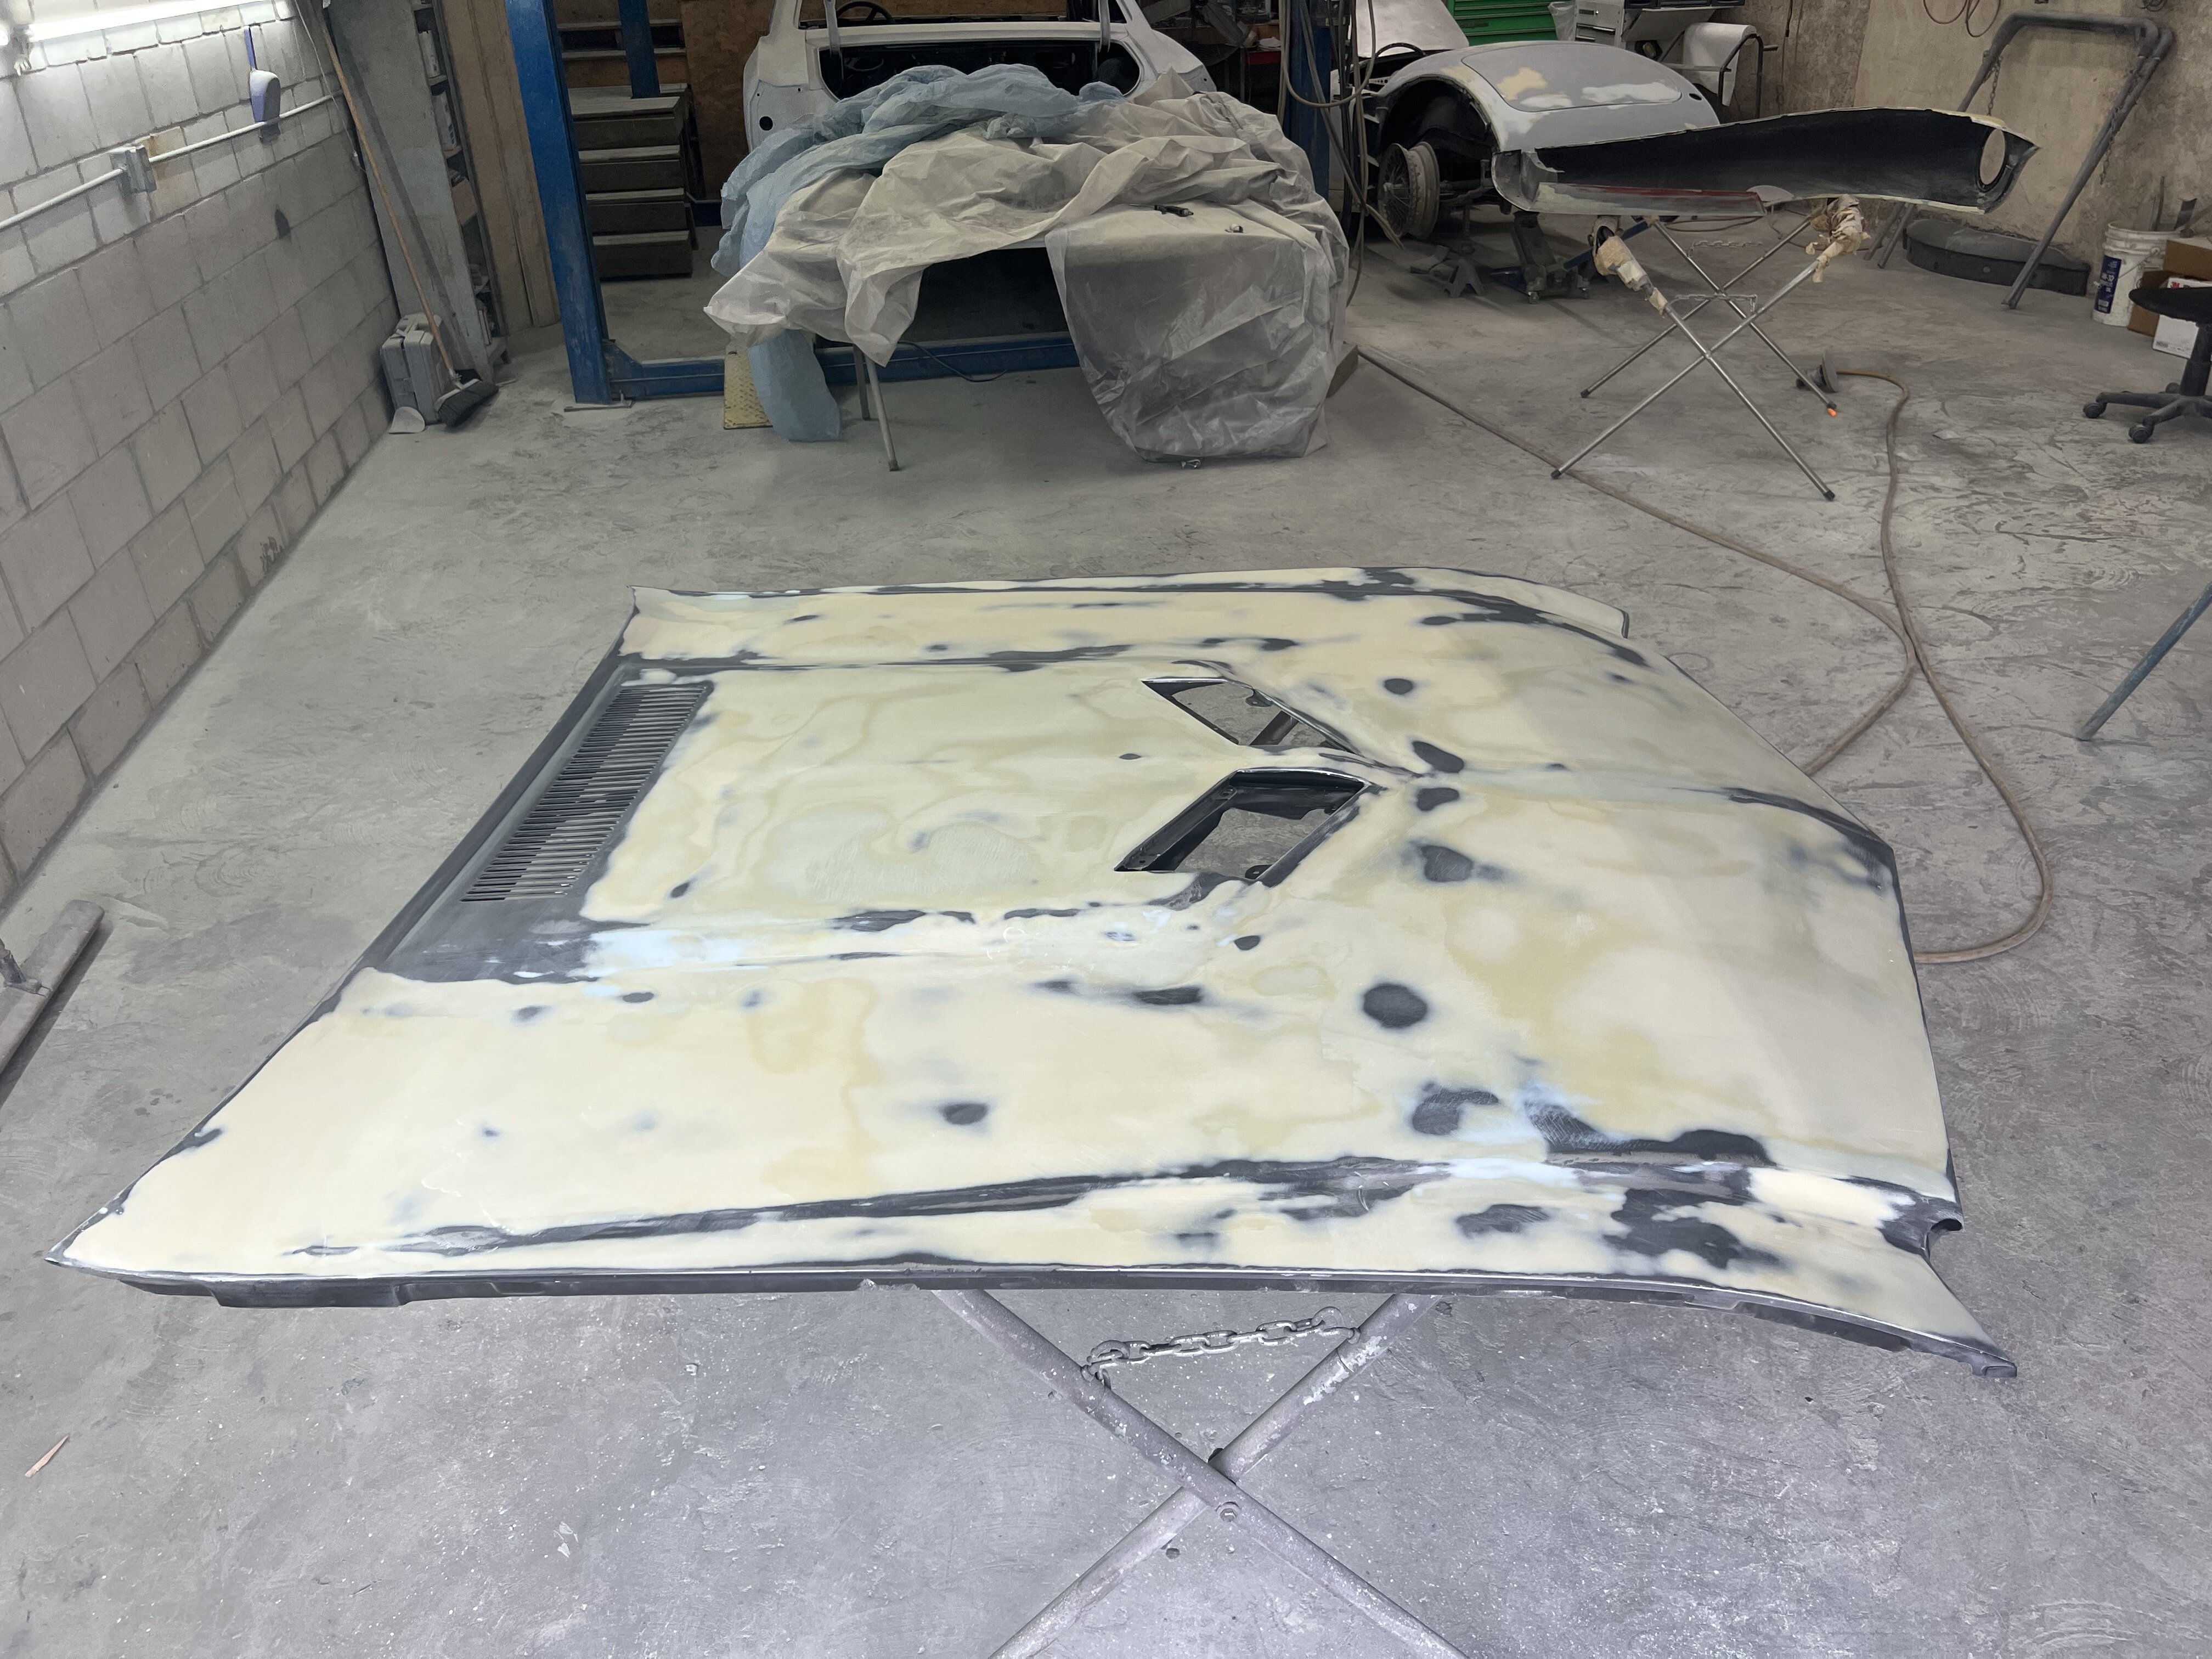
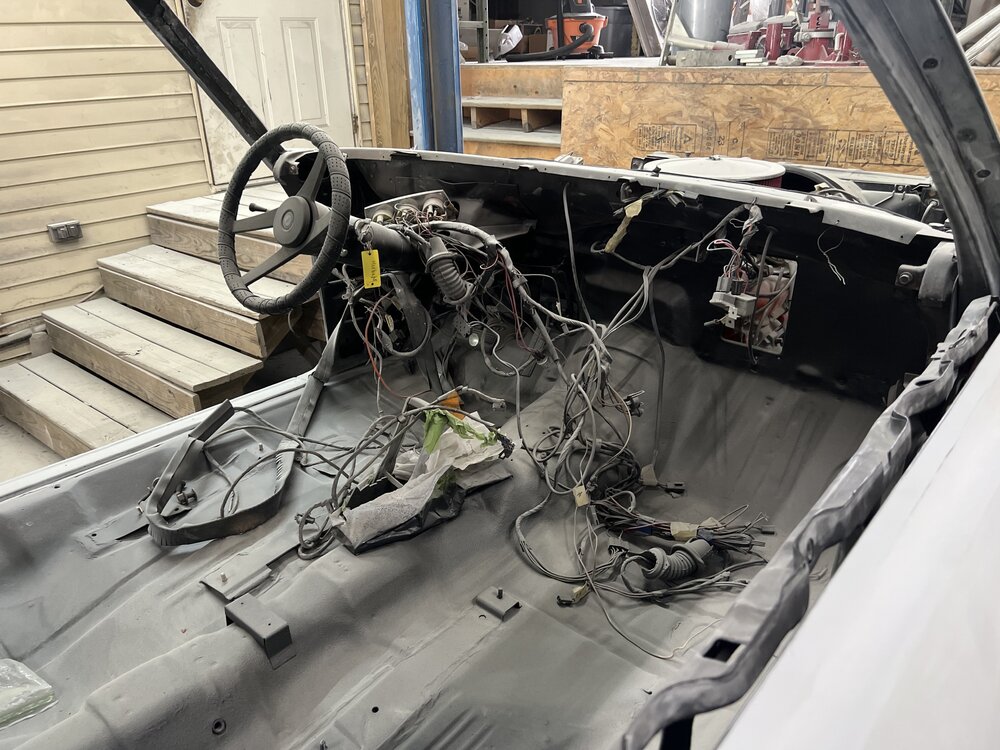
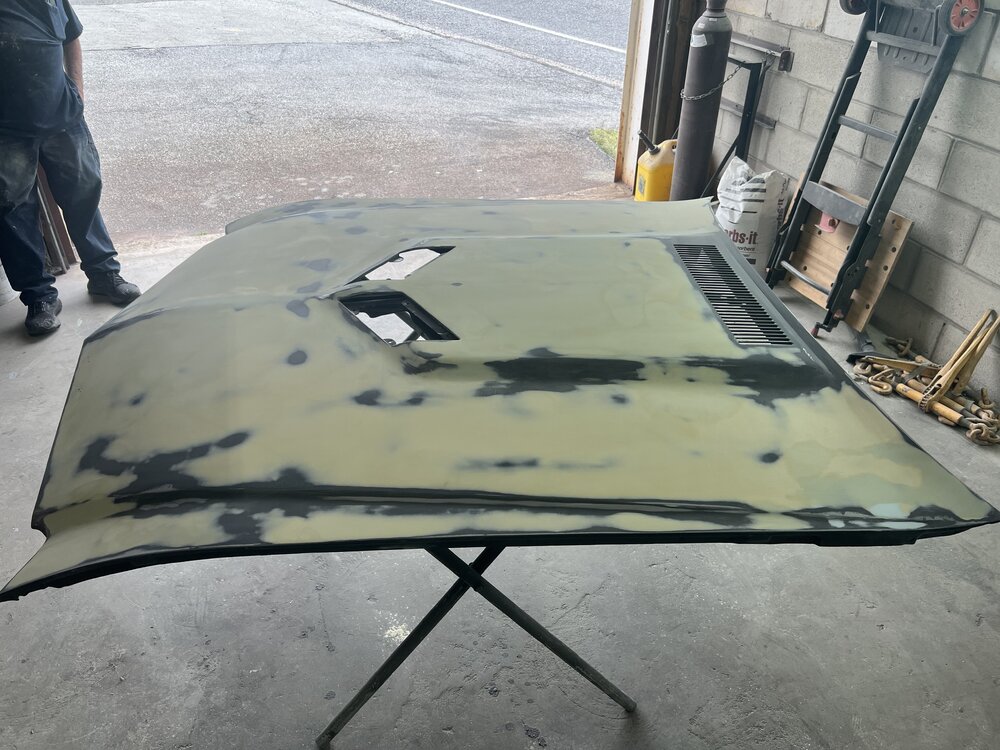
Rob, my Monte is only 90 minutes away from Carlisle Fairgrounds at the bodyshop. It currently looks like this. lol

-
Count Down To Carlisle Eastern Meet
71SSclone replied to Rob Peters's topic in FGMCC Annual Eastern Meet
Just made my reservations. See you all there -
Count Down To Carlisle Eastern Meet
71SSclone replied to Rob Peters's topic in FGMCC Annual Eastern Meet
Are there still rooms left? -
While your at it, can you check to see if you have speaker brackets for the 2 speaker dash. Thanks
-
Hey Dennis, while your checking stuff, can you see if you have a pair of front speaker brackets, for the 2 speaker dash also? Thanks
-
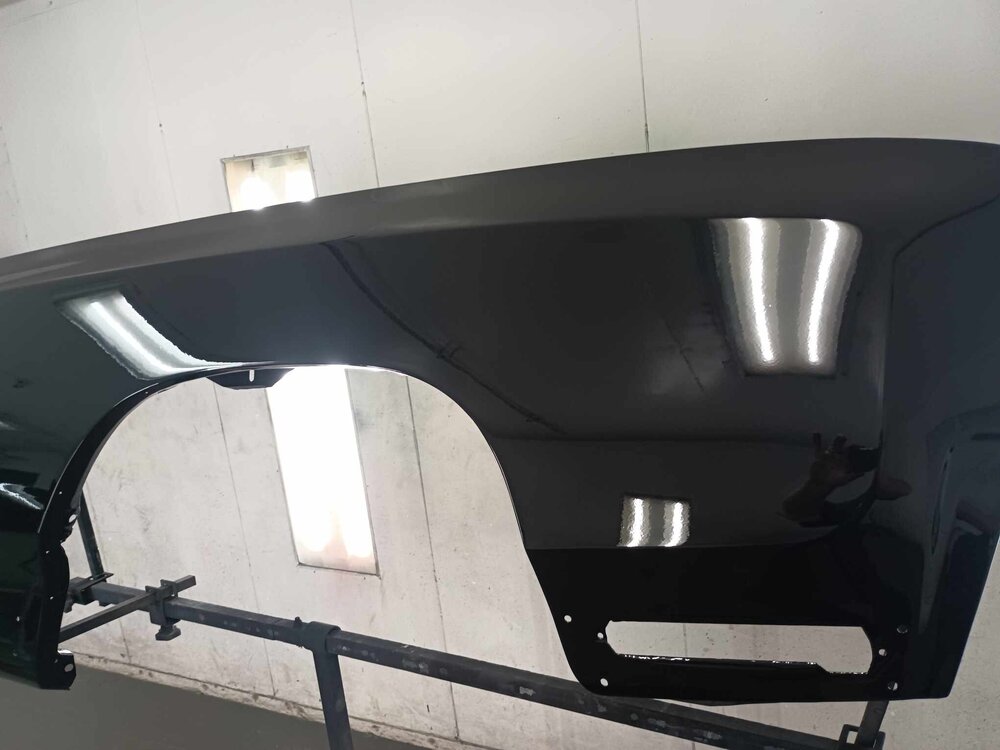
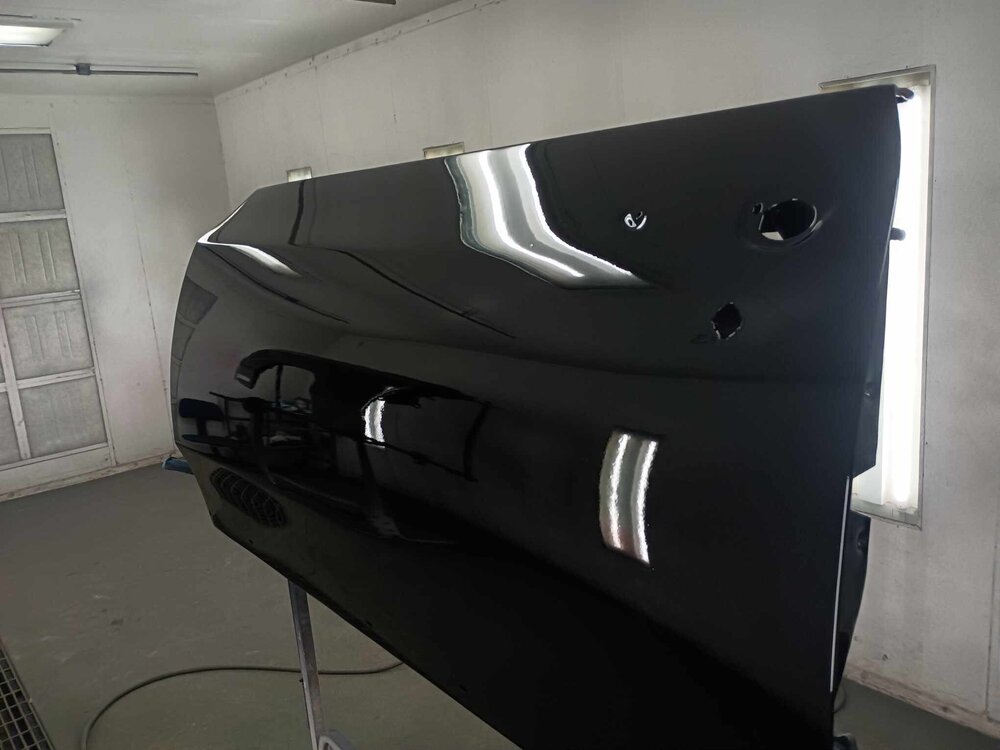
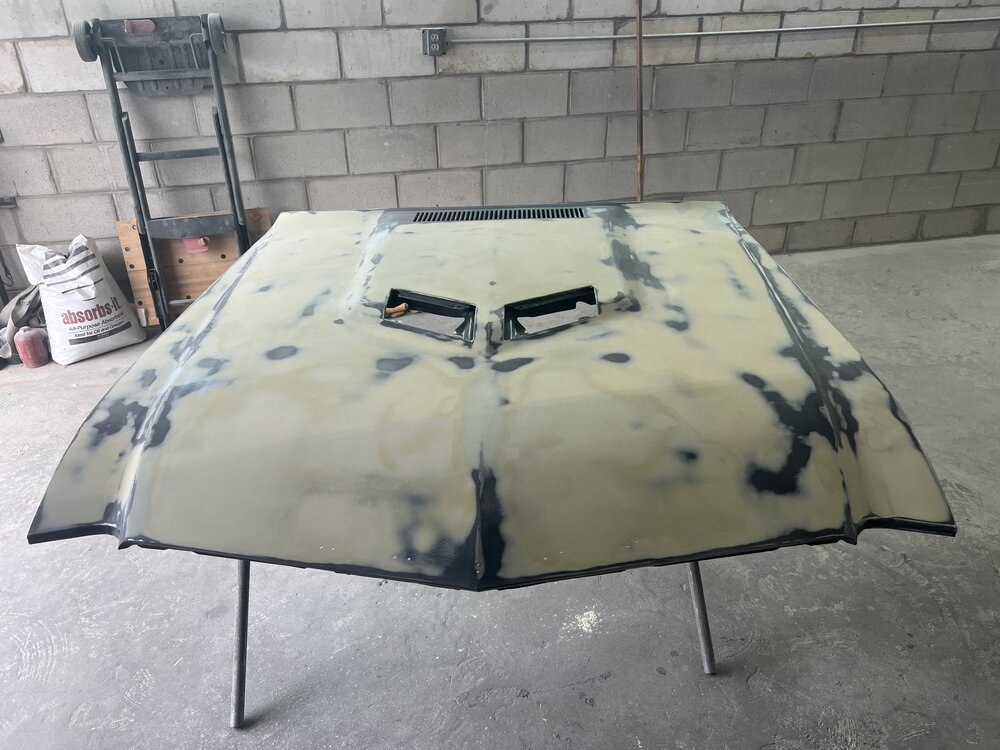
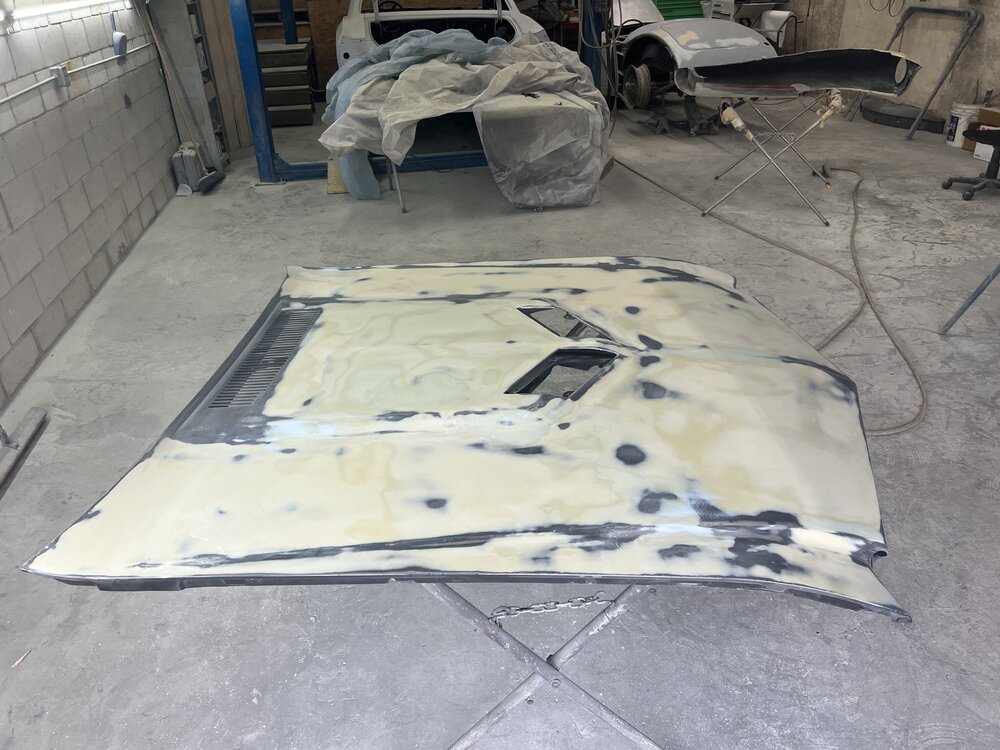
Monte Carlo rebuild thread
71SSclone replied to 71SSclone's topic in General 70-72 Monte Carlo Forum
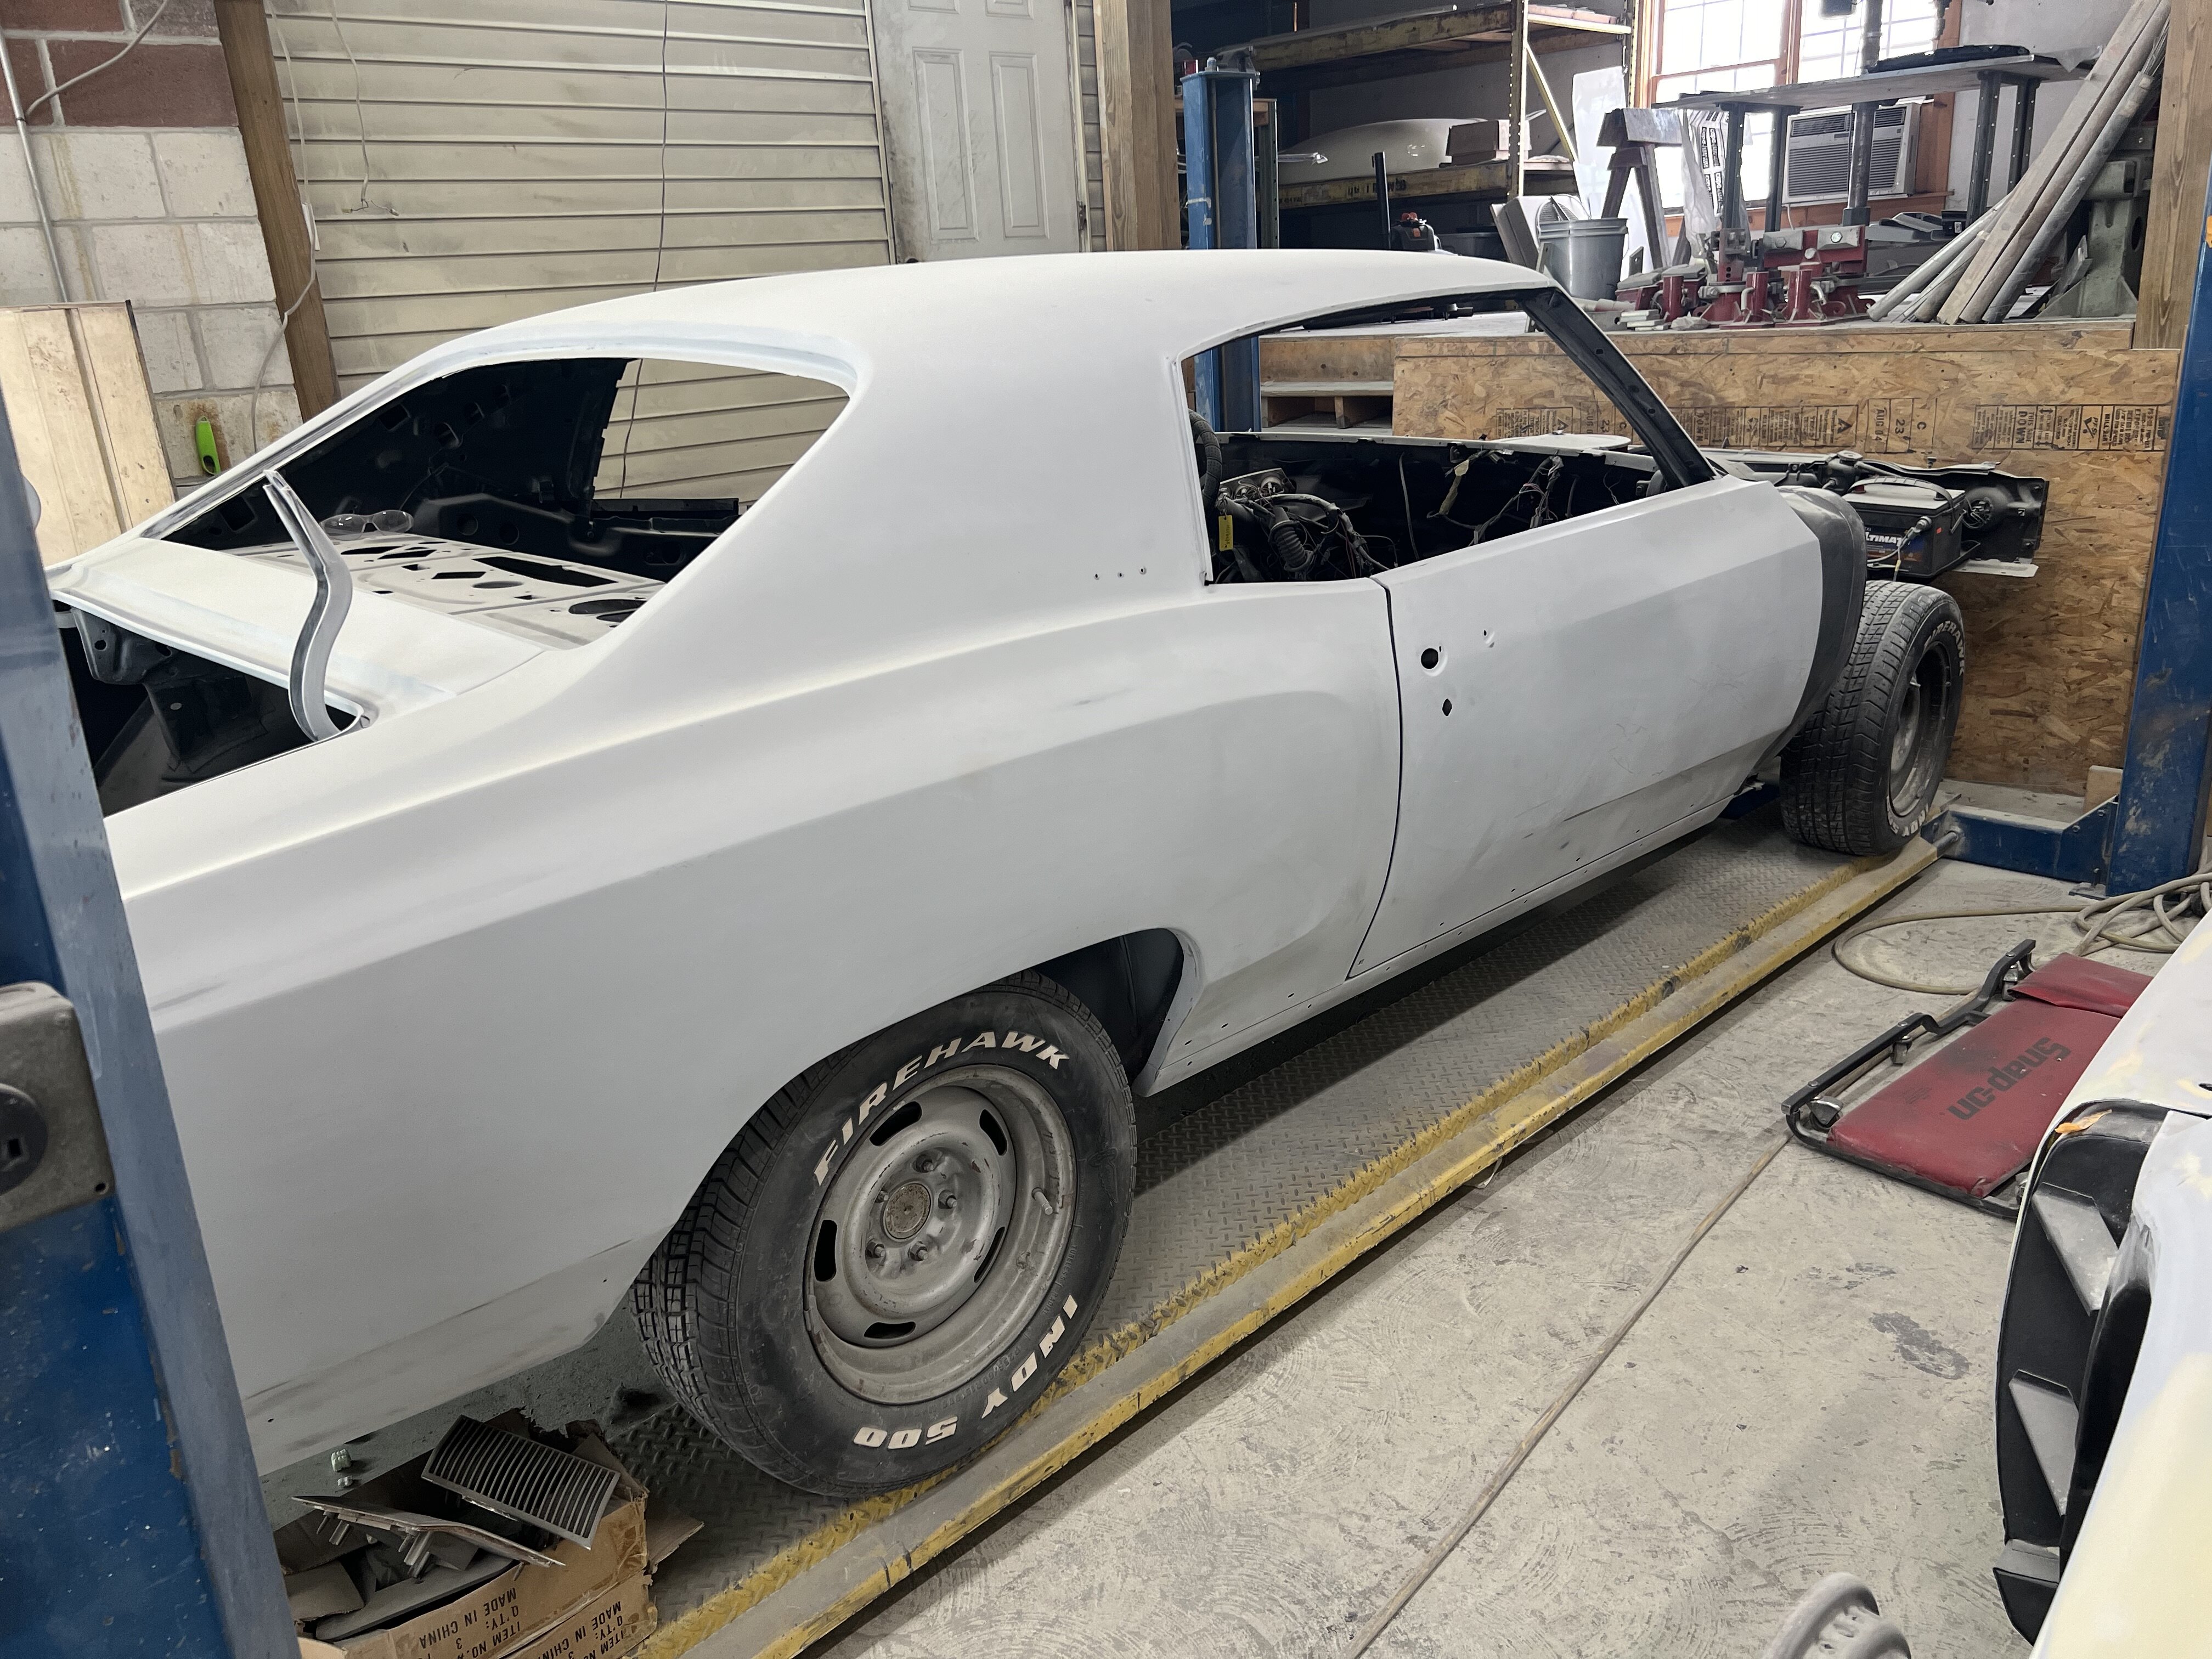
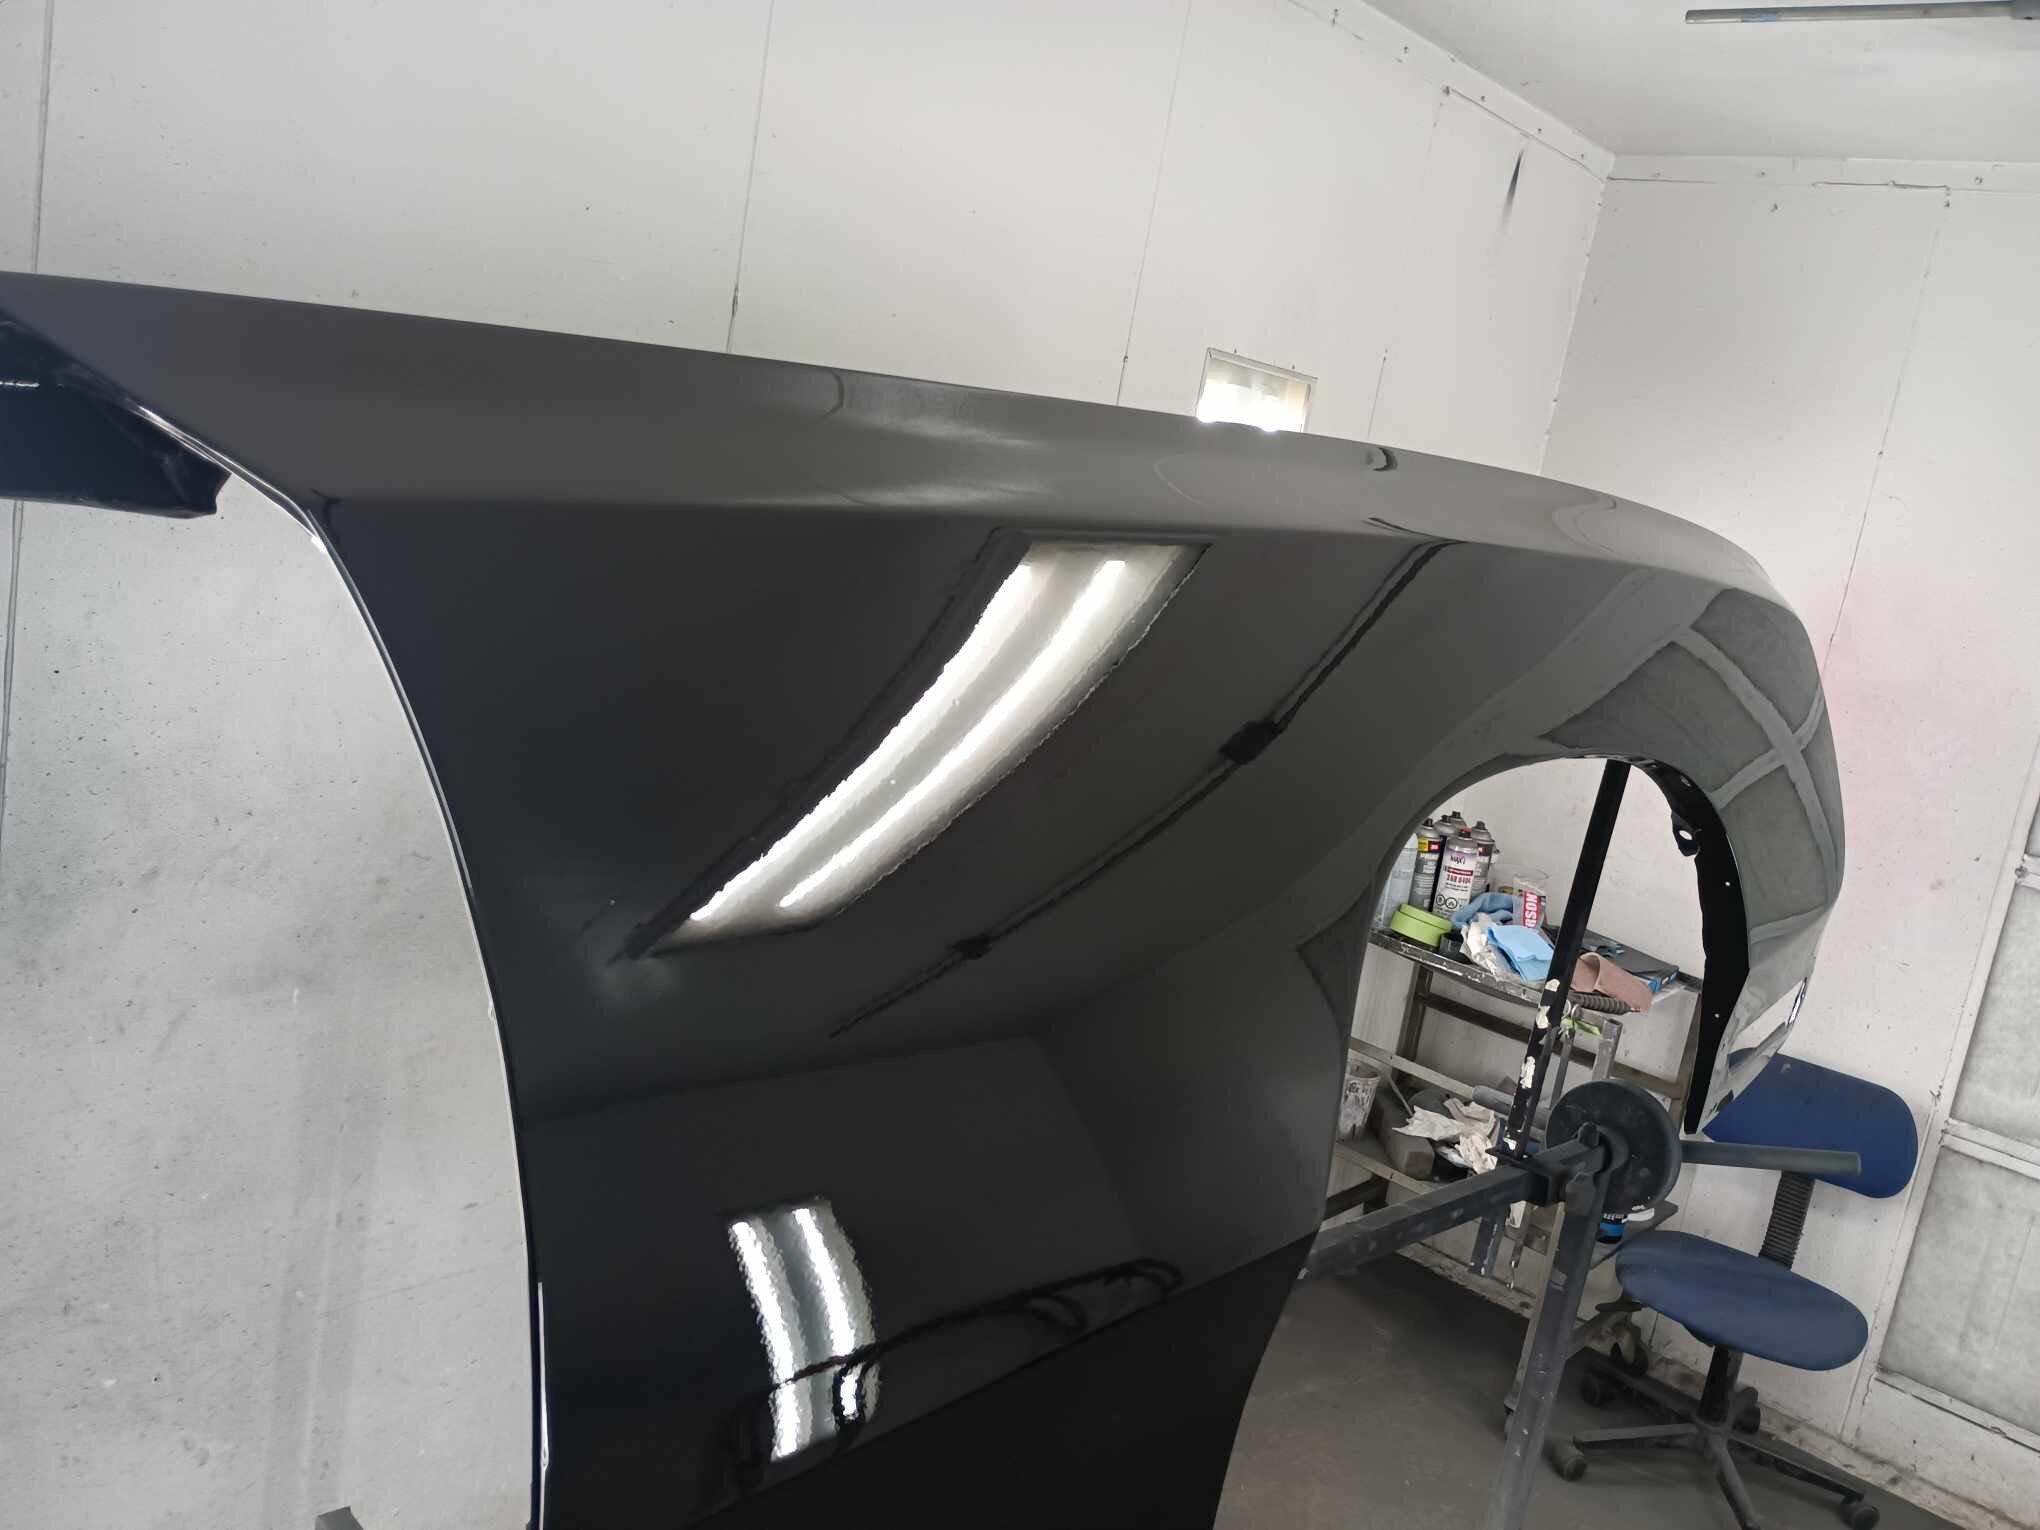
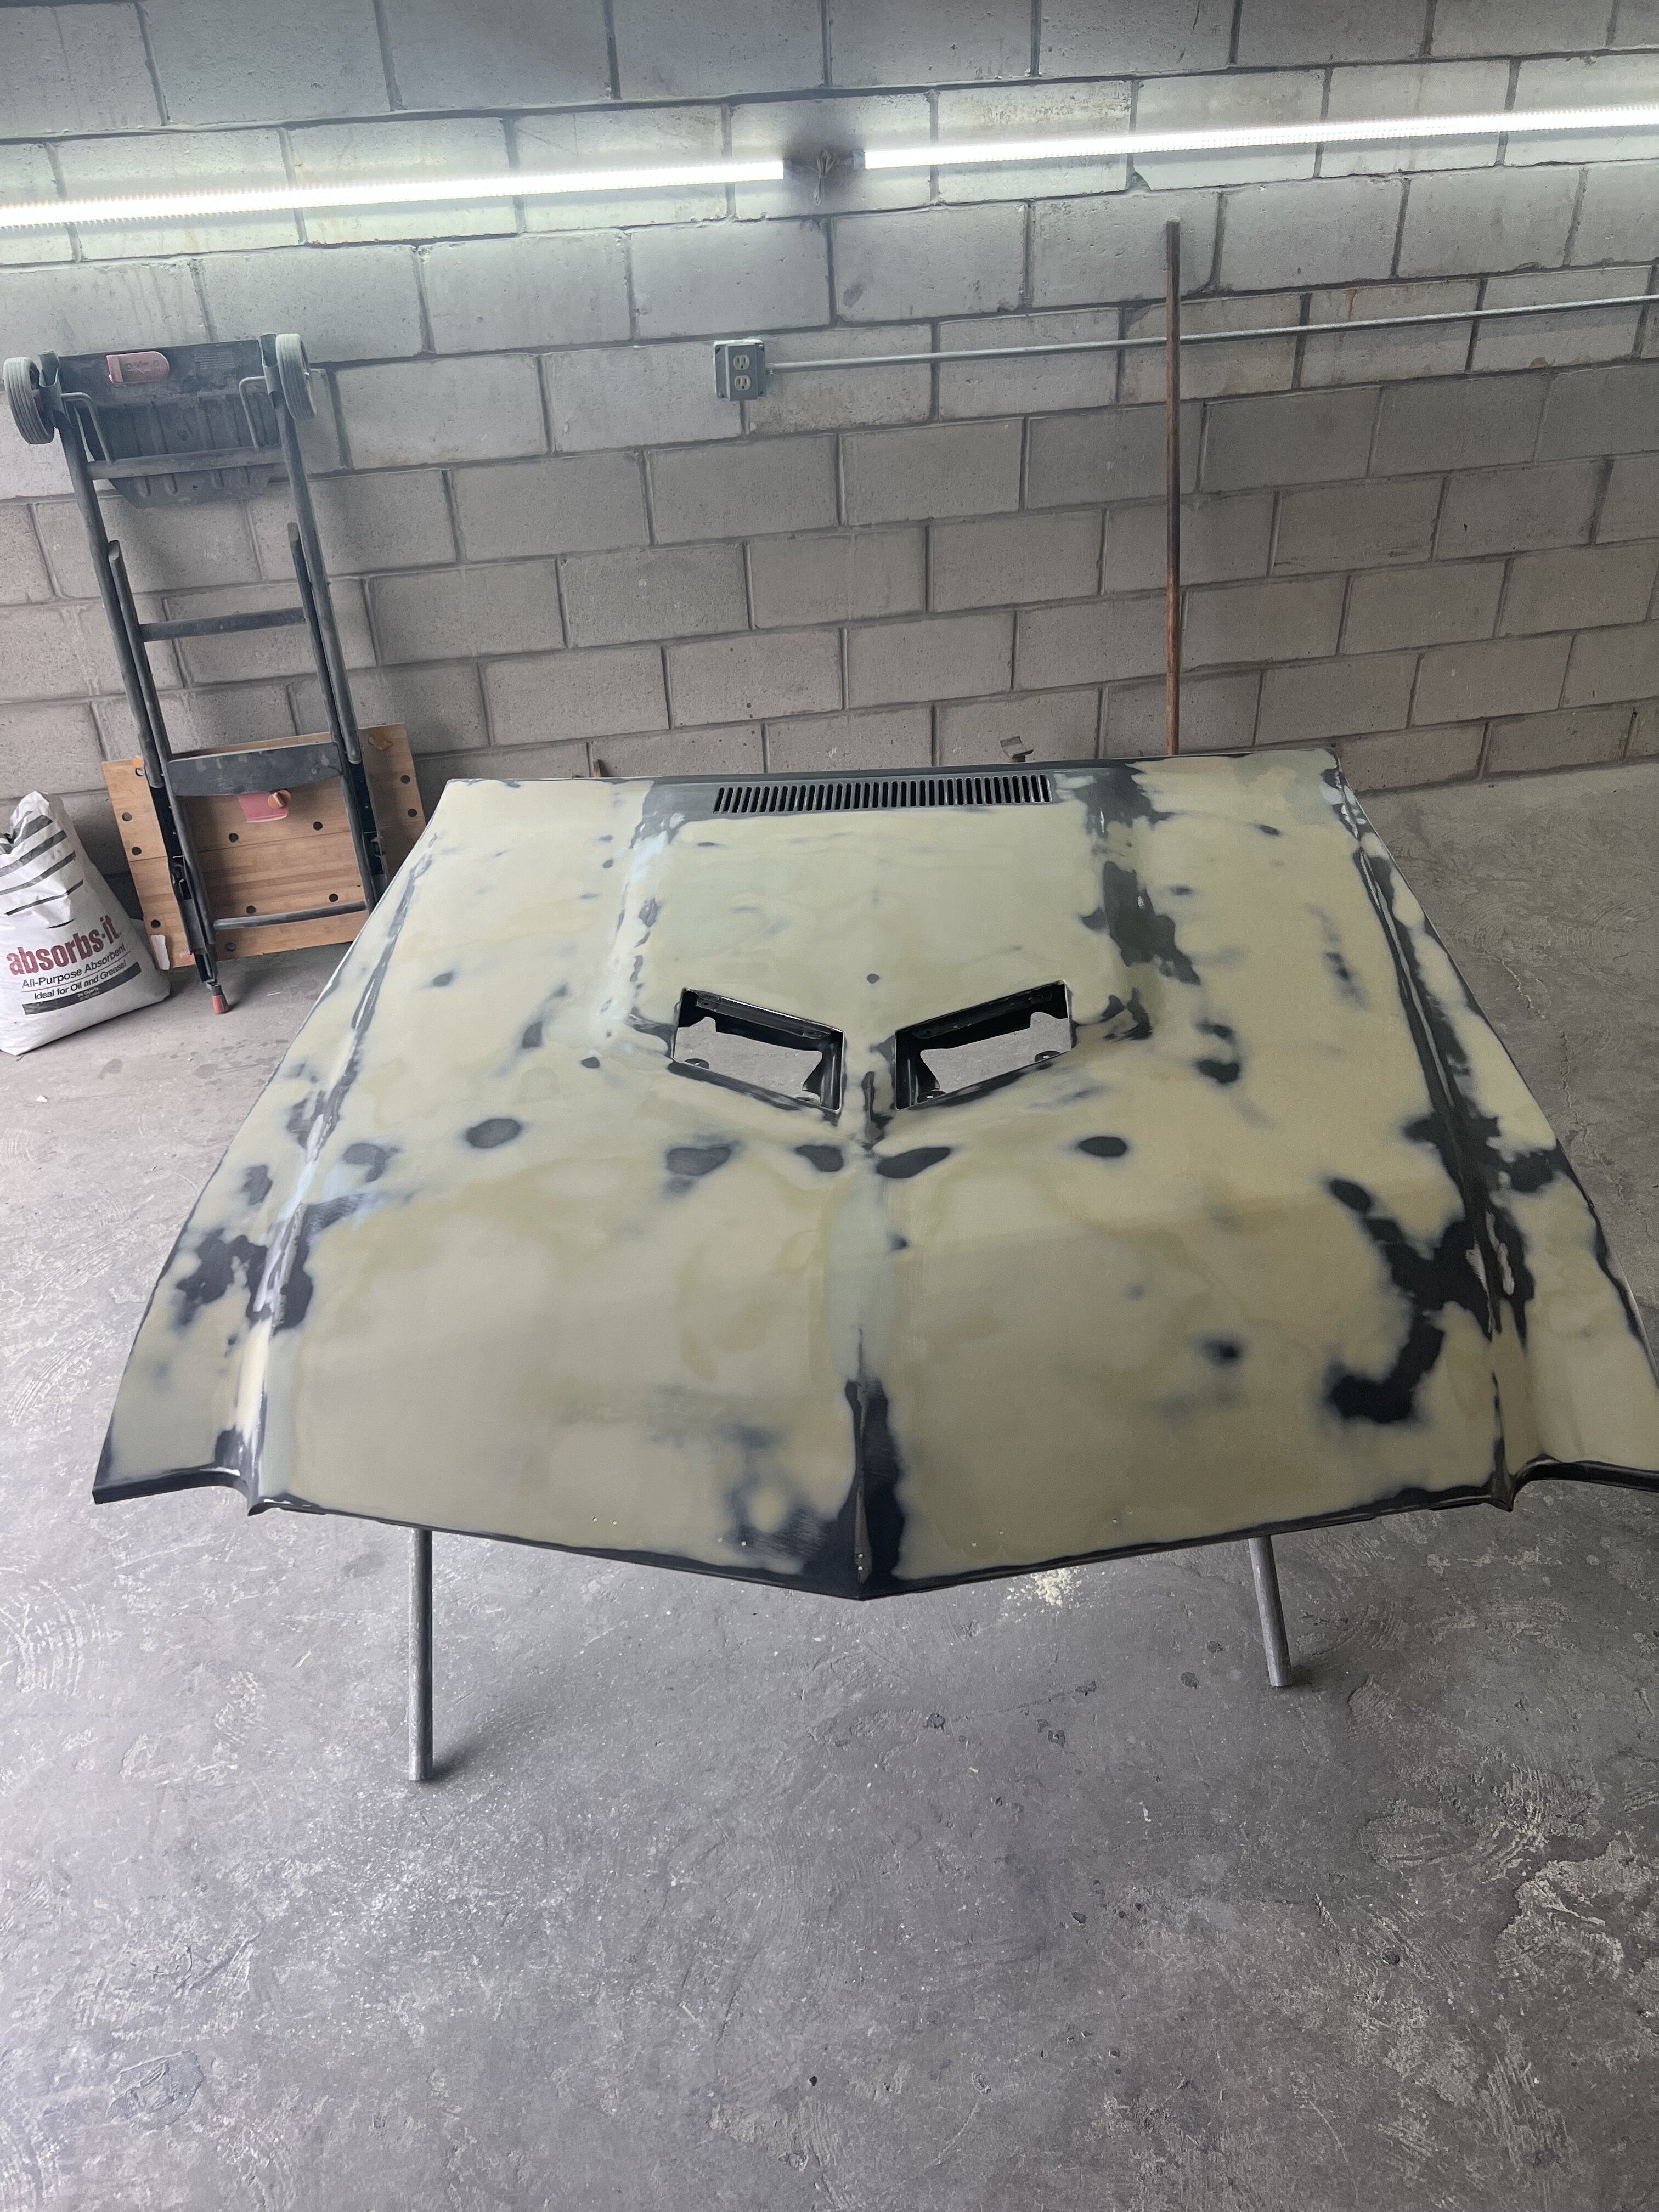
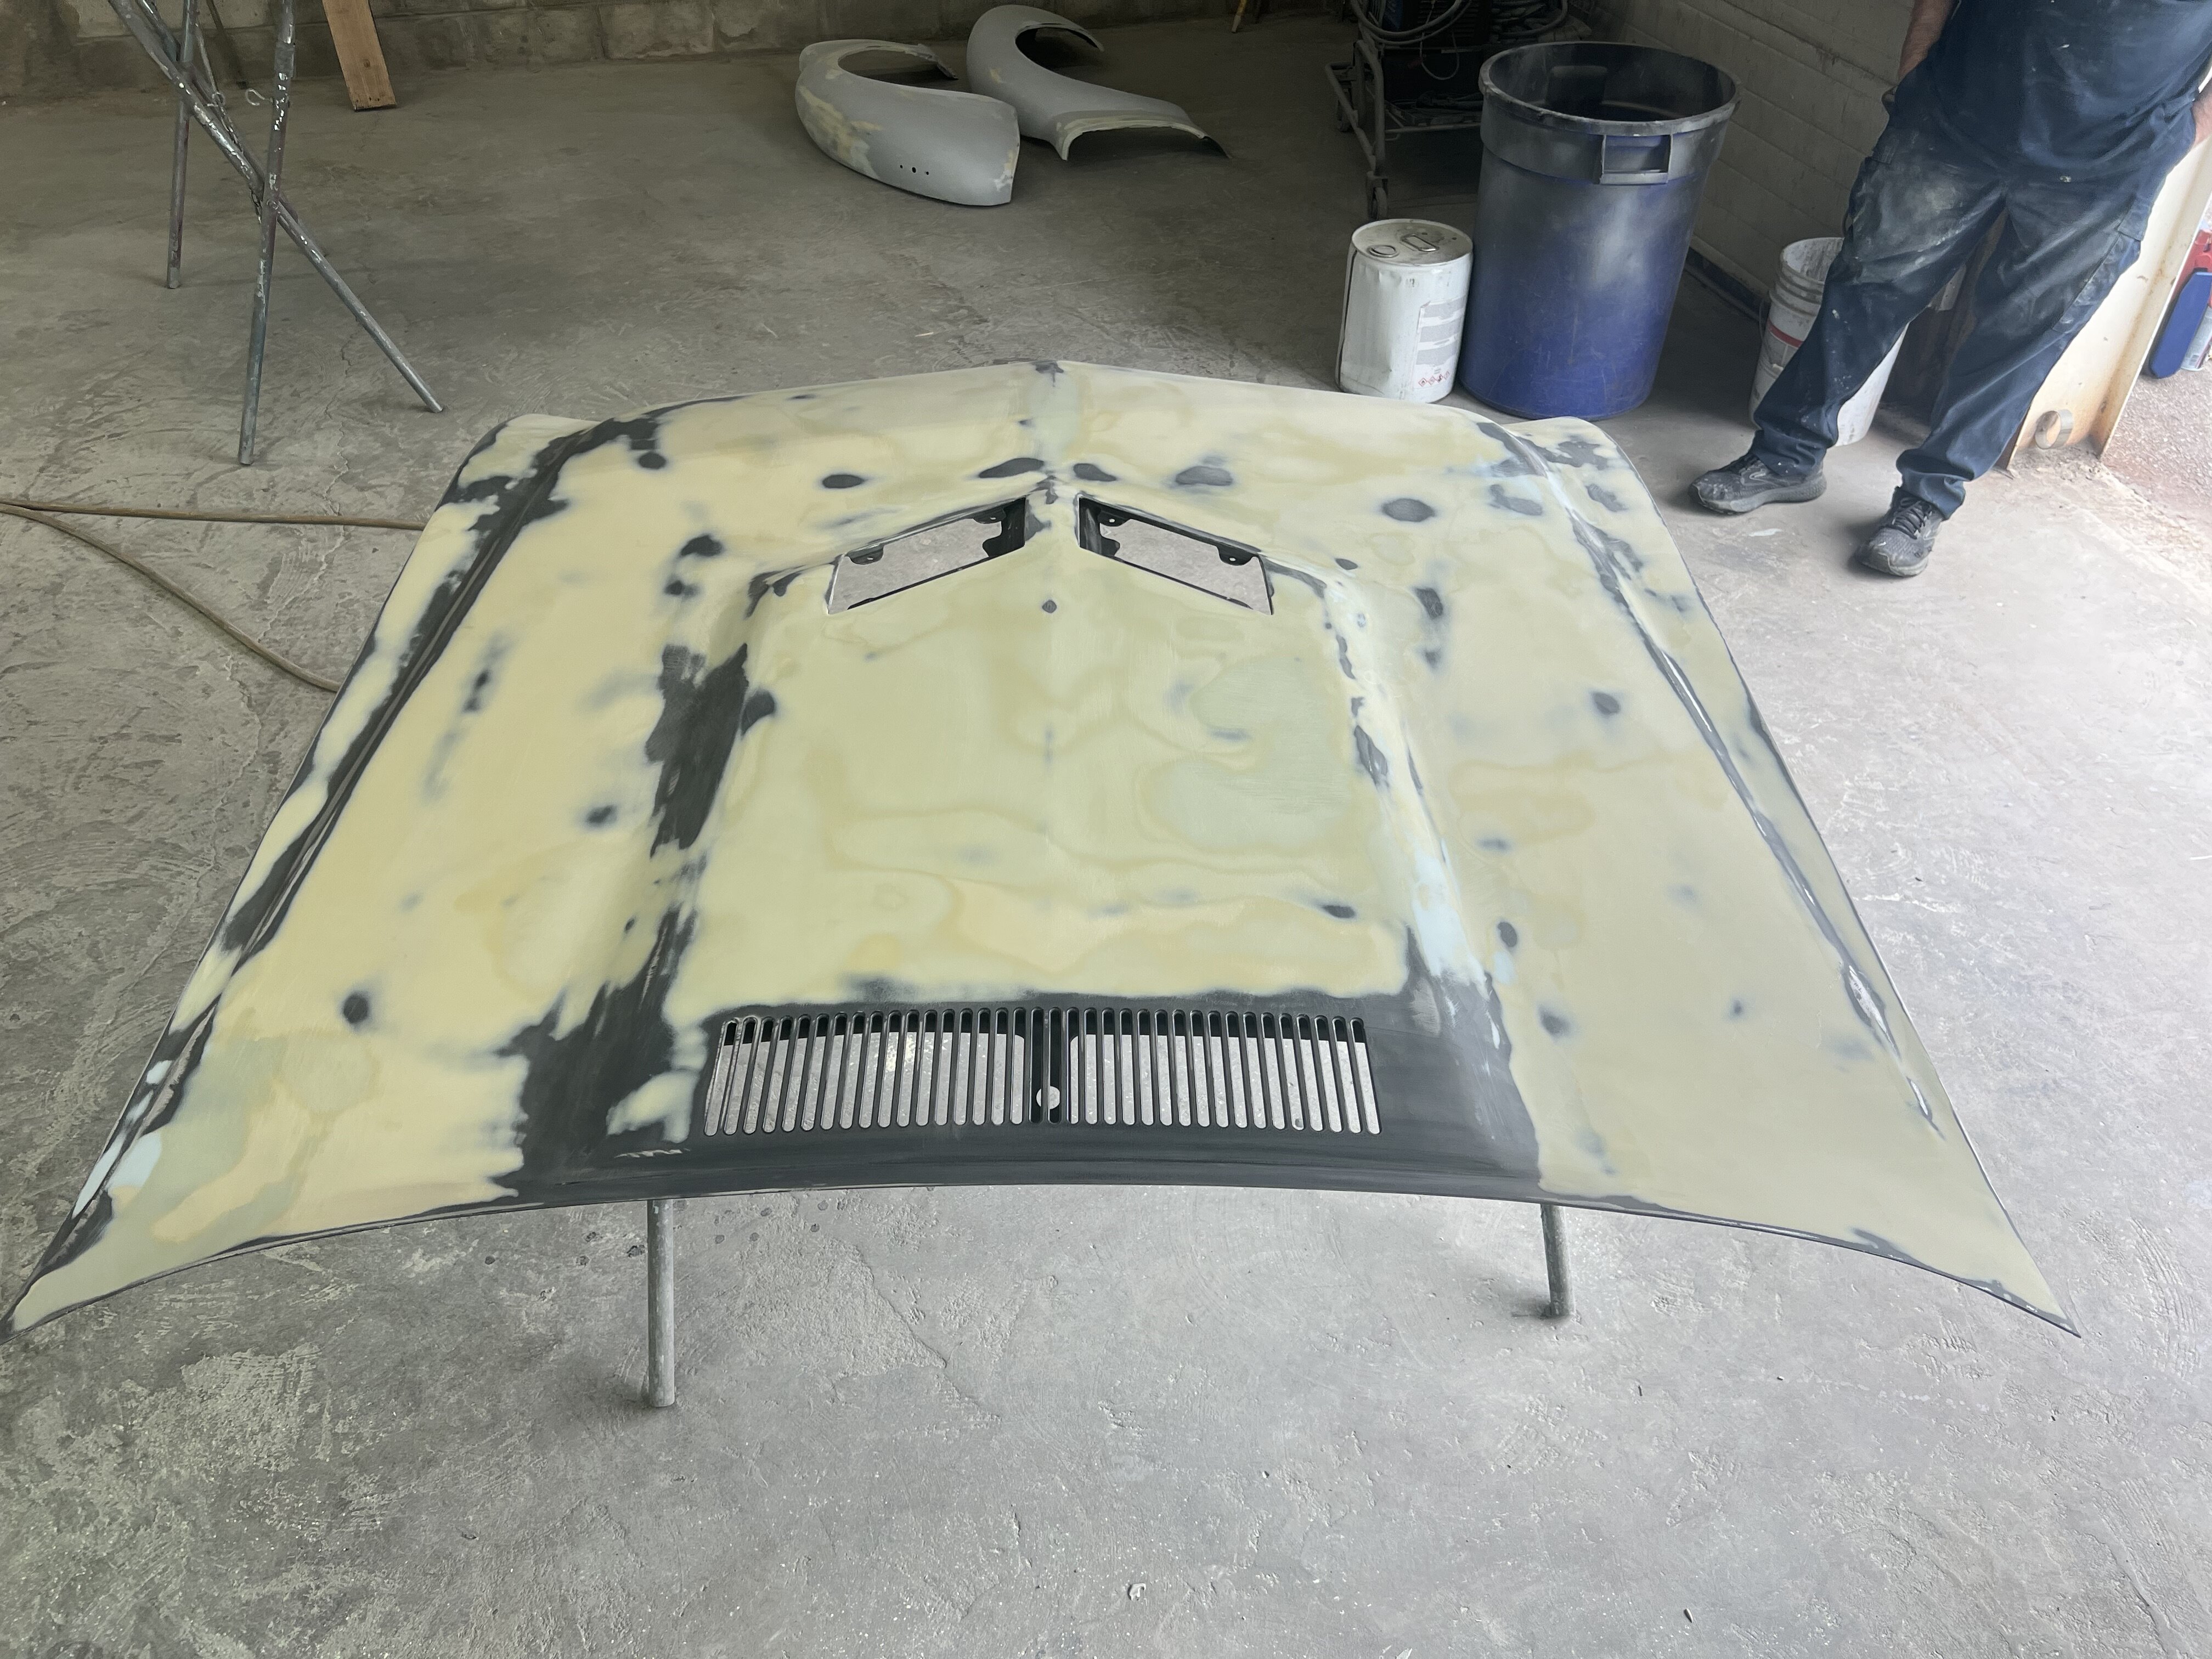
More pictures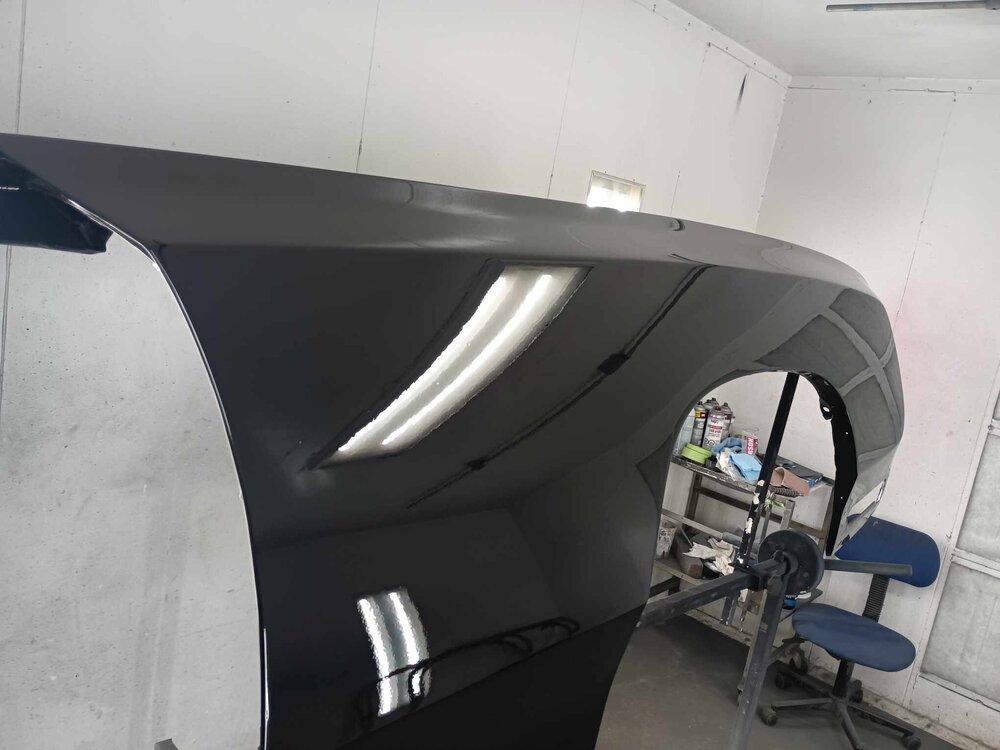


- 146 replies
-
- 10
-