

Slaman
-
Posts
164 -
Joined
-
Last visited
Content Type
Profiles
Articles
Forums
Gallery
Events
Everything posted by Slaman
-
I have seen a purple Monte in a junk yard many years ago... Matter of fact I have the door hinges off of it in my garage as a spare set.
-
Thanks everyone. I am far from being good at fab'ing panels but I am learning and trying. Here is how I set up my last modification to recess the side markers. Got the round rod welded to the patch and the patch about 90% welded in but ran out of wire. Only have the one pic right now, but it gives the general idea of how I did it. I like this way much better than the other way I did the other side marker opening. Post some pics of the panels you have fab'd up. I know there is some serious talent in this group. Steve
-
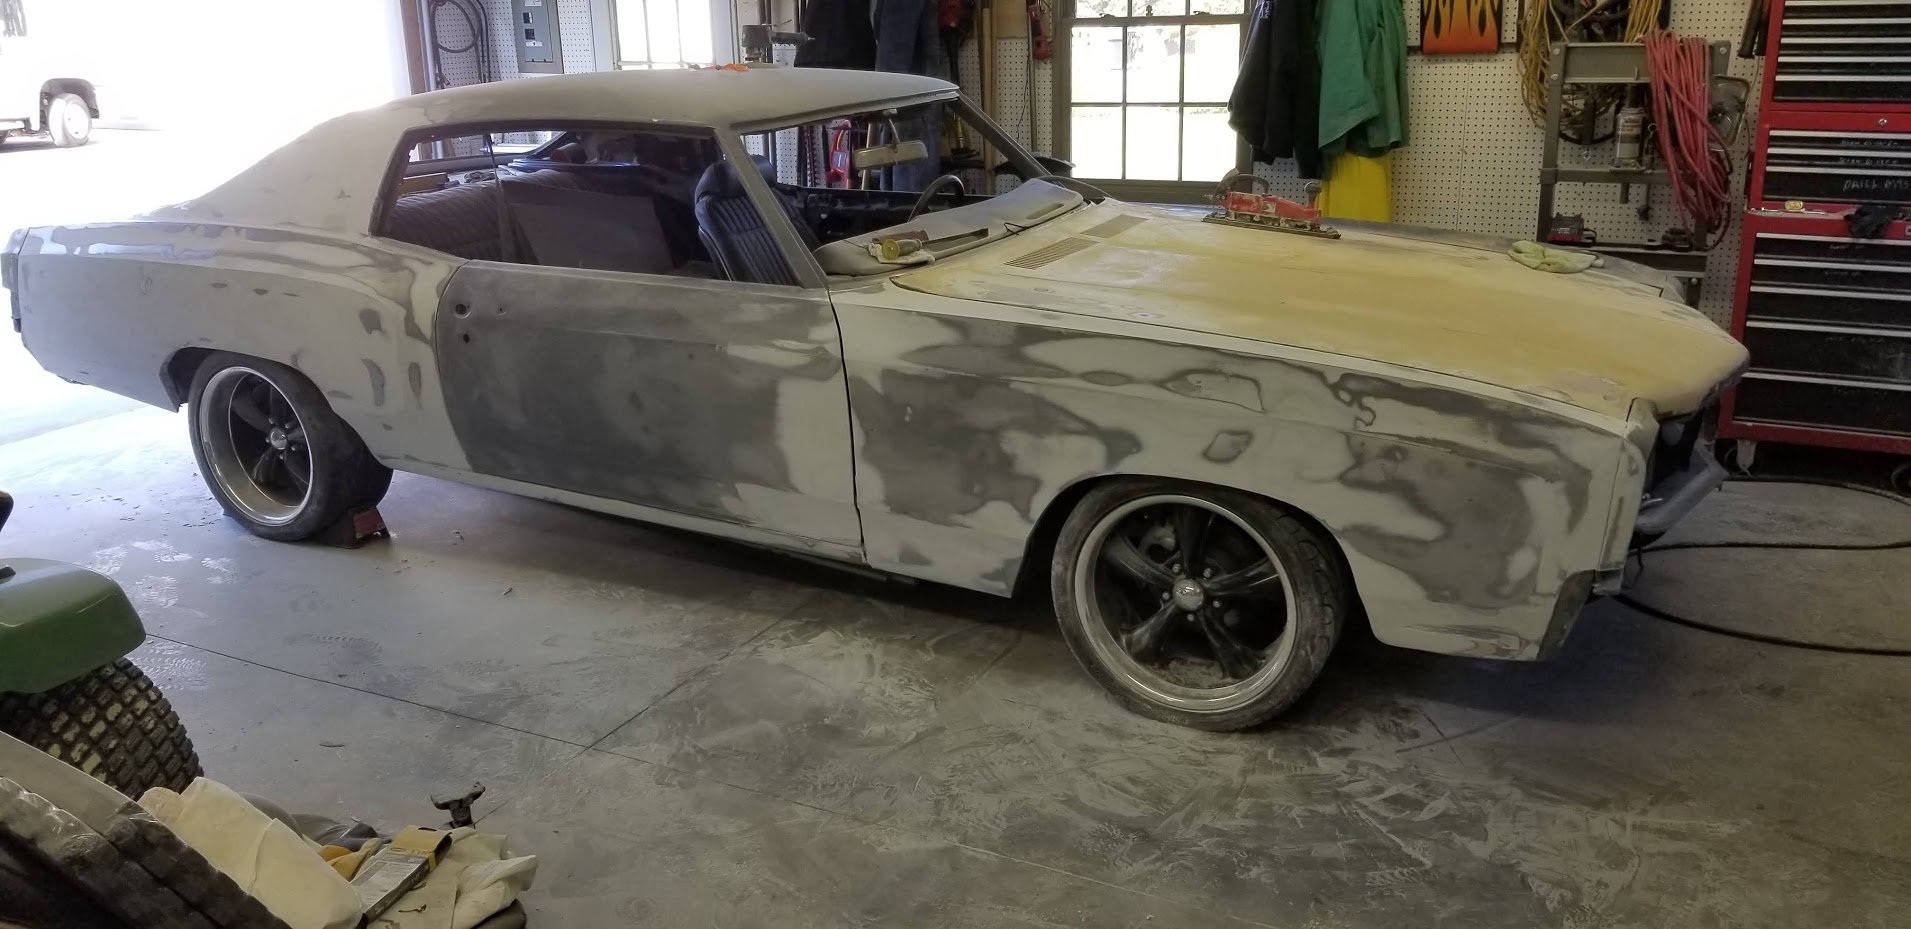
Lots of parts for our Montes aren't repop'd or are hard to get/expensive... Post some pics of pieces you have fabricated for your Monte. Here is my current project:(Metal inner fender under battery tray) Granted they sale this piece repop'd for about $90, but you can buy it with the rest of the inner fender for about $125. (I paid $50 for the pair and this is the only real problem spot) So, I made my own since I had the metal laying around. Not perfect and still not completed but this won't be a nut and bolt restore, more of a resto-mod.... What I had: What I made: Granted I haven't welded it to the inner fender yet in this pic and have a few more holes to drill but it will work I think. Steve
-
I bought a fender patch from Leo about a yar ago and he still had them. Not sure who he gets them from but I thought that fit pretty good.
-
Sounds like something internal to the transmission. Maybe the speedo gears in the tranny are loose and only engaging when in neutral...?
-
I don't see why it wouldn't. I use to have a simular set up on mine.
-
What did you do to your Monte today?
Slaman replied to Xxyyzz's topic in General 70-72 Monte Carlo Forum
Well it did not all get done in one day but I've been rebuilding the bottom corner of the drivers door. Almost have the metal work done... It's gone from this: to the fabricating steps: To this: Steve -
Thanks Davey. That actually makes perfect sense to me know that I think about like that. You're doing great. Good luck! Steve
-
Sounds like a blast Davey, but please excuse my ignorance on this part. You said with the button pushed it will hold your rpm's to 2000. I understand that. But you have it at WOT, so while staged you are actually running it extremely rich, correct? Do you have any issues with it bogging down with the sudden release of the hold on rpm's? Did it require re-tuning for this or is there something else I'm missing on this part? Thanks, Steve
-
What did you do to your Monte today?
Slaman replied to Xxyyzz's topic in General 70-72 Monte Carlo Forum
Spent some time yesterday making a new corner for the drivers door. Plan on working on it some more today. -
Nice progress!
-
I have heard and felt that before too but from the front end. Mine has always been rough on the front upper control arm busings and had one throw out the rubber. When it did it made that muted metal clunk and shifted to the side a bit. But as I said that was in the front, my bet is you might have something simular with the rear arms. Steve
-
What did you do to your Monte today?
Slaman replied to Xxyyzz's topic in General 70-72 Monte Carlo Forum
I rebuilt 3 door hinges, my rebuild kit shorted me 2 bushings... Sanded some filler on the passenger door, and started assessing the rust on the drivers side door front inside corner. Steve -
What did you do to your Monte today?
Slaman replied to Xxyyzz's topic in General 70-72 Monte Carlo Forum
Yes I do. It was the typical: yard work, daughter starting school, other daughters truck keeps breaking down (think I finally figured that out, Cat got plugged), called in for over time etc... You know, Life... lol... -
What did you do to your Monte today?
Slaman replied to Xxyyzz's topic in General 70-72 Monte Carlo Forum
Told it I was sorry for not getting work done on it this week. To many other things getting in the way... -
Not sure about a direct replacement. If I remember correctly I had to have one made about 3" shorter than my stock drive shaft, but that was years ago. I went from a Chevy 12 bolt to an Olds 12 bolt. Steve
-
What did you do to your Monte today?
Slaman replied to Xxyyzz's topic in General 70-72 Monte Carlo Forum
Did a bit more filler work and finally got the drivers quarter and passenger door in epoxy. Hopefully tonight or tomarrow I'll get some high build 2K on them. Still got to do the filler work on the door though. Steve -
Man that is close. Sounds like a fun weekend. Keep it up!
-
Congrats Davey, Hope the weekend is going well!
-
Good job getting it off. I would probably recommend getting your measurements, a new sheet of metal and a block of hardwood. Cut the outside diameter of the ring and the inside diameter taking into account the material needed for the lip. then cut/drill a hole in the hardwood the same diameter as the opening in the ring. then "hammer-form" the lip using the wood as a "buck". I hope I expained that ok... I'm sure there are other ways to do it but that was the first that came to mind.
-
A little detailing work after dinner tonight
Slaman replied to Enigmatic's topic in Restorers - Archive
That's an amazing difference. Like you said progress is progress and progress will certianly help make the interior "pop". Good job! -
Beautiful work.
-
What did you do to your Monte today?
Slaman replied to Xxyyzz's topic in General 70-72 Monte Carlo Forum
Must be a time warp... lol... Looks good Abe! I got to spend a few hours on filler work on the drivers quarter panel. I think it is straight enough finally to put on a coat of epoxy then some high build. Plus I media blasted my welds on the passenger door and did some sanding on it getting it ready for epoxy. Steve -
nice fix... I should snap a couple pics of the repair I did a couple weeks ago on the exhaust for my daily driven ricer