dejh22
-
Posts
151 -
Joined
-
Last visited
-
Days Won
3
Content Type
Profiles
Articles
Forums
Gallery
Events
Everything posted by dejh22
-
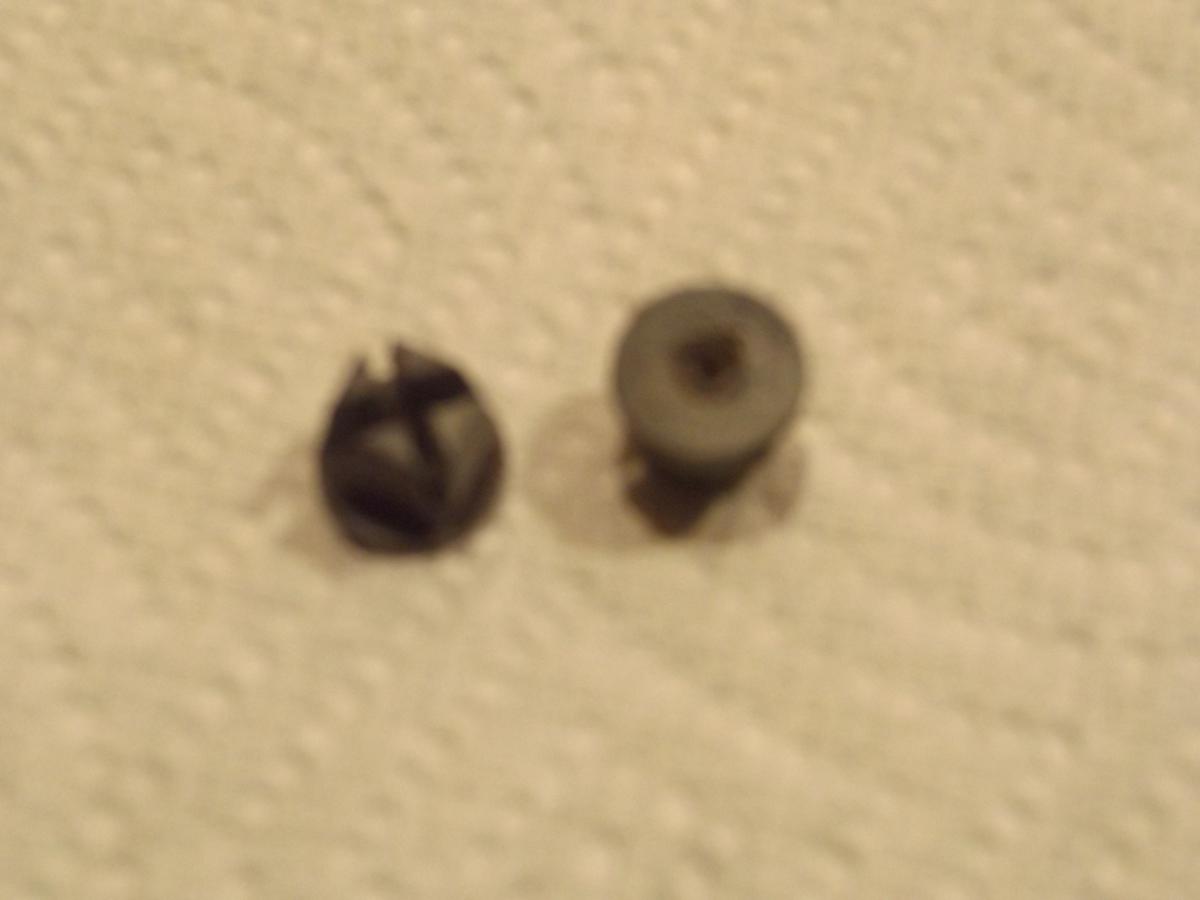
I think these are the plastic pc for the screws.
-
If I remember right, there is a push in plastic pc that the screw, screws into.
-
Prayers to you and your family.
-
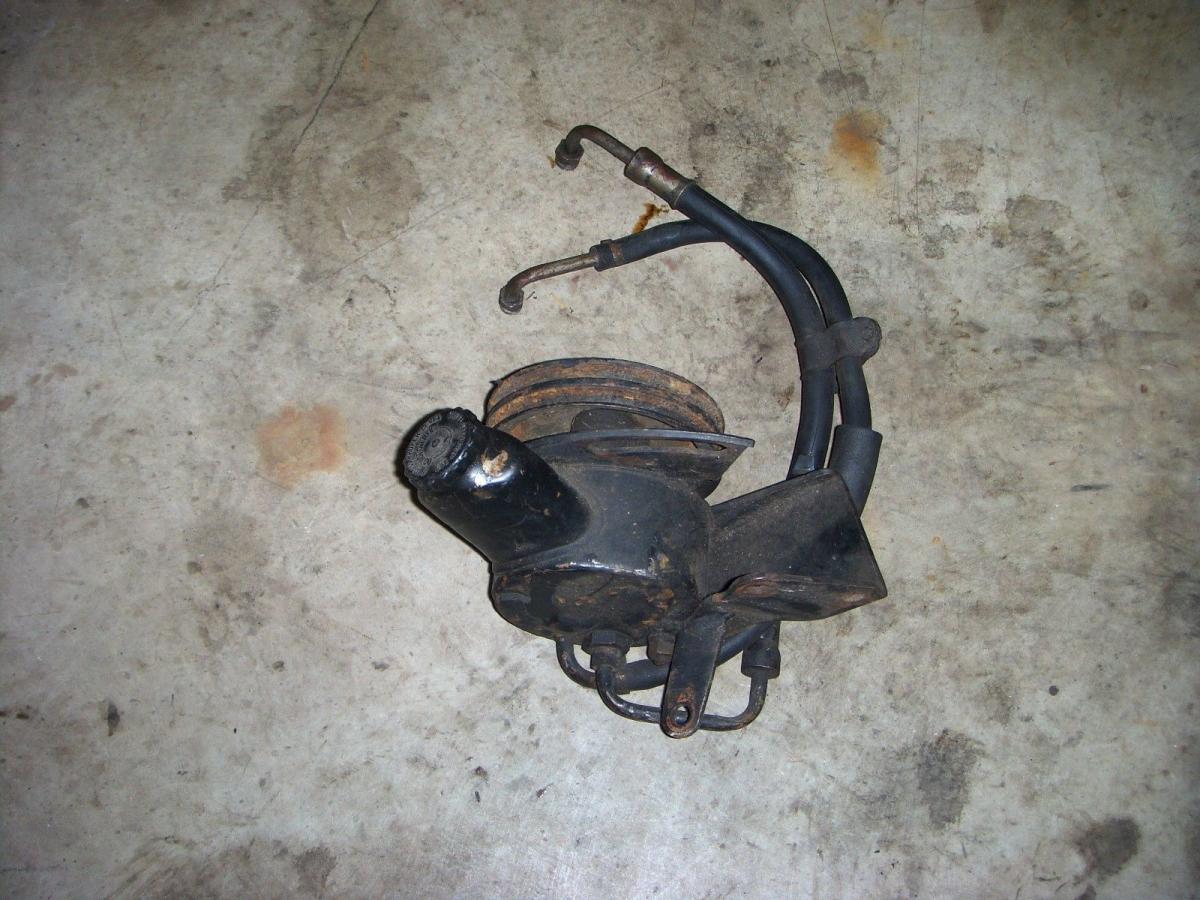
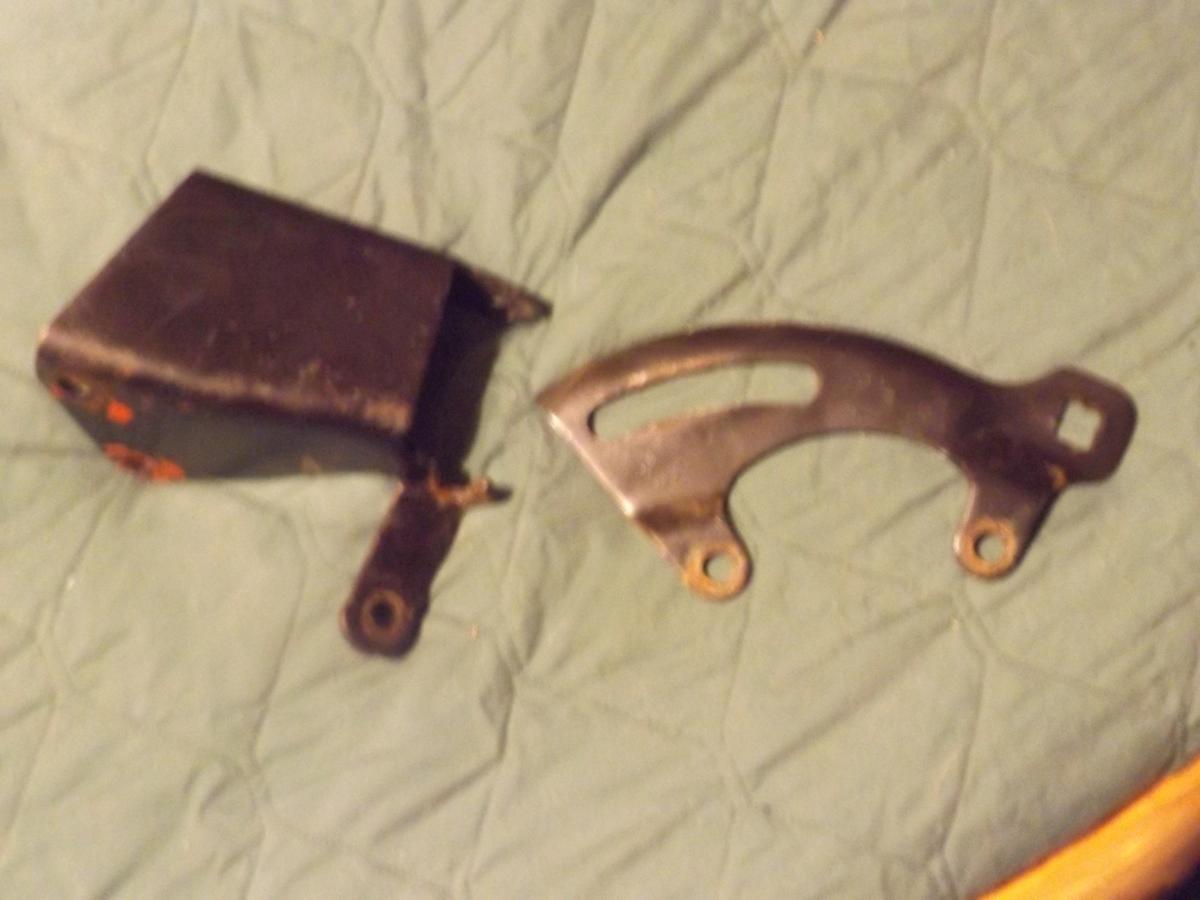
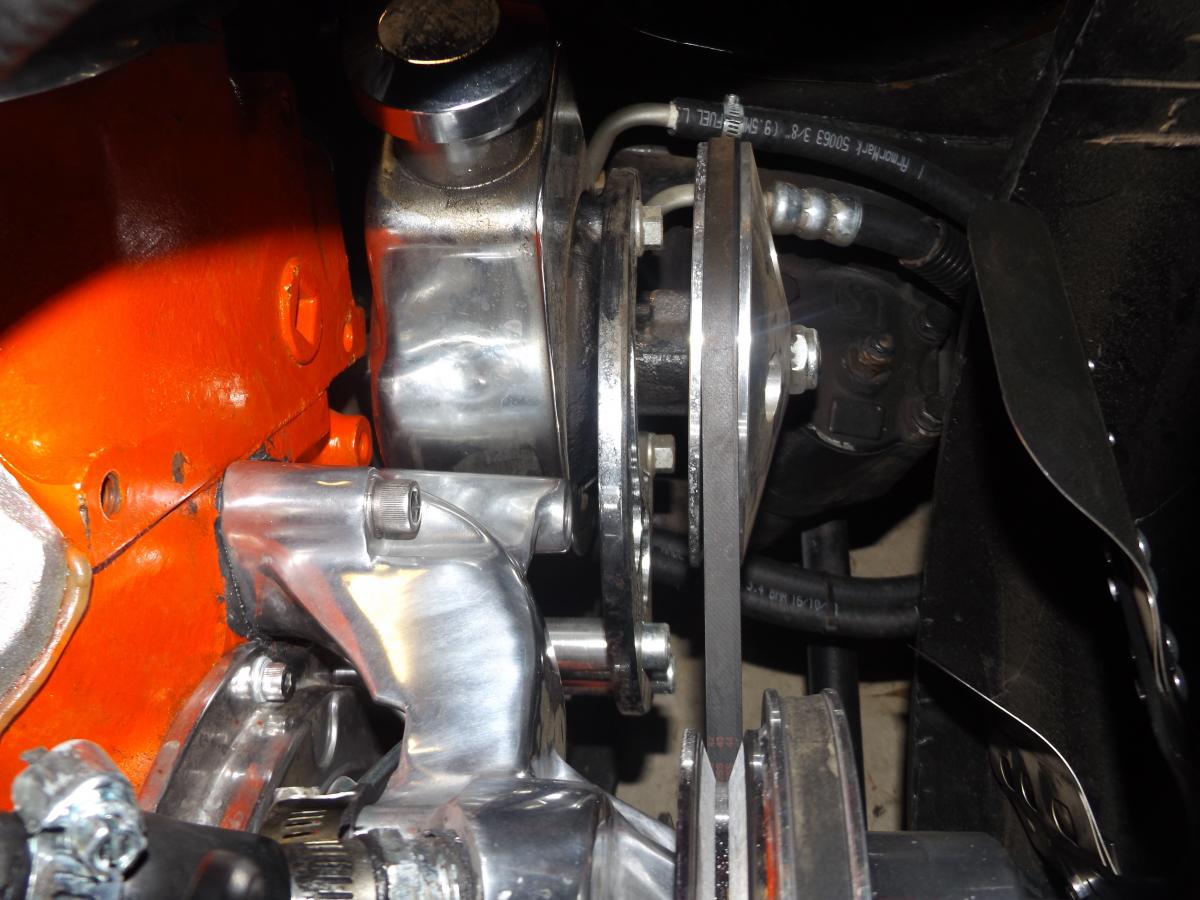
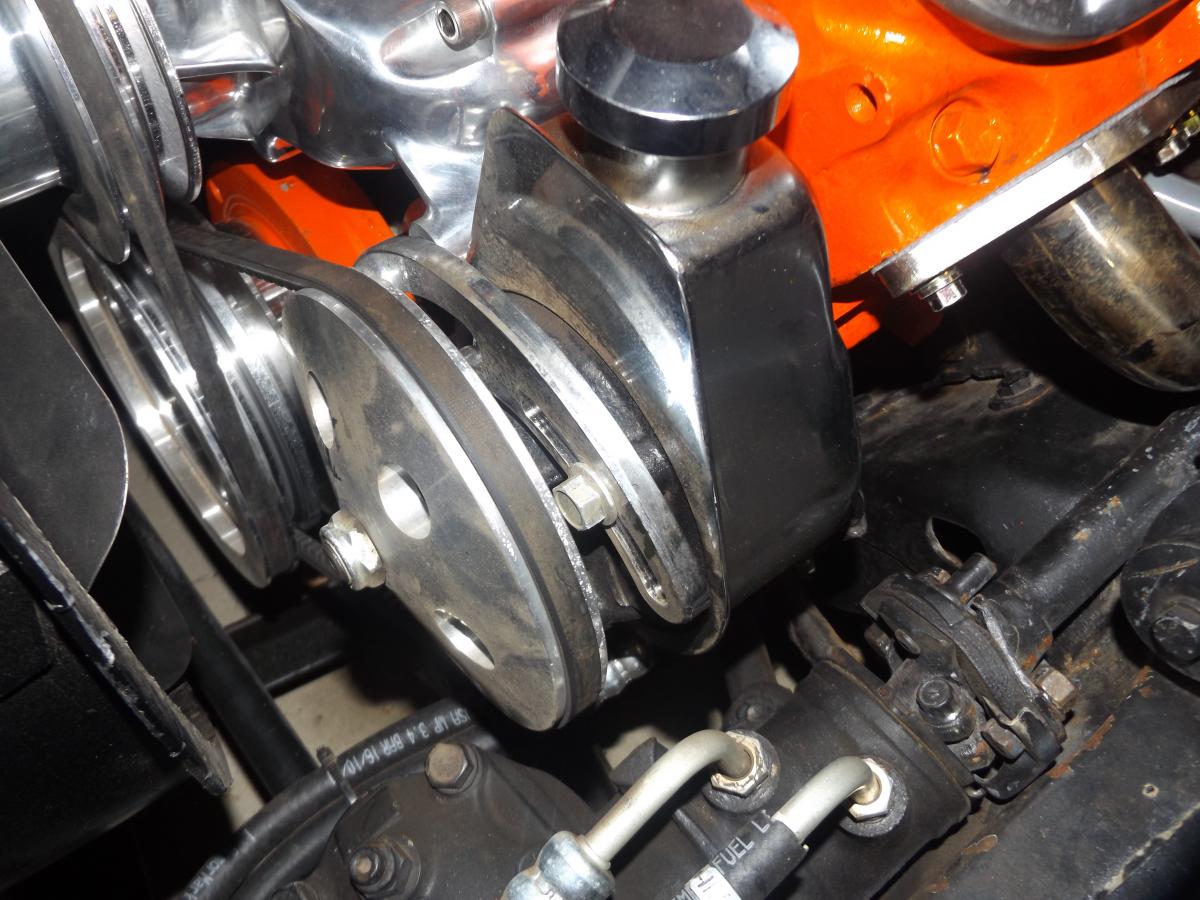
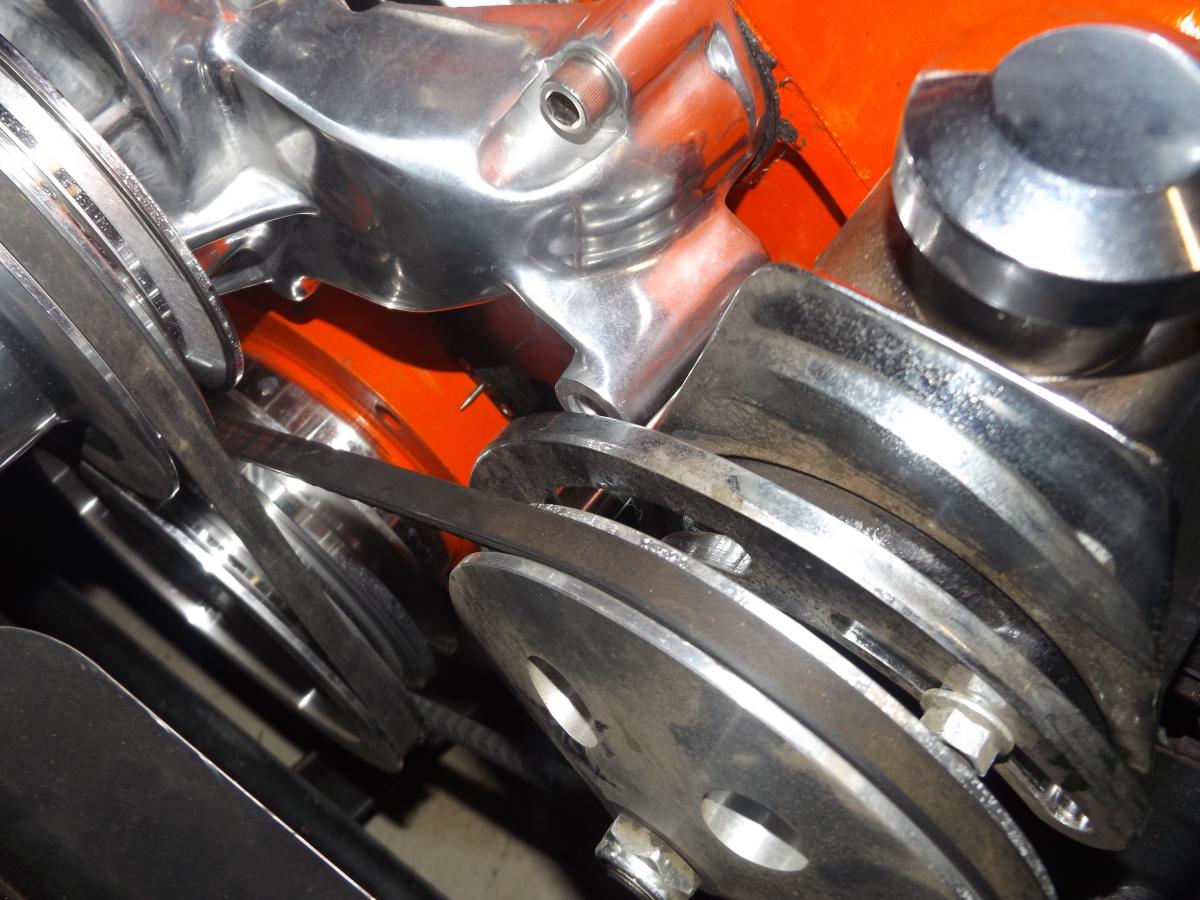
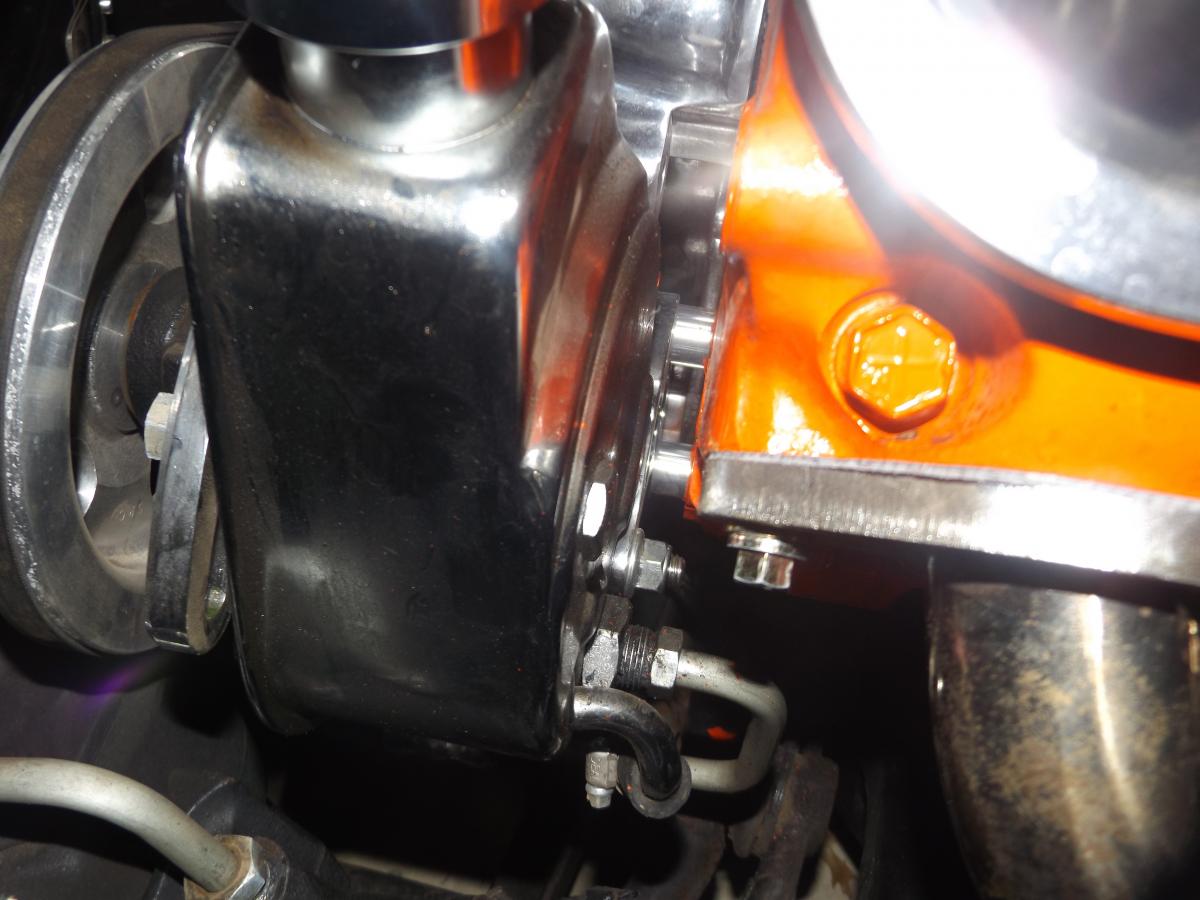
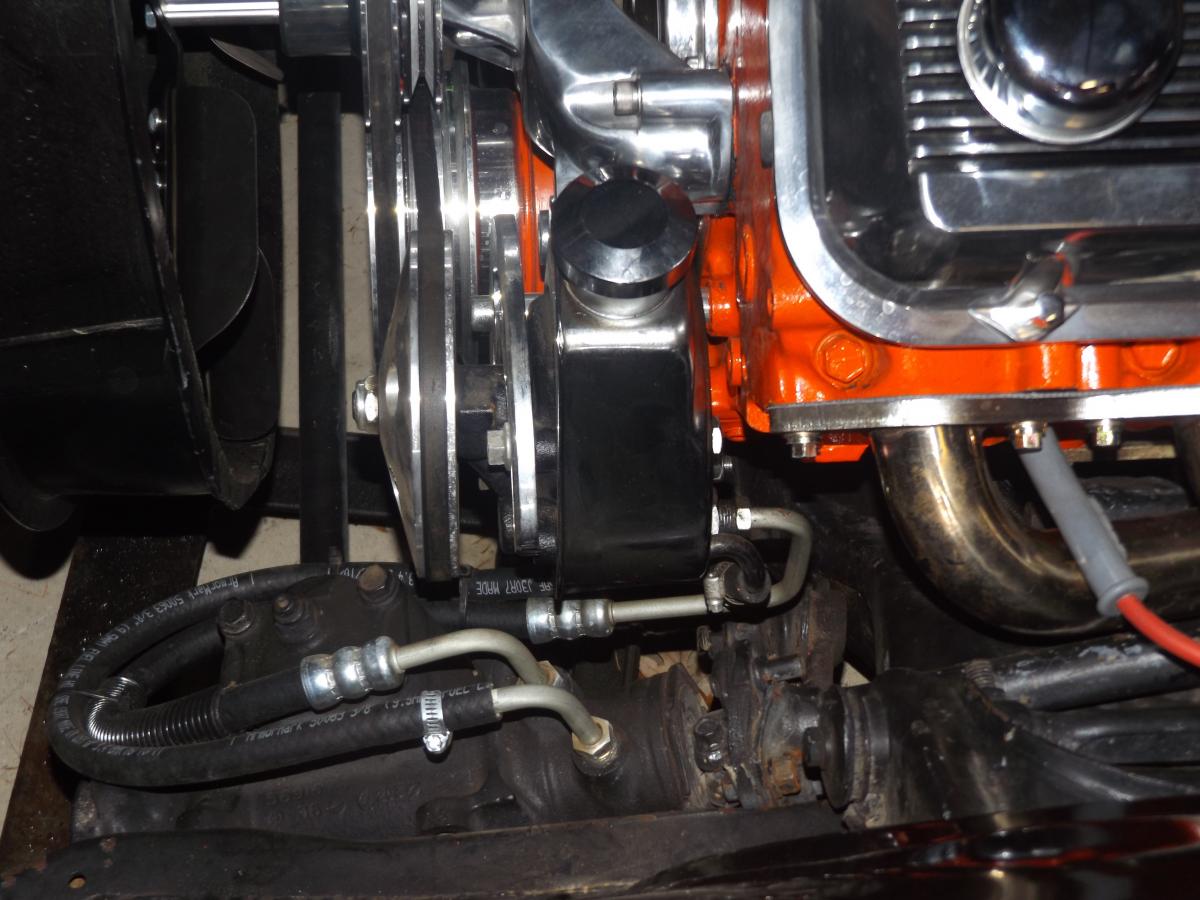
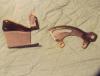
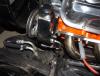
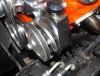
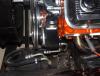
Chris, The aftermarket brackets came with a whole aluminum kit I bought off ebay. The kit came with pulleys, alternator and power steering brackets, alternator, power steering pump and water pump. You can buy just the power steering brackets also. Only thing is the kit did not come with any directions. Had to figure out how the brackets went on....no fun! The black brackets were on a mid 80's 454. What you could do is do a search on ebay and look for Chevy big block power steering pump brackets.
-
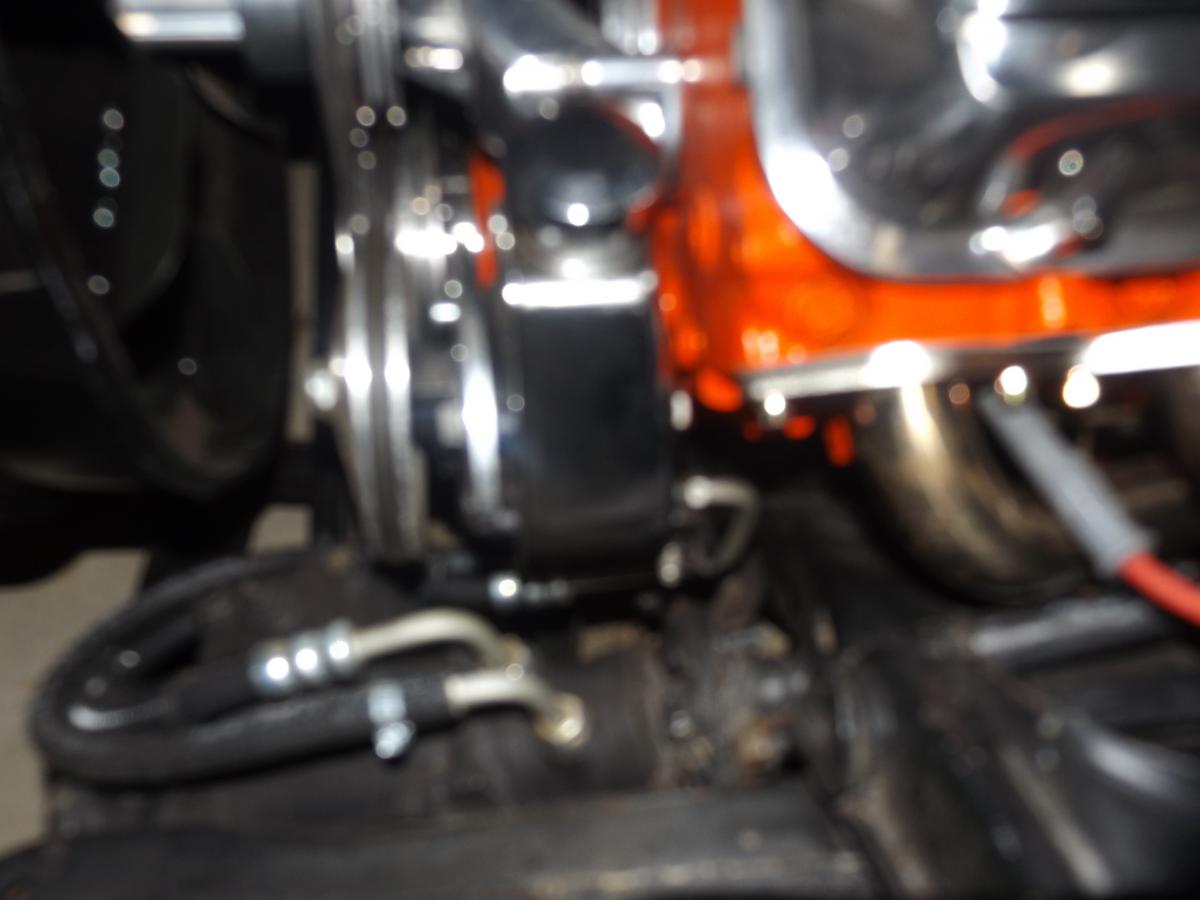
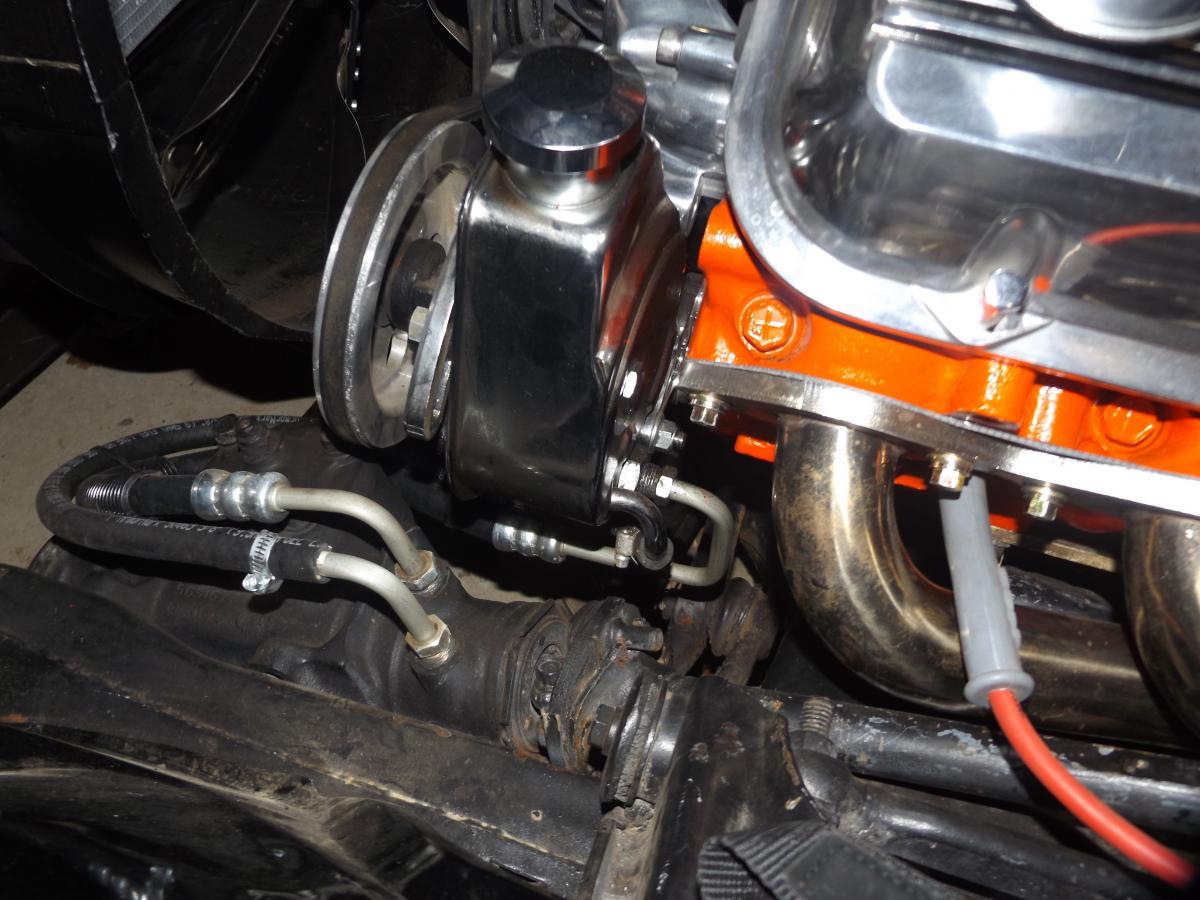
I found this pic online. This is what the setup would look like.
-
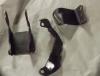
Ok check that lol! The brackets I posted where for a small block. These came off my big block 454.
-
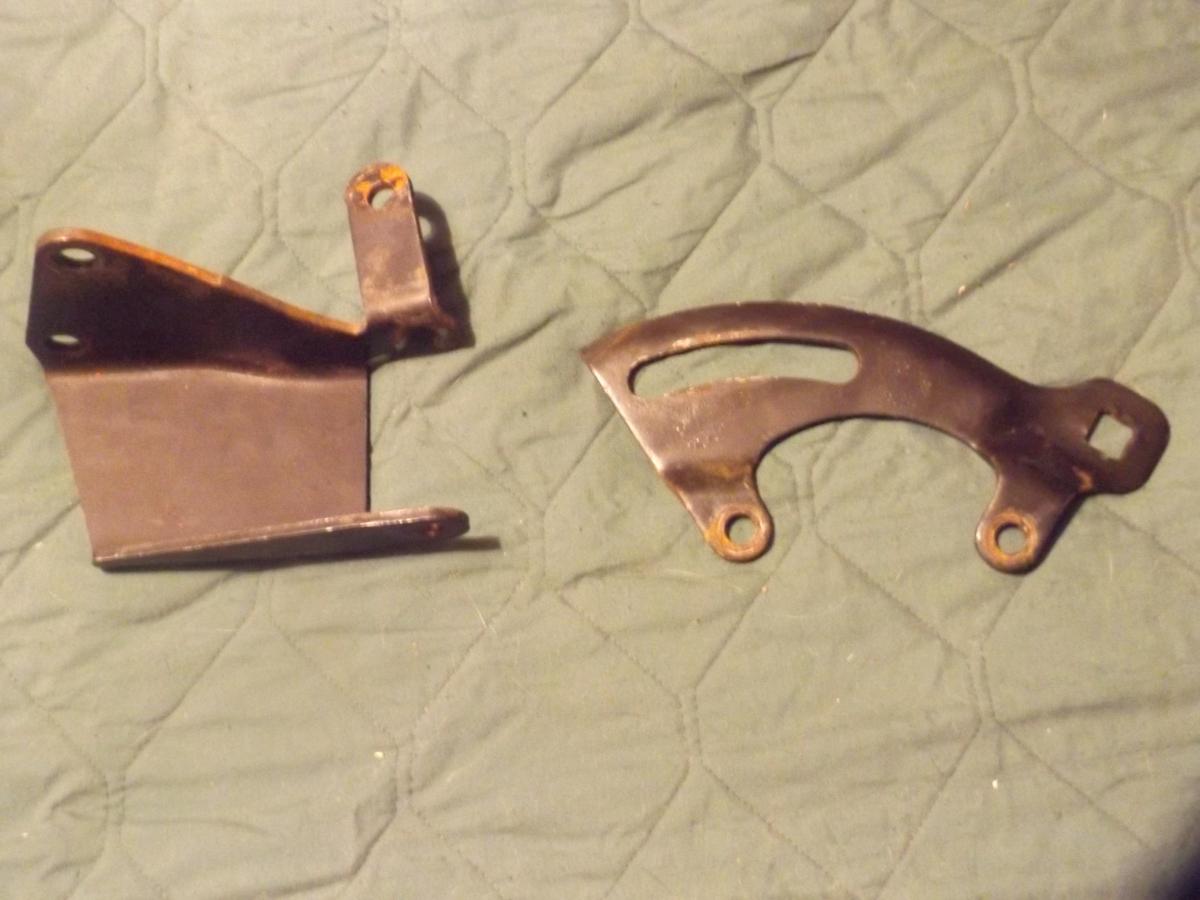
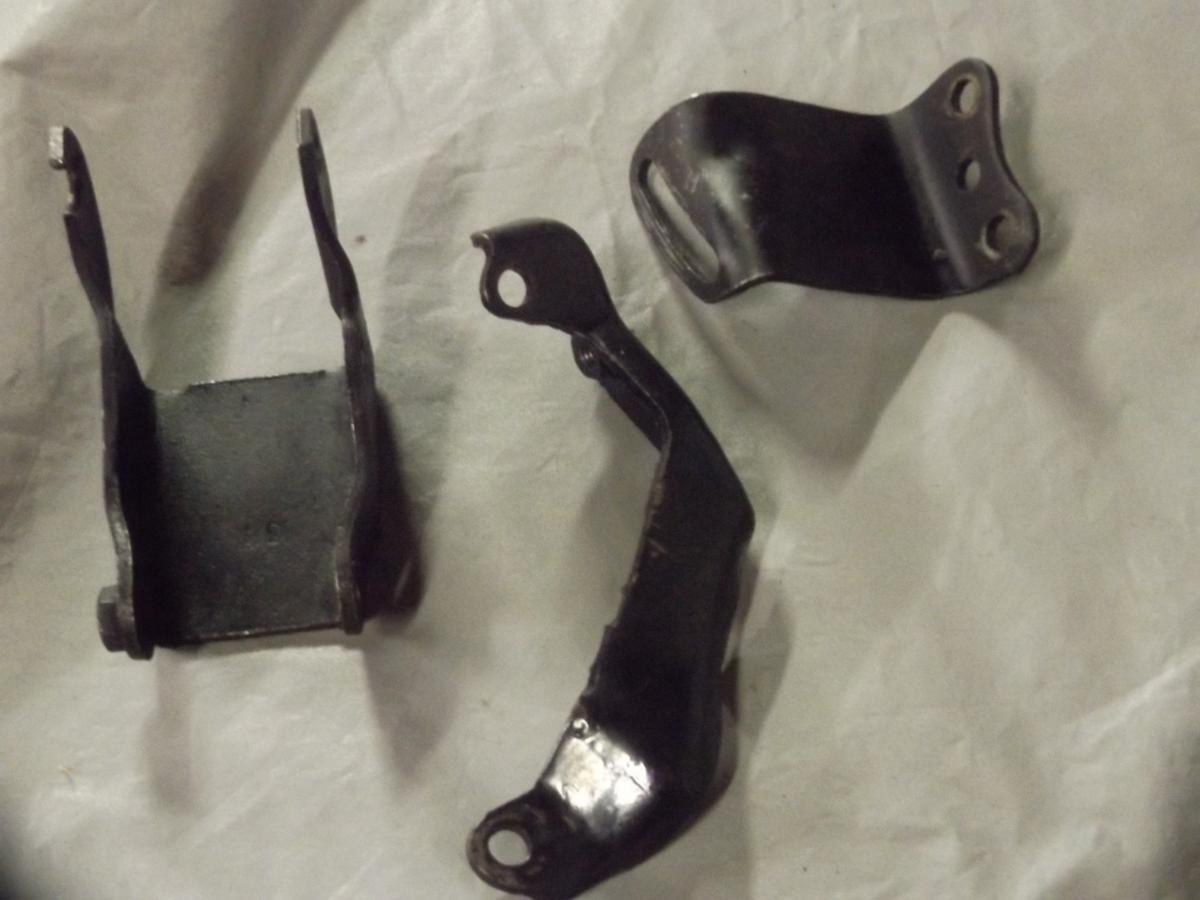
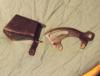
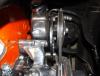
I think these are the stock power steering pump brackets. I'm not sure because at the same time I was working on a small block power steering setup on a 70 Monte.
-
I have a 396 ( Big Block ) but I have an after market set up. Not sure if this will help or not.


-
I used silicone. In the video I believe they used 3M weather strip adhesive.
-
I sent the video link to you. Not sure if I'm allowed to post video links on the forum. Just wanted to add the video is a Chevelle, but the concept is the same.
-
I would focus on the carb. Double check to make sure there isn't a vacuum leak around the base of the carb. When you say adjust the carb how was that performed? Did you use a vacuum gauge, or adjust it by ear?
-
Just had new carrier and gears put in a 1972 and 1971 Monte Carlo. Both had stock 12 bolt rears with 273 gears. Both were 30 spline axles. I believe 10 bolt rears are 28 spline.
-
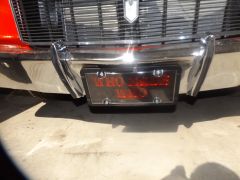
From the album: 1971 SS Clone
-
-
-
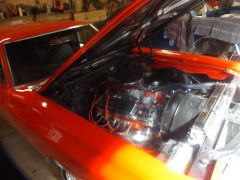
From the album: 1971 SS Clone
-
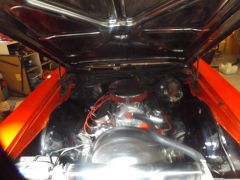
From the album: 1971 SS Clone
-
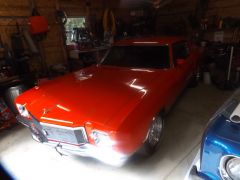
From the album: 1971 SS Clone
-

From the album: 1971 SS Clone
-
That's sounds strange. So when the timing mark is at 0, is the rotor pointing at number 6? I know nothing about timing lights. I always time by vacuum gauge. Most people think I'm nuts but I have done it that way for 30 yrs. I disconnect the power to the distributor pull number one plug. Then I take a paper towel bunch it up and push it into the spark plug hole bump the starter until the paper towel pops out. Check the distributer to see where the rotor is pointing. If it is not pointing at number one I pull up the distributor and turn it till the rotor is pointing at number 1. It may not drop down all the way but that is ok. I put the paper towel back in the speak plug hole and bump it around again until I hear it pop out again. Check the rotor and sure enough it is pointing at number one and distributer is all the way in. Then play with the distributer until I can get it to stay running. I then advance the timing until I get the highest reading and back it off an inch. I also use a vacuum gauge to set the carb. Most the time it is really close. If I get a little spark knock I will back off the timing a little. I just built a 396 for our 71 Monte SS clone. First start was done as described above. It has a larger cam and max vacuum was 16 inches after the carb was dialed in. I backed the timing to 15 inches. It runs great there. It starts fine, accelerates great no spark knock. I also dialed in my soon to be son inlaw's 70 Monte with a 355 we rebuilt for it. It also has a larger cam. I also have a 71 Monte (my profile pic) with a 383 I built about 10 yrs ago. It is dialed in the same way. My son's 72 Monte with a 355 with a mild cam, he dial it in using the same method.
-
The firing order is 1 8 4 3 6 5 7 2. Are saying that number one wire is at the number 6 position on the cap? If that is the case you can have the number one wire start anywhere on the cap. That is as long as the rotor is pointing at the number one wire wherever it is on the cap as long as number one cylinder is TDC.
-
Well I thought I had it fixed. The next day it started leaking a drip or two again from the same location. I guess maybe I should of changed the rear seal while the pan was off. Just going to live with it now.
-
Sounds like you are on the right track. Yes an HEI for a Chevy. Correct on the 12v wire. Yes there is a connection for the a Tachometer. It is right next to the connection for the ignition wire. You will need to have # 1 cylinder on top dead center and make sure the rotor in pointing at #1 cylinder. Then run your spark plug wires with #1 wire being closest to the terminal that is in line with the rotor pointing at #1 cylinder. Run your spark plug wires clockwise 18436572. The you will need to time it. Timing light or the way I do it by vacuum gauge.
-
Looks to me that it is running a little rich. I have seen worse.
-
The high tack sealer did not work. Did not hold the gasket in place. So I used a thin coat of contact cement on the block and the gasket. Worked well for holding it in place. I put a little RTV in the corners and a thin coat of RTV on the front seal front and back side none on the bottom of the front seal. I started the corner bolts and the started from the center of the pan and worked from side to side working outward. Then went back and tighten them in the same method. Let it set for a day. Happy to report started it up tonight and NO LEAKS!
-
I just wish there was a "standard" way of installing a one pc oil pan gasket. I'm not joking, I spent hours researching online. Came up with nothing concrete. Your a fool if you use rtv and your a fool not to. Use a little, use a lot. +