
John S
-
Posts
537 -
Joined
-
Last visited
-
Days Won
6
Content Type
Profiles
Articles
Forums
Gallery
Events
Everything posted by John S
-
Good to know thanks John S
-
Thanks, also looking at one on ebay all I would need is correct top plate http://www.ebay.com/itm/161897472065?_trksid=p2055119.m1438.l2649&ssPageName=STRK%3AMEBIDX%3AIT
-
Right the base is the same I was curious as to how a repop fit. Originals are hard to find even a decent console base . Found one in Shelby NC but looked like it was removed with baseball bat. John S
-
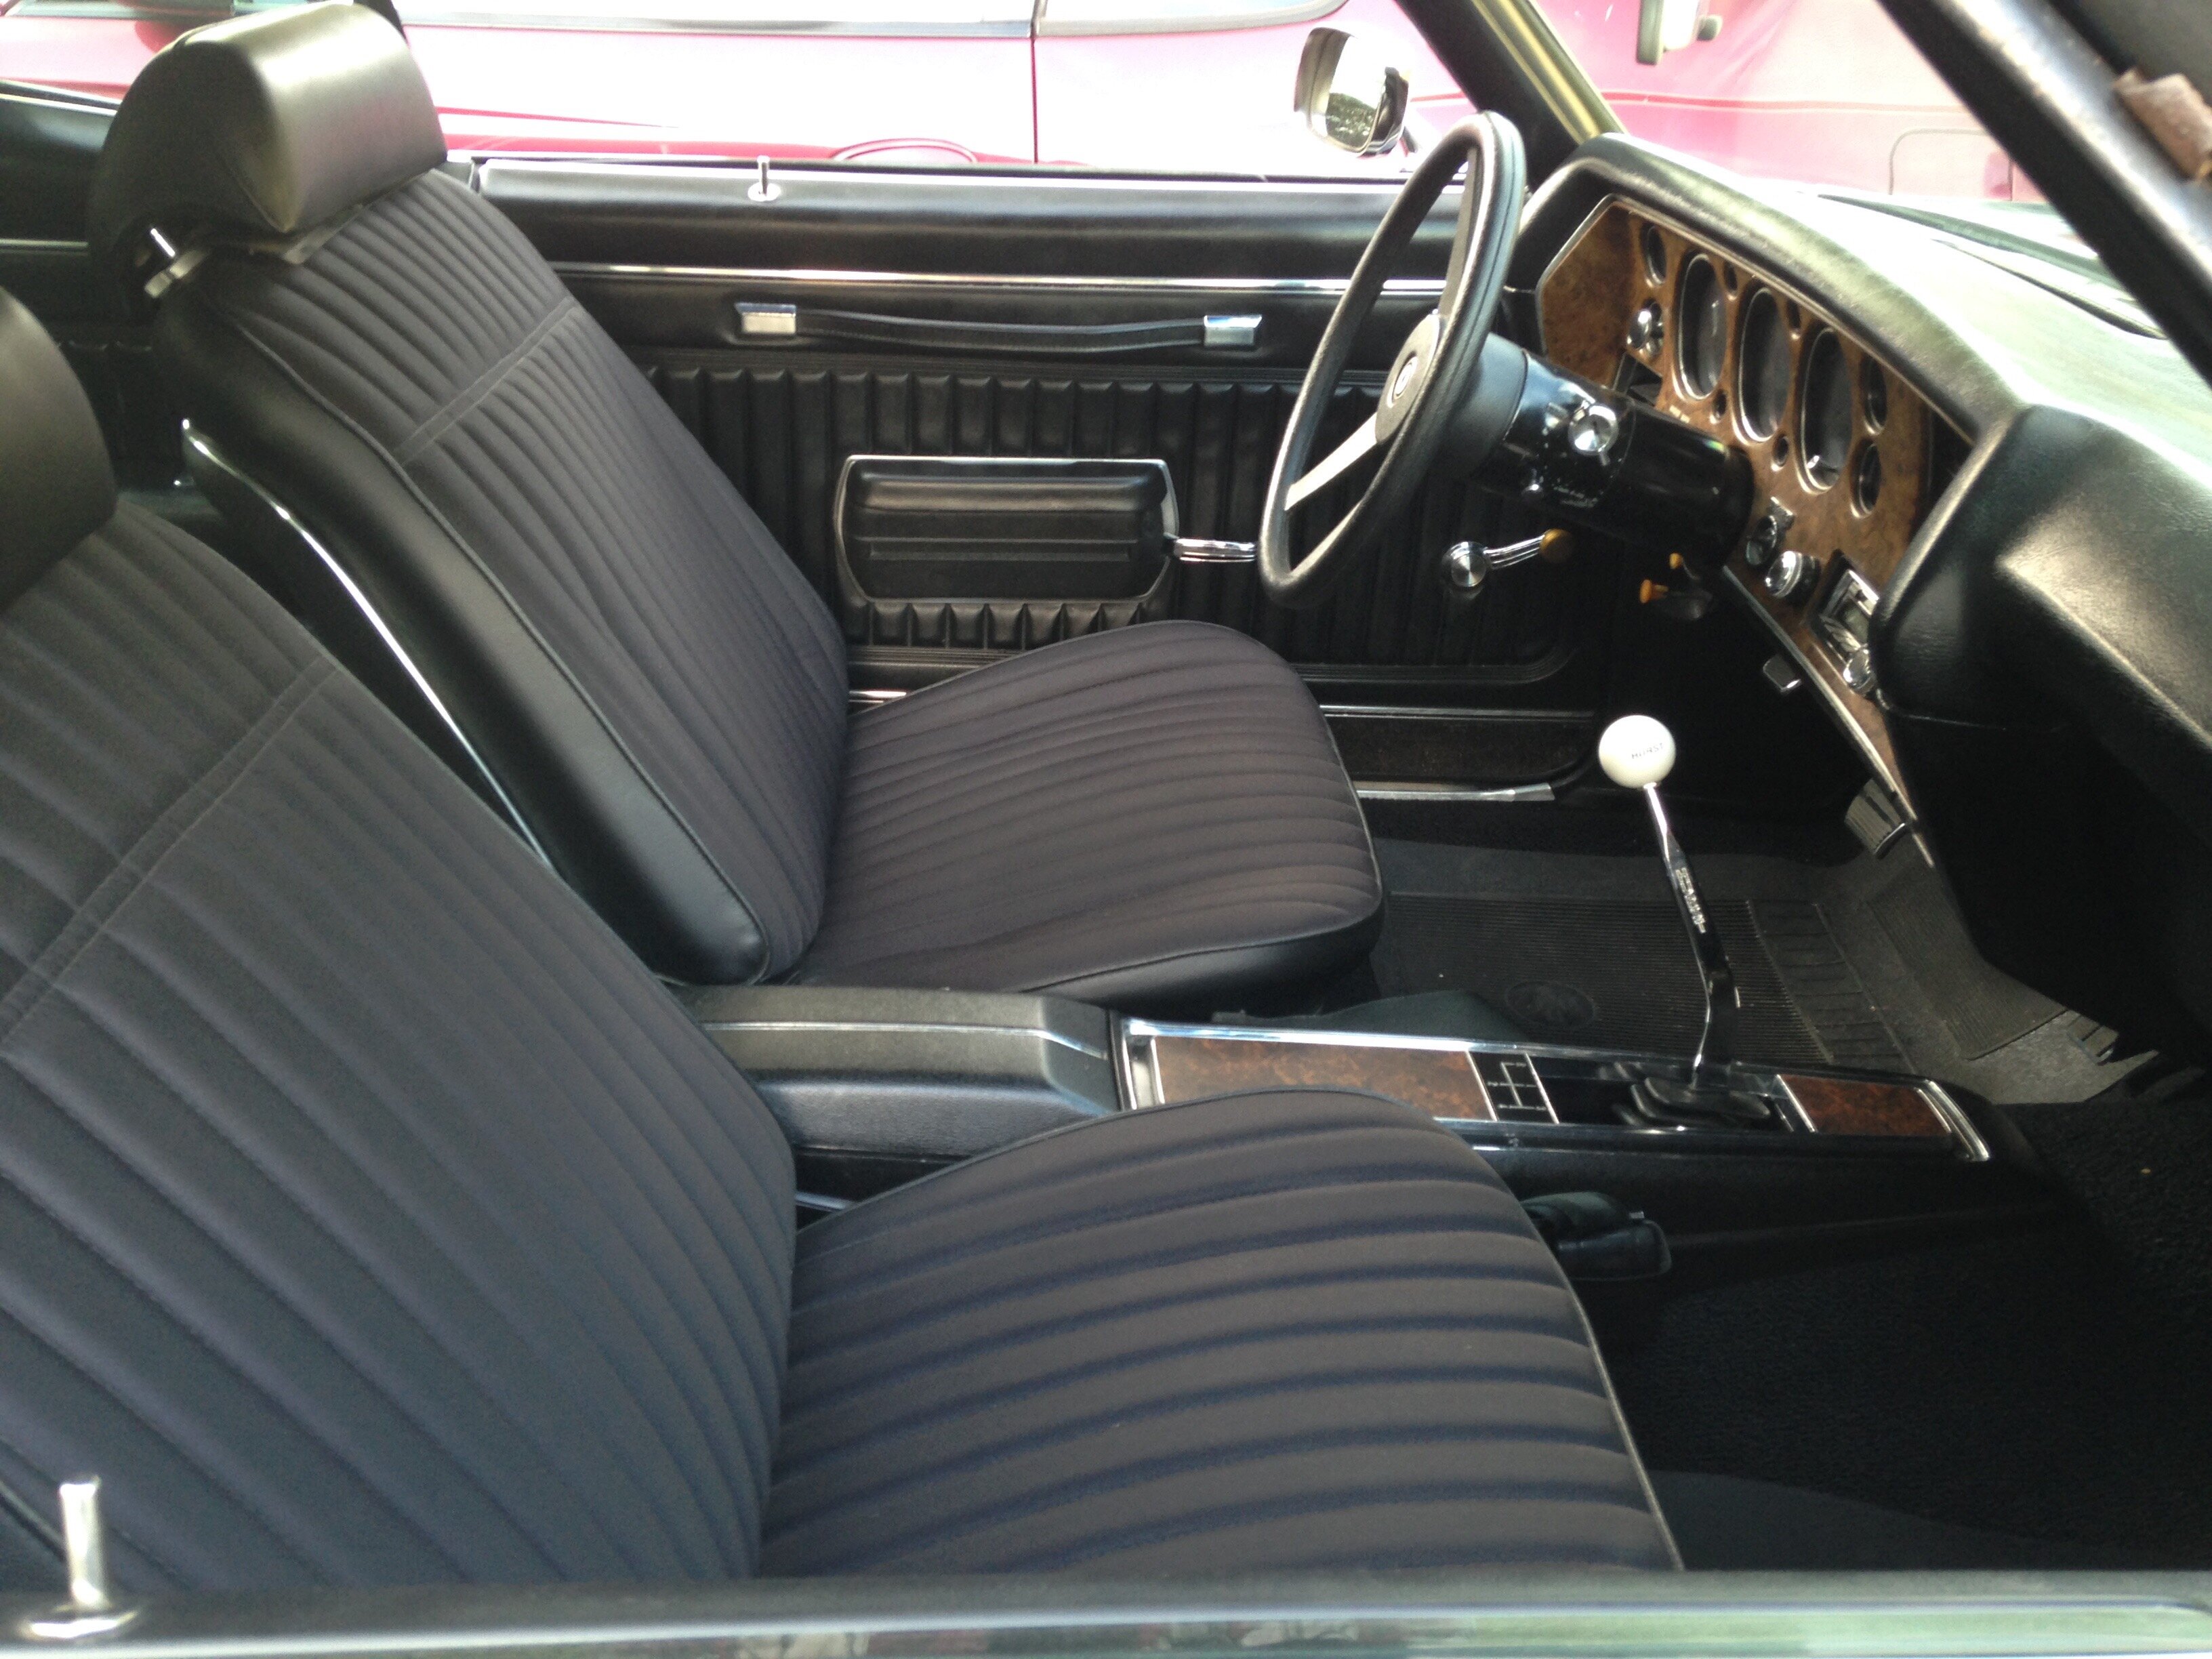
Has anyone installed a reproduction 4 spd console , and if you have how did it fit? Would you have pictures I could see. Considering changing the shifter hump, buying rear mount and installing console. If someone has done this let me know how it worked for you. John S
-
-
-
From the album: Untitled Album
-
From the album: Untitled Album
-
From the album: Untitled Album
-
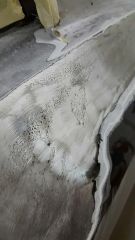
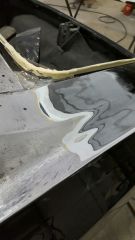
It looks good did you spray or brush POR-15 on? John S
-
I am unfamiliar with POR-15. Is it tougher than regular paint and does it go on bare metal or does it have to be primed? John S
-
Battery tray support bracket
John S replied to dyermullet's topic in General 70-72 Monte Carlo Forum
I found a NOS bracket and installed it when I replaced the inner fenders. It may not line up exact on the inner fender but that's what die grinders are for. John S -
The bushings from OPGI have the sleeves in them as do Inline tube. As far as the bolts go you will need 12) 2 3/4" bolts for the body 2) 3 1/4" bolts for the radiator support. Keep this in mind, the two bolts under the drivers and passenger seat should have 1/4" cut off those bolts. When I did mine the 2 3/4" bolts under the seat poked thru the floor pan even though there is a raised portion of the floor pan to accommodate it. So keep that in mind for those two bolts only. I believe the factory bolts are 2 1/2 or 2 5/8 in long for those two bolts. John S
-
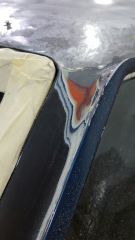
I rebuilt a Camaro with frt end damage years ago. The car was hit hard enough that the seam sealer along the cowl cracked and came off. After every rain the PS floor would be soaked. I pulled fenders and resealed all seams along cowl and that stopped it. After 40 some years the seam sealer could lose adhesion to the metal. John S
-
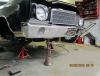
Body came up very easy Carl. At the rear mount I used a pry bar against the body to break free from the mounts other than that very simple. It seems like the rear of frame has some flex to it. I also replaced radiator support bushings and measured from support to fixed spot on frame. If the support moves sideways it can mess up the fender and hood gaps. Also with the new bushings in body in place it raised body 1/8" probably due to compression of old bushings. John S
-
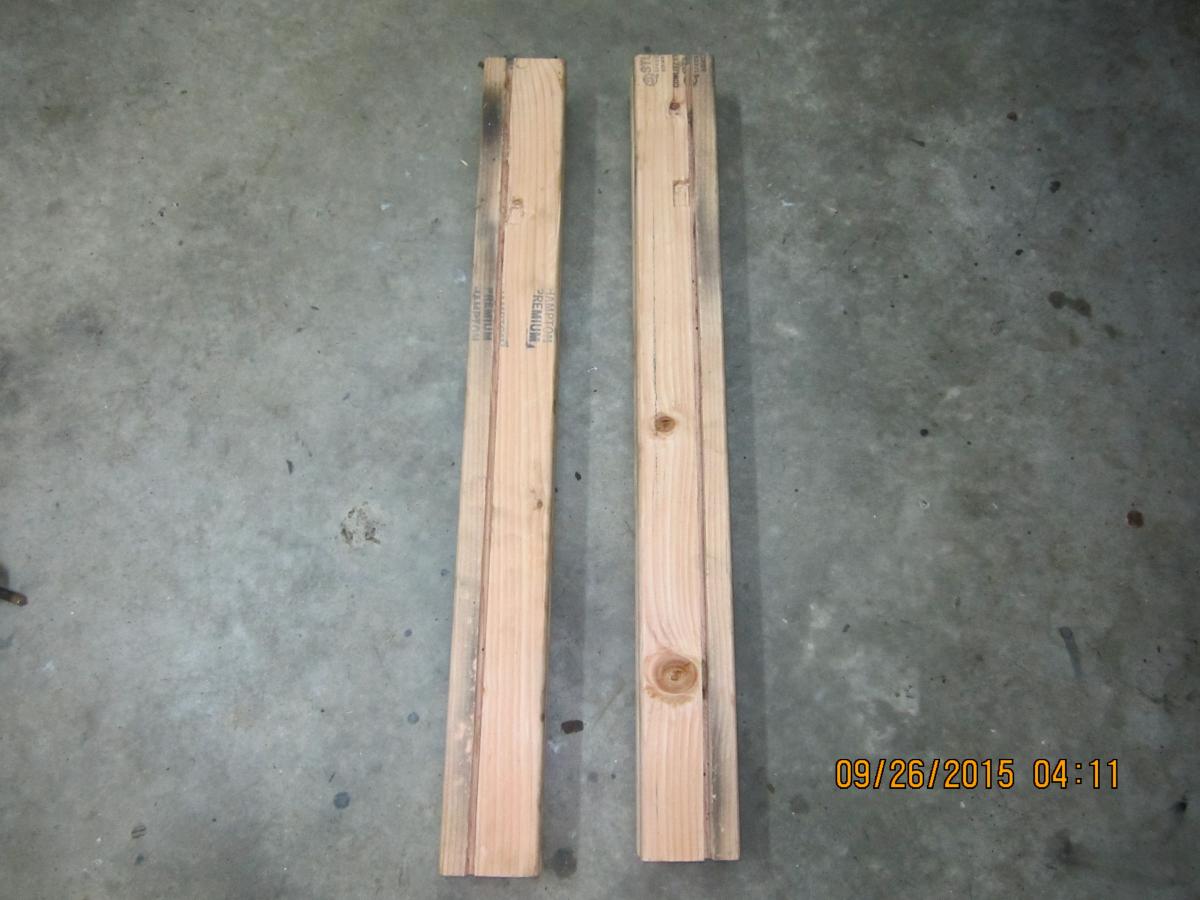
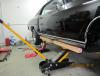
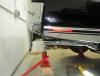
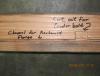
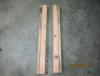
Replaced body mounts Sat. Used two 2x4's screwed together with drywall screws 32" long each to lift car. Cut a channel 1" from the edge 3/4" deep and 1/4" wide on each piece. The pinchweld flange fit into the channel, and a cut out was made for the fender bolt as the lumber overlapped the fender. I did not lift by the flange, instead the channel prevented the lumber from slipping. The majority of the lift was by the two floor jacks under the rocker and the jack under the radiator support was used simply as support, not to lift. The bottle jack at the rear bumper was used to lift minimally. Throughout the procedure the door gaps did not change as I was very careful to keep an eye on it. took about 2 hrs. not bad for a Sat morning. John S

-
Thanks. I will try that tonight. John
-
Whoever has done a frame off resto will know this. Does the #1 body bushing get installed with the sleeve in it or not? I saw picture of 70 Monte frame with the bushings on the frame before body was on. #1 bushing at the cowl did not have the sleeve in the bushing but all the rest did. Is this correct? Please let me know. John S
-
Thanks that puts my mind at ease. By the way Sam I was looking on a Hemmings web site is that your Monte for sale? It looks like the one in your posts. It sure looks nice. John S
-
I would like an opinion on this issue. 12 bolt posi rear end with 3.31 gears. I drained the fluid for a second time since it has been rebuilt and noticed some fine silver dust on the bottom of the drain pan. The rear end has been rebuilt with new bearings and seals and a new Eaton posi unit I used 80/90 weight with the proper GM limited slip additive. Not from a parts house, but from Chevrolet.The ring and pinion are used and were in the rear end. It is 1970 with a CCF axle code. The ring and pinion are in good shape but three pinion teeth and four ring teeth had very light film of rust on those teeth but they wire brushed clean and also used very fine, 600 grit sand paper with WD 40 used as lubricant for paper. It cleaned up well but there were a couple of spots that had very small pits, (they were very hard to see and could not be felt) and the driveline shop that set it up said they were in excellent condition in his mind. It drives well, is quiet, no noises on accel and decel, and sounds good. Backlash is .008. Is this something to be concerned with or not? I would appreciate your opinion. John S
-
I put those same springs in my 70 with the same results. They are a good product. John S
-
All of my mounting bolts came out. I will re-install them loosely on one side before I lift. Thanks for all the great advice. That's why I enjoy being a member here. John S
-
I am in the process of R&R my body mounts also with body on frame. My plan is to do what Sam said. I plan to support car at 4 places, one side at a time. Radiator support, on the rocker at the door and fender, at the rear of the rocker and overlap where the door and 1/4 panel meet, and at the rear of car. At the two points on the rocker panel will use floor jacks with two foot 2x4s or 4x4s. Haven't decided which ones yet but that should give enough support to R&R bushings. Going to take it slow and careful. John S
-
How do you attach a picture of your own car to show up every time you post?
-
I've got Radial TA 235/70/15 Fit and look good. John
-
This may sound stupid but please bear with me. The rear end swings on an arc on the control arms. When the rear end moves down it moves closer to the trans. I could not install my driveshaft with the rear end hanging down on the shocks. If the shocks are removed and rear end allowed to fall further it moves even closer to the trans. I lifted car by the rear end and supported it and the driveshaft went in, also with rear end resting on shocks fully extended I still had free play in driveshaft at trans yoke. Sounds simple but sometimes we overlook the obvious. John S