
John S
-
Posts
537 -
Joined
-
Last visited
-
Days Won
6
Content Type
Profiles
Articles
Forums
Gallery
Events
Everything posted by John S
-
When I installed my passenger side mirror I took a small piece of 1/8” metal stock I believe maybe 3/8” wide. Matched the holes drilled them out and tapped them. Then I put a type of polyurethane sealant to work as an adhesive and tighten down the mounting for the mirror. In the future when I pull the mirror and the bracket off all I have to do is unscrew the screws and the sealant will hold the metal in place so I do not have to take the door panel off. John S
-
I noticed that in the past couple days I received a couple of badges. I don’t know what they mean didn’t even know we had them I have been a member since 2014. Not important, I don’t know the significance of them maybe someone can explain. As I said not important just curious. John S
-
I’ve never seen SS wheels on one before.
-
Yes it is.Now most things I talk about begin with “I used to be able to”
-
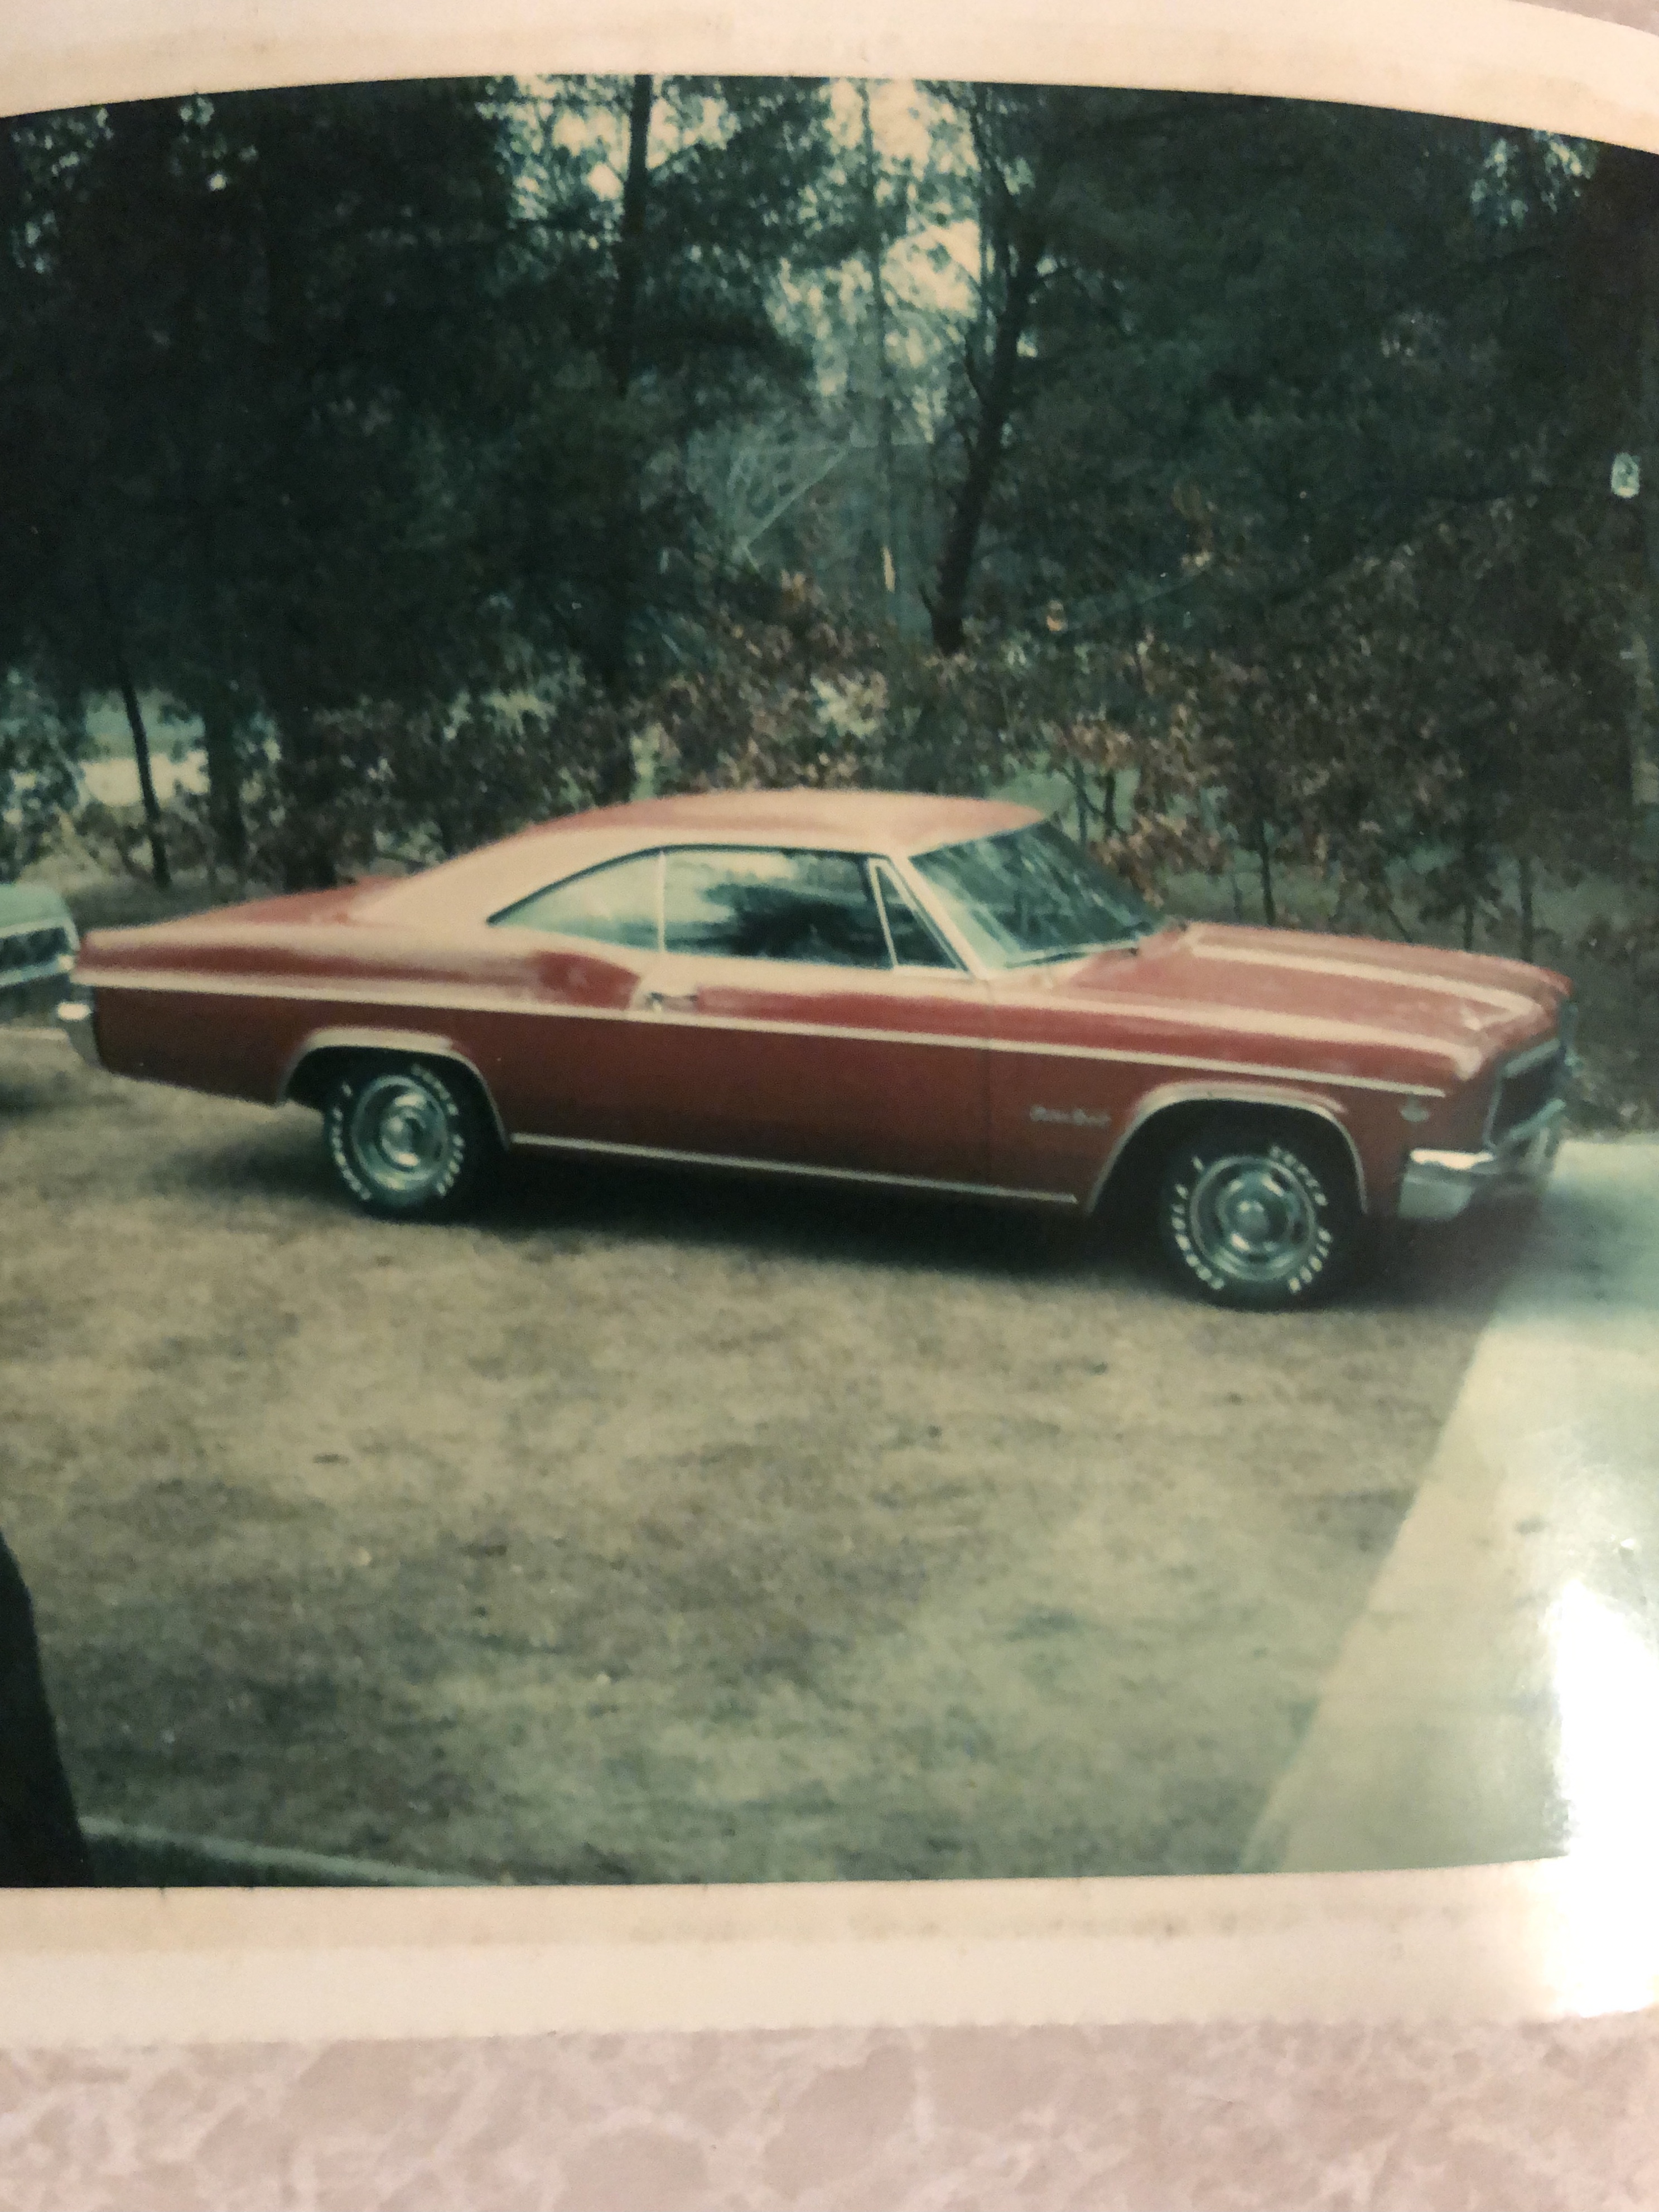
My first car 1966 Impala Super Sport 327 4spd.

-
As far as the driveshaft yoke not sliding into the transmission. You say it was rebuilt could the bushing that was installed in the Tailshaft housing be too tight. Sometimes if that bushing is difficult to drive into the tail shaft housing it can compress the bushing and decrease the inside diameter of the bushing not allowing the driveshaft to slide through it. I have installed those bushings two ways lightly tapping with a hammer and a bushing driver and I have also used liquid nitrogen or dry ice to freeze the bushing before installation it makes it easier. John S
-
What is the reason for the vacuum pump? Is there a slightly hotter cam in the engine that results in lower vacuum, and does the pump boost vacuum? Or is it simply for better booster operation?
-
Hey Thomas I’m looking at The vacuum line that goes to your power brake booster. It looks like it’s going under the fender where is that line going? I thought it went to the intake manifold behind the carburetor. John S
-
I did four grounds. Two from engine to firewall, one from firewall to frame, and another from radiator support to frame. I have no issues. John S
-
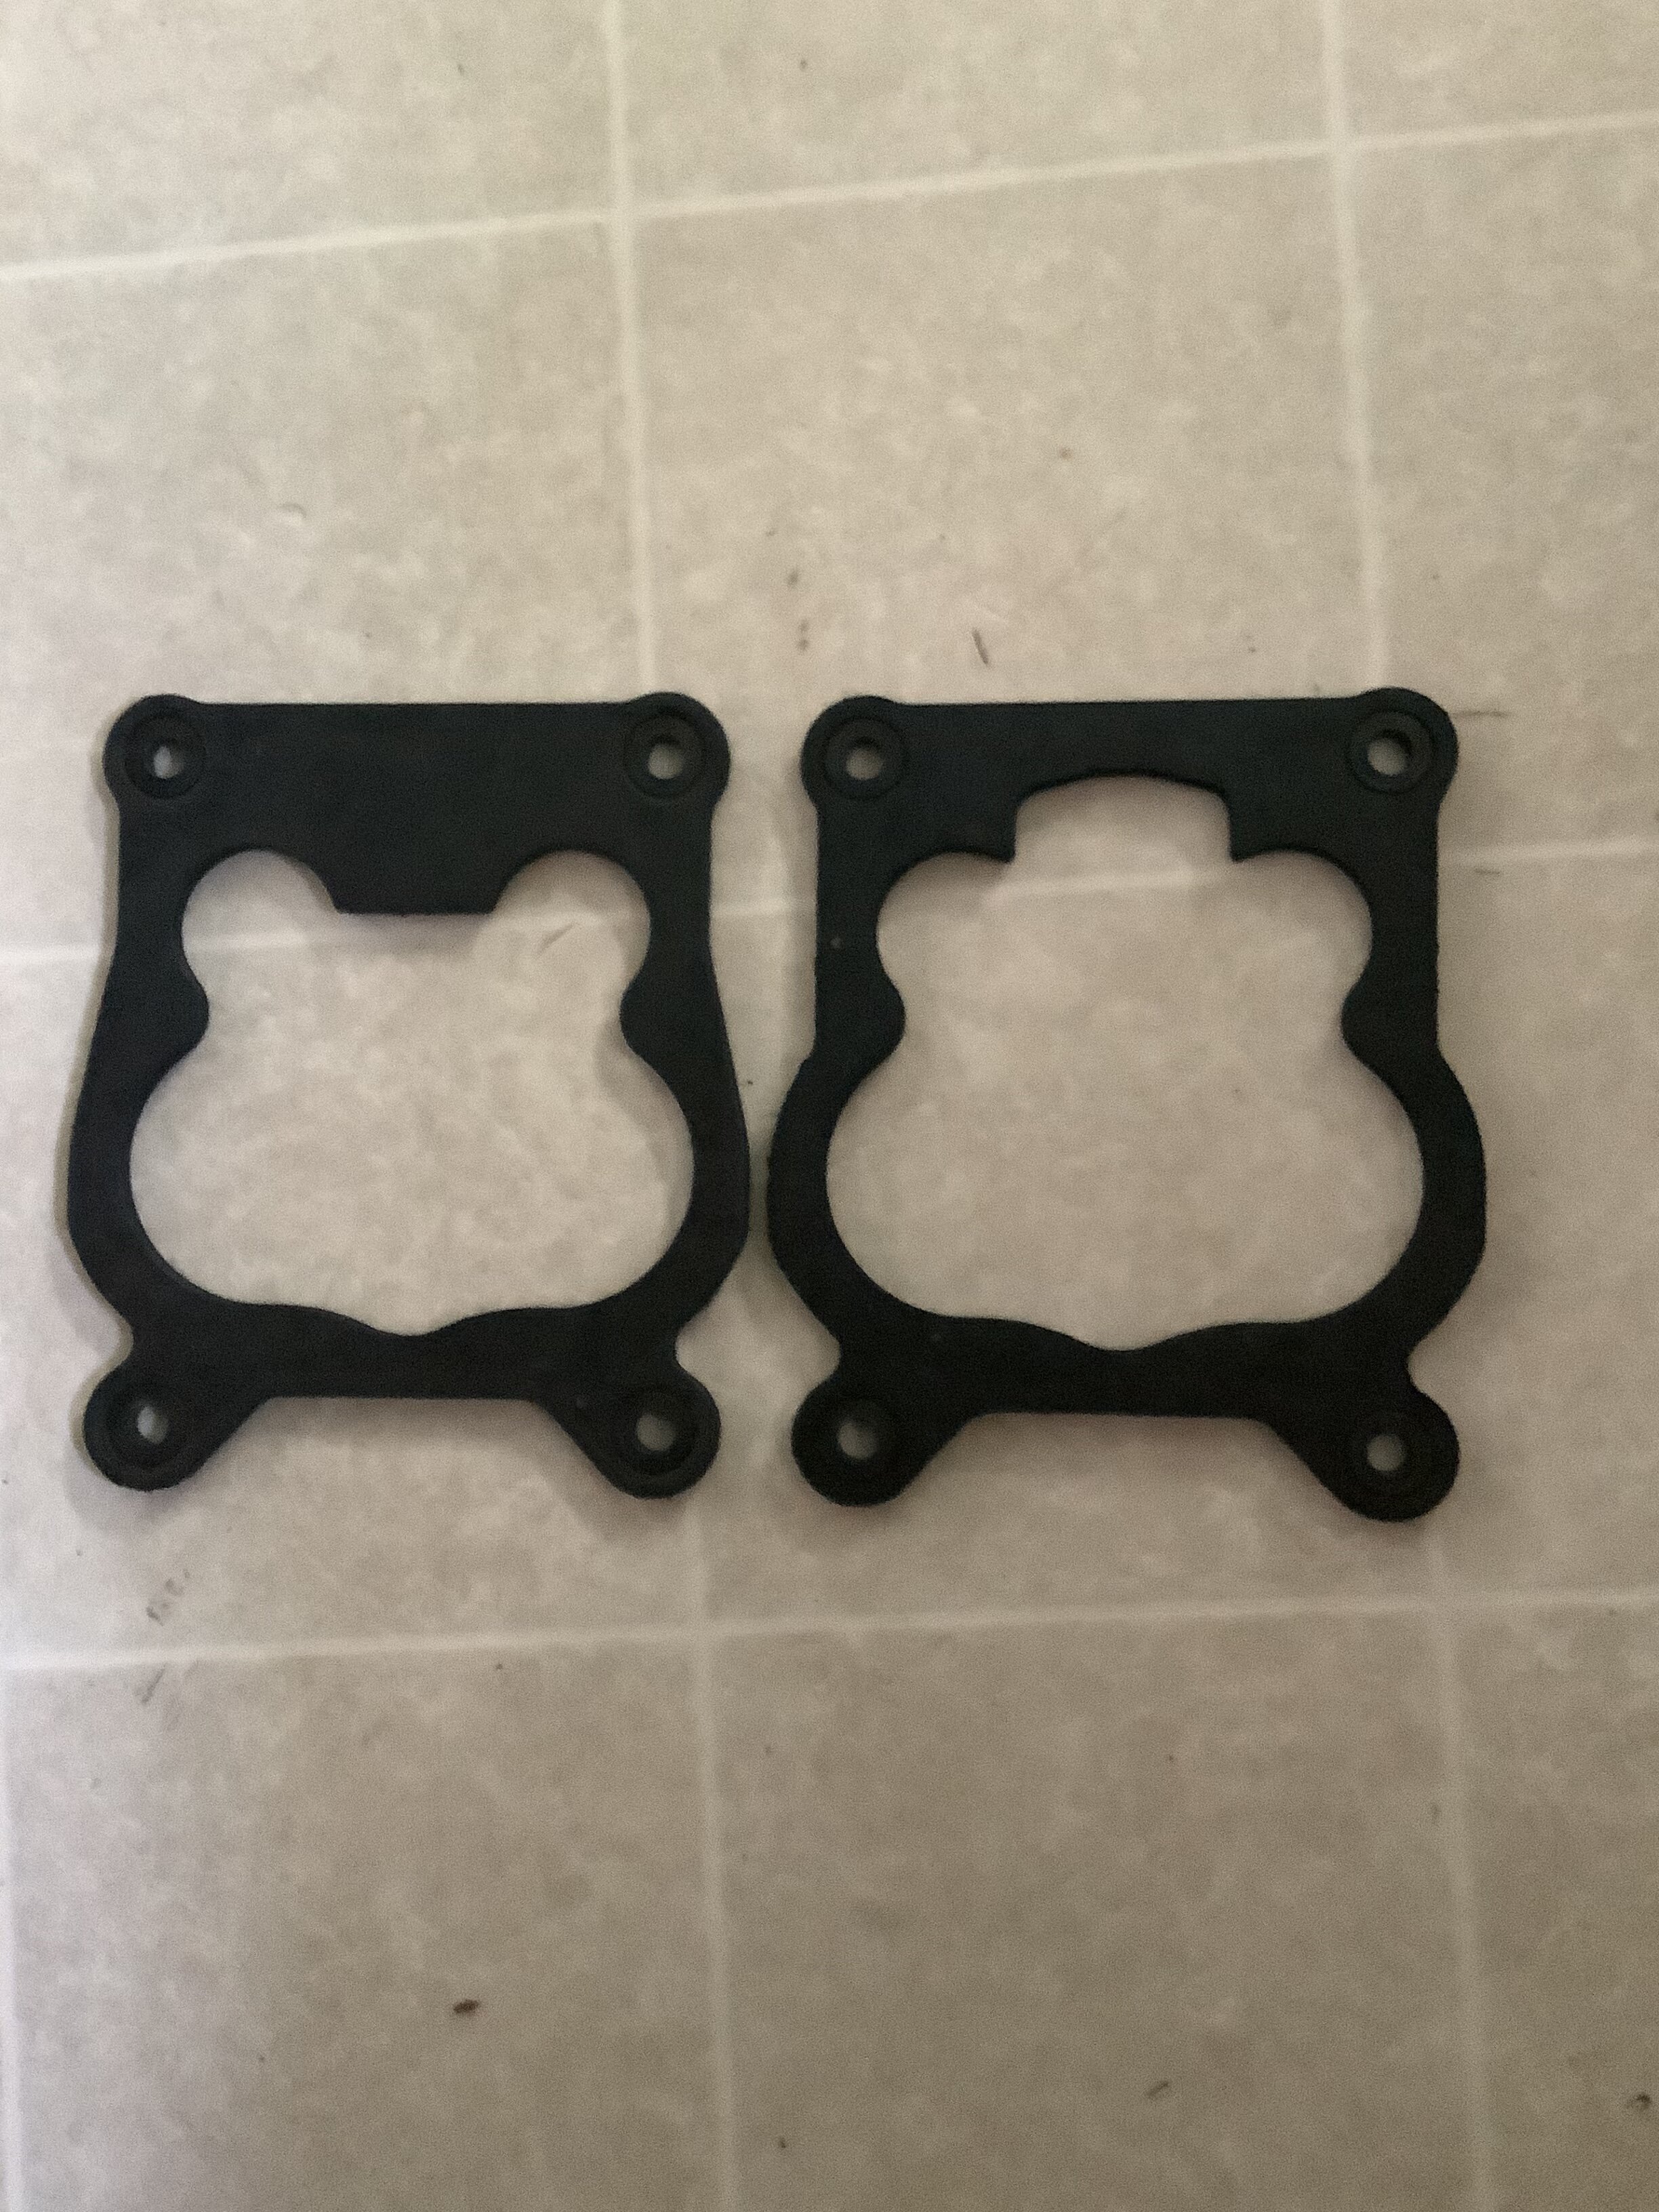
What is the difference between these two Quadra jet base gaskets? They are both about 1/4 inch thick they are possibly for different years you can see the slight difference between them. One seems to cover where the fuel bowl plugs are and the other doesn’t. Does anyone have an idea? John S

-
Steering Wheel - Change to a 4 Spoke ?
John S replied to snomobeelr's topic in General 70-72 Monte Carlo Forum
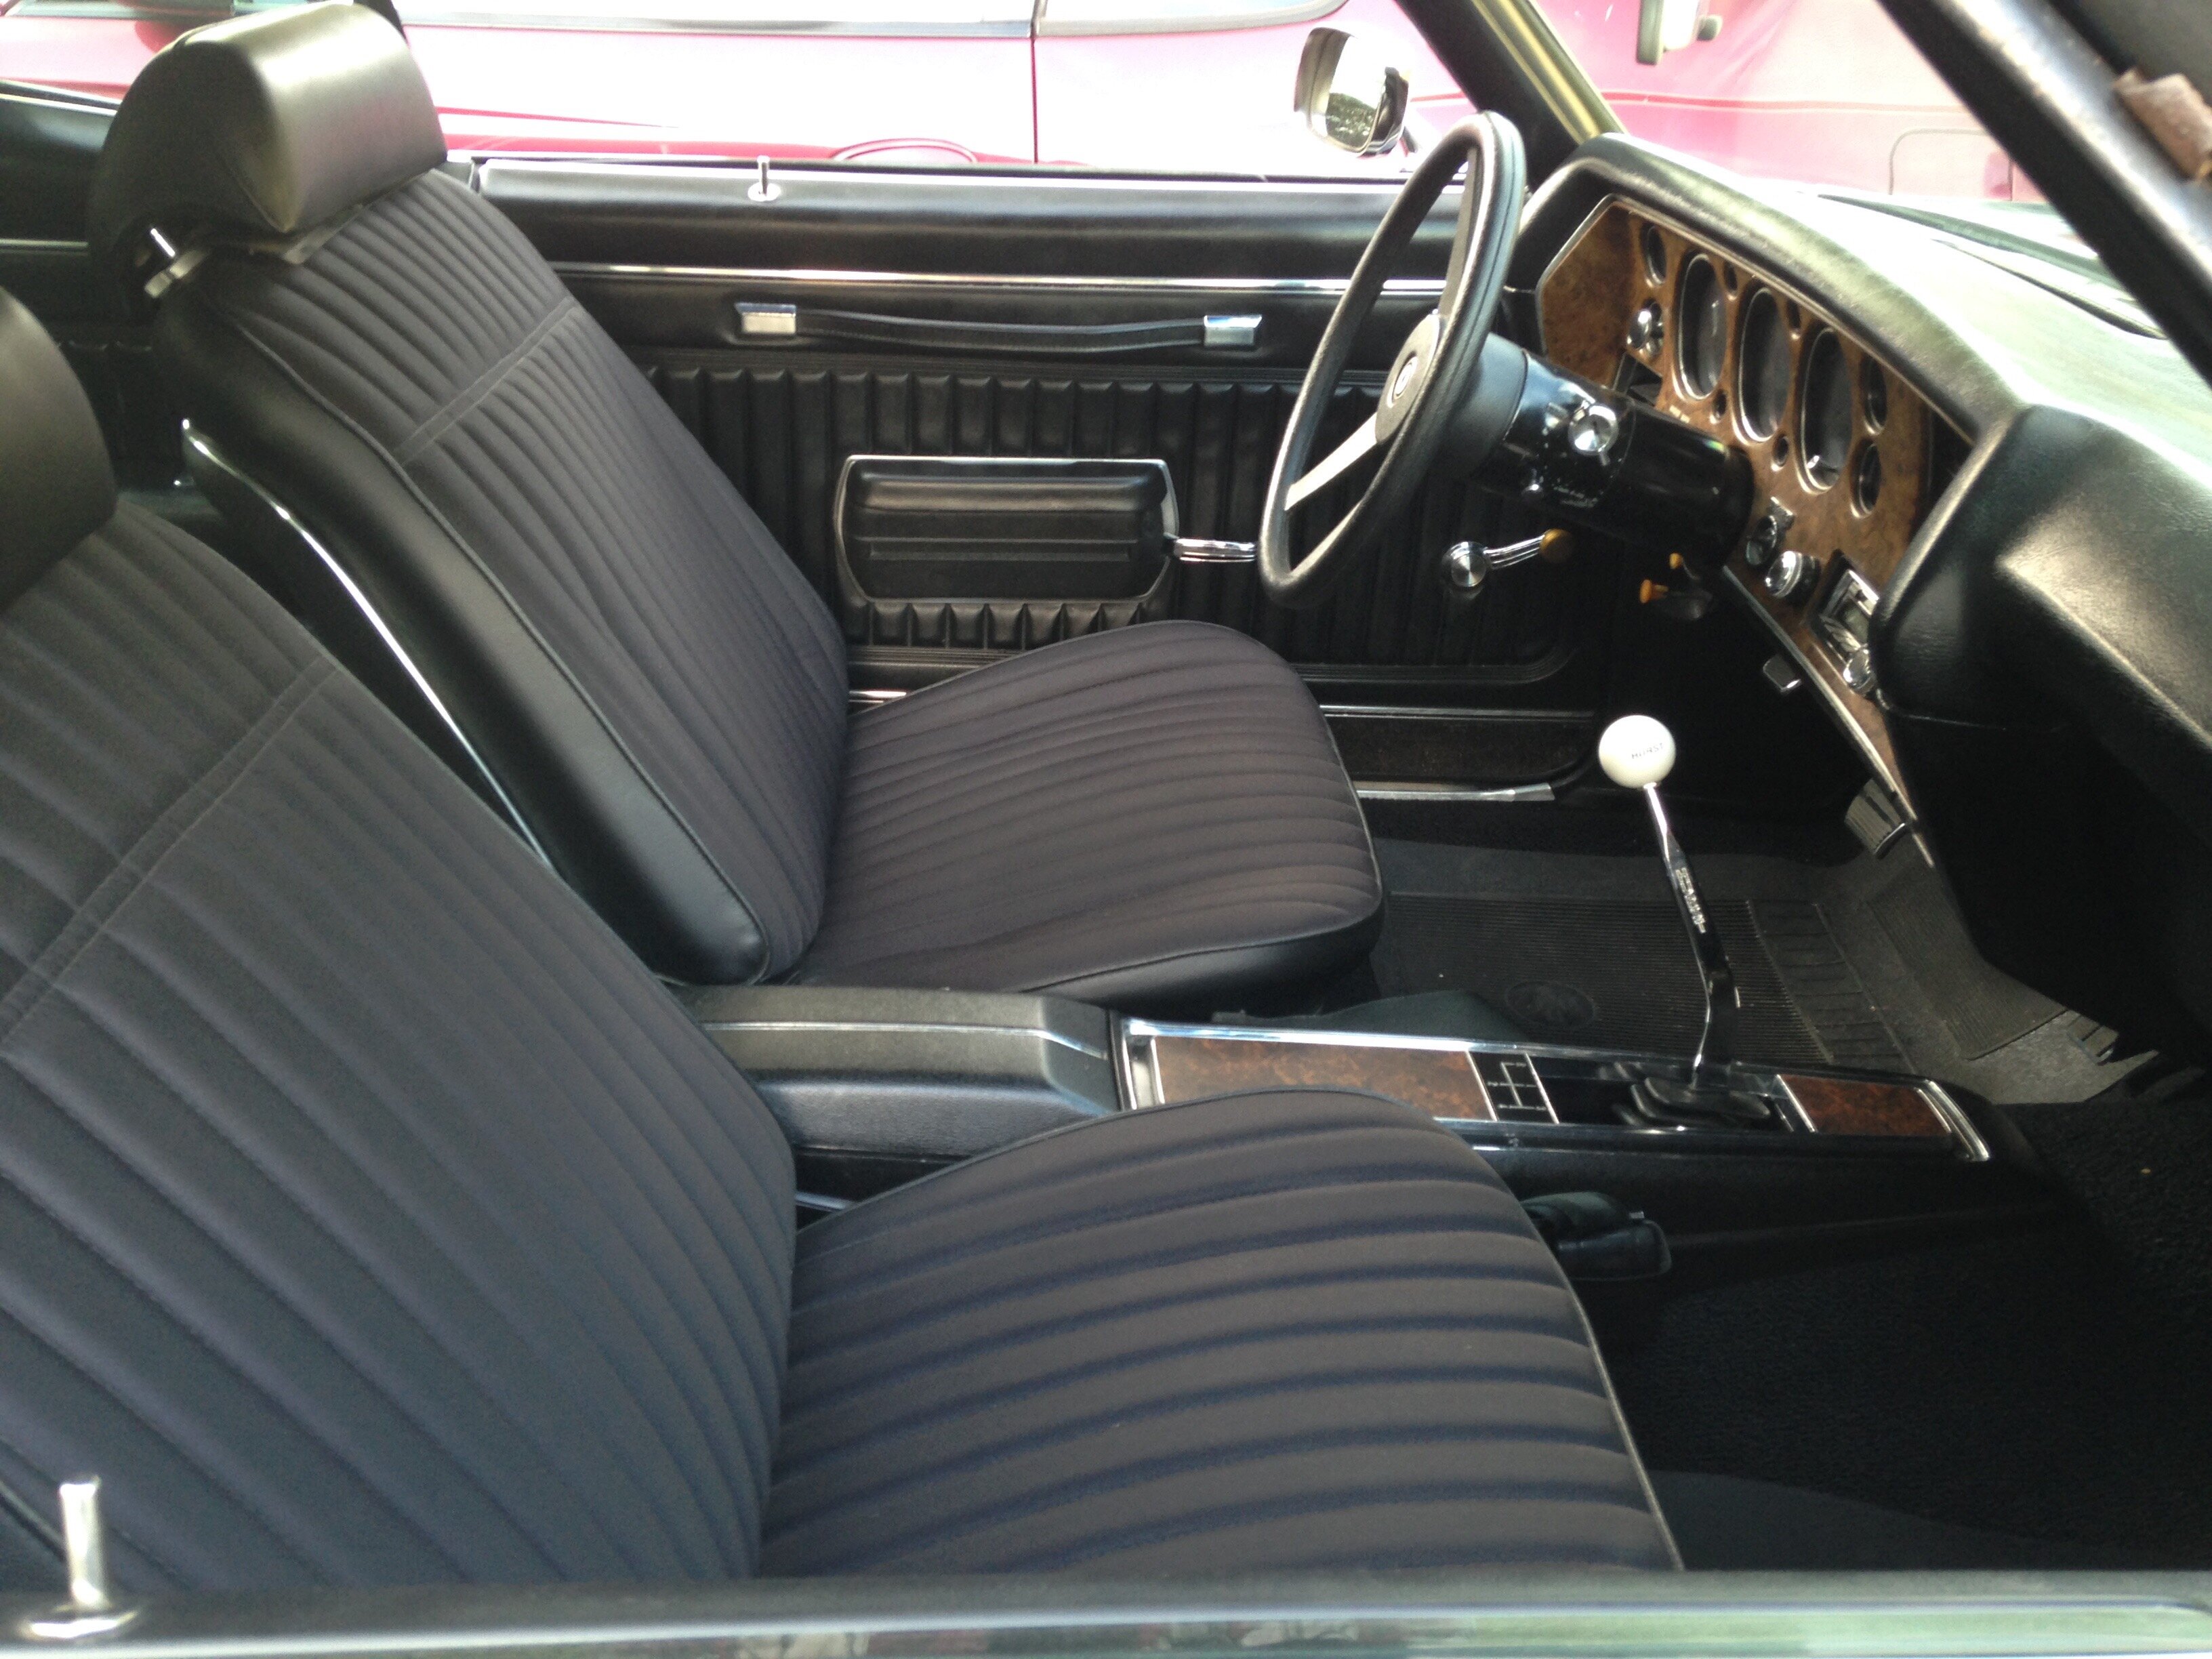
I put that wheel on my 1970. Everything that is shown will work no adapter needed. John S -
I got my Power Stop brakes and rotors on, bedded them in according to their instructions and the brakes have definitely improved. I always felt that something was wrong with them. I had GM rotors on the car date code F192, June 1972. The surface looked heat hardened, or work hardened and with less than a minimum thickness of .965. I used to work on these cars in the late 70’s to mid 80’s and I know I don’t have the knowledge that many people on this site have, but something always seemed wrong and now with the Power Stop rotors and brakes it is considerably better. On another note I also got rid of the hesitation or bog at full throttle on the Quadra jet. I made some adjustments as per Cliff Ruggles book on Quadra jet‘s and I have gotten rid of the bad hesitation when I nail it. Sometimes there is a very very slight hesitation when I floor it if the RPM is too low but I can live with that, just keep the rpm up and it takes off great. I wish I had that knowledge years ago. It also roasts the tires pretty good on a 3400 RPM clutch dump. John S
-
As soon as I build up a little ambition I’ll get it back on the road and see how they work. A little cold and wet right now. John S
-
OK I’m hoping so.
-
Thanks for the help I’ve got clearance now the rotor spins freely John S
-
Right I knew that’s why they were in there but previously with other brake pads I’ve never had to remove them. I have some brake silicone type lube that I could put a thin coating on the back of the pads and I think that would work. What do you think?
-
I have original calipers I got them from Leo rebuilt them I just don’t believe that the calipers should be hammered on to mount them on the rotors. When I first bought the car the pads on the car were riveted there were no shims on them. The next set of brakes I bought from Napa were riveted pads and they had the shims on them. Right now I don’t see any other option I just wanted to know if anyone else had the same issue I do
-
One more question regarding these power stop brakes installed the rotors and the pads they will not go on the rotor with the caliper pushed all the way back is it acceptable to take those shims off that seems to be the only way they will go on other than sanding pads down which doesn’t sound like a good idea John S
-
Restoration of 1970 402 monte
John S replied to 70white402's topic in General 70-72 Monte Carlo Forum
How did the transmission fit in the tunnel? It looks like you did not have to do any modifications. Were you able to use the original transmission crossmember? What are you going to do with the back drive ride that locks the steering column? Reason why is I am thinking of doing the same upgrade to my 1970 four-speed car. John S -
I will let you know how they work after I get them installed. John S
-
Thanks for your help I think the Z 23’s will work just fine and be a nice upgrade.
-
I know This type of rotor there is a difference between right and left side correct? And are they stamped left and right Also did you use the Z 23 rotors or the Z 26 seems as though the Z 26 are the better ones just curious what you used. I looked on power stops’ site and it showed how to tell the difference but I’m still curious which ones you used.
-
I am going to be replacing my front rotors with drilled and slotted rotors. The question I have for anyone here is as far as the brake pads go would you use the original organic type or would you go to a ceramic or semi metallic? John S
-
I have a 2 1/4 inch clamp there and I did have to elongate the holes a little bit no big deal just use the round file.