RealRed70
-
Posts
431 -
Joined
-
Last visited
-
Days Won
17
Content Type
Profiles
Articles
Forums
Gallery
Events
Everything posted by RealRed70
-
I will look for a resistor for you later today. I may just have one.
-
Yes, remove the dash pad to access the bulbs, but the very first thing you will want to do is remove your negative battery cable so that you do not smoke your printed circuit board while you are behind the dash. This is a VERY important thing to do. A must. Then replace the bad bulbs. There are 6 screws holding the dash pad down. Remove the screws, then lift the front of the pad up and pull the pad toward you. There are six clips holding the pad down on the windshield side of the pad. Be sure not to loose any clips. Try a new flasher.
- 1 reply
-
- 1
-

-
A 1970 Chevelle usually came with a chrome ball. Did a 1970 Monte also have the chrome ball? I would think so.
-
You can also use one from a Chevelle, Elcamino or Chevelle Wagon with a sweep dash. The resistor is the same. A Chevelle or Elcamino with a full gauge dash will also have the resistor.
-
This is good information to know. Thanks for sharing.
-
There is a resister on the back of our fuel gauges.
-
1970 Monte Conversion to Buckets and Center Console
RealRed70 replied to The Archivist's topic in Interior Tech
Caulder, I sent you a Private Message. -
1970 Monte Conversion to Buckets and Center Console
RealRed70 replied to The Archivist's topic in Interior Tech
Thomas, I have not been getting them. Try again please. -
1970 Monte Conversion to Buckets and Center Console
RealRed70 replied to The Archivist's topic in Interior Tech
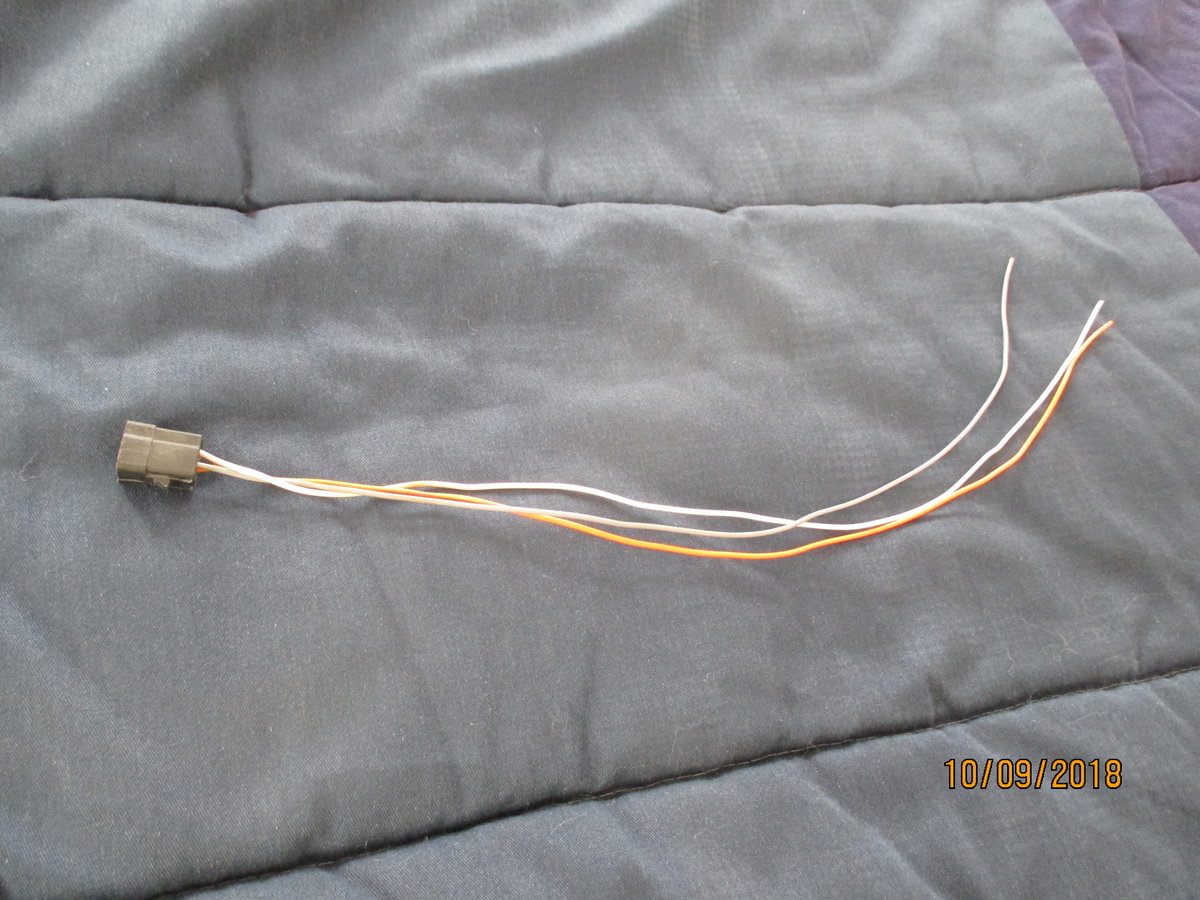
This is the plug you need to ad to your dash harness that connects to your console extension harness. It has the white, orange and gray wires in it that you need. The camera flash made the white and gray wires look almost the same color. They are the correct colors. The wires are almost 20" long. Private Message if you are interested in purchasing this. We can work out the details there.
-
1970 Monte Conversion to Buckets and Center Console
RealRed70 replied to The Archivist's topic in Interior Tech
I should have what you need. I must sleep now for third shift work. I can find what you need tomorrow. -
1970 Monte Conversion to Buckets and Center Console
RealRed70 replied to The Archivist's topic in Interior Tech
The dash harness for a console car had a connector that mated up to the connector on the console extension harness, which mated up to the console harness. A non console equipped car did not have this connector/ plug in the dash harness. You say you have a harness with 3 wires. A white, an orange and brown wires. The brown wires have me confused. That should be a gray wire. Please post a picture of your harness. You can tap into your original harness to make the connections. The orange must connect to an orange in your harness. Such as the orange for the glove box light or the cigarette lighter. This must be a constant hot wire. The white goes to the white wire for the passenger door jamb switch. This is so that the rear console courtesy light goes on when the door or doors are open. The gray goes to the gray for the dash lights. This is the power wire for the shift indicator lights. An easy access point is to connect to the gray wire going to the light bulb on the back of the heater control. The connections I mentioned could be made by using a scotch lock. This would be the easiest way. The correct way is to unwrap the harness and solder the correct color wires into the harness and then add the proper mating connector that would connect to the console extension harness. This is how I do it. There is black tape on the wires where you need to tap in. Remove this tape and you will see factory solder joints. This is where you tap in to do it as the factory did. -
Are all the proper grounds in place? Is your printed circuit board damaged? Is it possible that all the bulbs are burned out? Could there be an issue with your headlight switch? Is your headlight switch turned to the position where the dash light are at their brightest? It may be turned the wrong way causing the lights to be all the way dimmed down. Could it be a blown fuse?
-
The proper rivets look just like the ones in your rusted Vin. They are called rosette style rivets.
-
Thanks Dale. That link helped. Now I know what I am looking for. I can look more tomorrow. So far have not found them.
-
Those are seat BELT bolts in the link. He needs bolts to mount the seat itself. I will see what I have. I may have some.
-

-
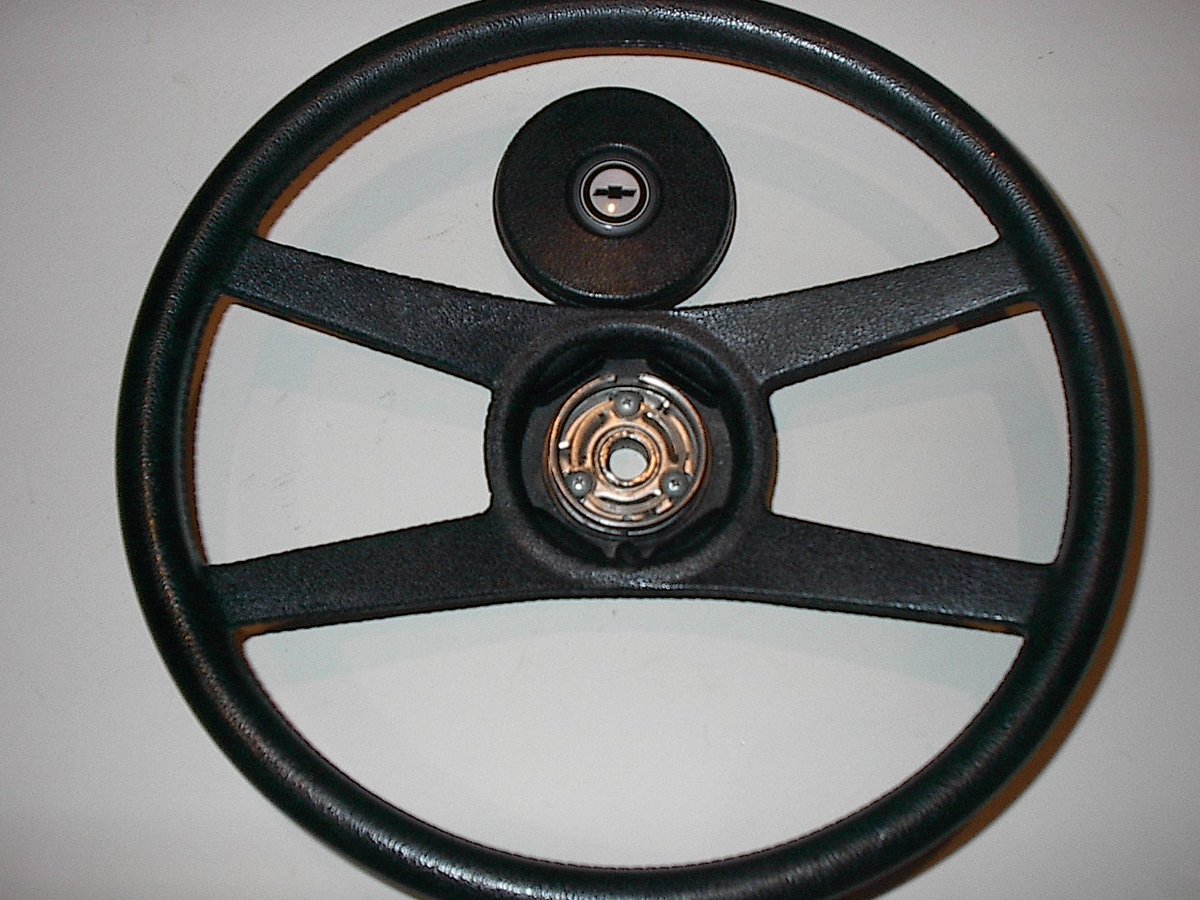
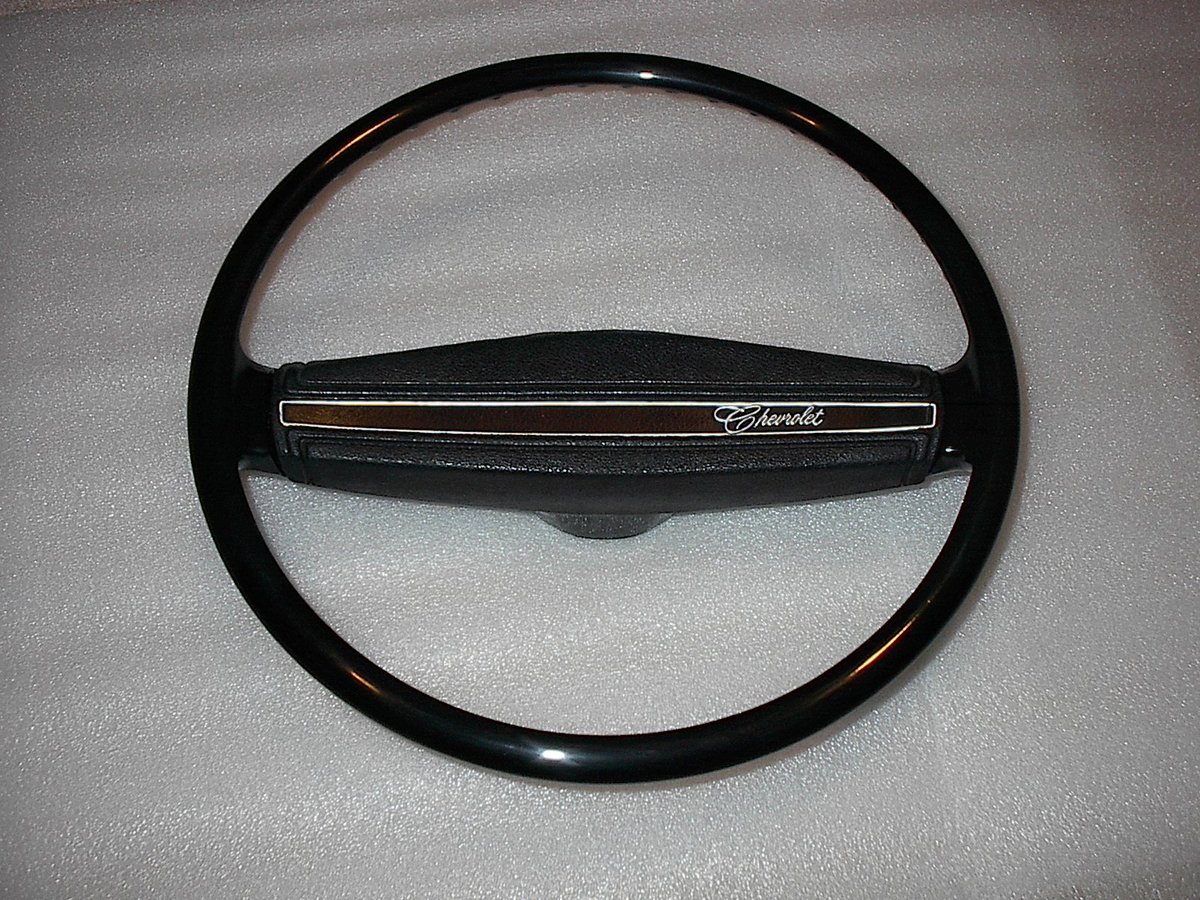
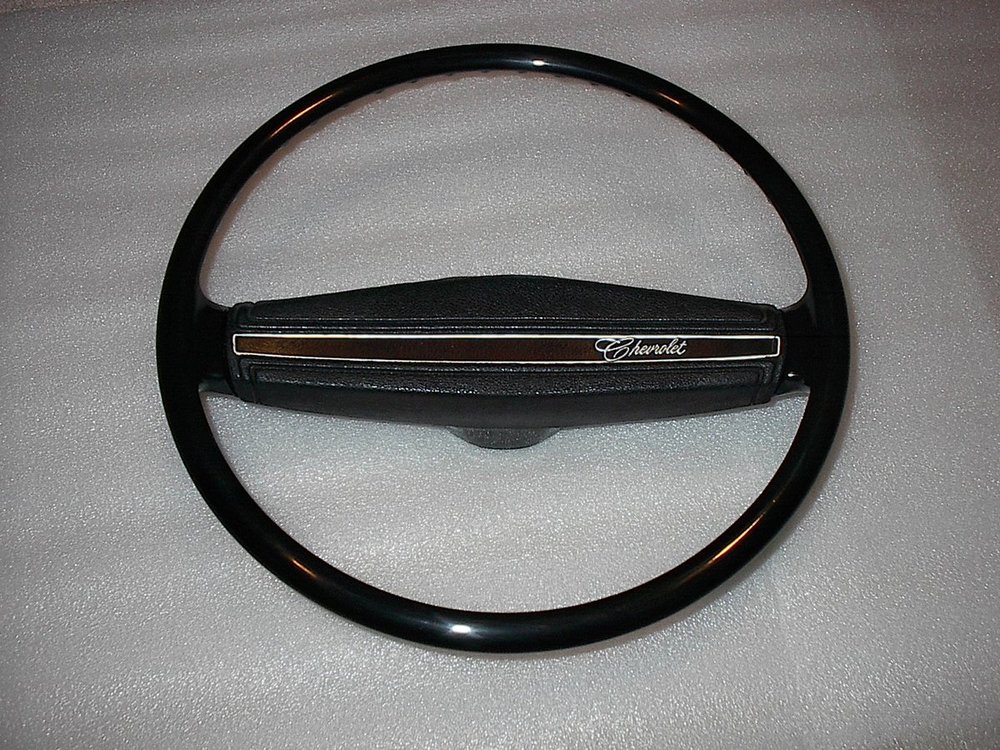
Frank what style wheel will you be using? If it is not the optional NK-4 , four spoke sport wheel, you will not need the three parts in your second picture. If it will be the standard wheel you will use the wire in your first picture. You never use the pieces in the first picture along with the pieces in the second picture. It is one or the other.
-
All boxed up and ready to go.
-
I sent you a text with pictures of what you need.
-
I can check on one tomorrow. I should have one.
-
The brown wire sounds like it is for a tach. This wire would go to the negative coil terminal. The temp. sending unit with the nail head is for a car with full gauges. The other style is for idiot lights. You should only have one temp. sending unit, not one for each head.
-
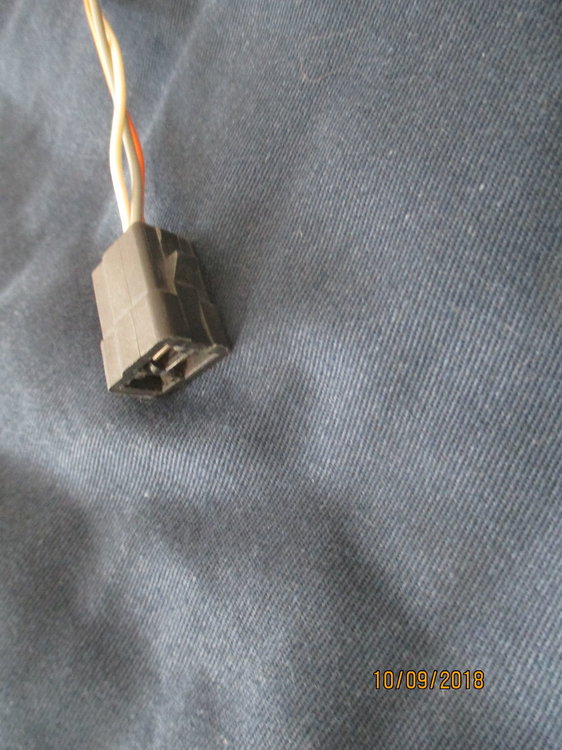
I have some of these for sale if needed. This is the connector for the dash wiring harness to the instrument cluster.
-
I think you could do that with Imgur hosting.
-
1970 Monte Conversion to Buckets and Center Console
RealRed70 replied to The Archivist's topic in Interior Tech
If you replaced it, what would you replace it with? Use the column you have. It will work. -
1970 Monte Conversion to Buckets and Center Console
RealRed70 replied to The Archivist's topic in Interior Tech
You will also need to get some seat belt pockets.