Rancid87
-
Posts
128 -
Joined
-
Last visited
-
Days Won
1
Content Type
Profiles
Articles
Forums
Gallery
Events
Everything posted by Rancid87
-
Splicing it in like John did is the way to go if you are able. My pan was too rotted to do that so I had to do a lot of cut and paste.
-
You can get it in if you have the tail pan off. I don't think it would fit any other way unless you cut it up.
-
I don't think any trunk floor will really be Monte specific. Most of it will be the same but where it meets the tail panel will be different (much different than a 70-72 Chevelle). I think I used a 70 AMD trunk floor in my car because the 71-72 floor was on back order. If the original section of trunk floor that meets the tail panel is good and you can section the one piece pan to fit than you will be in good shape. Mine was rotted out so I ended up using a lot of the replacement floor and modified it to work. The AMD floor did have the bracket for the spare tire already installed.
-
I have the older version of that and have used it on points, hei, and MSD 6As without problem also.
-
Slow progress is better than no progress! Looking good!
-
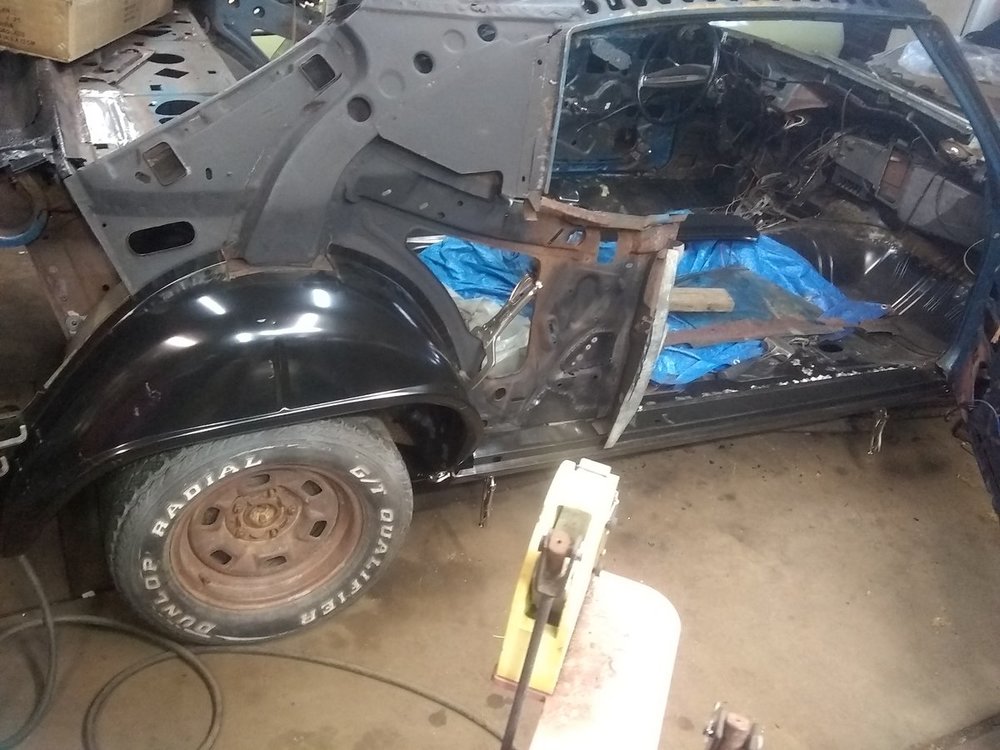
I'm going to agree with Dennis on this. I used steel fenders on mine and they took a fair amount of work to get an acceptable fit. If you aren't careful you will really distort your fender when snugging them up to the steel inner fender. If I was to do it again I'd definitely get plastic ones from the parts place.
-
It did a nice job!
-
White vinegar would work well to remove the rust. It may take a little longer than the metal rescue. Electrolysis would also be a good option. I'd bead blast them if you have a small blasting cabinet(good reason to get one!)
-
What diameter wire are you using? Also, are you just putting in tacks or are you trying to weld complete beads? Usually, I'll just tack every few inches and then just go back with another row of tacks until I complete the seam.
-
Looks great!
-
Looks great! Nice job!
-
Very clever! Nice work!
-
The easiest approach would be to run a braided fuel line from the tank to the pump. You could also use regular steel fuel line and install it in sections and use rubber hose and clamps to join it. I'd probably just run braided line. I've used it in several cars and its pretty easy to work with.You would just need to get a couple hose ends and fittings to make it all work properly.
-
I bought a pre-bent kit for mine so I can't say exactly how much you will need for each line on a Monte. I have made my own brake lines in other cars or trucks and I've always just bought a coil. A single 25' coil of 3/16 line has usually been enough with a little bit left over. I used the 3/16 for everything and never noticed an issue with rear brake performance. The nickel copper line is a joy to work with!
-
Rear control arm bushing replacement
Rancid87 replied to 1Bad454's topic in General 70-72 Monte Carlo Forum
I've always removed the shell. You can cut some spacers to fit inside the control arm so you don't crush the stamped steel when you are removing or reinstalling them. I usually use angle iron. -
Maybe these pics will give some perspective of where the hole is. You can see the first hole closest to the door jamb support. If it's not those holes than I'm not sure which ones you are referring to!

-
Are you talking about these holes in the rocker panel?
.thumb.jpg.6aab3d7b61c0f81db907b2b587821590.jpg)
-
You would need to remove the gut pack from the case and check the shaft for wear. If there is any wear on the shaft it will likely never seal for long. If the wear is minimal than you may be able to clean it up with some scotchbrite and reassemble. Those compressors are pretty easy to disassemble and the seal kits to reseal the entire compressor are less than $30 shipped (including the double lip seal) but if there is wear on the shaft it will never seal for long. I'd take it apart and check. I ended up buying a Delco remain for around $200.
-
Looks good! Can't wait to see the new floor installed.
-
What did you do to your Monte Carlo today?
Rancid87 replied to Canuck's topic in General 70-72 Monte Carlo Forum
Looking good!! -
What did you do to your Monte Carlo today?
Rancid87 replied to Canuck's topic in General 70-72 Monte Carlo Forum
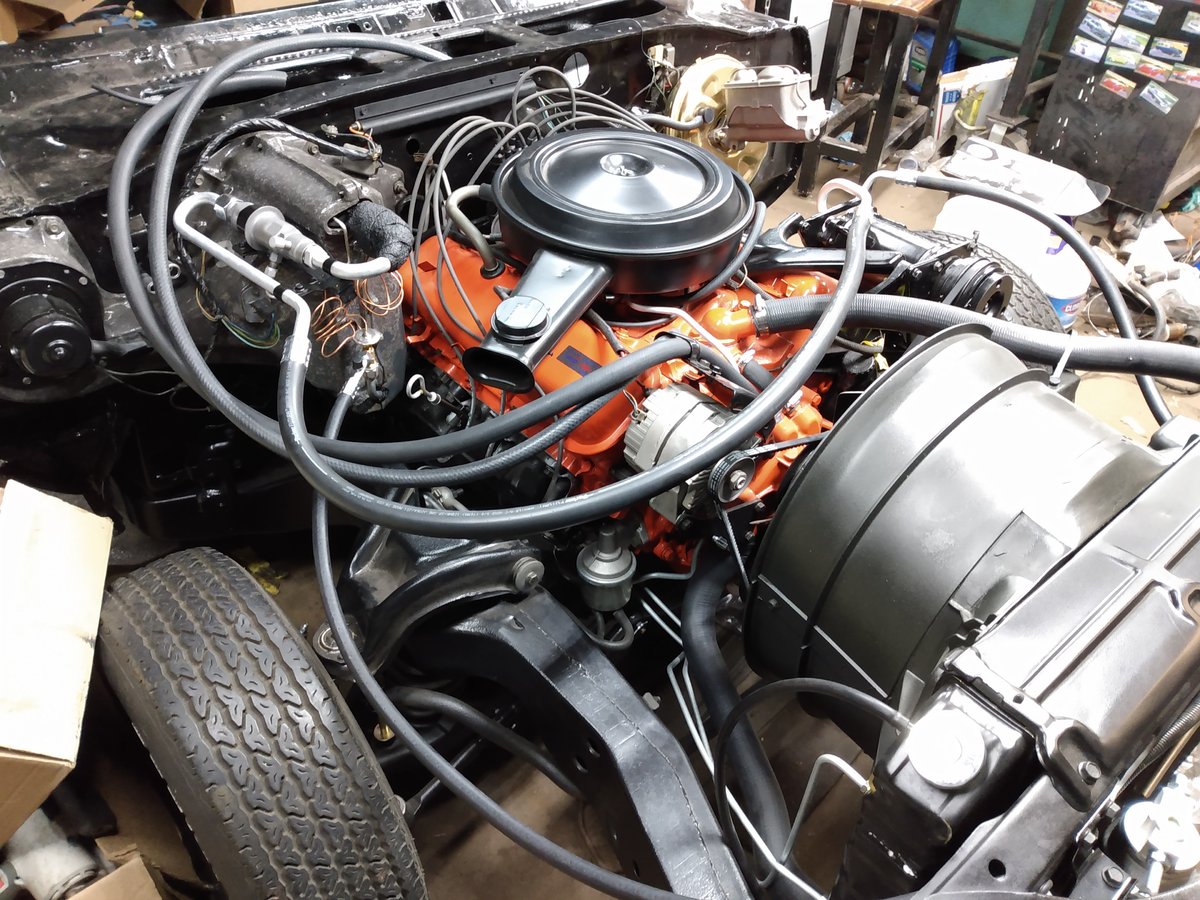
I know what you mean! I thought I bagged and tagged almost everything, and I may have, but I'm having trouble finding the bags! I finished installing the ac stuff tonight.
-
Welding the tabs on to the axle tube would be the easiest option. Otherwise, you would have to fabricate a clamp to go around the axle tube. Something like a 3" exhaust clamp with the brackets welded to the clamp might work pretty good and would be removable.
-
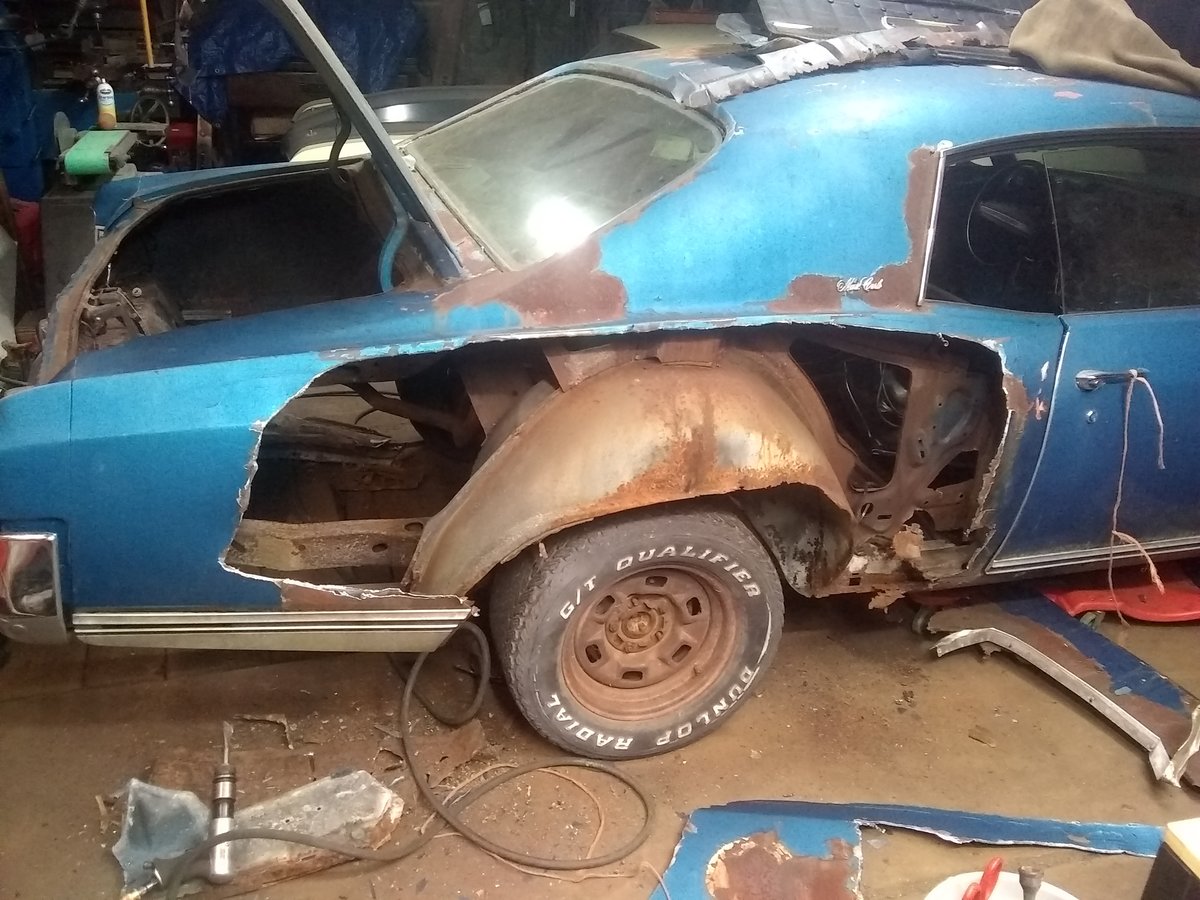
The tail panel I got was $325. I bought the tail panel and the seat divider panel(piece that is in back of the rear seat back) and paid $550 for both shipped.
-
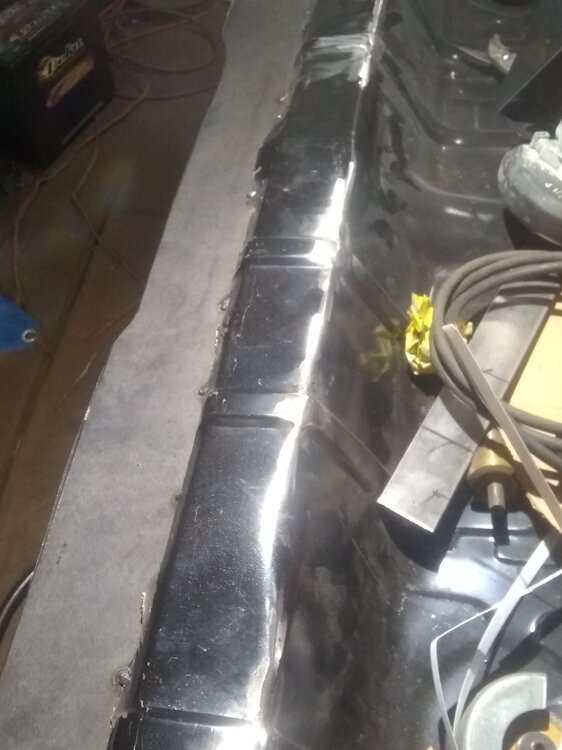
I am jealous of the access the rotisserie gives you on the bottom side! Does the one piece floor you're getting have all the bracing too? I ended up buying a used tail panel for mine off of AZChevs on ebay. I was in the middle of repairing mine when I spotted the listing for the tail panel. Definitely a labor saver!
-
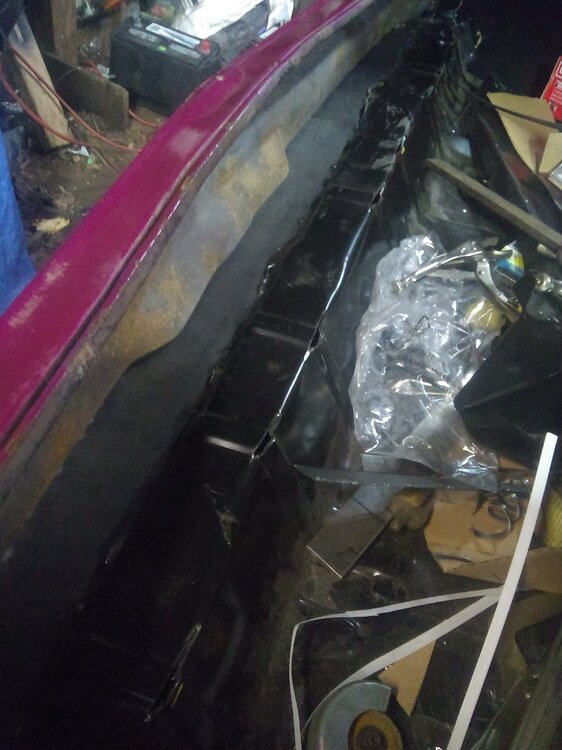
The rotisserie looks like it will give you great access! I didn't use the one piece floor. I ended up using full pans and a 1 piece trunk. I also installed the area under the back seat. A one piece floor would have probably been better. I've never installed a one piece floor but if I were to I'd just make sure I braced everything up. From that pic your floors don't look terrible. Is there a lot of rust/rot?


.jpg.6a0b32f4b400c50c868afb605b33b493.jpg)