Leaderboard


Popular Content
Showing content with the highest reputation on 09/16/2021 in all areas
-
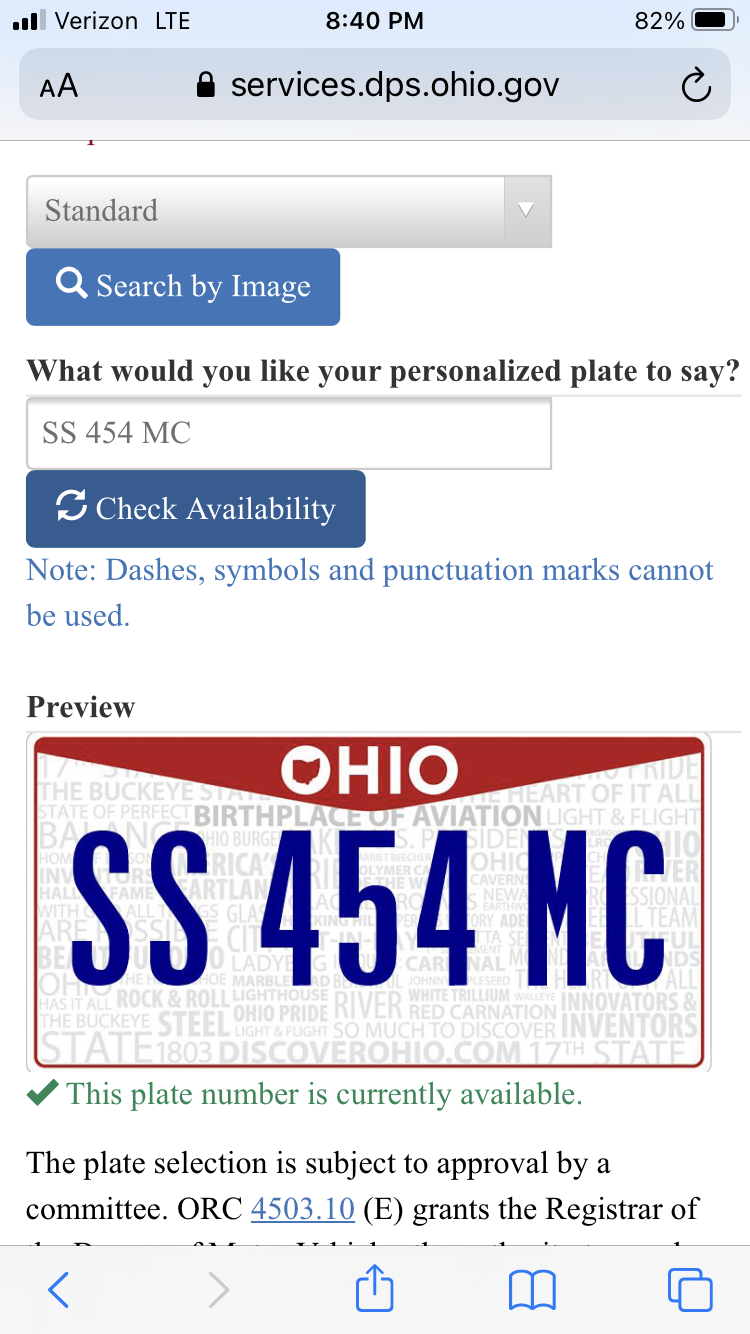
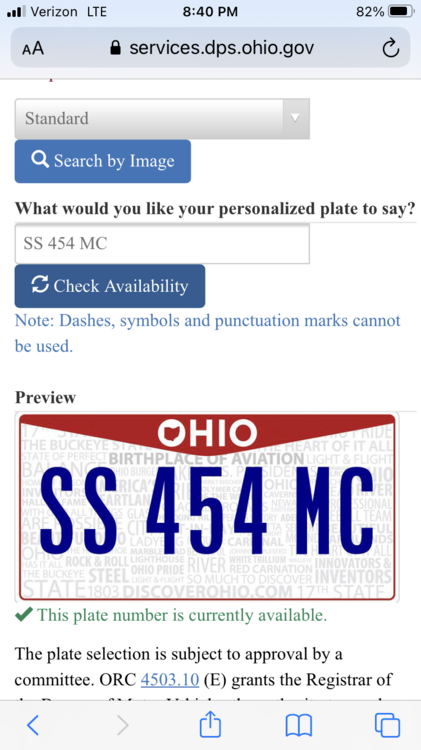
It’s a good day when you order your license plates for the car. I’m not close to using it but still nice. The end is near? Lol
 4 points
 -
I have seen "pro jobs" that were not so good. No problem this is relatively simple but can be tedious. Hard to mess it up unless you cut and glue first or try to hurry to get it done or have the good enoughs going. Start out by snapping all of the bows in and get it centered start in the middle and work to the front and back. Some cars have different bows for different spots so be careful with that (I don't think the MC is one of them). On repop headliners some of the bow pockets may need trimming to set proper now is the time to do that. I have heard of people not using glue and this could work because the metal hanger strips have teeth in the backside. I use glue. Let the glue tack up well on both the headliner and the strips. I start on the sides first and pull the headliner tight around the strip but don't bed it into the glue. Get it so it looks nice and wrinkle free (some small wrinkles can be removed later). When you like it snap the windlace onto the metal strips, this should pull the headliner tighter and bed it into the glue. Do the other side the same then the front and back. Now the real fun begins finding where the sun visors, belt clips, hangers, shoulder straps and dome light go. First and easiest is to find the dome light wire and make a small hole and pull it through. You should be able to feel around for the screw holes inside using a heavy T-pin (from a hobby store) push through the headliner into the screw holes. Put the dome light back together and mount. Do similar exercises with the other things feel around on the headliner for the places things go and poke around with the T-pin to find the screw holes (on a perforated headliner use the perforation holes so you don't add new ones), after awhile you will be able to feel the threads with the pin. Don't be afraid to tackle this just remember to take it slow, also if you screw up the glue can be separated carefully while you go but after a few weeks forget about it. Oh and just in case with some material wrinkles can be worked out with a heat gun (be careful not to melt it) most materials will steam if you have access to a steamer. rotin2 points
-
Finished up the CTS-V this afternoon, traction is going to be a problem, lol. I sealed the driveway with Michelin a few times first, then the owner did the smaller one in the video. Tomorrow I'll put the front fascia back on & call the tuner to make an appointment to get it dialed in. 20210915_191105.mp42 points
-
I would take this opportunity to change it to a Jeep Grand Cherokee box. Better feel and dirt cheap, still could have the leak though. You will need a new rag joint and some metric hoses or adaptors other than that it is a direct fit and looks the same. Lots of information on A-body sites to do the swap. Very easy and worth doing compared to the no feel variable ratio box that is stock. rotin1 point
-
I've heard both, some say it's not that hard to do and some say it's a real pain. One I saw in a chevelle the guy did it himself and said it wasn't to bad but the end result looked like a back yard job. I don't think I myself would tackle it. Some stuff I'll try and some I'd leave to the professionals. Thats something your going to see every time you get in car. My 2 cents.1 point
-
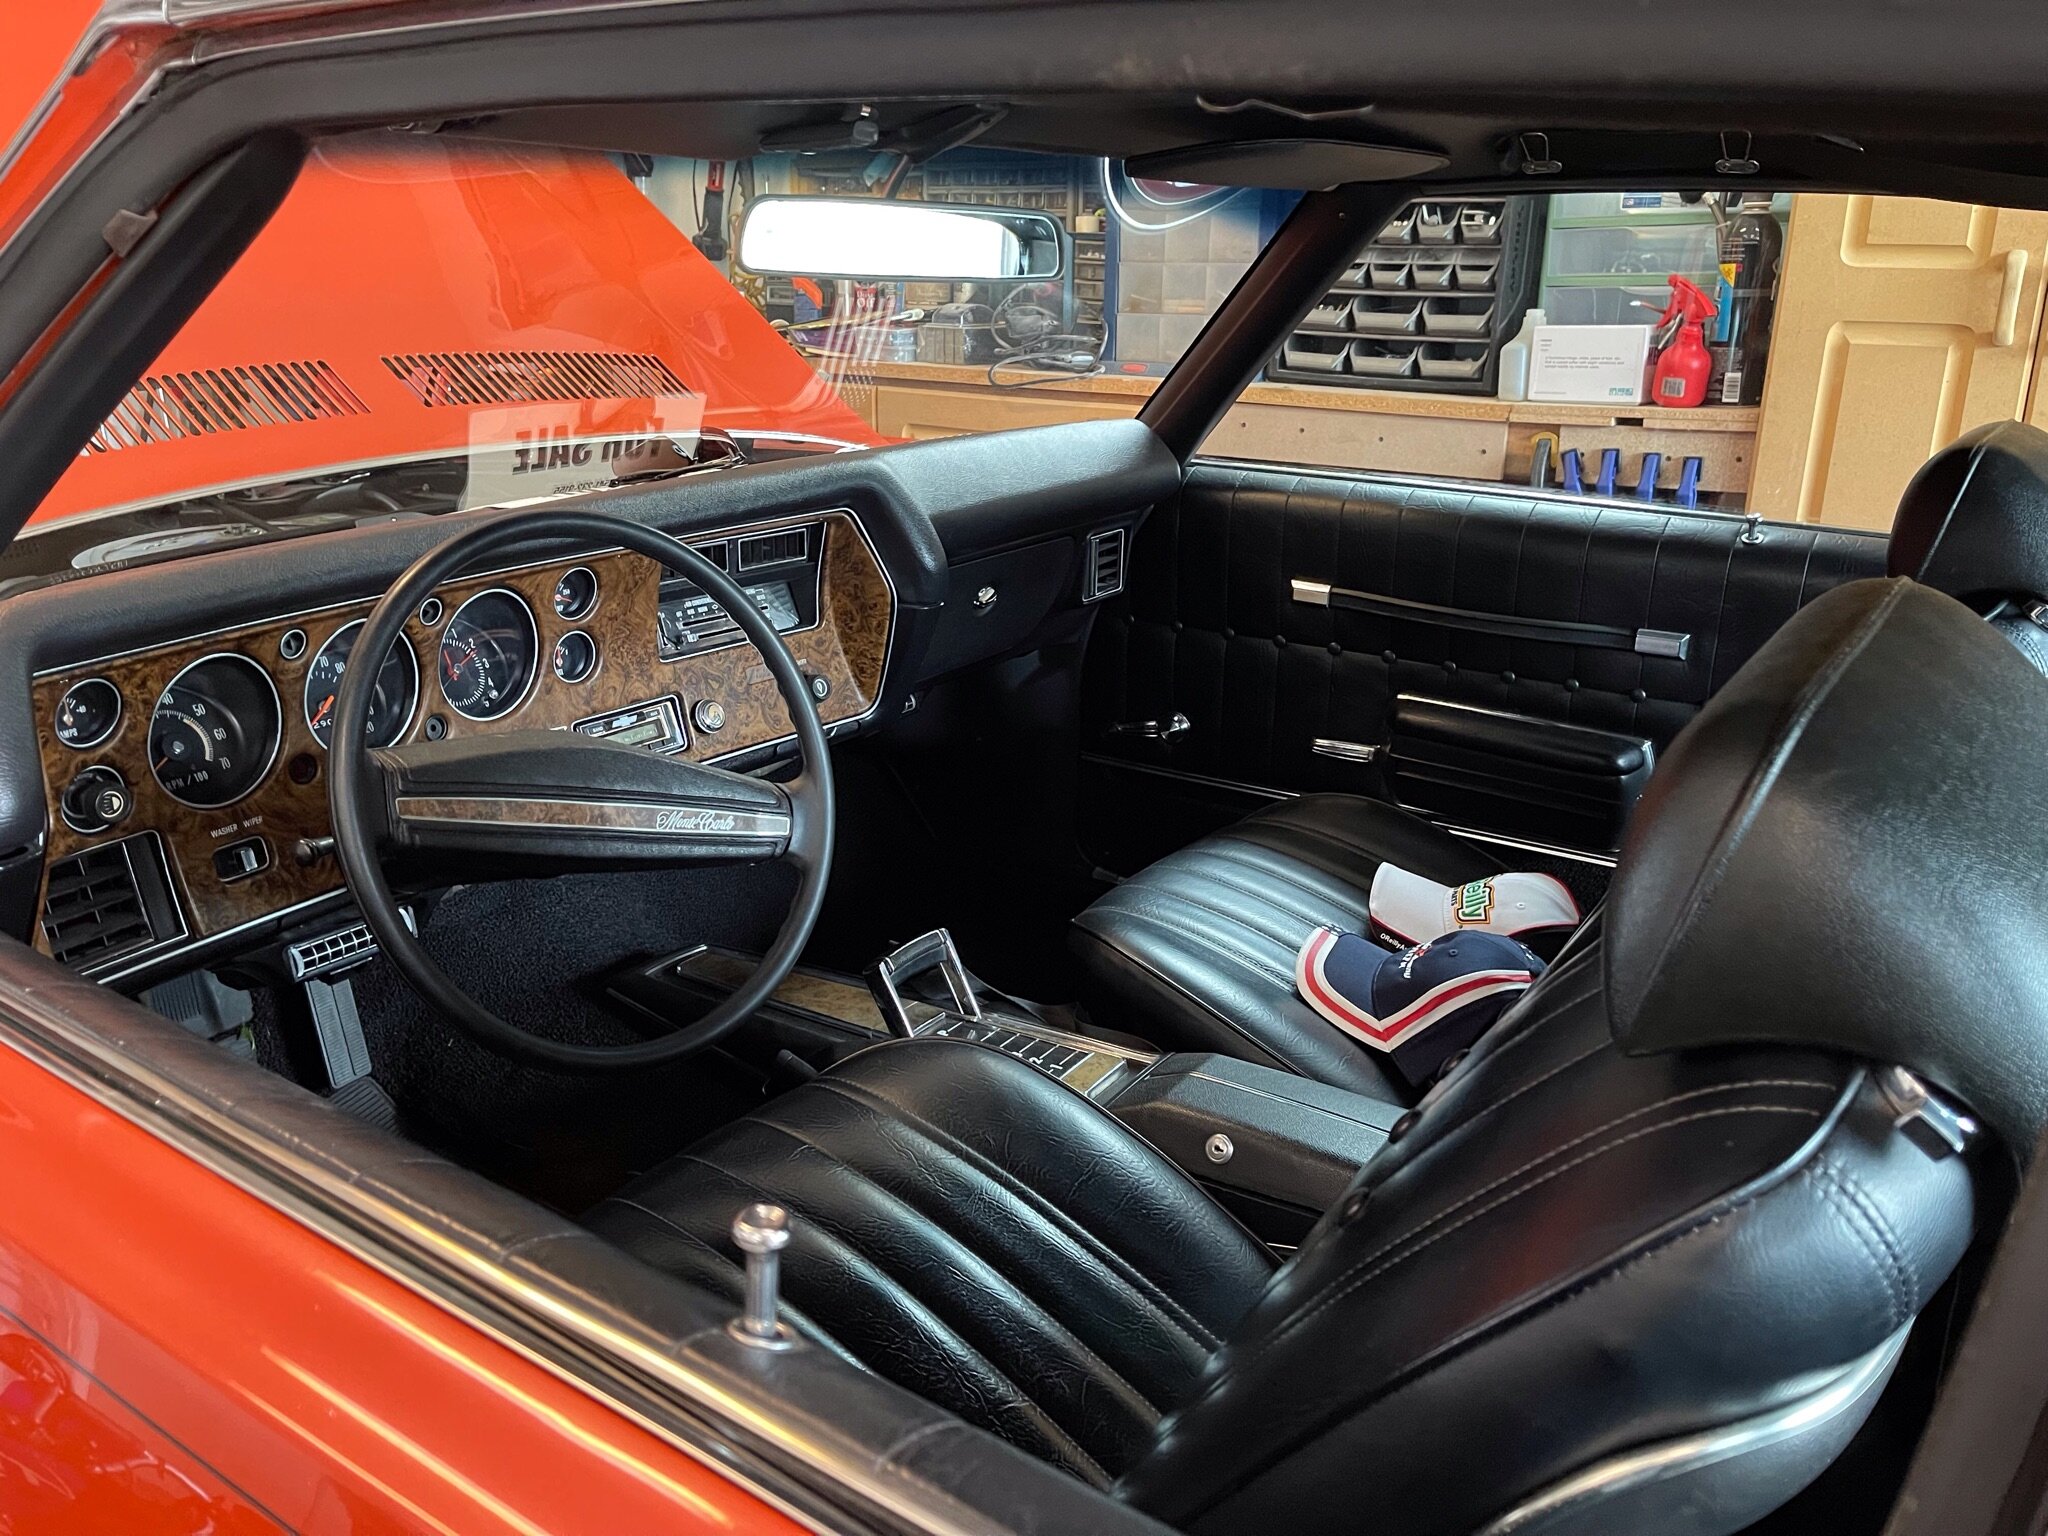
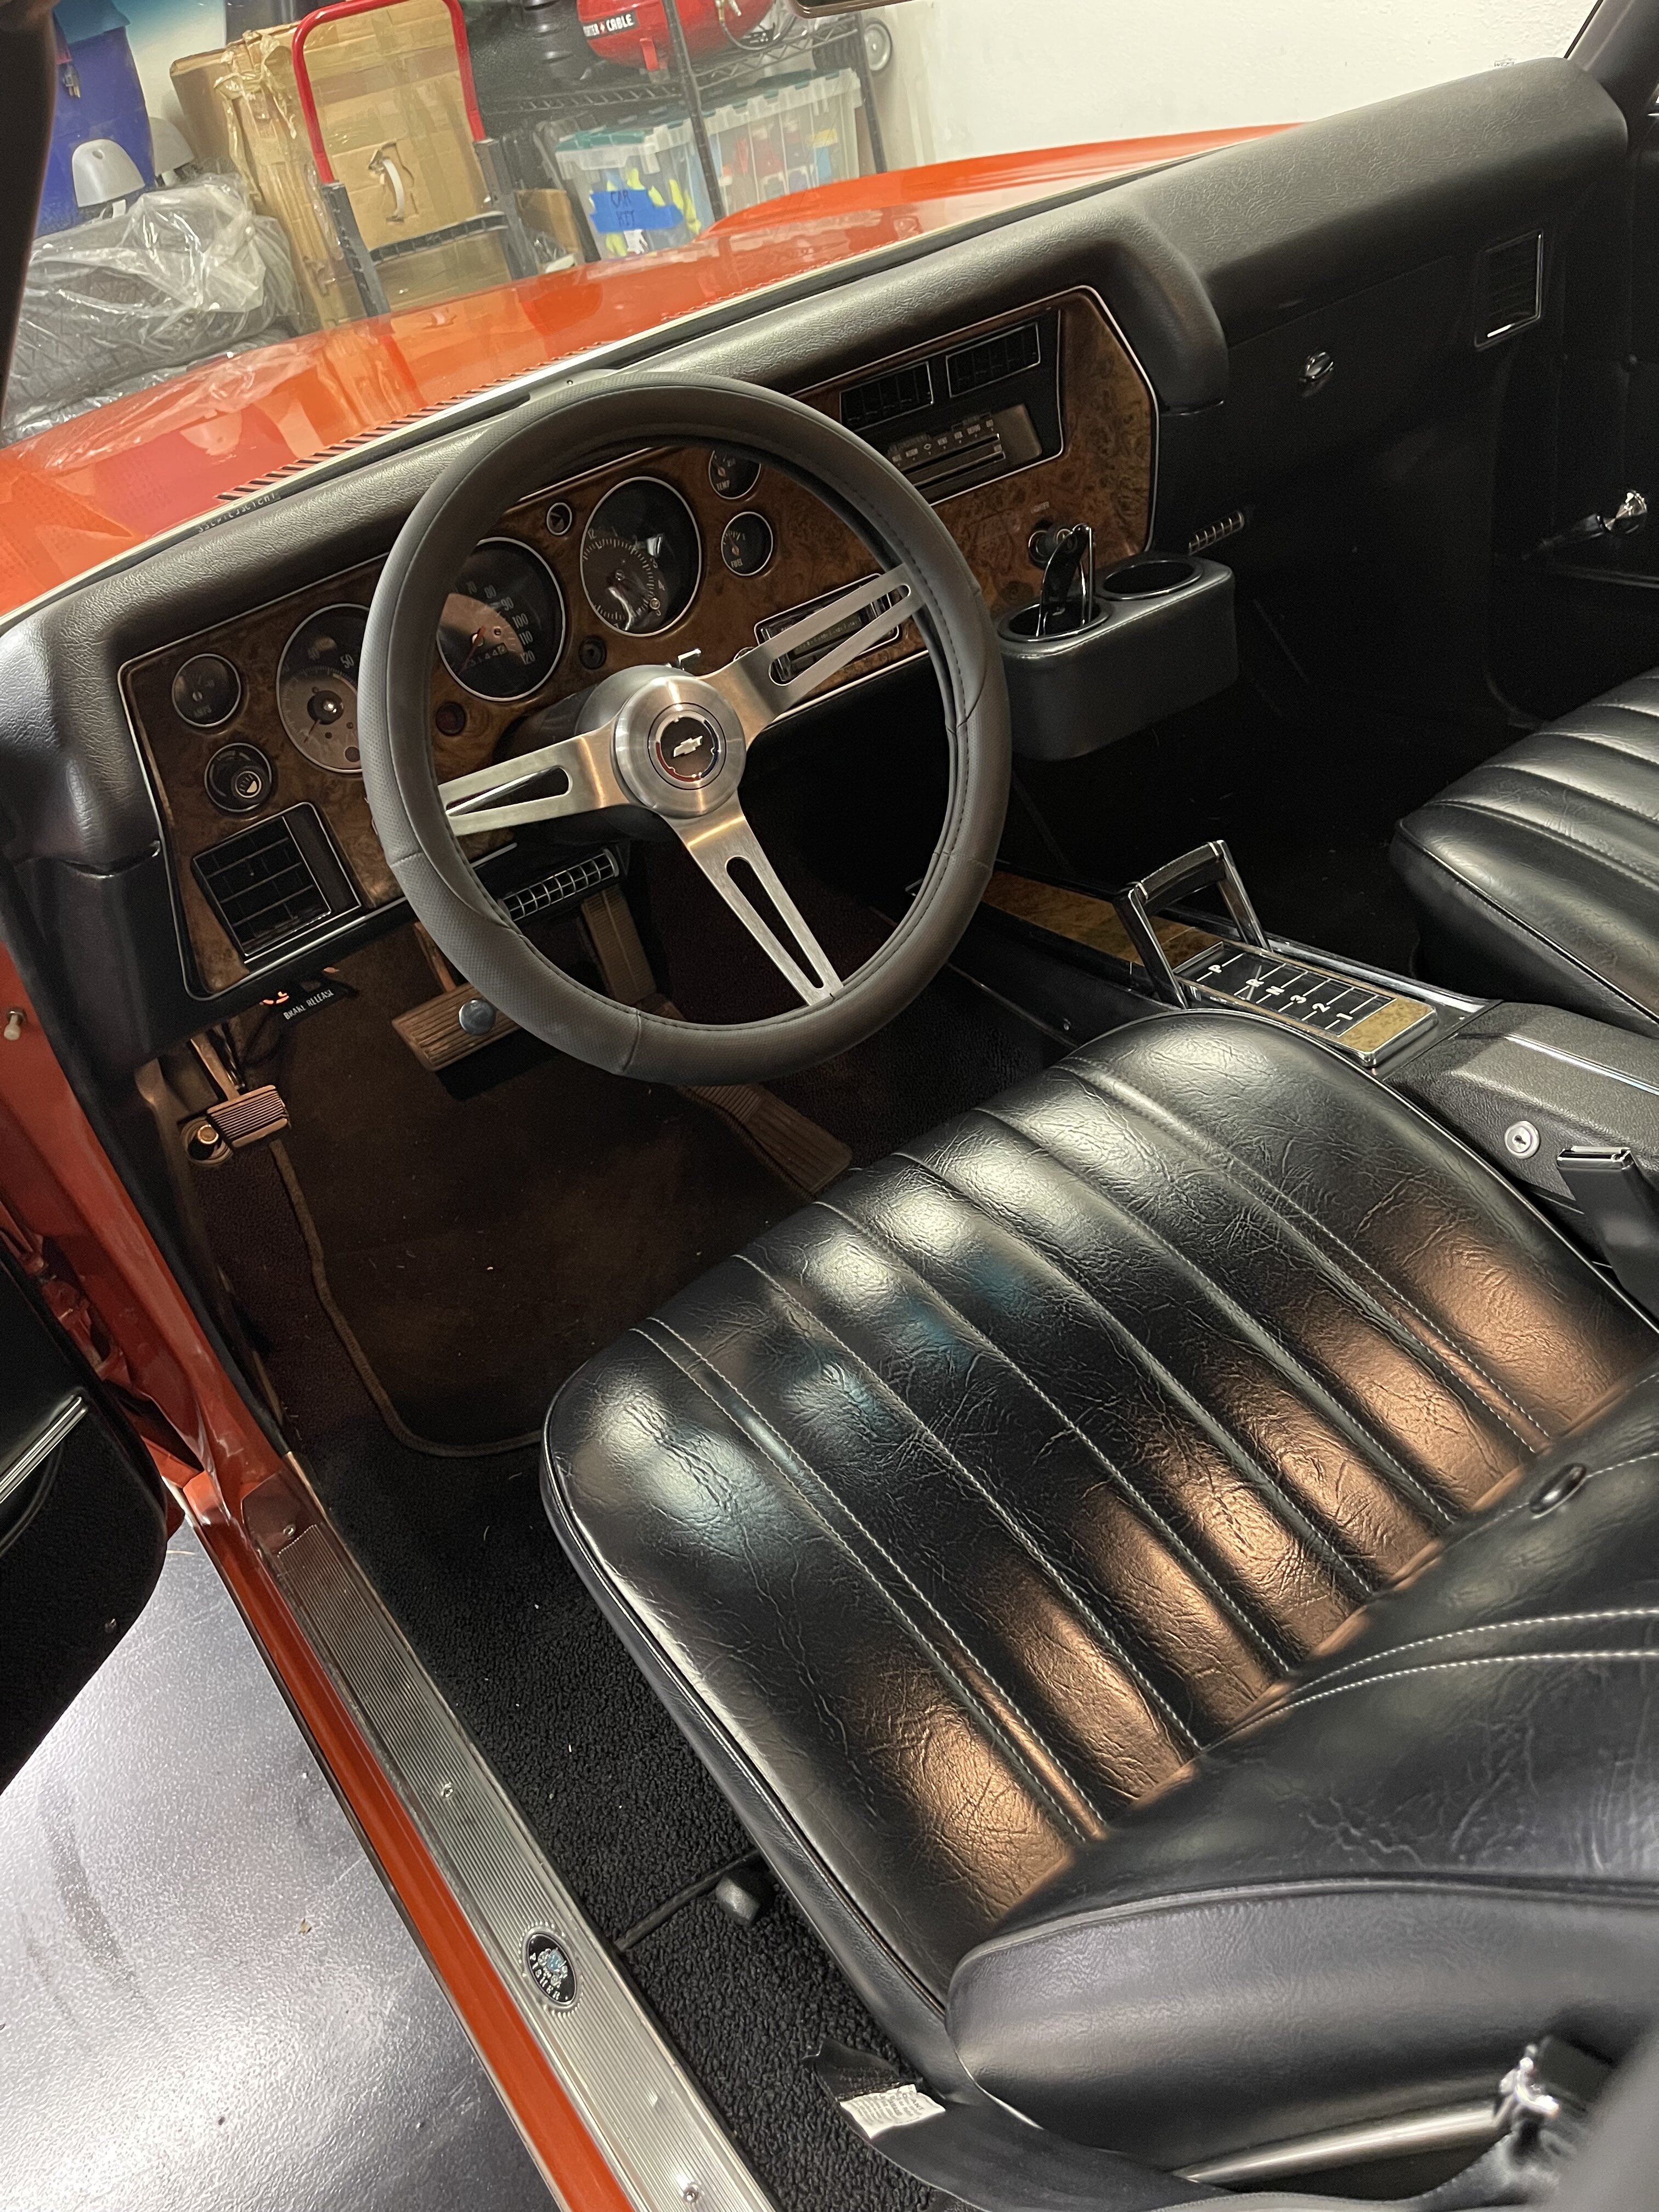
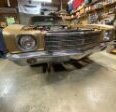
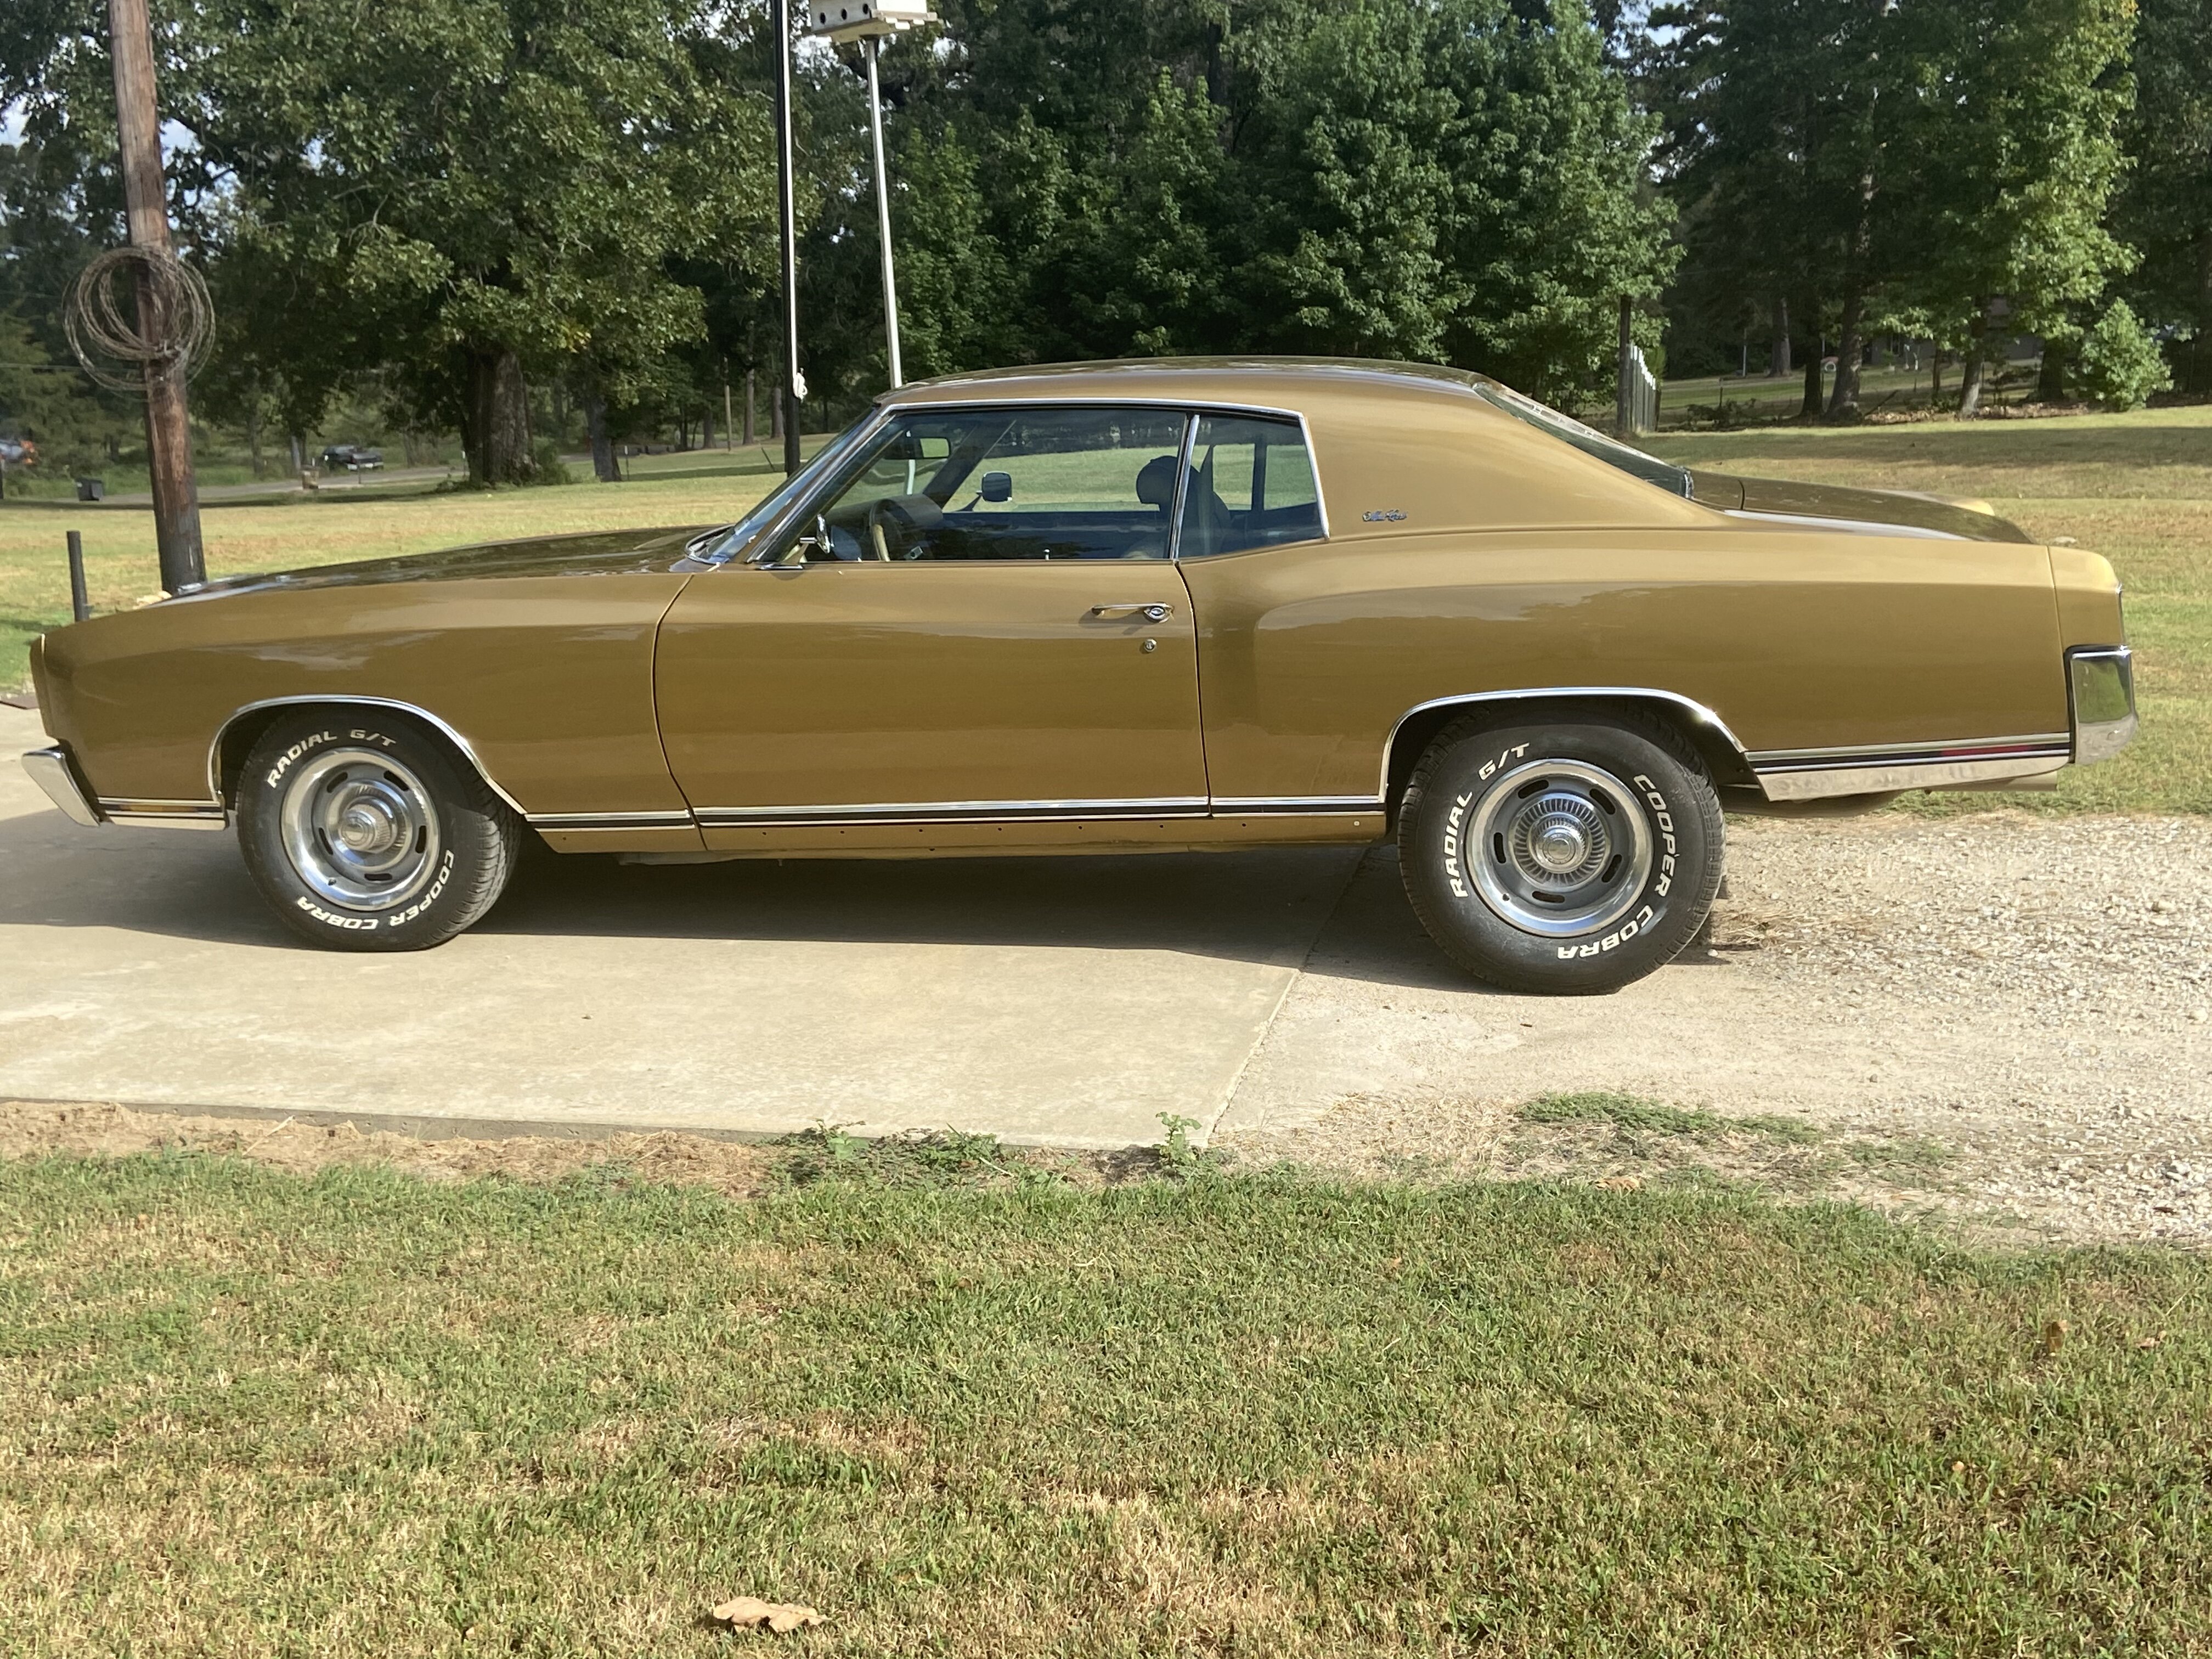
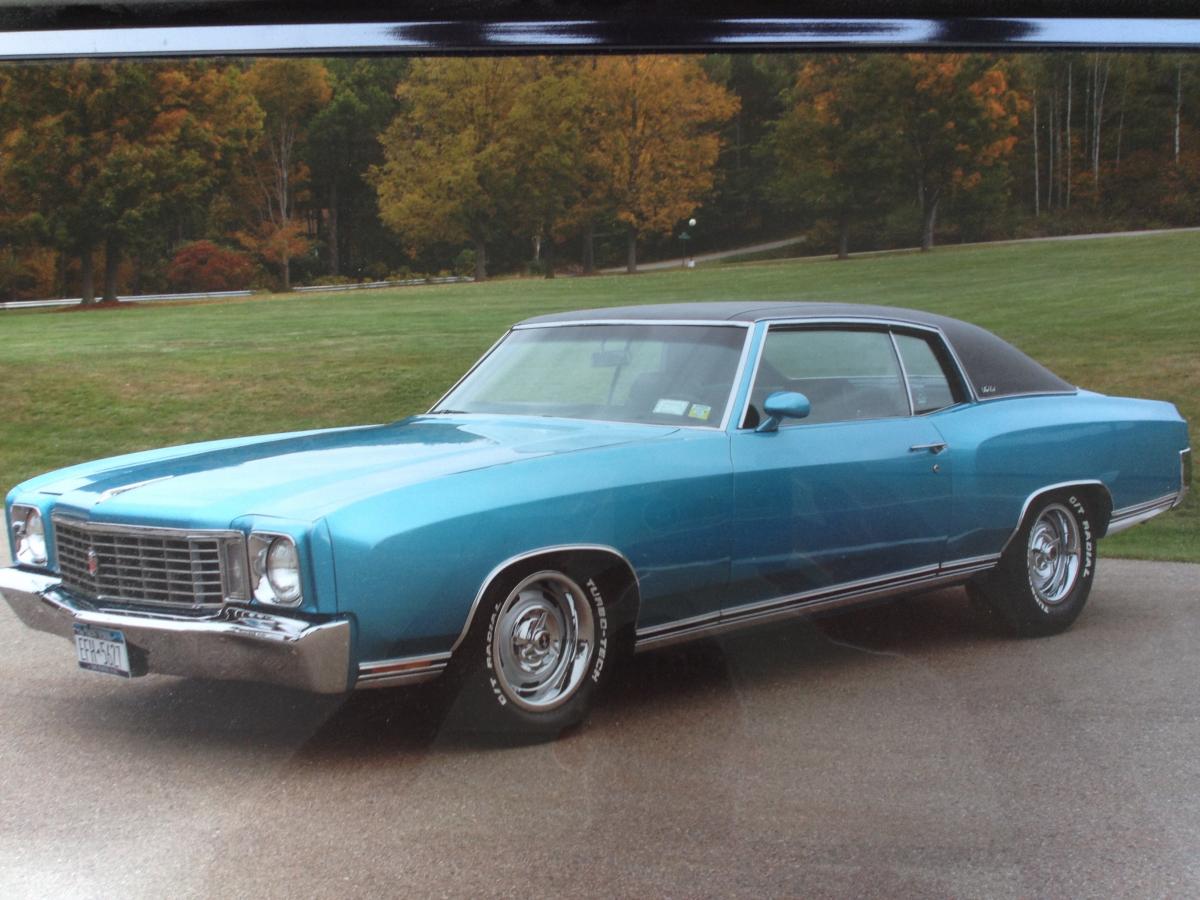
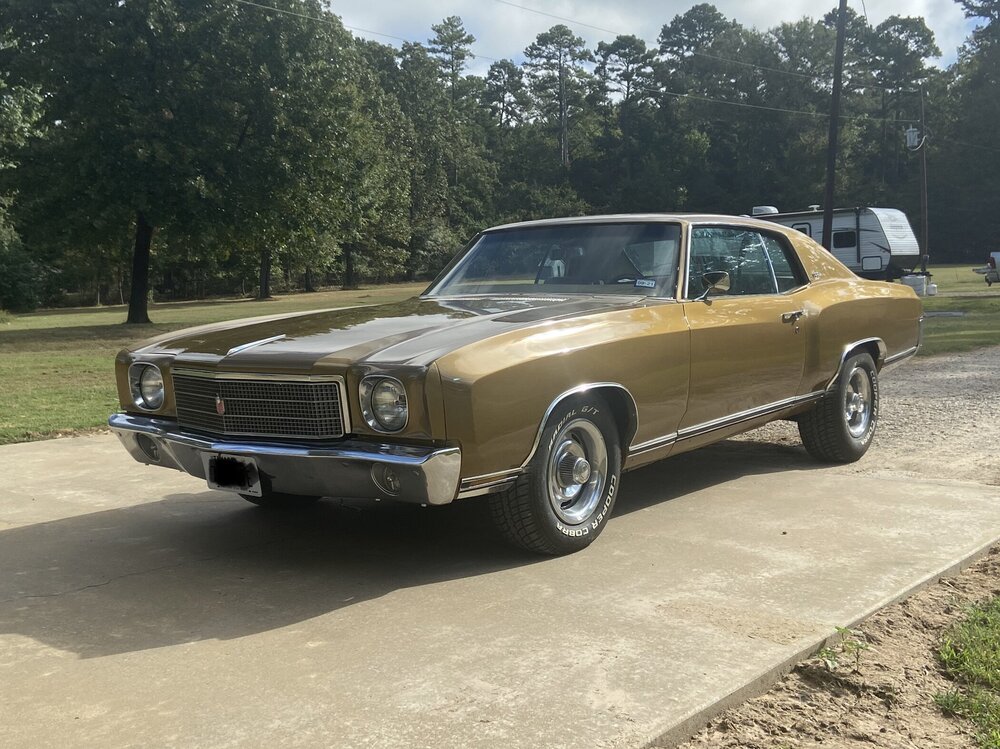
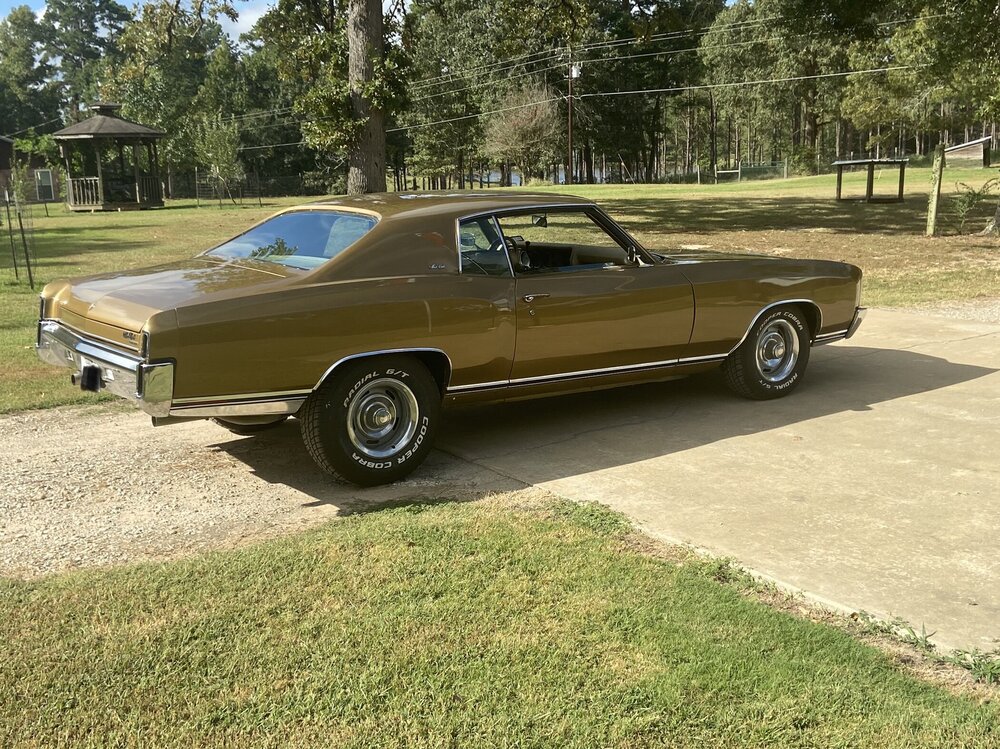
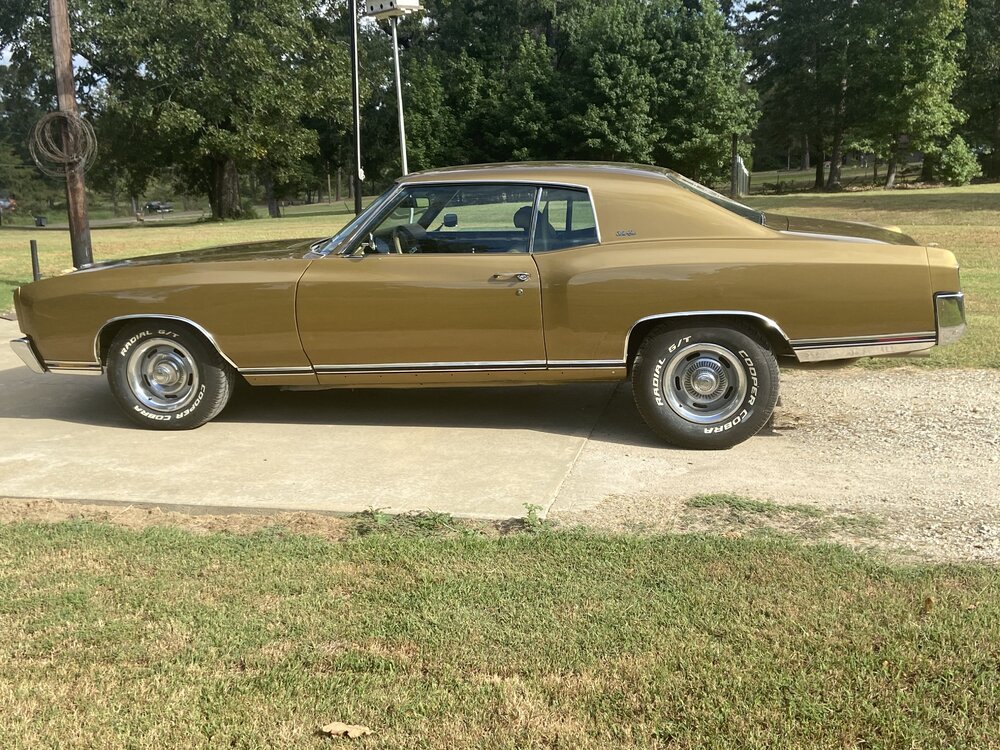
More pics from today. Fixin to go to town for lunch 😎
 1 point
 -
Wow! I better get after it! Thanks for the update Rob.
 1 point
 -
As of today, there are only 4 rooms left in the Club Host Hotel. If you think you want to attend you need to make your reservations if you want to stay in the club host hotel. rob1 point