72-CLASSIC_RIDE
-
Posts
1,166 -
Joined
-
Last visited
-
Days Won
33
Content Type
Profiles
Articles
Forums
Gallery
Events
Everything posted by 72-CLASSIC_RIDE
-
Okay, 2 fans use Fantastic and that sounds like an excellent alternative for what I have tried. As I said earlier, I won't be doing any significant driving until near Car Show time and will apply Dressing at that time. Also, as clean as the Tires are right now, maybe none will be needed. All GREAT suggestions and is much appreciated.................. Doug
-
Well, I think I finally removed all the Old Tire Dressing film from the tires. If this is what I have looking forward to at the next tire cleaning, I will be looking for another product. As I said earlier, I am sure my initial tire cleaning prior to applying Tire Dressing 1st time caused me more work than would have (I hope). Prior to next Car Show next year, I will apply this Product once more using a deliberately measured amount evenly/'sparingly and then evaluate the result(s) moving forward. Sounds like you guys have a proven method that are comfortable with and I am taking note of it. I decided to 1st see that Tires are spotless and my measured application makes cleaning a breeze or will use your suggestions in part or in whole. Appreciated................ Doug
-
Hey all, Spent the past few days cleaning my tires. I am finding using Tire Dressing (at least the one I am using) does not remove easily with a Tire Cleaning product or by Washing vigorously. I use Mothers Back To Black to Dress Tires and when I attempted to clean, that Dressing required a wire brush to get the residue & (browning) off the Tires. Now when I initially applied the Dressing, I don't think I spent much time prior cleaning the Tires, at least not near as thoroughly as I have this time. I think I had applied approx. (3) applications with only mild tire cleaning in between applications. Was wondering what experiences (successes, failures) you all have had using a Tire Dressing product. I am of the opinion each time applied, that Dressing has to be thoroughly cleaned from the Tires to avoid that Browning and easier to clean when not applying layers of Dressing? If your Product and the Methods used get you the results and ease of use you expect, looking for those suggestions. Appreciate your thoughts, Doug
-
Excellent Rob! Just make sure the Title is not Code for "Fast & Furious" ................................... Doug
-
LOL another one for Doug to start tracking......... Doug
-
Here we go again! I just completed an update requested and added another one for a total of 38. This should be sufficient unless you have any changes/additions needed. Don't be bashful if you find something not correct & let me know. 1972 MONTE CRLO CUSTOM NUMBERS REV. 10.JPG.xls Doug
-
Here is the latest update for the 72 Custom numbers. Again, any questions/concerns, please advise. I trust the format is a little easier to read going forward. Feels free to save a copy but is an Microsoft Excel program & need Excel to open it I assume. Doug 1972 MONTE CRLO CUSTOM NUMBERS REV. 9.JPG (7).xls
-
Hi Anthony, I had responded to you in the New Member Thread concerning your 72 Custom. Once again, welcome............ Doug
-
Great negotiating and have an AWESOME Birthday today Rob............................................. Doug
-
Hey Mike, If that set of Power Window Regulators & Motors are still for sale, I have an interest. Have any Power Door Lock Actuators? Doug
-
Are you talking about the side marker lites or the tail lights to start with. The rear side marker lites do not flash with the hazards, only the front markers do as well as the front turn signal and rear tail lites. If it is the rear tail lites, could be the ground, the connection or lack of one. If you connected the rear tail lites incorrectly, this would cause your rear flashers not to lite. Double check accuracy of your connections. I am assuming you changed all the original wiring with Autowire? Doug
-
Kind of a meet in Finland, Europe
72-CLASSIC_RIDE replied to AnHie65's topic in Local Cruises and Events
Thanks for sharing! Pretty rare sight seeing two 1st Gen's together anywhere in Europe/Scandinavia. Way to represent................ Hope you are enjoying them along with the weather you had. Doug -
The Custom Moldings do not have that chrome strip running along the length of the outside felts. That strip of chrome would get in the way of the Belt Moldings that are standard on the 72 Customs so they are made without that chrome strip. That's the only difference.................. Doug
-
all's I got was this AWESOME FGMCC PILLOW that blends & fits perfectly into my Interior / Exterior decor. Probably the 1st time I ever wished for Twins .......... Thanx to ALL who attended and or had a hand in making once again, another well executed WM. Special mention goes out to April & Aaron (Mayhem), an inside joke for their selfless dedication . You guys really give up a portion of your YEAR all year long planning, communicating and Hosting all of our events. And I believe the turn out is indicative of that dedication you both display. Thank you both so much........... Wow, what a turn out! How many people attended including family? I'm guessing over 60 . The Cars were spectacular as were the people. Got to meet what seemed a huge group of new members/WM newbies that added greatly to my experience. Looking forward to Montana and hope to see everyone & more at this event........................... If you don't make it, all I have to say is So many pic's to sort thru and putting those faces & names with their cars, well , it's gonna take some time..................... Doug
- 1 reply
-
- 2
-

-
2019 Western Meet: Penticton, BC
72-CLASSIC_RIDE replied to Canuck's topic in FGMCC Annual Western Meet
Off to a GREAT start this early AM! Went to get my car from the Garage but can;t get door open. Either remote or Code Key box won't respond. I can't get anyone to answer emergency phone number. Looks like after 9:00 AM at earliest I will be able to leave. So much for an easy cruise.................. Just going to be later in the day................ Doug -
I had same issues back when our Website Administration changed. My understanding is Microsoft doesn't support Internet Explorer except for Security Patches. Anyway, I changed to Google Chrome and everything okay so far since that time. Once you get acquainted with it, you wonder why you hadn't been using it all along. Doug
-
2019 Western Meet: Penticton, BC
72-CLASSIC_RIDE replied to Canuck's topic in FGMCC Annual Western Meet
Leaving for Summerland in the AM & will see ya all there............................... p,s, All Drive Safe Doug -
As said previous. Most of your Part Source Brick & Mortar Stores has them. Open up OPGI, Impala Bob's, Parts Place etc. etc. and look under Decals. Than particular Decal your wanting should be found within that parts group. Doug
-
After reviewing this Allstate Car Insurance Commercial, do you notice anything familiar about Mayhem? Compare the video, especially near the end to the pic I included and then see if it rings a Bell. Be afraid! Be very afraid...................... I'm not one to cast stones but are we traveling in the wrong company? https://www.ispot.tv/ad/IZTi/allstate-mayhem-car-thief-featuring-dean-winters

-
Thanx for sharing Bruce . Not very many can boast they still own their 1st car after 48 years Doug
-
Here is the link I sent for you. Hope it opens as I hadn't tried this before.
-
Here is the Kit for the 10 Pc. that covers the Body Lower Side Moldings only. You can procure these from the Parts Place if you need them and they are packaged identifying location. The bottom Body Sill Rocker Moldings use aftermarket Aveco #8400 plastic Clips that can be purchased as well. 10 per side if I'm remembering correctly? You will also need (2) plastic retainer clips 5/16" x 5/16" with a threaded hole thru the center of it plus (2) stainless sheet metal screws to secure Plastic retainer at rear of Rockers.. As far as how to install them? Each individual Lower Trim piece on one side would be secured exactly as the other side. The trick is laying out half of the fasteners on one side where they would go and then taking your time, fasten them based on a combo of the clips & screws needs. When I installed the plastic square clips, I then slipped the molding over the bottom until held by the clips and then gently pull up on Molding, with gentle force pushing inward toward vehicle and Molding will clip over the top of plastic clip and your secure (unless in some cases, screws are required to finish the job). You will find the lower side molding right behind the front tires has 3 nuts that screw into the clips holding them in place on the Body and they are hidden behind the frame. To remove/secure screws, the best idea is to remove a few screws holding Inner Fenders (rear side of fenders) and pushing Inner Fender in toward vehicle so you can access these 3 screws (both sides). Still can be awkward but best chance for success. Wish I could offer you a step by step but my rememberer doesn't work like it used to. I will send you a Link to a thread I had when I did mine. Maybe it will help some and others likely can provide a more detailed and precise instructional advise. https://www.ebay.com/itm/1970-72-Chevrolet-Monte-Carlo-Body-Side-Molding-Trim-Hardware-Clip-Kit-New/271204197540?hash=item3f2507a4a4:g:7TYAAOSwmtJXViRs Best of luck and it really isn't that hard as far as locations. It has more to do with feel when installing. Doug

-
Very nicely done! Doug
-
and have fun with your Build. Always nice to be able to add your personality into the final product..................... Doug
-
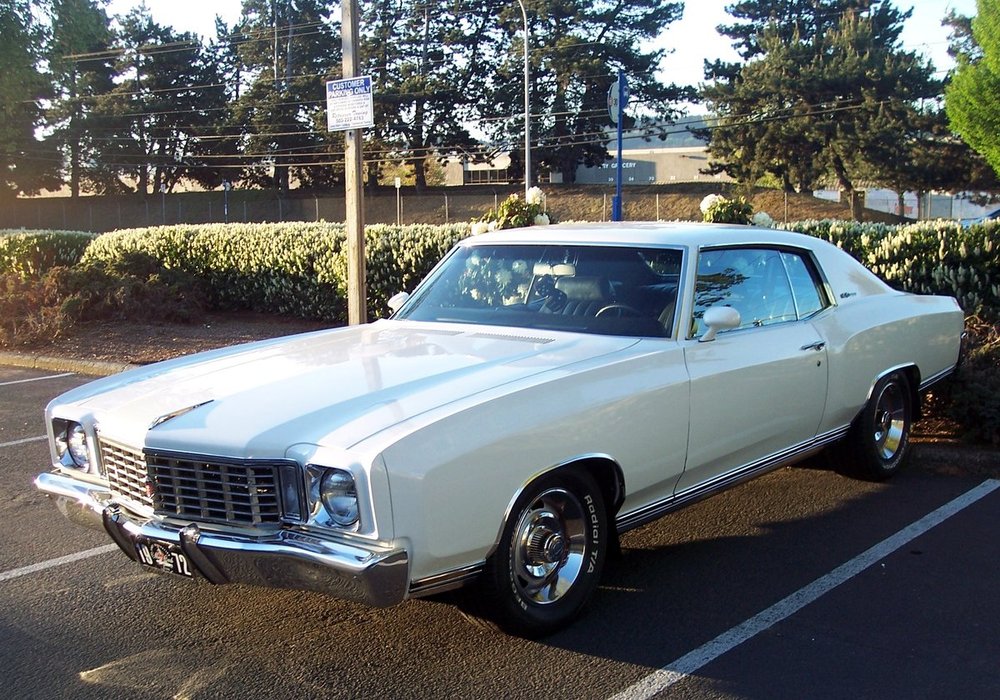
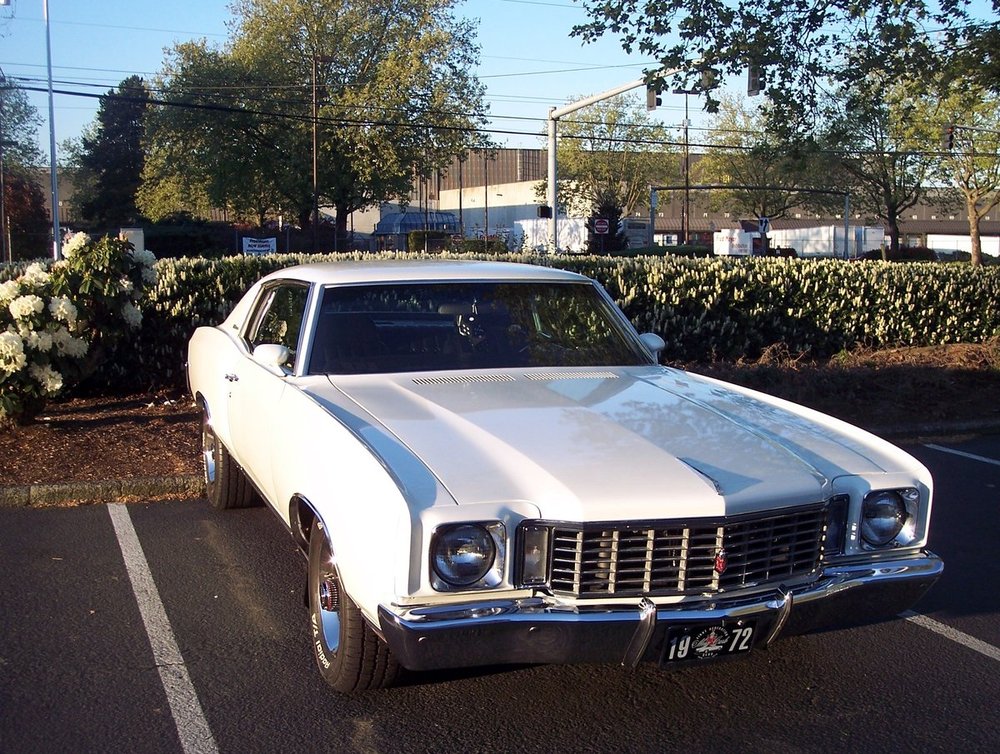
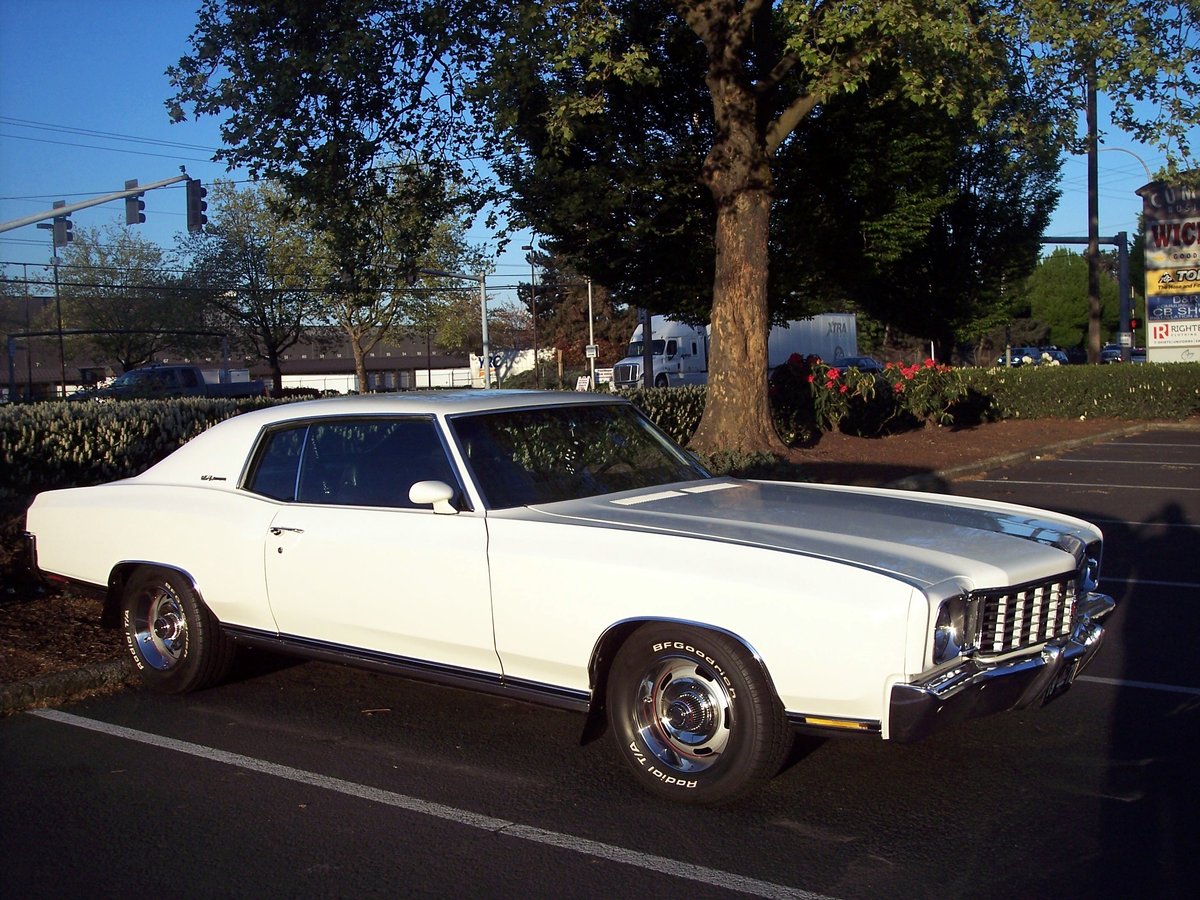
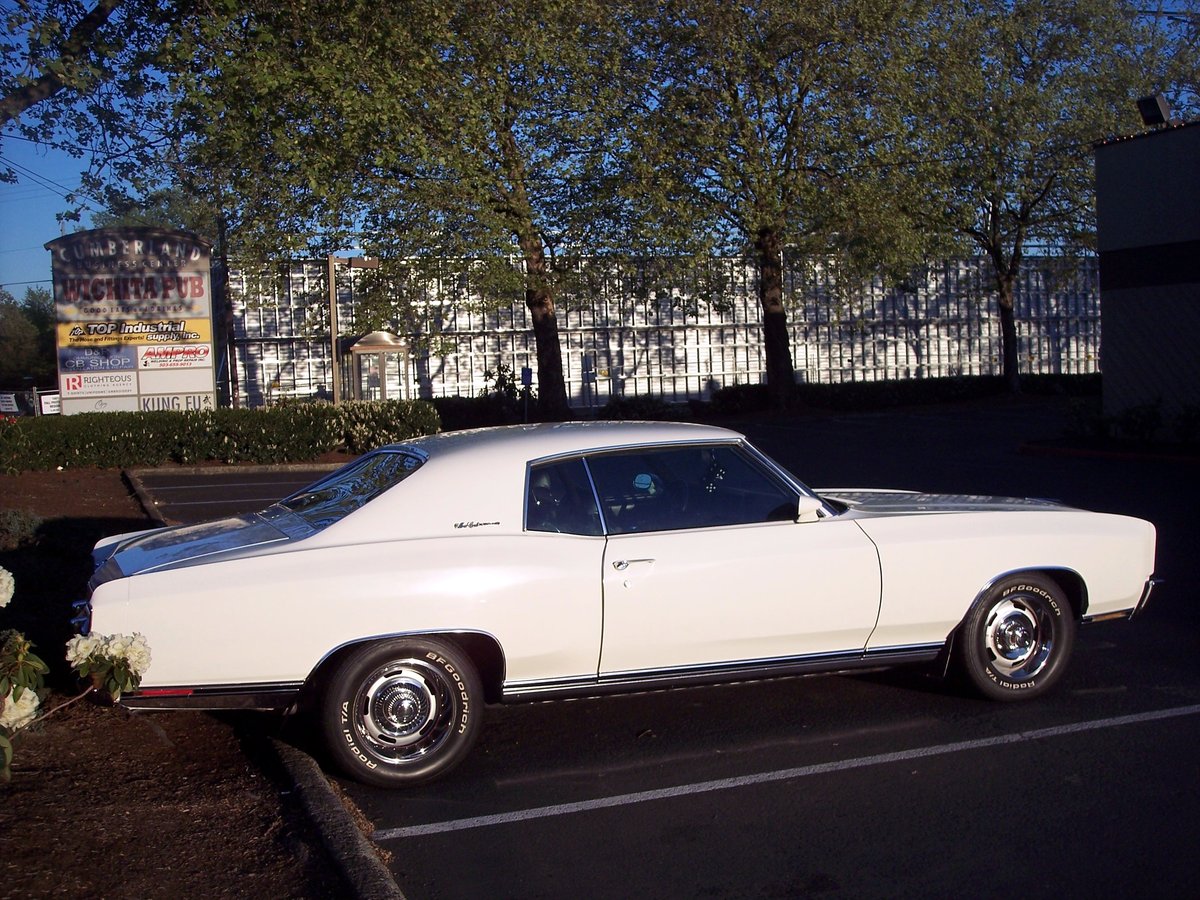
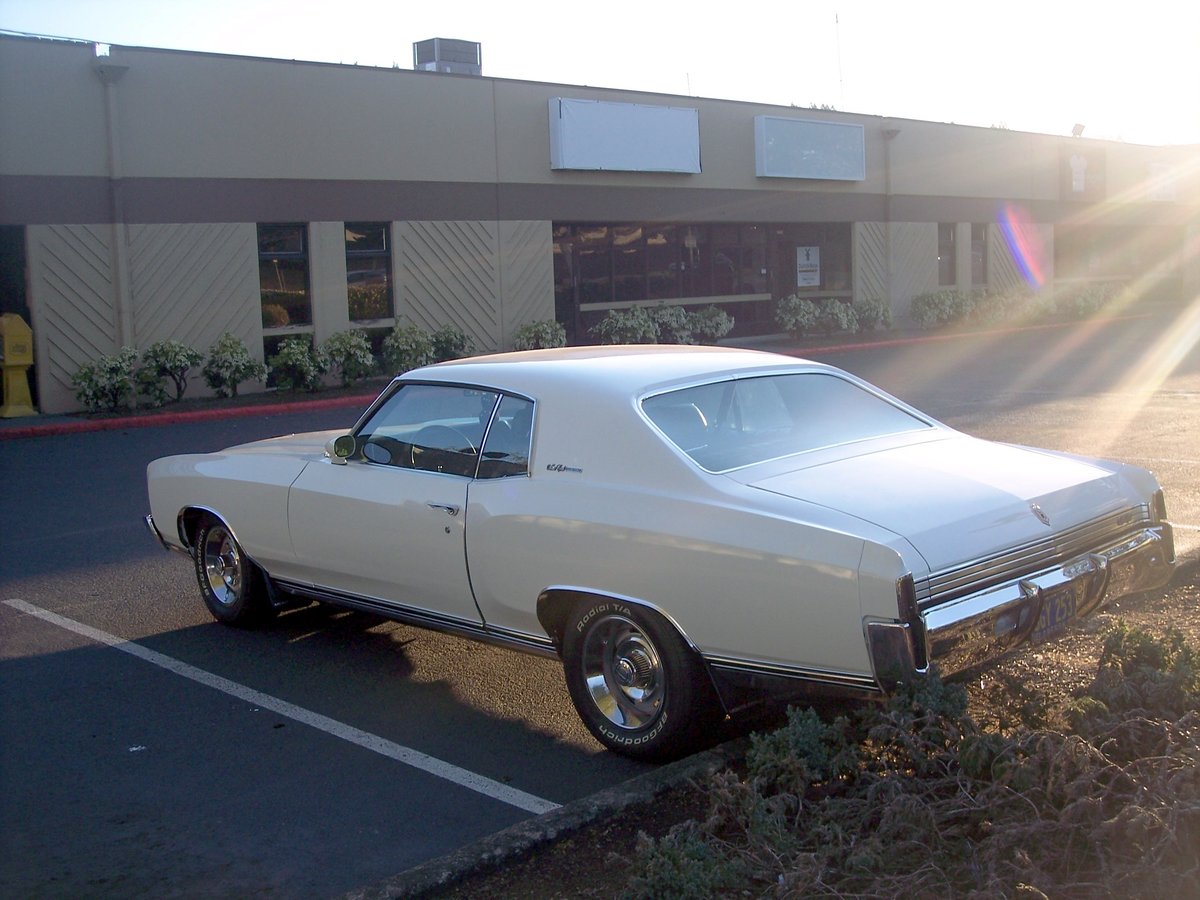
What did you do to your Monte Carlo today?
72-CLASSIC_RIDE replied to Canuck's topic in General 70-72 Monte Carlo Forum
Tacklrd my lame driver door lock today and found another problem after starting the car this AM. Had a rattle somewhere near the front of the motor. Isolated it to the Balancer where after checking the 3 pulley bolts that hold pulley onto balancer, two had loosened up some, so got that fixed. The door lock actuator plunger shaft was corroded so bad it just froze up. Pulled the door panel, removed, cleaned and lubricated the shaft and moves up and down freely again. There was a hole in the boot that let water seep onto boot and held it there until it seeped into hole thru boot. Repaired boot and will be more diligent with water in this area even though I believe it shouldn't happen again. Anyway, the rattle which originally thought to be inside motor as the rattle sounded internal turned out be tightening and that was a relief. Until the next burp............................ Sorry, no pics of the work but here is a couple of the car while I was getting ready to work on her. Doug