Leaderboard


Popular Content
Showing content with the highest reputation on 04/15/2021 in all areas
-
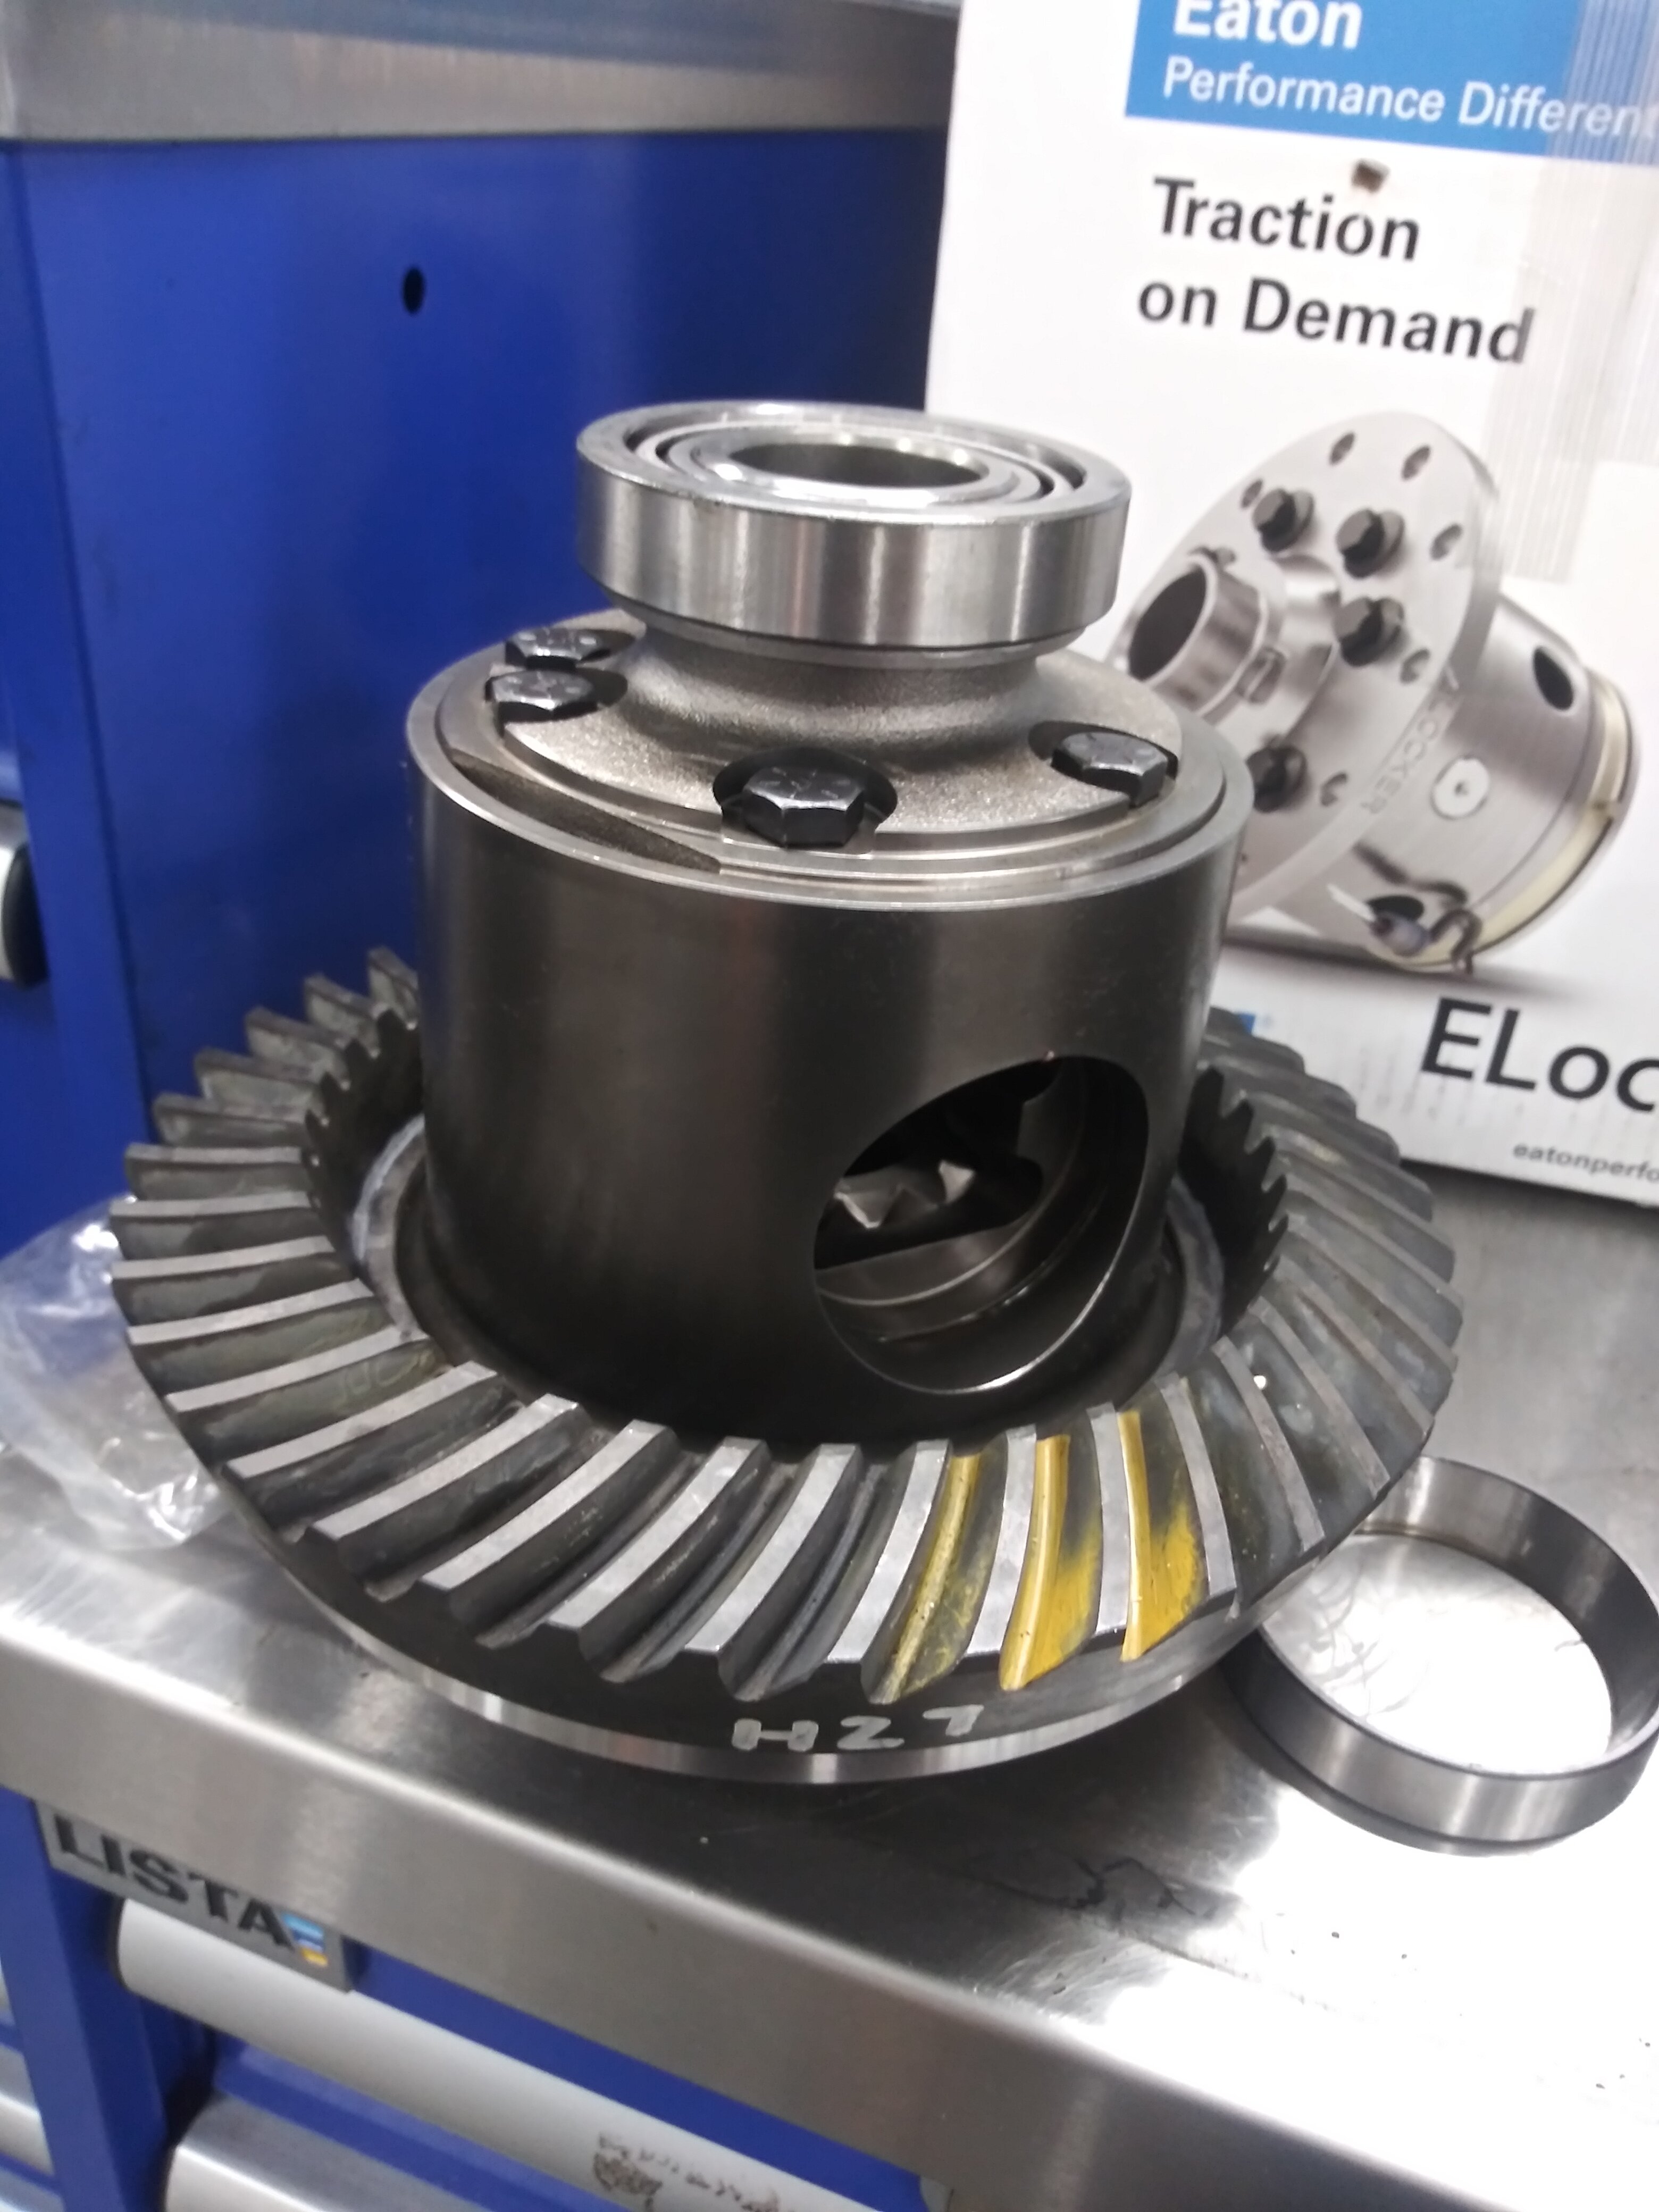
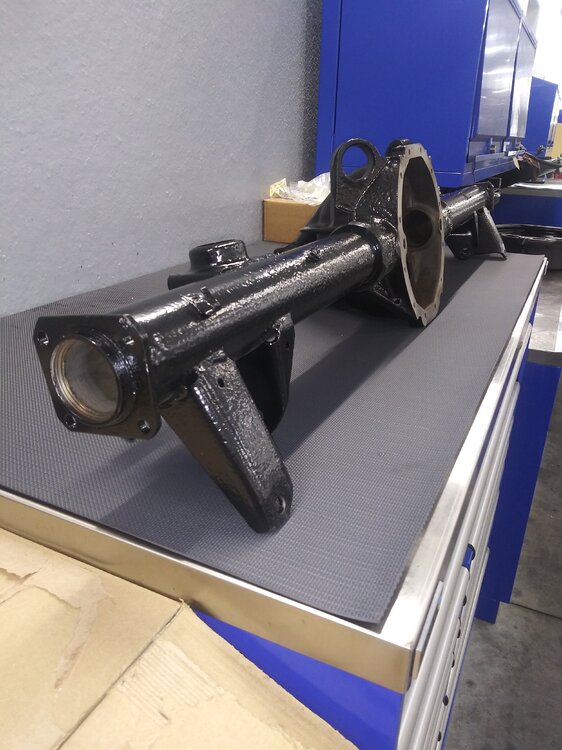
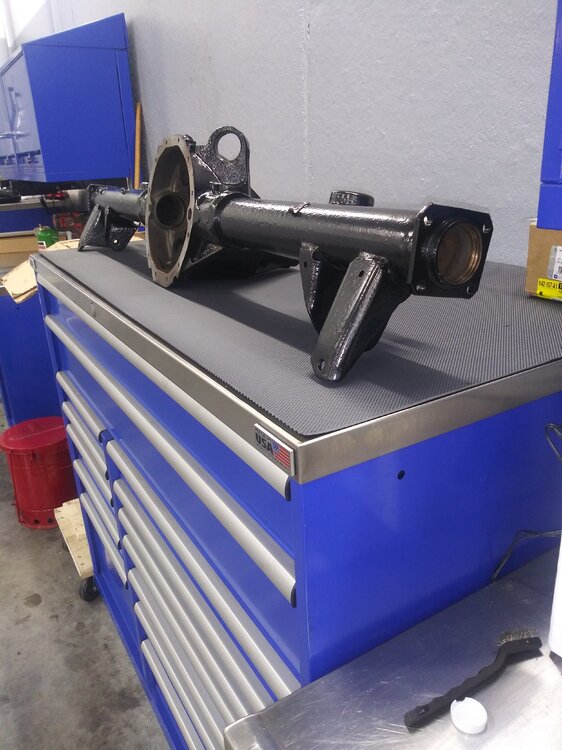
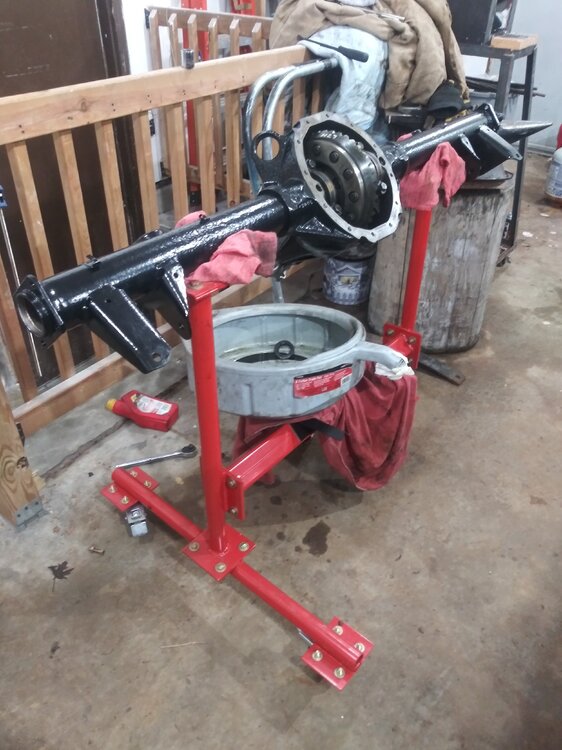
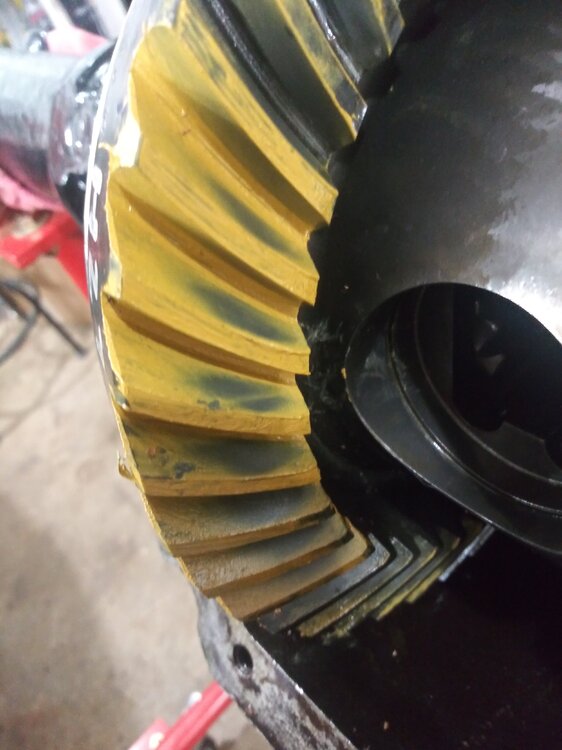
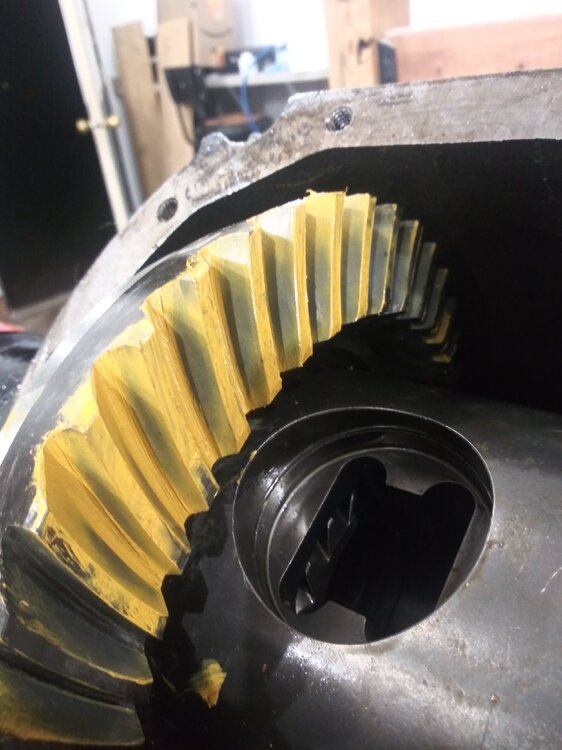
I got my rear end back from powder coating and after a thorough cleaning started the reassembly. Got the ring gear installed on the carrier, the new bearing races in the housing and I made up a slip fit inner pinion bearing for easier pinion depth adjustment. After a few times on and off ive got the carrier just about where i want it. Im at 0.0075 inches of backlash (US Gear recommends .008-0.012 for the street gears) measured at 2 different points of the gear and a decent pattern. Drive side is pretty close, im just trying to find a 0.003 carrier shim to add to the passenger side ofnthe carrier to get a bit more backlash between the ring and pinion, as well as a bit more carrier bearing preload. I called motive with the Super Shim kit but they couldnt verify the shim thicknesses. Anyone know of any shim kits that they know include 0.003? Or any shim kits that have like a 0.013 or 0.023 shim.

 3 points
 -
His name is Scott Winn from Indiana, with new wiring and light, glass, new rubber molding, polished back $125 plus shipping2 points
-
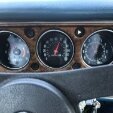
I was told it was a Monte Carlo. But I did tonight isolate the issue to the new steering column by plugging in the old column (laying it on the floor) and finding that the brake lights work. It's either the wrong turn signal switch or a defective switch. By the way the reason the four ways did not work is that I did not realize their are two flashers, one for the turn signals and one for the four way flashers. Plugged my extra flasher in and four ways work.2 points
-
Wait I dont see where the kitchen and bathroom are going to be 😳🤣🤣🤣 that looks great.2 points
-
Very nice. Do you mind telling us who did it and the cost. rob1 point
-
That’s kinda the same plan I have but I’m going to do it in a single building. L shape two back walls will be 80 ft each with the rest of the walls being 40 ft. One 40x40 section for parking separated by a firewall 40x40 shop 40x40 for equipment 19 ft tall with my new apartment (when Karen kicks me out) above the parking section1 point
-
Isn't it amazing how far and where overspray can go. And them little grinding particles can really cause havoc on other surfaces. Good plan joe.1 point
-
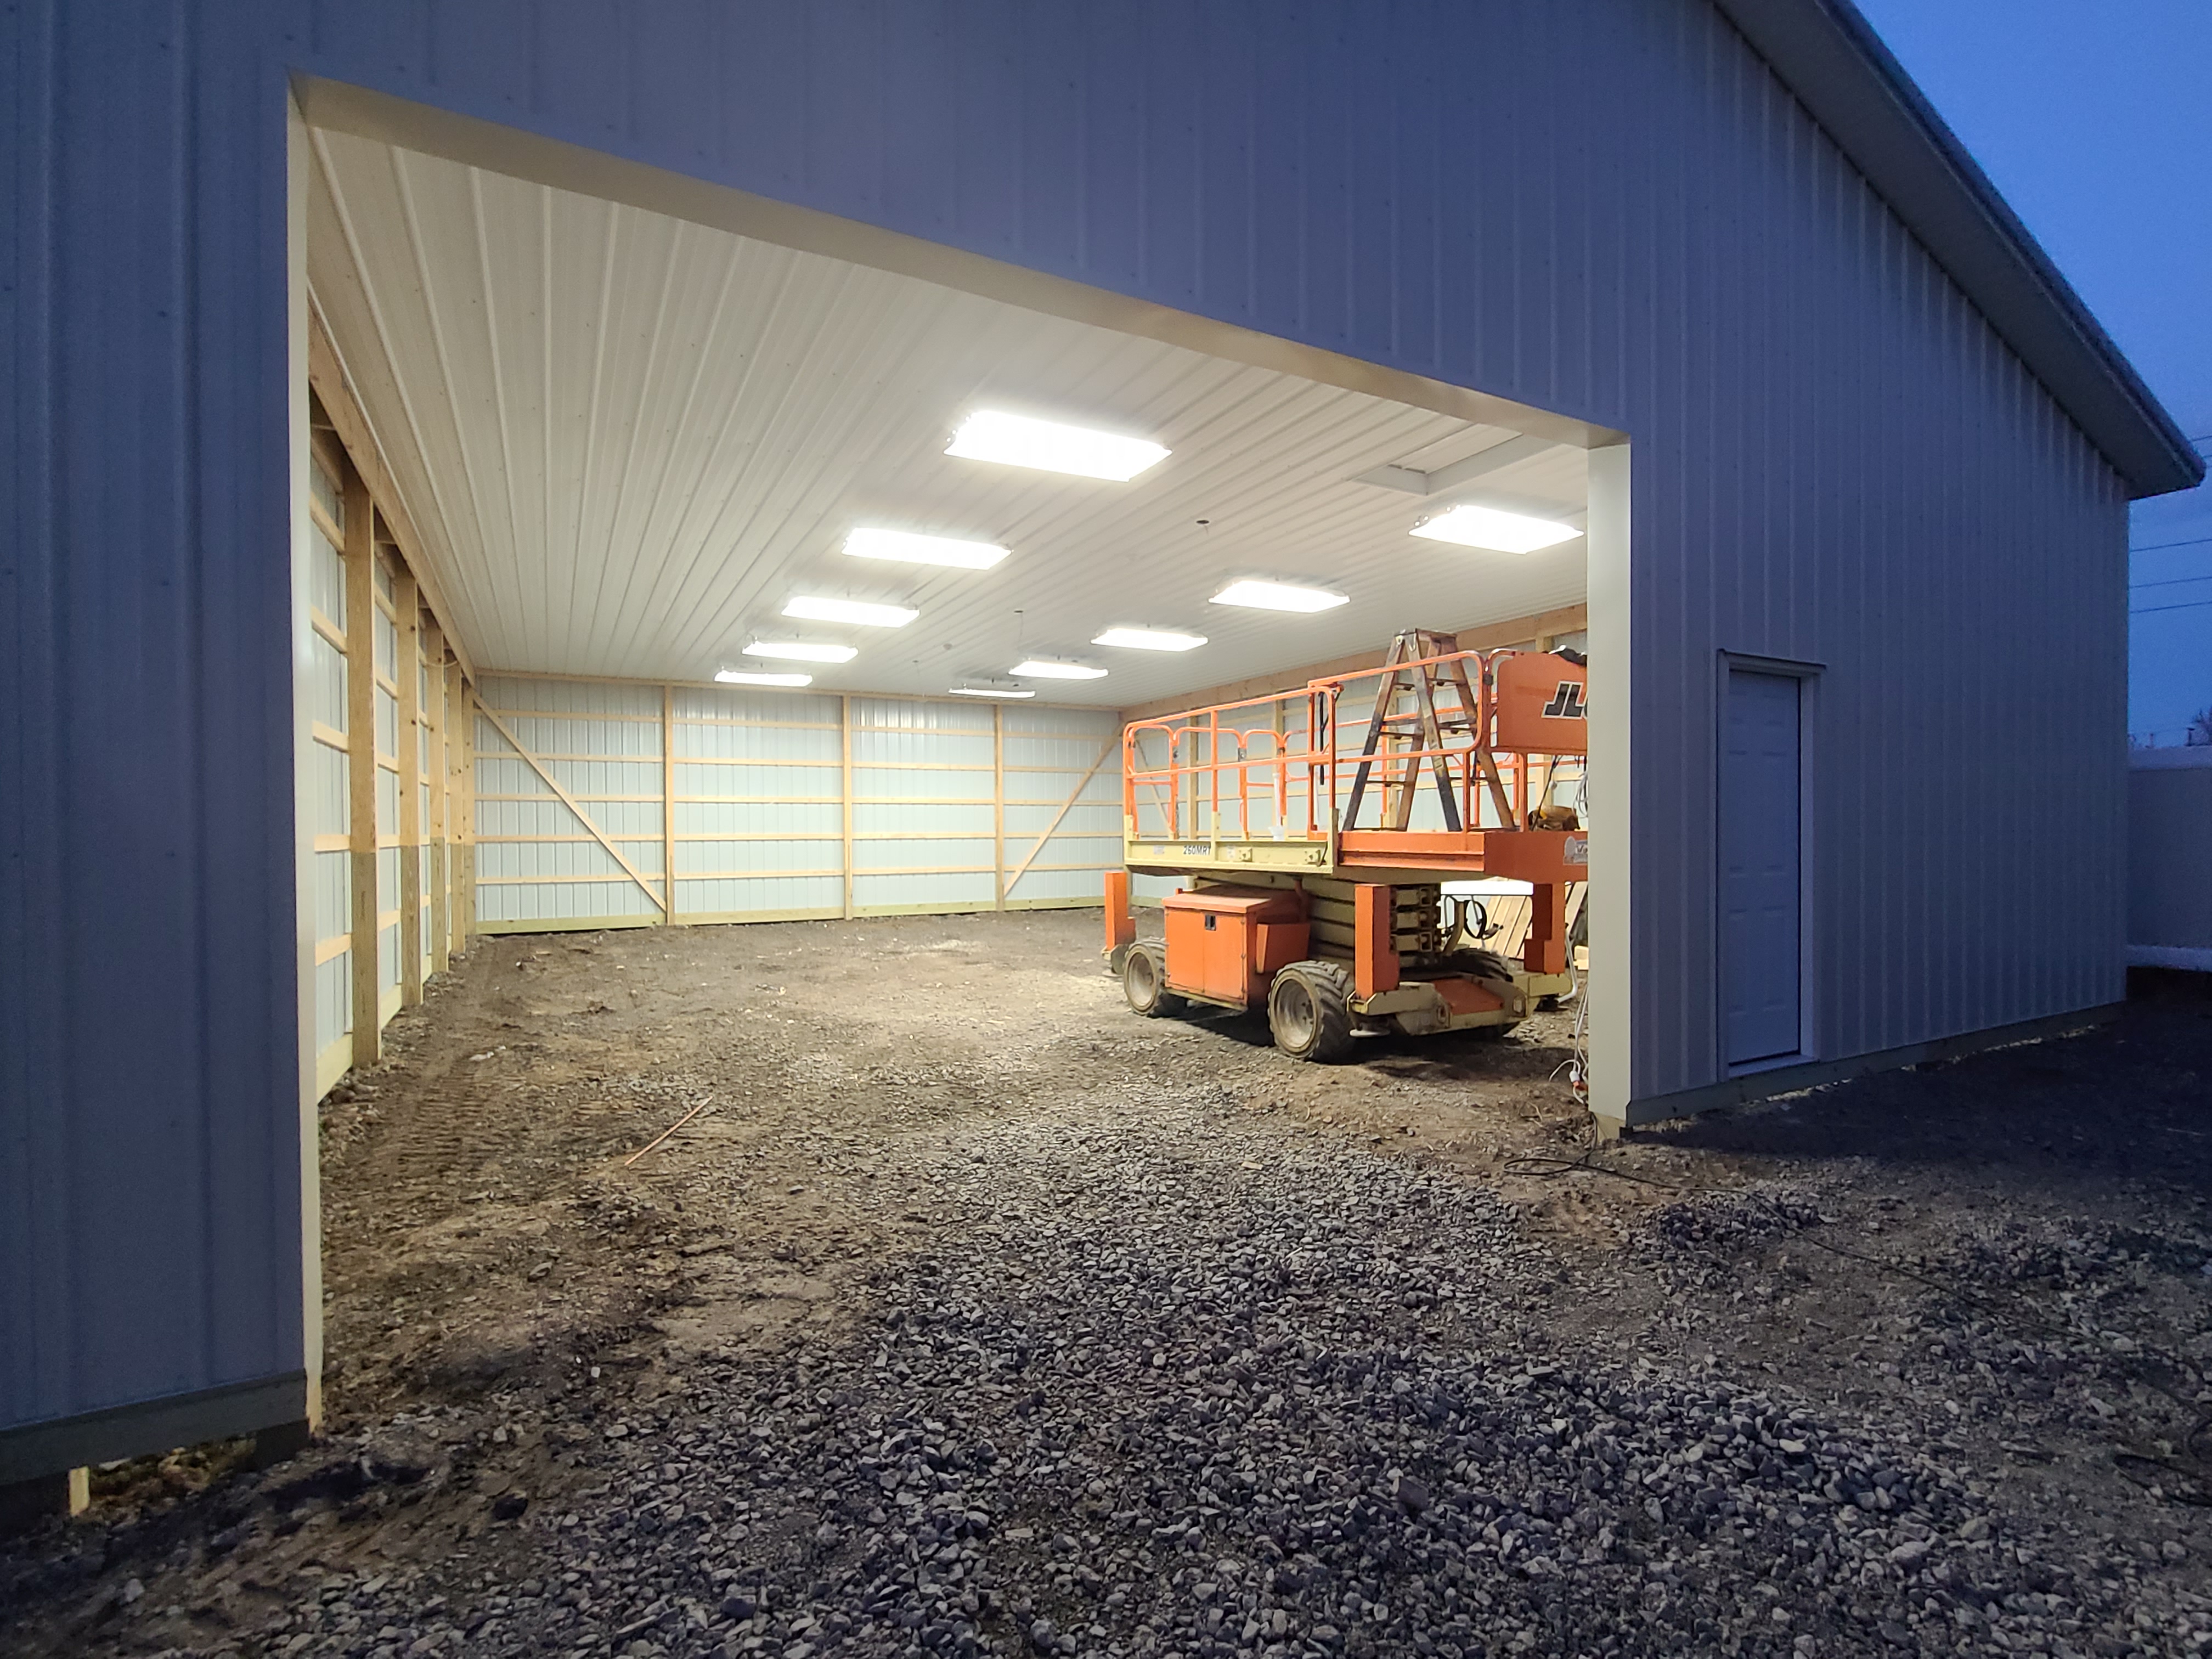
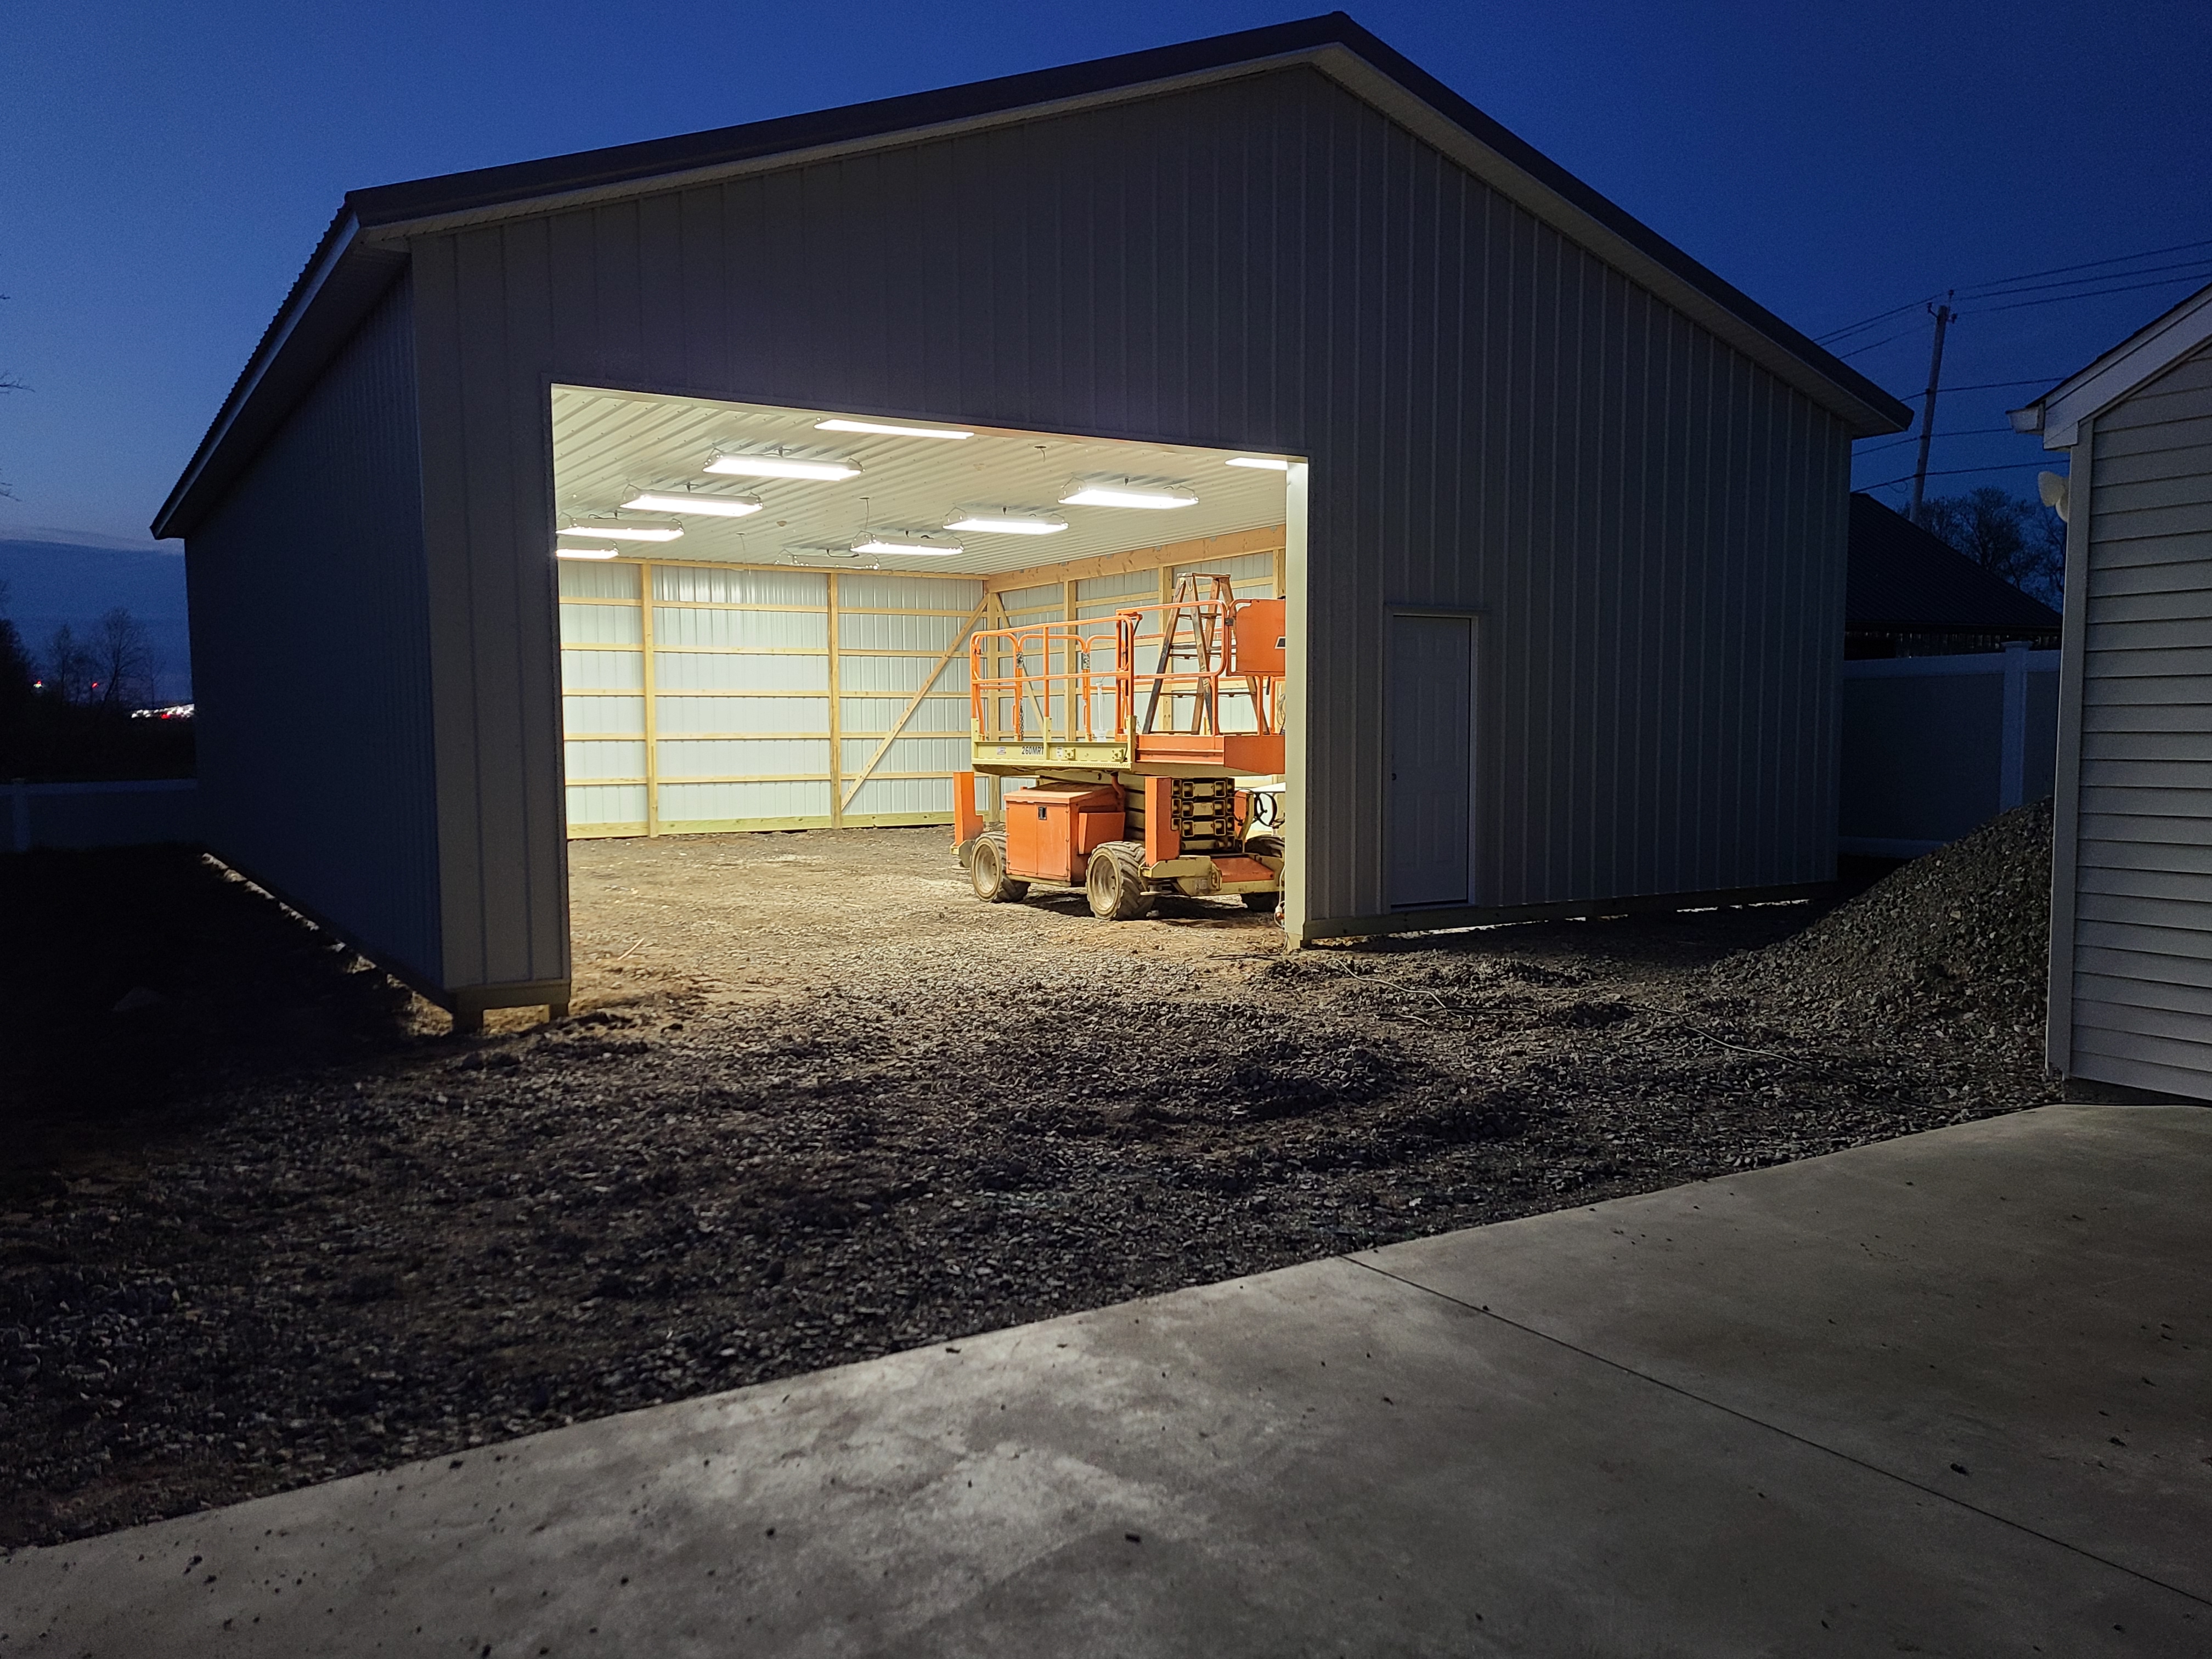
Great progress pictures, it does look a "little bigger" in the night shots. I can't remember who said sleep was over rated 🤣 I'm thinking about starting a pool where members can bet on how many months it takes till the "storage" building becomes "the side shop" with a paint booth or something. Then again I don't think you clearly specified what "storage" was, maybe a couple of 4 post racks with the next Monte project and the rest of the fleet.1 point
-
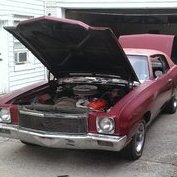
Whatever visually appealing (and actually available) wheel/tire combos anyone cooks up still have to pass a practical "fit" test. You seem to be fairly set on the rims you want and both of them (front and rear) have zero (0) offset. Rear fitment is most critical on first gen Montes as there is limited outboard room (between the outside tire sidewall and the wheel opening lip of the rear quarter panel). Positive offset on the rear rims is usually needed with wider tires to move the wheel/tire assembly inboard where there is considerably more room. Of course, you can also trim the wheel opening lip if you are forced to and don't mind modifying your Monte's sheetmetal. You have stated that you are currently running 225/70-R15s all the way around and from the photo you provided it appears that they are mounted on stock 15x7 rallys. If so, the offset on those factory rims is +.30" (+7.62 mm). Now, if you go to https://tiresize.com/wheel-offset-calculator/ and enter your current tire and rim offset data into the "Original Setup" boxes, then you can enter the specs of whatever tire you want to compare (using 0 offset for your chosen rims) and visually see how they compare. Further, the box on the upper right will show you the exact dimensional changes to clearance outboard, above and inboard. I ran the comparison between your current setup and both the 275/50R17 and the 275/55R17 tires and found that either tire will cause your current sidewall clearance to be reduced by 1 1/4". You can easily check the clearance of your current setup to see if you can afford to give up a full 1.25". If not, you will either need rear rims with enough positive offset to give you more clearance (each +6mm offset = 1/4" additional backspace) or you may need to trim the wheel well opening lip. (While I have never done that, I have heard that 1" is the practical maximum amount that lip can be trimmed.) I run 275/60R15s on 8" rims with 5.0" backspace (+13 mm offset) and I have only 5/8" (.625") sidewall clearance to an untrimmed wheel well opening lip. If I mounted any 275 width R17 tire on your 9 inch 5" backspace (0 offset) rim, my outboard clearance would be reduced by 1/2" to 1/8" (.125'). That may be enough sidewall clearance for some folks, but I would never take that risk. Your call, of course, but you don't have to guess. Just compare future tire choices to your current wheel/tire setup using the specs of your desired rim and visually see the actual physical comparison using the tiresize.com wheel offset calculator. Good luck.1 point
-
Sweet!!!!1 point
-
And on the 8th day, there was light!

 1 point
 -
thanks everyone for the response. the fit is good still working on the finish and color. here is a picture of a sample test next to oem. Not good enough yet will post more pictures as it improves.
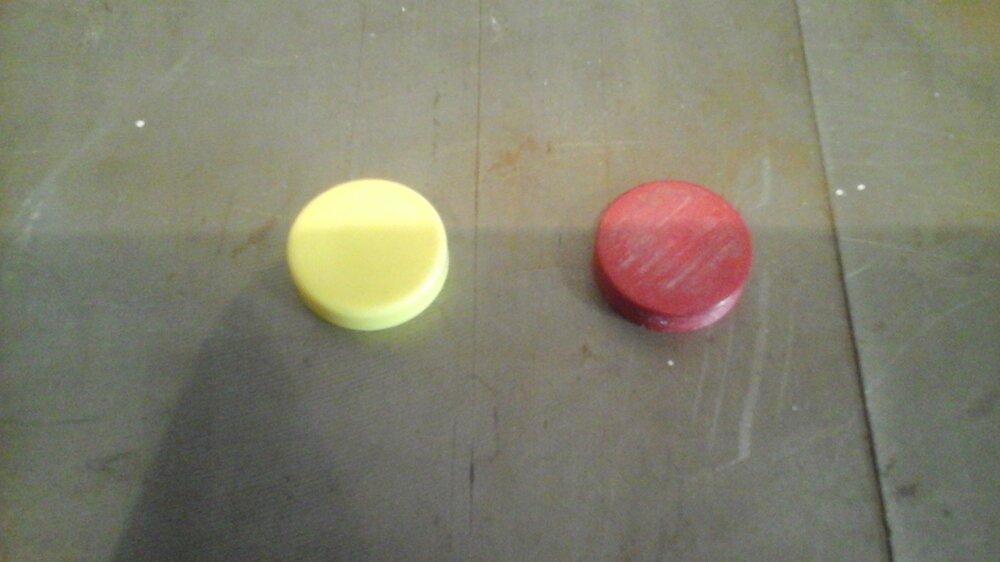 1 point
 -
Ahhhh. LS turbo swap. Lolol. Ok. I just didn't want you to spend extra coin that you could use to upgrade your engine in it now.1 point