72-CLASSIC_RIDE
-
Posts
1,172 -
Joined
-
Last visited
-
Days Won
33
Content Type
Profiles
Articles
Forums
Gallery
Events
Everything posted by 72-CLASSIC_RIDE
-
Thanx for sharing Bruce . Not very many can boast they still own their 1st car after 48 years Doug
-
Here is the link I sent for you. Hope it opens as I hadn't tried this before.
-
Here is the Kit for the 10 Pc. that covers the Body Lower Side Moldings only. You can procure these from the Parts Place if you need them and they are packaged identifying location. The bottom Body Sill Rocker Moldings use aftermarket Aveco #8400 plastic Clips that can be purchased as well. 10 per side if I'm remembering correctly? You will also need (2) plastic retainer clips 5/16" x 5/16" with a threaded hole thru the center of it plus (2) stainless sheet metal screws to secure Plastic retainer at rear of Rockers.. As far as how to install them? Each individual Lower Trim piece on one side would be secured exactly as the other side. The trick is laying out half of the fasteners on one side where they would go and then taking your time, fasten them based on a combo of the clips & screws needs. When I installed the plastic square clips, I then slipped the molding over the bottom until held by the clips and then gently pull up on Molding, with gentle force pushing inward toward vehicle and Molding will clip over the top of plastic clip and your secure (unless in some cases, screws are required to finish the job). You will find the lower side molding right behind the front tires has 3 nuts that screw into the clips holding them in place on the Body and they are hidden behind the frame. To remove/secure screws, the best idea is to remove a few screws holding Inner Fenders (rear side of fenders) and pushing Inner Fender in toward vehicle so you can access these 3 screws (both sides). Still can be awkward but best chance for success. Wish I could offer you a step by step but my rememberer doesn't work like it used to. I will send you a Link to a thread I had when I did mine. Maybe it will help some and others likely can provide a more detailed and precise instructional advise. https://www.ebay.com/itm/1970-72-Chevrolet-Monte-Carlo-Body-Side-Molding-Trim-Hardware-Clip-Kit-New/271204197540?hash=item3f2507a4a4:g:7TYAAOSwmtJXViRs Best of luck and it really isn't that hard as far as locations. It has more to do with feel when installing. Doug

-
Very nicely done! Doug
-
and have fun with your Build. Always nice to be able to add your personality into the final product..................... Doug
-
What did you do to your Monte Carlo today?
72-CLASSIC_RIDE replied to Canuck's topic in General 70-72 Monte Carlo Forum
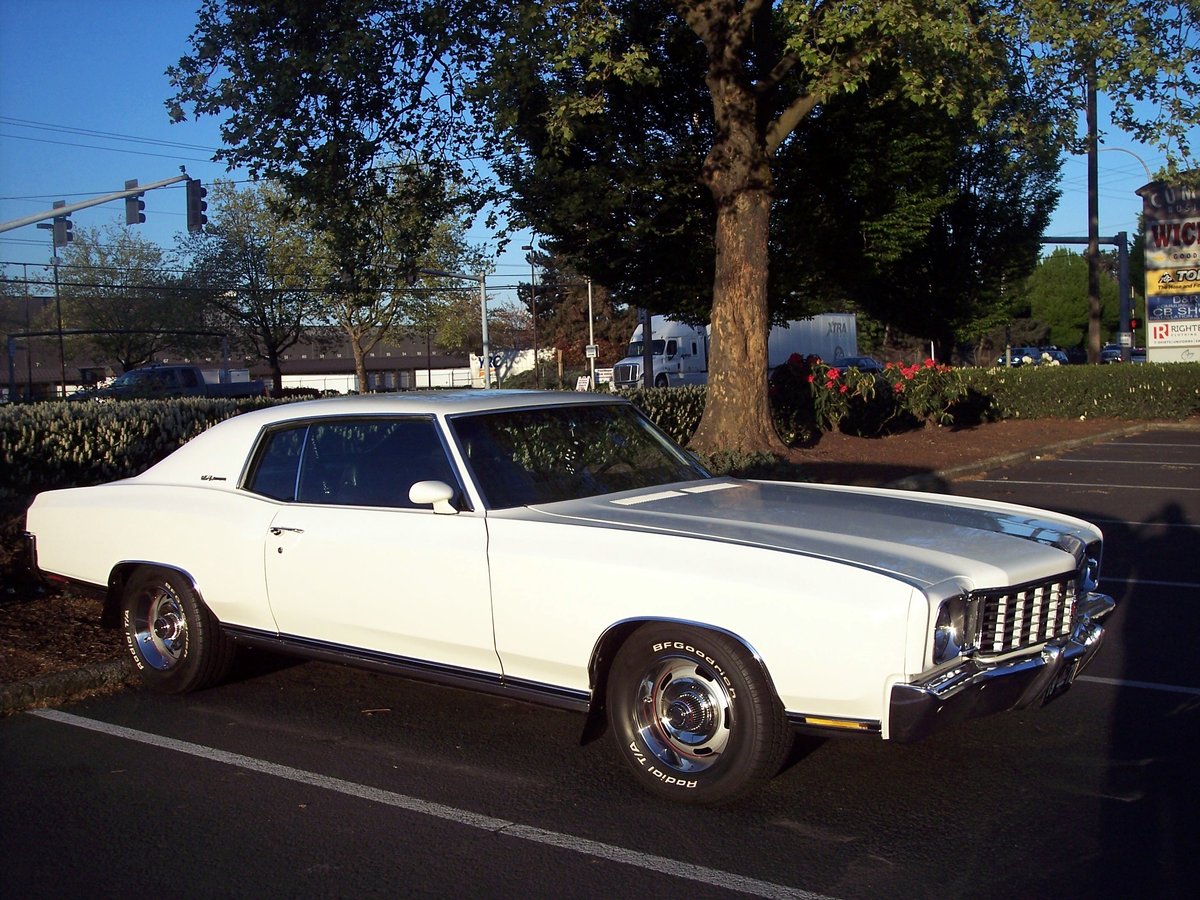
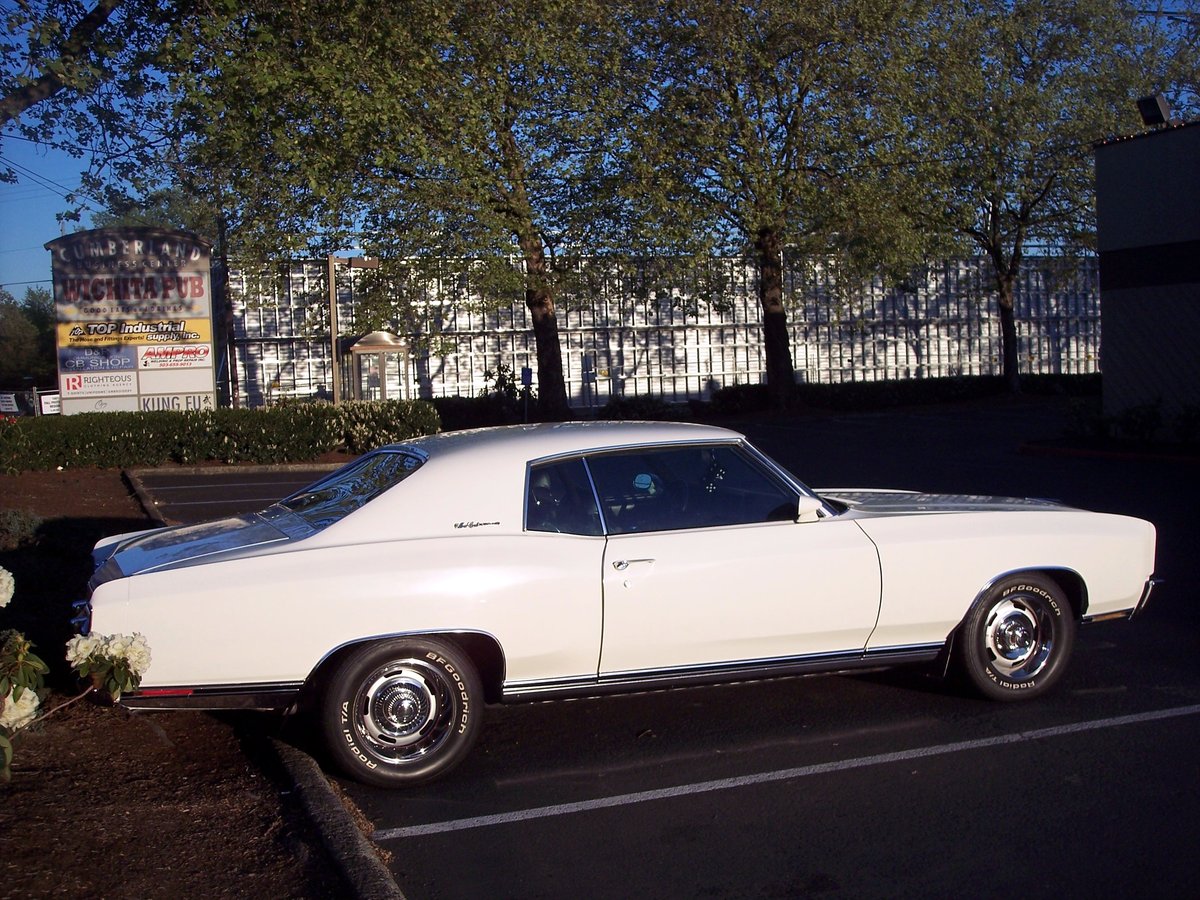
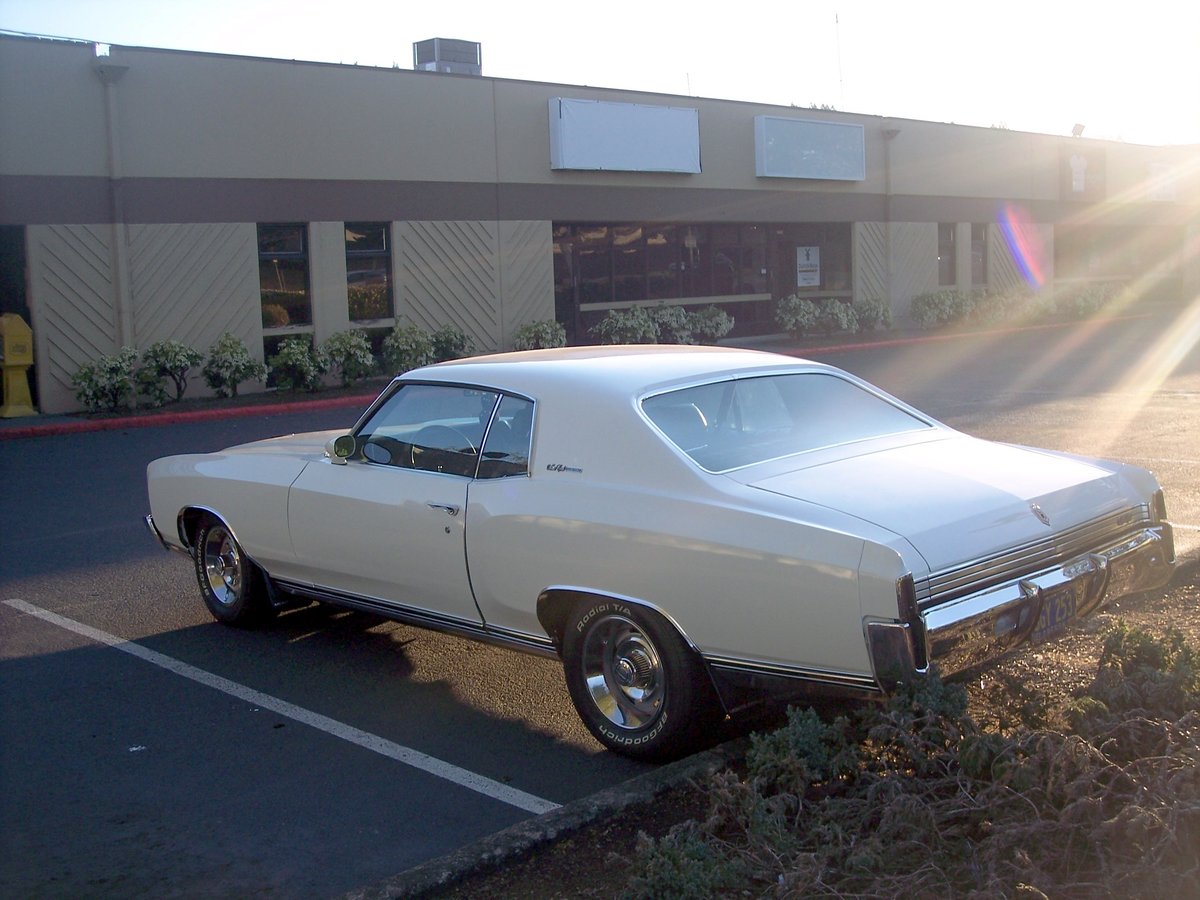
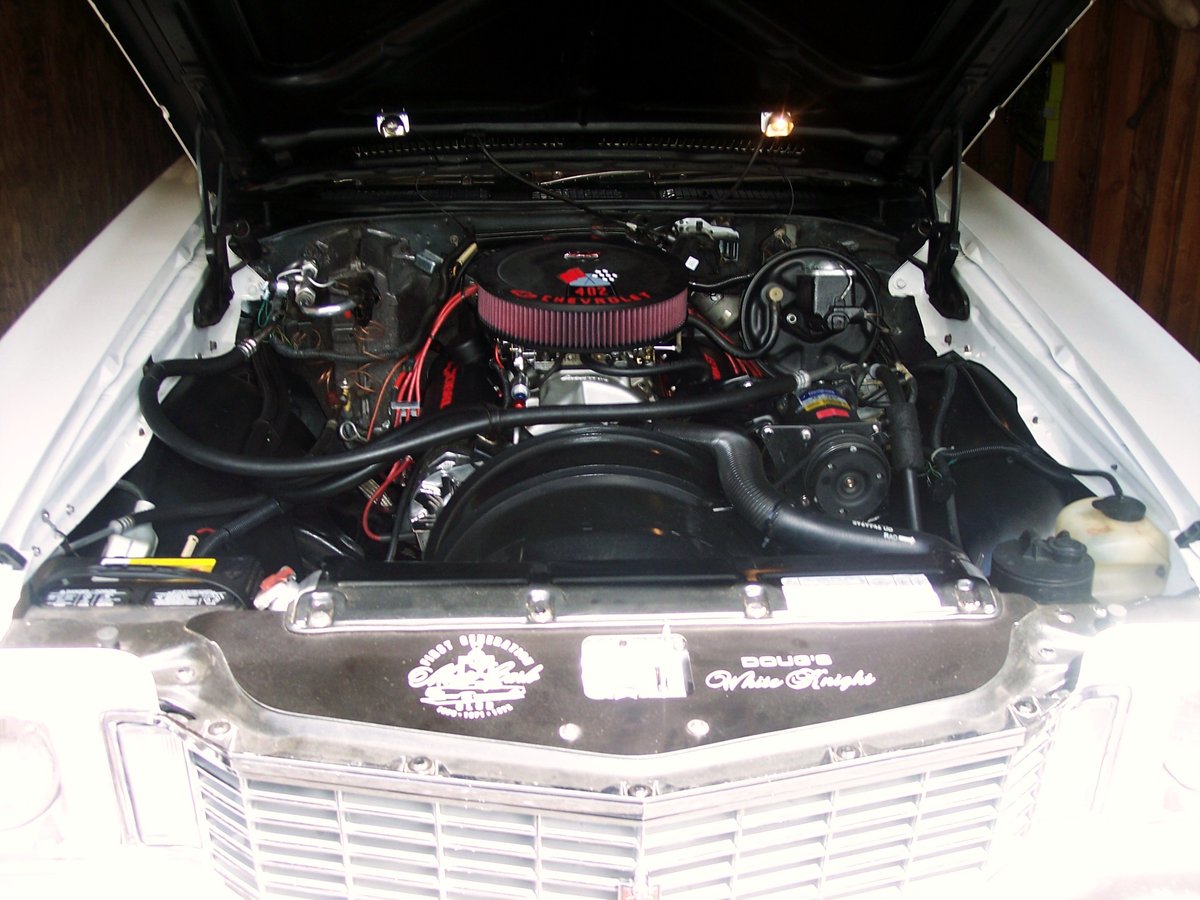
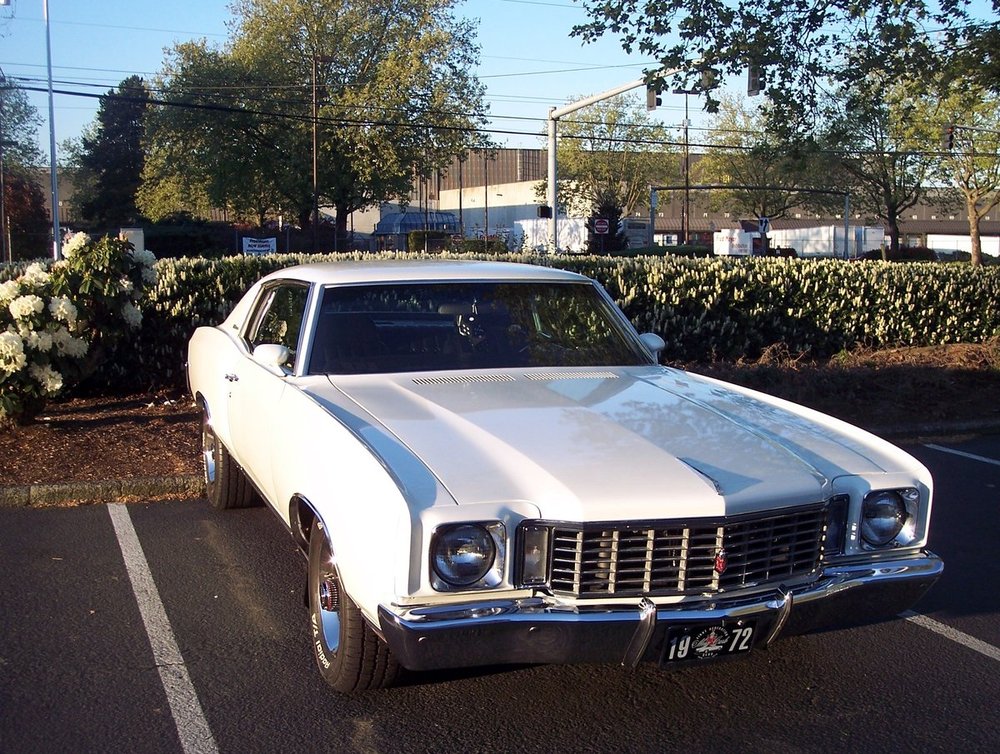
Tacklrd my lame driver door lock today and found another problem after starting the car this AM. Had a rattle somewhere near the front of the motor. Isolated it to the Balancer where after checking the 3 pulley bolts that hold pulley onto balancer, two had loosened up some, so got that fixed. The door lock actuator plunger shaft was corroded so bad it just froze up. Pulled the door panel, removed, cleaned and lubricated the shaft and moves up and down freely again. There was a hole in the boot that let water seep onto boot and held it there until it seeped into hole thru boot. Repaired boot and will be more diligent with water in this area even though I believe it shouldn't happen again. Anyway, the rattle which originally thought to be inside motor as the rattle sounded internal turned out be tightening and that was a relief. Until the next burp............................ Sorry, no pics of the work but here is a couple of the car while I was getting ready to work on her. Doug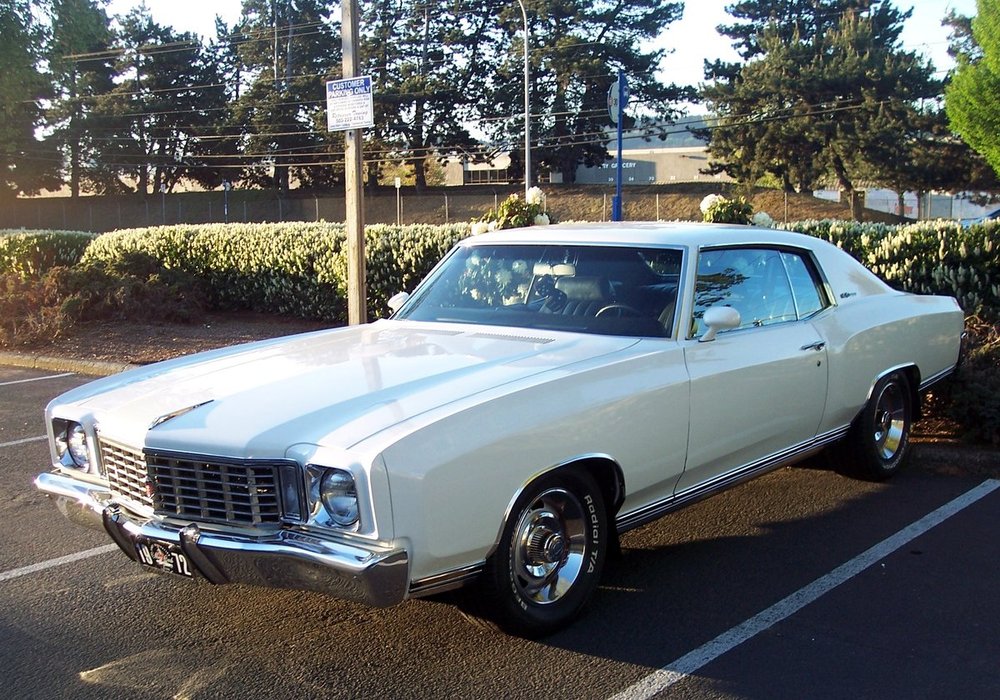


-
What did you do to your Monte Carlo today?
72-CLASSIC_RIDE replied to Canuck's topic in General 70-72 Monte Carlo Forum
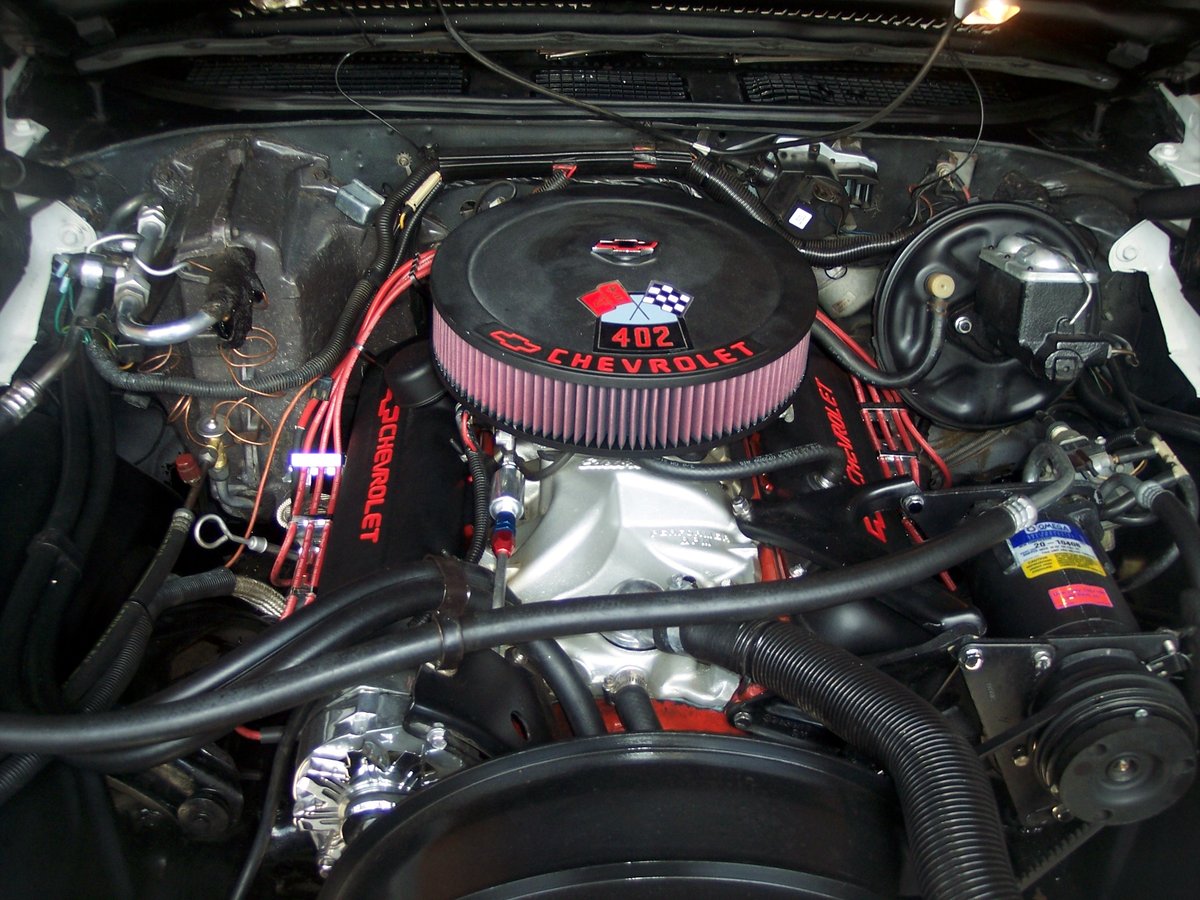
Decided to do some polishing and discovered that my drivers side door lock quit working. Oh well, something else to tackle. Looks better under the Hood than previous. Doug

-
In 1972, the Monte steering column color was Black (if including NK33 Custom Grip Steering Wheel). Otherwise, the interior color determined the Column color I believe. I can't claim this was true in 1970 & 1971 Models that were not SS. Doug
-
Patrick! Love the Pic's. Quite an undertaking there with your restoration. Doug
-
Doug
-
I figured without Excel on your PC, opening it would be difficult. I will create a picture of it so most if not all will be able to view it. ***News At Eleven**** Doug
-
Trying something different here to download onto FGMCC site. This is a Excel File Format and if you can open it, is the latest known population numbers that I have. Let me know if you have problems opening it. 1972 CUSTOM NUMBERS REV. 7.xlsx Doug
-
Having the VIN # helps me keep from duplication. So if you don't mind, I would like to have it. Doug
-
I think that is called "A Roll Back"........................
-
All's I have been aware of Bruce is we can add our cars in the Gallery but nothing specific for a 72 Custom. If there is info available, I would be interested in seeing it. That's all I know............. Doug
-
What! You don't think that is Street Legal Darren...................... Doug
-
to our Madness Joe. Nice Custom you have there. I started keeping Records where I see or hear of a 72 Custom out there. I had copied the VIN #'s you provided in your Post and hope you don't mind. I have a Spreadsheet with all the 72 Customs identified as they surface expecting to get a consensus on how many are still serviceable. Of course, unless confirmed a Custom, a footnote will be present. I believe I have about 30 documented with about half confirmed at this time. Should you cross any in your travels, please take a moment if possible to document what you saw (I am particularly interested in the VIN #'s). Pleasure having another 72 Custom owner as part of the Boards. Doug
-
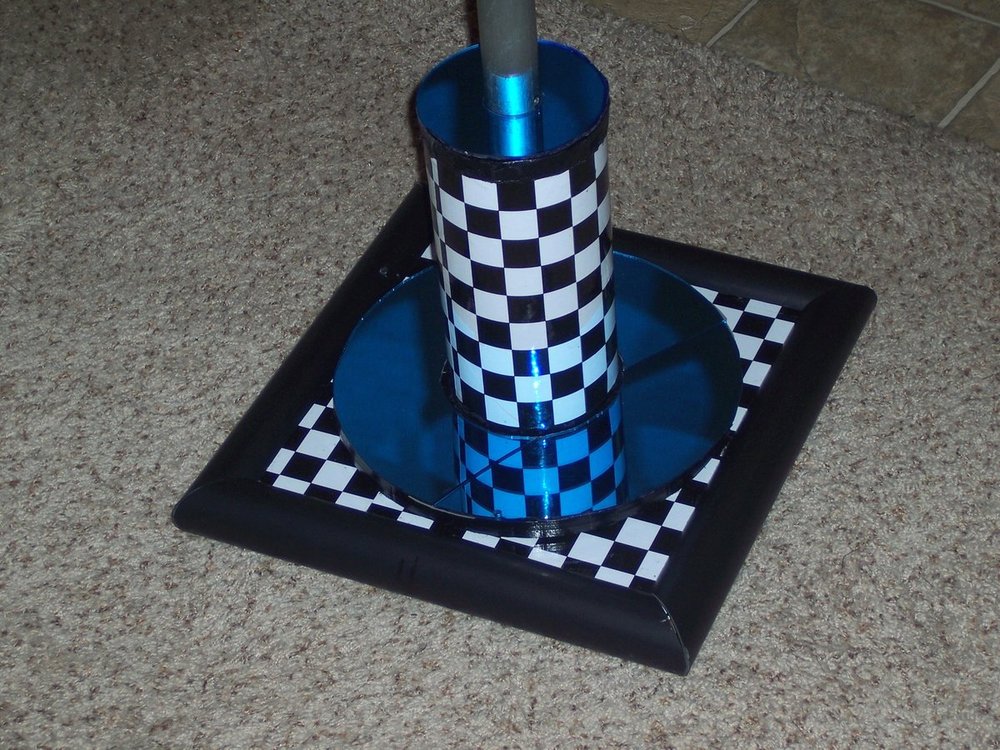
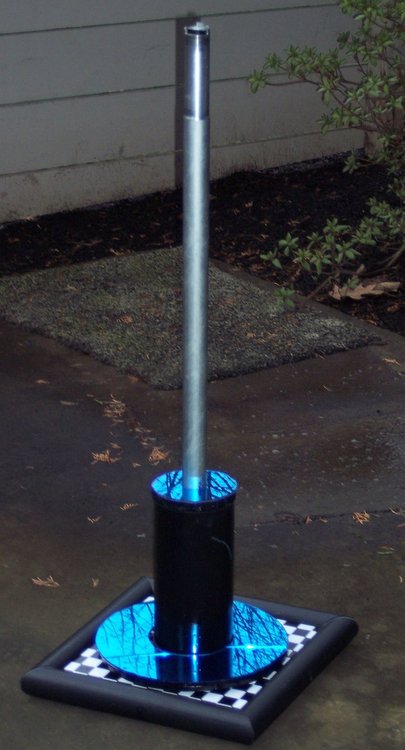
Added a little more Checkered Flag tape on Stem. Maybe a little garnishment on the seams to finish if I decide too. Anywho, this is it for now. It's amazing what you can do with a few pieces of scrap and imagination! Thanks for the Props and had fun building it. ps: I liked the checkerboard design as my Car is White exterior with black interior. Sitting in front of the car matches the car colors mostly. Doug
-
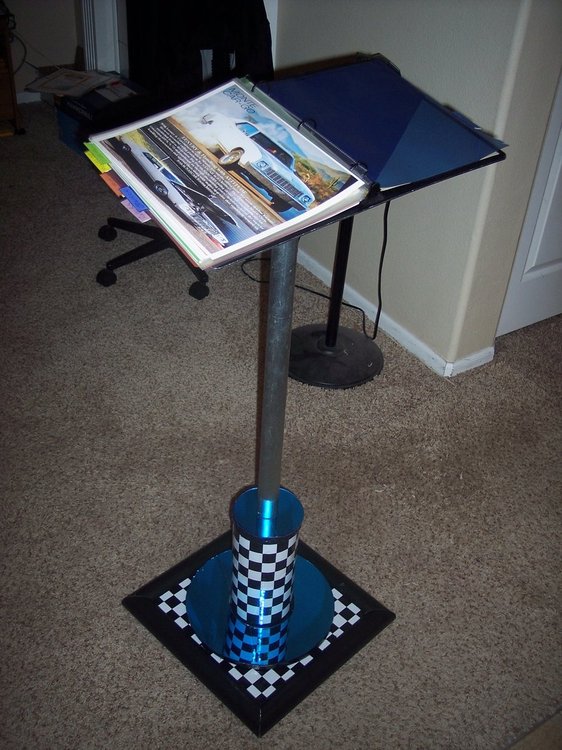
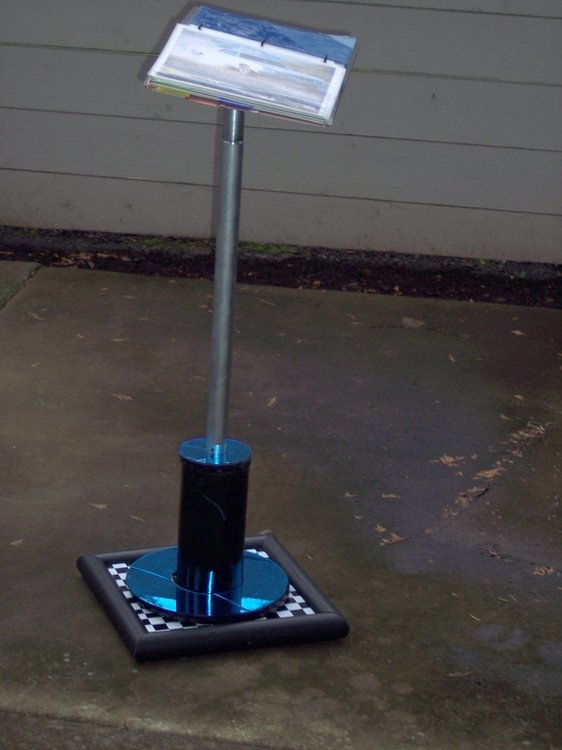
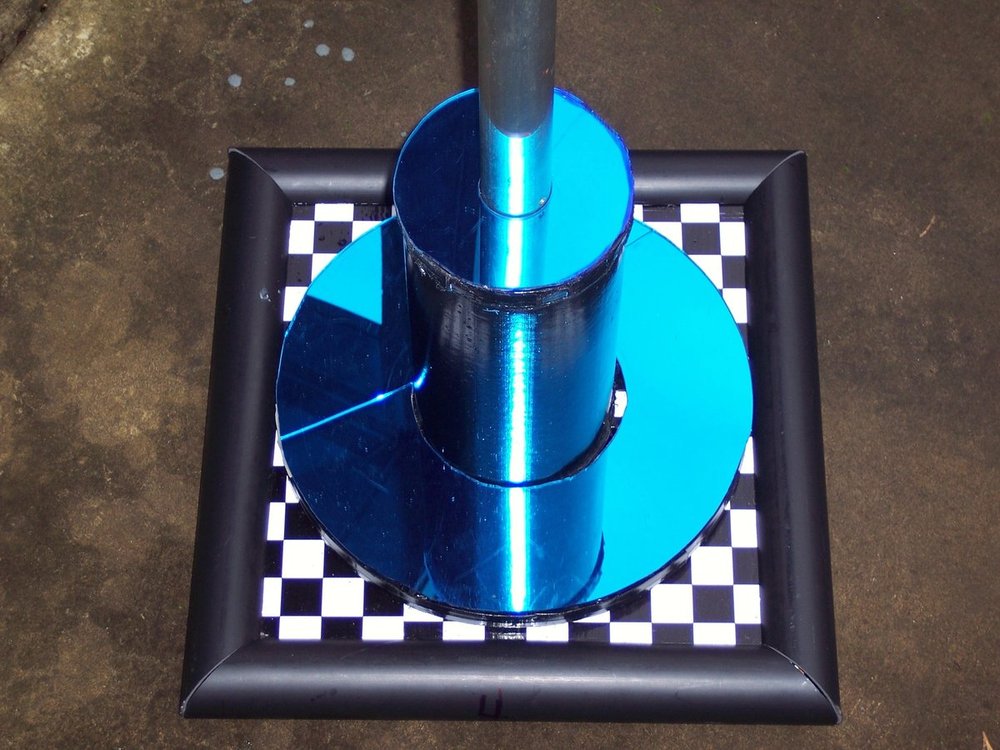
A few years ago I purchased the Picture Book that was used to display my Car photo's at the Car Venues. It at that time fastened into the Hood Catch release mechanism & actually I felt got in the way from seeing the entire Engine Bay. Last year while visiting my Brother, I saw this plastic Hose Reel that could be purchased on a spool of material. One end had been broken off leaving just a base & stem protruding from it with a 1 1/2" diameter hole going thru the center of the Stem all the way thru. I sat a 1 1/2" diameter piece of Stainless Pipe I found lying around and fit perfectly thru the Stem. Also, there was about a 15" X 15" 3/4" piece of plywood that I sat the Spool on & placed the Pipe into the Spool all the way to the base of the Spool. I considered this a replacement for the Hood Latch location sitting it further away from the Car. Can still be looked thru while viewing inside Engine Bay. This is how I used it last year! Pretty bare bones with the the materials I had found and used. I have this past week bought some Checkered Flag Vinyl contact material, a can of Black Spray Paint, a couple 5" sections of black 1 1/2" PVC pipe used for the border (that also keeps base off of the ground) and using what I had originally prettied up the Display Stand significantly. I also was offered some blue like reflective plastic material to enhance the Stands appeal which I cut out and used as garnish two places. I did break the larger diameter piece while cutting out the diameter with the Skill Saw! For now anyway, a couple pieces of wide black tape on the underside holds those two pieces together. I have more of this material to use should I decide to go ahead and replace it. I will probably find some type of rubber molding to cover a couple spots hiding my inside cuts on reflective material. But for now, thought I would share what I had accomplished so far. I will also likely buy a couple more sheets of the Checkered Flag material and dress of that center section from the base of that stem up to where the Pole drops in. I think that will finish it for me! Doug
-
2019 Western Meet: Penticton, BC
72-CLASSIC_RIDE replied to Canuck's topic in FGMCC Annual Western Meet
Doug -
Pretty Kool......................... Doug
-
Your description of issue is to broad. Does it happen Engine Cold and/or Hot? I had problems from engine temp messing with my Starter but never has it not even want to turn over. It acted like the Battery was really weak but eventually would start. I replaced my Starter with a AC Delco Heavy Duty, Heat Shield and also a Heat Sink Gasket between Carb and Intake. Even with this, there are however rare, moments where it feels like it is briefly doing it again. When it won't start, is there power? If it turns over but won't start, check Plug Spark. It may be something entirely different. Doug
-
Could it be that the 71 Knobs were depleted and used 72 Knobs in their place? Might be able to find supporting evidence that was probably the case dependent on the year(s) where discrepancy is found. That's best guess anyhew....................... Doug
-
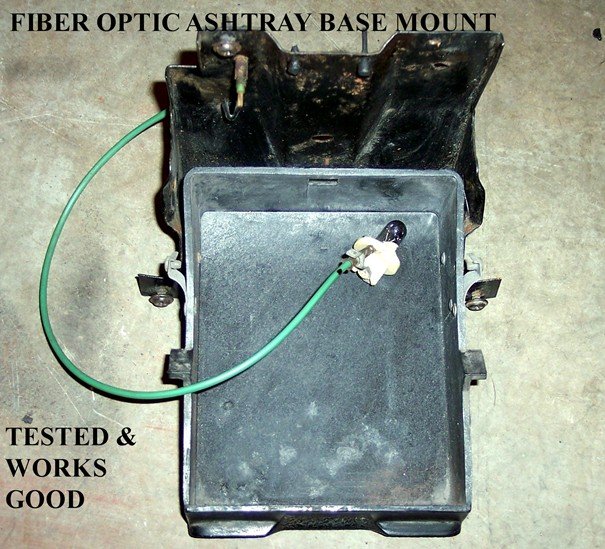
fiber optic ash tray light
72-CLASSIC_RIDE replied to jja's topic in General 70-72 Monte Carlo Forum
I don't have a pic where bulb plugs in but if your not picky, just pick a socket that the Fiber Optic Cable will reach & work. Doug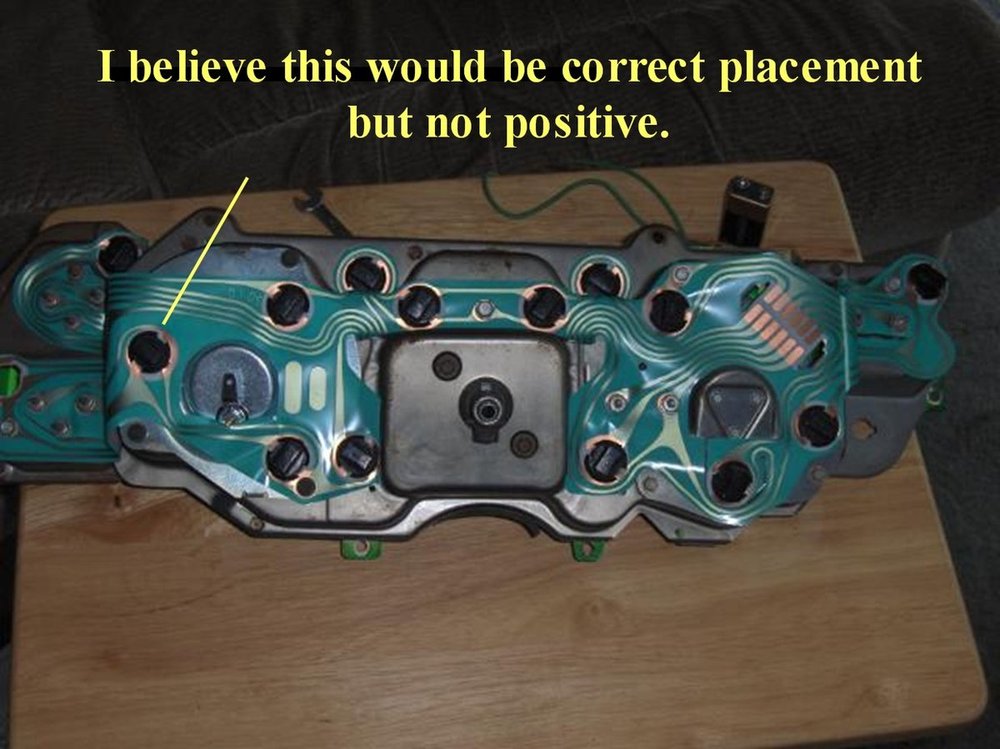
-
fiber optic ash tray light
72-CLASSIC_RIDE replied to jja's topic in General 70-72 Monte Carlo Forum
Here is a pic of the Ash Tray Fiber Optic assembly. I can't give you a dimension as car is stored currently for Winter, but you should be able to determine the dimension from yours. I suspect the hole is already punched out from Factory even if no fiber optic light option. You know the Bulb plugs into Instrumentation socket behind Dash right?. PS: There may be a clip needed to secure fiber optic into ash tray housing that you will need.................... Good luck with your install....................... Doug